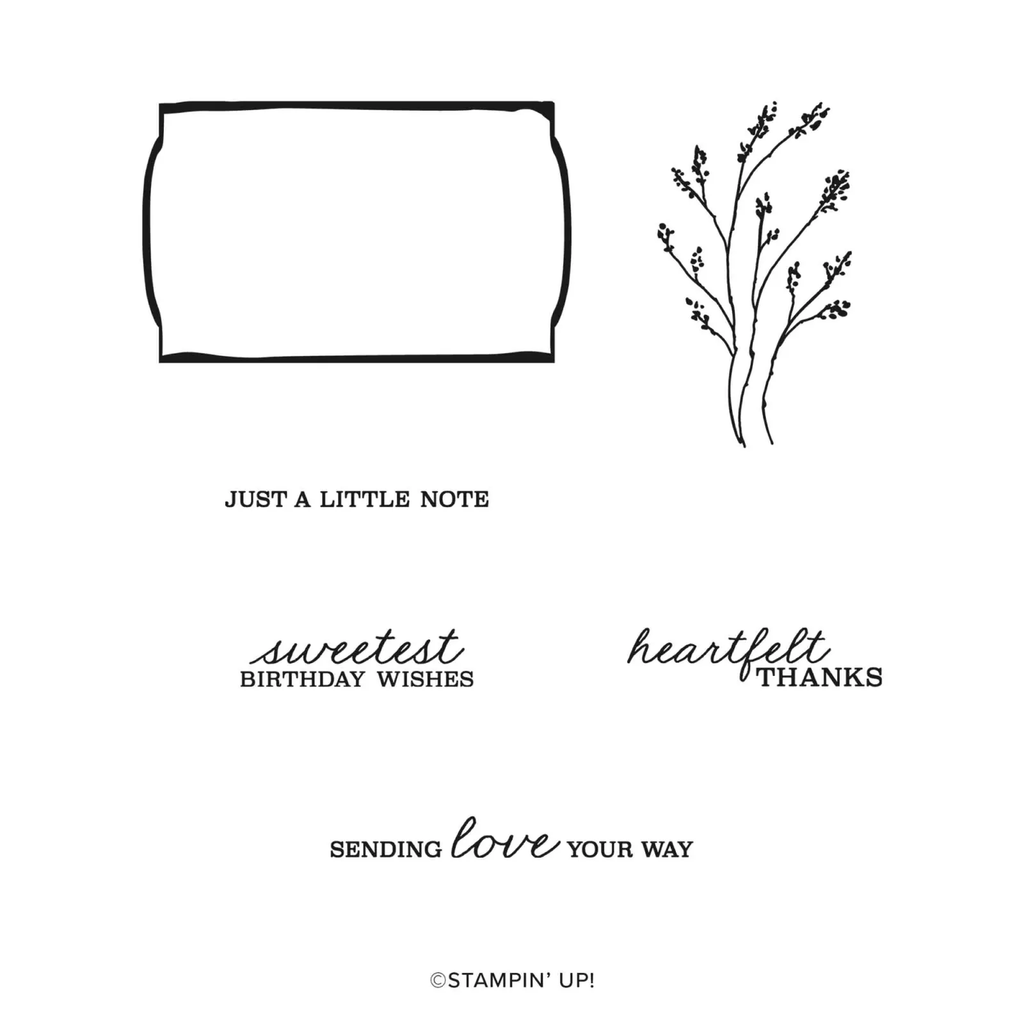
Here’s another neat card sample featuring the Velvet Meadow suite:
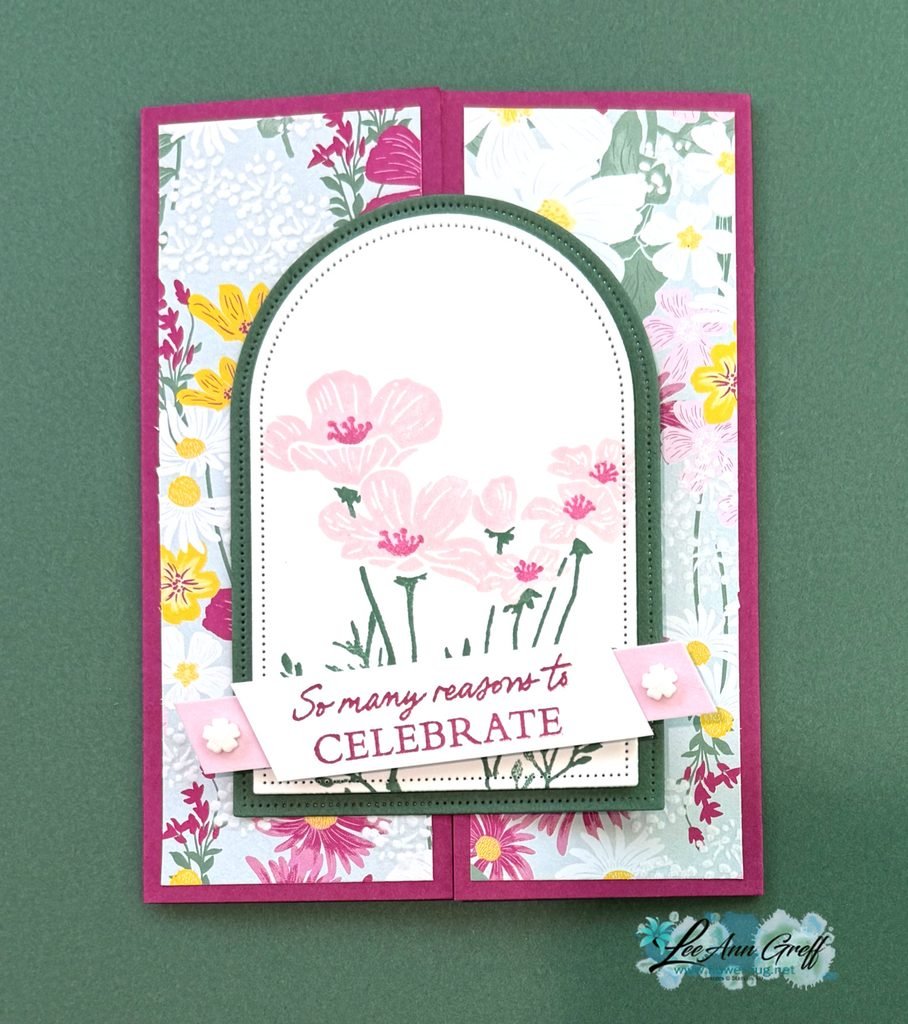
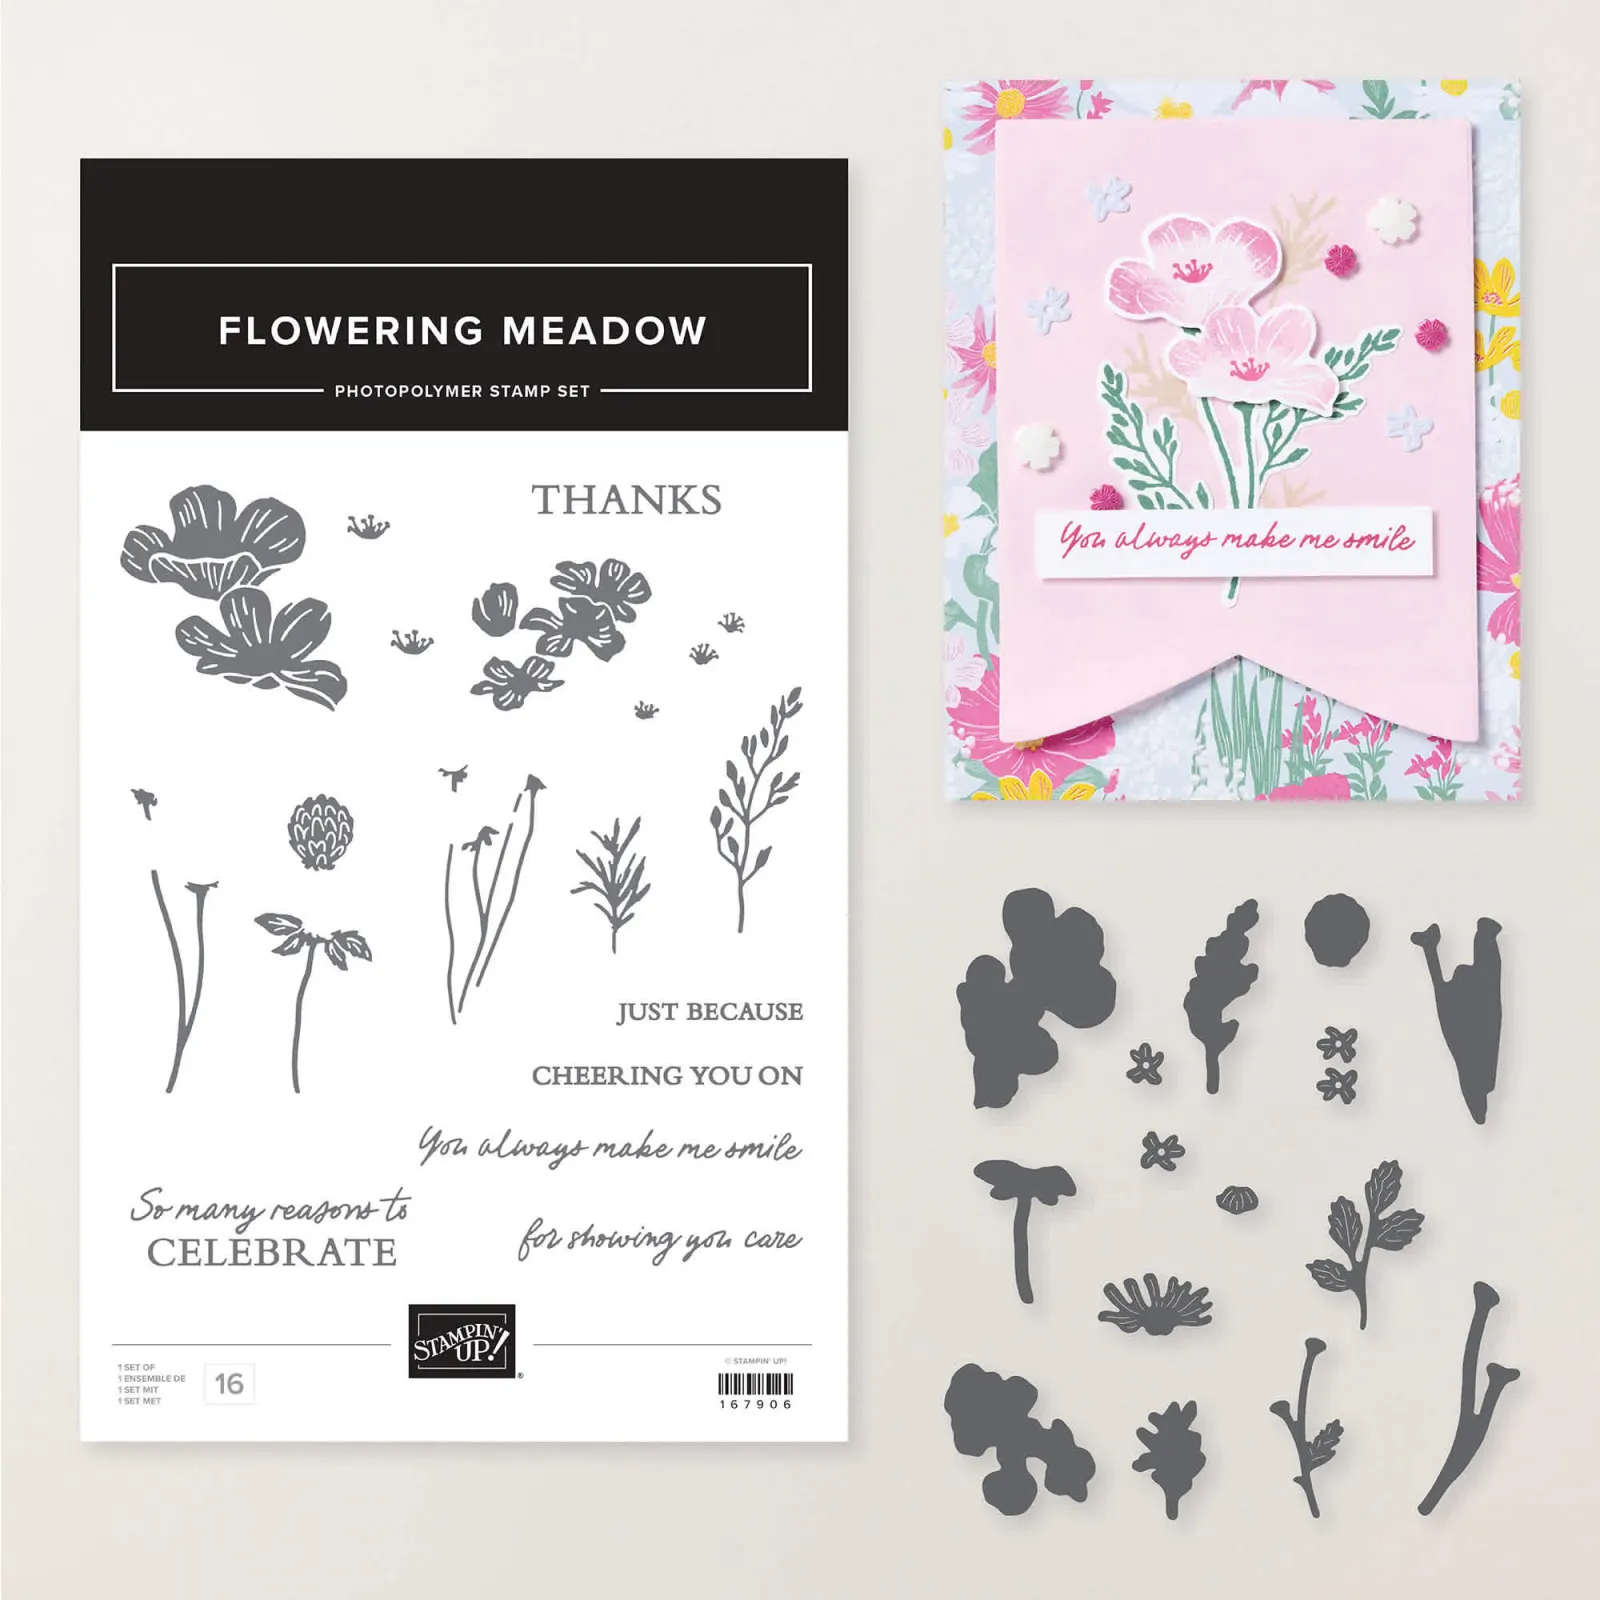
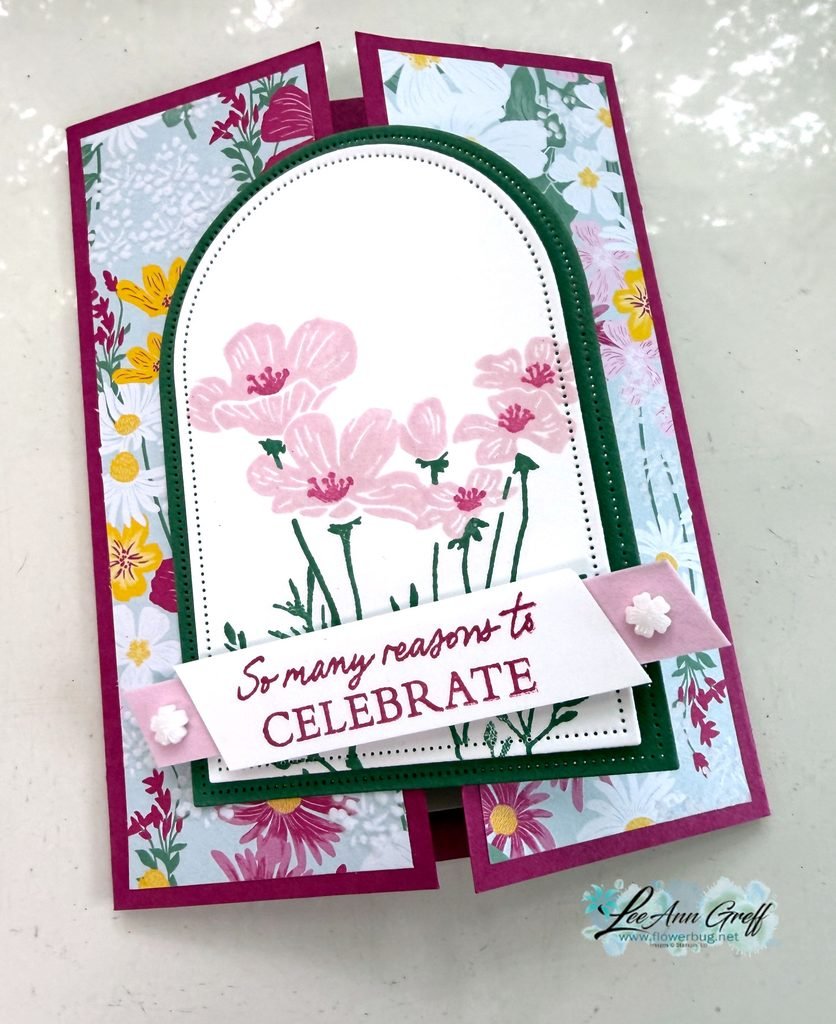
Gatefold cards are a great way to use your pretty designer series paper. Each side measures 1 7/8″ X 5 1/4″. I stamped the pretty flowers from the Flowering Meadow bundle seen here on the White arch die-cut; then layered it on the next size larger Peaceful Pine arch die-cut.
The Arches dies are out of stock currently but will be back.
I stamped the flowers in Bubble Bath, Berry Burst and Peaceful Pine ink. The greeting is stamped on a strip of White that is layered on the Velvet specialty paper in Bubble Bath color. A pretty but easy card.
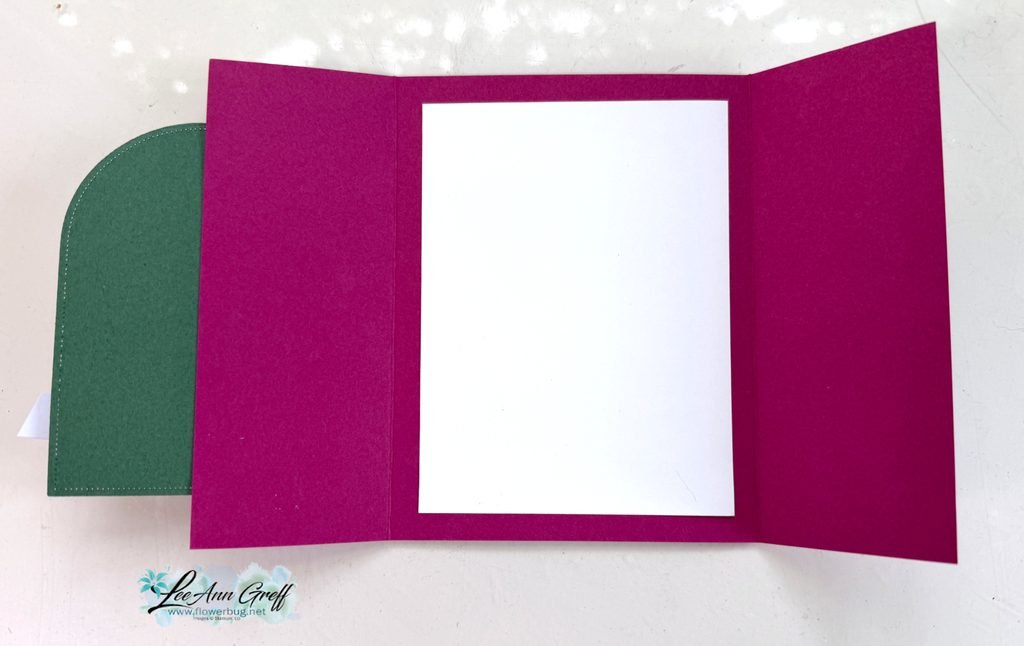
Here’s what the open view looks like:
The color combinations Stampin’ Up! comes up with in their designer paper continues to amaze me. They make it so easy to make beautiful, coordinating projects. Our color families and the matching products is what drew me to Stampin’ Up! over 21 years ago and is still one of my favorite things about them.
July Stampin’ Up! specials:
There are new Online Exclusives out this month! They include florals, Fall, Halloween and Christmas! See them all here.
Here are a few links & graphics of two of the suites:
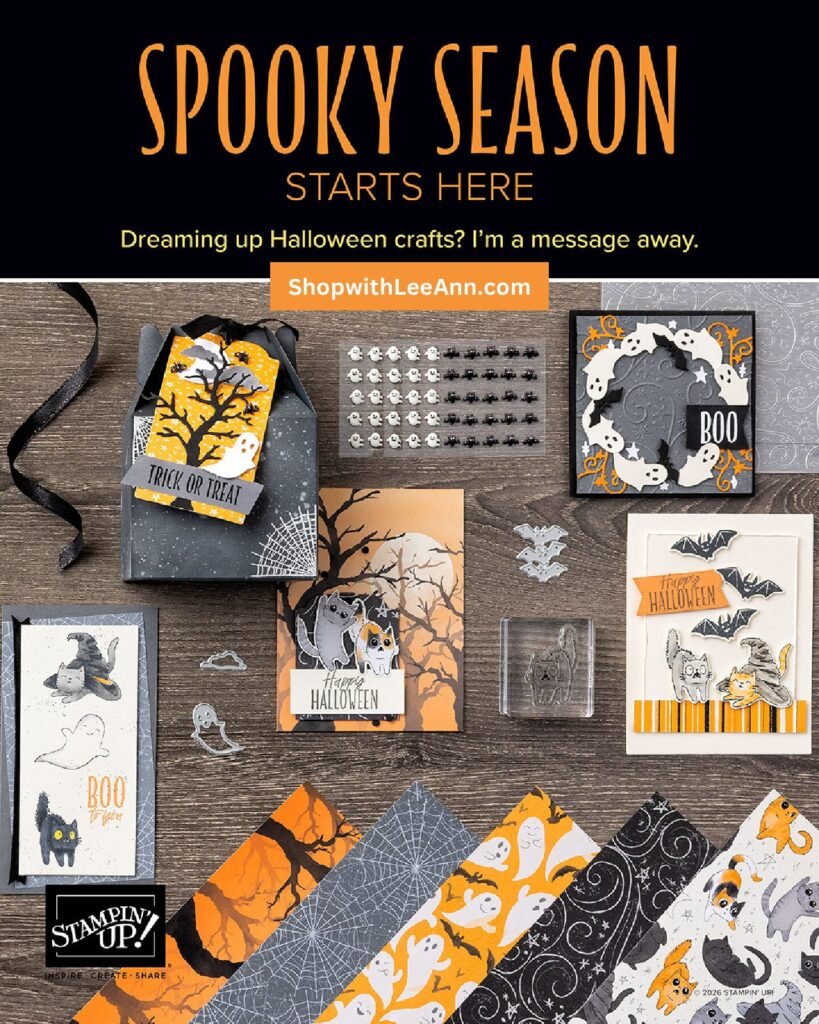
You can see the Spooky Season suite here.
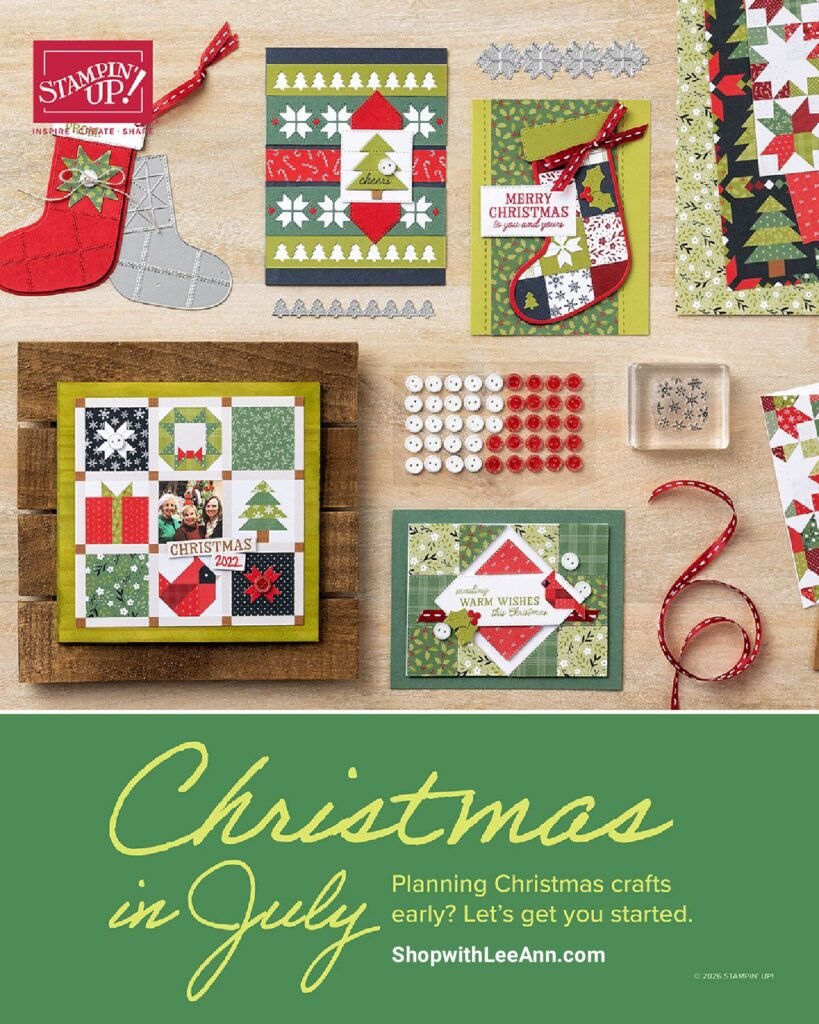
See all of our Christmas products here!
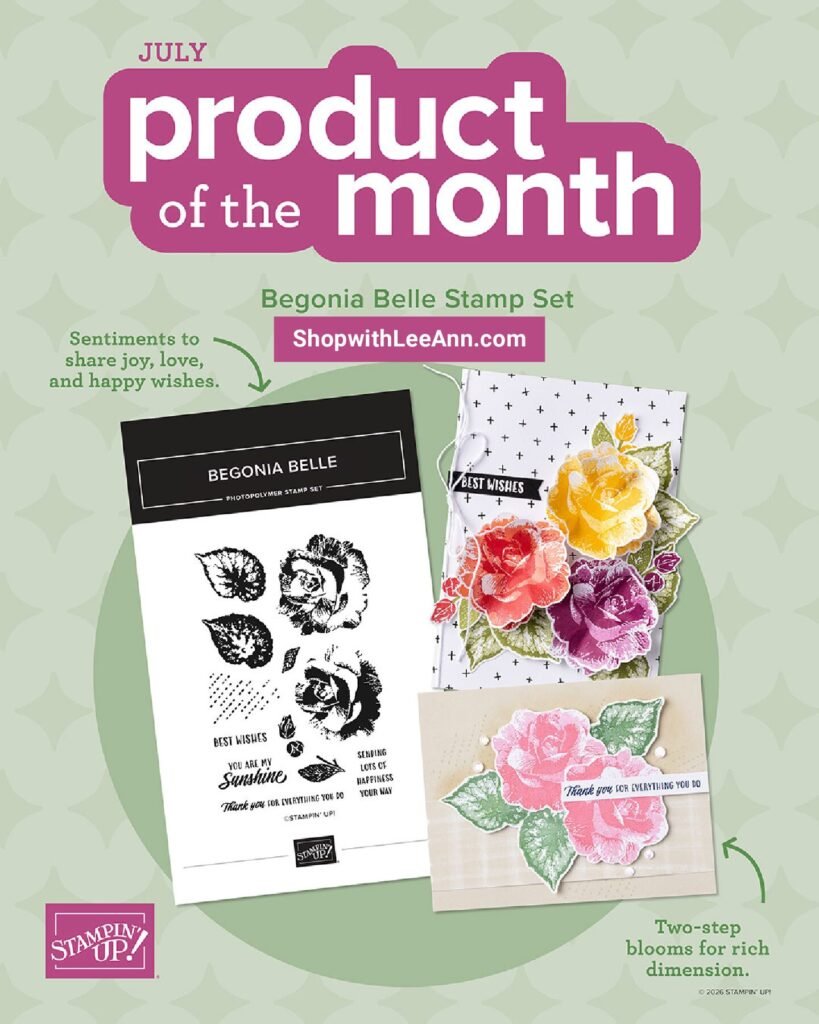
Our newest Product of the Month is this beautiful Begonia Belle stamp set: It’s just $5 once you hit the $75 mark in your shopping cart!
See it here
We have two new kits in our Kit Collection:
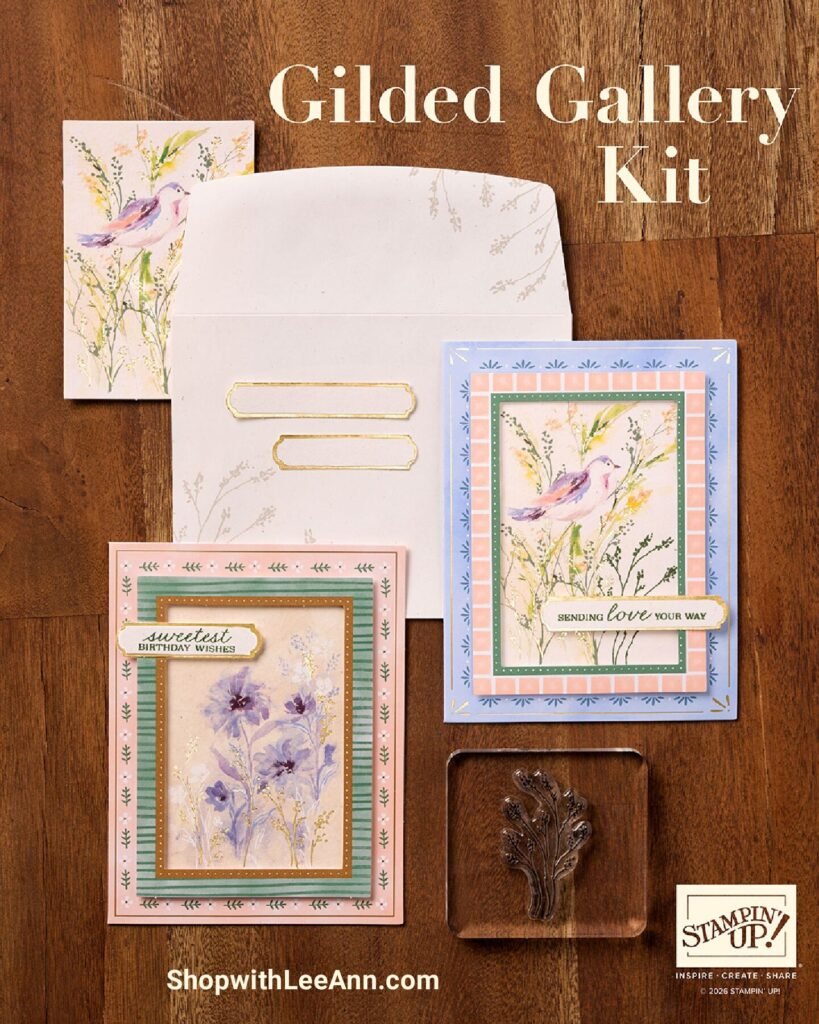
The Gilded Gallery card kit can be seen here. It’s $25, makes 10 cards with envelopes and includes a beautiful stamp set and ink spot.
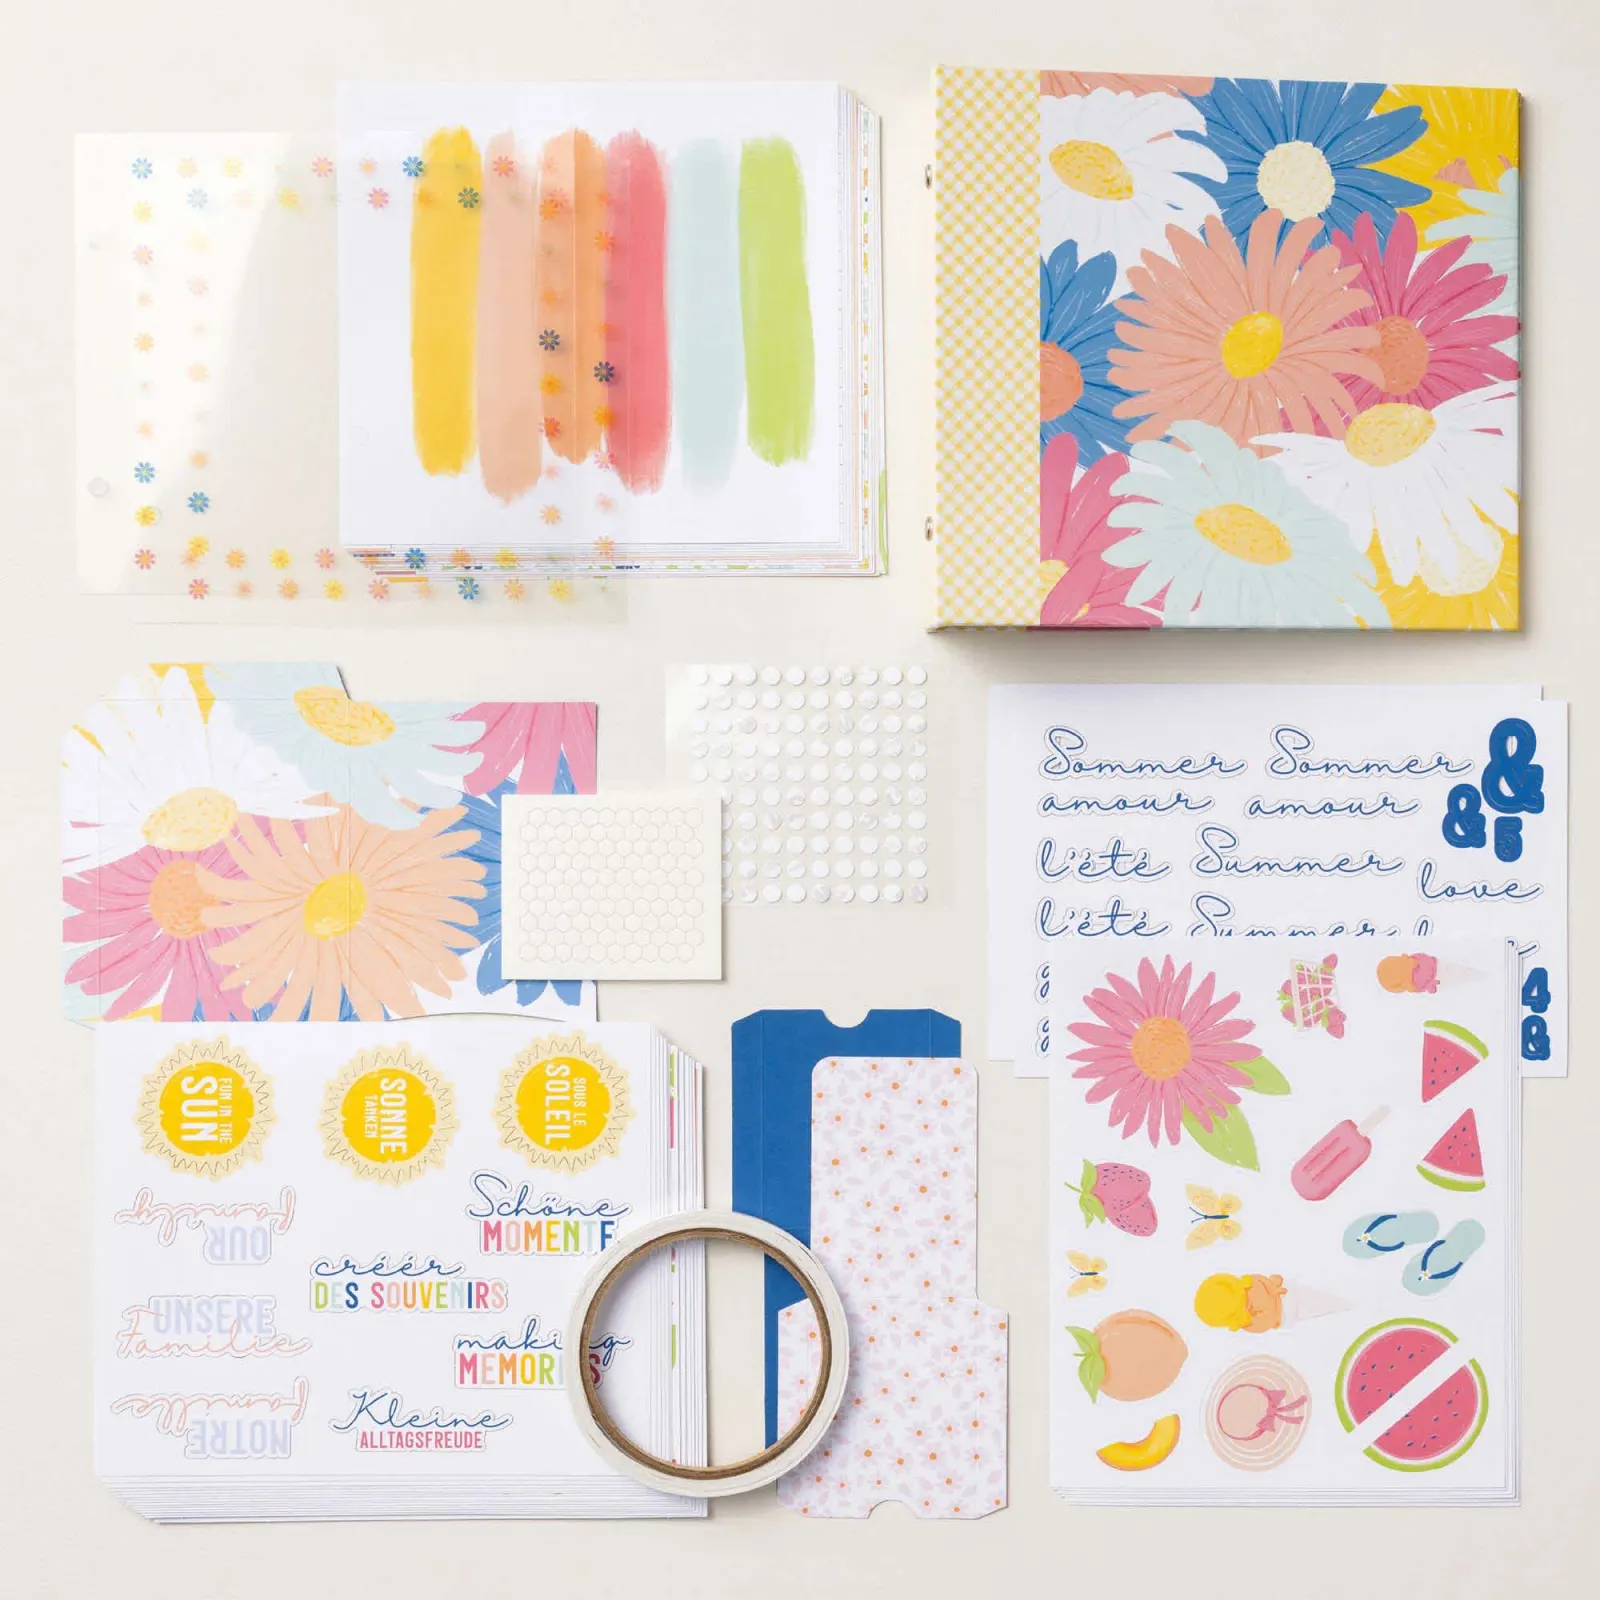
The other kit is a fun scrapbook album called Daisy Days:
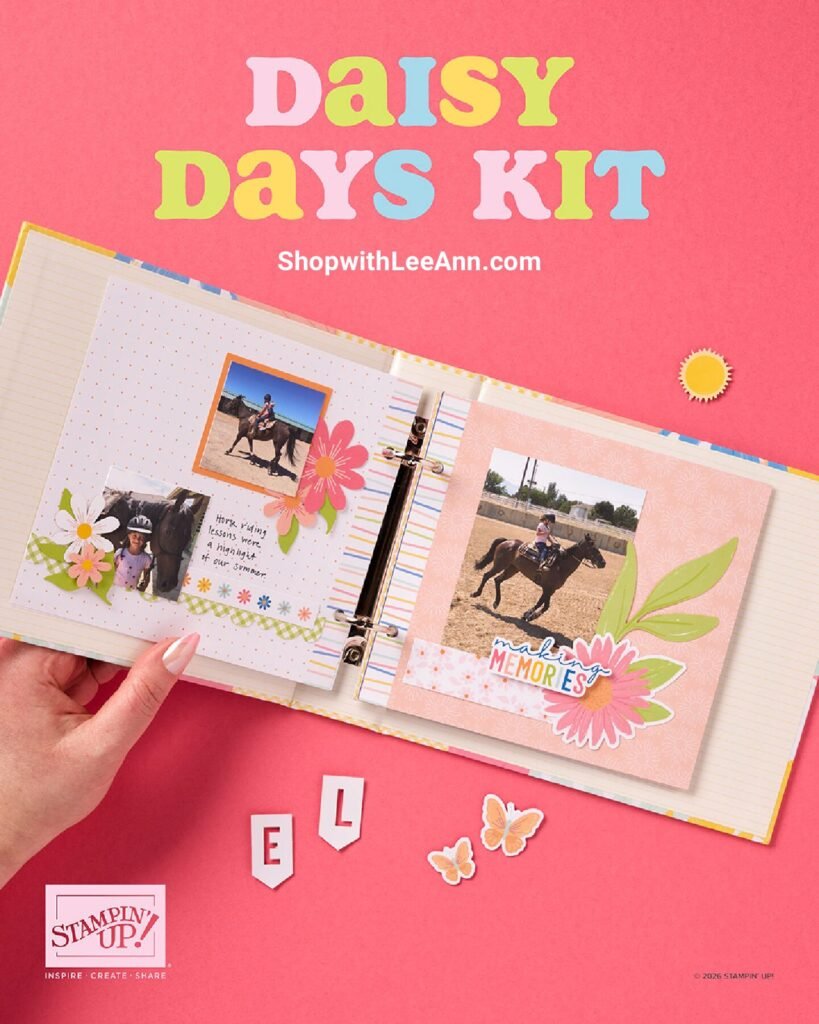
See it here. It includes the following:
DETAILS
– Makes 1 album with 28 pages
– Album size: 7-3/4″ x 7″ x 1-7/8″
– Page size: 6.5″ x 6″
– Colors: Blueberry Bushel, Crisp Cantaloupe, Crushed Curry, Granny Apple Green, Pool Party, Strawberry Slush, Timid Tiger
– Sentiments printed in English, French, and German
– Step-by-step instructions
– Precut images and sentiments
– Printed pockets
– Acetate sheets
– Adhesive
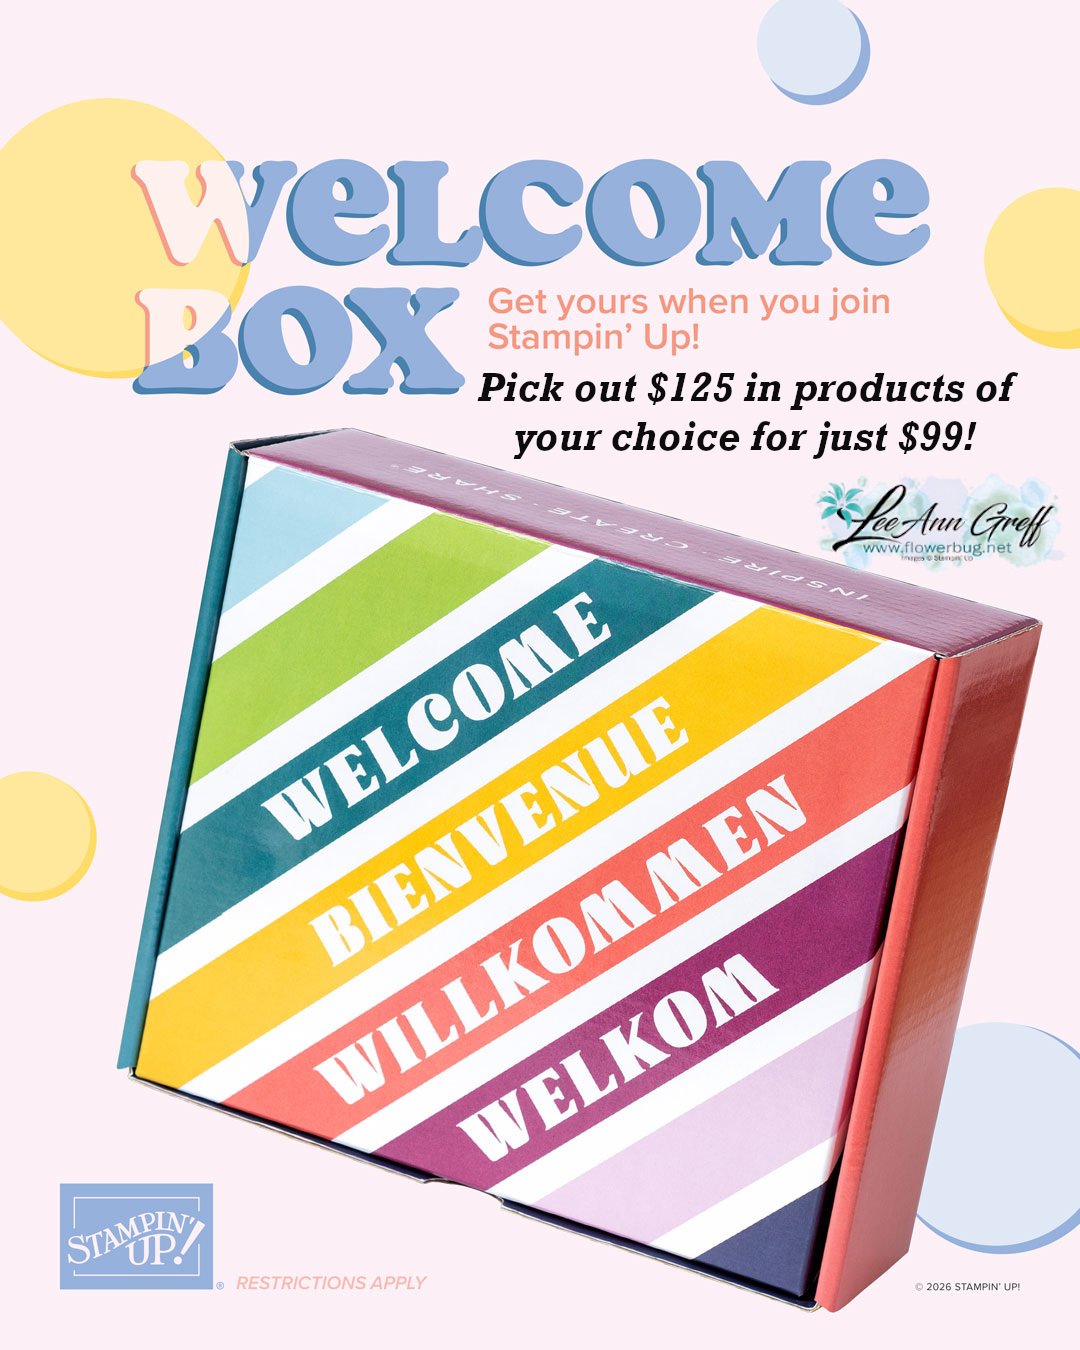
And lastly is the new Welcome box!
This is super exciting news! All first-time demonstrators (beginning July 1, 2026) will receive a surprise Welcome Box—a gesture of appreciation and a warm welcome into the global Stampin’ Up! creative community.
Here is a video that shows what’s inside. But here are the details:
What’s Inside the Welcome Box
- A handwritten welcome letter from Sara
- Stampin’ Up!-branded swag:
- Pen
- Pop-up pencil case
- Pop-up waste basket
- An exclusive card kit including:
- Kit-sized stamp set
- Full-size clear block
- Classic Stampin’ Spot
- Supplies to create eight “hello” cards
Here’s the link to join my Team; it’s just $99 and you can choose up to $125 in products of your choice!
Important Notes
- The Welcome Box is exclusive to first-time demonstrators. Beginning July 1, 2026, anyone joining for the first time will receive a Welcome Box.
- Current demonstrators have a one-time opportunity to order a Welcome Box after it launches. See below for details.
- Rejoining demonstrators will receive all other joining perks (including the coupon code) but not a Welcome Box.


Leave a Reply