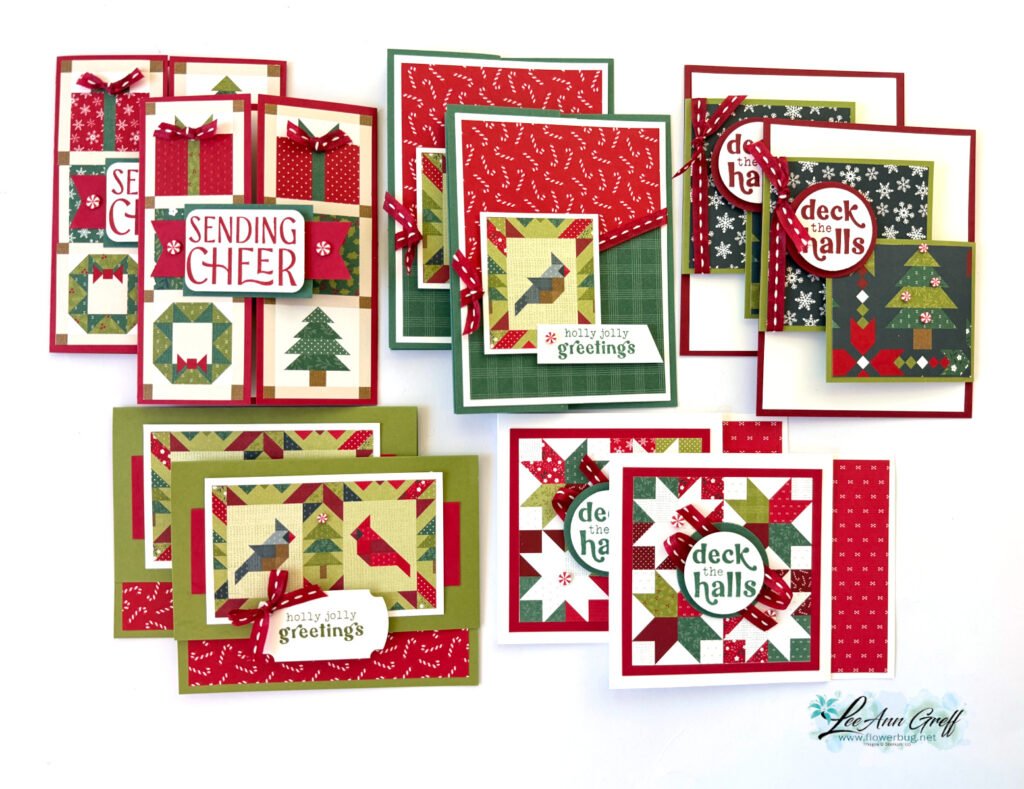
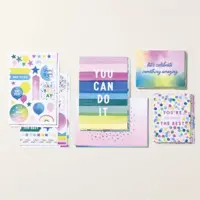
A Stitched Season card kit or tutorial. Get started now on your holiday cards!
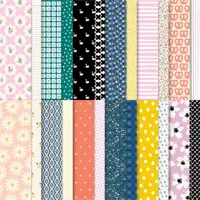
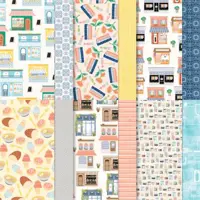
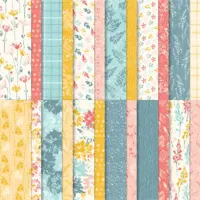
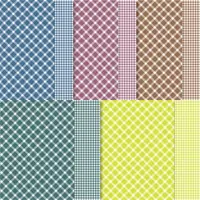
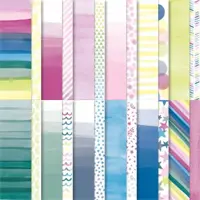
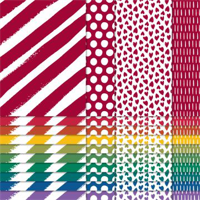
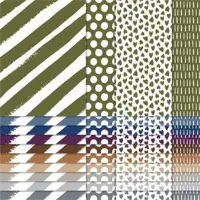
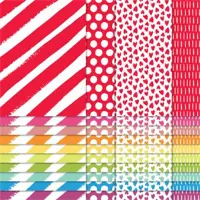
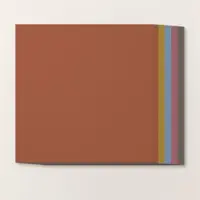
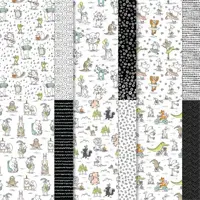
I had to feature this colorful, quilt themed Designer Paper for a card kit. It’s just plain fun and includes many great patterns!
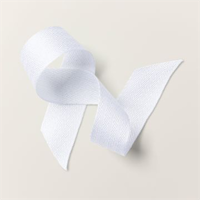
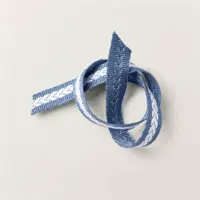
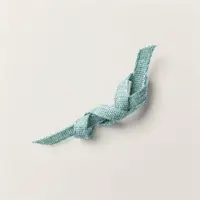
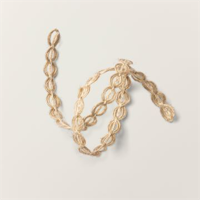
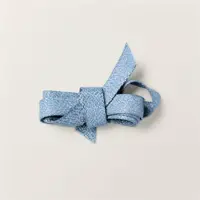
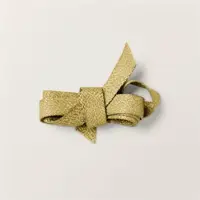
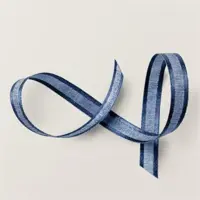
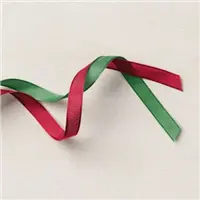
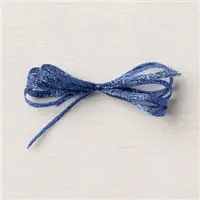
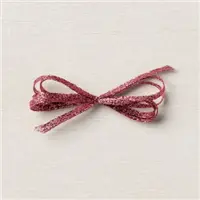
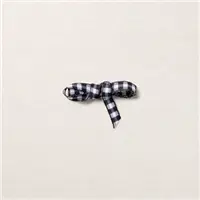
These cards are all fun fold layouts and make the most of this adorable paper. You’ll love the fun layouts and the Peppermint gems and stitched Red ribbon included in the kit.
The kit to go includes approximately $20 in Stampin’ Up! product plus the PDF tutorial for all 10 cards. The tutorial includes photos, measurements, a supplies list and step by step directions.
Click here to get the pre-cut kit to go with product & tutorial. It’s $33.
Click here to get the PDF tutorial only for $17. The PDF tutorial will be sent to you immediately in an email. The kit to go will be mailed out in mid August.
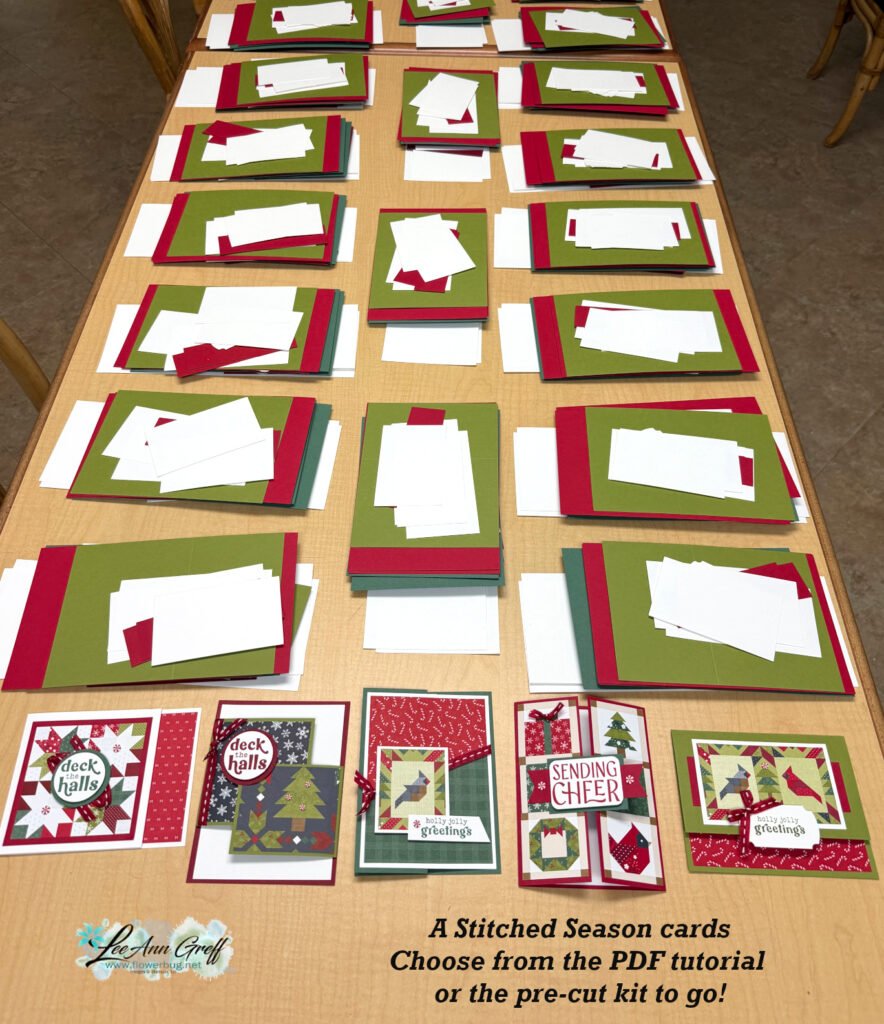
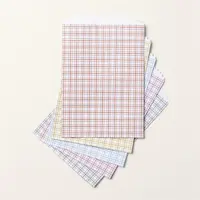
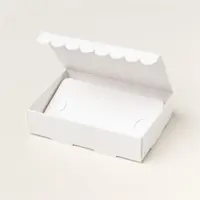
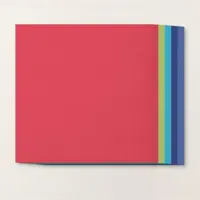
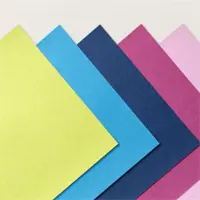
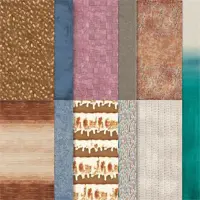
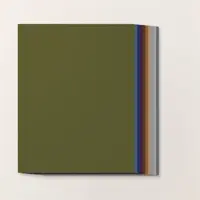
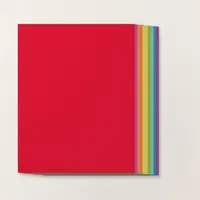
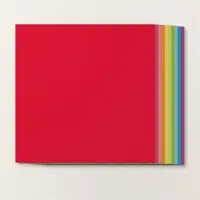
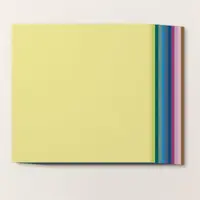
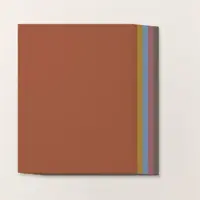
Here’s a peek at my pre-cut layers before packaging:
Remember that you can save $$ by ordering more than one kit; I can combine shipping! See the kits here or choose the tutorial option to see those.
All Posts
Last day of the Seasonal Stock up Sale! Meandering Meadows surprise Accordion card with free project sheet & video
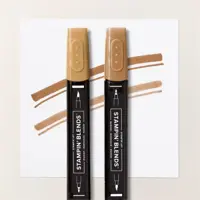
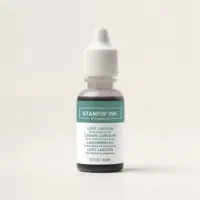
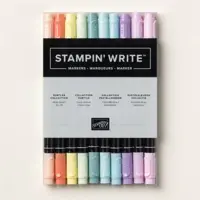
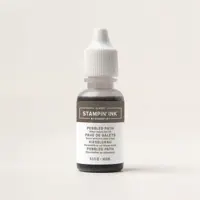
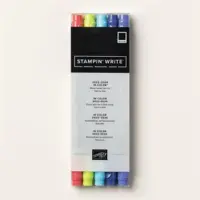
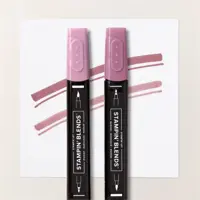
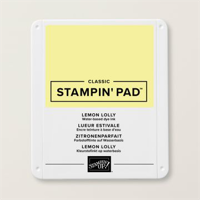
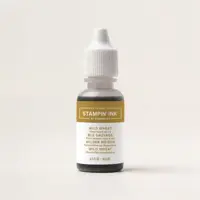
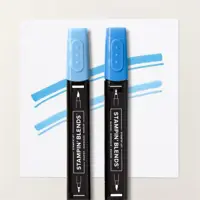
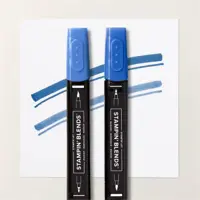
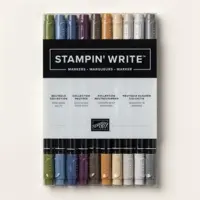
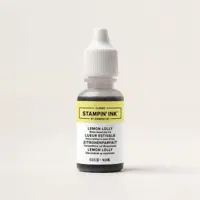
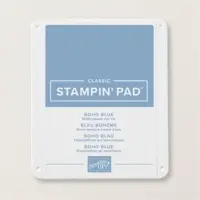
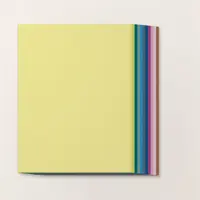
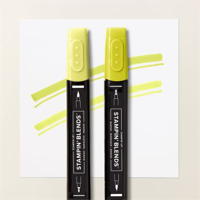
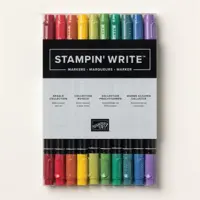
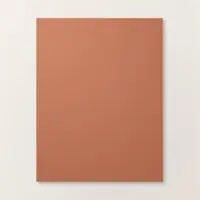
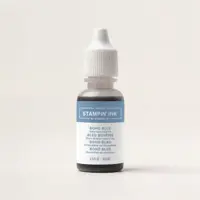
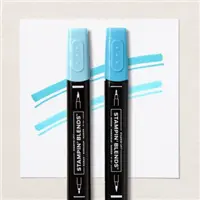
Today is the last day of the Seasonal 'Stock up' Sale. I sure appreciate getting a discount on consumable items like card stock, ink refills and markers!
~~~
The Meandering Meadows designer paper is gorgeous with it's water-colored scenes. I shared three card ideas on last week's live video.
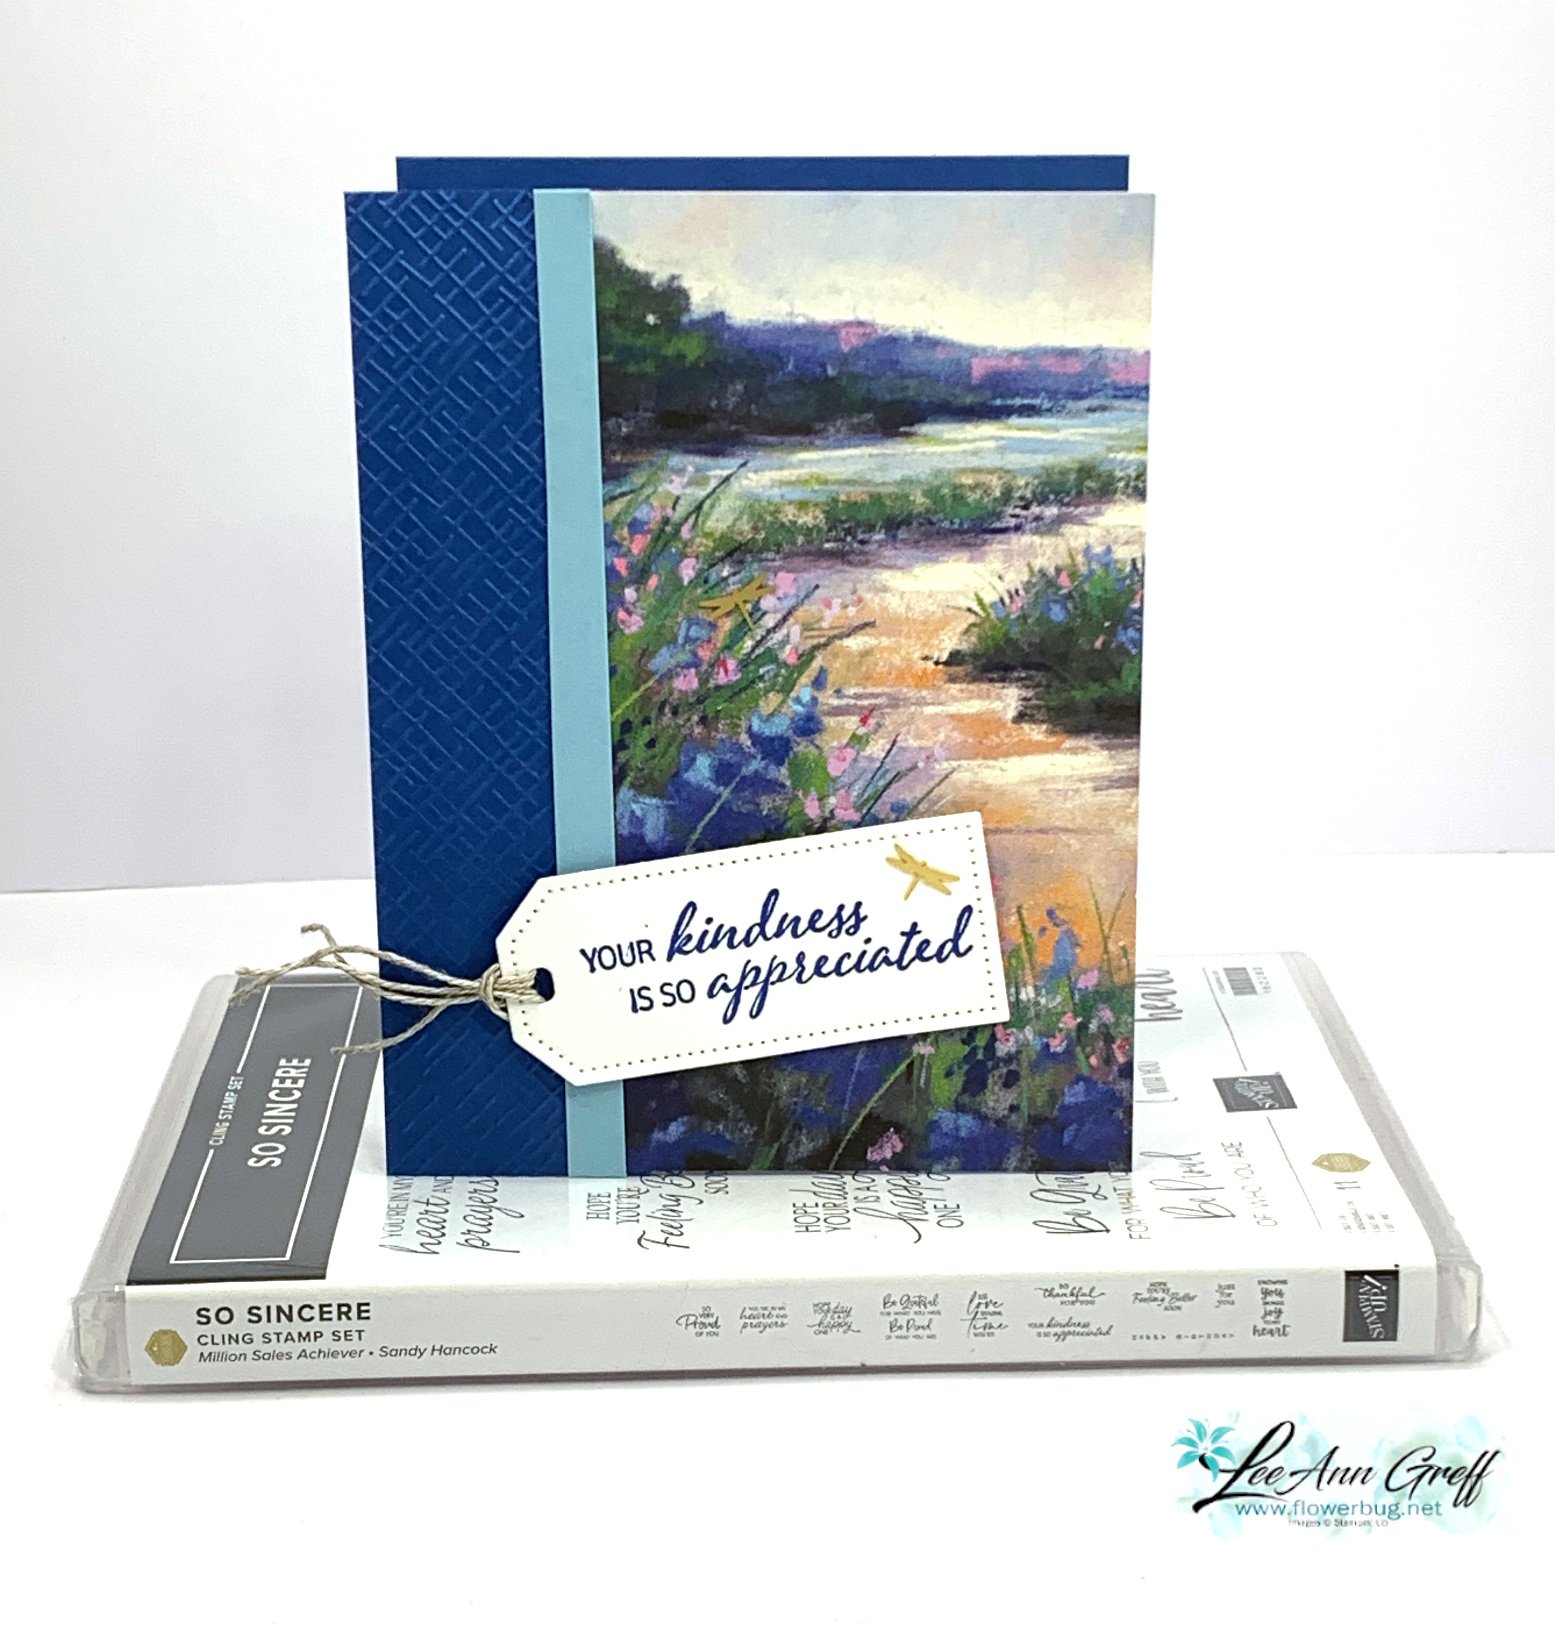
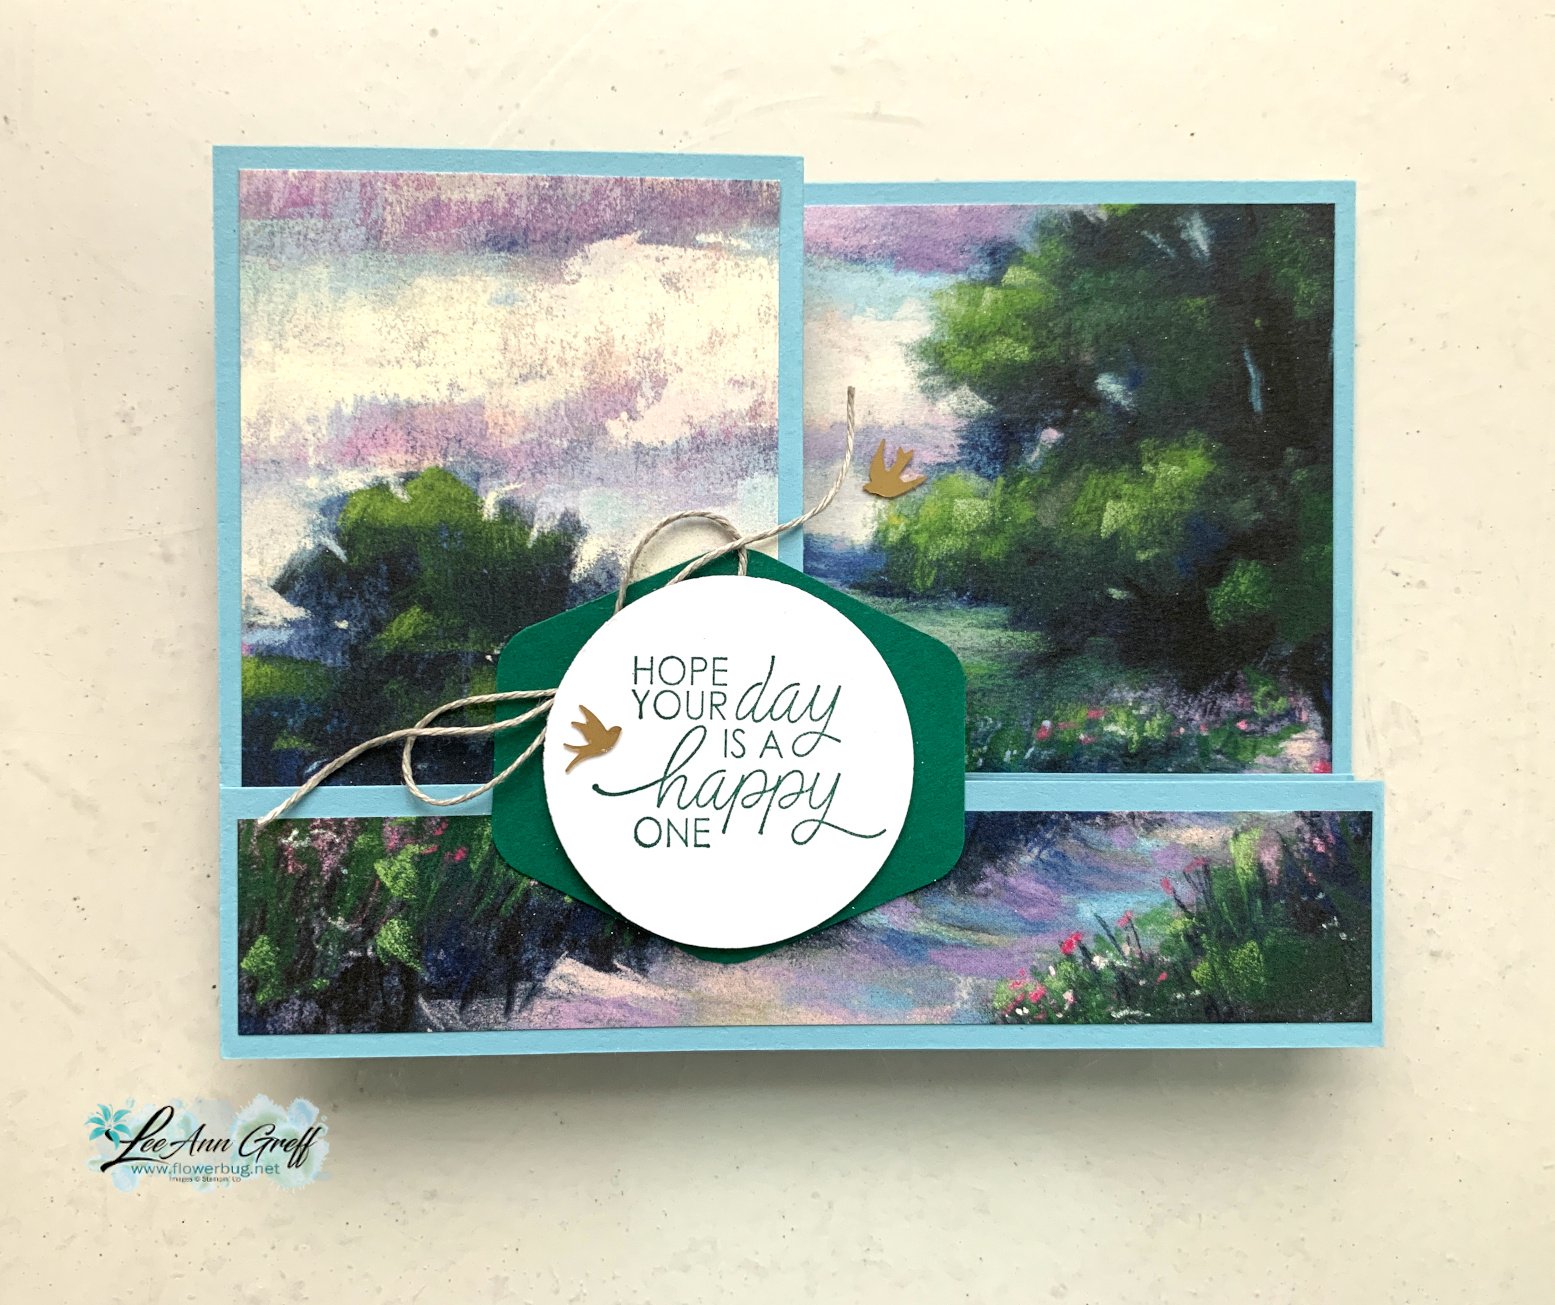
This one is actually a fun fold card. It sure doesn't look like it though!
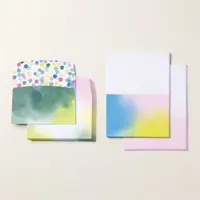
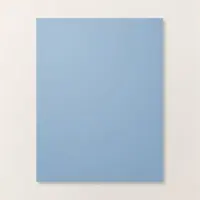
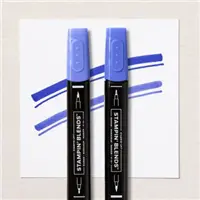
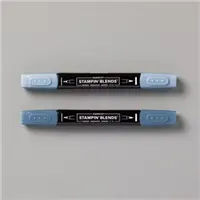
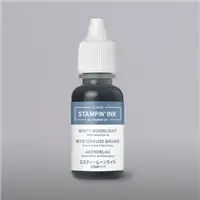
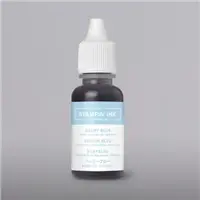
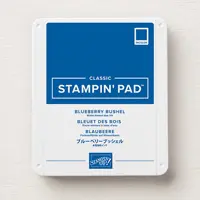
I used a wide strip of Blueberry Bushel and a narrow strip of Balmy Blue on the front. The designer paper is actually most of the front of this card. Here's the inside view:
See how the back of the front layer of designer paper is revealed here? There is a full 11" X 4 1/4" piece of accordion folded card stock between the front and back layers. It's a very cool design that's also easy to make.
I really like how it shows both sides of our double-sided designer series paper. It also gives you lots of layers to stamp or decorate. I kept mine quite simple.
I used my favorite greeting set in the 2023 Holiday catalog; So Sincere. See it here. It's a gem! The tag die-cut is from the Tailor Made Tags seen here.
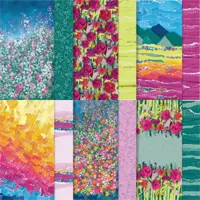
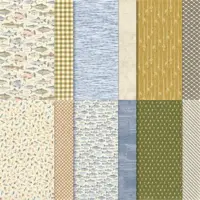
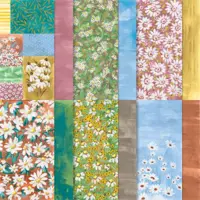
You can see a glimpse of each sheet in the photo below. It's 6 X 6" in size and filled with watercolor scenes. This type of designer paper allows you to let the pretty scenes do the work for you. Click here to see it.
You can see the video tutorial for this card and two more below and if you click here.
3 day Sale starts today!! Double Z-fold card with Meandering Meadow; free project sheet & video!
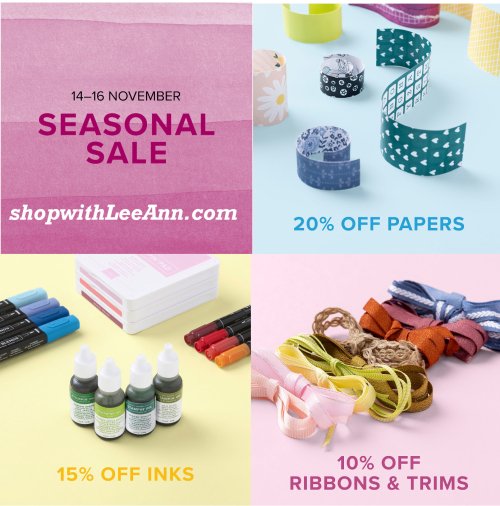
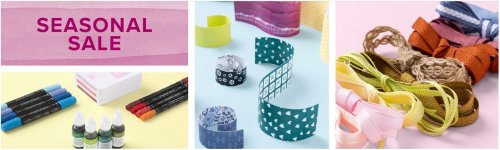
The Seasonal Sale started today! It includes the itemsfrom the Annual 2023 listed below:
To see all the products go to the online store > Specials > Seasonal Sale
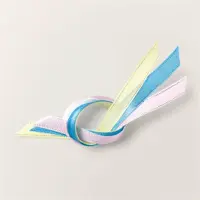
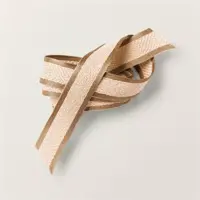
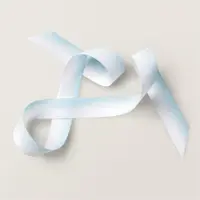
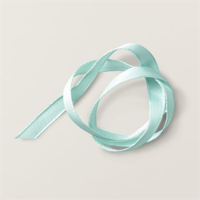
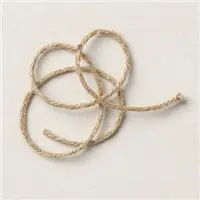
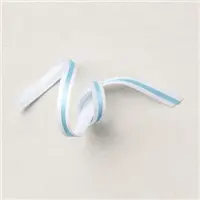
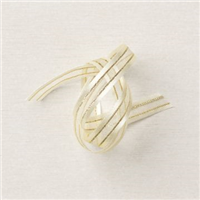
Ribbons & Trim
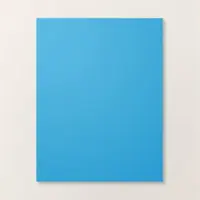
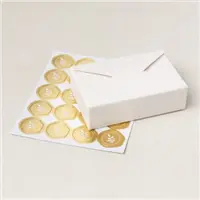
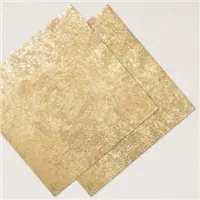
Paper: Cards and envelopes (including memories and more), Cardstock, Packaging, Patterned Paper, Specialty Paper, grid paper, masking paper watercolor paper
*This sale ends Thursday; you can expect some items to go to unavailability status so don't delay.
~~~
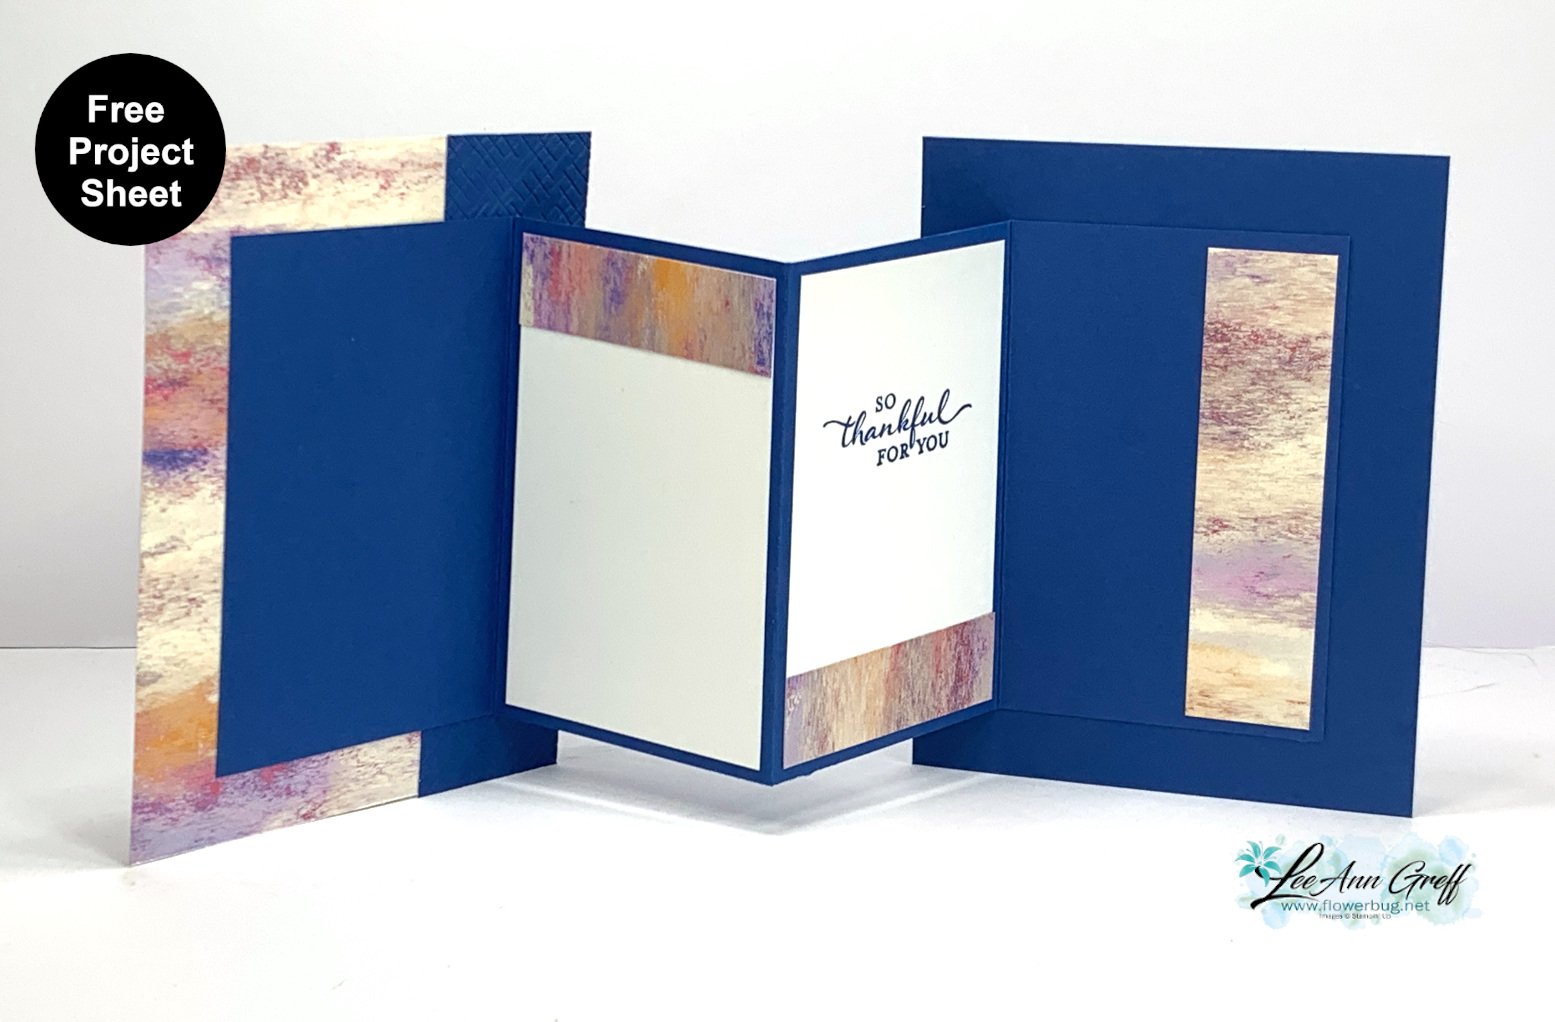
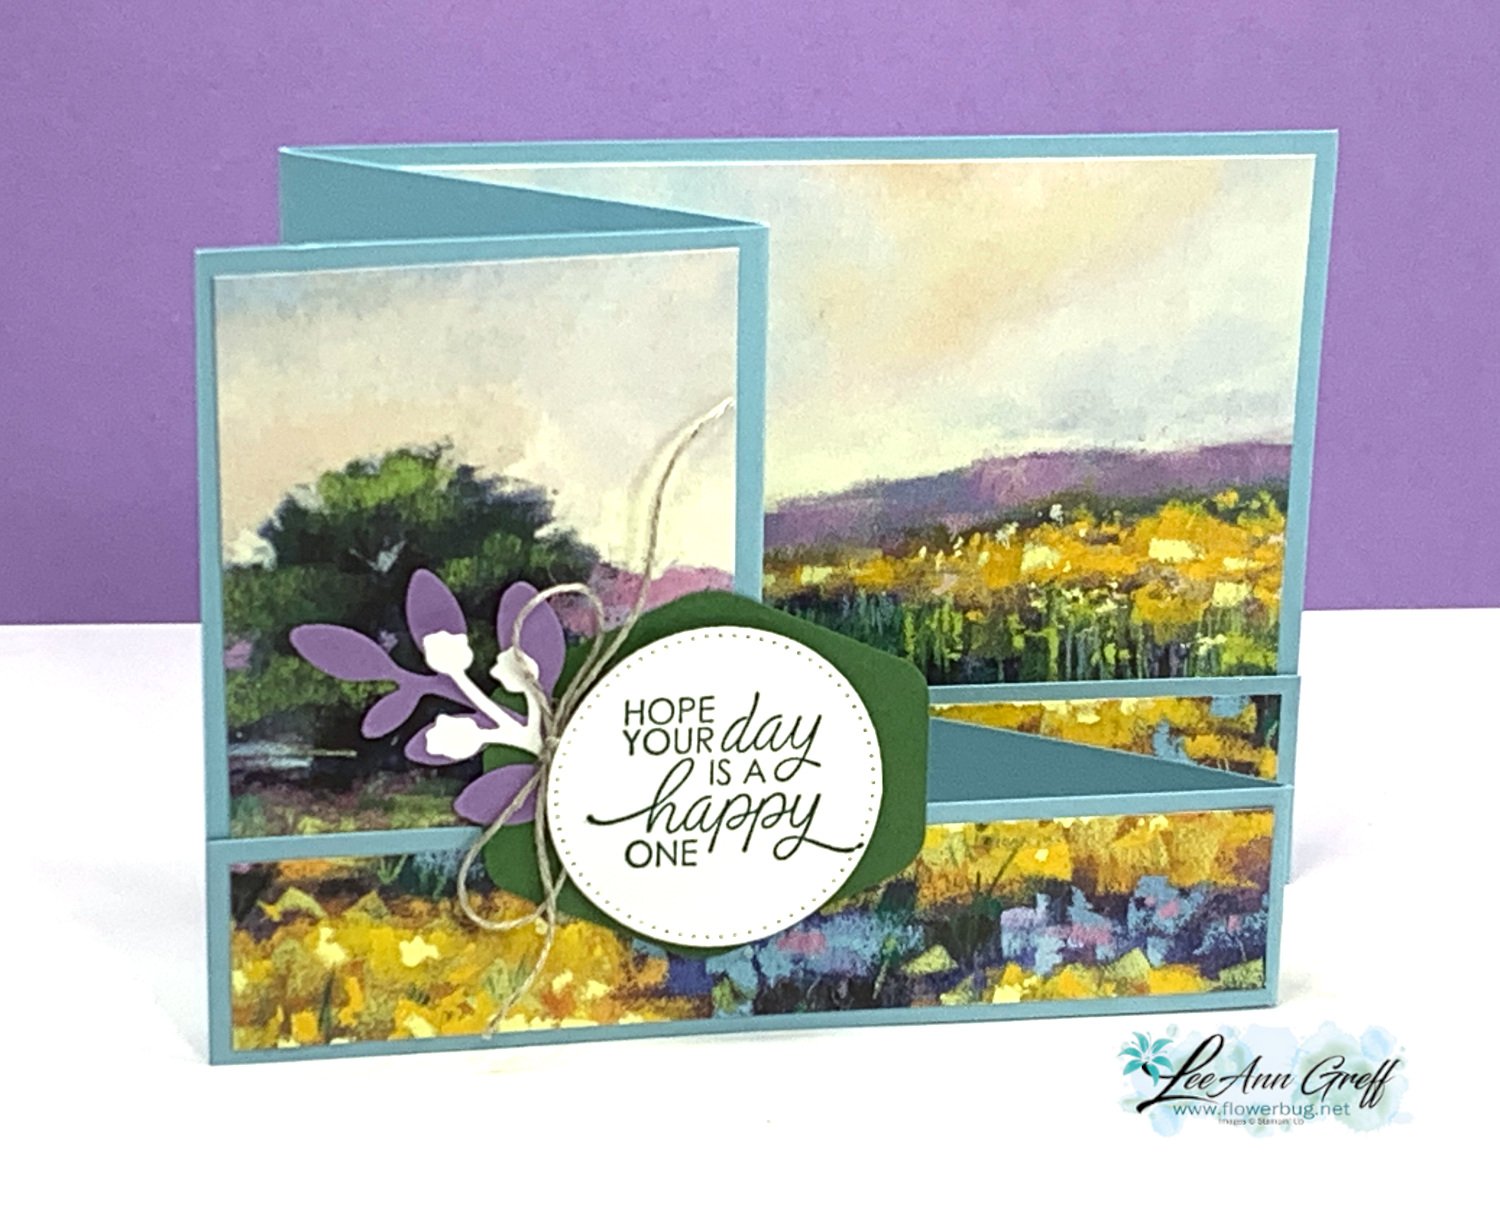
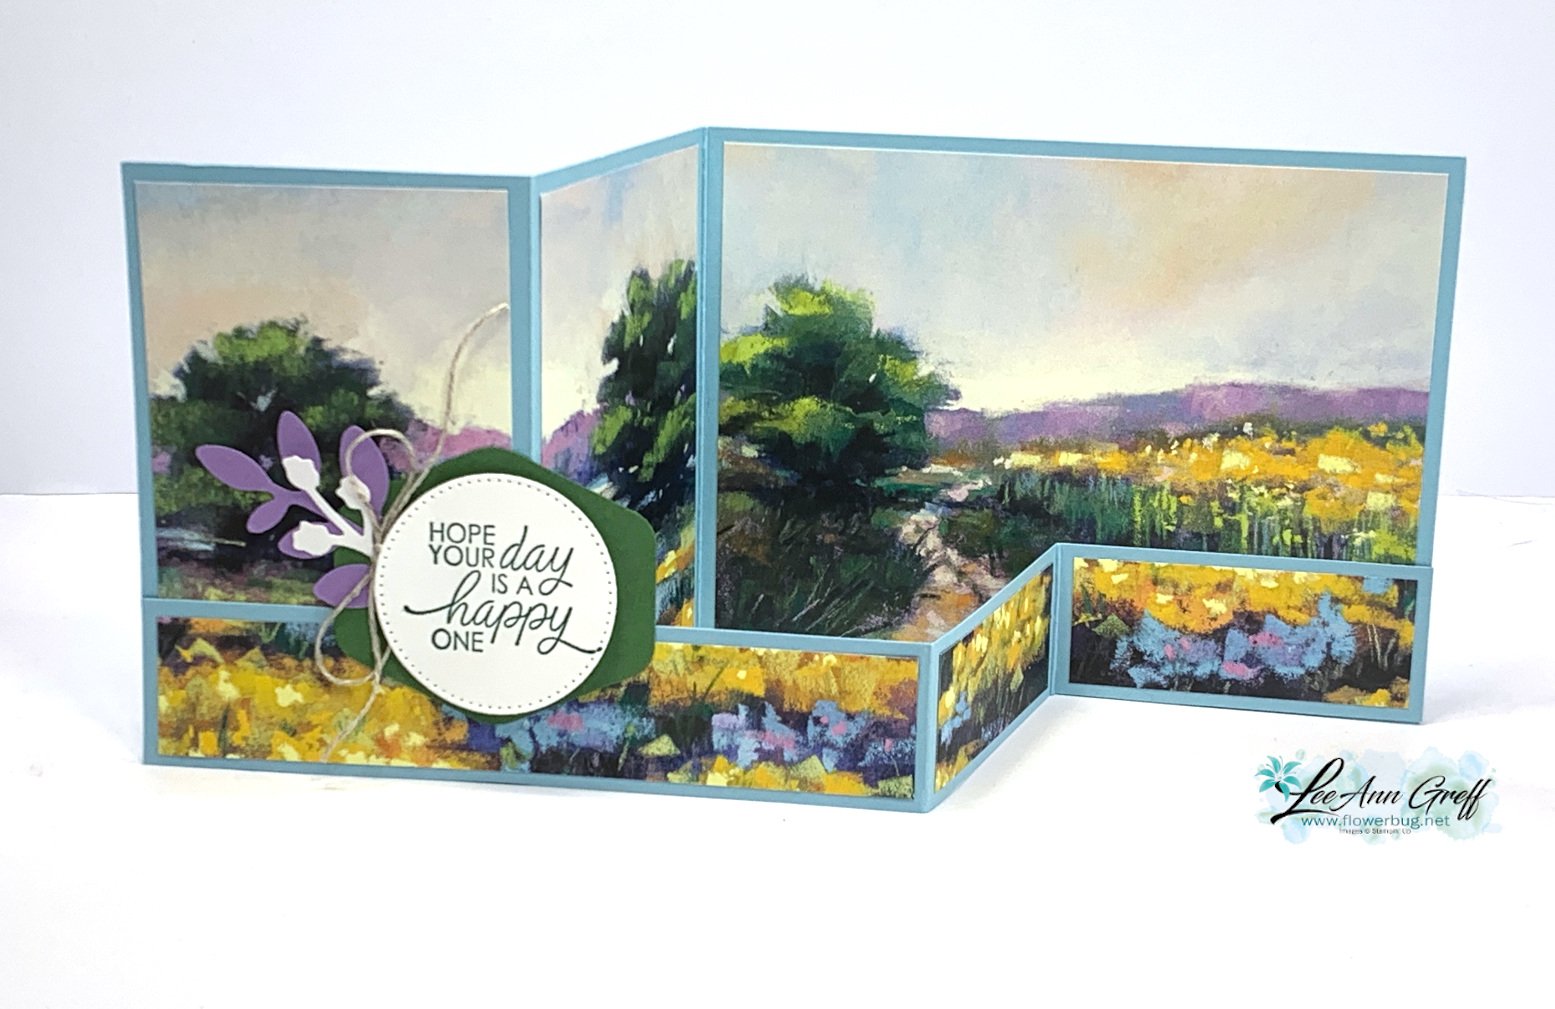
Have you ever made a double Z-fold card? They look difficult but honestly they are quite simple! I shared how in last week's video tutorial. I also have a free printable project sheet for you!
I featured the new Meandering Meadows 6" designer series paper from the Online Exclusives. It's stunning with 12 different watercolor scenes!
I love how the printed strip on the bottom has the colorful stream; it matches the DSP on the card perfectly! I sure do love this new paper! I will be featuring it in a December card kit to go. And these cards may be included!
At first I was going to leave it quite simple on the left front, then I thought of the Bough punch and tried that. I liked it so I added it to both cards which you can see below.
*Click here to download or print the free project sheet for these cards.Download Meandering Meadows Z-fold card They include the measurements, supplies, step by step directions and photos.
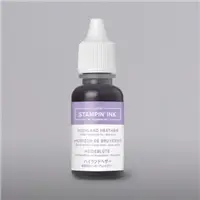
I used Balmy Blue for both card layers and added Garden Green and a bit of Highland Heather with the punches.
It's hard to tell but I used two different sheets of this pretty designer paper here. One for the left two panels and another for the large one on the right. Then I was able to trim the bottom DSP layer off and use it for the 1" strips on the bottom layers. A perfect match!
You can see a glimpse of each sheet in the photo below. It's 6 X 6" in size and filled with watercolor scenes. This type of designer paper allows you to let the pretty scenes do the work for you. Click here to see it.
You can see the video tutorial for this card and two more below and if you click here.
Notice: LeeAnn Greff, Independent Stampin’ Up! Demonstrator, Manager. The content of this website is my sole responsibility as an independent Stampin’ Up! demonstrator and the use of, and content of, the classes, services, or products offered on this website is not endorsed by Stampin’ Up! Copyright 2025




















































Leave a Reply