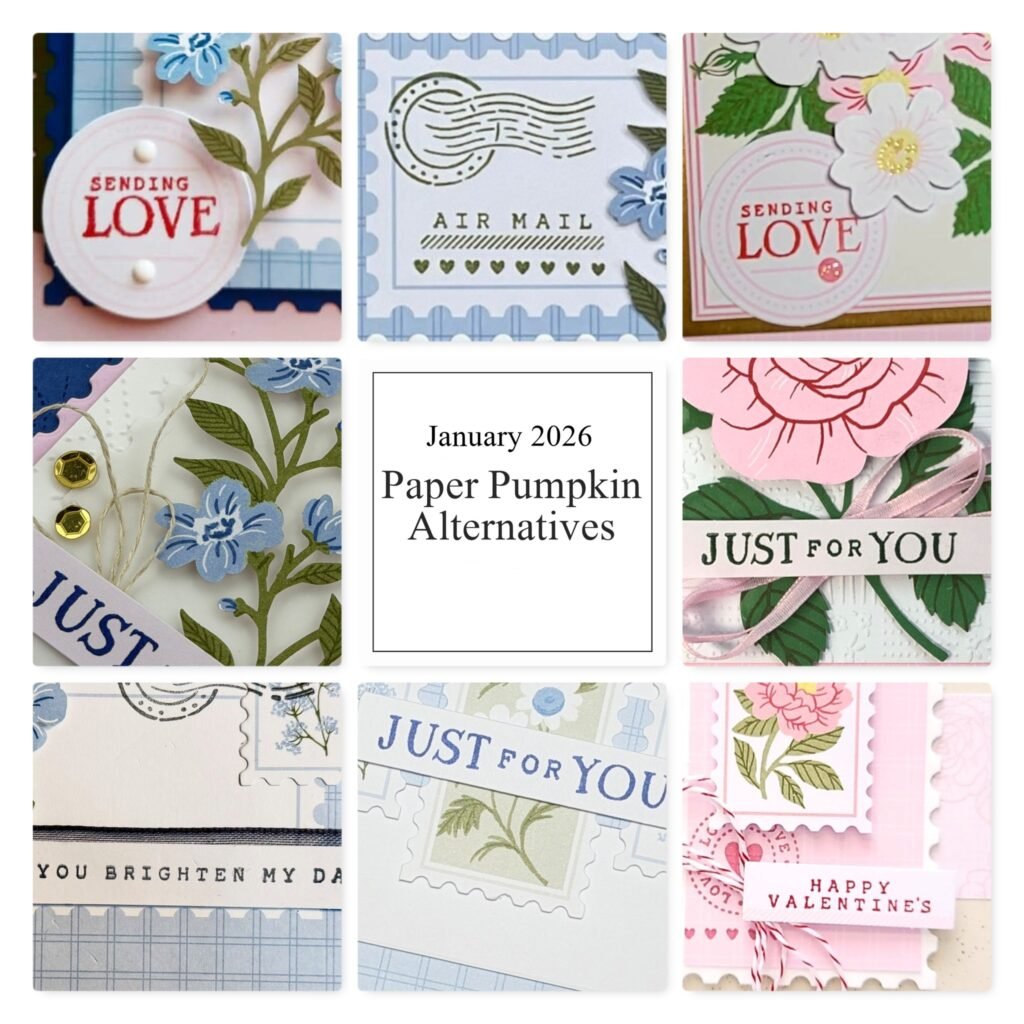
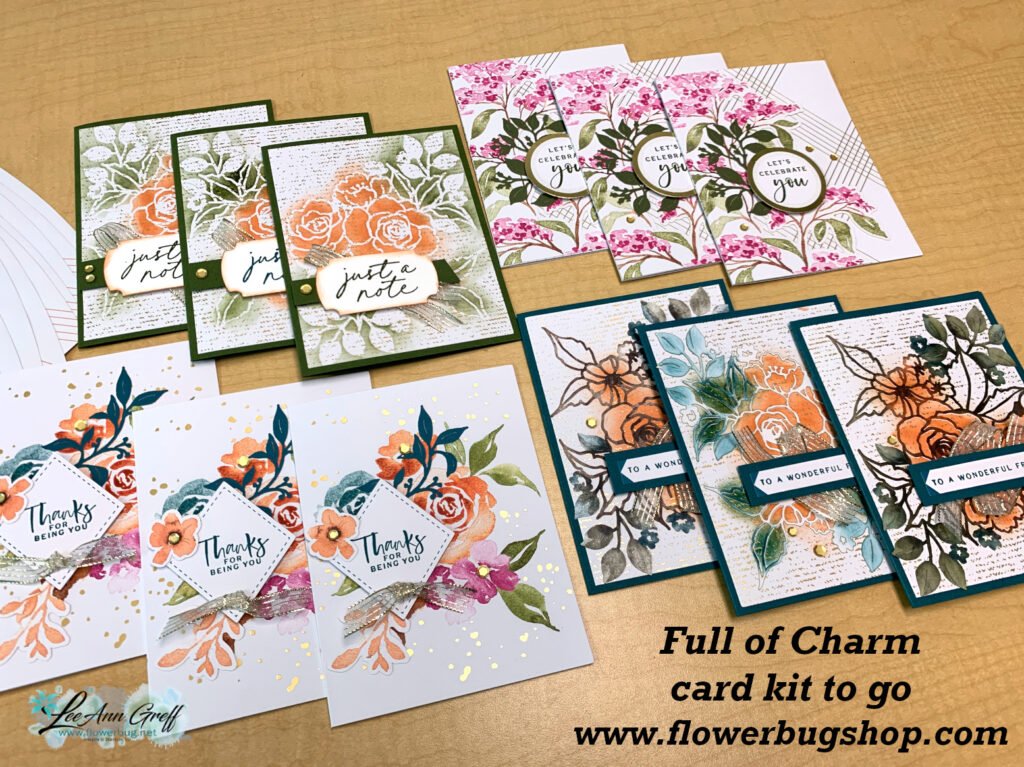
I had to feature this colorful, quilt themed Designer Paper for a card kit. It’s just plain fun and includes many great patterns!
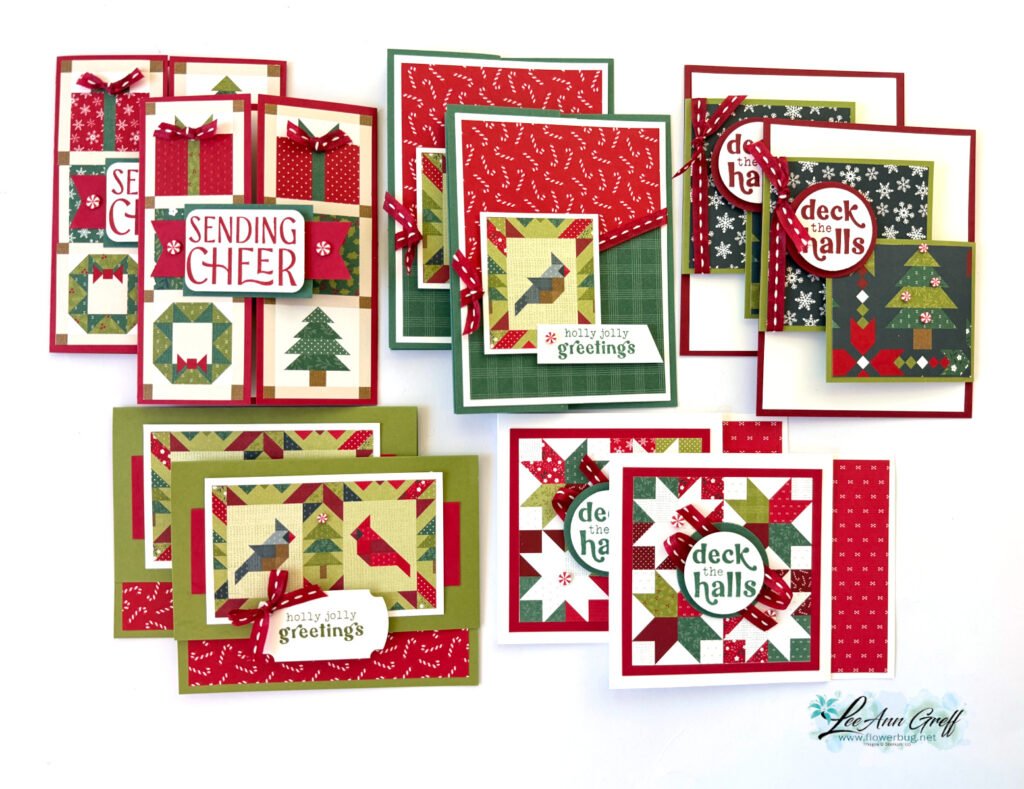
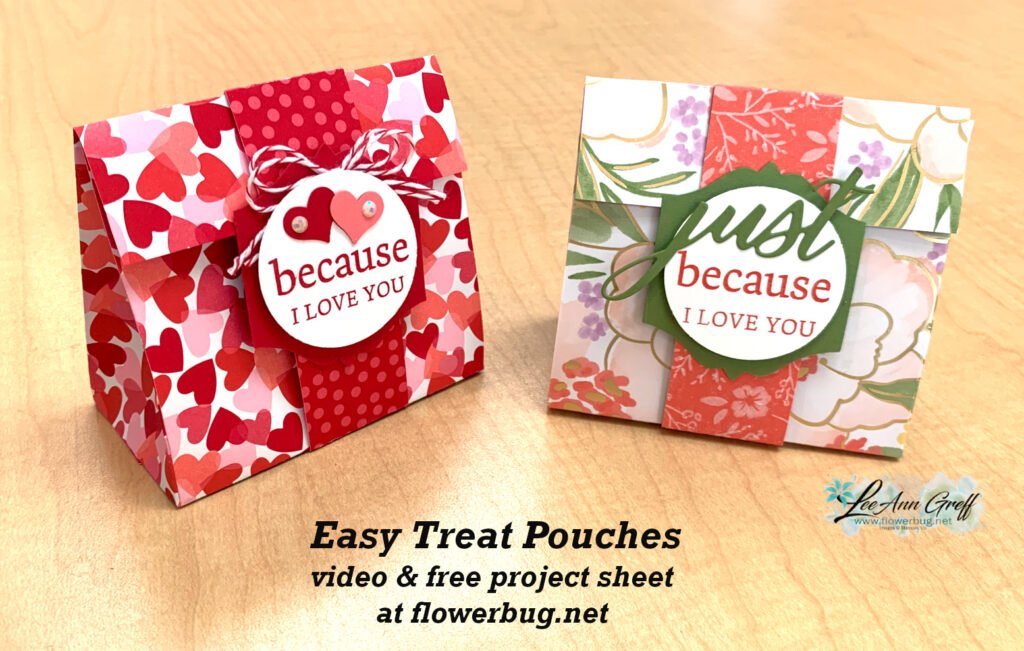
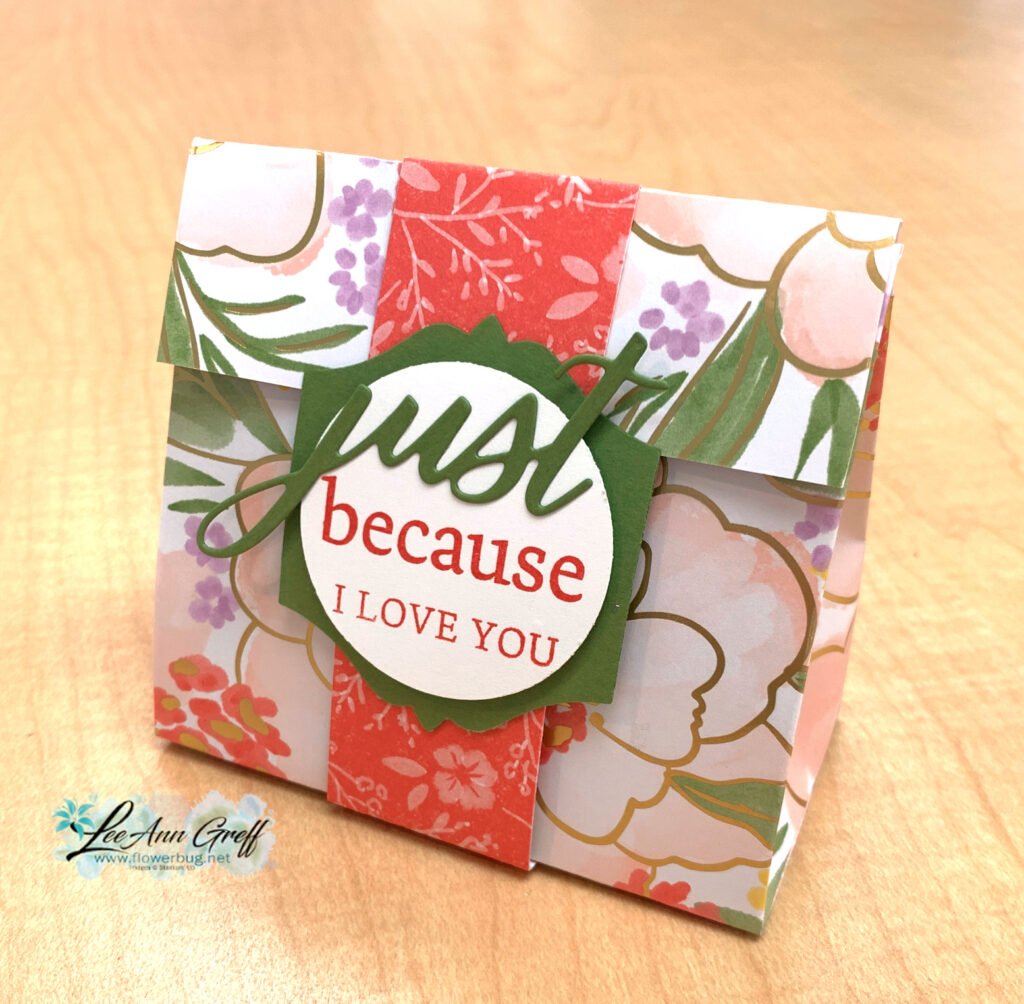
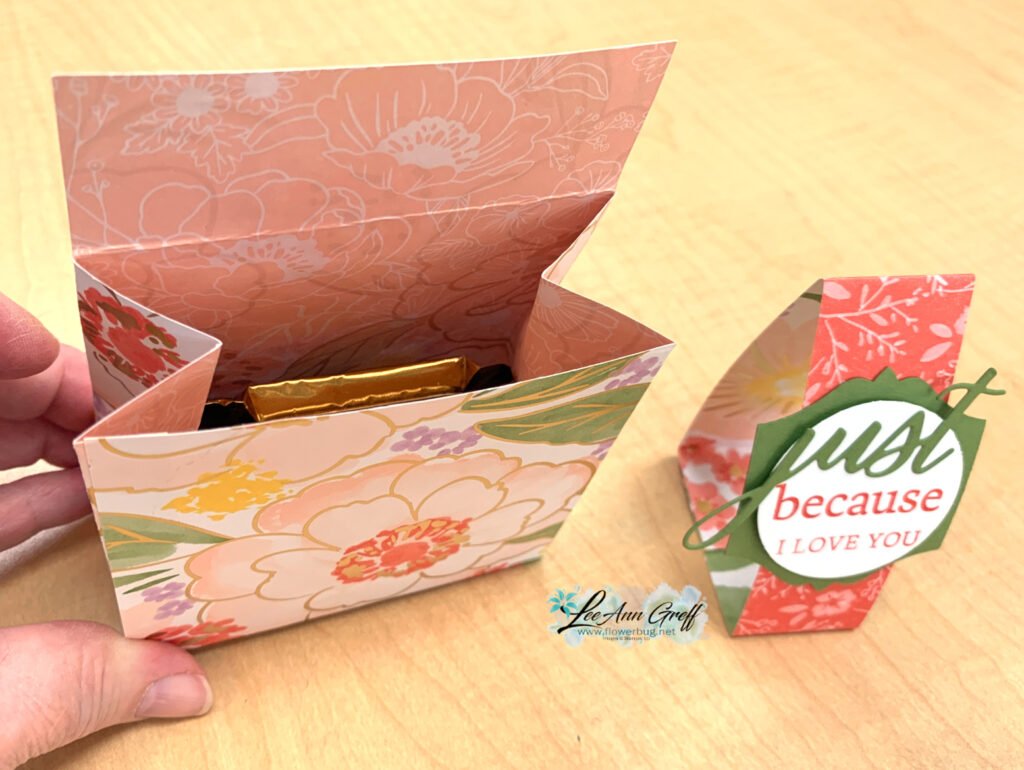
These cards are all fun fold layouts and make the most of this adorable paper. You’ll love the fun layouts and the Peppermint gems and stitched Red ribbon included in the kit.
The kit to go includes approximately $20 in Stampin’ Up! product plus the PDF tutorial for all 10 cards. The tutorial includes photos, measurements, a supplies list and step by step directions.
Click here to get the pre-cut kit to go with product & tutorial. It’s $33.
Click here to get the PDF tutorial only for $17. The PDF tutorial will be sent to you immediately in an email. The kit to go will be mailed out in mid August.
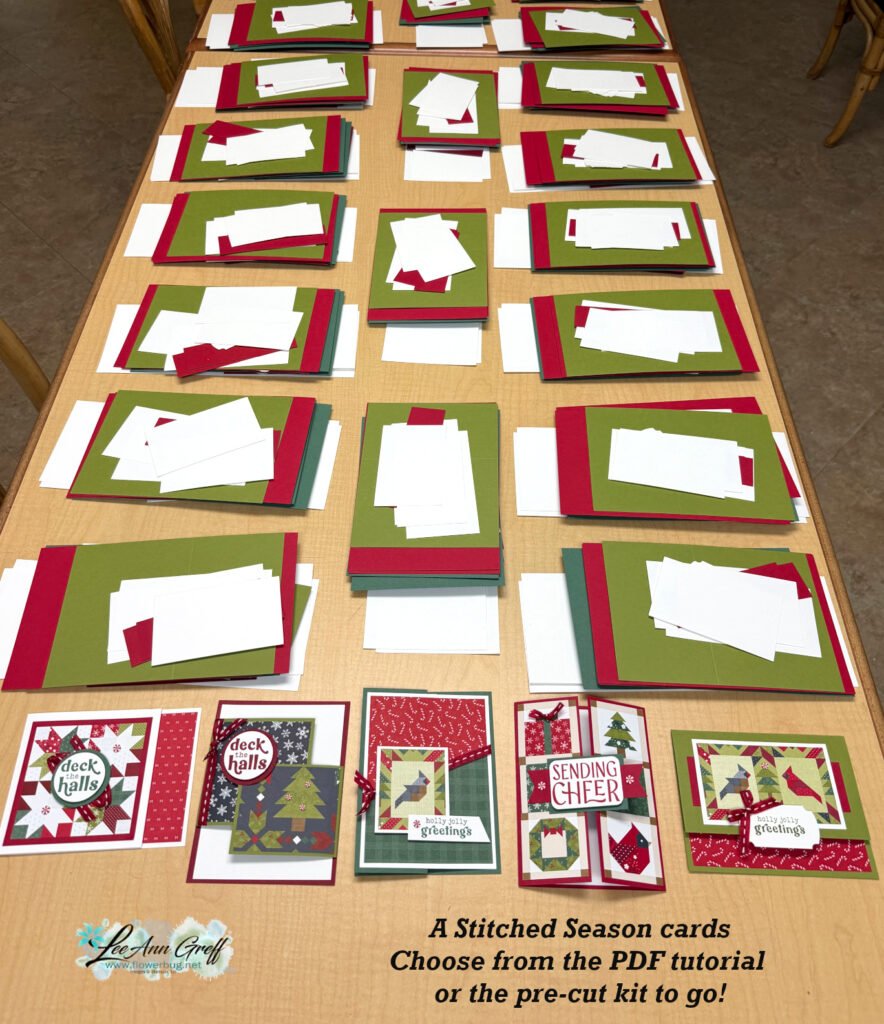
Here’s a peek at my pre-cut layers before packaging:
Remember that you can save $$ by ordering more than one kit; I can combine shipping! See the kits here or choose the tutorial option to see those.


Leave a Reply