/


Latest Post

Get multiple cards from one sheet of Designer Paper! Video & free project sheet too.


I shared these beautiful cards on a Live video a few weeks ago. I wanted to make the most of one of my favorite sheets of the Valley in Bloom designer series paper. It’s discounted through August!
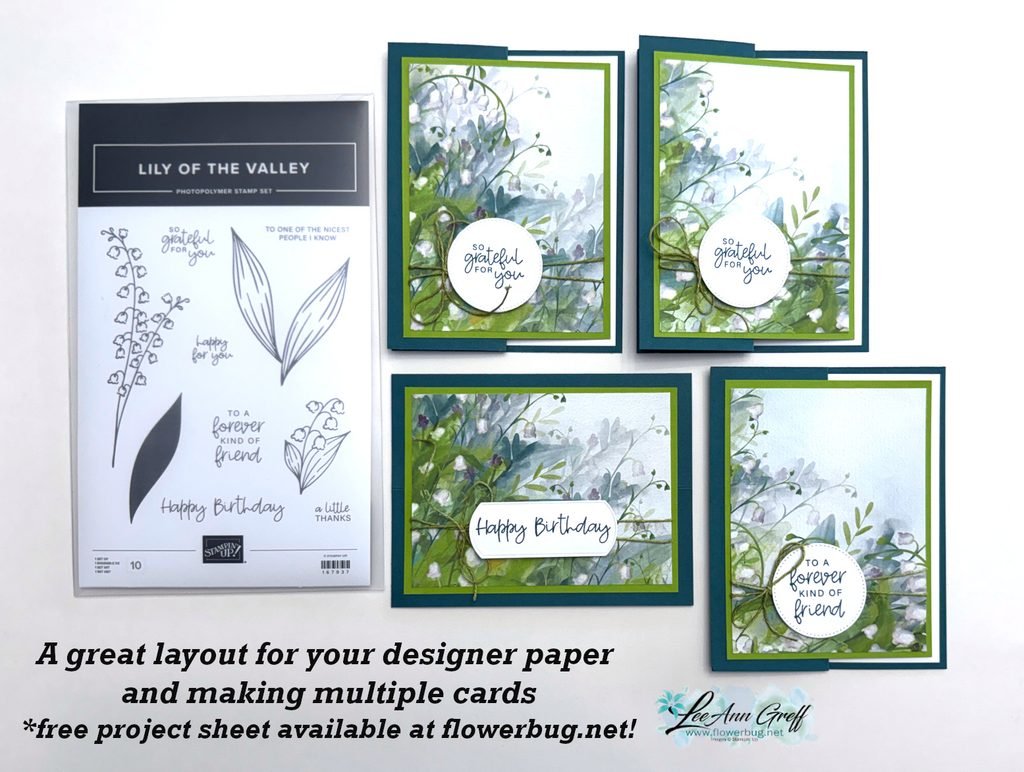
You can get more cards than I show above but I mistakenly cut in the wrong place and missed out on more. This pack of Valley in Bloom DSP has many beautiful sheets in it. Get some while it’s on sale.
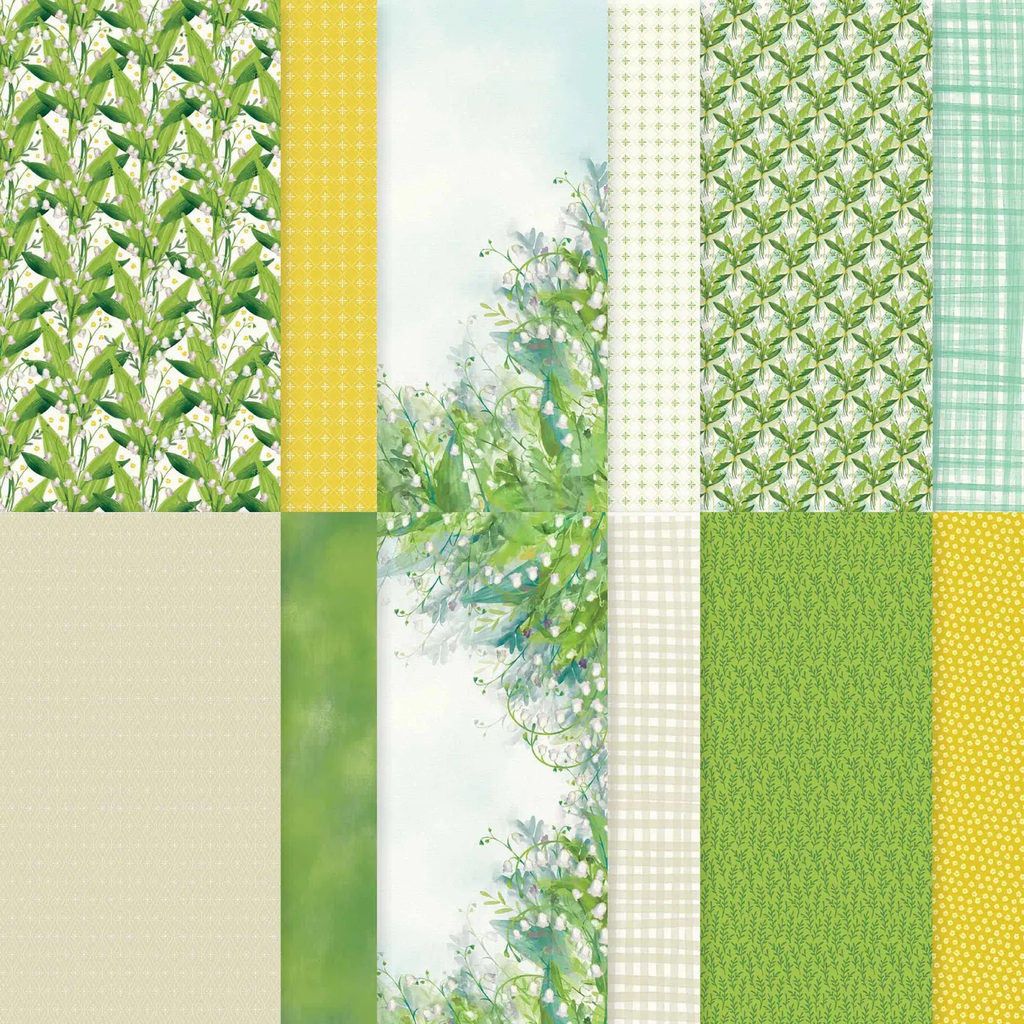
I recommend cutting the 12 X 12″ sheet into 6 pieces at 3 1/2″ X 4 3/4″. The two center pieces won’t have as much greenery on them but you could change the layout up a bit to reflect that.

My colors include Pretty Peacock with Old Olive & White. I used a variety of punches for my greetings; mostly from my stash of White elements.
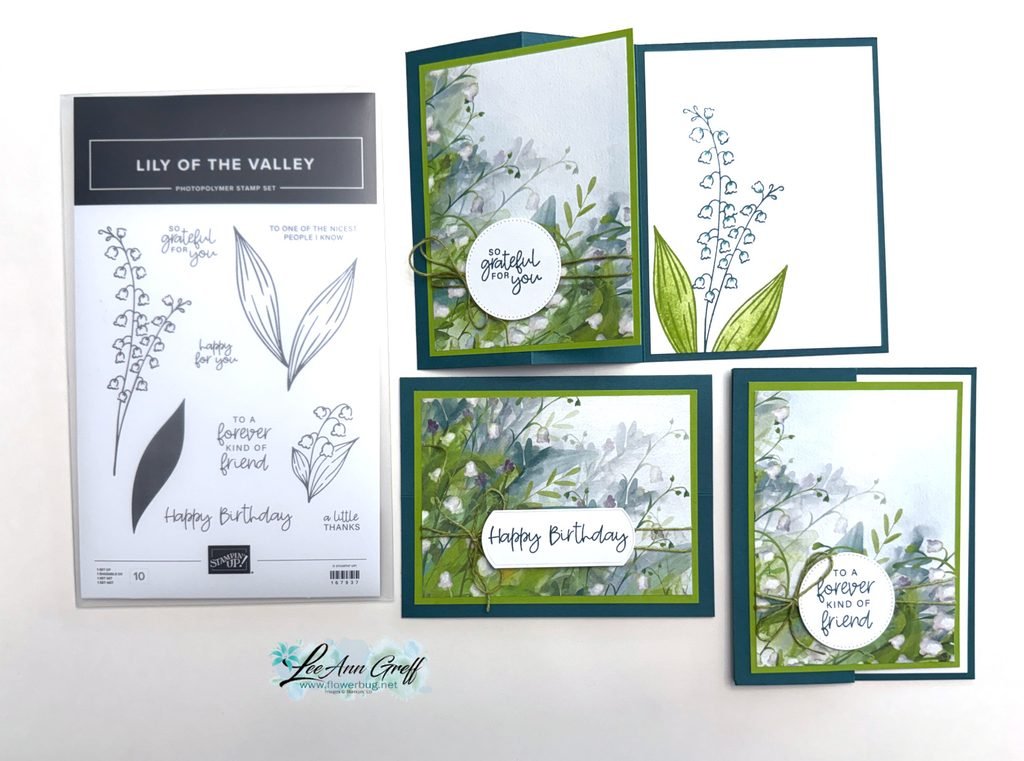
The card bases are 8 1/2″ X 5 1/2″ scored at 2 1/8″ & 4 1/4″. I made sure the Olive layer was small enough that the White inside piece shows as an inside layer. You can see the free project sheet with measurements, photos and supplies when you click here.

I stamped the inside of the cards with the Lily of the Valley stamp set and colored the flowers in with a Blender pen. I love this bundle so much. You can see it here.

You can see the video for this card and one more below. Don’t forget to subscribe to my YouTube channel!

August Specials

Don’t miss out on the Designer Paper & Cardstock sale! Click here to shop and save.

All Posts

  • I’ve got more ideas yet! Botanical Layers bundle cards with video


    I challenged myself to use each pattern of the vellum included in the Lovely Layers vellum.  You can see it here; you get 60 sheets in the pack!  It includes 4 different prints and many sheets of plain vellum too. 

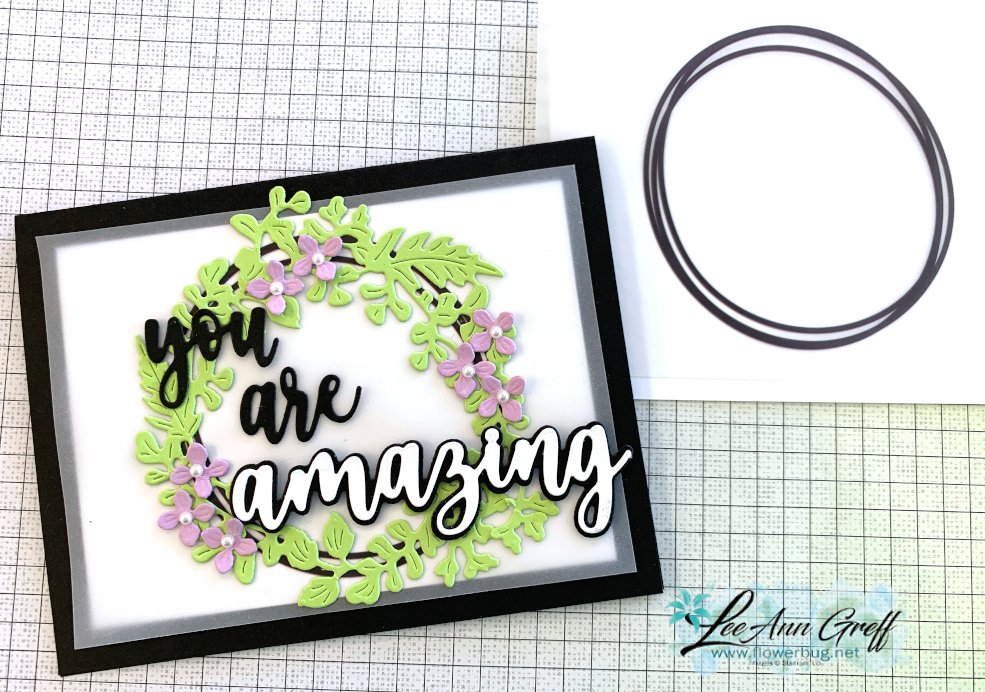
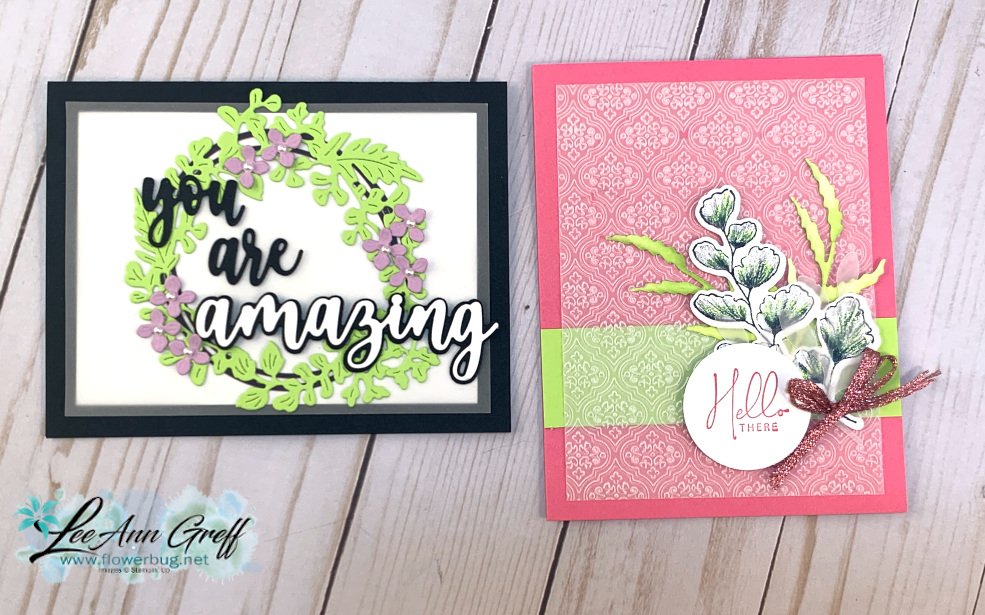
    This first card has a printed circle on it.  The easy solution was to add a die-cut wreath.  I used three sets of dies here; the Natural Prints, Amazing Thanks & Hydrangea dies.

    Botanical Layers vellum wreath.

    My colors are Parakeet Party, Fresh Freesia, Black & White.  The vellum in the kit is 1/4" larger than the 4 3/4" X 3 1/2" white layer. 
    Botanical Layers vellum wreath.

    Remember that it helps to place a White layer under your vellum to see it's true color.  

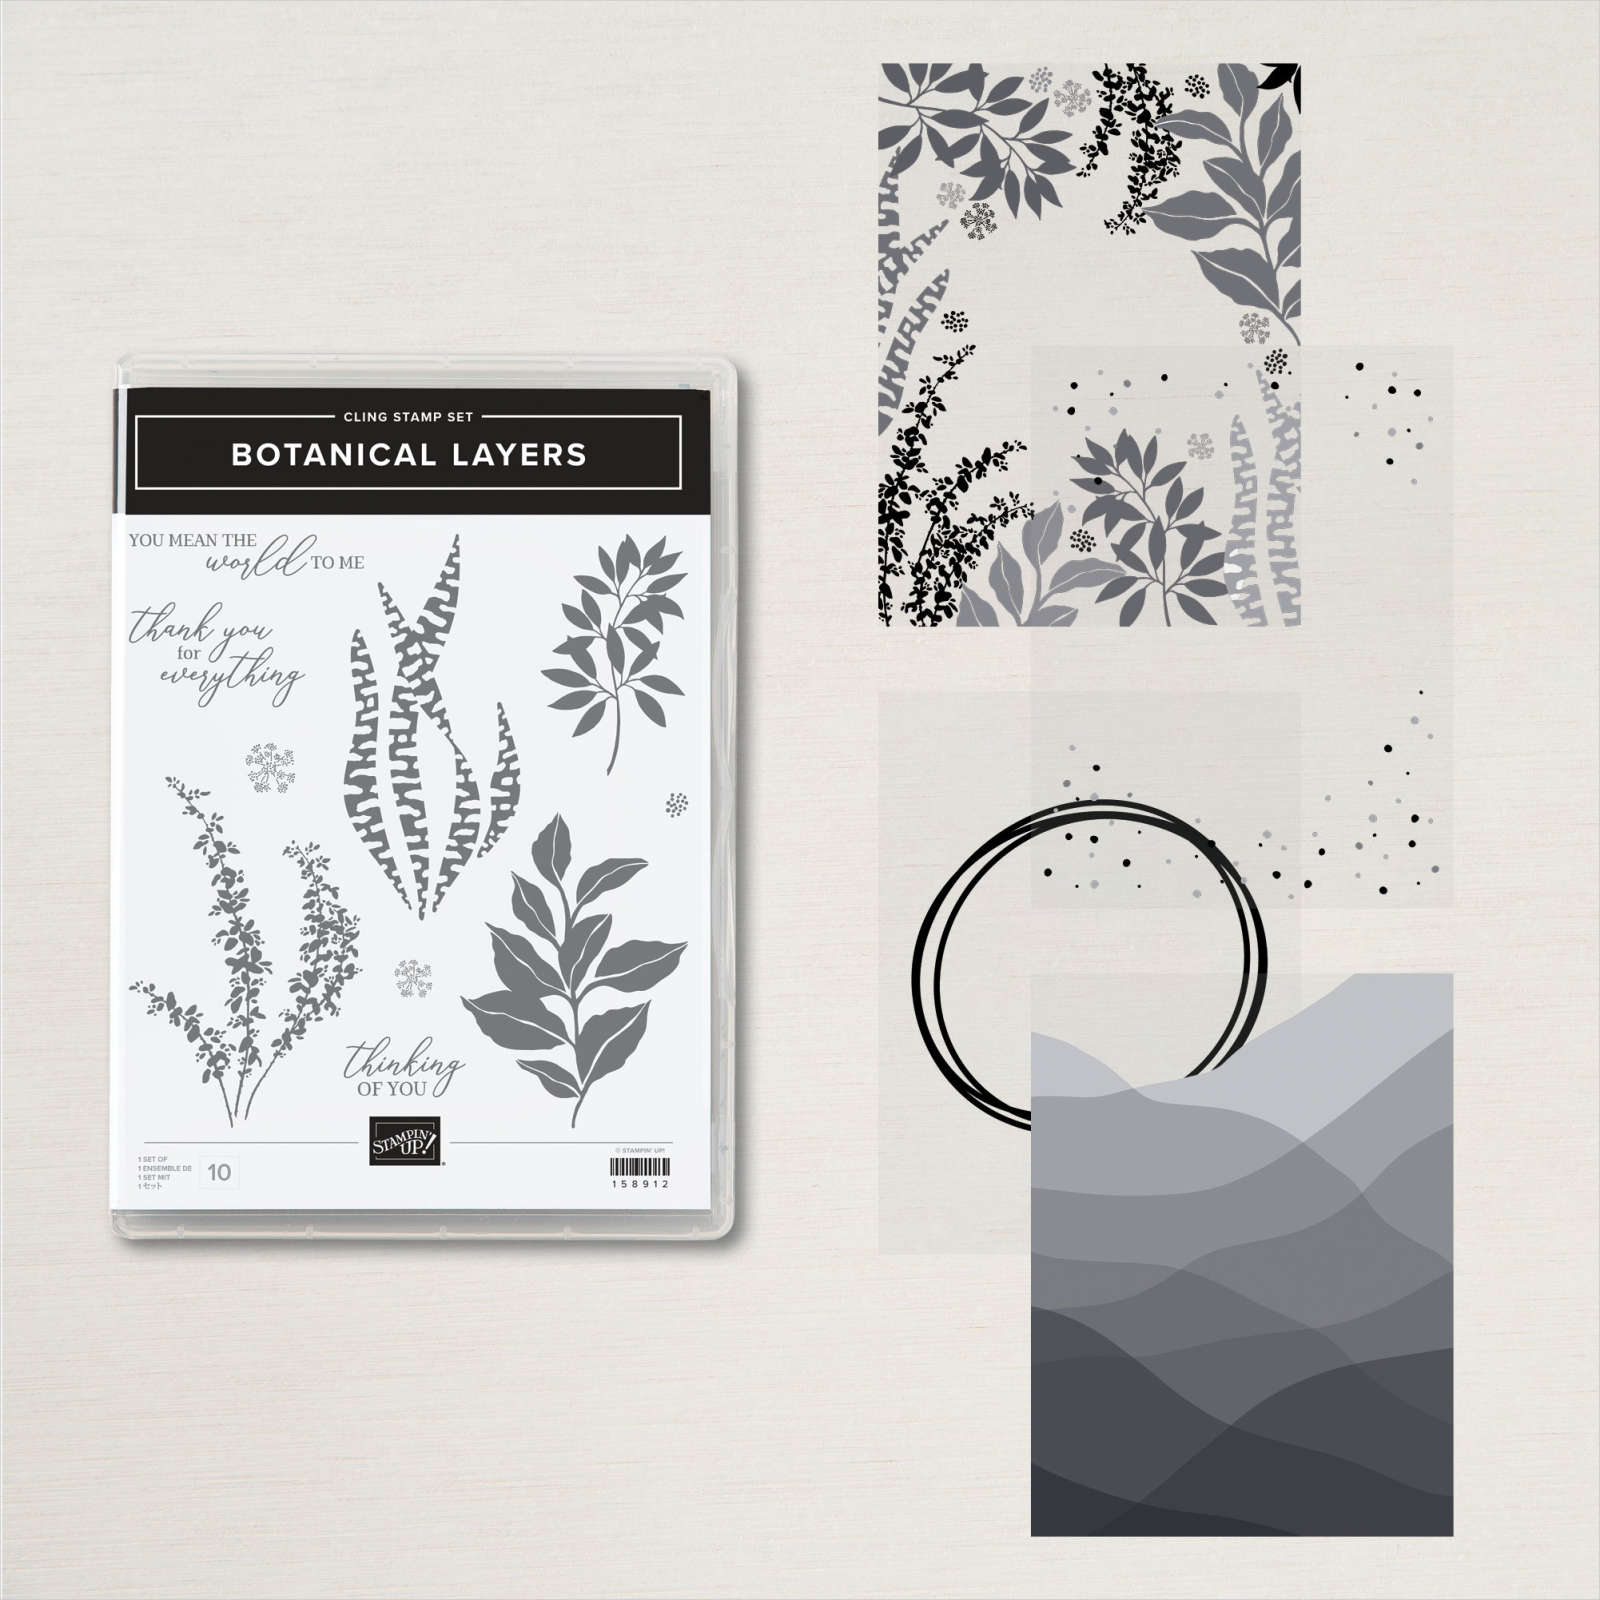
    BOTANICAL LAYERS BUNDLE (ENGLISH)

    Here are two cards; both using the Lovely Layers Vellum.

    Botanical Layers vellum wreath.

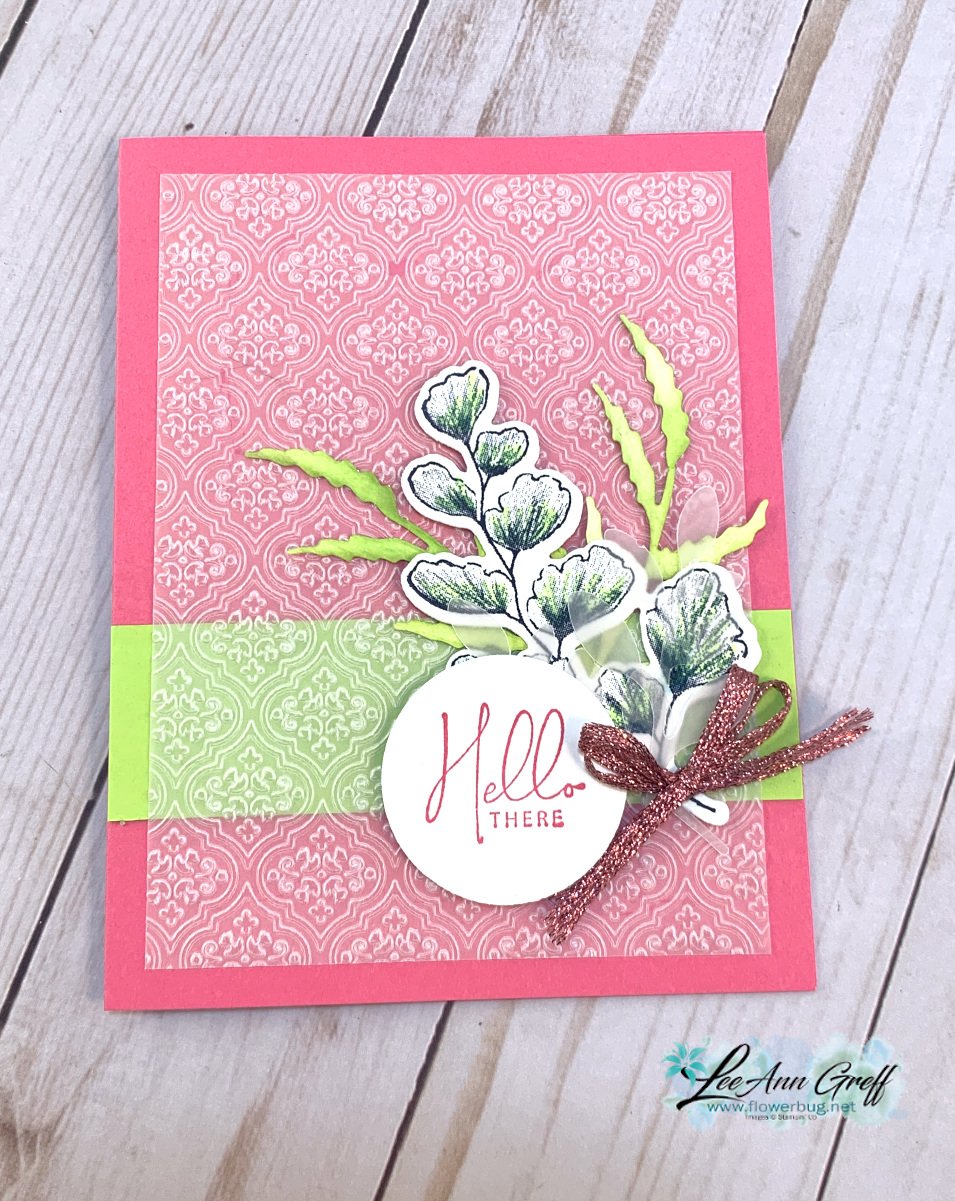
    For this card I textured it with the new Quatrefoil Tile embossing folder.  Embossing vellum is a wonderful way to add it to your projects; it's texture and opaqueness is so beautiful. 

    Botanical Layers vellum wreath.

    The colors are Polished Pink & Parakeet Party.  I used the Poppy Moments and Natural Prints dies for the greenery and the Nature's Prints stamp set for the stamped leaves and greeting. 

    Click on the photo below to watch the video and see more ideas using this bundle. 

    ~~~

    Last Chance List is out!  

    Last chance Jan June catalog

    Kits Collection BOGO – buy 1 get 1 50% off!  

    Everyday Heroes

    Host codes: CZARP9KR or Y23VZ9UC

     *click here to order 

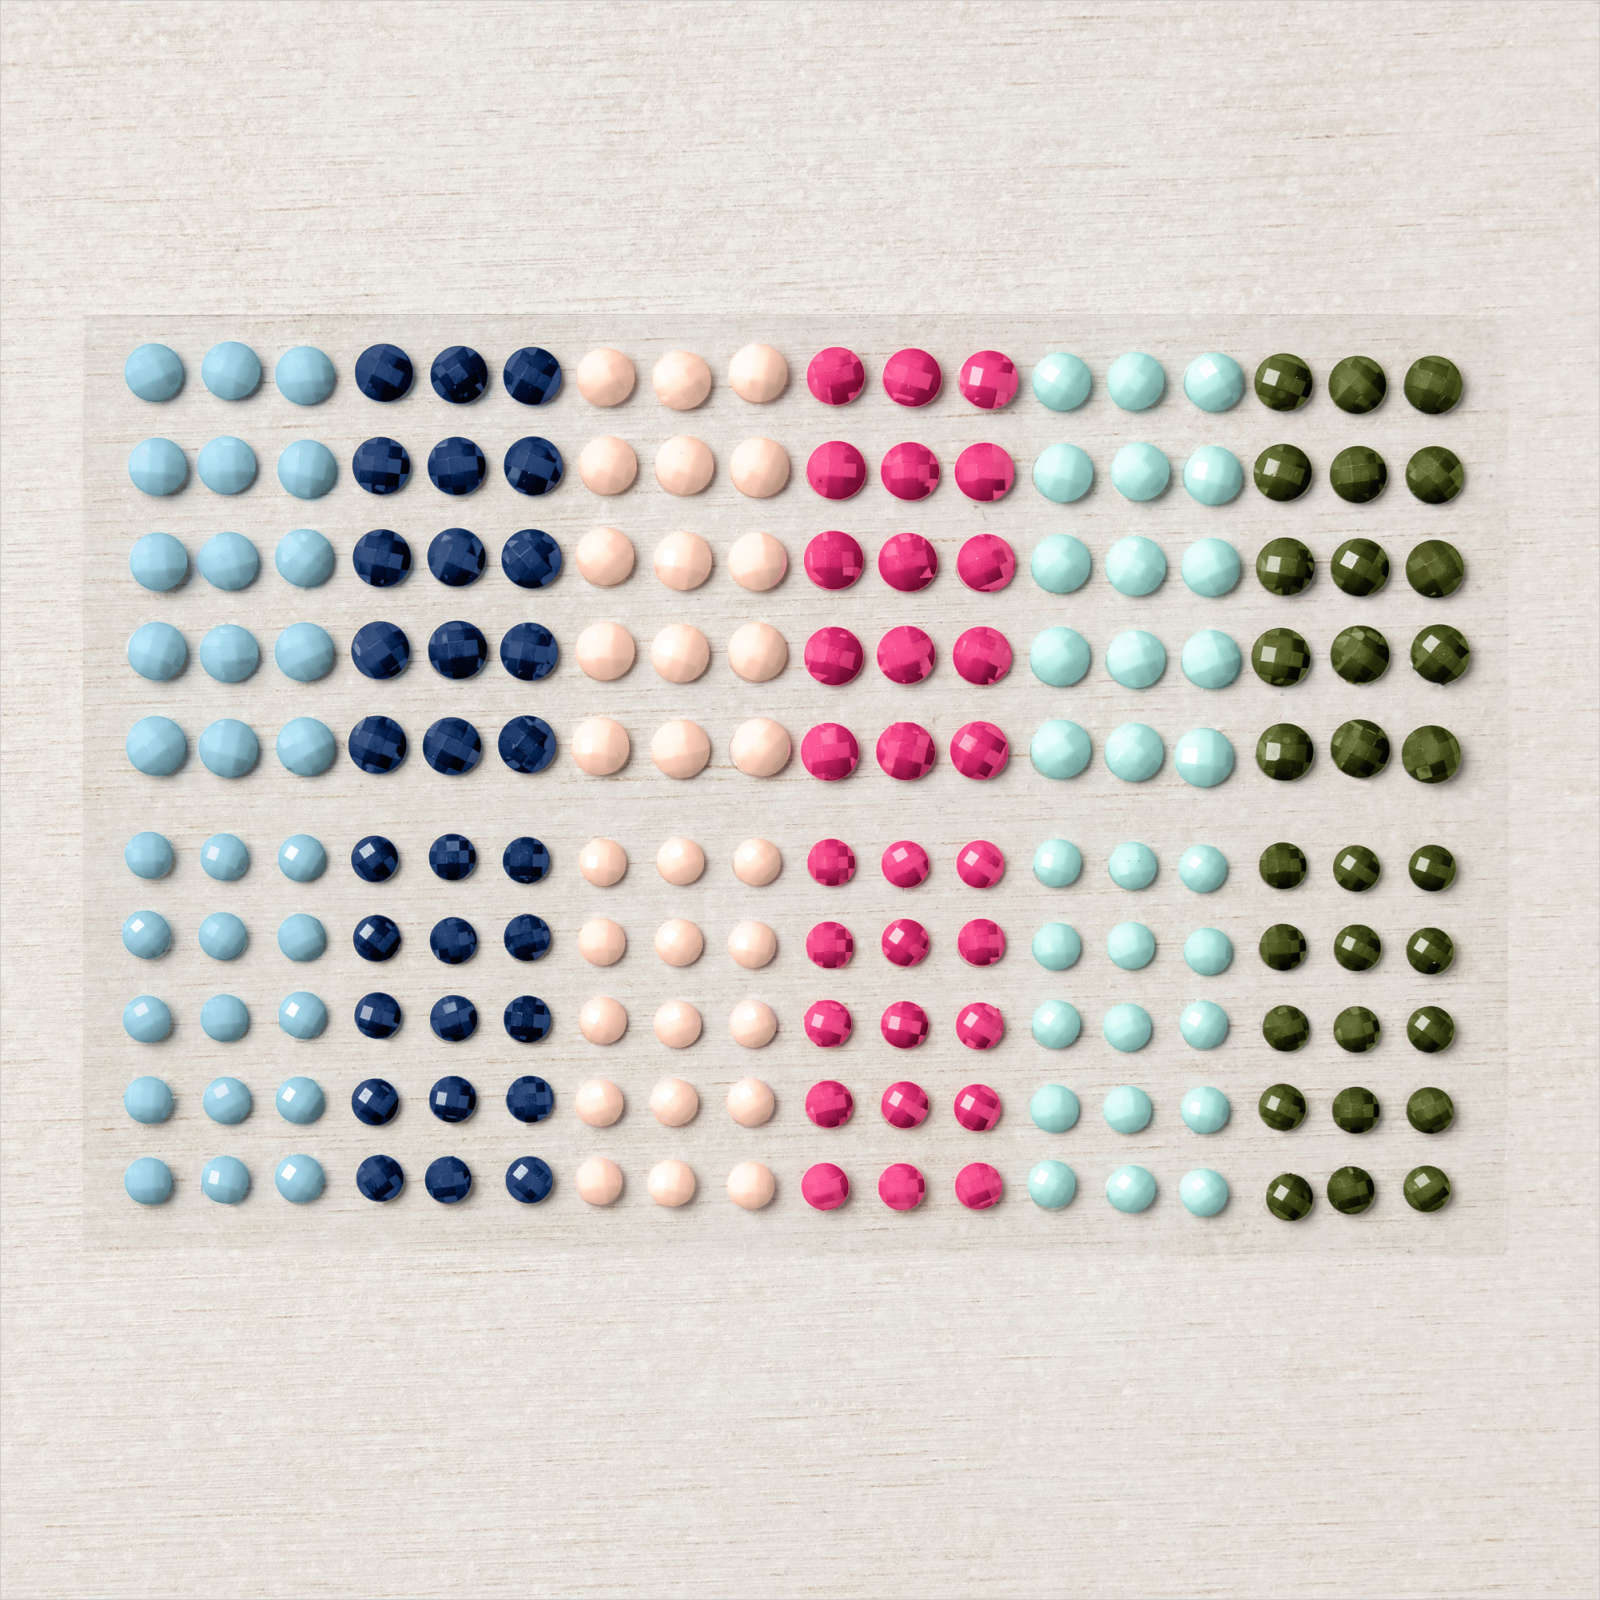
    If your order is over $50 you'll receive a set of Solid Faceted Gems from me.

    SOLID FACETED GEMS

    Don't forget about my loyalty rewards! 

    Click here to download yours and earn a $50 shopping spree!  

    Designer Paper Share May 22

    Opt in for my New Catalog Designer Paper Share

    It's $26 plus shipping

    Leave a Reply

    Your email address will not be published. Required fields are marked *

  • 2 more Botanical Layers card ideas!


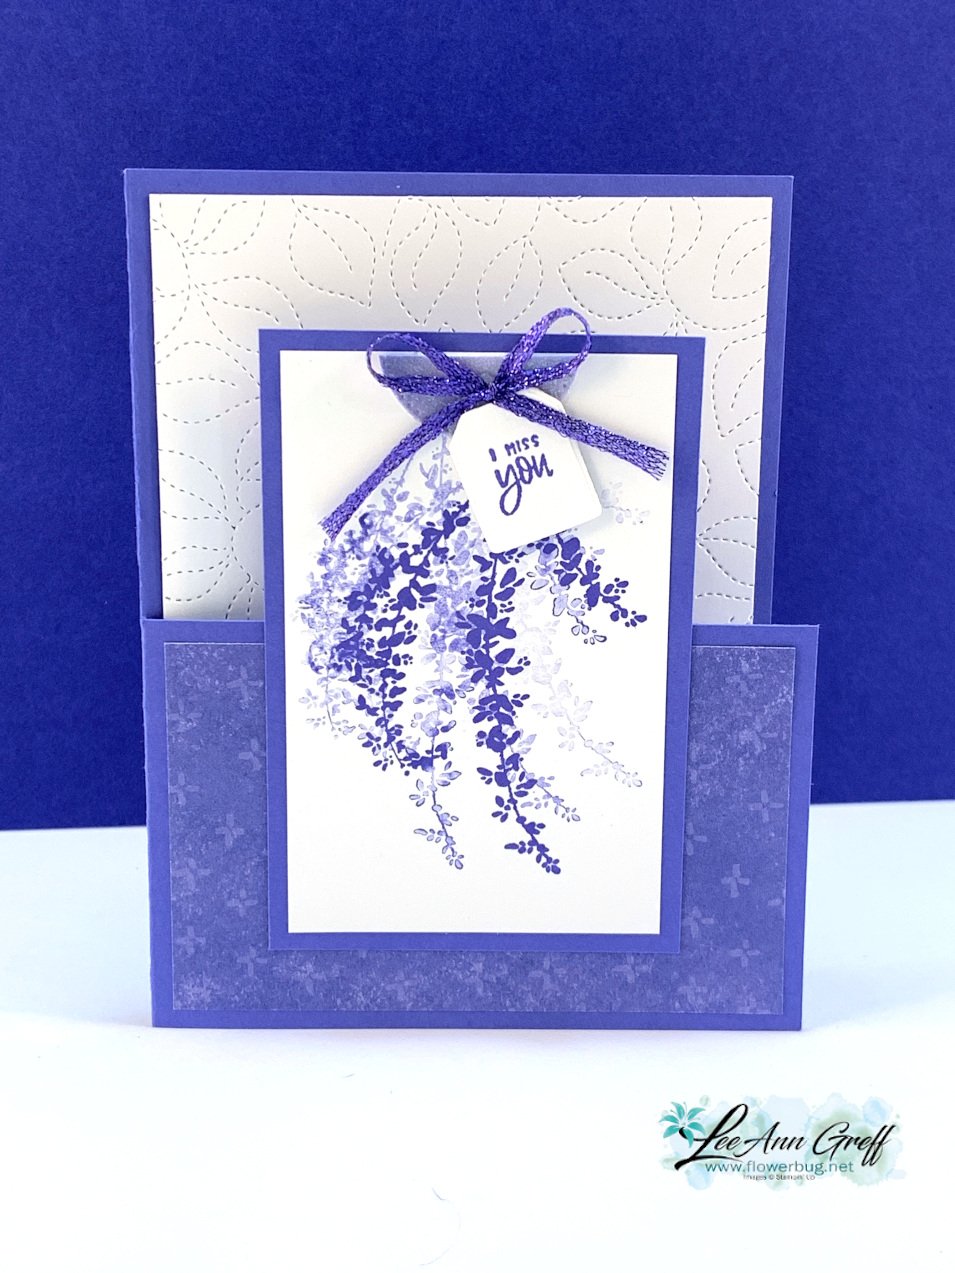
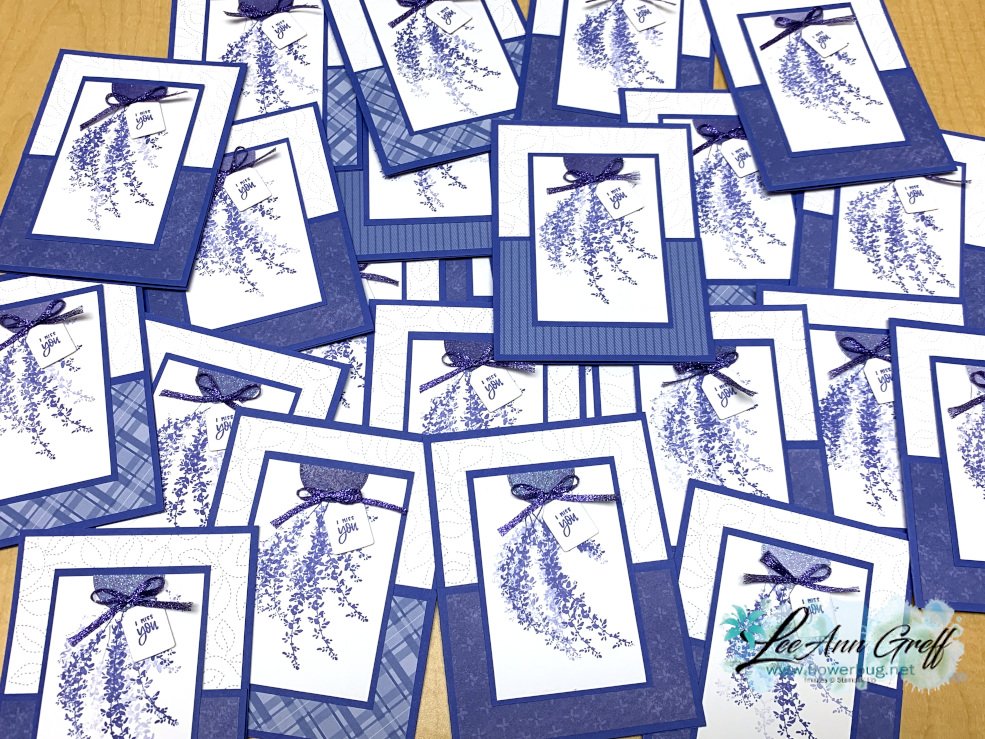
    Once I started I couldn't seem to stop creating with the Botanical Layers stamp set.  I made this card for an online swap:

    Botanical Layers lavender

    It's a Dutch door monochromatic card in Orchid Oasis.  Do you like these type of cards as much as I do?  I find cards with one main color very soothing to the eye and just plain pretty!  

    I stamped the main image multiple times without reinking.  I love that about our inks; you can get multiple hues with one color. 

    Details:

    • The card front opens at the bottom only.  
    • I used the Stitched Greenery die for the inside White layer.  
    • There is a half circle of Orchid Oasis ombre glimmer paper at the top with the bow.  
    • The tag is from the Tea Cup dies; the greeting is from the Cup of Tea stamp set. 

    Measurements:

    • Card base 5 1/2" X8 1/2"; score at 4 1/4" then trim off at 2 3/4" up to the top of the card.  Save this piece for the front layer
    • Front layer (cut from the card base) is 2 3/4" X 4"
    • White front is 2 1/2" X 3 3/4"; inside is 4" X 5 1/4" 

    Botanical Layers lavender

    This next card was made with the Inked Block technique. 

    Here's how:

    • I colored an 'H' block with Stampin' Write markers in Starry Sky, Orchid Oasis & Tahitian Tide. 
    • Then I spritzed alcohol on it (you can use water; alcohol dries faster) and pressed it onto my White CS and let it dry. 
    • Lay a piece of copy paper over it and set something heavy on it so it dries flat. 

    Botanical Layers lavenderAfter it's dry I stamped the botanical image in Starry Sky ink and used the Timeworn Type embossing folder.  

    The greeting is also from the Botanical Layers set; the die-cut is from the All That dies. 

    You can see a video on this technique here. 

    ~~~

    Last Chance List is out!  

    Last chance Jan June catalog

    Kits Collection BOGO – buy 1 get 1 50% off!  

    Everyday Heroes

    Host codes: CZARP9KR

     *click here to order 

    If your order is over $50 you'll receive a set of Solid Faceted Gems from me.

    SOLID FACETED GEMS

    Don't forget about my loyalty rewards! 

    Click here to download yours and earn a $50 shopping spree!  

    Designer Paper Share May 22

    Opt in for my New Catalog Designer Paper Share

    It's $26 plus shipping

    Leave a Reply

    Your email address will not be published. Required fields are marked *

  • Pretty Prints card kit to go in June


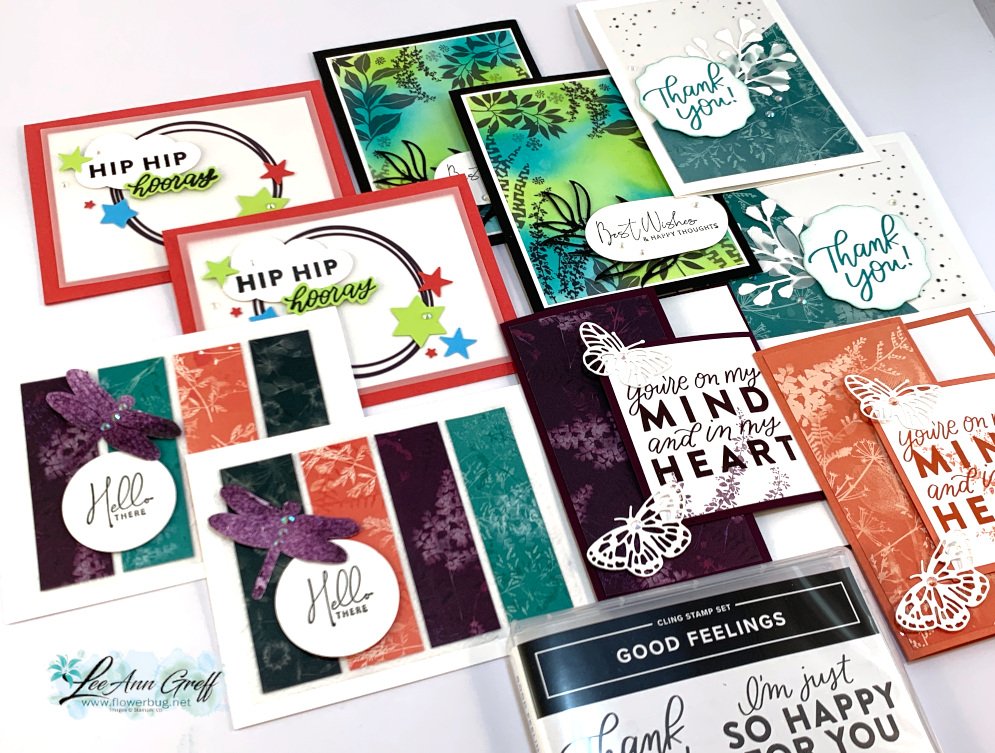
    Check out these colorful cards for this month's kit to go! I am featuring the Pretty Prints designer paper and the Lovely Layers Vellum.  

    Pretty Prints cards all

    There's quite a variety of cards here from fun birthday to pretty all occasions cards.  I used two stamp sets for the greetings here – Good Feelings & Nature's Prints. I design my kit cards around the colors & product so you can use greetings you already own, but if you'd prefer you can add on either or both stamp sets to the kits. 

    This kit includes these 10 striking cards and the PDF tutorial.  Opt in to get one by June 19th here.  

    The kit includes the following:

    • 10 pre-cut cards with die-cuts & punched pieces 
    • 1/2 pkg Pretty Prints designer paper 6" X 12"
    • a share of the Lovely Layers Vellum
    • a share of the Iridescent Rhinestones
    • The PDF tutorial with step by step instructions, measurements, supplies & photos
    • It does not include stamped images or stamps.  You can add it on either the Good Feelings or Nature's Thoughts.

    Choose the kit to go here; it's $28

    The PDF tutorial is here.  $15

    **The PDF is emailed to you immediately after payment. The Kit is mailed out via Priority Mail at the end of June, 2022.

    Add on the Good Feelings stamp set at 10% off!  Email me at lagreff60@gmail.com to get a combines price. 

    *This is the kit my monthly subscribers will receive.  Interested in getting a pre-cut cards kit each month? Message me here!

    Here's a video I made featuring this pretty vellum: 

    ~~~

    Last Chance List is out!  

    Last chance Jan June catalog

    Kits Collection BOGO – buy 1 get 1 50% off!  

    Everyday Heroes

    Host codes: CZARP9KR or Y23VZ9UC

     *click here to order 

    If your order is over $50 you'll receive a set of Solid Faceted Gems from me.

    SOLID FACETED GEMS

    Earn free products with my loyalty rewards! 

    Click here to download yours and earn a $50 shopping spree!  

    Designer Paper Share May 22

    Opt in for my New Catalog Designer Paper Share

    It's $26 plus shipping

    Leave a Reply

    Your email address will not be published. Required fields are marked *


Notice: LeeAnn Greff, Independent Stampin’ Up! Demonstrator, Manager. The content of this website is my sole responsibility as an independent Stampin’ Up! demonstrator and the use of, and content of, the classes, services, or products offered on this website is not endorsed by Stampin’ Up! Copyright 2025