
The February Paper Pumpkin kit is a beautiful set of cards with a 'thinking of you' theme. Here's how Stampin' Up! is describing this cards kit:
The Bouquet of Hope Paper Pumpkin Kit provides enough supplies to create nine cards and coordinating envelopes. This soft, sympathetic kit includes patterned card bases, die-cut floral elements, ribbon, embellishments, and more!
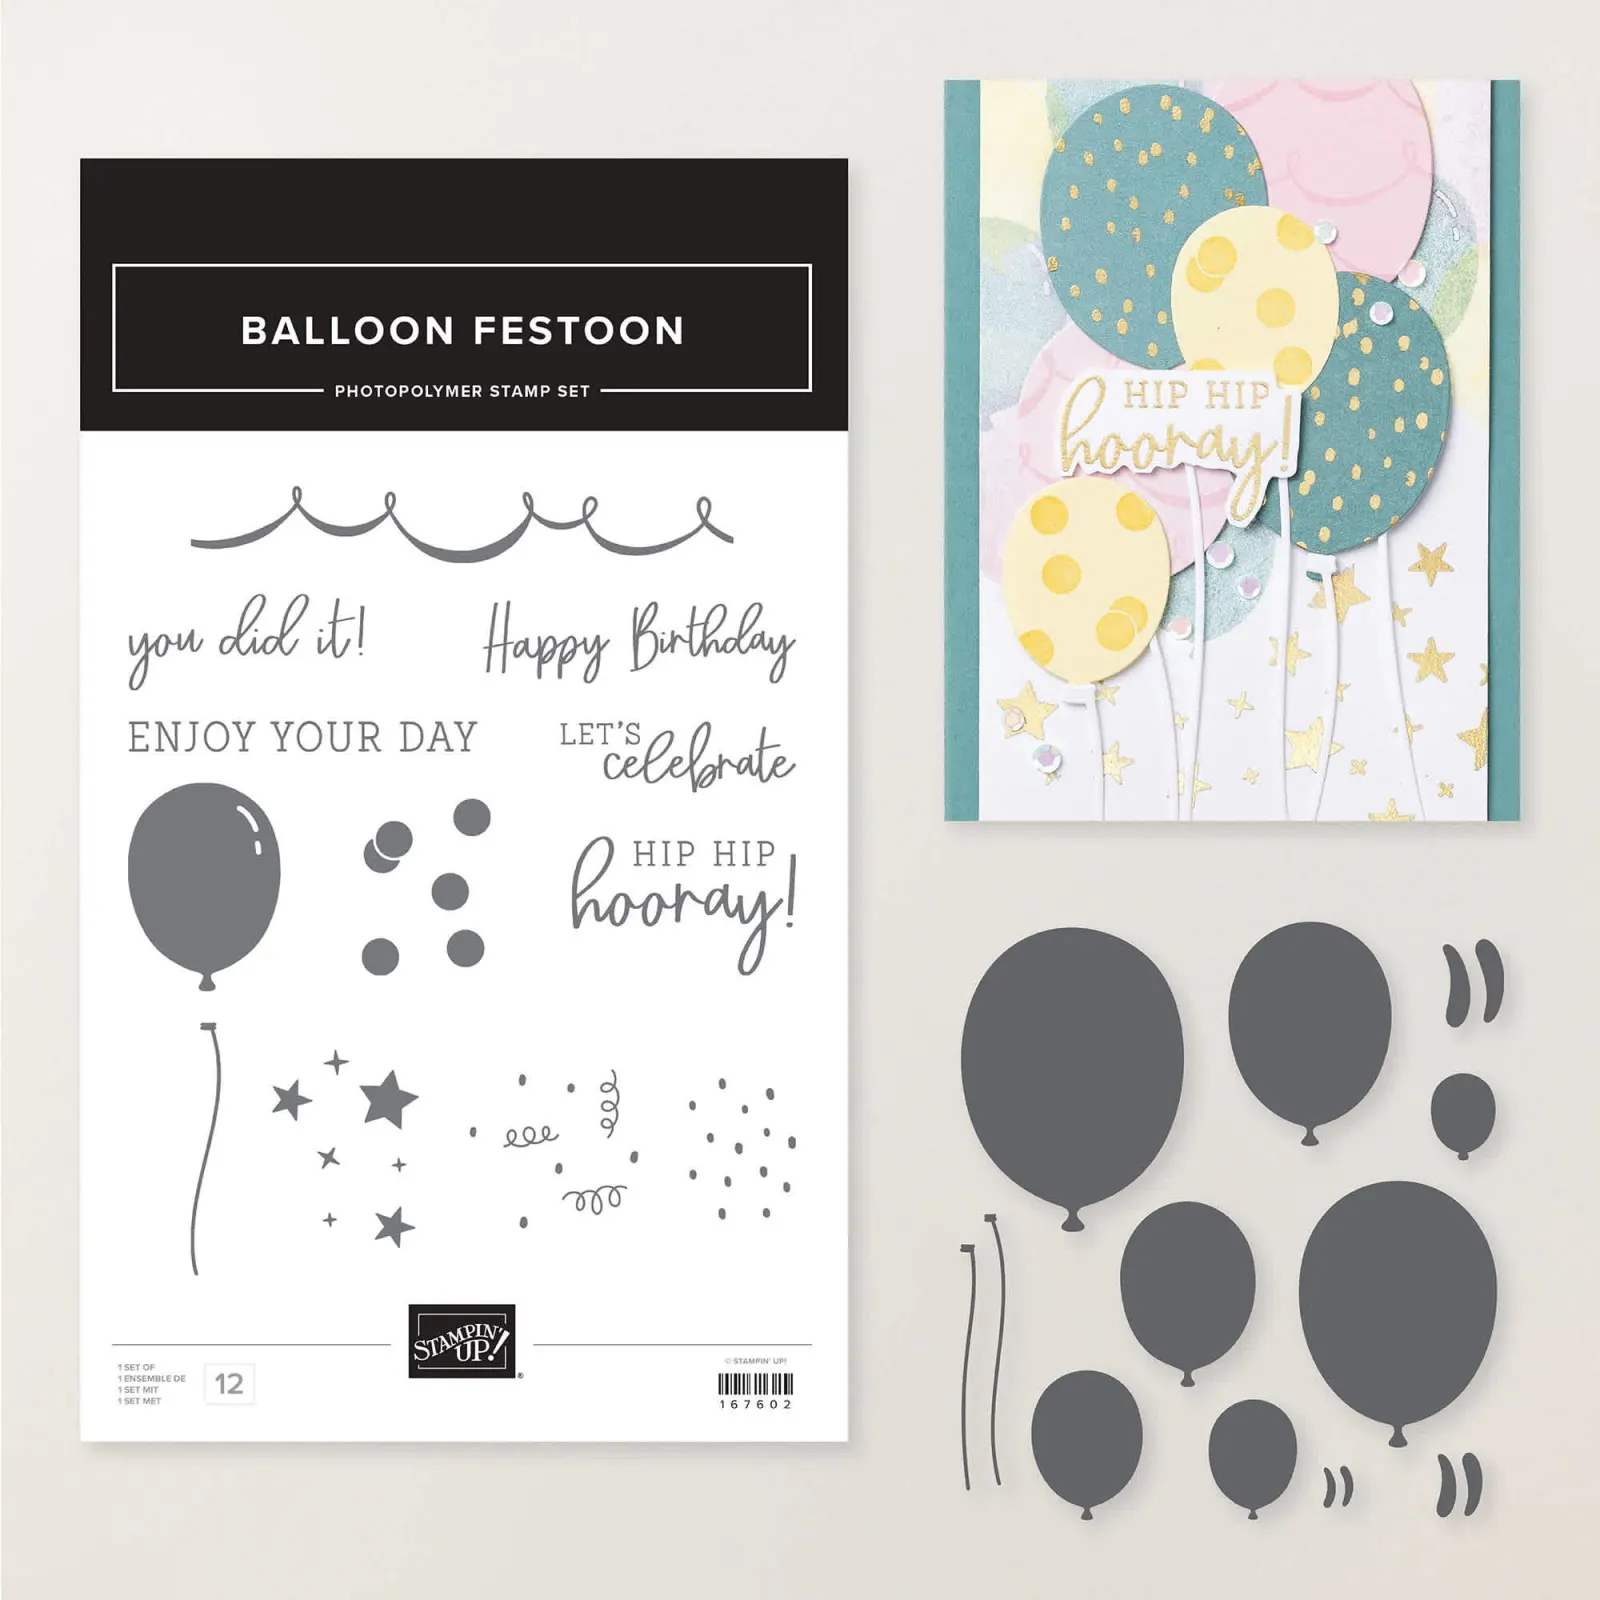
The kit’s exclusive Bouquet of Hope Stamp Set features supportive sentiments centered around comfort, care, hope, and love. Such a versatile stamp set can be used throughout the year!
- Card size: 4-1/4" x 5-1/2" (10.8 x 14 cm)
- Coordinating colors: Basic Black, Bumblebee, Just Jade, Merry Merlot, Mossy Meadow, Rococo Rose
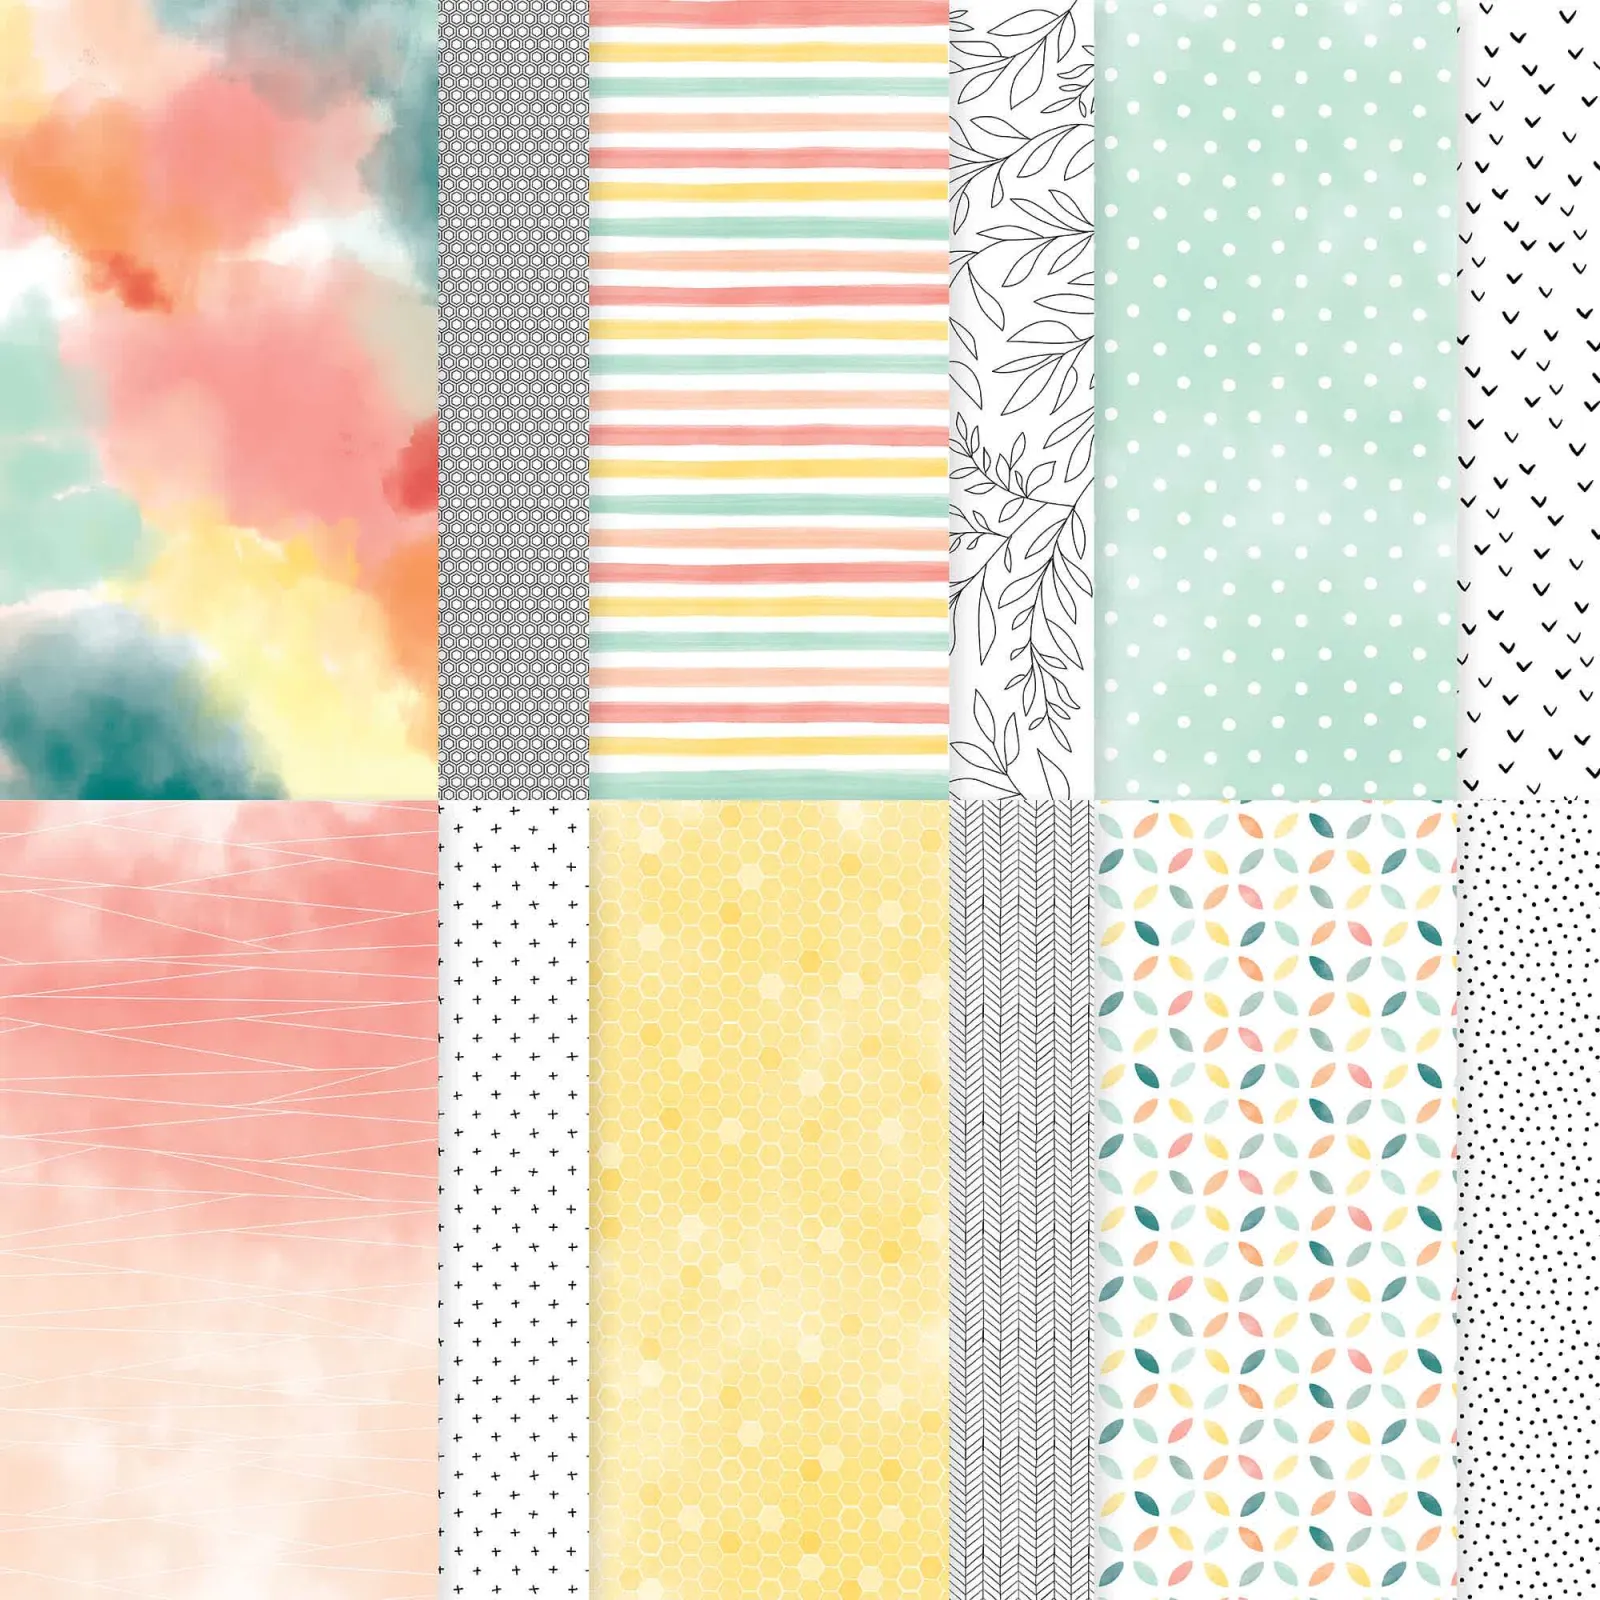
- Coordinates with the Flower & Field Designer Series Paper, an exclusive Sale-A-Bration item.
**Remember that if you purchase a 3,6 or 12 month pre-paid subscription in February you can earn a free Sale-a-Bration item (or 2-4!). It's what I do each year at this time. You can see the pre-paid options here.
Here's what I suggest: Get a 6 month pre-paid now and then in August get a second one during that SAB promotion! You'll earn 2 free SAB choices each time!

~~~~
The kit for January is darling! It's Valentine themed of course. Here's one of the alternatives I made with my kit.

Did you know that my PP customers get a free bonus projects PDF tutorial each month? And so does my Team! It has 9 different projects in it every single month!
Fact: SU gives us a 3 weeks 'heads up' each month on the theme of the upcoming kit. This way we can decide if we want the kit or not! It's simple to go in to your account and suspend it for that month.

Click here to get a kit for yourself.
~~~
February Specials:
Get the best deal we have during Sale-a-Bration with purchase of the Starter Kit!
Fact: You get $125 of product of your choice, 5 packs of 6×6 DSP ($57.50), free Past Paper Pumpkin ($21), no shipping on any of this ($20.35).
So instead of $223.85… you pay just $99?! What?
Plus you get 5 packs of NEW 6" Designer Paper FREE.

Go here to read about it
~~~
Current Host code is ZH42J3R4
Order online here
All online orders receive both a Hydrangea Hill and Sand & Sea projects PDF!


~~~
Get a package of 150 Resin Hearts from me with an online order over $50 using the host code above.
*If your order is over $150 do not use the code; you'll still receive a gift!

Below are the Multipurpose Glue stands we're making. They're $6 each and available in my Shop here.


Leave a Reply