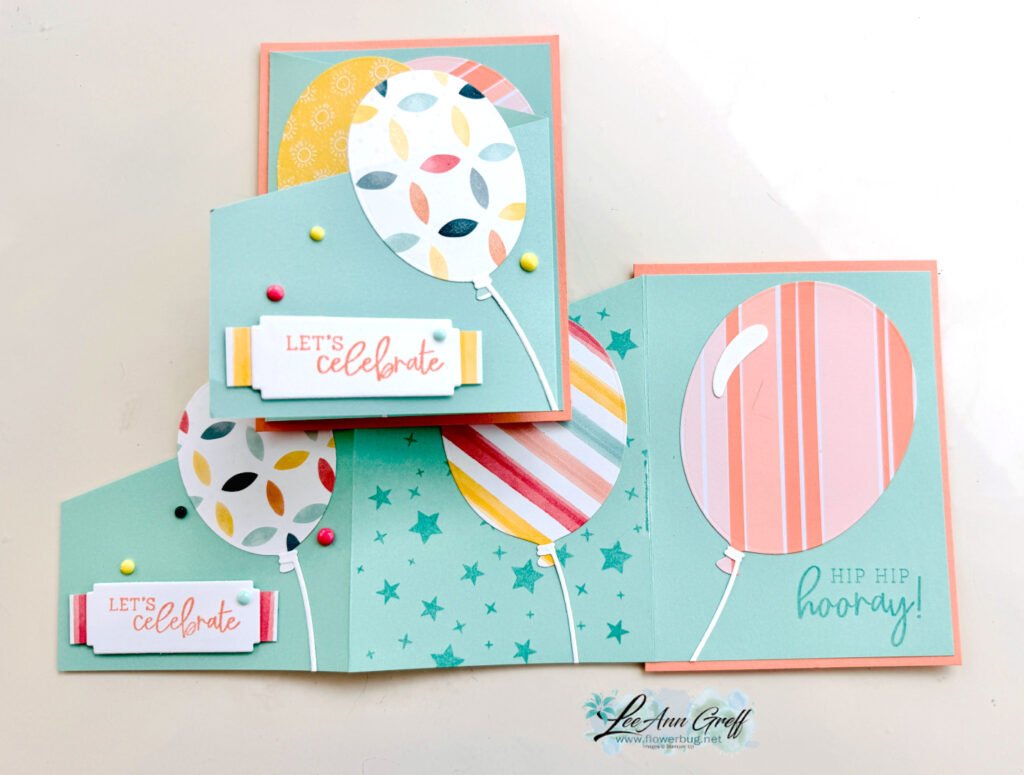
I created this card for my May Team swap; the theme was to use new Summer catalog products.
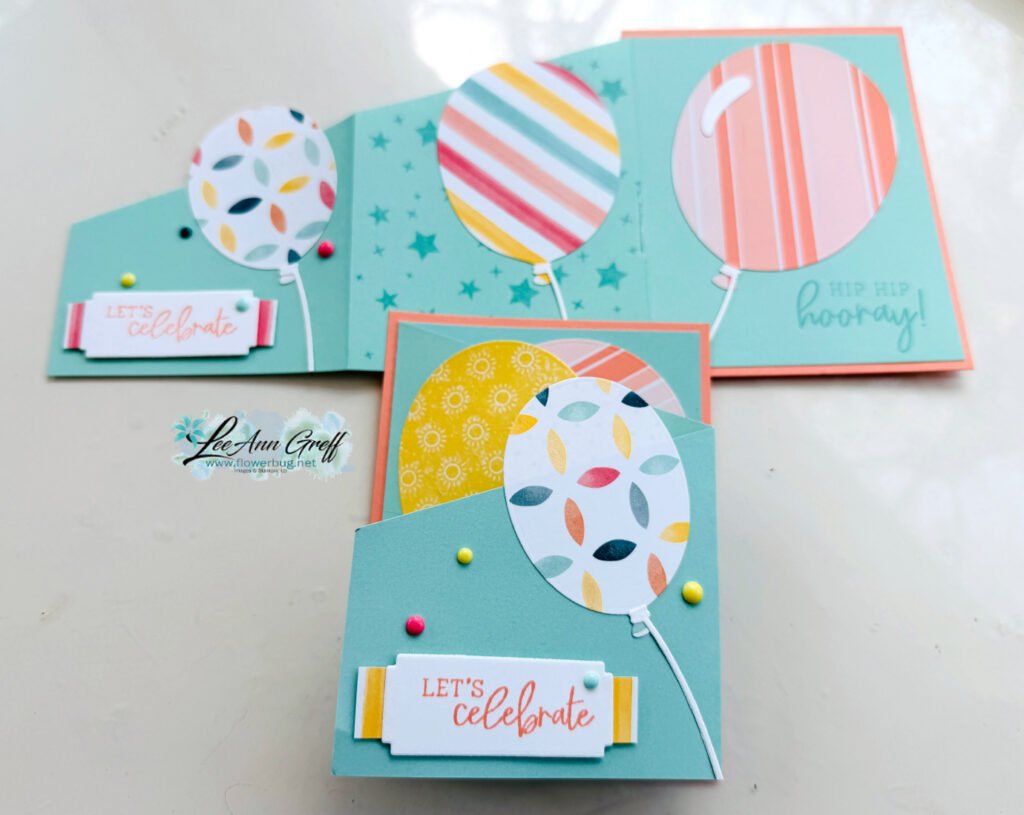
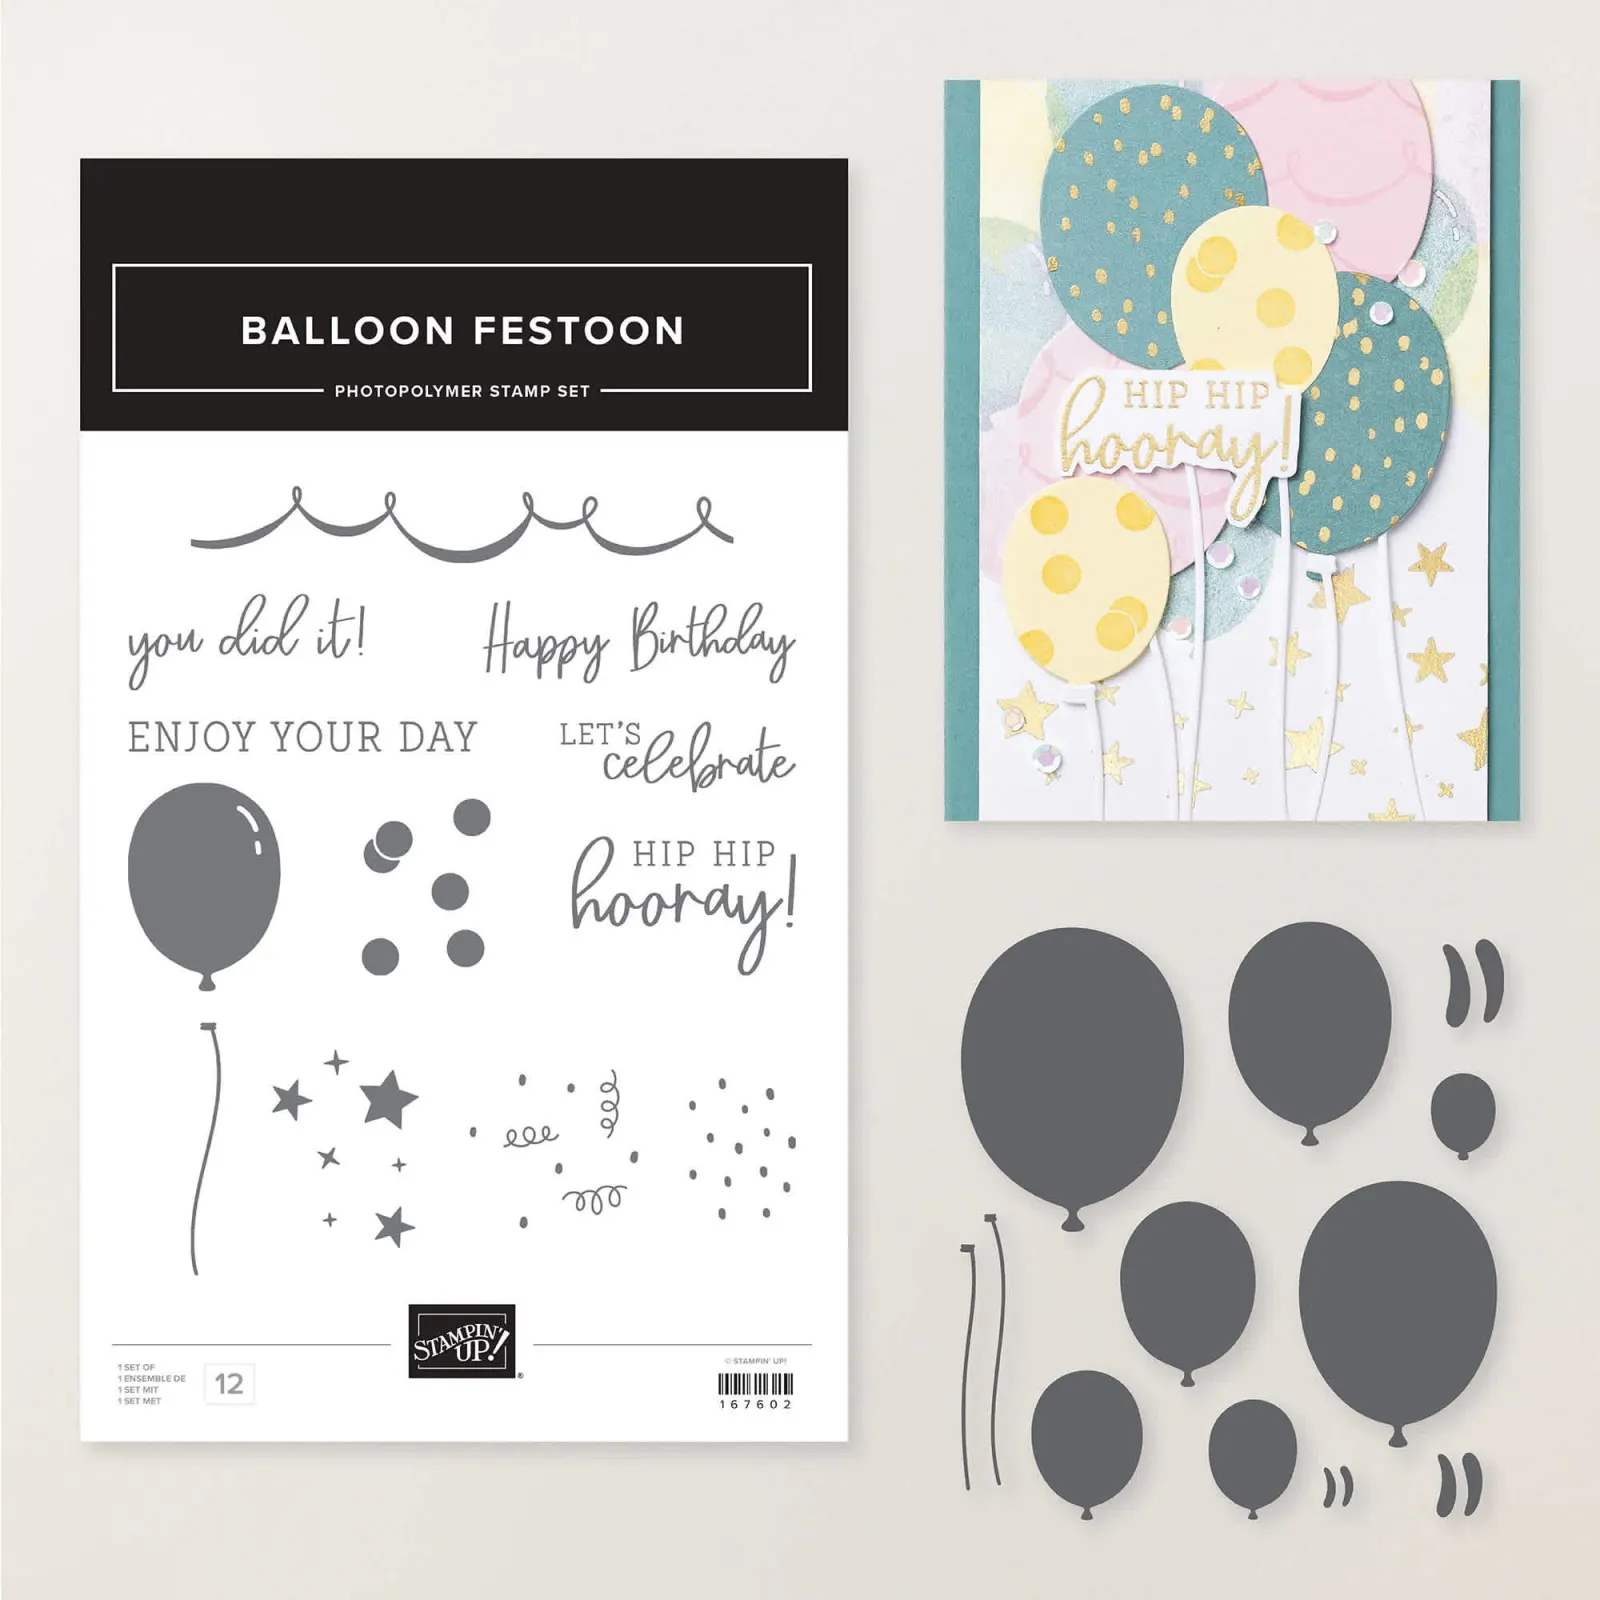
The Balloon Festoon bundle is a new favorite of mine. The multiple sizes of balloon dies are just wonderful and perfect for any celebratory event. See it here.
I used the 12 X 12 Pool Party 2-tones card stock for the diagonal layer. It’s 12″ X 5 1/4″ scored every 4″. Then simply cut at an angle from the lower left to the upper second score line.
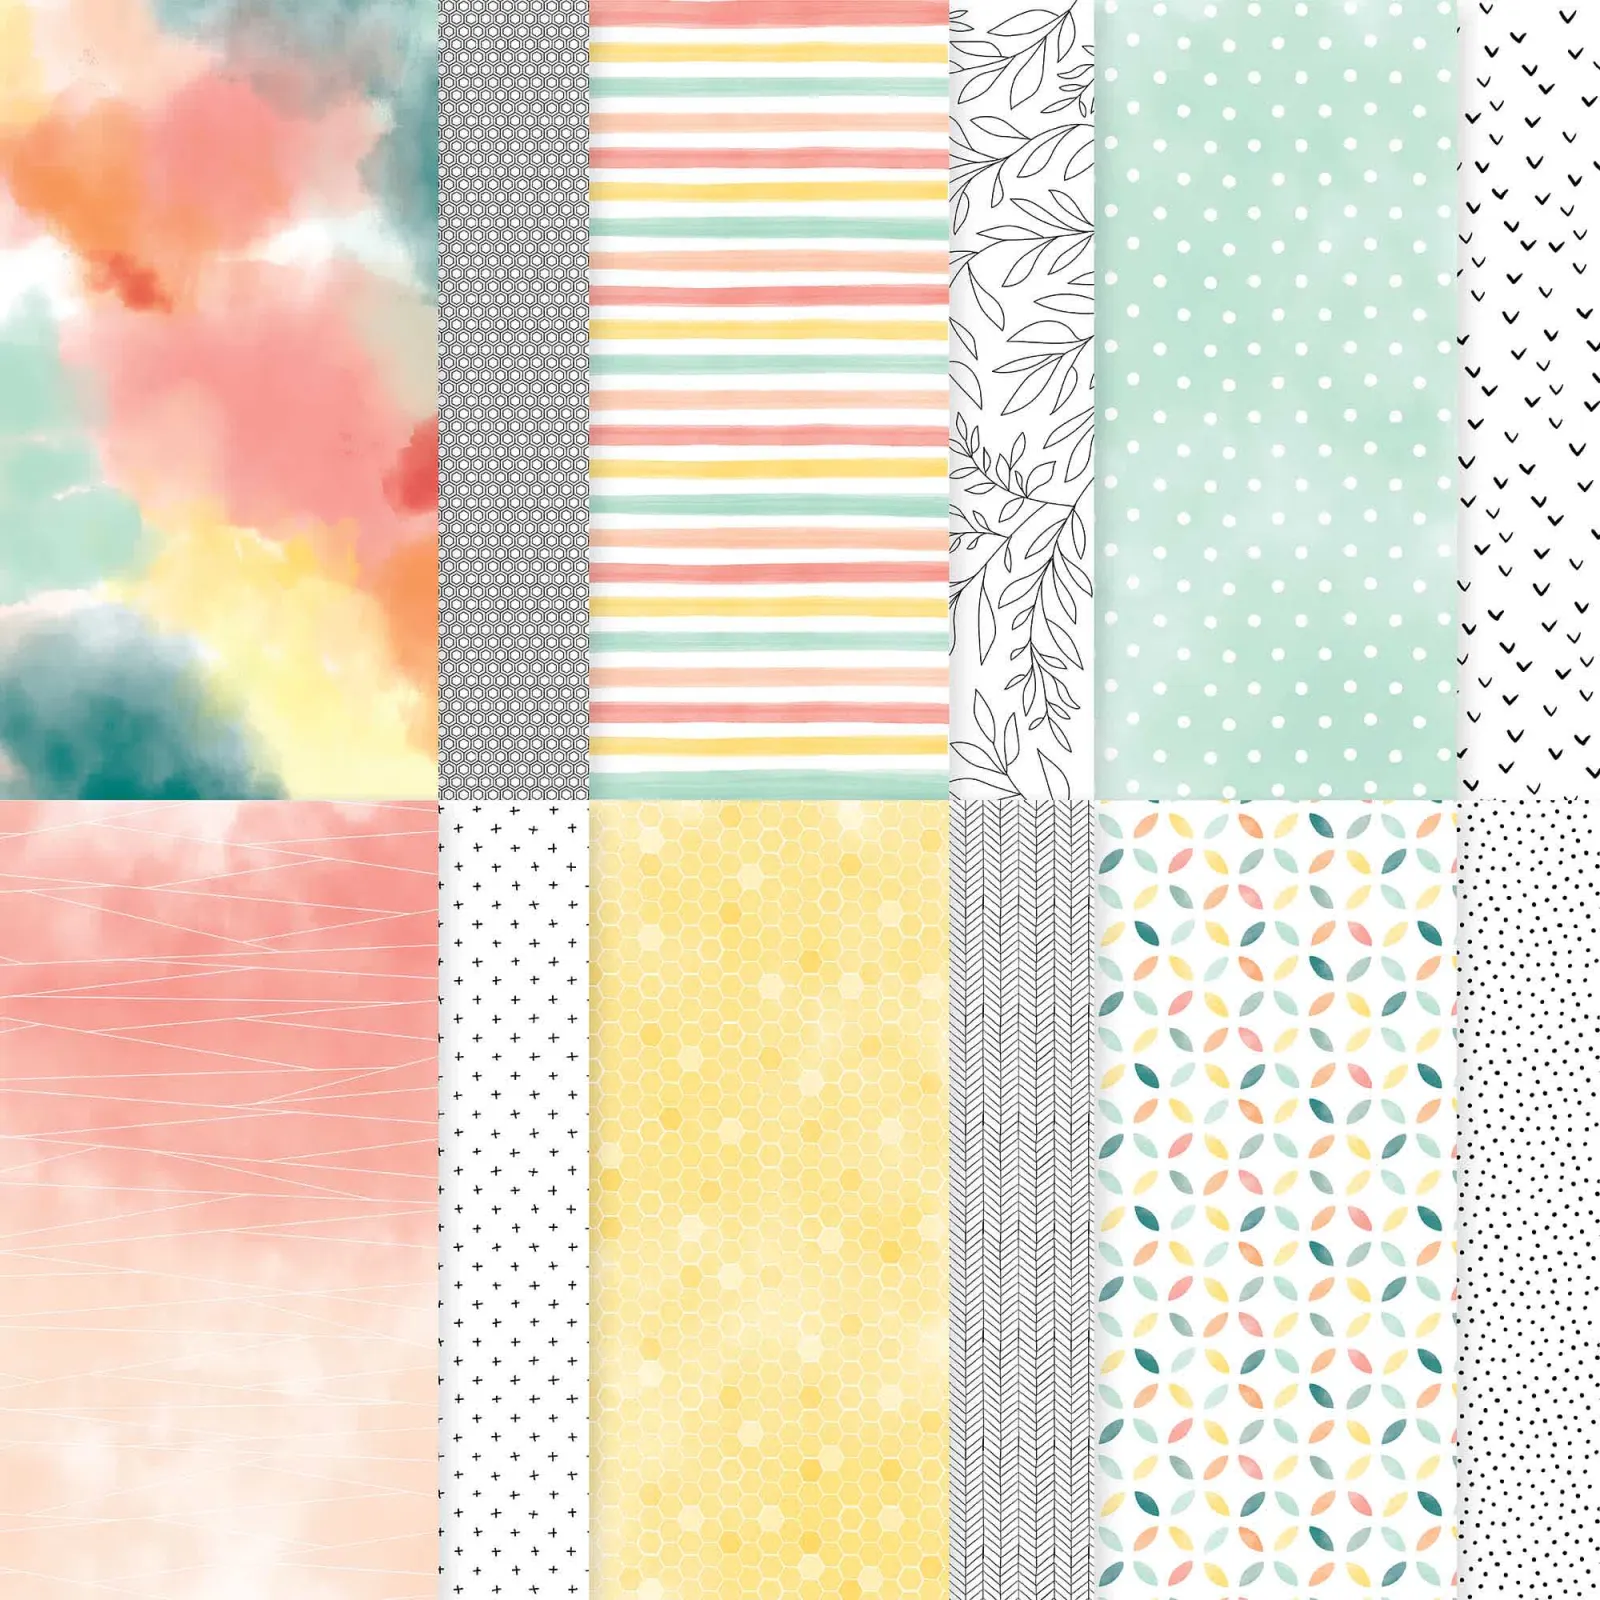
The cute patterned balloons are cut from the new Beautiful Ordinary Life designer paper (seen here) and the new 2026-28 In Color Patterns DSP. See it here.
I created a free project sheet for you; click here to print or download it.
Below is the video where I shared this card and another featuring the same products.
June Specials:


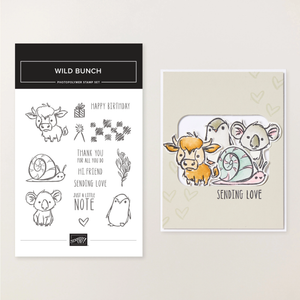
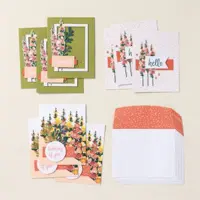
June’s Product of the Month is this adorable stamp set! Redeem it for just $5 once your order is over the $75 mark.


Leave a Reply