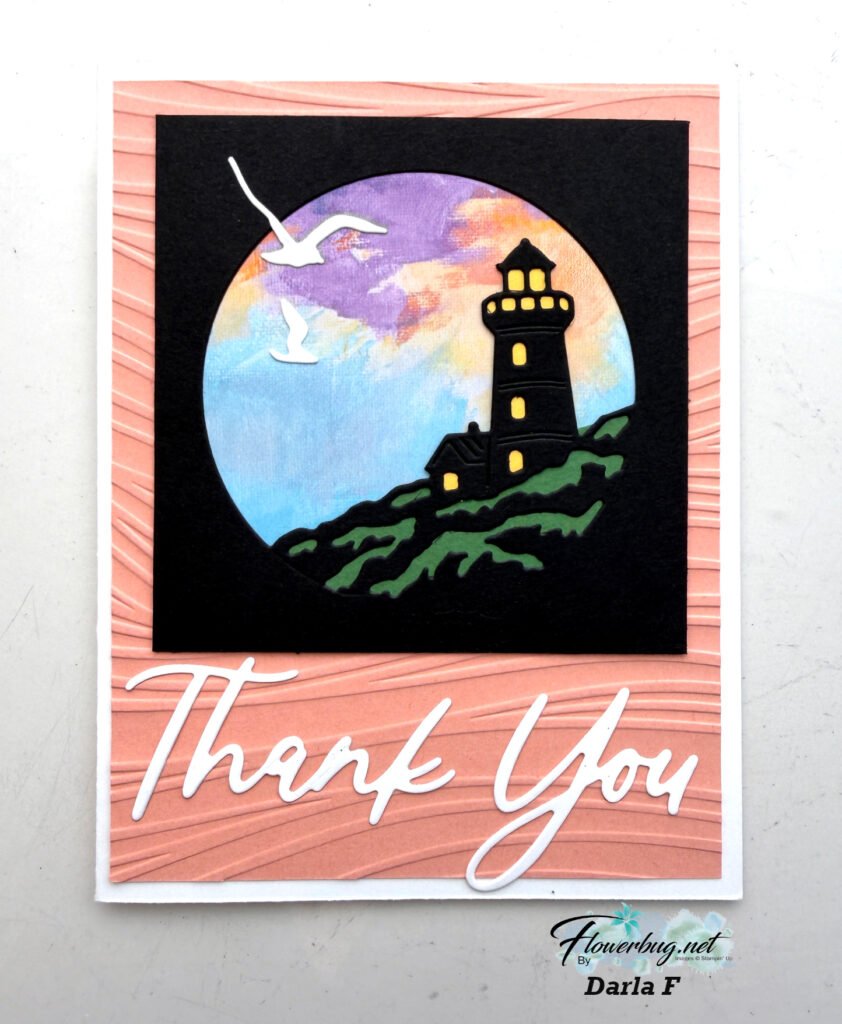
I saw a card like this online and HAD to make one! I believe the original designer is Libby Fens. Look at this colorful, clever card!

I wish I'd come up with the idea myself but I cased it. Sometimes I feel a bit guilty casing from others. But when people case me I take it as a huge compliment. So I get over my guilt pretty quickly! 😉
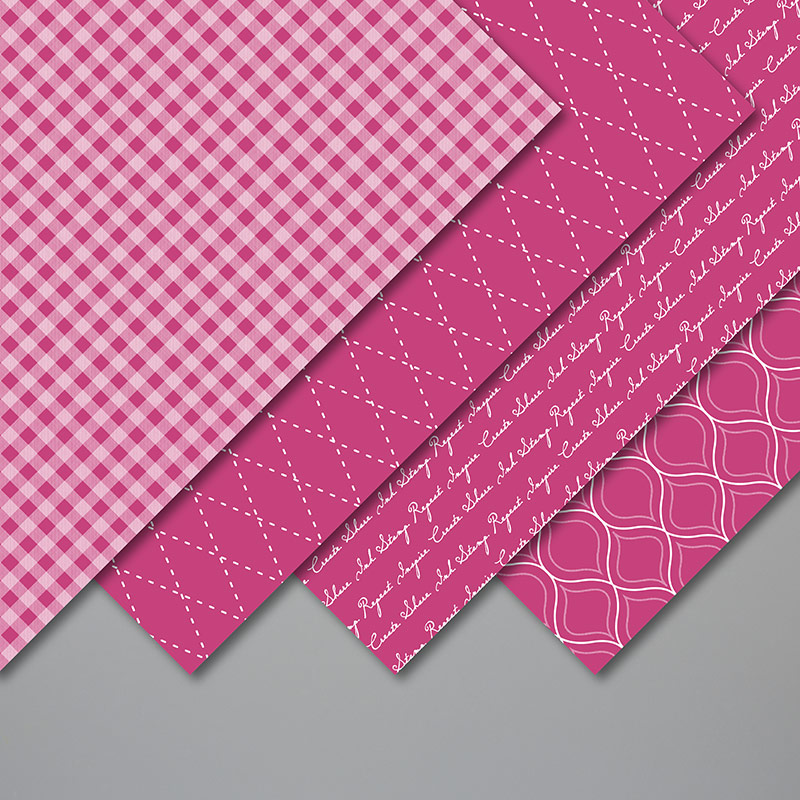
The candles are made from the Golden Honey specialty designer paper that was available as part of our Sale-a-Bration offering. It is now sold out but I know many of you own it already so I thought I'd share the card for you. Or maybe you own some similar patterned paper you could use instead.
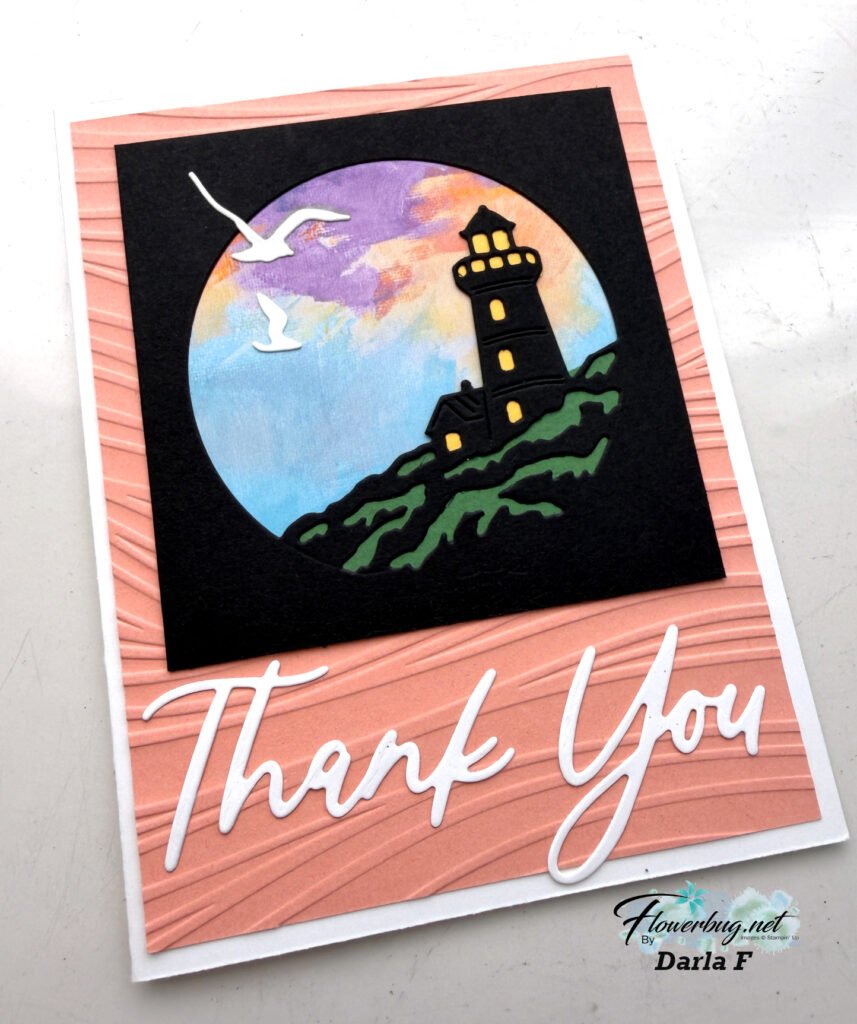
The candles are about 3/8" wide and 3" tall. The paper is originally white with gold diagonal dashes. I colored them in with Blends markers in light and dark of each color. The colors are Real Red, Flirty Flamingo, Mango Melody, Granny Apple Green, Balmy Blue and Highland Heather.
For the flames I punched out a daisy from the Medium Daisy punch in Gold Glimmer paper. I cut off the petals and adhered them under the top of each candle. Then I popped up each candle with mini dimensionals.
Other Details
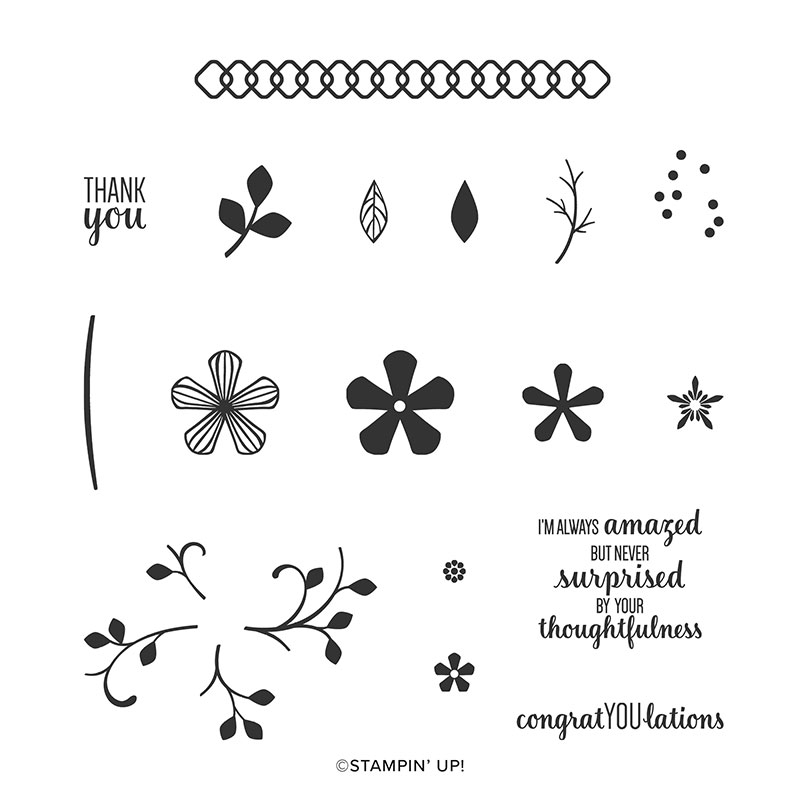
- The Let's Celebrate You greeting is from Bonanza Buddies set on page 34 of the 2020 January-June mini catalog.
- The stitched rectangle is from the Stitched so Sweetly dies
- Granny Apple Green
Here's a view of the Stitched So Sweetly bundle; it includes a fabulous stamp set and amazing dies. If you buy it this month you'll earn a free Sale-a-Bration choice! See it here.

~~~
Four March Specials besides Sale-a-Braton
and the Product Coordination Release seen here!
March host code is TRYUEHDZ
1. All online orders will receive a free Mountain View pdf cards tutorial in an email.

2. If your order is over $55 you'll get a Sale-a-Bration paper sampler and metallic cards & envelopes kit! A great start to beautiful card making.

March host code is TRYUEHDZ
Order online here
3. THE Best deal! Choose any FREE stamp set when you purchase the Starter kit during Sale-a-Bration; of any value! Plus you'll get a free paper trimmer and a 6 X 6 sampler of new Designer Paper! It's just $99 plus tax and you can choose $125 in products with free shipping! Be either a 'Happy Shopper' and enjoy the discount or make extra spending money.
Click here to join my awesome Flowerbug's Team!

4. Earn a ticket in the drawing for each $25 you order online in March for a free Little Ladybug stamp set!
Order online here


Leave a Reply