/


Latest Post

Get multiple cards from one sheet of Designer Paper! Video & free project sheet too.


I shared these beautiful cards on a Live video a few weeks ago. I wanted to make the most of one of my favorite sheets of the Valley in Bloom designer series paper. It’s discounted through August!
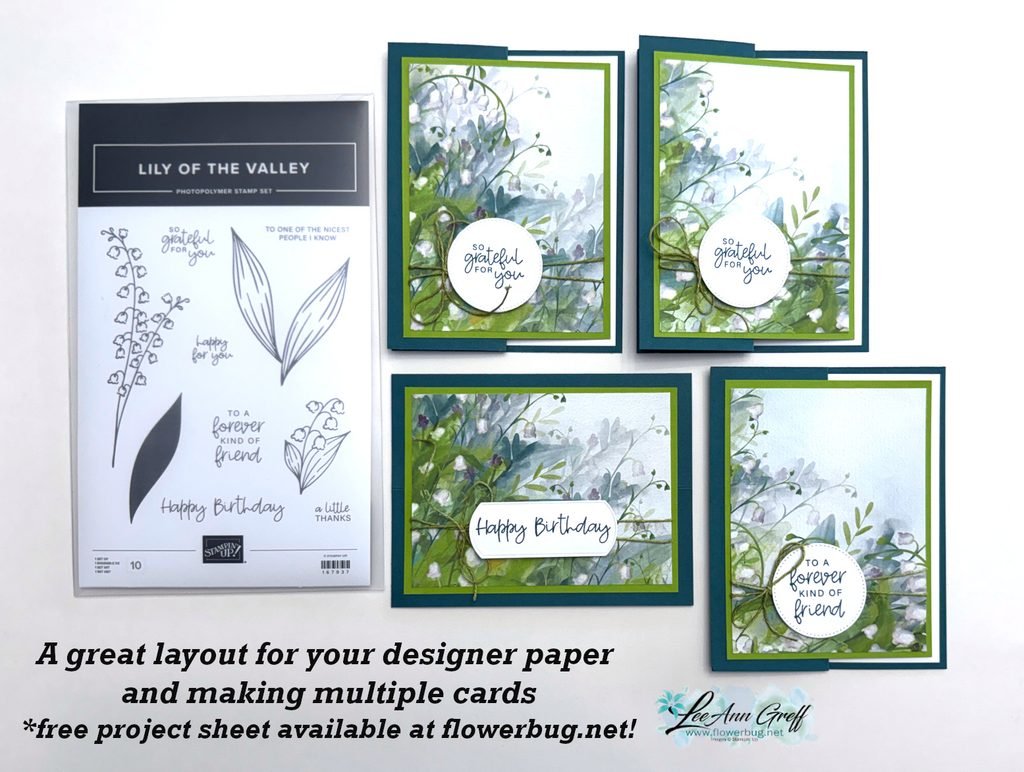
You can get more cards than I show above but I mistakenly cut in the wrong place and missed out on more. This pack of Valley in Bloom DSP has many beautiful sheets in it. Get some while it’s on sale.
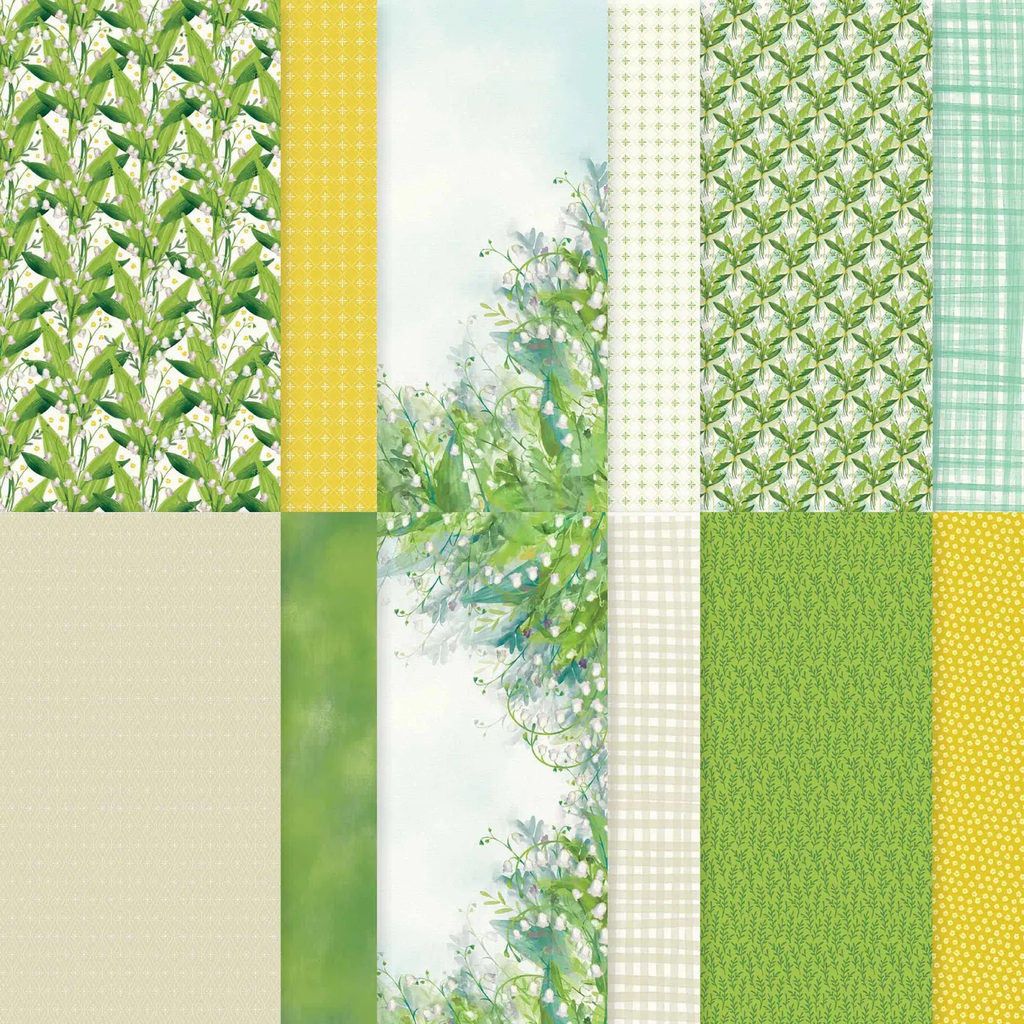
I recommend cutting the 12 X 12″ sheet into 6 pieces at 3 1/2″ X 4 3/4″. The two center pieces won’t have as much greenery on them but you could change the layout up a bit to reflect that.

My colors include Pretty Peacock with Old Olive & White. I used a variety of punches for my greetings; mostly from my stash of White elements.
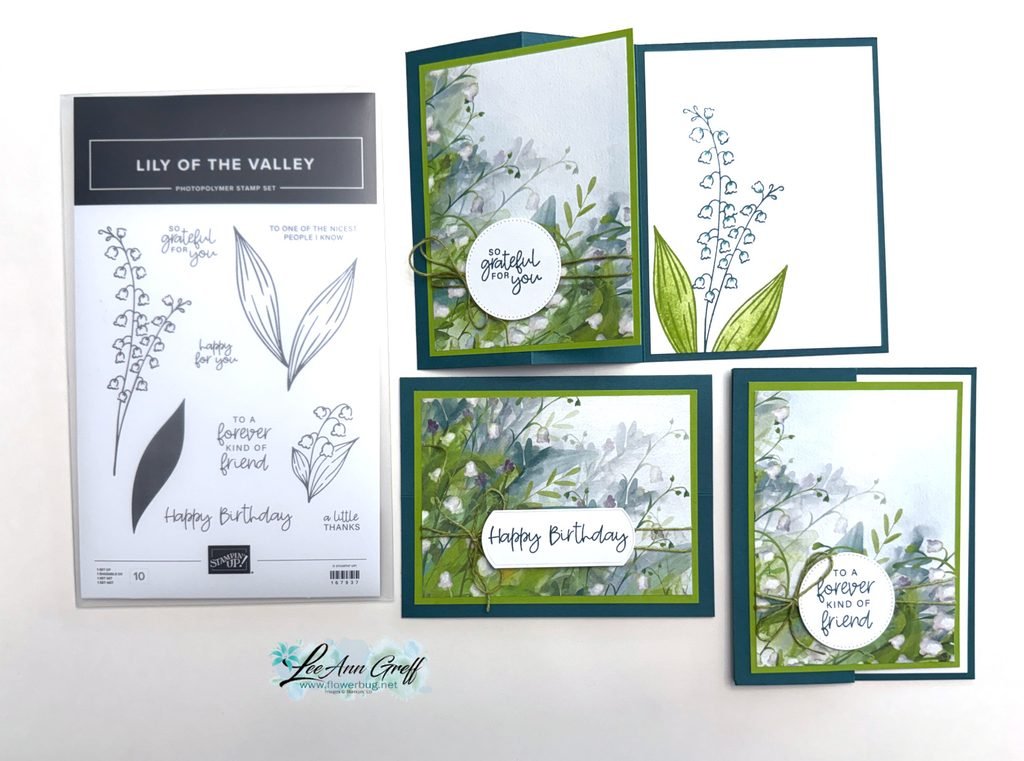
The card bases are 8 1/2″ X 5 1/2″ scored at 2 1/8″ & 4 1/4″. I made sure the Olive layer was small enough that the White inside piece shows as an inside layer. You can see the free project sheet with measurements, photos and supplies when you click here.

I stamped the inside of the cards with the Lily of the Valley stamp set and colored the flowers in with a Blender pen. I love this bundle so much. You can see it here.

You can see the video for this card and one more below. Don’t forget to subscribe to my YouTube channel!

August Specials

Don’t miss out on the Designer Paper & Cardstock sale! Click here to shop and save.

All Posts

  • Welcome Easter; three adorable card swaps!


    I received these cards in a long distance swap I participated in.  Unfortunately their labels came off so I don't know who made two of them so I cannot give credit.  So if you know of if it's yours please let me know!

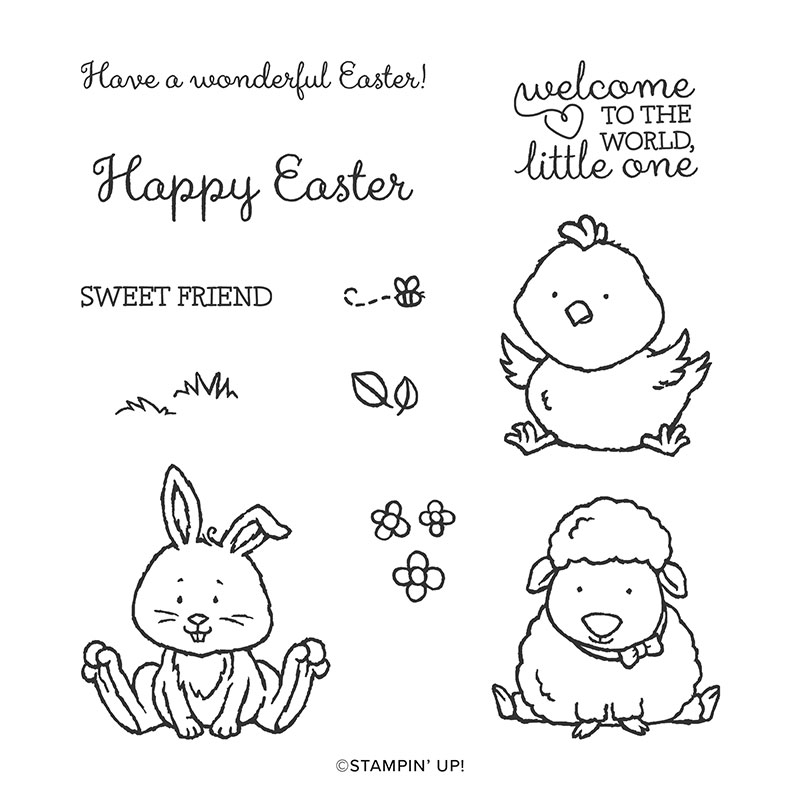
    They're so adorable I just had to share them with you! You can see this stamp set here: 


    Welcome Easter bunny.

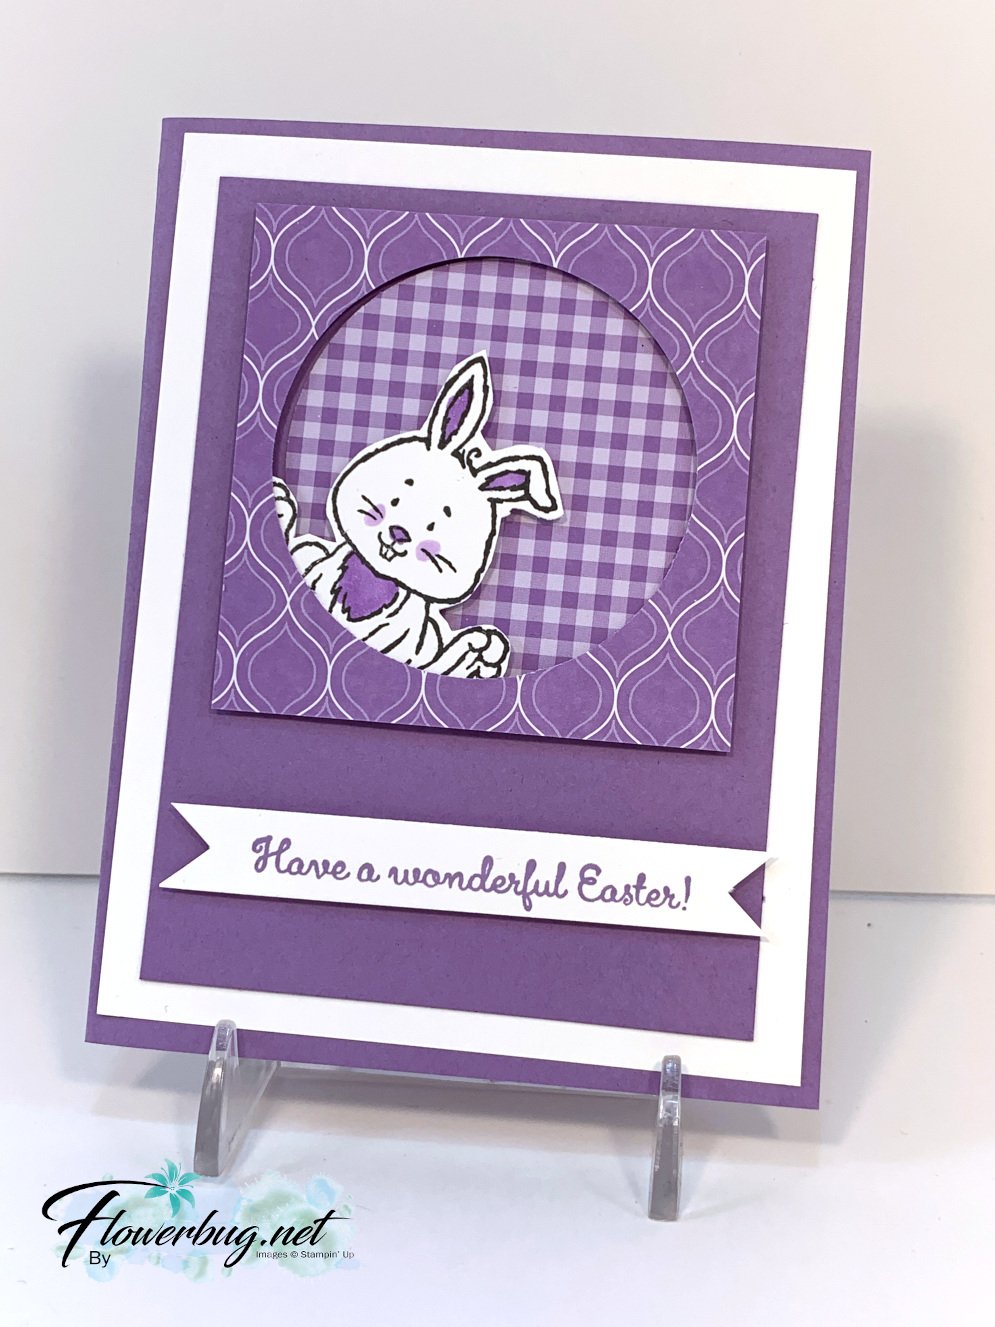
    I love this peek-a-boo bunny here!  Yes; it's fussy cut.  There aren't dies for it.  She used Highland Heather and our Subtles designer paper.  I really like how she die-cut a circle from the square, flipped it over to reveal the reverse side of the designer paper. Very cool!  See all of our packages of 6 X 6" designer paper here. 

    Welcome Easter bunny

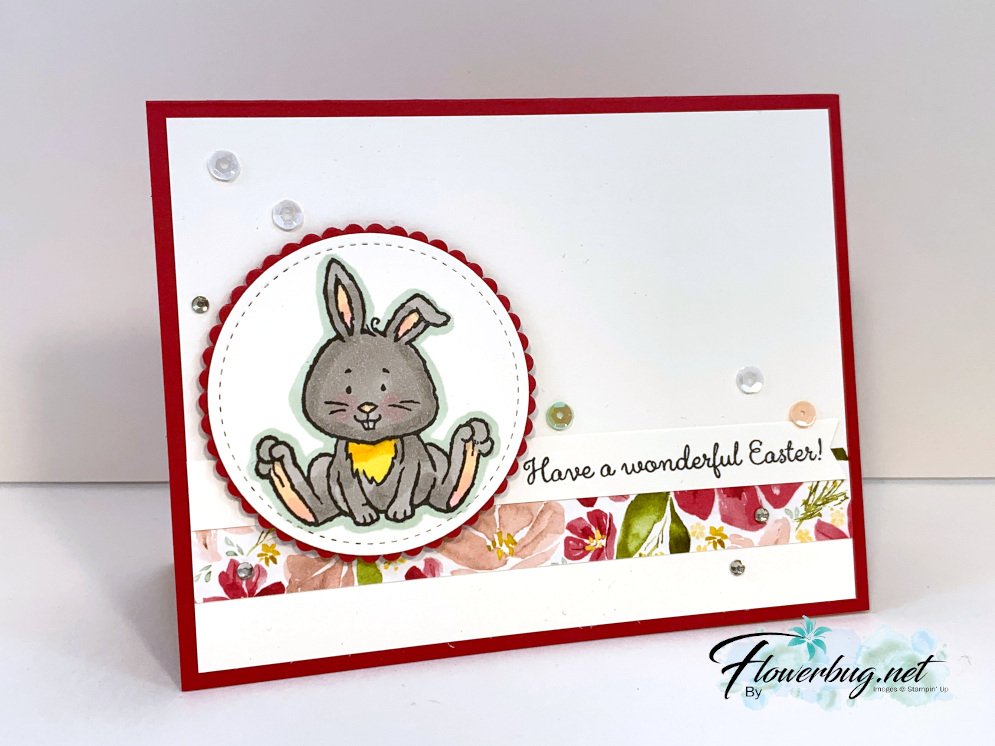
    That thin strip of Best Dressed designer paper adds a spring-like touch to it!  The sequins are from our Adhesive Backed package. 

    Welcome Easter lamb

    I know Karen Titus made this one. I just love her water-coloring!  Adding that bit of light gray or tan with a Blends marker adds so much depth!  

    The White is 2 5/8" stitched square from the Stitched Shapes dies.  The other colors are Seaside Spray, Gray Granite, Petal Pink and Soft Seafoam and are 1 3/4" square.  This layout really highlights the main image. 

    Have a wonderful Easter weekend! 

    ~~~~

    Two April ordering specials to choose from:

    All online orders in April will receive my tutorial of the month; with 16 cards

    featuring the Ornate Garden products seen here.

    Ornate Garden collage

    Orders between $55 and $99 will receive a free Simple Shammy!

    Use this host code for April: MMM4SXSB  

    ~~~~~


    Leave a Reply

    Your email address will not be published. Required fields are marked *

  • April’s card kit to go


    I chose to use the Well Dressed designer paper for my card kit to go this month.  This paper is full of stylish images and soft florals.

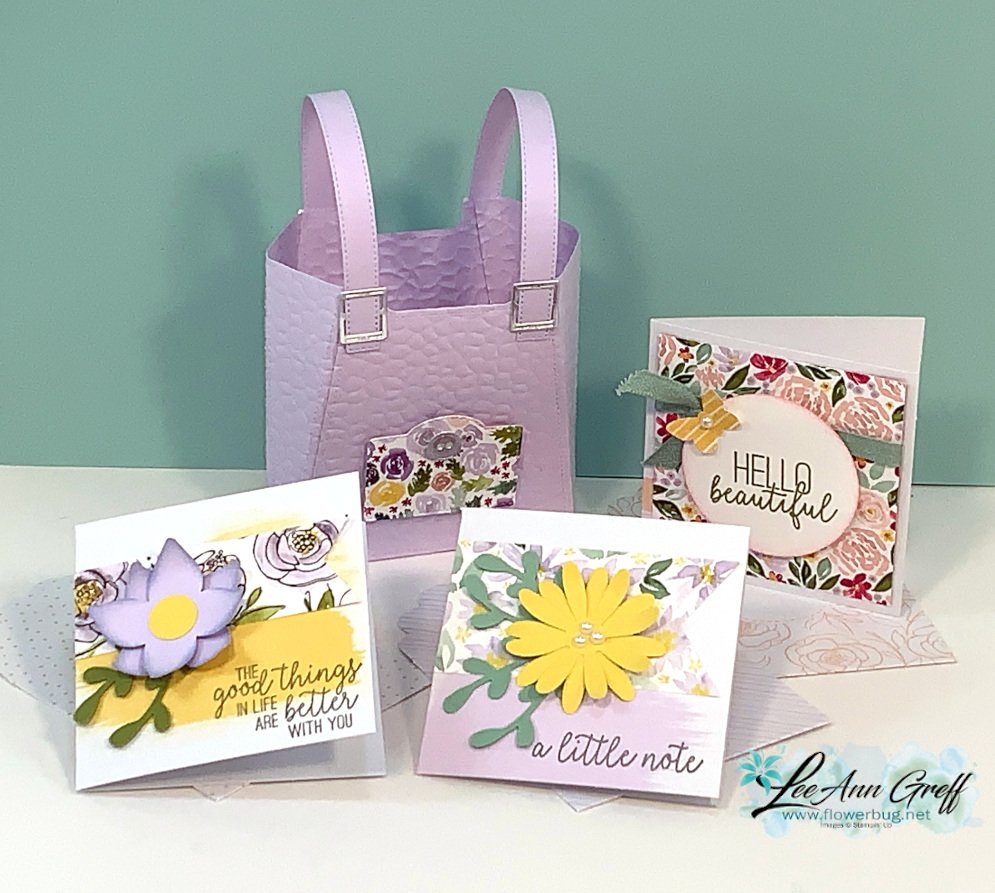
    This month's kit includes 4 unique fun-fold cards but you get two of each!  Plus I added an adorable pre-cut bag filled with mini cards too!  Look! 

    WEll Dressed all cards & bag

    Each card is finished differently giving you lots of options! This kit to go includes $20 in product plus more!

    • a full package of the 6 X 6" Best Dressed designer series paper seen here. 
    • 1 full spool of Mint 3/8" satin ribbon
    • a full package of Pearl jewels
    • a pdf tutorial for all 8 fun fold cards plus the purse and mini cards
    • the pre-cut kit!  It includes pre-cut, punched and die-cut pieces ready to stamp and assemble.
    • You'll cut your own designer paper using the measurements in the tutorial. 

    Well Dressed bag and cards

    I used the Dressed to Impress, Butterfly Gala and Peaceful Moments stamp sets to finish mine.  In the tutorial I give you two examples of each card so you can make either or both.  Add on either stamp set or bundle at a 10% discount! 

    You have two choices: get the pre-kit to go which includes the pdf tutorial.  Or opt to purchase the pdf tutorial alone. 

    You can see and purchase both here on my Tutorial Shop.  Be sure to opt in by Friday, April 17th! 

    Here are some comments from happy customers: 

    • Your directions are always so easy to follow and your projects are unique.
    • Wow!  That was slick!  I’m sure I will be ordering more from you in the future.
    • I absolutely LOVE your cards and can't wait to get my fingers inky!!
    • I just received the March card kit and love it!  Please sign me up for the monthly kits. 
    • LeeAnn, I purchased this class last Sunday.  I made all the cards, and had a great time.  I loved all the different folds and color choices.  Thanks for making my week!

    ~~~~

    Two April ordering specials to choose from:

    All online orders in April will receive my tutorial of the month; with 16 cards

    featuring the Ornate Garden products seen here.

    Ornate Garden collage

    Orders between $55 and $99 will receive a free Simple Shammy!

    Use this host code for April: MMM4SXSB  


    Leave a Reply

    Your email address will not be published. Required fields are marked *

  • Music From the Heart; in a rainbow of colors!


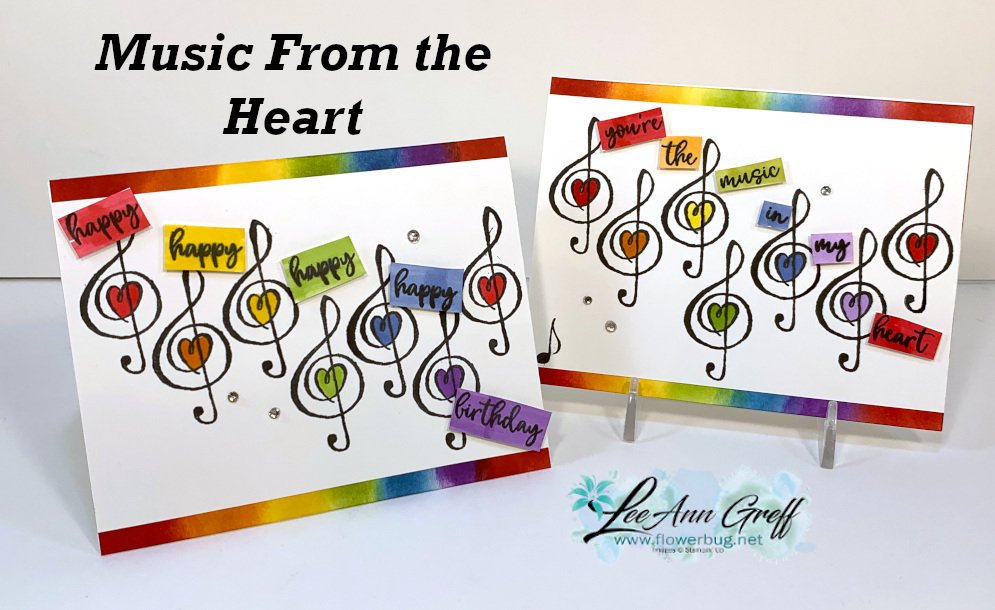
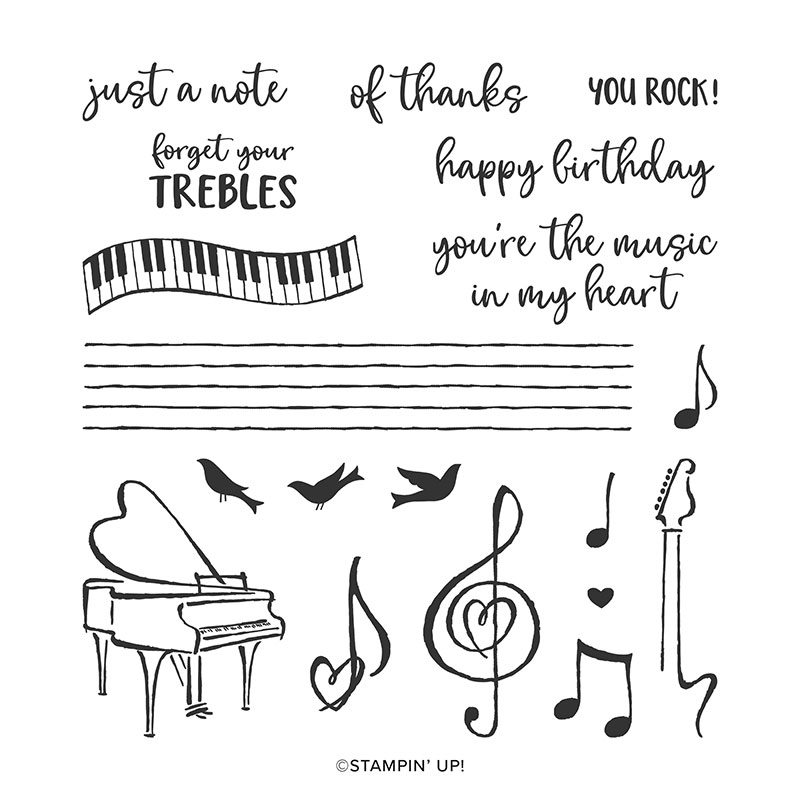
    I saw a card like this online made by Diane Barnes and had to make it for my friend Becky's workshop a few weeks ago.  She loves color!  It's made with the Music From the Heart stamp set seen here.   It's just $17!

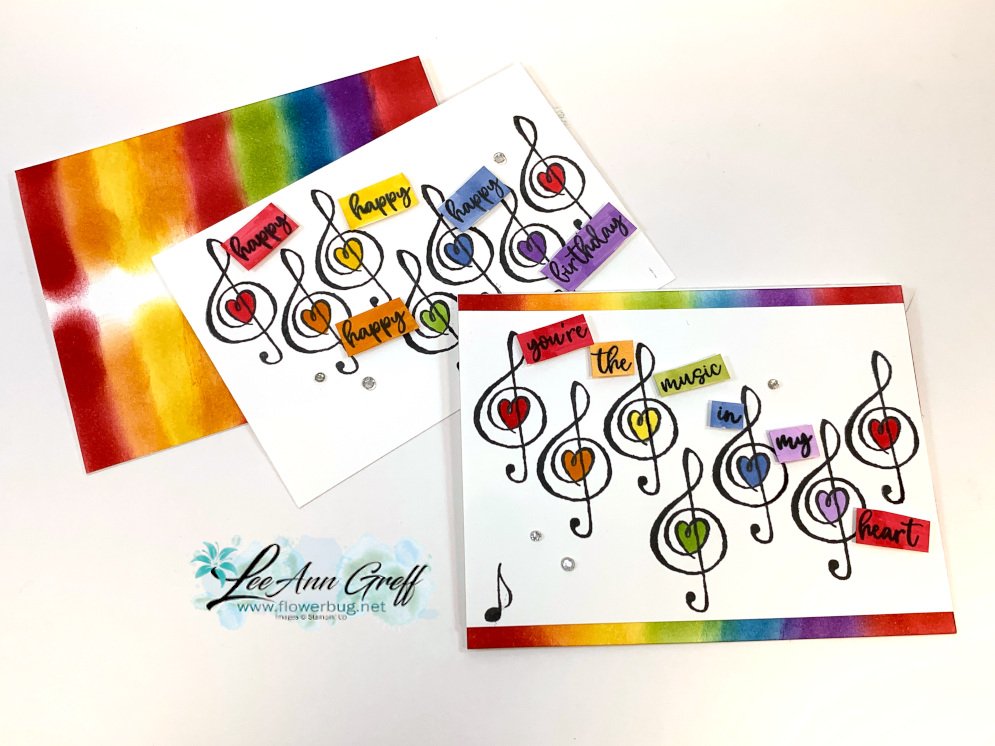
    Music from the heart technique

    We stamped the treble clef multiple times and the greeting on a separate piece of White CS.  Then we fussy cut the words apart and colored each one with a Blends marker.  

    The rainbow of sponged colors are done on another piece of card stock measuring 4 1/4" X 5 1/2"; the same size as the finished card.  Our sponge daubers work perfectly here.  It looks pretty messy but you are only seeing a 'peek' of in on the edge so it really doesn't matter much. It's the rainbow of colors you're wanting on the edge. 

    Music From the Heart rainbow

    Measurements:

    • White full card 5 1/2" X 8 1/2"
    • White sponged layer is 4 1/4" X 5 1/2"
    • White stamped layer is 3 3/4" X 5 1/2"

    Details:

    • Ink colors are Real Red, Pumpkin Pie, Daffodil Delight, Granny Apple Green, Pacific Point, Gorgeous Grape.
    • Blends colors are Real Red, Pumpkin Pie, Daffodil Delight, Granny Apple Green, Light Navy, Dark Highland Heather  

    ~~~~

    Two April ordering specials to choose from:

    All online orders in April will receive my tutorial of the month; with 16 cards

    featuring the Ornate Garden products seen here.

    Ornate Garden collage

    Orders between $55 and $99 will receive a free Simple Shammy!

    Use this host code for April: MMM4SXSB  

    ~~~~~

    Or….

    Join my $1000 party! 

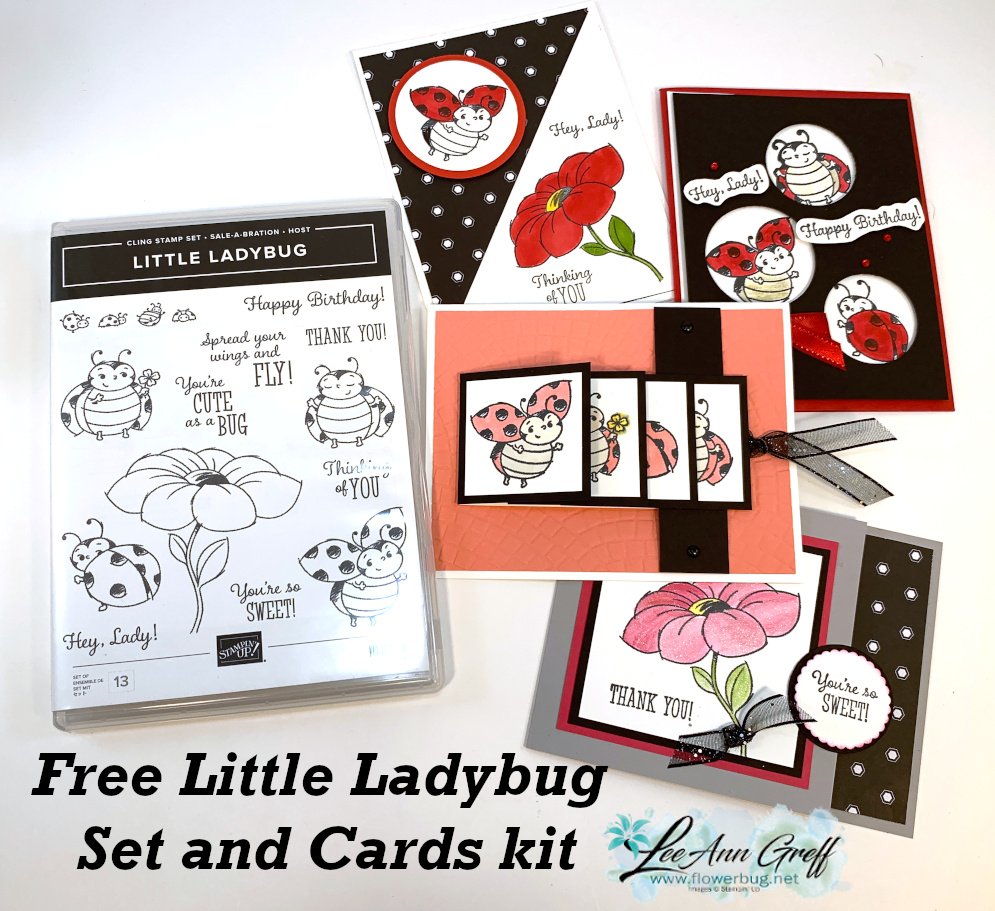
    The first 10 people in April to order over $100 using this exclusive party host code 49HFZ6G3 will get a free Little Ladybug cards class that includes the stamp set and a 4 cards pre-cut kit! 

    There are 4 sets left!

      Little Ladybug free class

    Leave a Reply

    Your email address will not be published. Required fields are marked *


Notice: LeeAnn Greff, Independent Stampin’ Up! Demonstrator, Manager. The content of this website is my sole responsibility as an independent Stampin’ Up! demonstrator and the use of, and content of, the classes, services, or products offered on this website is not endorsed by Stampin’ Up! Copyright 2025