The next 3 months of gorgeous Paper Pumpkin kits – wow!
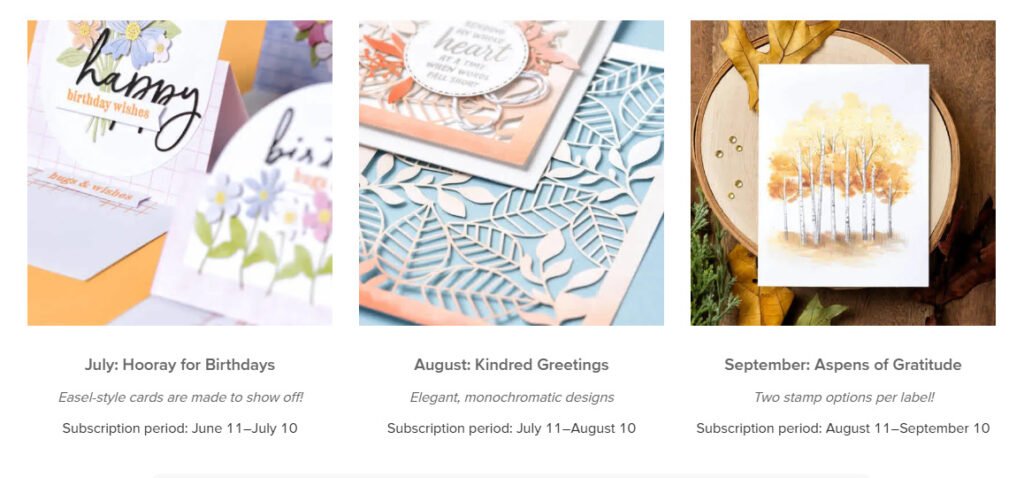
If you love working with ready to create kits; you have to see the next 3 months of Paper Pumpkin card kits! I think they’ll be some of our favorites ever! Here’s a sneak peek:
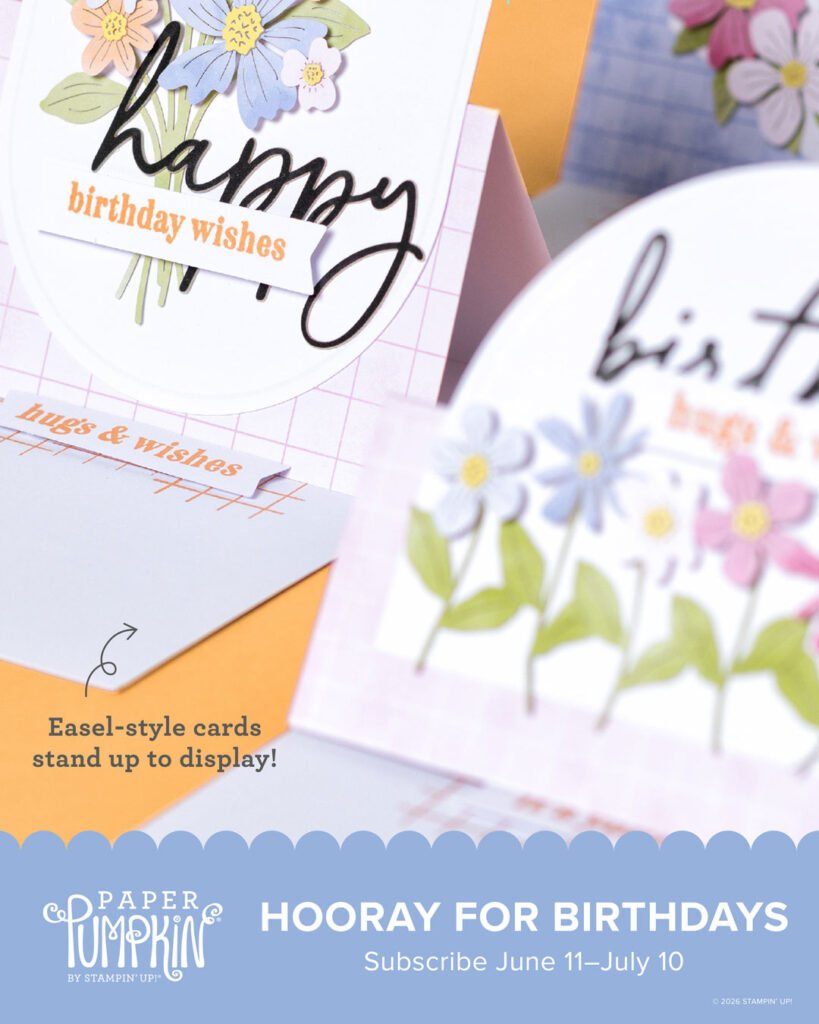
If you subscribe before July 10th you’ll receive the Hooray for Birthdays kit. Go here to subscribeand get a fun kit in the mail each month.
Remember you are in charge of which kits you receive. You can pause or skip any kit at any time. We always get a hint of what the upcoming kits will be.
Or get a pre-paid subscription in either 3, 6 or 12 months increments. It’s so nice to get a fun surprise in the mail each month! And you save when purchasing a pre-paid subscription plus earn FREE product credits! Shop here for this option.
And remember that once you’re a subscribe you have access to all of the past kits, refills and extras available. A great perk!
Here’s the flyer for the next 3 months. It describes each kit in detail.
All Posts
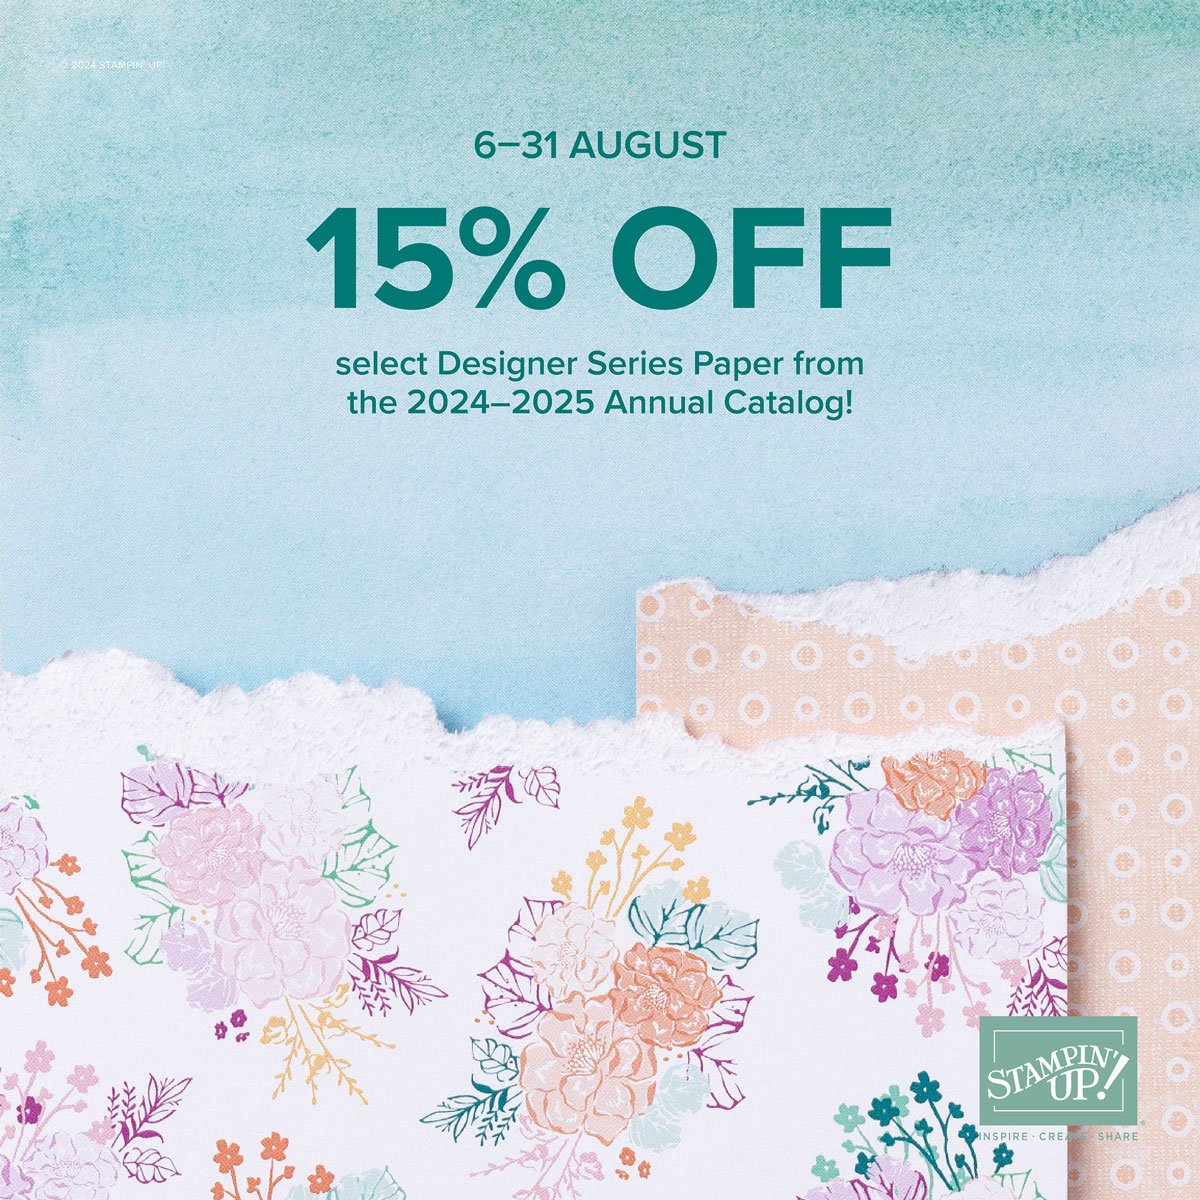
The Designer Paper sale starts today!
The Designer Paper sale starts today!
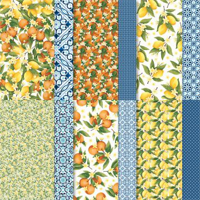
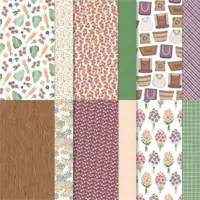
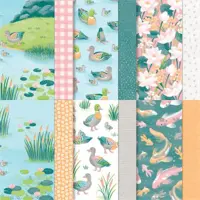
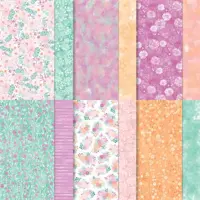
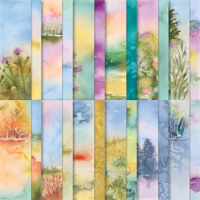
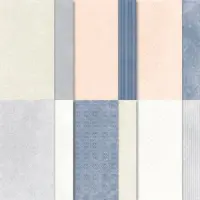
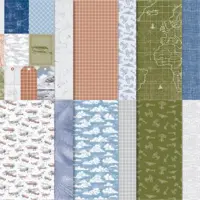
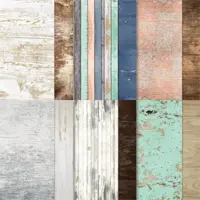
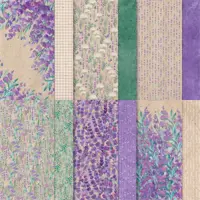
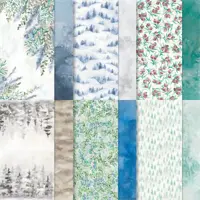
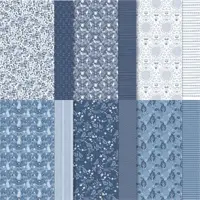
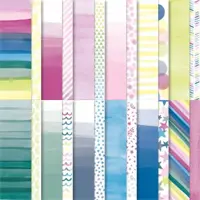
Between 6–31 August, you can shop select Designer Series Paper from the 2024–2025 Annual Catalog* at 15% off! This is the perfect time to stock up and save on some of your favorite paper.
Use your nesting dies to create a designer paper window – video & free project sheet
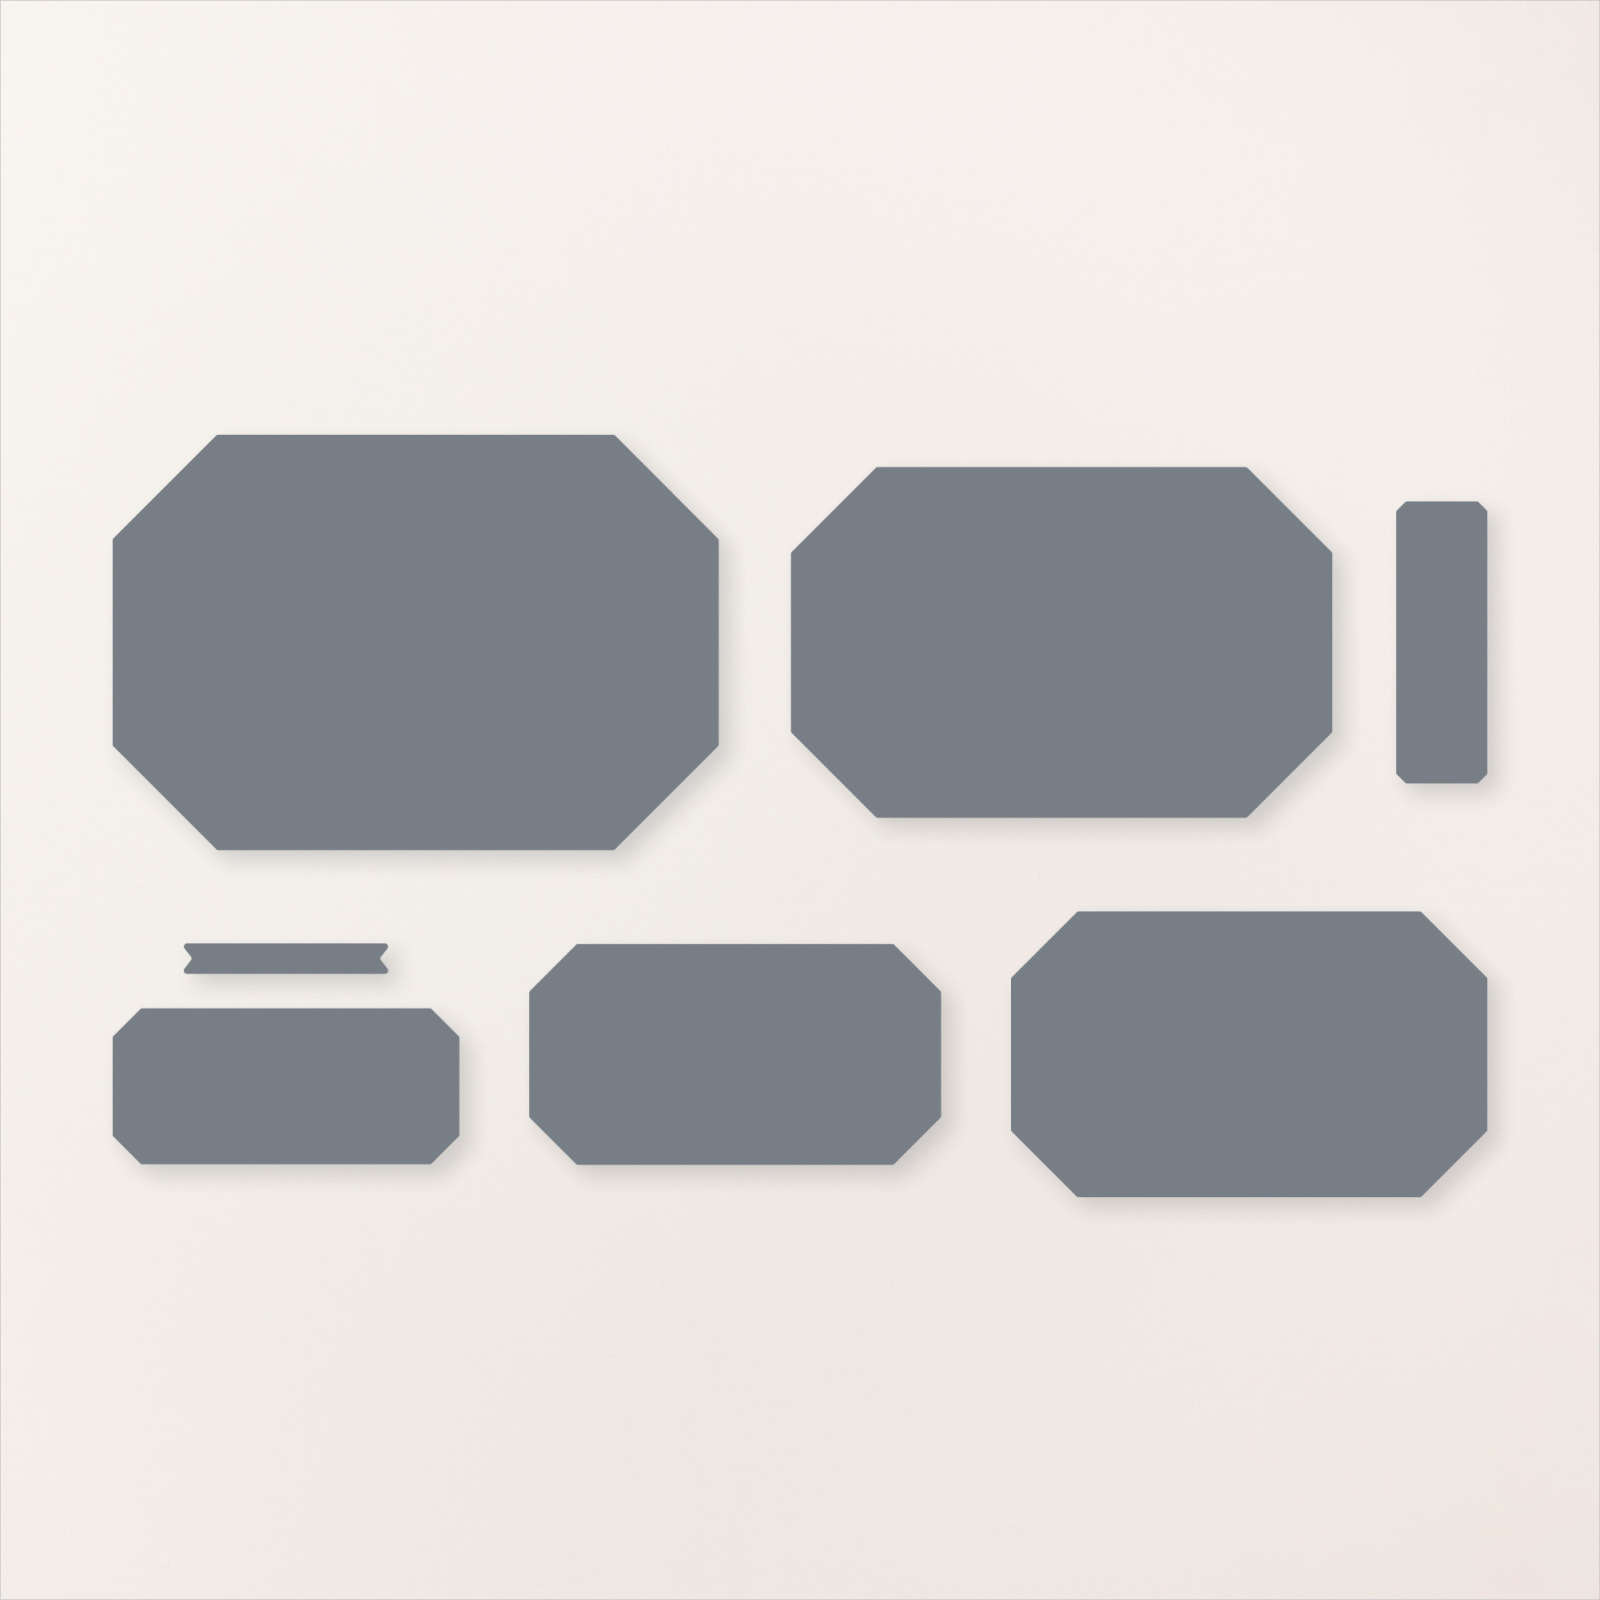
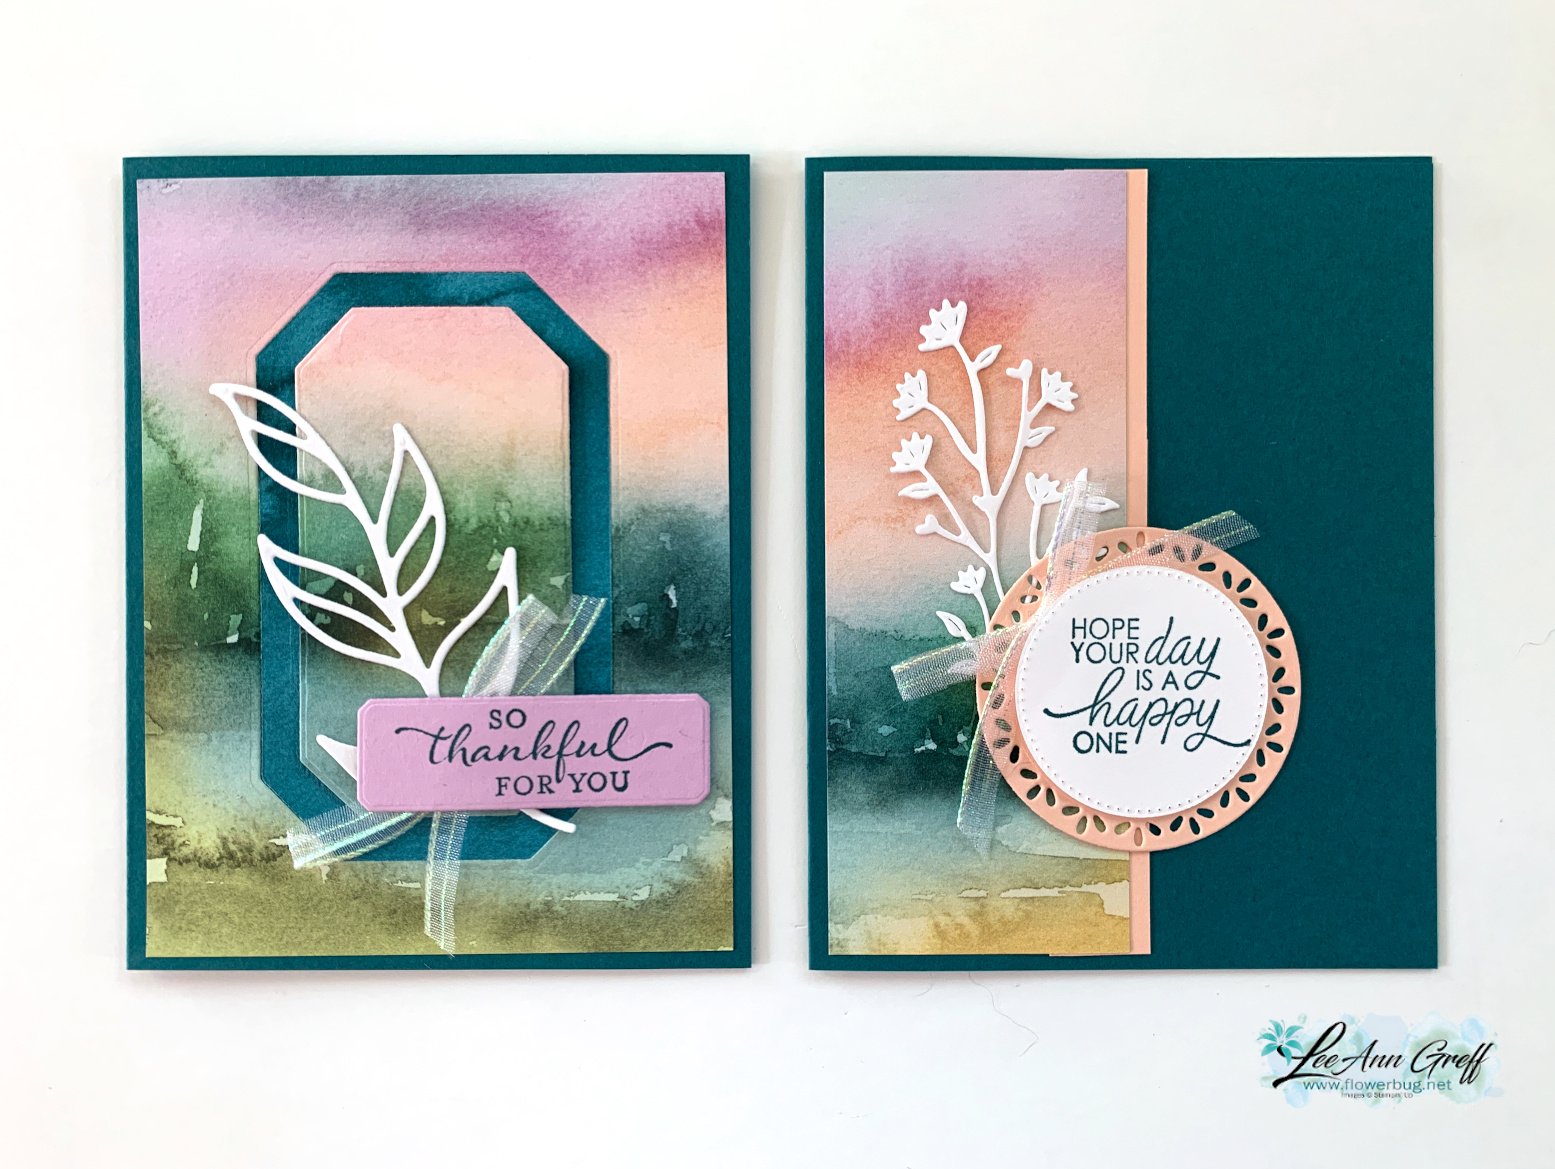
On last week's Live video I shared a neat way to use nesting dies to create a frame with your double sided designer series paper.
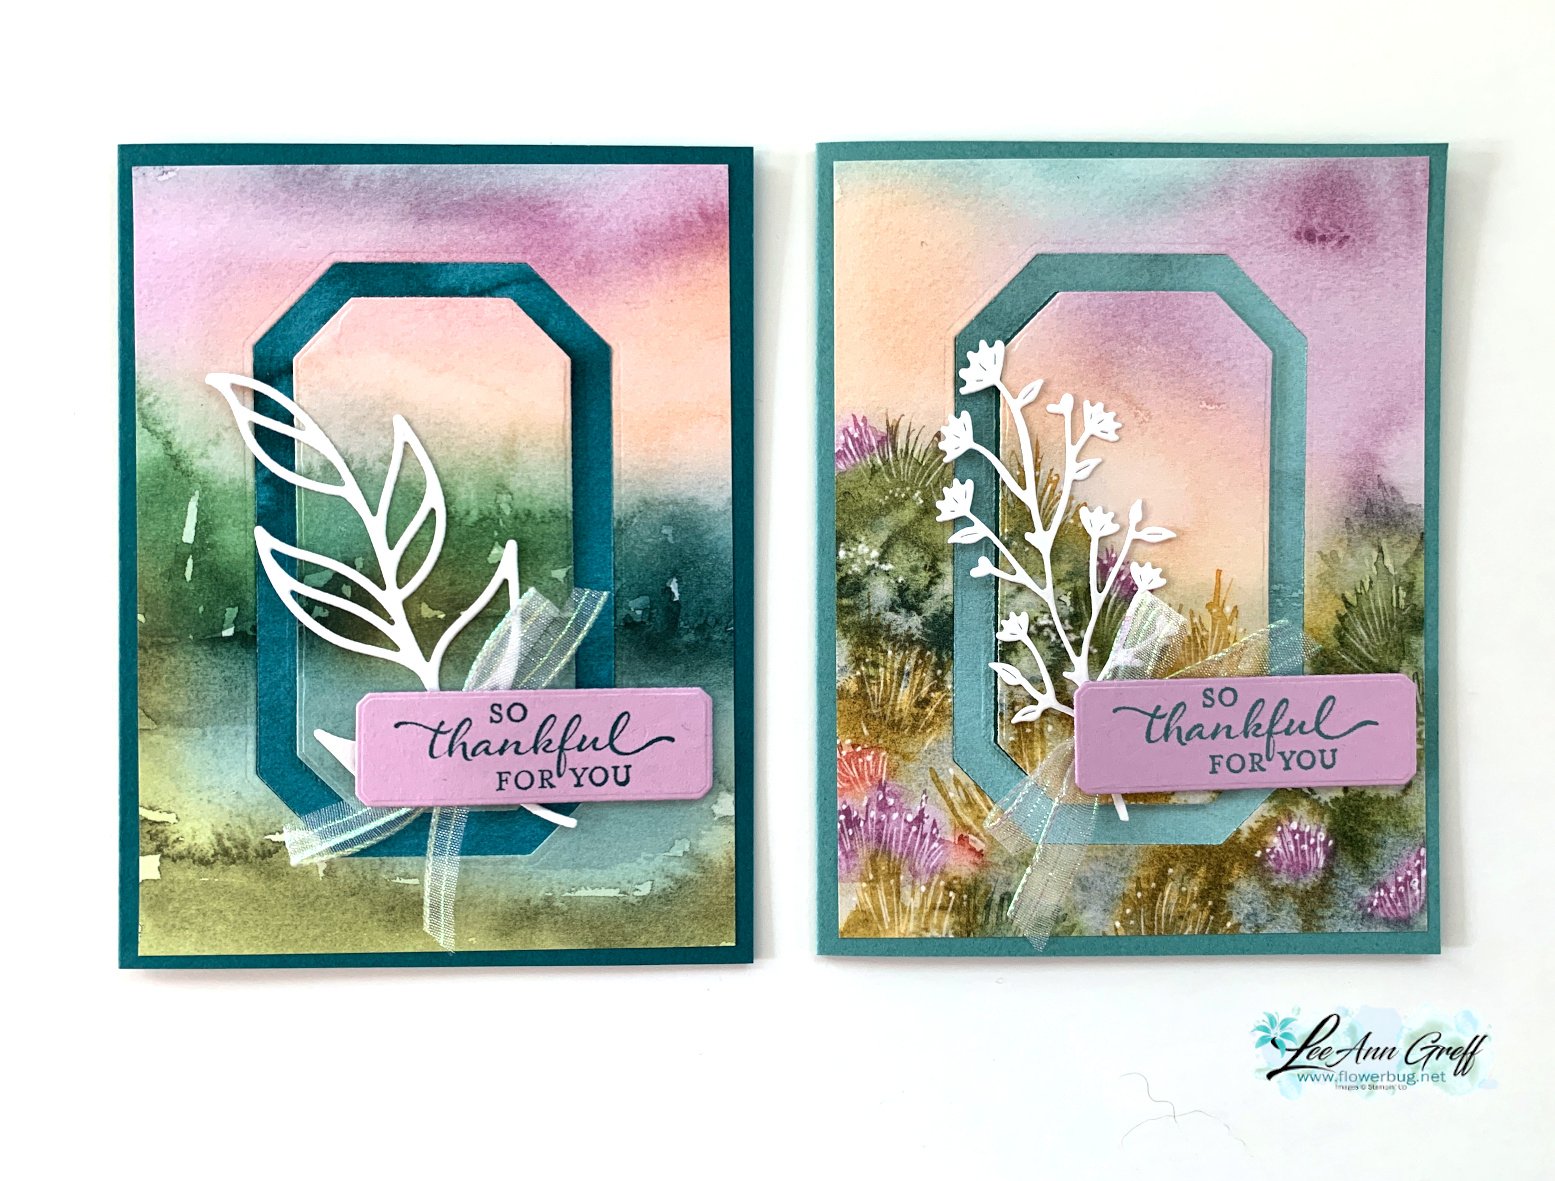
I chose to feature the Thoughtful Moments DSP with this neat technique. Simply choose two dies that are the same shape and about 1/4-1/2" apart. Die-cut and then flip over the narrow frame to reveal the opposite side of the Designer Series Paper. It's so neat!
**This Designer Paper and many more will be on sale starting Tuesday, August 6th! Details will be shared tomorrow.
The leaf die is from the Friends for Life dies. My nesting dies are called Countryside Corners and can be seen here.
Tip – be sure the color of the opposite side of your paper coordinates with the front. I chose the card base to match the frame – Pretty Peacock. My greeting is in Fresh Freesia.
Here are both cards shown on the video; the second card on the right has a Lost Lagoon frame & card base. The White die-cut on the right card is from the Thoughtful Wishes bundle.
The designer paper for these cards is 4" X 5 1/4" which leaves a 2" strip for another project. I wanted to share a quick card to use up that leftover piece:
I simply added it to the card base with a coordinating card stock strip on the edge. Then added layering circles for my greeting.
If you're wondering about the ribbon, it's the pretty Iridescent 1/2" striped trim seen here. I cut it in half to get 1/4" thick trim. It has been unavailable for awhile but it's back now.
Here are all 4 cards I shared in the video you can see here.
Here's the video below to see how this is done plus another card idea with the beautiful Thoughtful Journey designer paper. I'll share the second card Wednesday.
Today I'm sharing the last of our July Team swap cards. Our theme was thank you cards without flowers.
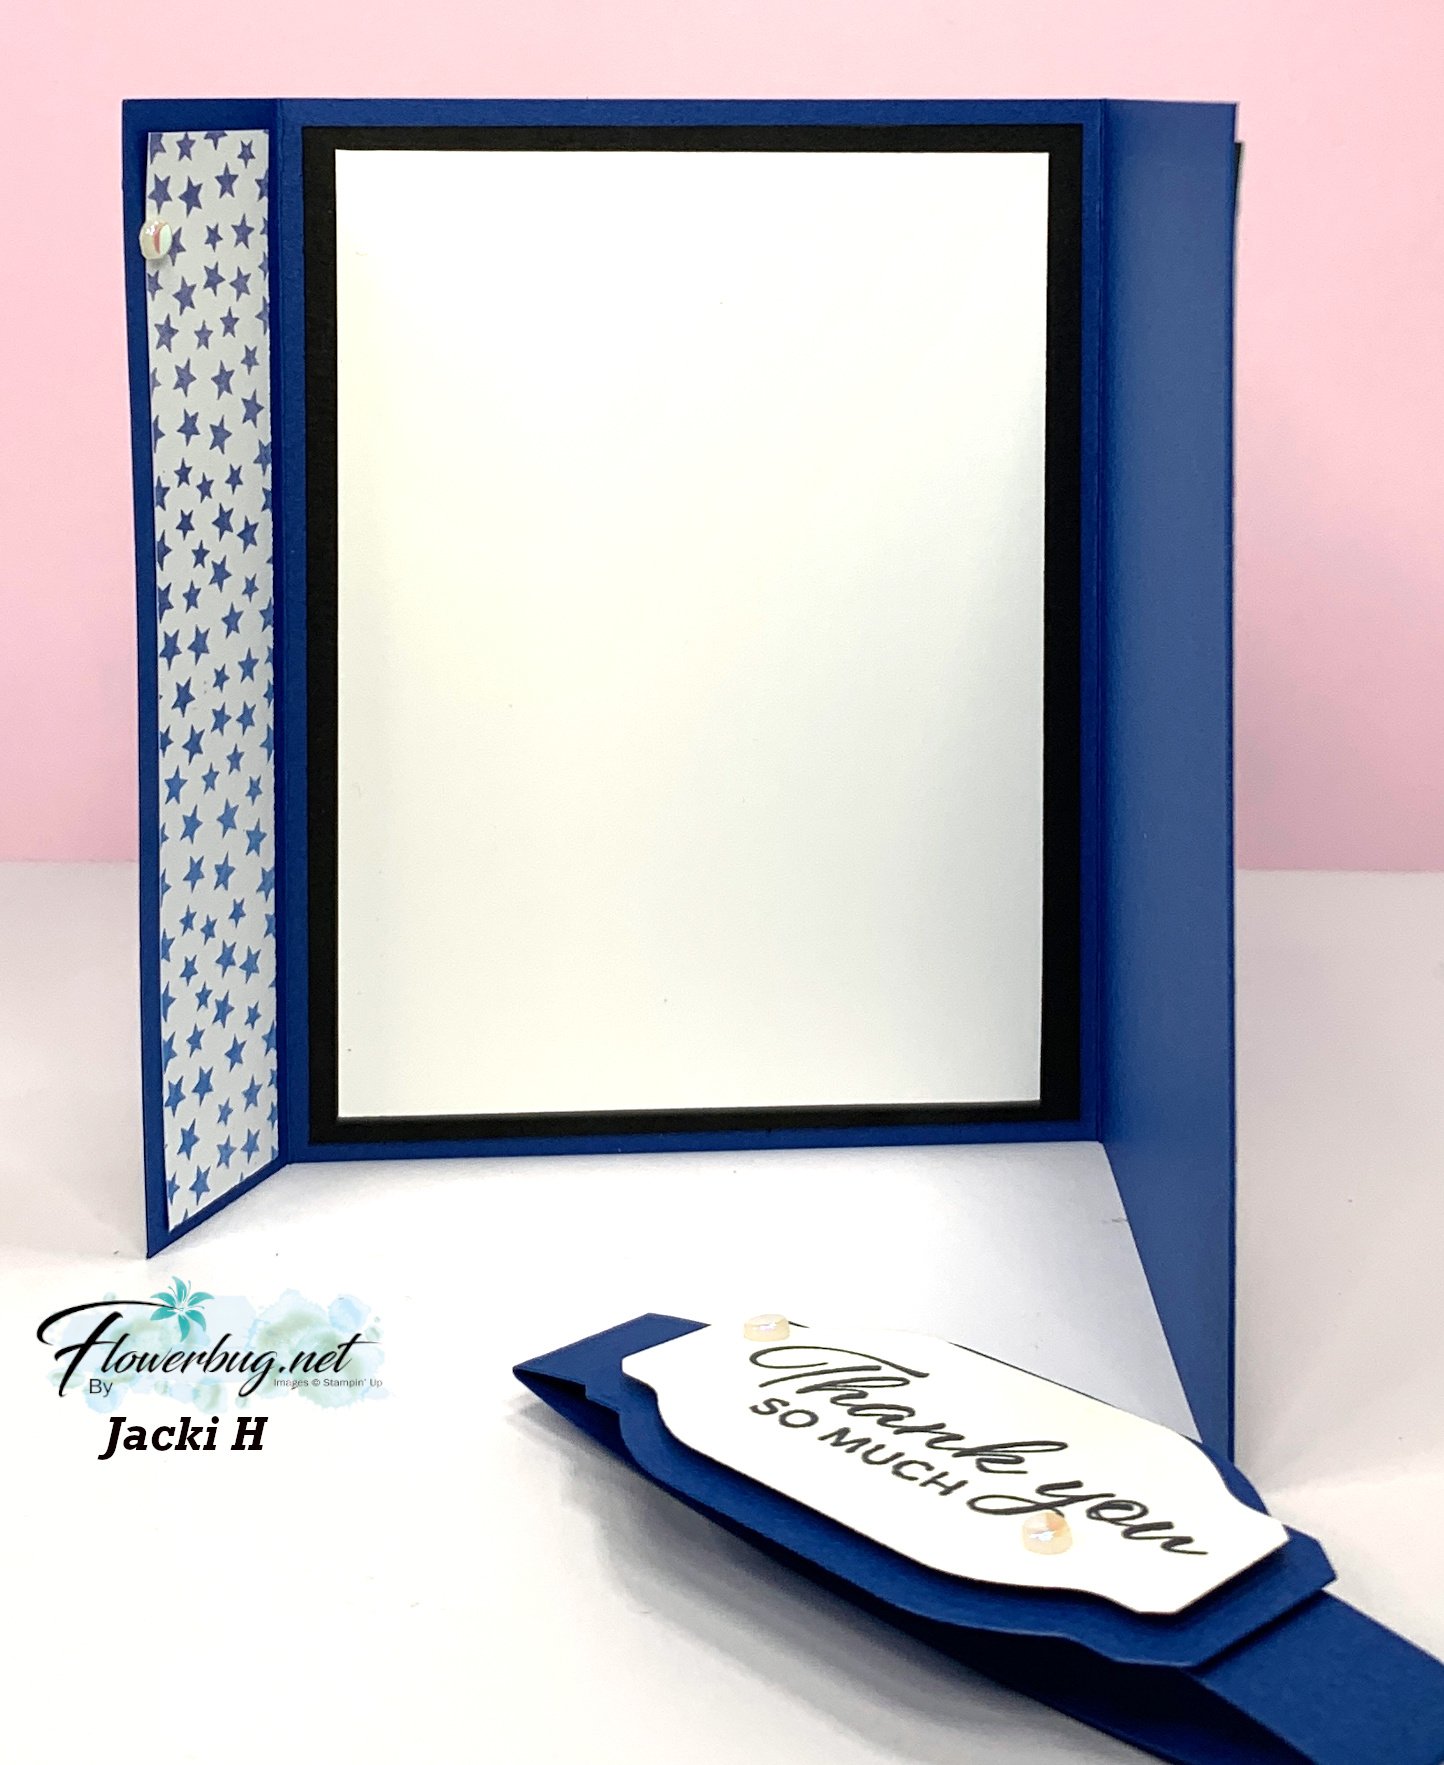
Jackie made this special fun fold card that has a gift card option:
It's held together with a belly band with a greeting attached. She used the Bright & Beautiful designer paper – it carried over from last year's annual catalog and can be seen online here.
The texture is from the Cane Weave 3D embossing folder seen here
The front right flap folds back and is secured at the top and bottom leaving space to add a gift card or money if you'd like.
Measurements:
Blueberry Bushel card base 11" X 5 1/2" scored at 1 1/4", 5 1/2", 9 1/4"
Designer paper left front & inside panels 1" X 5 1/4", right front panel is 1 1/2" X 5 1/4"
White inside 3 5/8" X 5", textured right panel 3 1/4" X 5"
Black inside 4" X 5 1/4"
Belly band 7 1/2" X 3/4"
~~~
Ginny made this cute card with the A Little Latte designer paper
Her colors include Calypso Coral and Pecan Pie. She cased this card from Karen Ksenzahovie from Creative Stamping Designs. I like the little details of the three DSP strips under the coffee cups. Her greeting is heat embossed in White.
~~~
Mary also featured the A Little Latte designer paper and the Latte Love bundle. These products can be seen online here.
Her colors include Pecan Pie with Lost Lagoon and White. She trimmed off an inch from the left front to reveal the cute trio of die-cut coffee cups inside. Cute detail!
Thanks for hanging in with us to see all of the July Team swaps!
Notice: LeeAnn Greff, Independent Stampin’ Up! Demonstrator, Manager. The content of this website is my sole responsibility as an independent Stampin’ Up! demonstrator and the use of, and content of, the classes, services, or products offered on this website is not endorsed by Stampin’ Up! Copyright 2025






















Leave a Reply