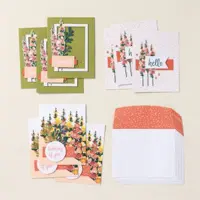
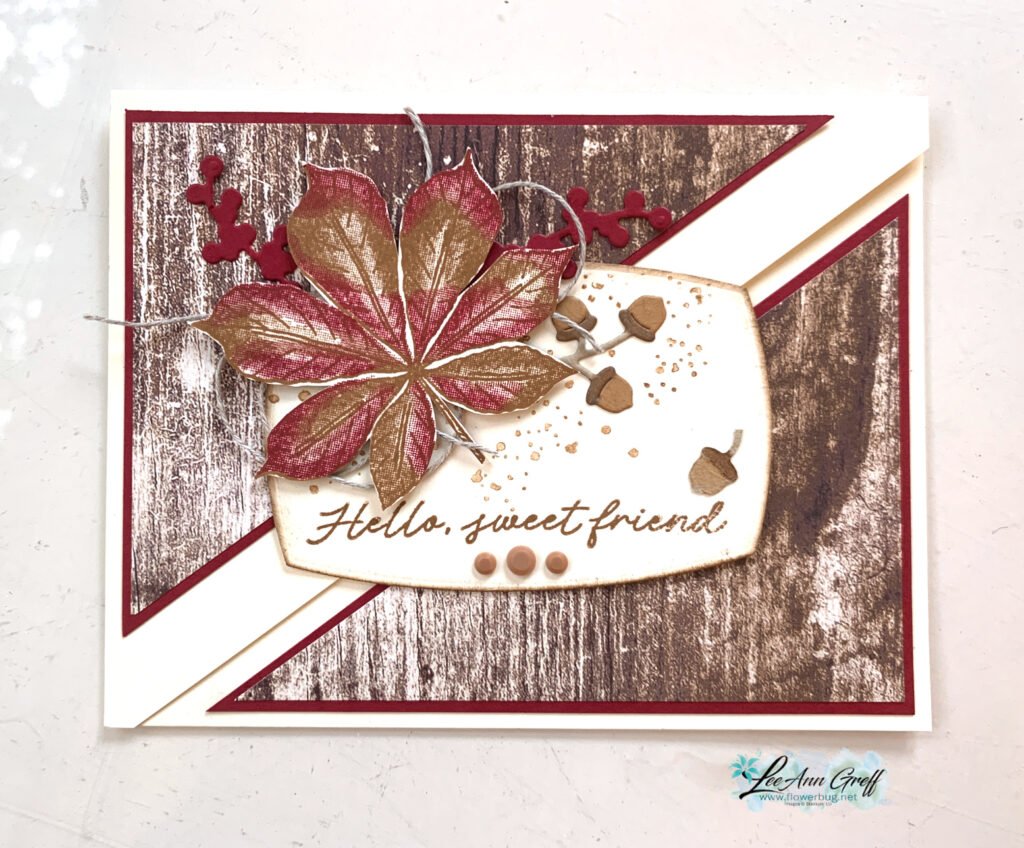
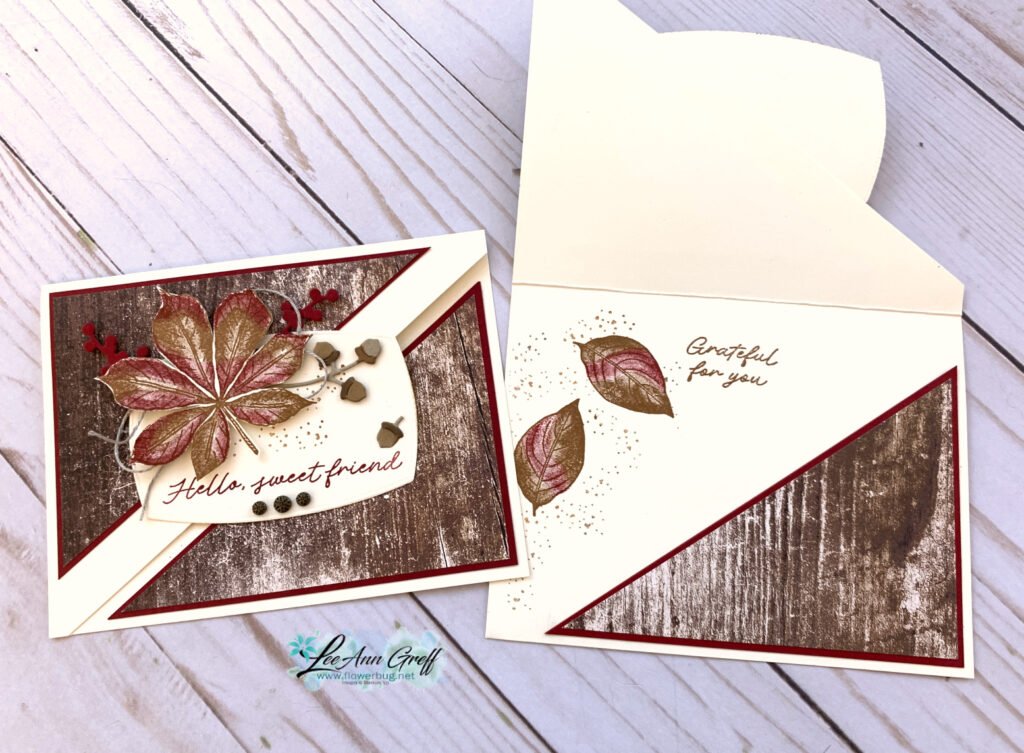
I’m excited to share this neat card with you today. We made it at my April Card Clubs.
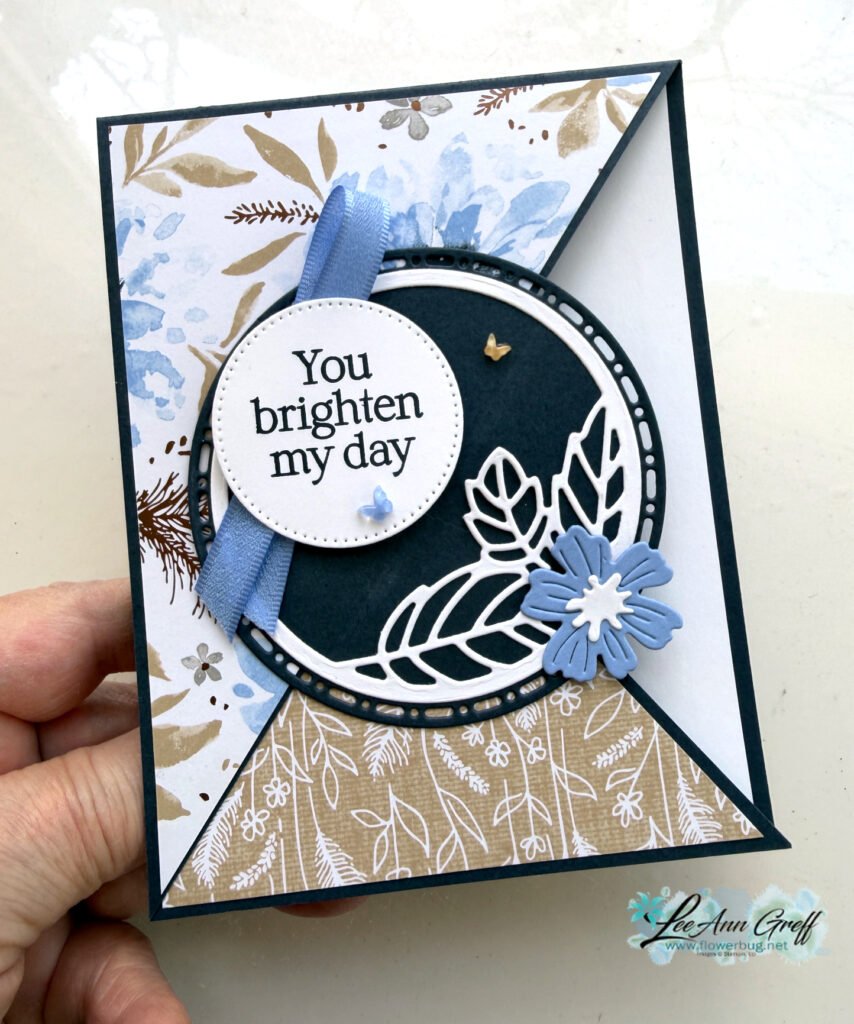
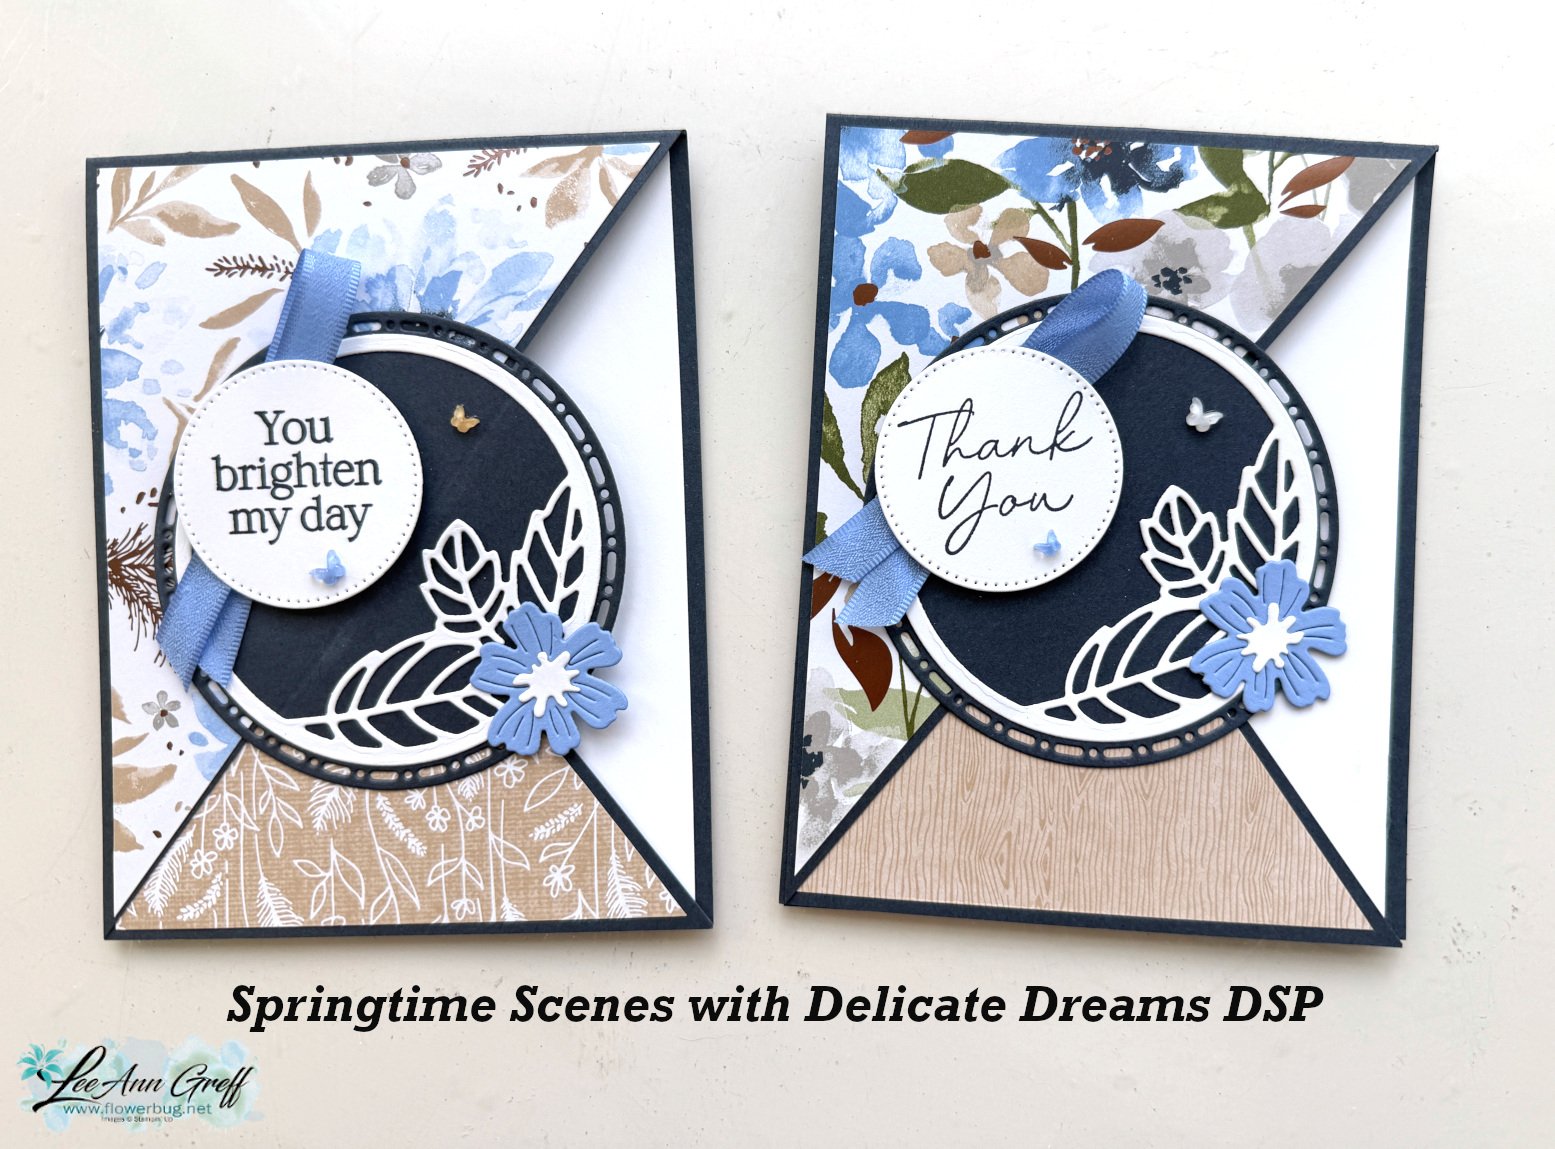
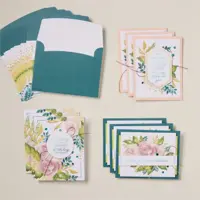
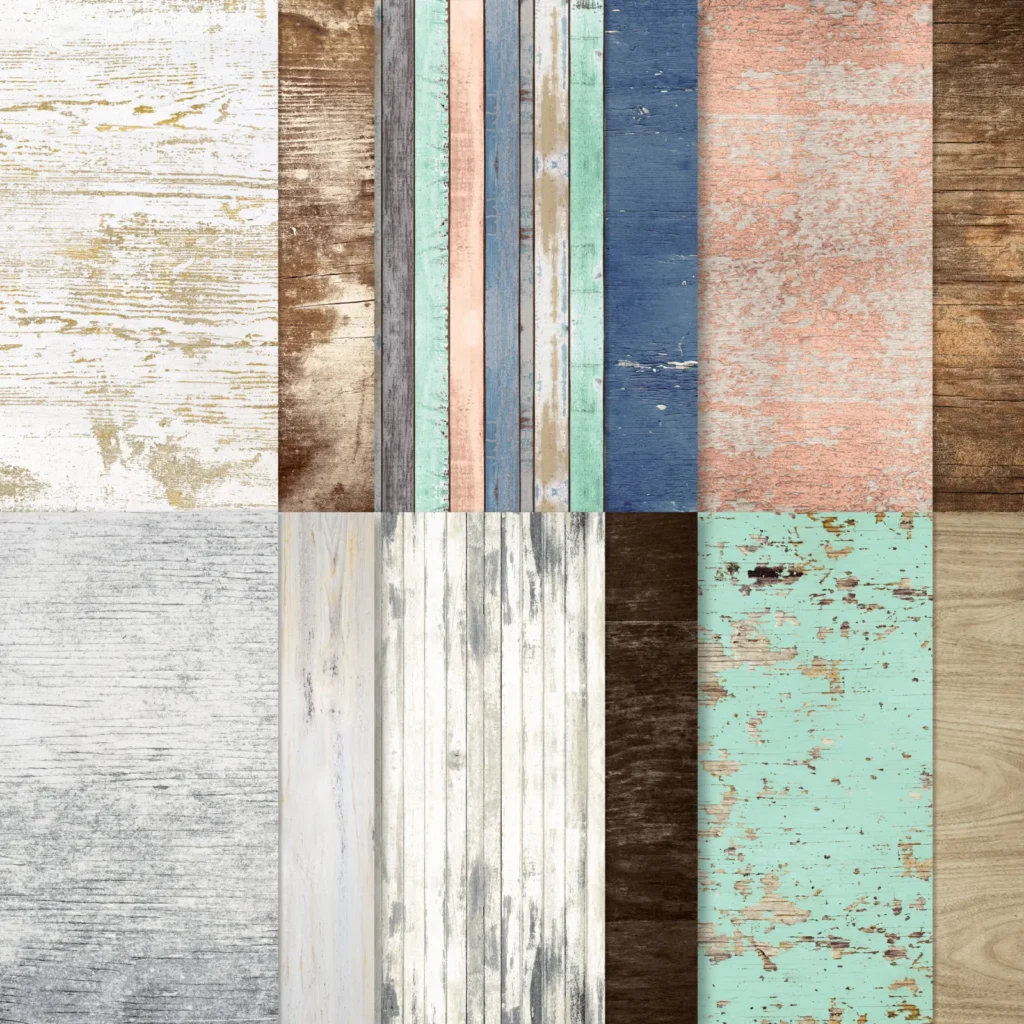
Isn’t it beautiful? It features the Springtime Scenes bundle seen here and the Delicate Dreams DSP seen here. This DSP is so pretty they cannot keep it in stock! Be sure to add your email to the product so you get notified when it comes back in stock.
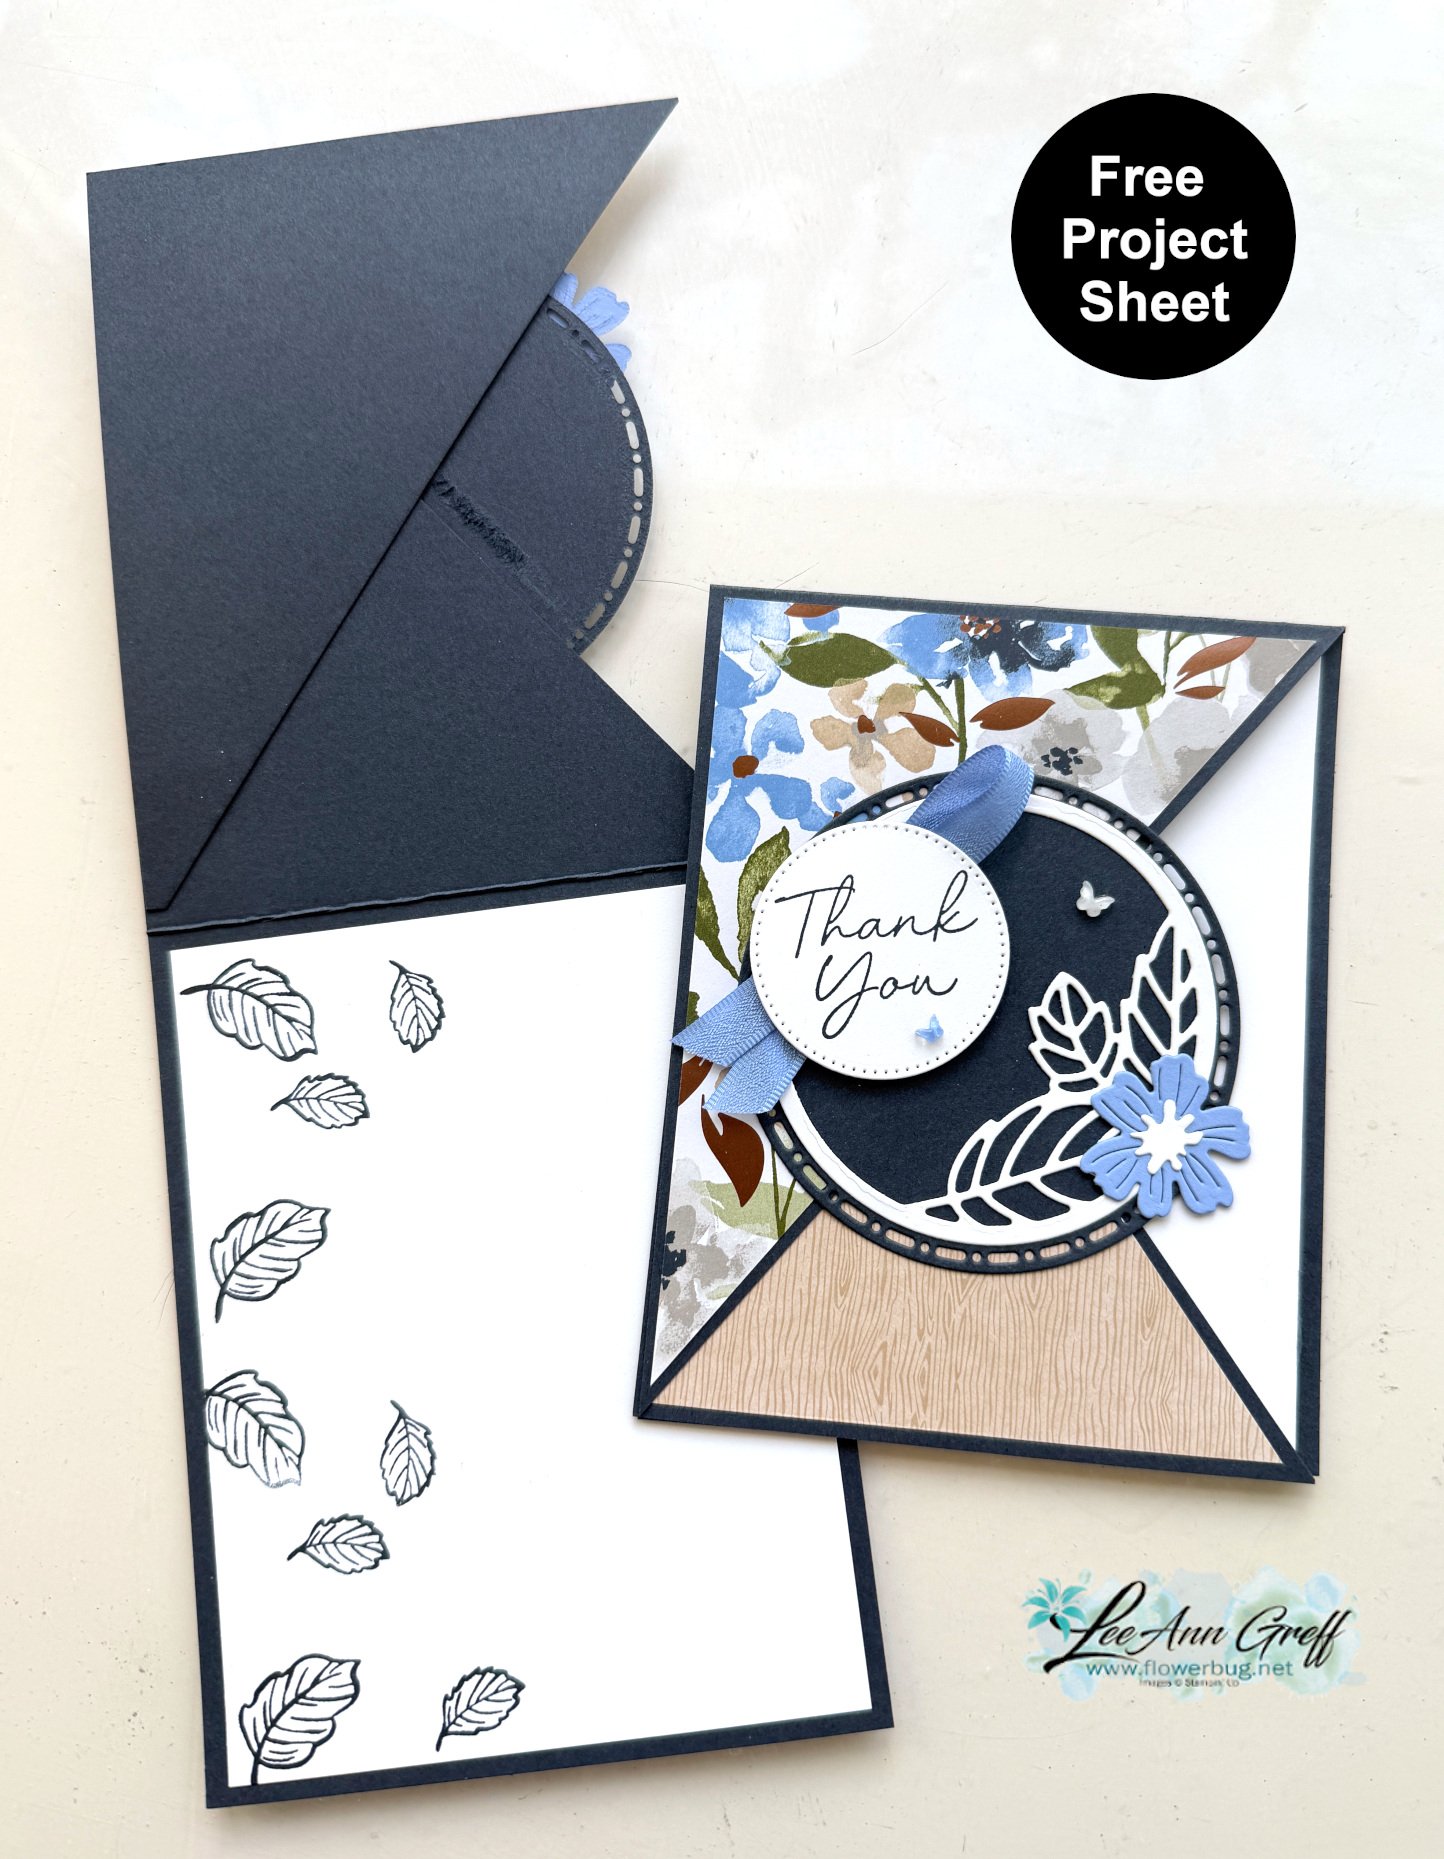
This card might look like it’s difficult but it’s as simple as trimming off one half of the card front at a diagonal and flipping it over. Yup; that’s it! Watch my video below to see how it’s done.
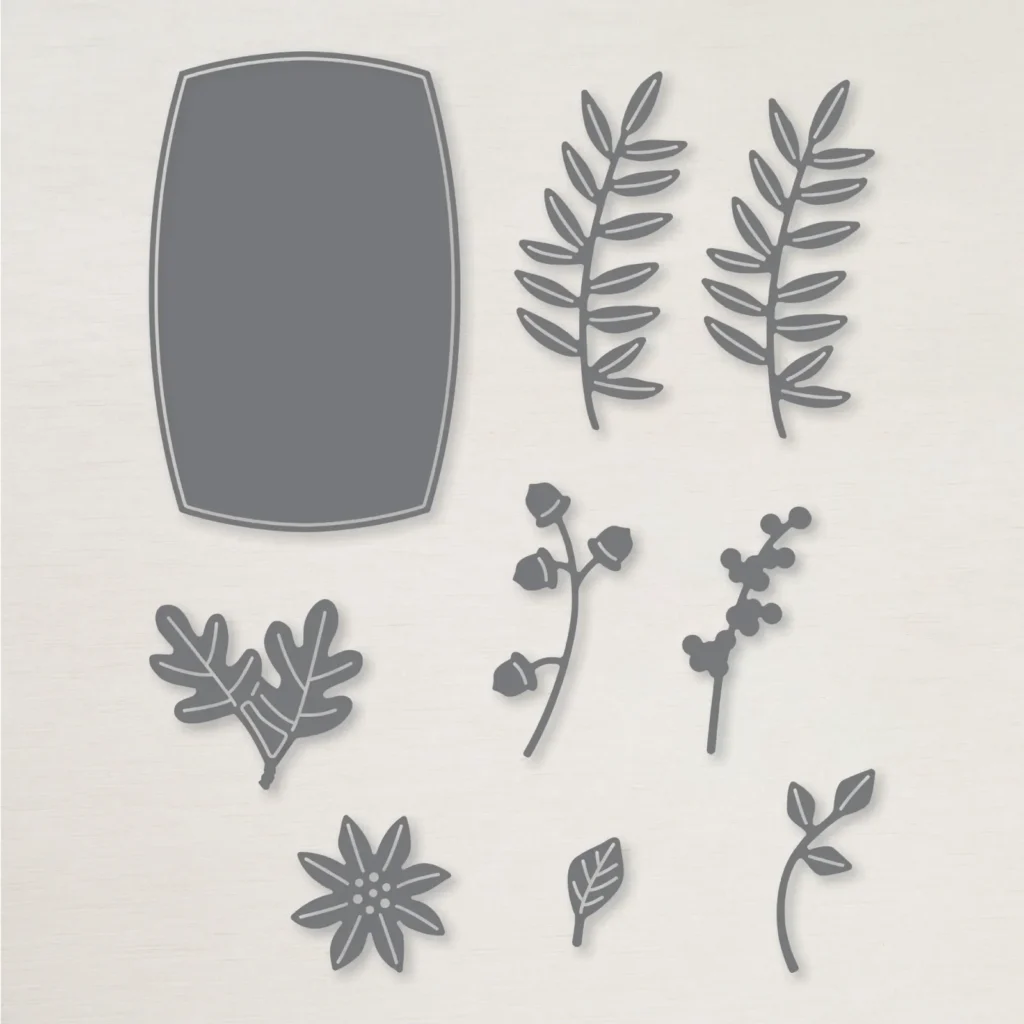
My colors include Secret Sea, Hydrangea Hue (new in color), White and Crumb Cake. The largest circle is from the Spotlight on Nature dies seen here. The small White circle is from Stylish Shapes dies.
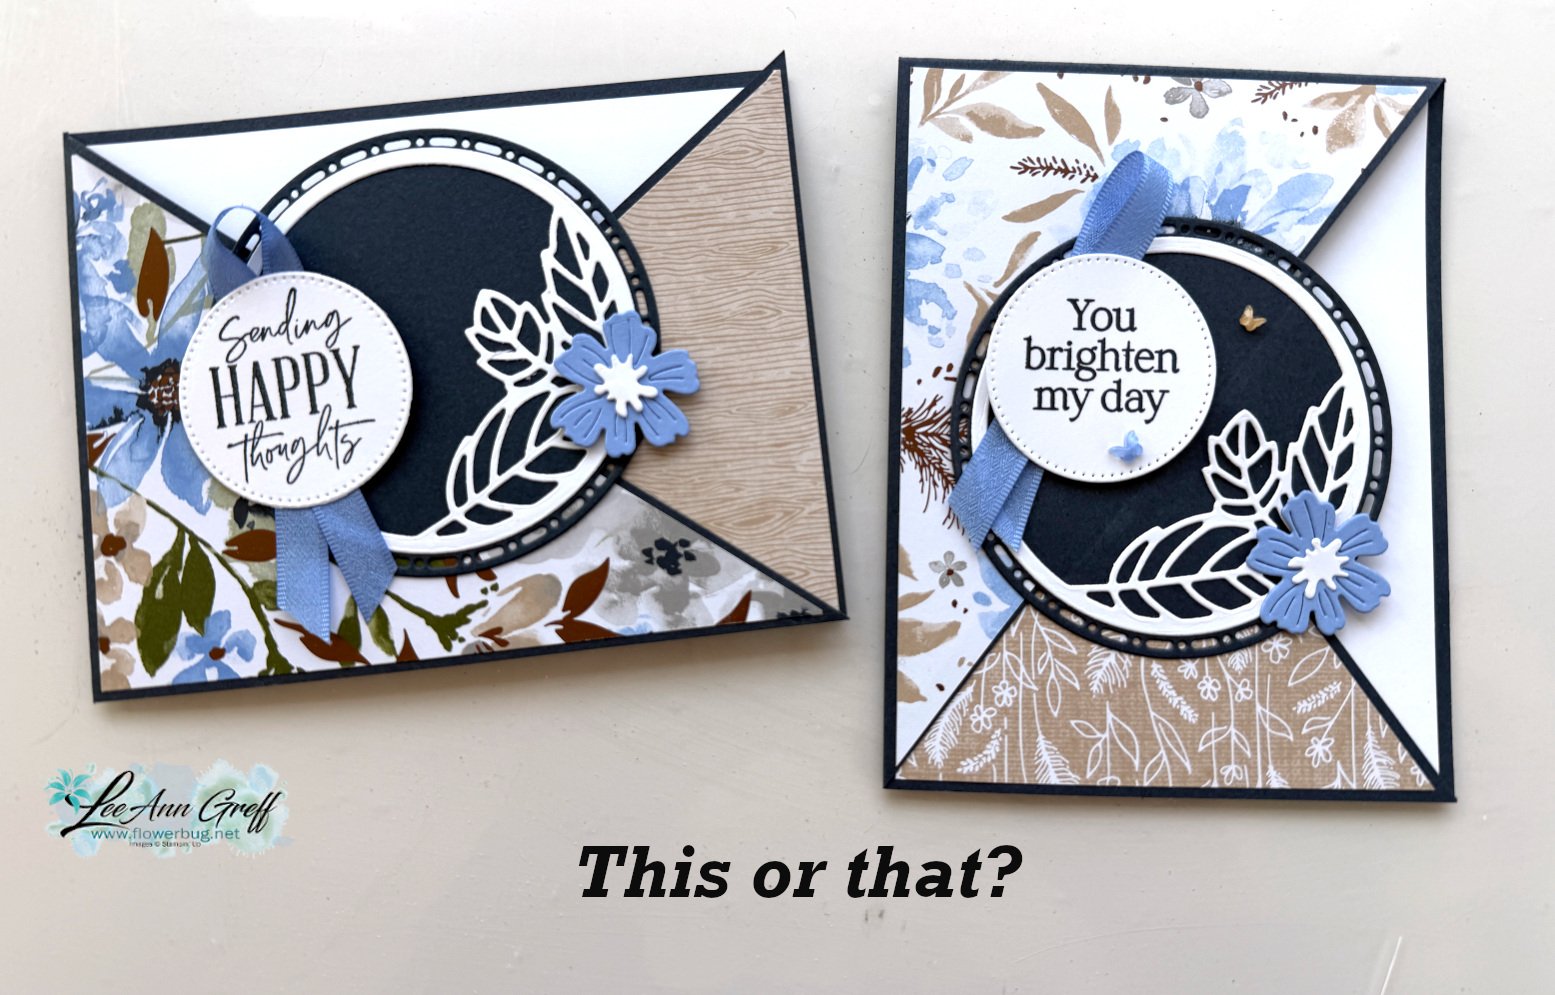
We tried this layout in both landscape & vertical position. Which do you prefer?
I created a free project sheet for this card with measurements, directions, photos and supplies listed. Click here to download or print it.
Below is the video tutorial with tips on assembly.


Leave a Reply