/


Latest Post

Three pretty swap cards with great layouts


Our Team swap theme was nature or animals this month. I’m sharing three pretty cards I think you’ll want to case.

First is a card made by Jonna who is featuring the Nature’s Symphony suite.
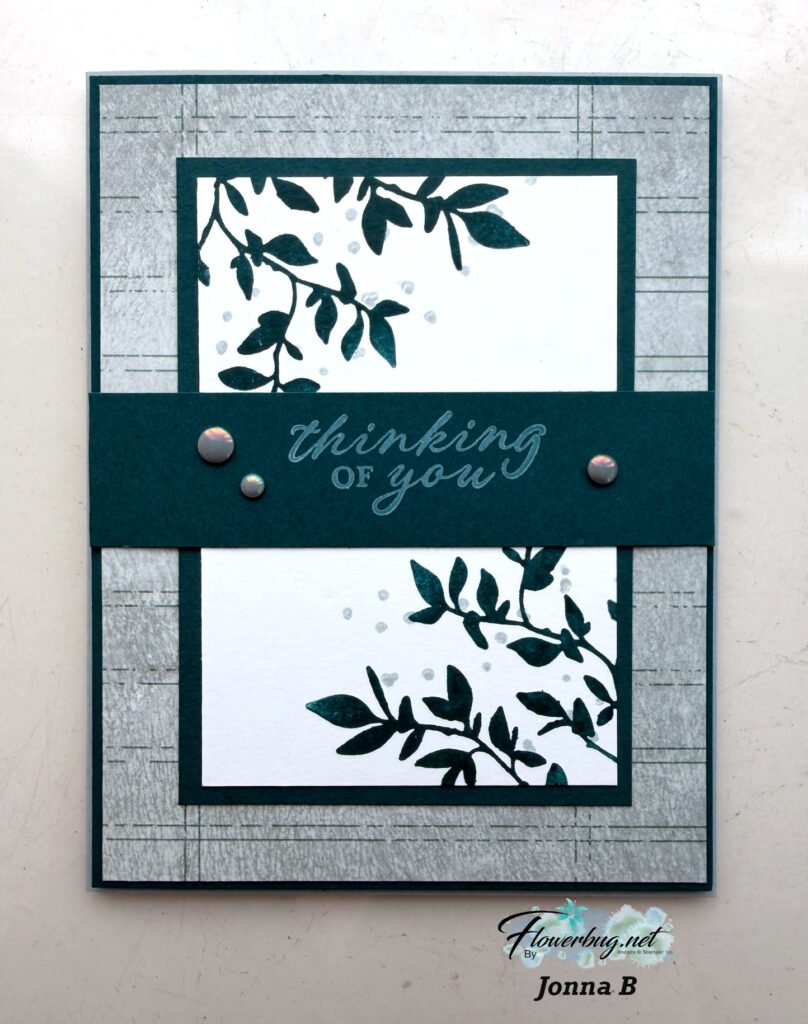
She used the Nature’s Symphony stamp set and the Nature’s Walk designer paper here. I love the layout so much! Adding your greeting strip across the front is a fantastic way to break up the large layers.
Her colors include Pretty Peacock and White.

Measurements are as follows:

– Cloud Cover card base 8 1/2″ X 5 1/2″ score at 4 1/4″
– Pretty Peacock large layer 5 3/8″ X 4 3/8″, small layer 3″ X 4 1/4″, strip 4 1/8″ X 1″, inside is 4 1/8″ X 5 3/8″
– White 2 3/4″ X 4″, inside 4″ X 5 1/4″
– DSP 4″ X 5 1/4″
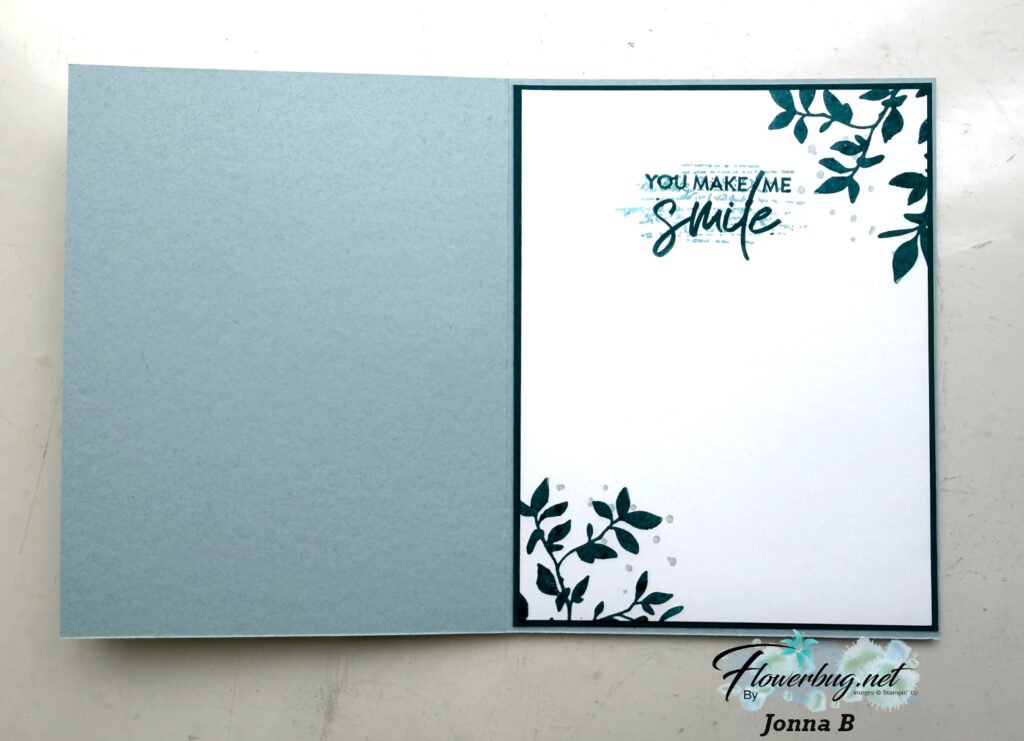
Inks used: Pretty Peacock and White Craft ink.

The next card is made by Tracey who used a new to me’ tearing technique on her pretty card:
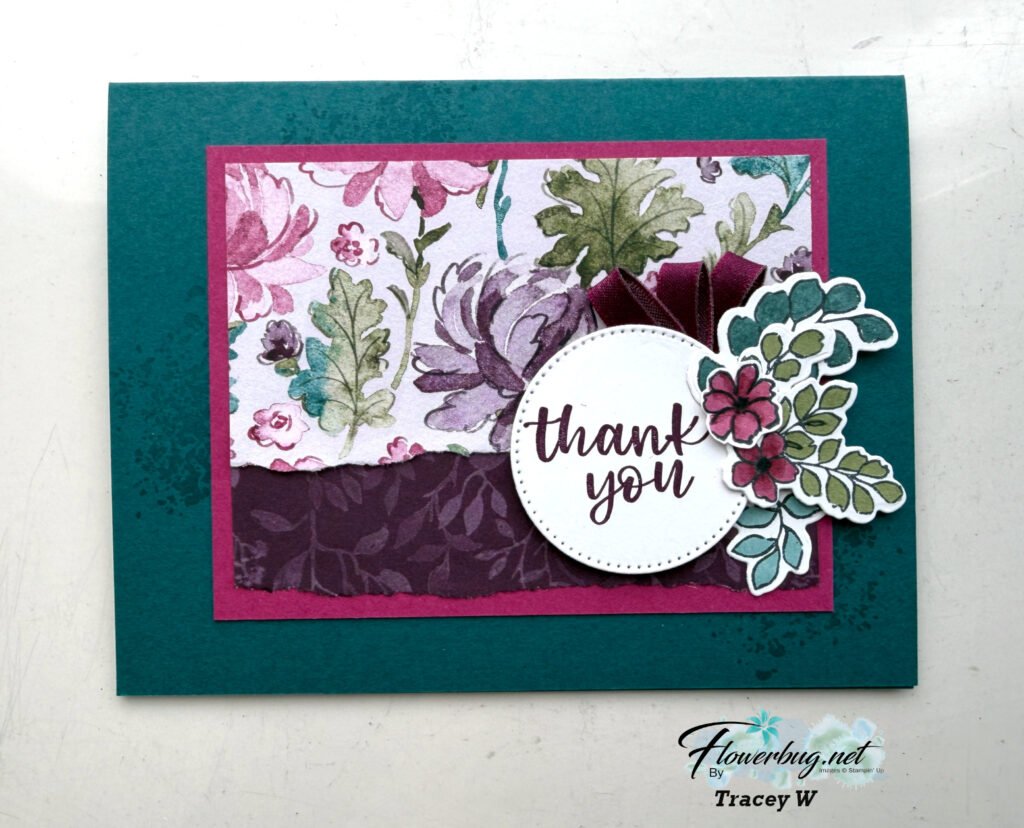
She used the Floral Charm designer paper. Actually it’s just one sheet and measured 3″ X 4″ before she tore it. The technique she used is called ‘Rip & Flip’. You tear the lower half off and flip it to reveal the other side. Slide the torn piece under the upper portion to hide the ‘cut’ side. So cool!

Look at the ribbon above the greeting circle. She formed loops of Berry Burst 1/4″ shiny ribbon and adhered it underneath the flowers and greeting. So smart and unique!
The colored and die-cut flowers are from the Extraordinary Flora bundle seen here.

Measurements:

– Pretty Peacock card base 5 1/2″ X 8 1/2″ score at 4 1/4″
– Berry Burst 4 1/4″ X 3 1/4″
– DSP 4″ X 3″
– White circle die-cut

Lastly is Candy’s card featuring the Nature’s Symphony stamp set with a neat technique:
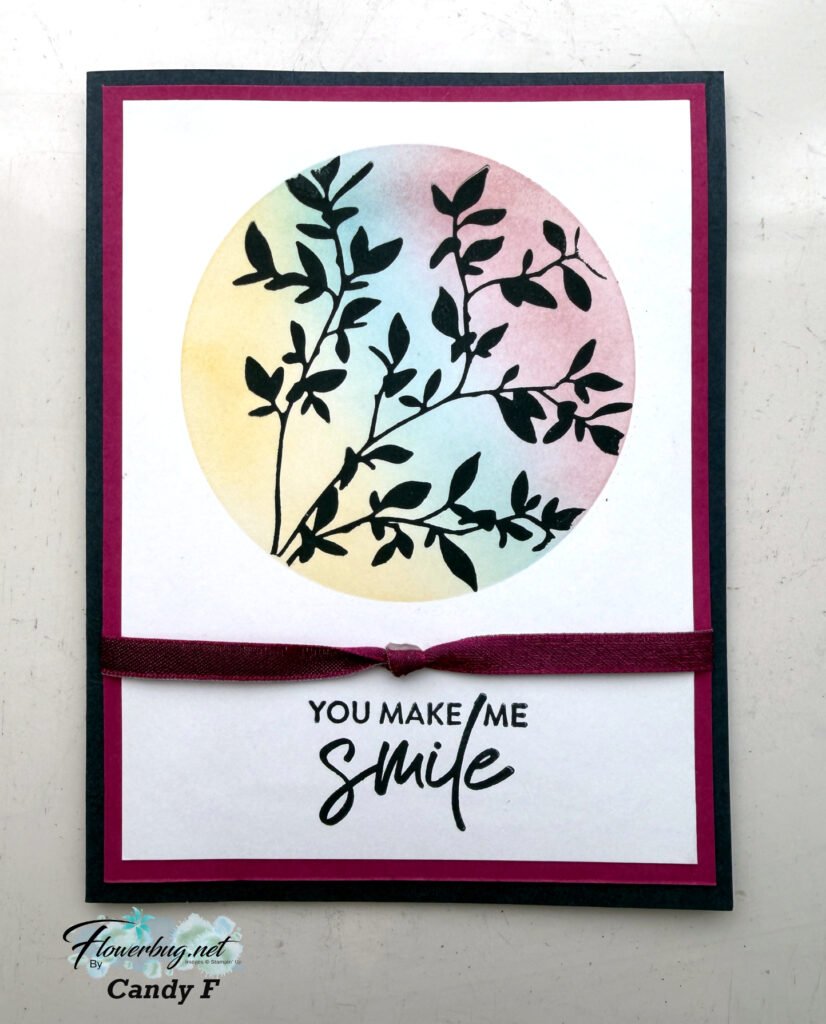
She cased this technique from Kim Quade. She created a window with the Stylish Shapes dies and another piece of paper. She used Blending Brushes inside the window for the soft, multicolored look and stamped the leaves before removing her mask.

Her ink colors include Balmy Blue, Daffodil Delight and Fresh Freesia. She stamped the images with Secret Sea. Beautifully done!

I’ll share more swap cards tomorrow.

April Specials:

Check out the Last Chance list here; these items go fast!
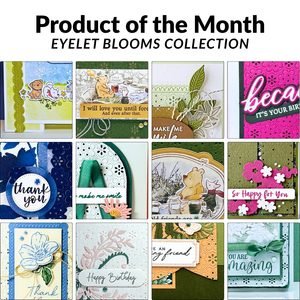
Product of the Month is the Eyelet Blooms dies

*Get a free 12 project tutorial when you redeem this POM from me!
~~~

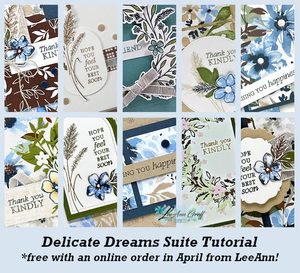
Free PDF tutorial featuring the Delicate Whispers suite!
All Posts

  • Hooray for Flowers card kit to go. Tomorrow is the last day for double rewards!


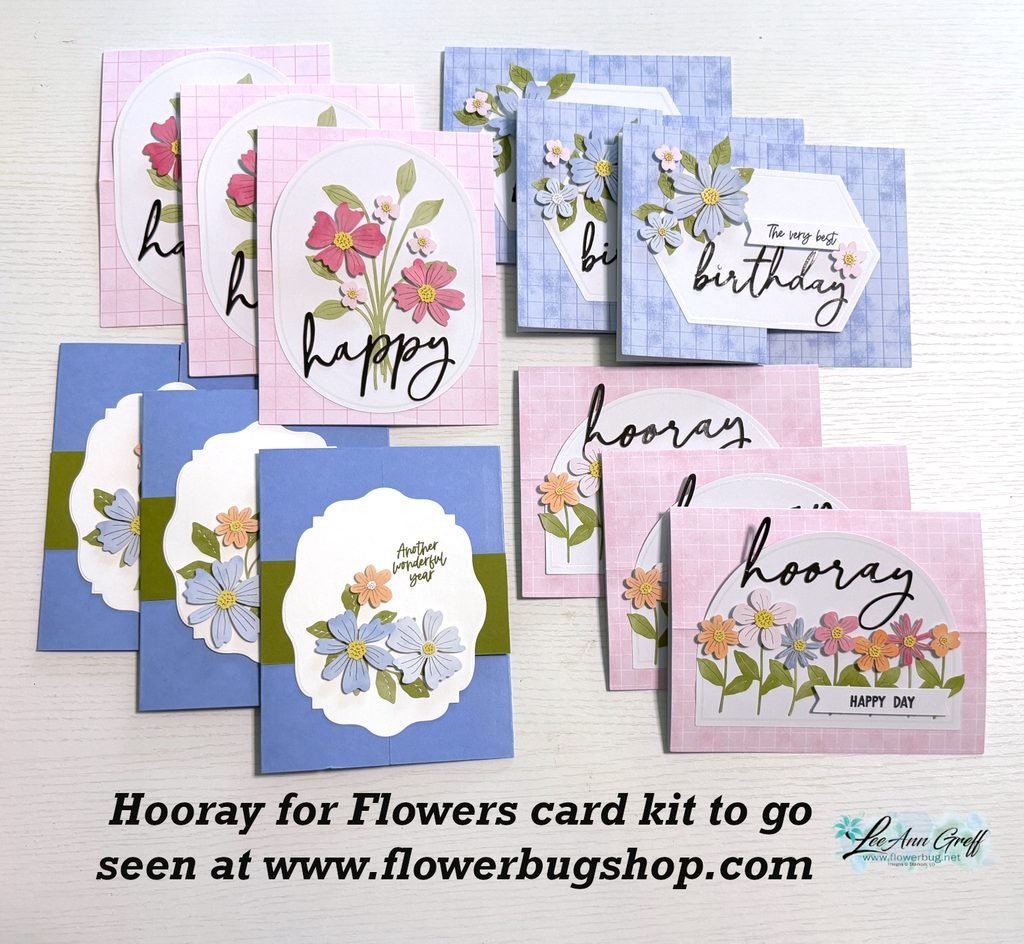
    I created these pretty cards from my July Paper Pumpkin kit. If you missed out on it, you can grab one of these kits below.

    This kit included so many beautiful flower die-cuts I had to grab extra and create a kit to go around it. I changed up some of the cards and added a few of my own.

    This kit to go includes 12 cards and envelopes, the PP kit and the extra pieces/die-cuts added on. You’ll also receive the PDF tutorial as well for $31 plus shipping.

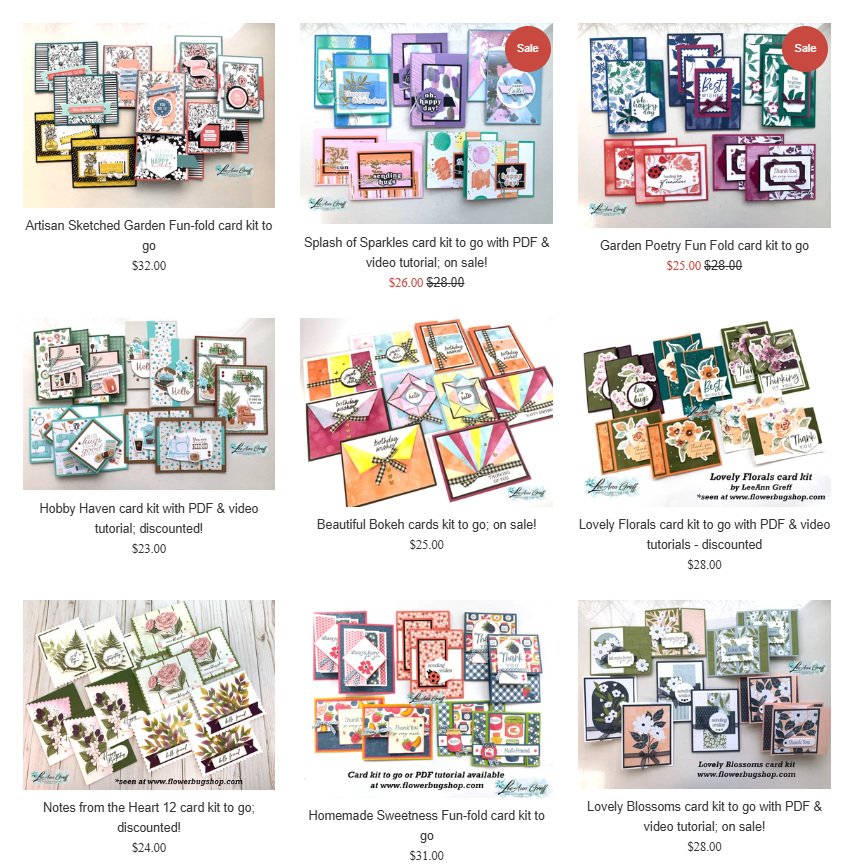
    Go here to grab yours; I have a limited supply. You’ll receive the tutorial immediately in your email. The kit to go will be shipped out within a few days. Add on an extra kit or two and save $$ on shipping costs. See them all here.

    Friday is the last day to take advantage of the Double Rewards credits this month. Along with the paper and card stock sale you cannot go wrong! Go here to shop.

    Leave a Reply

    Your email address will not be published. Required fields are marked *

  • Double Stampin’ Rewards start tomorrow!


    Great news! Starting tomorrow you’ll receive double Stampin’ Rewards with your online orders! YAY!!

    Earn double Stampin’ Rewards (2x Rewards) for 3 days only, starting August 19 and ending August 21. That means 20% instead of the standard 10%!
    All orders qualify once the Stampin’ Rewards threshold of $20 USD is met.

    Details:

    Leave a Reply

    Your email address will not be published. Required fields are marked *

  • Simple Lily of the Valley card; it’s a WOW! Grab the free project sheet or watch the video


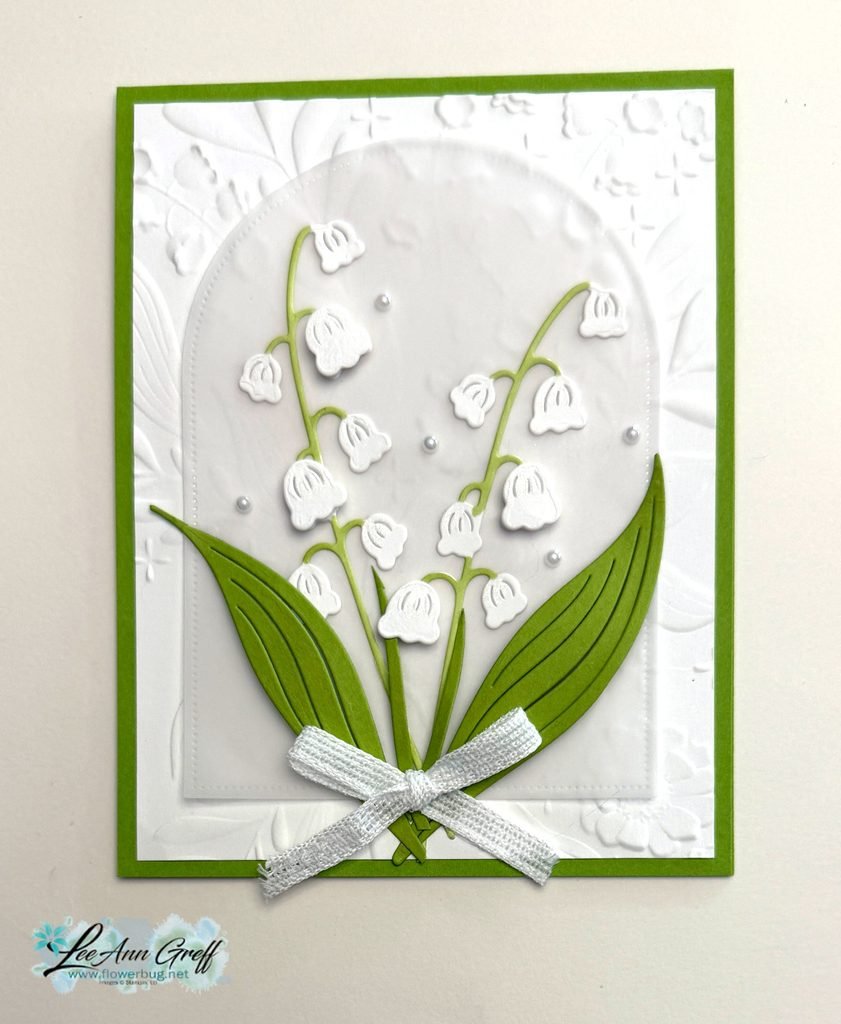
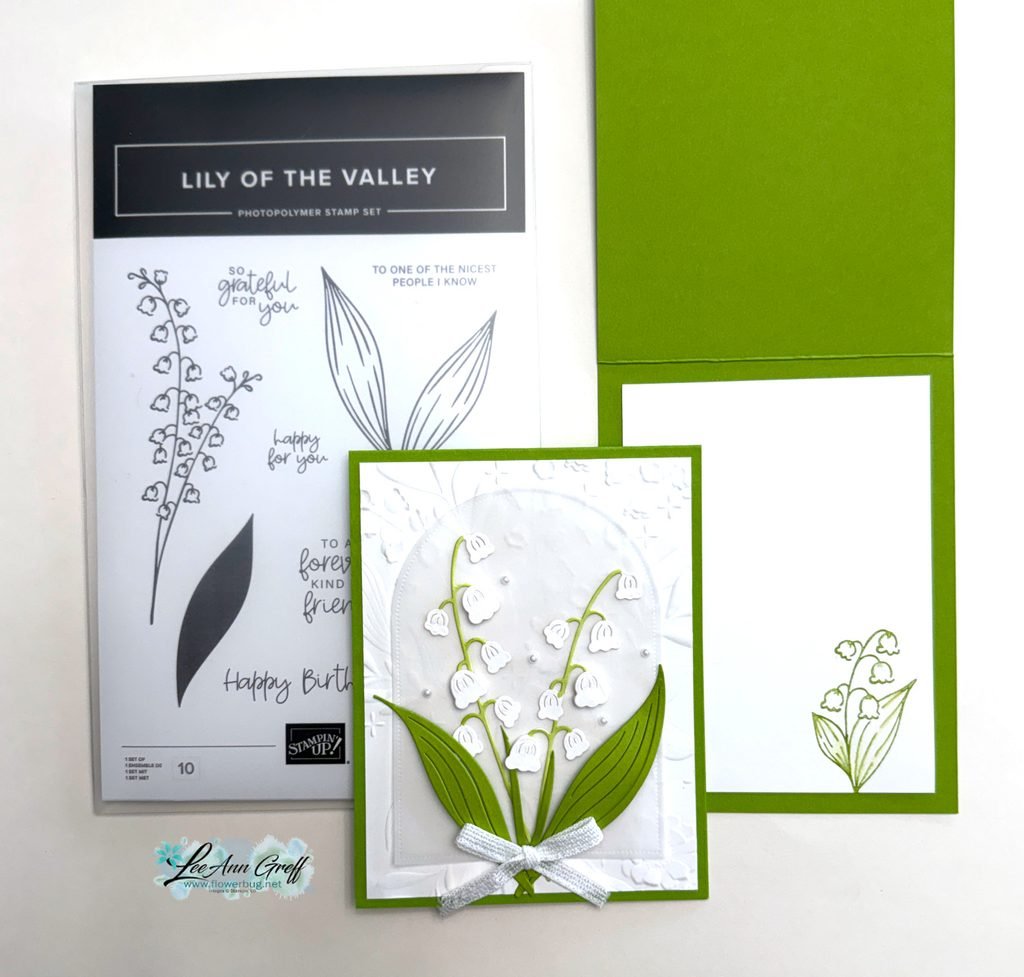
    I shared this beautiful Lily of the Valley card on last week’s Live video. It’s one of those cards that looks simple and easy but involves a bit of effort.

    I used the Lily of the Valley dies along with the Everyday Arches dies on the vellum and the Floral Spray 3D embossing folder (it’s back in stock) for the background. White & Granny Apple Green are my colors here.

    Since I did-cut the flowers from White CS I used a Granny Apple Green blends marker to color the stems on the flowers. I also curled the die-cut leaves a bit and cut one apart for the thicker stems in the center area. Watch the video to see how.

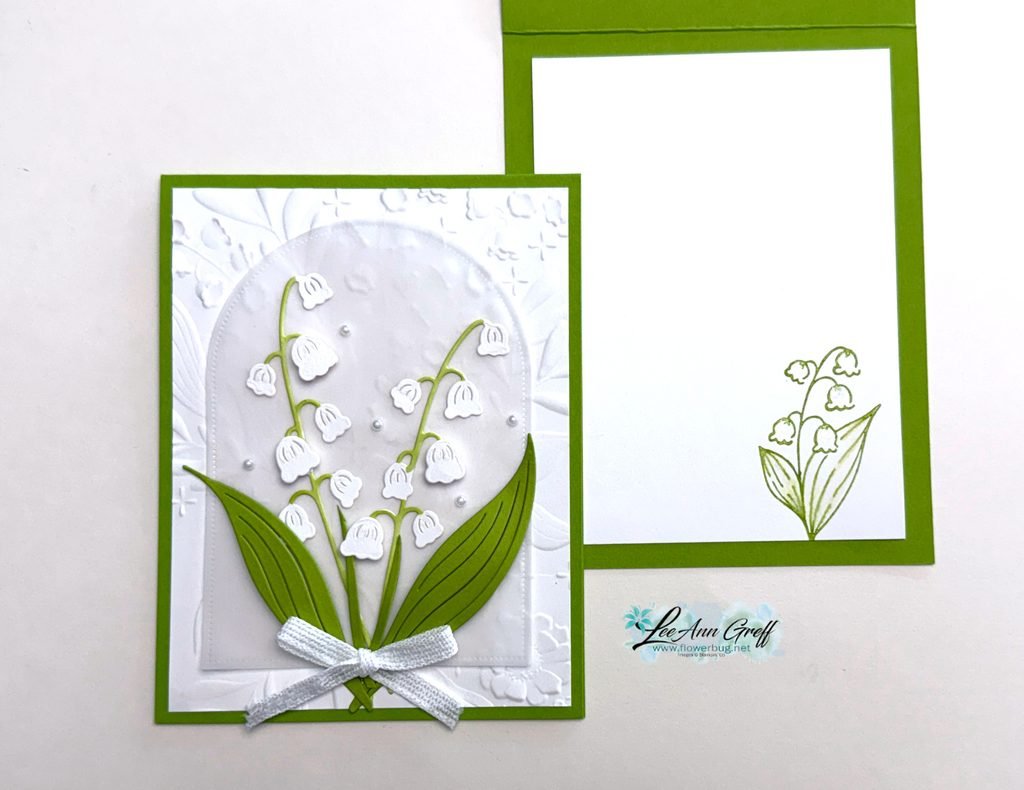
    Did you notice there isn’t a greeting on the front? It’s okay to leave them off now and then. This way my card can be used for any purpose.

    I didn’t even stamp one on the inside. Just a simple leaf/flower image. Click here to see the Lily of the Valley in my store. It’s wonderful.

    I created a free project sheet for this card as well as my video below. Click here for the project sheet you can download or print.

    Don’t miss out on the Designer Paper & Cardstock sale! Click here to shop and save.

    Double rewards for three days this week!

    Leave a Reply

    Your email address will not be published. Required fields are marked *


Notice: LeeAnn Greff, Independent Stampin’ Up! Demonstrator, Manager. The content of this website is my sole responsibility as an independent Stampin’ Up! demonstrator and the use of, and content of, the classes, services, or products offered on this website is not endorsed by Stampin’ Up! Copyright 2025