/


Latest Post

Bright Borders fun fold with Bloom Impressions DSP


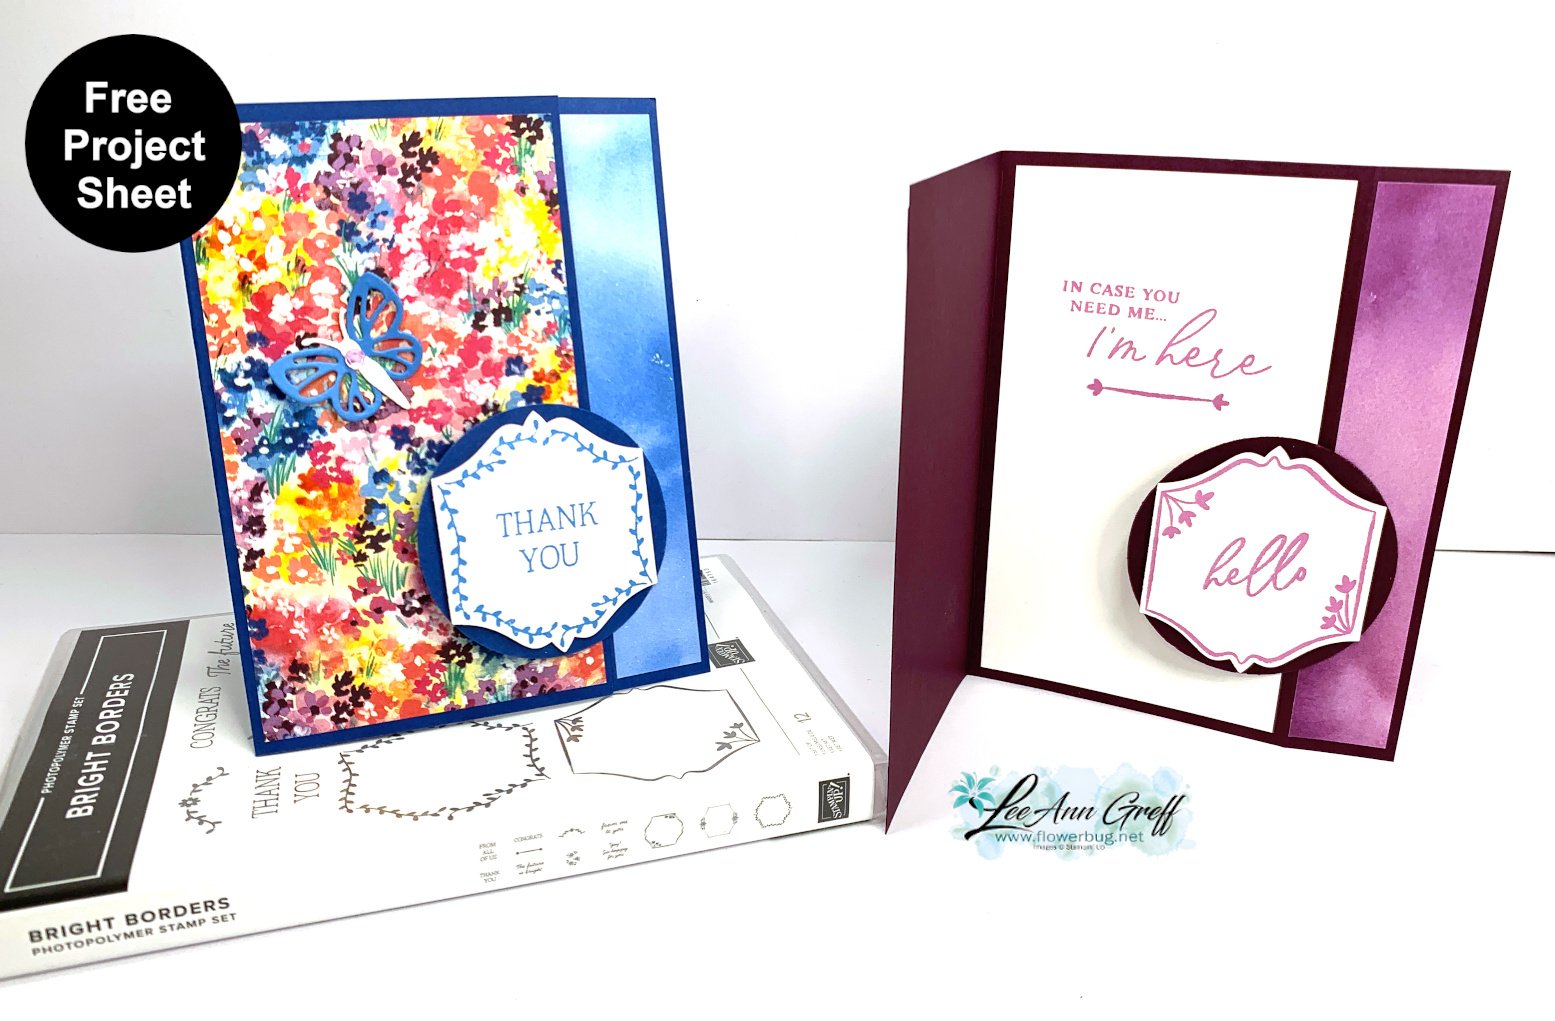
We made these pretty cards at my Clubs in January.  I featured the Bright Borders stamp set with the To the Point punch and the Sale-a-Bration Bloom Impressions DSP. 

Unfortunately the To the Point punch is out of stock and isn't expected to be back until April!  I was worried about this when I saw it was in low inventory. 

The gorgeous Bloom Impressions DSP is a free choice during Sale-a-Bration and is also in low inventory.  If it does run out it's possible they'll turn off the item number if they cannot get more in stock before the end of February.  So grab yours here now! 

This is a fun fold card – sometimes called a 'back-fold'. The far right inside is scored so it can bend backwards. The greeting layers are adhered to that side and hold the card closed.  It's a great way to show off our coordinating colors in our beautiful designer papers.  
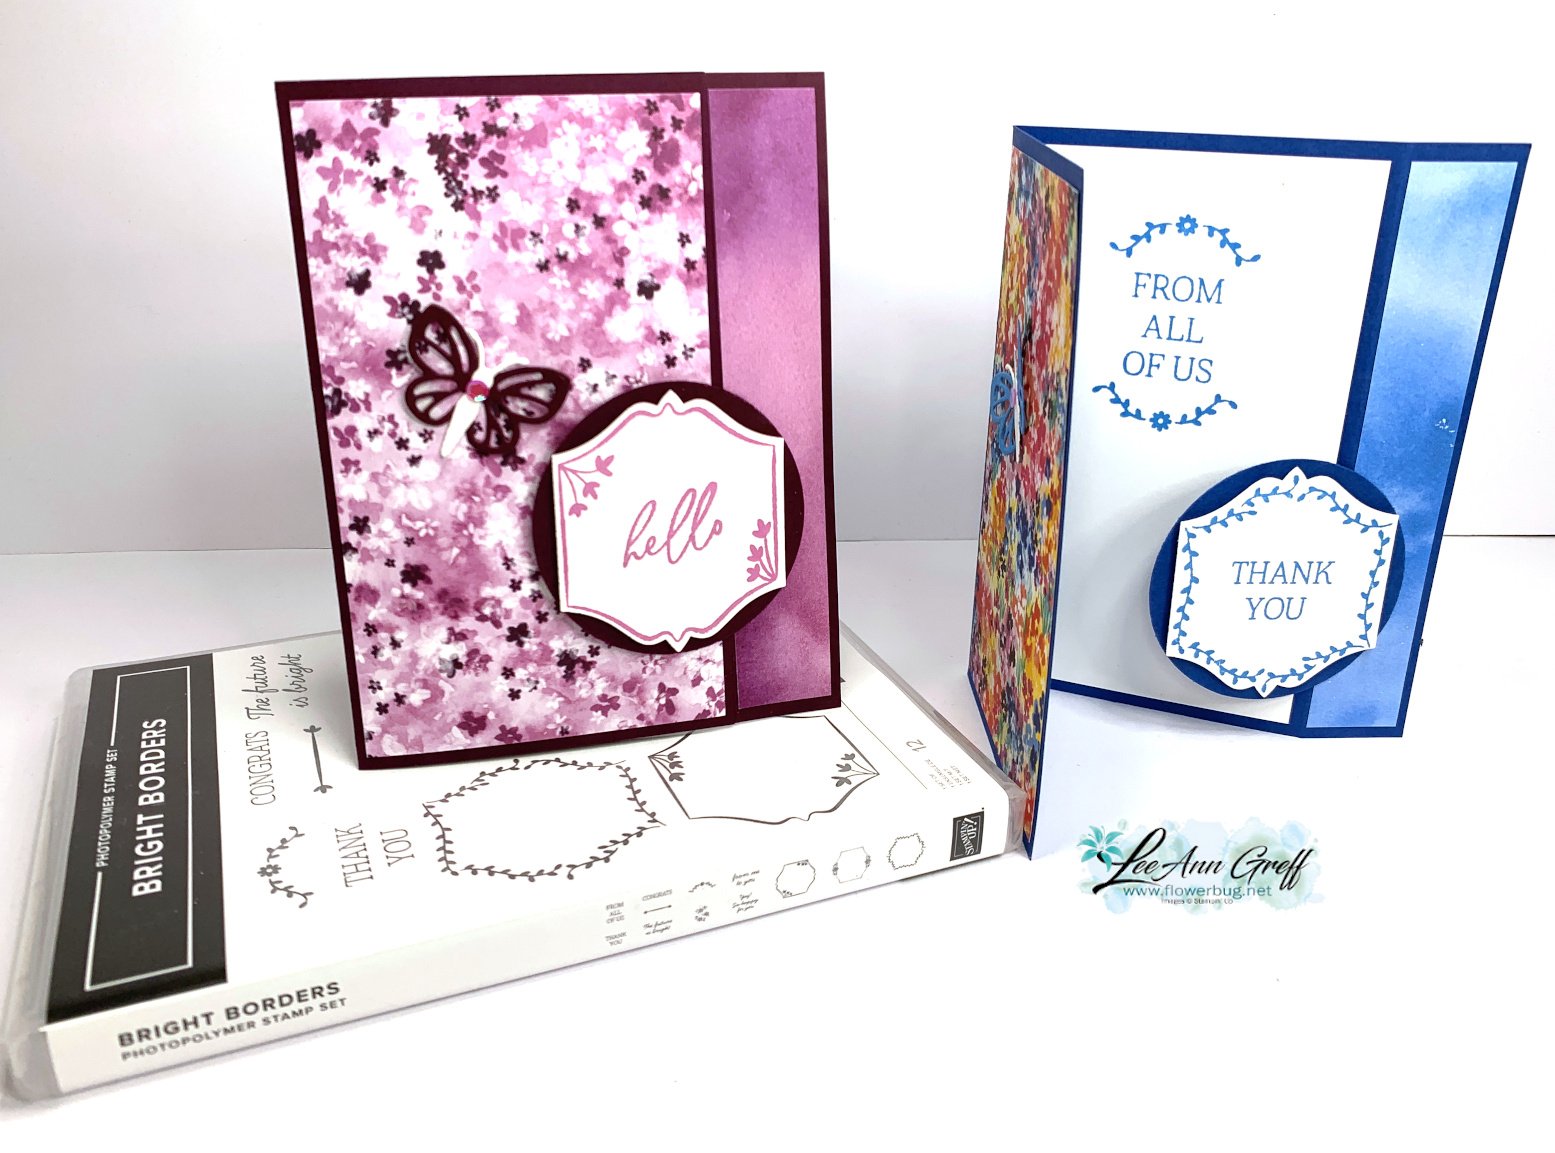

You can get the measurements in this free project sheet.  Also watch the video below. Click on the following link to print or download it.  Download Jan 2025 Bright Borders back fold
Below is the video tutorial for this card and another special fun fold.  I'll share the other card & free project sheet tomorrow. I hope you watch it and don't forget to subscribe to my channel!

~~~

February Specials:

*current host code link:  

DNXE92GP

Get this free tutorial with any online order in February!
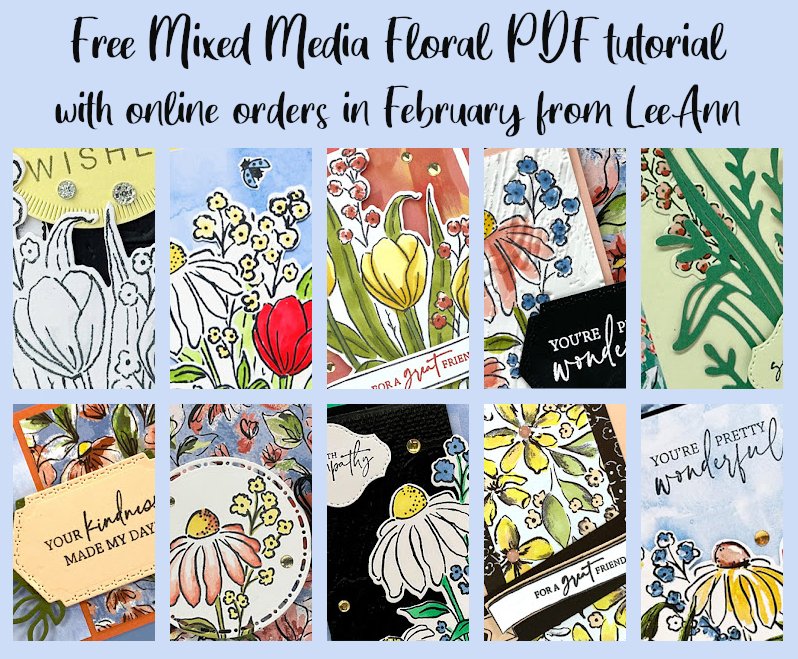
 Sale-a-Bration is Live! For every $60 (or $120) you spend you can choose a free item from the SAB catalog!  

And when you choose the Starter kit in February you get a choice of 2 sets of markers & a free stamp set or an extra $30 in product.  That's $155 in value for just $99! 

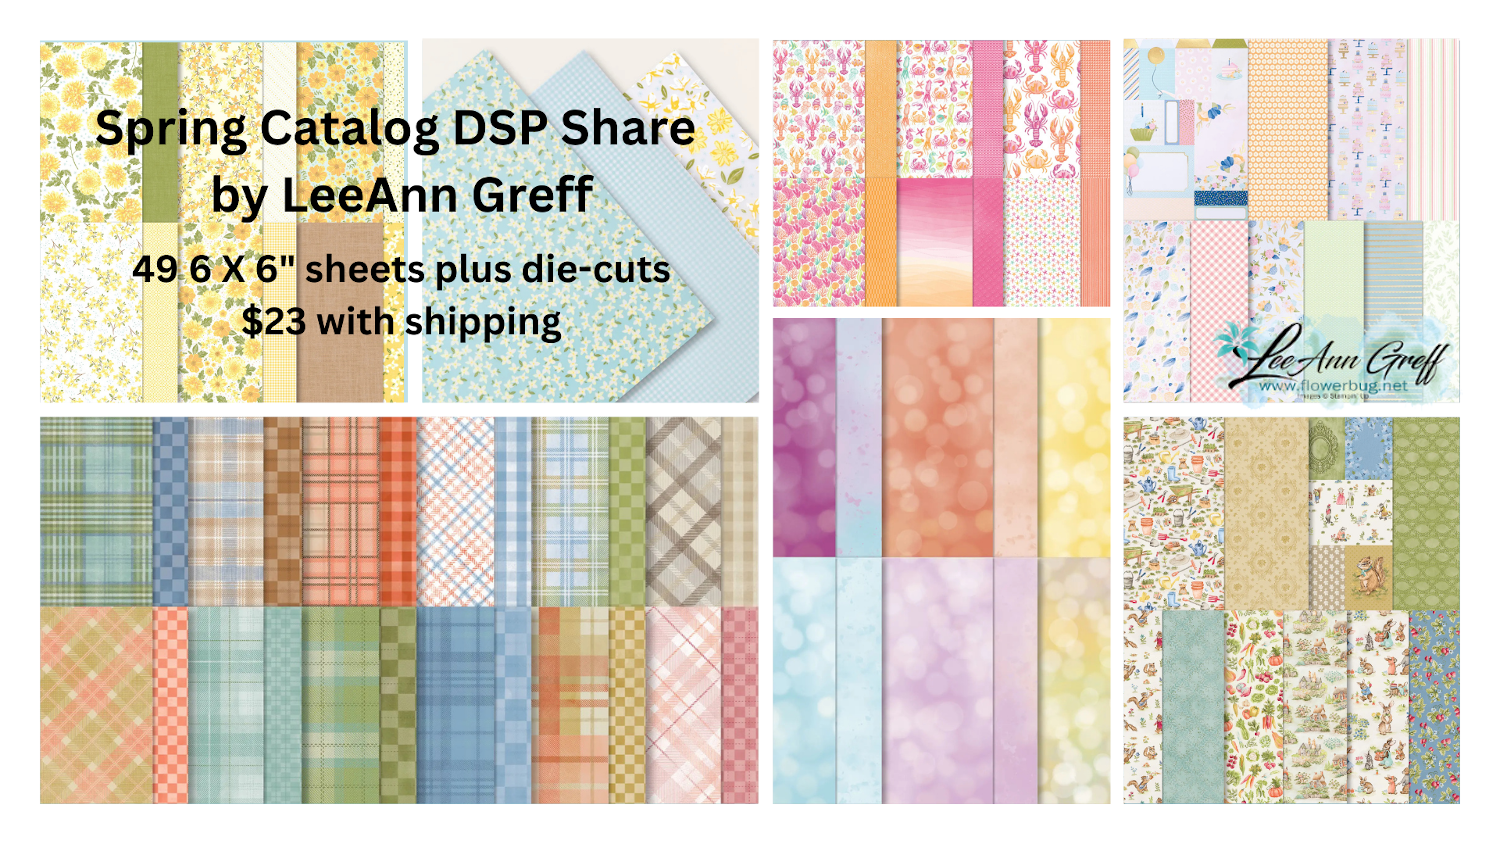
Opt in for my Spring catalog Designer Paper share and/or the Spring catalog embellishment share seen below. 

See the details here. 
Contact me here

All Posts

  • Flowering Tulips Matchbox cards; easy fun-fold cards with video


    Happy April 1st!!!  It even feels a bit like spring is coming here in North Dakota.  I've been able to get out for walks again lately without worrying about slipping on ice.

    I wish we had real tulips out but it's too early here. 

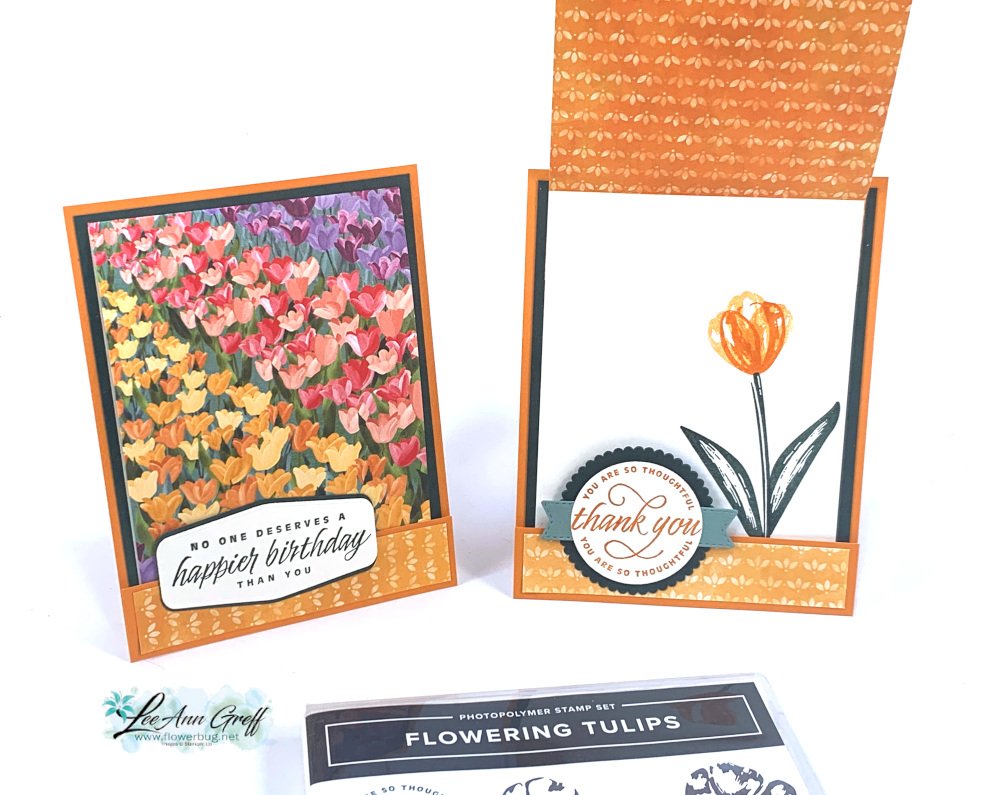
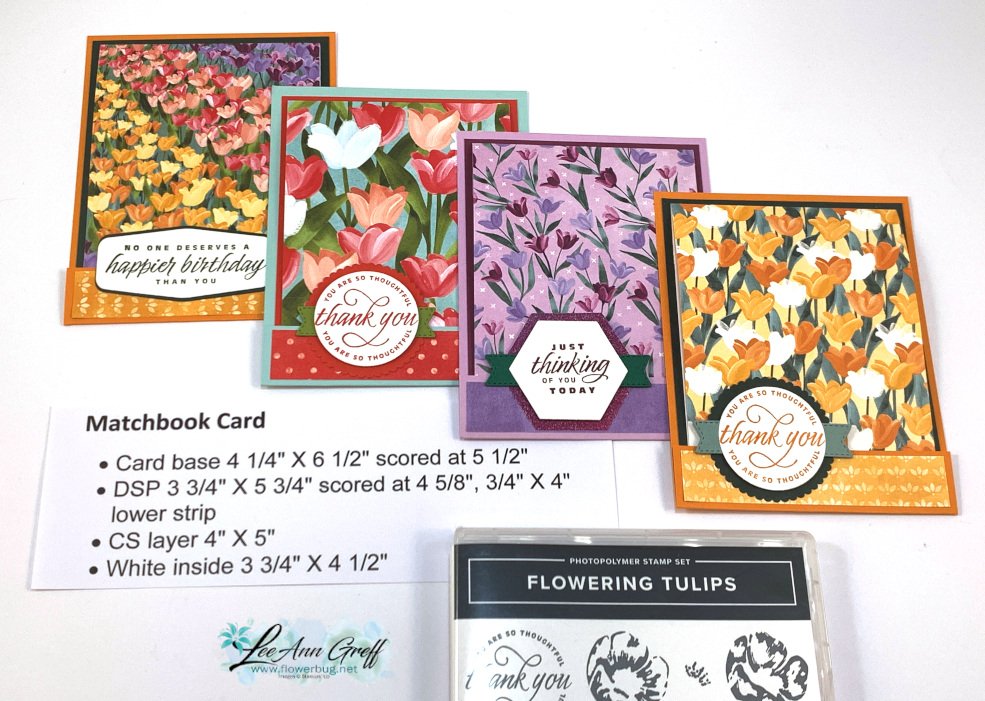
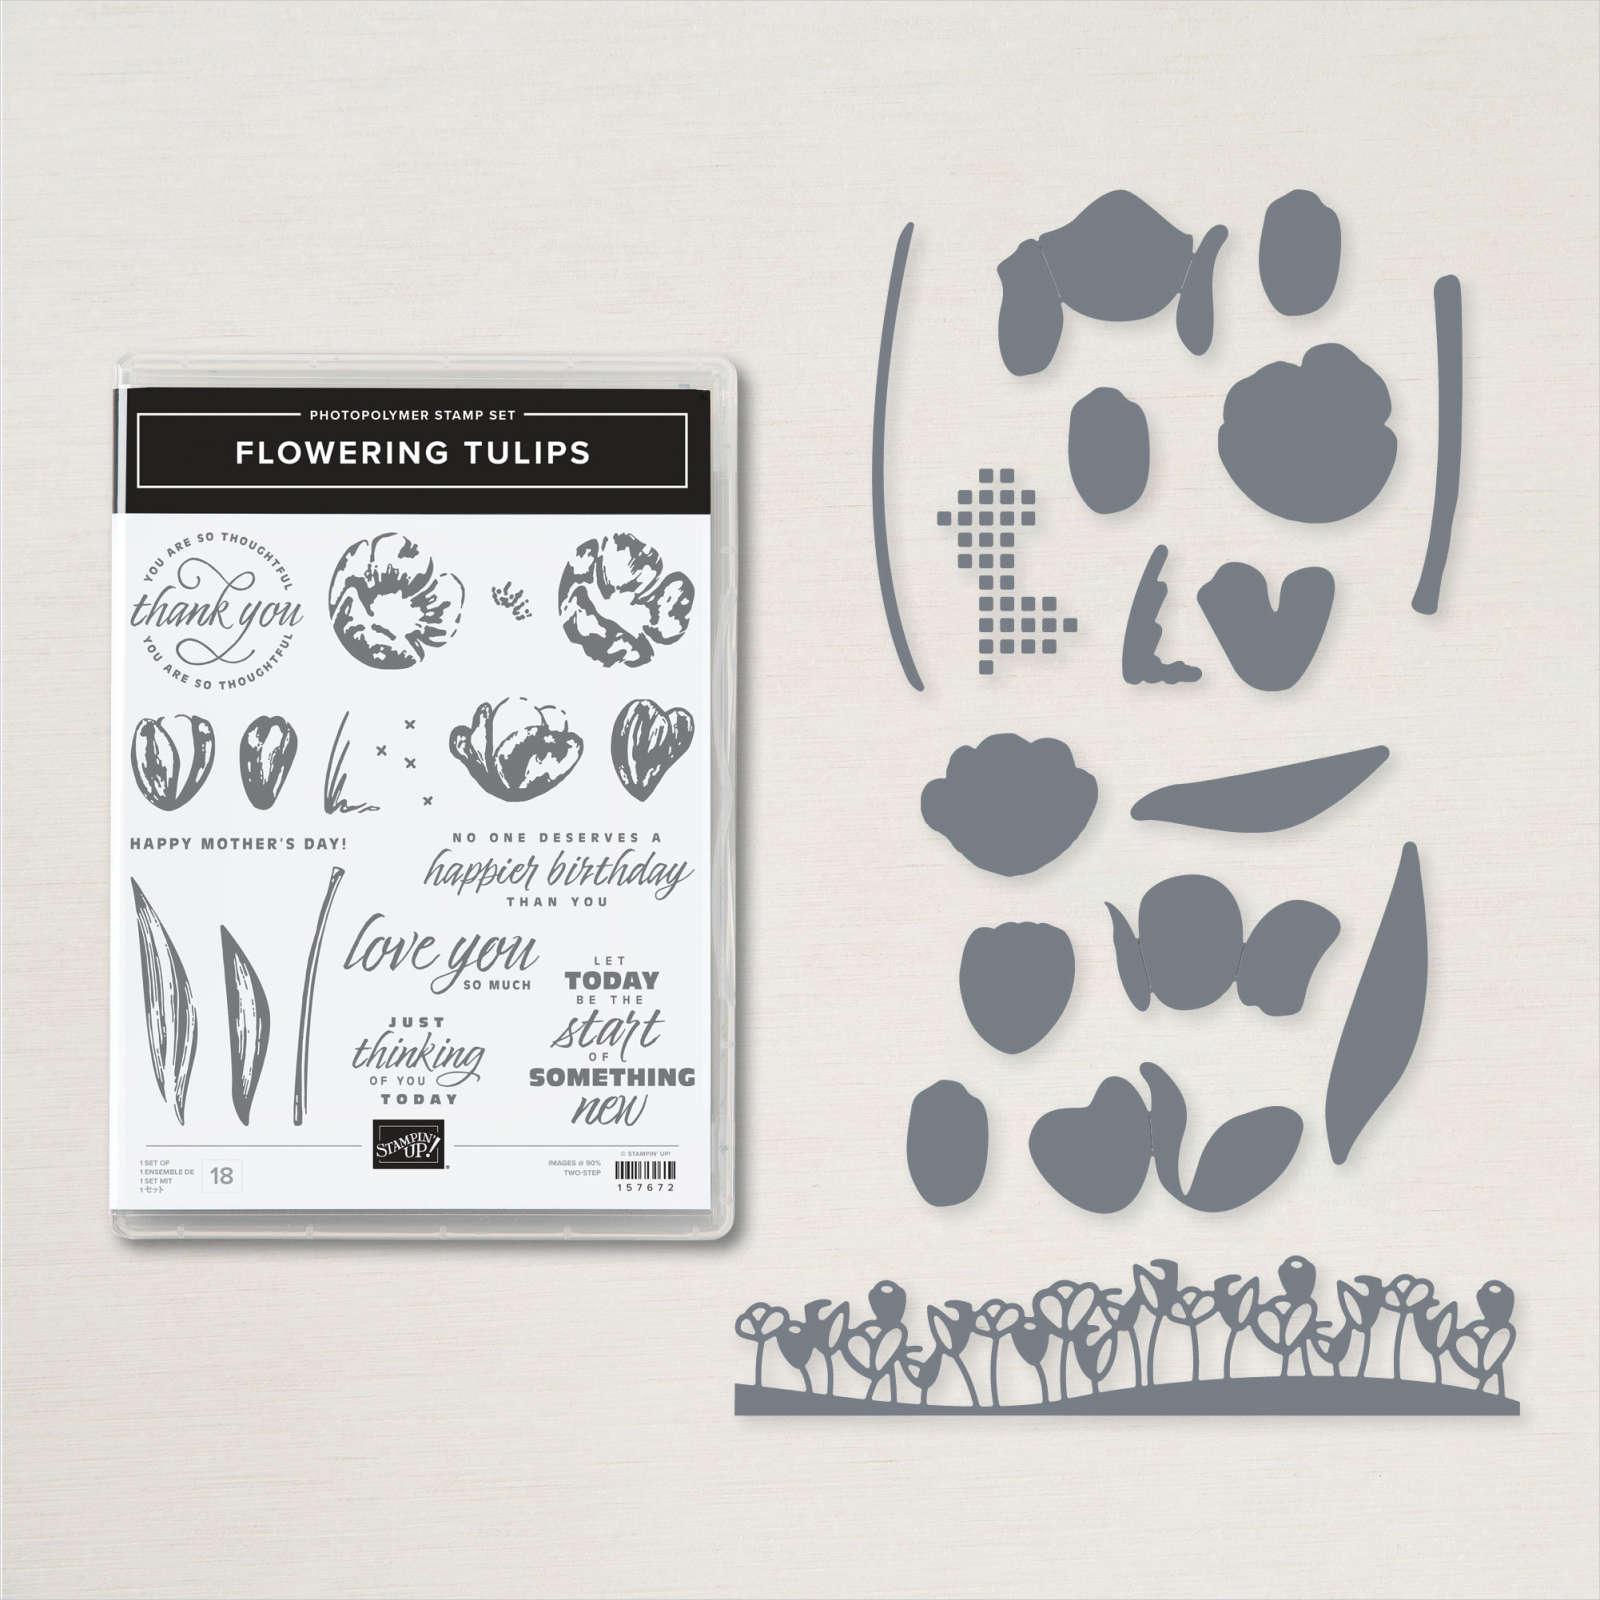
    Here are two more Matchbook style cards featuring the Flowering Fields designer paper and Flowering Tulips stamp set.  The set includes lots of greetings and many different tulips too.

    I made them on a recent FB Live; the link is below. 

    Measurements:

    • Card base 4 1/4" X 6 1/2" scored at 5 1/2"
    • DSP 3 3/4" X 5 3/4" scored at 4 5/8", 3/4" X 4" lower strip
    • CS layer 4" X 5"
    • White inside 3 3/4" X 4 1/2" 

    Isn't this designer paper pretty?!  See the Flowering Fields DSP here. The dies for the greetings include the Layering Circles, Tasteful Labels & Beautiful Shapes.   

    Here's the Flowering Tulips bundle: 

    Here's a link to the video; or click on the photo below to watch it.  

    ~~~

    The Last Chance list is out!
    Tons of items from the 2021-22 Annual Catalog are retiring and many are deeply discounted from 20-50% off.
     
    Remember that these items are while supplies last and may run out. 
    Click here to see it all online along with the discounts.

    Host codes: 6QFA66WT

     *click here to order 

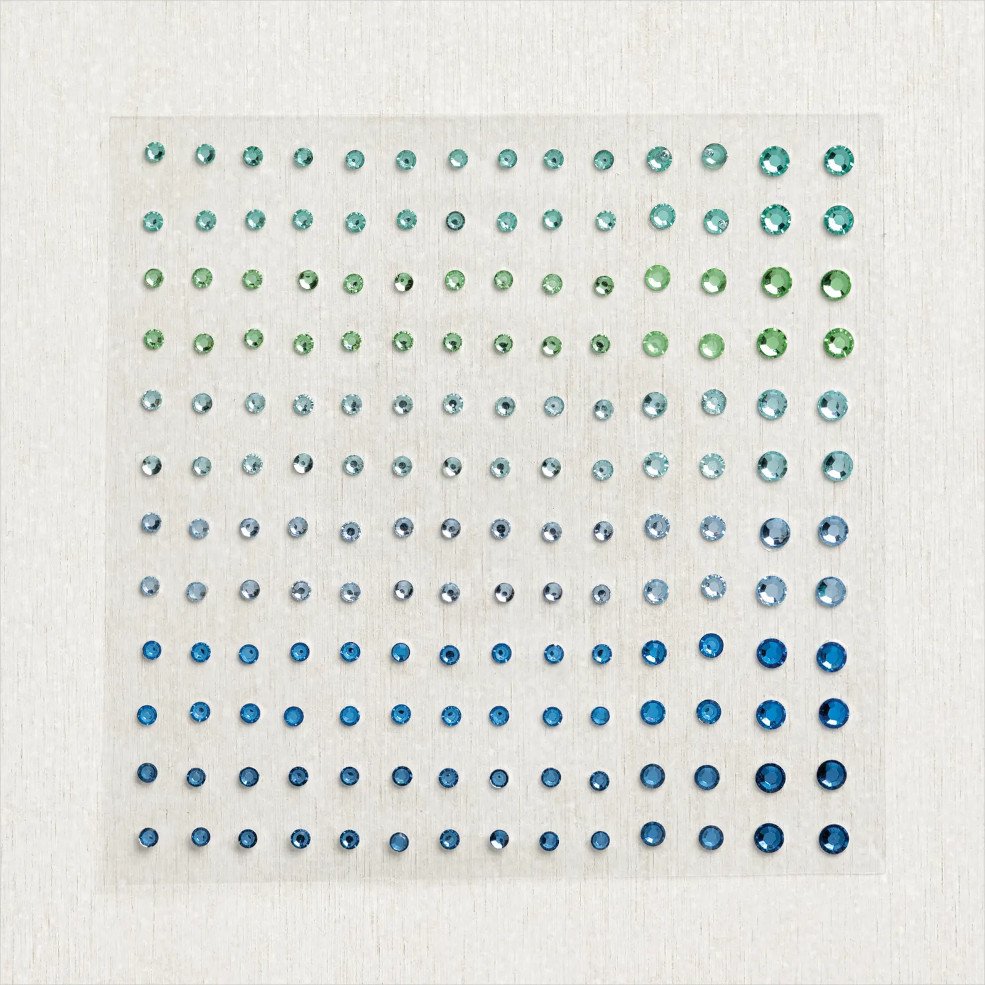
    If your order is over $50 you'll receive free Polished Dots or In Color jewels and 3 hand made cards from me.


    Don't forget about my loyalty rewards! 

    Click here to download yours and earn a $50 shopping spree!  

    Leave a Reply

    Your email address will not be published. Required fields are marked *

  • How to achieve the Inked Block Technique; you only need 3 things!


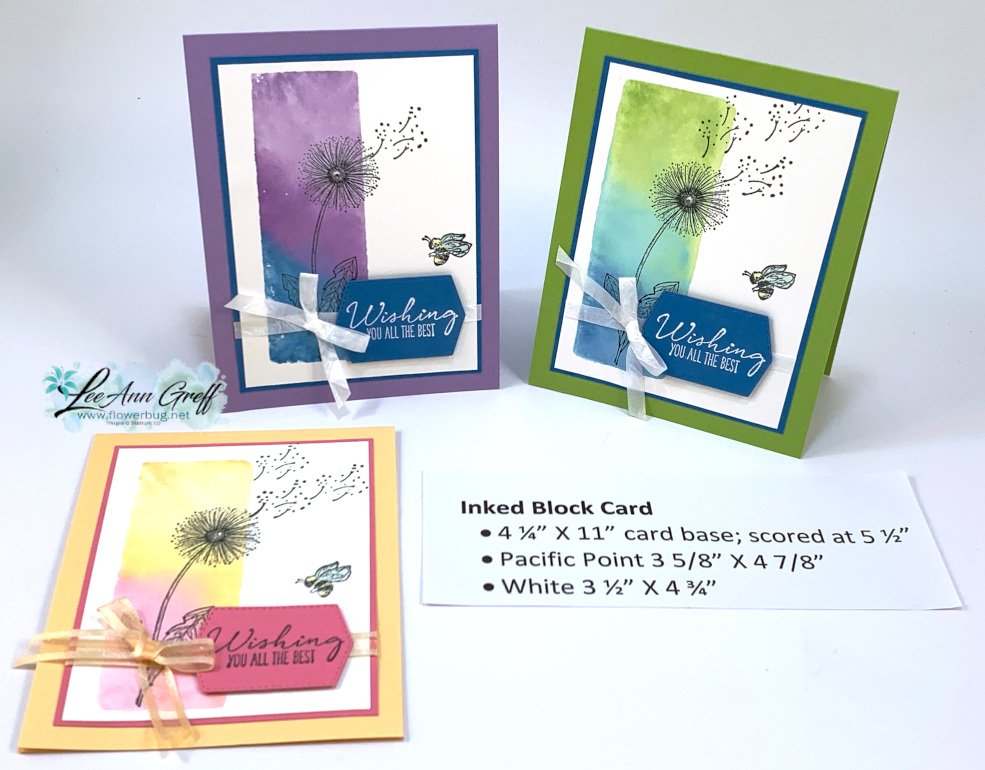
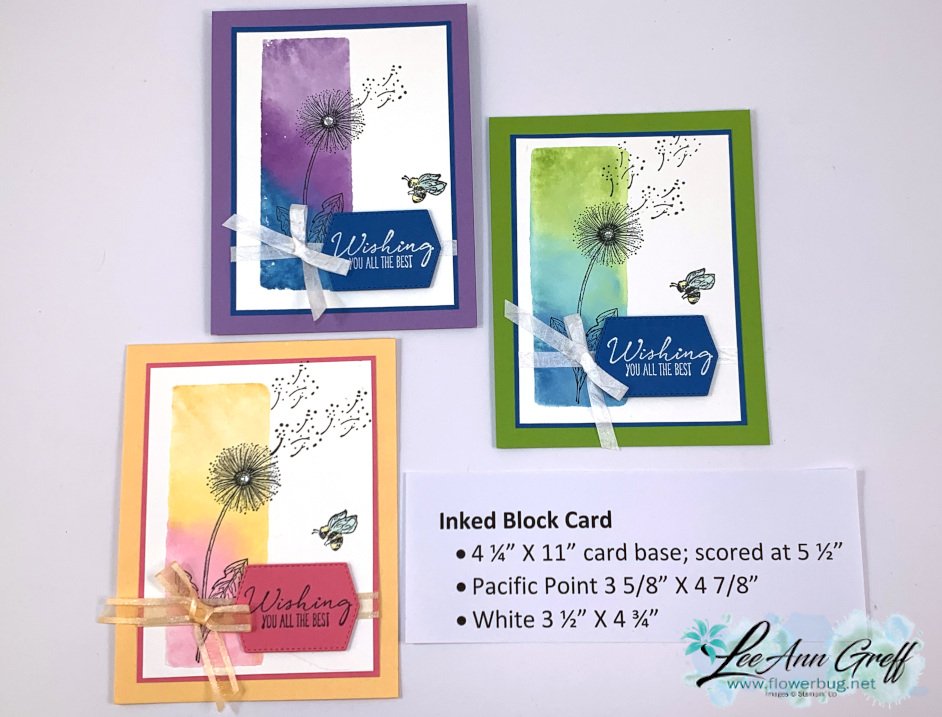
    I shared the Inked Block technique on Tuesday's Facebook Live video.  It's fun, easy and you need just 3 things!

    I chose to feature the Garden Wishes stamp set & a variety of colors. This first one is Highland Heather, Gorgeous Grape & Pacific Point. 

    You need a clear block, Stampin' Write markers and a spritzer filled with water.  Below are the measurements for the cards. 

    Watch the video here to see how it's done.  It's the first of 3 projects I share.   

    Tips for success:

    • Use Stampin' Write 'water based' markers on your block; do not use Blends which are permanent markers.
    • Start with the lightest color first so you don't get a dark color on your marker tip
    • After filling up the block with ink (I colored on the diagonal) spritz it with water until dots form. 
    • The more water you add the better the inks blend.  But don't do too much or the colors blend too much. 
    • Press the block directly on your White card stock and hold for a few second. 
    • Have a tissue or paper towel ready to dab up excess water off the paper. 

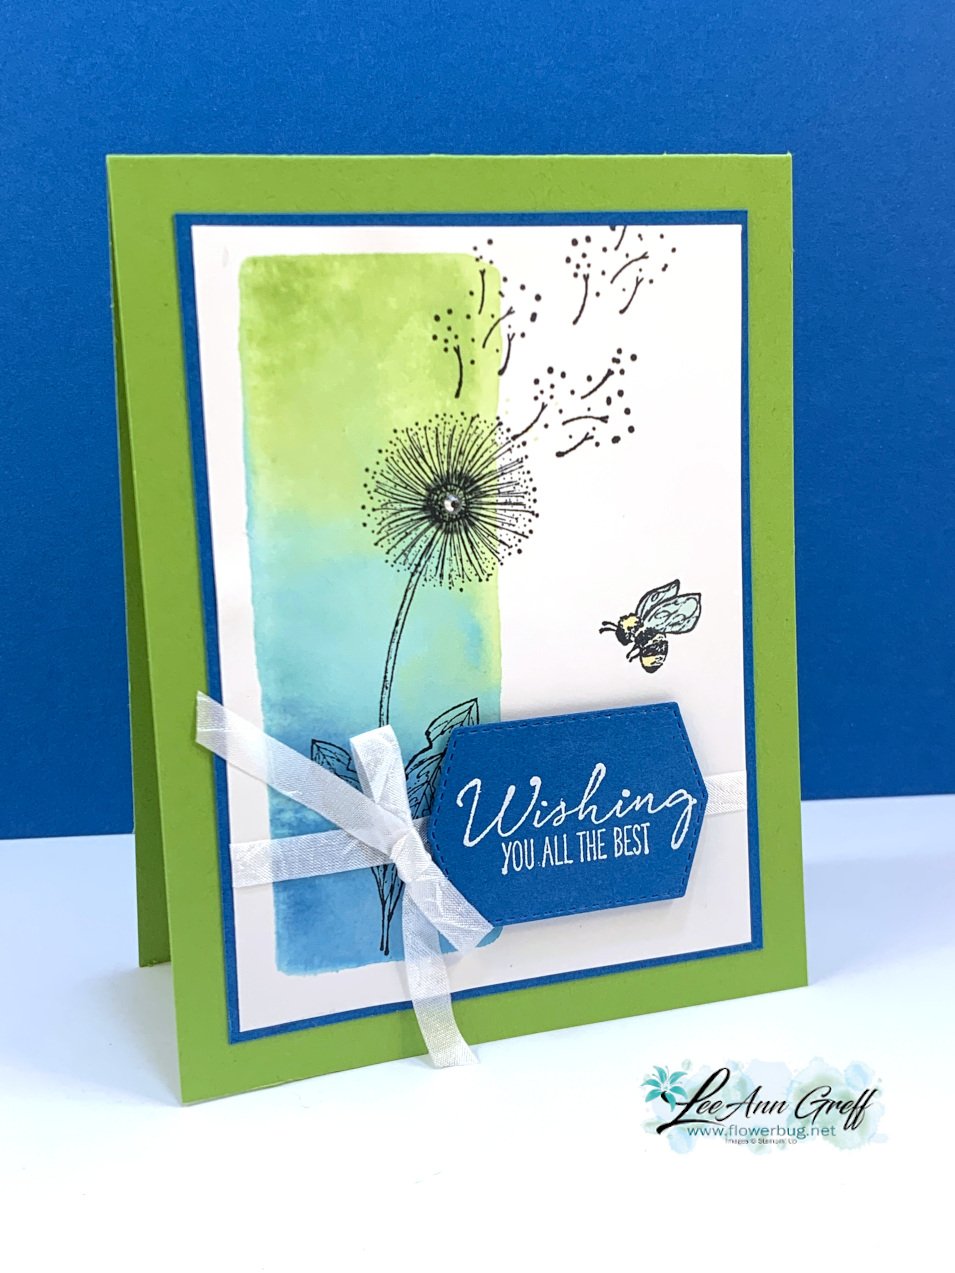
    The Stampin' Write markers I used on this next card are Granny Apple Green, Coastal Cabana and Pacific Point.

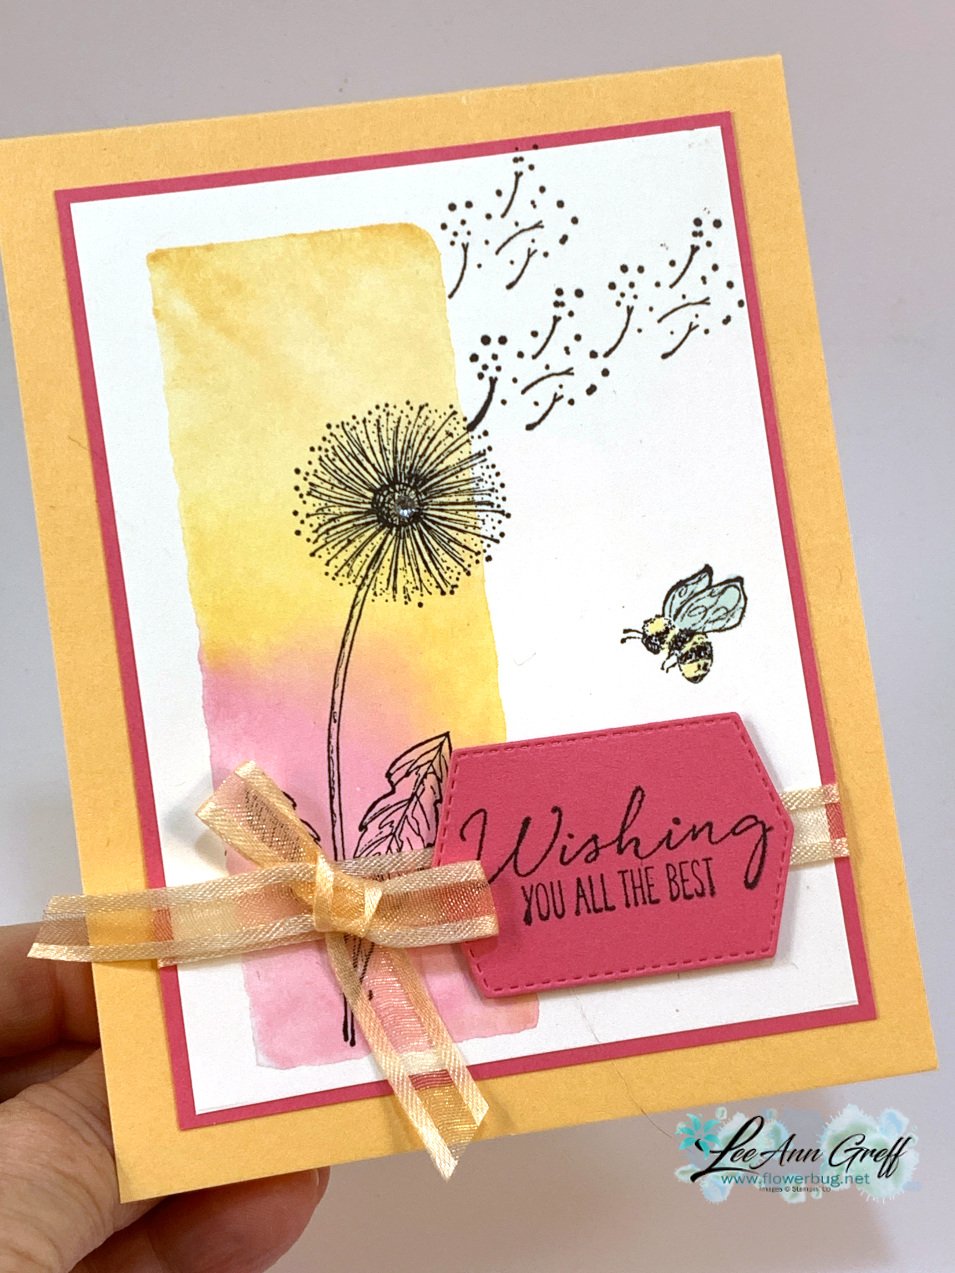
    The card below has a softer feel.  The colors are Pale Papaya, Pumpkin Pie & Polished Pink. 

    Which one is your favorite?  

    Click on the photo below to watch the video.  

    ~~~

    The Last Chance list is out!
    Tons of items from the 2021-22 Annual Catalog are retiring and many are deeply discounted from 20-50% off.
     
    Remember that these items are while supplies last and may run out. 
    Click here to see it all online along with the discounts.

    Host codes: 6QFA66WT

     *click here to order 

    If your order is over $50 you'll receive free Polished Dots or In Color jewels and 3 hand made cards from me.


    Don't forget about my loyalty rewards! 

    Click here to download yours and earn a $50 shopping spree!  

    Leave a Reply

    Your email address will not be published. Required fields are marked *

  • A cute box with free template and video tutorial too!


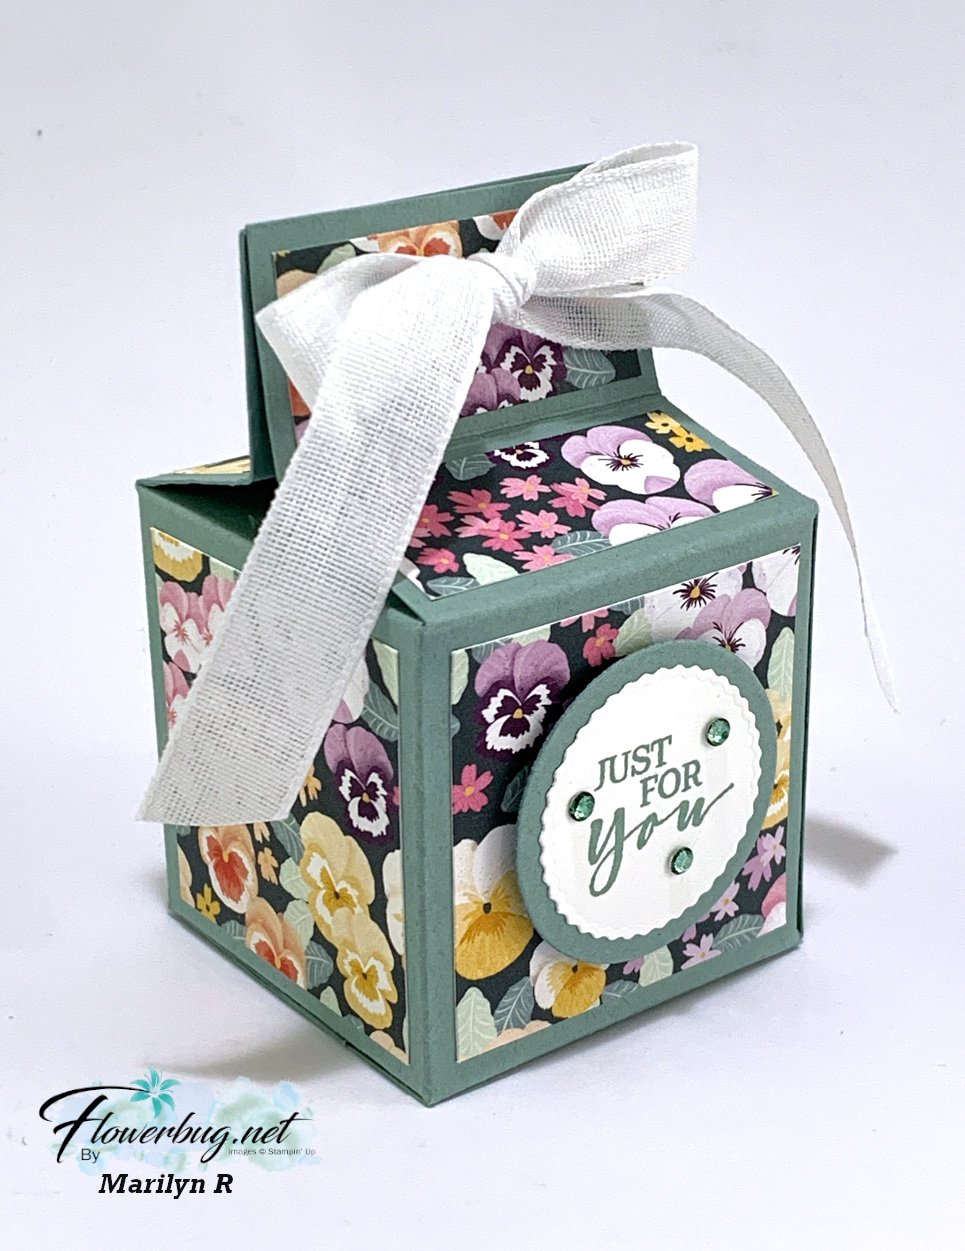
    Marilyn shared this sweet treat box at our last Flowerbug's Team Meeting.  She cased it from Pootles.  It looks almost like a mini milk carton.  

    Her box is 2 X 2" and 3 1/4" tall.  She used the Pansy Petals designer paper, Soft Succulent card stock and ink.  This pretty DSP is retiring now; get it here while supplies last. 

    I made one for a recent FB Live video too.  I chose to use the Flowering Fields DSP; it's so springy!


    They're made in Pear Pizzazz and Fresh Freesia card stock and the greeting is from the Celebrating You stamp set seen here.  The greeting tag is from the Stitched So Sweetly dies which are retiring now and available while supplies last!  See the dies here.

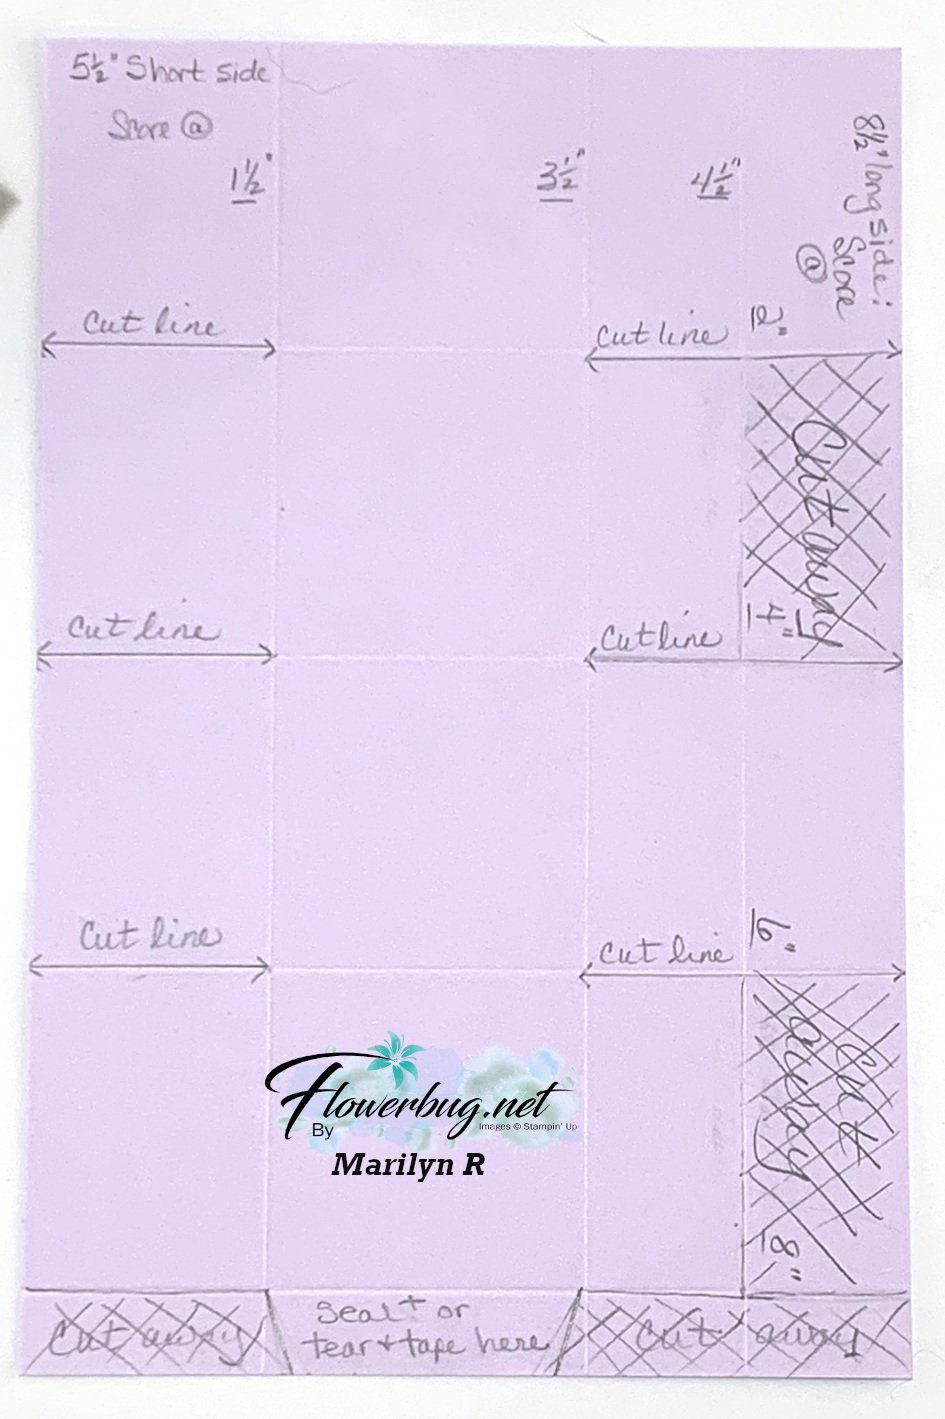
    She made up a template and another sheet of card stock showing you how it looks after trimming and cutting the template as shown. Watch the video here or below to see how it's made.  

    It's 5 1/2" X 8 1/2" and is similar to a 2 4 6 8 box.  Score on the short side at 1 1/2", 3 1/2" & 4 1/2".  Score on the long side at 2", 4", 6", & 8".  Then cut away the areas crossed off and cut up to the score lines as shown. 

    You'll need 4 pieces of Designer Paper measuring 1 3/4" square.  And 4 pieces measuring 1 3/4" X 3/4" for the top.  She punched two holes in the top flaps to thread ribbon through to tie in a bow.  

    Thanks so much for sharing this wonderful project Marilyn!  

    Here's the video; click on the photo below to watch it.  

    ~~~

    The Last Chance list is out!
    Tons of items from the 2021-22 Annual Catalog are retiring and many are deeply discounted from 20-50% off.
     
    Remember that these items are while supplies last and may run out. 
    Click here to see it all online along with the discounts.

    Host codes: 6QFA66WT

     *click here to order 

    If your order is over $50 you'll receive free Waves jewels (while available) or Polished Dots and 3 hand made cards from me.


    Don't forget about my loyalty rewards! 

    Click here to download yours and earn a $50 shopping spree!  

    Leave a Reply

    Your email address will not be published. Required fields are marked *


Notice: LeeAnn Greff, Independent Stampin’ Up! Demonstrator, Manager. The content of this website is my sole responsibility as an independent Stampin’ Up! demonstrator and the use of, and content of, the classes, services, or products offered on this website is not endorsed by Stampin’ Up! Copyright 2025