/


Latest Post

Boughs of Holly Suite projects; with a special fun fold you’ll be amazed at!


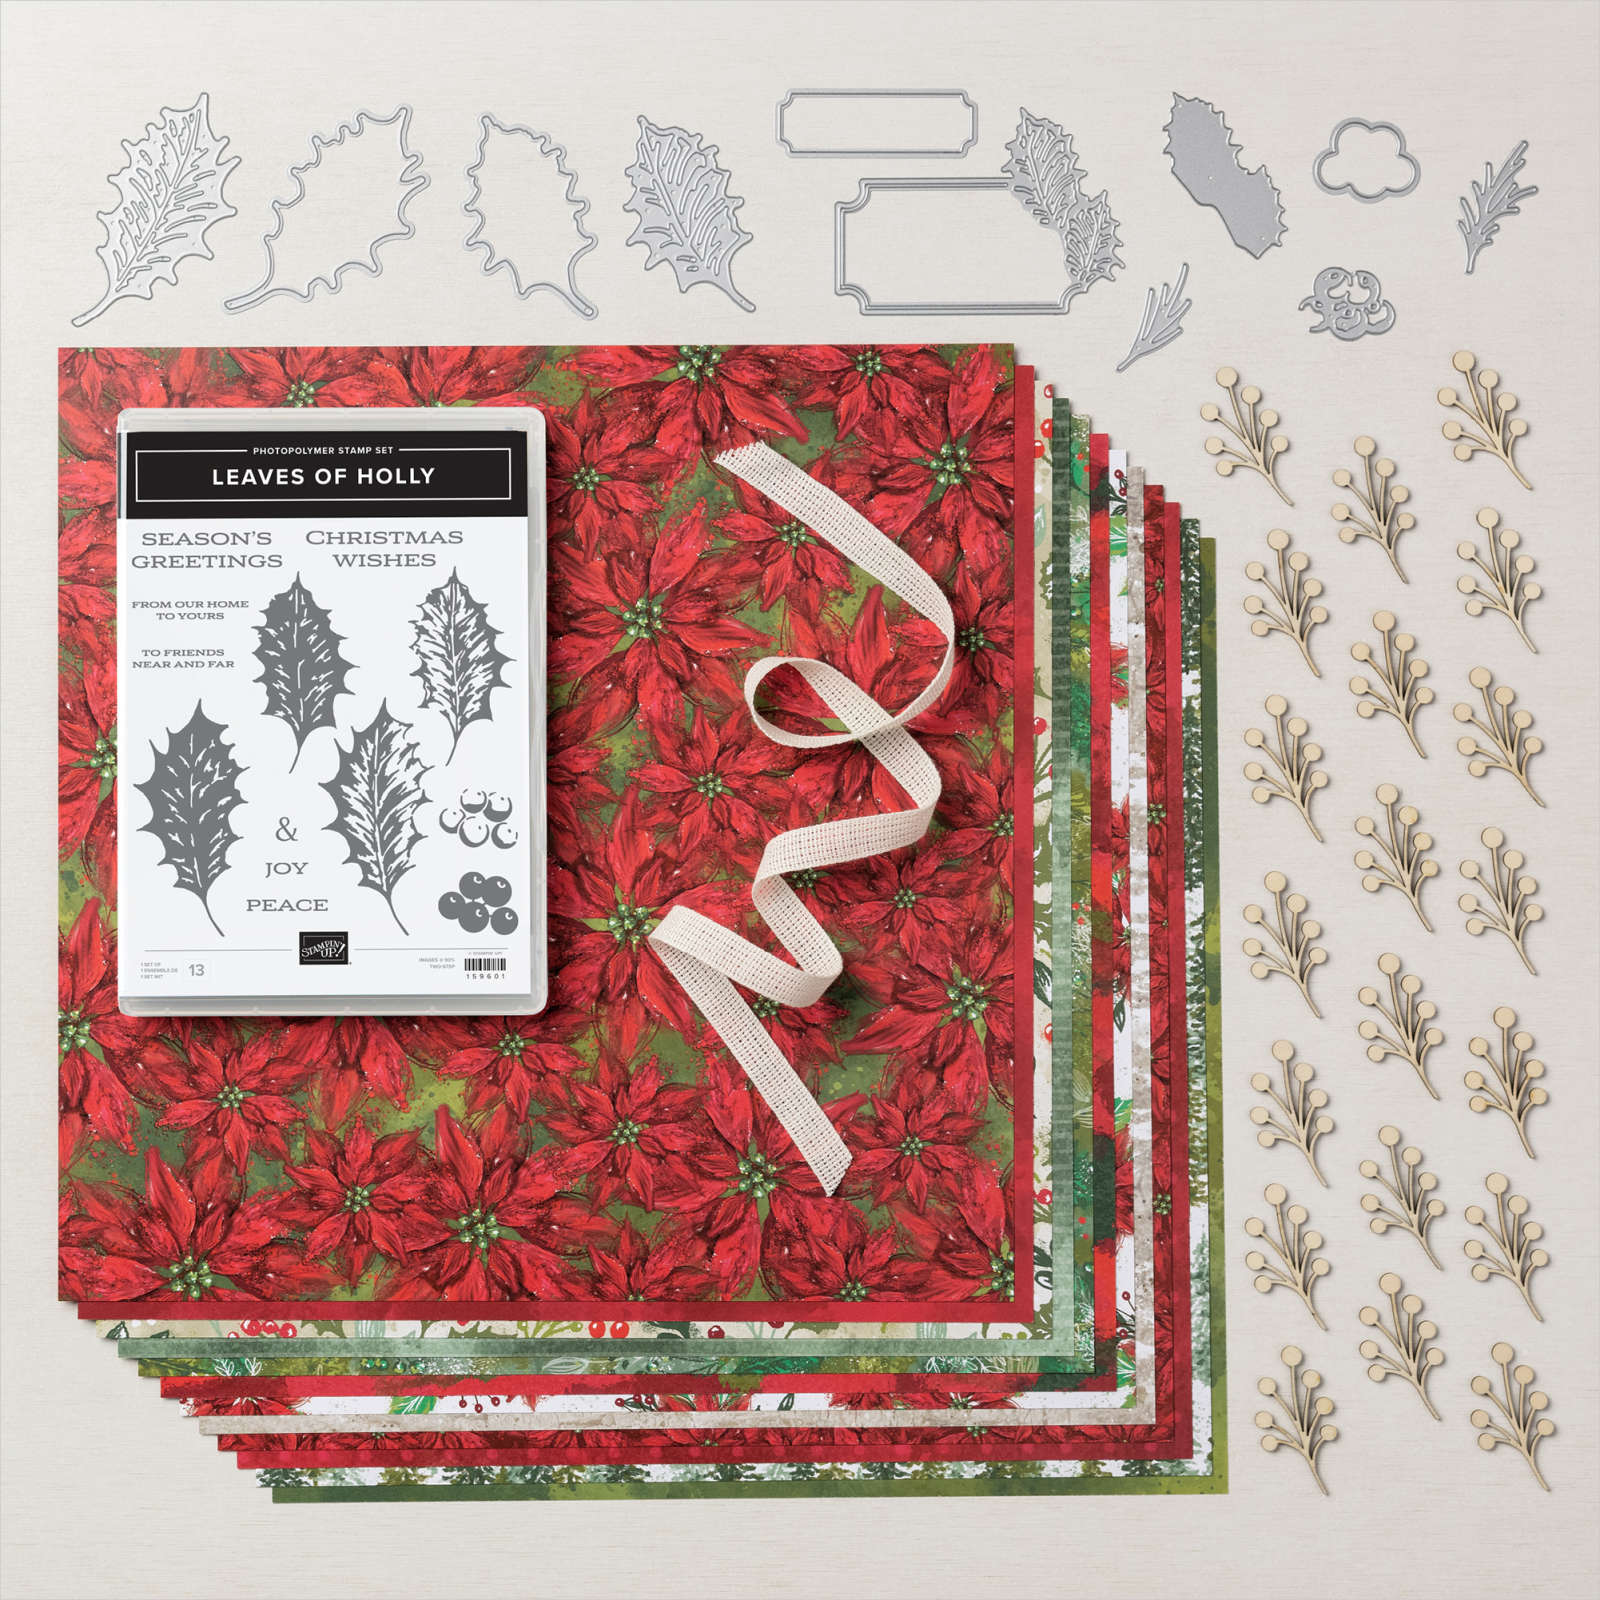
I think everyone is loving the Boughs of Holly suite seen here; the paper is stunning and the Leaves of Holly bundle is incredible as well!  

These are the last swap cards from our Christmas swap with my Flowerbug's Team.  I hope you've enjoyed their amazing & creative projects. *Scroll back to see them all. 

Marilyn made this pretty card:

Her colors include Mossy Meadow & Cherry Cobbler with White.  She stamped a few spatters on the designer paper before texturing it with the Gingham embossing folder before adding the die-cut greeting and leaves.  This greeting die-cut with the attached holly leaves is so pretty & unique. 

Measurements: Card base 5 1/2" X 8 1/2", DSP is 4 1/2" X 3 1/4", the Cherry Cobbler layer is 4 3/4" X 3 1/2" 

Here's a photo of the entire Boughs of Holly suite:
Next up is an amazing card by Paula.  She made a vertical Pillar card.  I've never seen one before.  
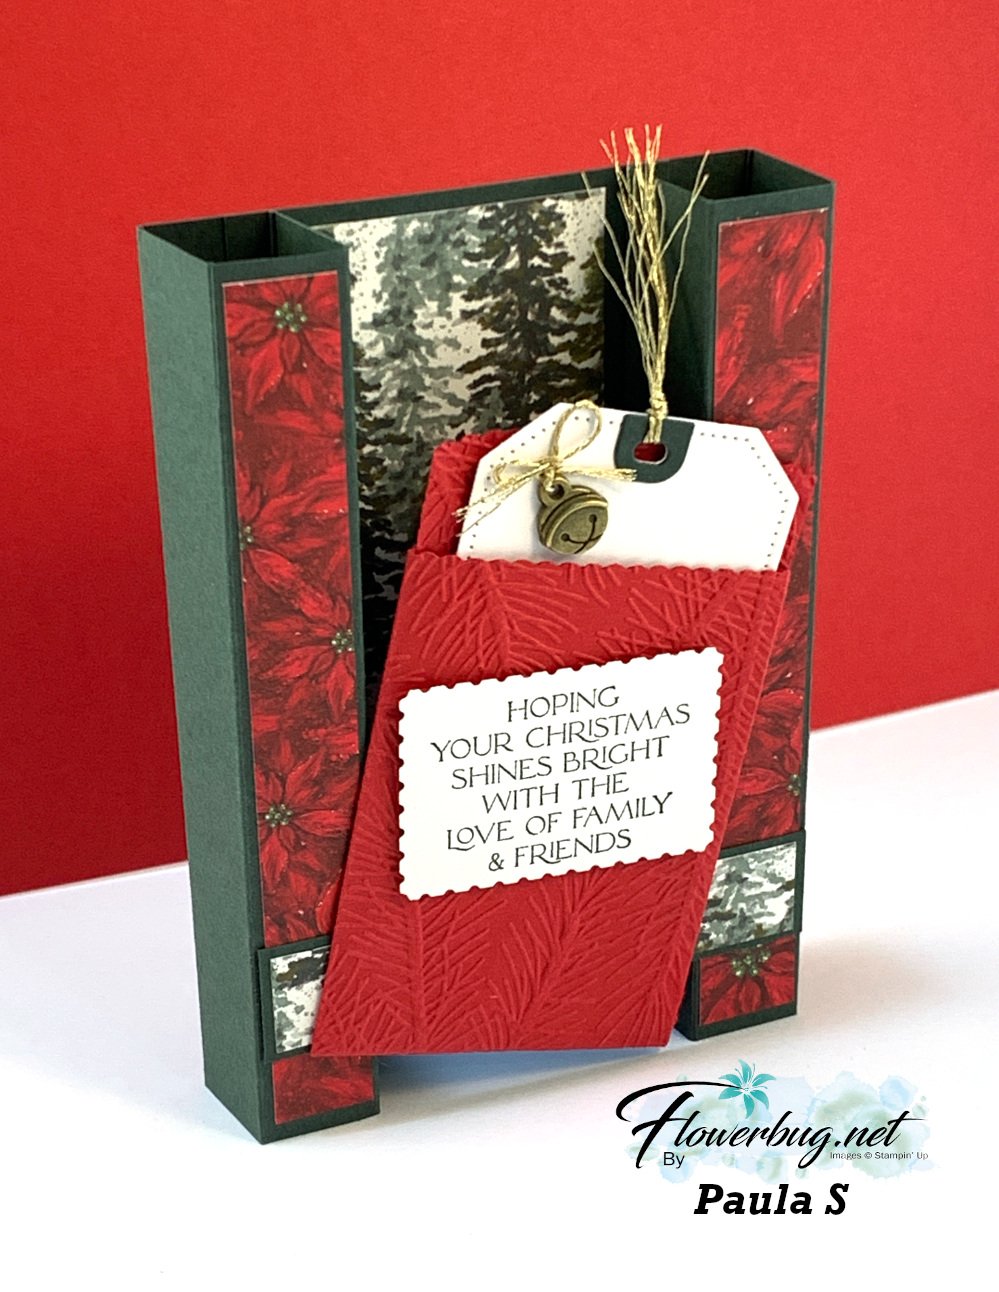
The way she attached the mini envelope across the front 'bridge' is so neat.  Here are the directions she shared with me:

The dimensions are:
  • 8-1/2 x 5-1/2 cardstock in Evening Evergreen
  • On 8-1/2 side score down 1/4, 1, 1-3/4, 2-1/2  6, 6-3/4, 7-1/2 and 8-1/4.
  • Banish all score lines toward the center
  • DSP strips are 5/8" X 5 1/4" and the center DSP is 1 3/4" X 5 1/4", the bridge piece across is 5/8" X 3 3/8"  

It folds flat to fit in a A2 size envelope.  

Products used include the Mini Pocket Envelope die, the tag was Tailor Made tags and the Rectangular Postage Stamp punch for the greeting. She also added the Flat Jingle Bells on page 27 of the Holiday catalog and the Wintry 3D embossing folder for the texture on the pocket. 

The tag pulls out of the pocket for even more interest. 
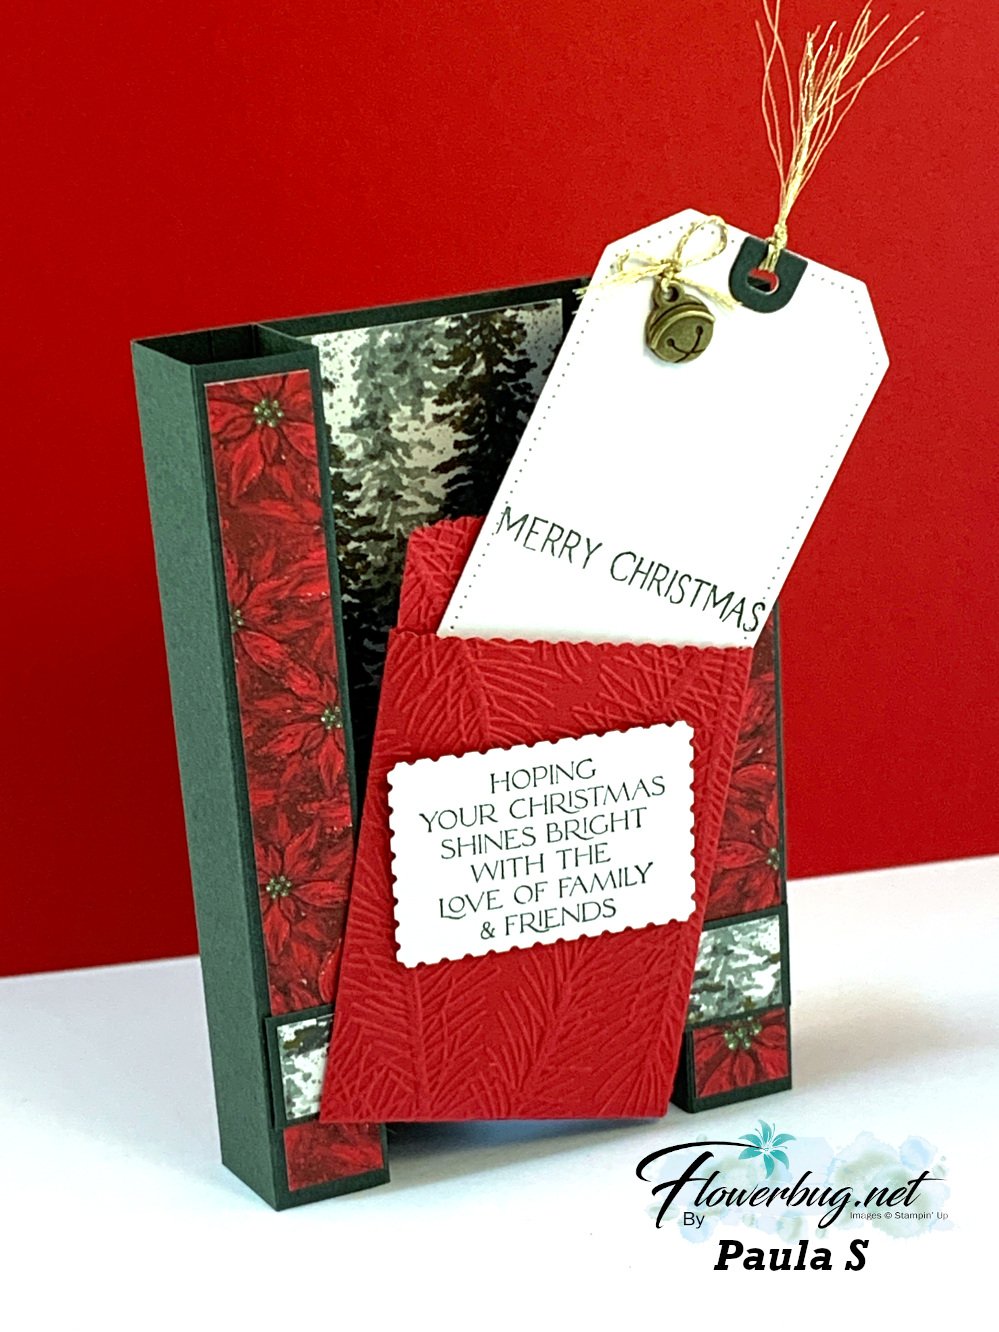
So creative and unique!  

Here is a photo of all of the incredible swap cards by my Team in October. I hope you've enjoyed this weeks posts featuring their cards.  
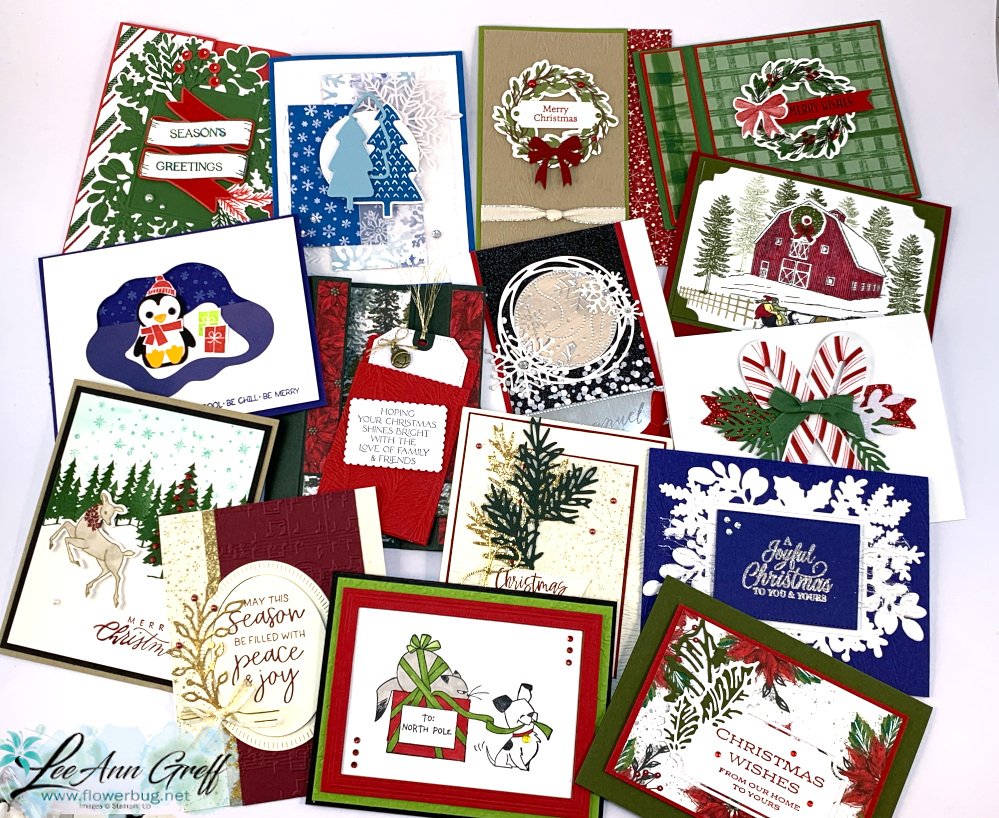

*Love swapping?  Or maybe you like discounted products?  Consider joining my Flowerbug's Team! 

The Starter Kit has bonus free dollars this month!  Check it out below:   

~~~

October Specials

Starter Kit special! Get $155 in product for just $99

click here

~~~

Order online here

Host code link: SVBHWRCY

Get a free embellishment from me with online orders over $50!


Earn free products with my loyalty rewards! 

Click here to download yours and earn a $50 shopping spree!

All Posts

  • How to use leftover pieces to create projects


    I'm sure you have a few piles of extra die-cuts, greetings or stamped images leftover from other projects right?  I seem to have lots! I give bunches of these to my friend Joanne in AZ as she loves to use them to remake cards to benefit the needy. 

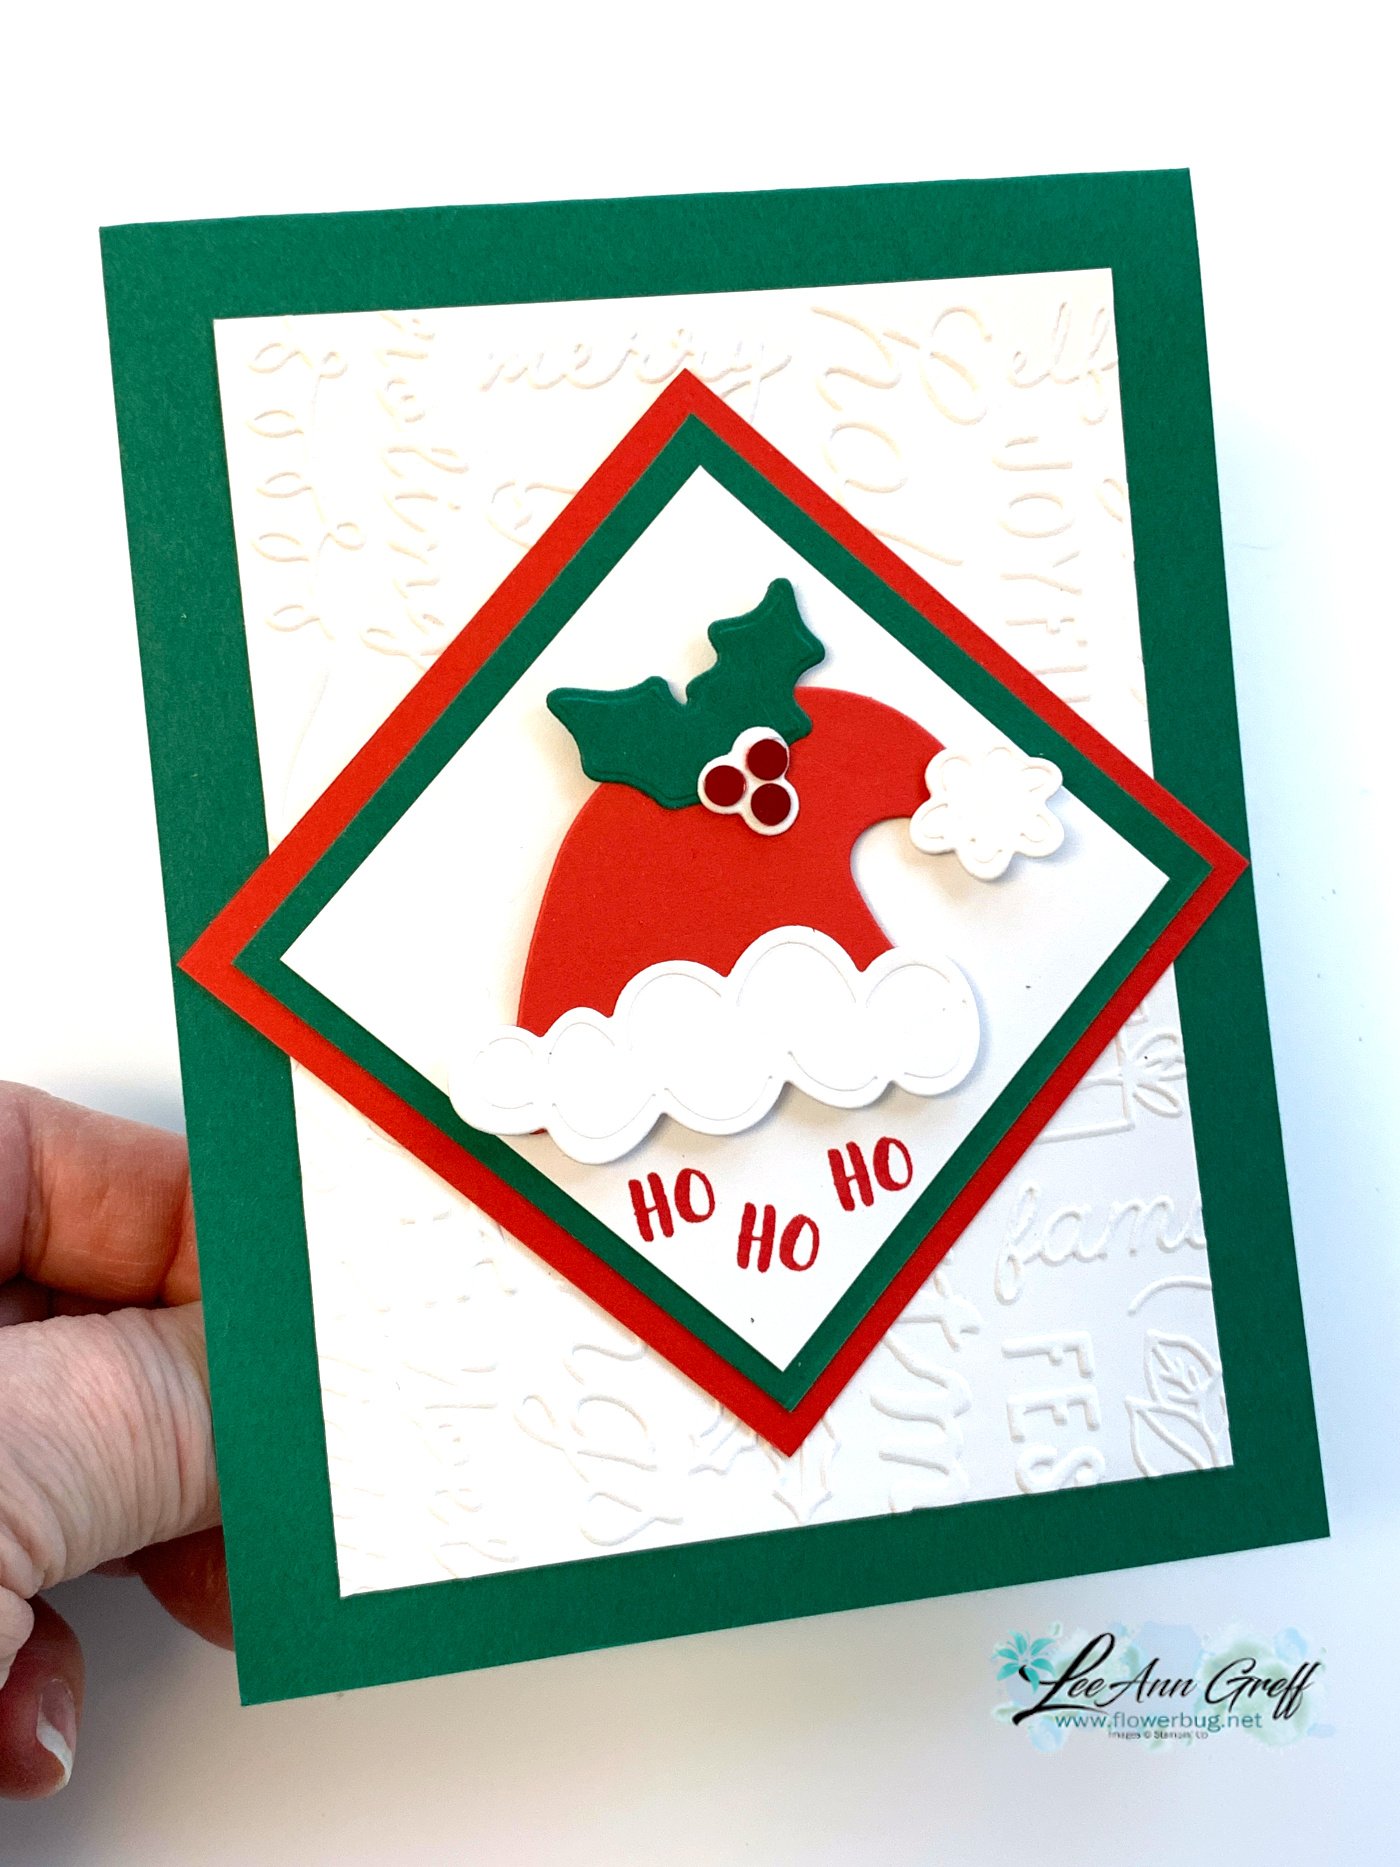
    I had a few extra Santa hat die-cuts left from this project. 

    It's made with the Sending Cheer bundle. I shared this diamond flap card on a video here.  Unfortunately the dies are sold out but the stamp set is hugely discounted right now; see it here. It was $24 and is now $14.40. 

    I had enough die-cuts and other elements left to create a few more cards; here's one:

    The layout is quite similar but it's not a fun fold card. Simple but cute! I used Poppy Parade for this card base. The colorful designer paper is the Merry, Bold & Bright but it's also sold out now.  Our Last Chance sale from the Holiday catalog is really reducing our options!  

    Here's a different card layout using similar pieces: 

    I had a leftover textured layer that was perfect for the Santa element. It's the Christmas Tidings embossing folder – discounted on the Last Chance sale and seen here. 


    Easy-peasy and two more Christmas cards made. 

    ~~~

    December Specials: 

    Get a free embellishment from the 2023 Holiday catalog with an

    online order over $50


    *current host codes:  PN2C7Z4E or 77277NNH

    Love kits?  Check out my pre-cut card kits to go here!

    I offer two new kits & tutorials each month!

    Leave a Reply

    Your email address will not be published. Required fields are marked *

  • Fragrant Forest & Countryside Corners in a fun fold layout with video


    I've been sharing my Fragrant Forest projects from last week's Live; this is the third one. I have a video below to watch plus free project sheets for each card too.  See this stamp set here.

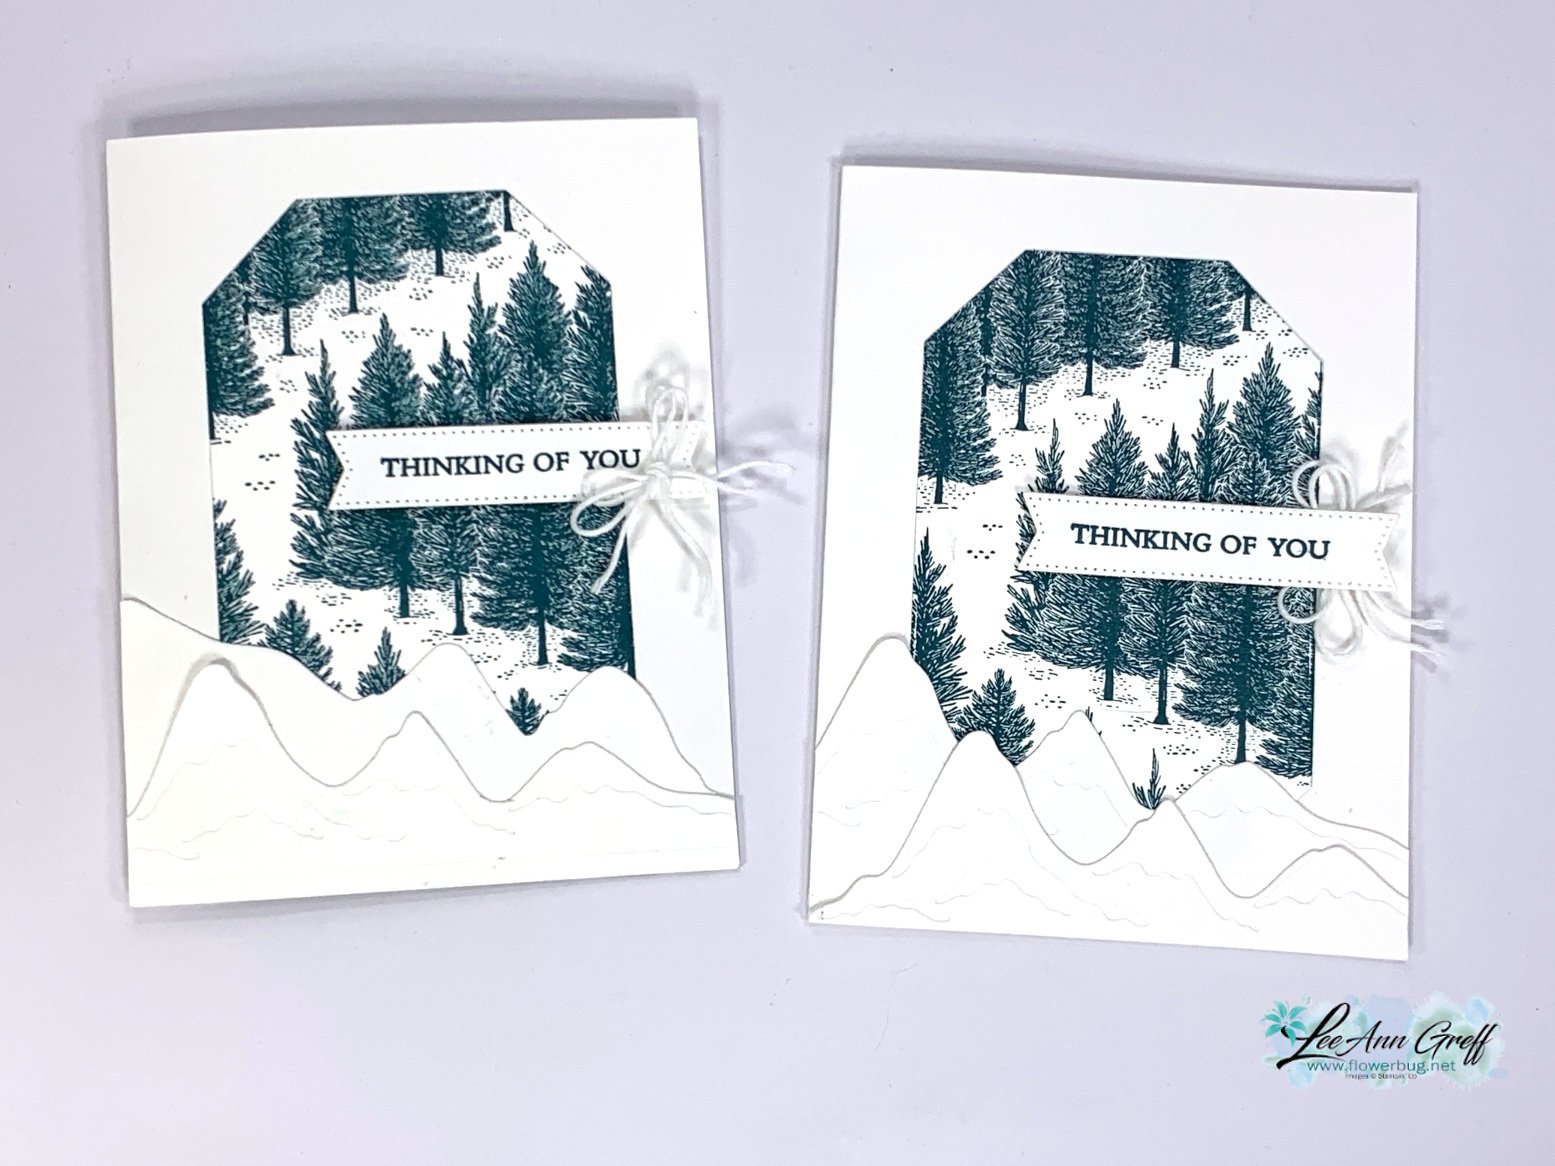
    I chose a simple color combo of White & Pretty Peacock. The designer paper on the upper flap is the Hello, Irresistible from our Online Exclusives line. 

    The die-cuts are the Countryside Corners from the Annual catalog; seen here. Can you see the raised lines on the inside white? I used my Simply Scored 1/4" from each edge. 

    Here's the free project sheet with measurements, photo and more: Download Fragrant Forest Funfold card

    I couldn't decide if I like the clean look of the card on the lower right or the added forest on the lower left card. Which do you prefer? 

    Here's the inside view of the upper left card.  I used the Lasting Joy stamp set for my greeting and sentiments. I find I'm reaching for this one often. See it here. 

    You might wonder just how I achieved inking only the bottom half of this stamp on the inside of the left card above. Watch the video here. 

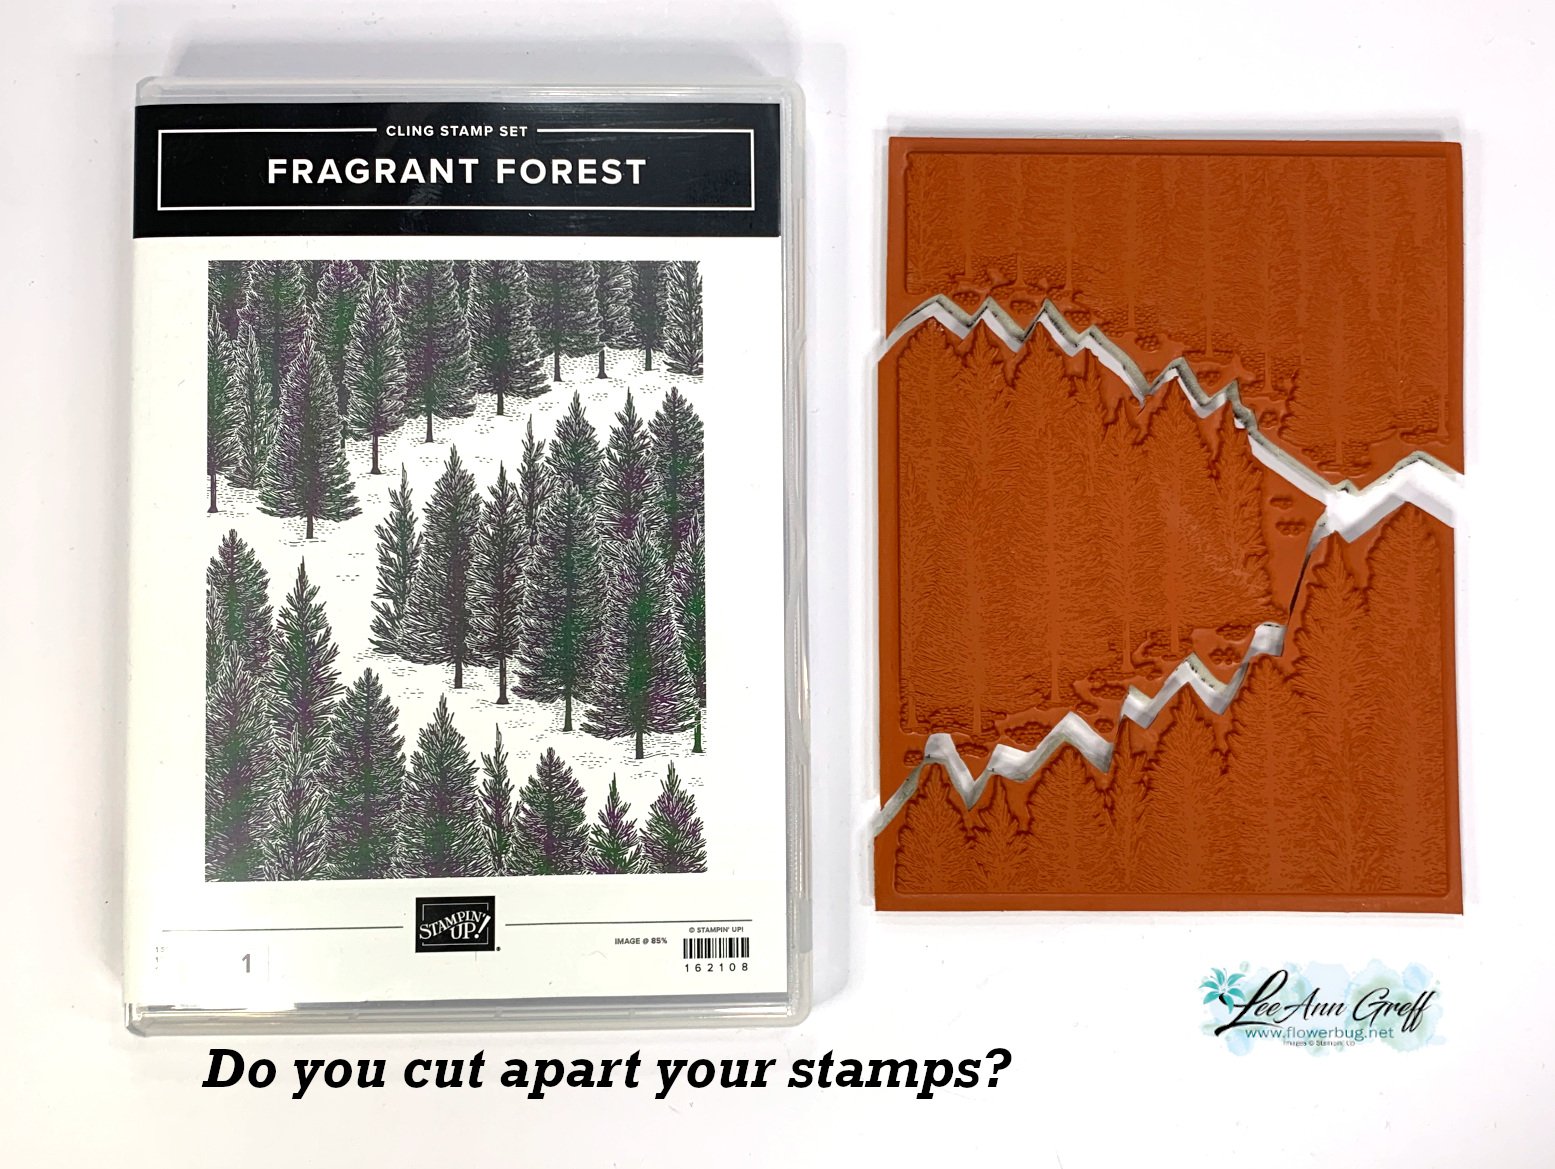
    I cut my stamp apart! 

    Cutting your stamps can make them so much more versatile!  And they fit right back together on your block if you do want to use the entire stamp.  Try it! 

    Click here or on the photo below to watch my video.  Please subscribe to my YouTube channel too!  

    ~~~

    December Specials: 

    Get a free embellishment from the 2023 Holiday catalog with an

    online order over $50


    *current host codes:  PN2C7Z4E or 77277NNH

    Love kits?  Check out my pre-cut card kits to go here!

    I offer two new kits & tutorials each month!


    Leave a Reply

    Your email address will not be published. Required fields are marked *

  • Free Shipping Thursday!! And a quick & pretty card with Fragrant Forest


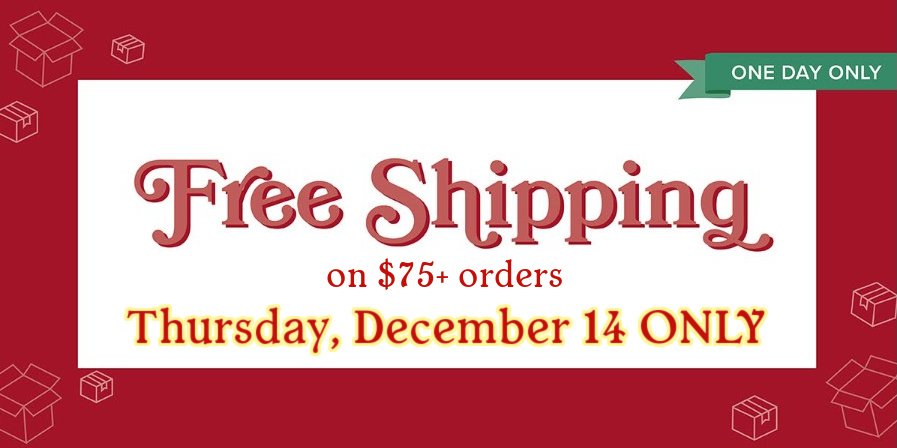
    Stampin' Up! announced that Thursday, December 14th is a day of FREE shipping! 

    All orders over $75 will have no added cost of shipping

    Start making your list!

    ~~~

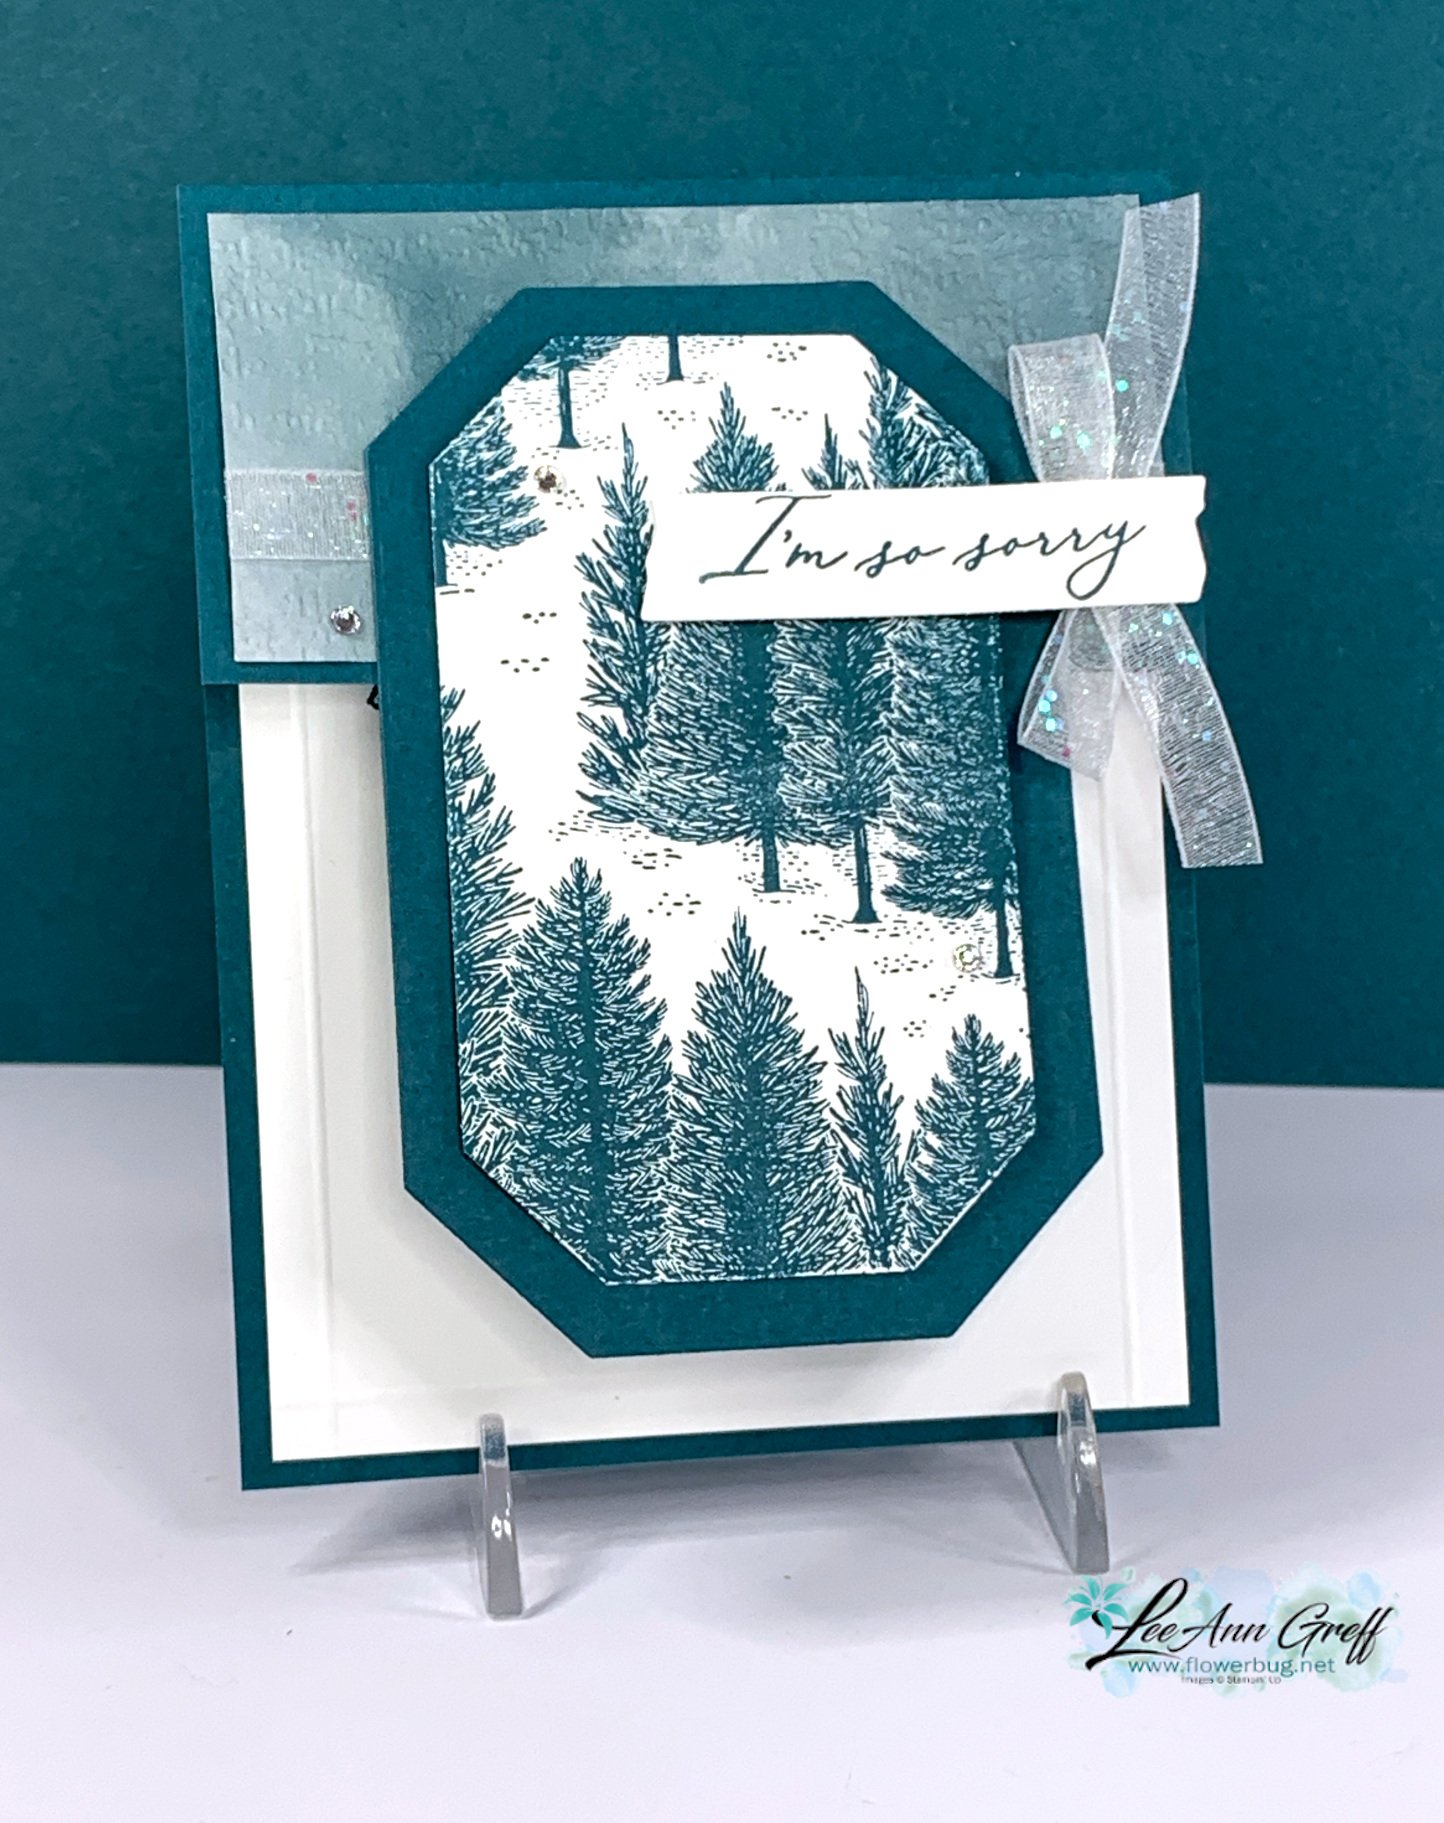
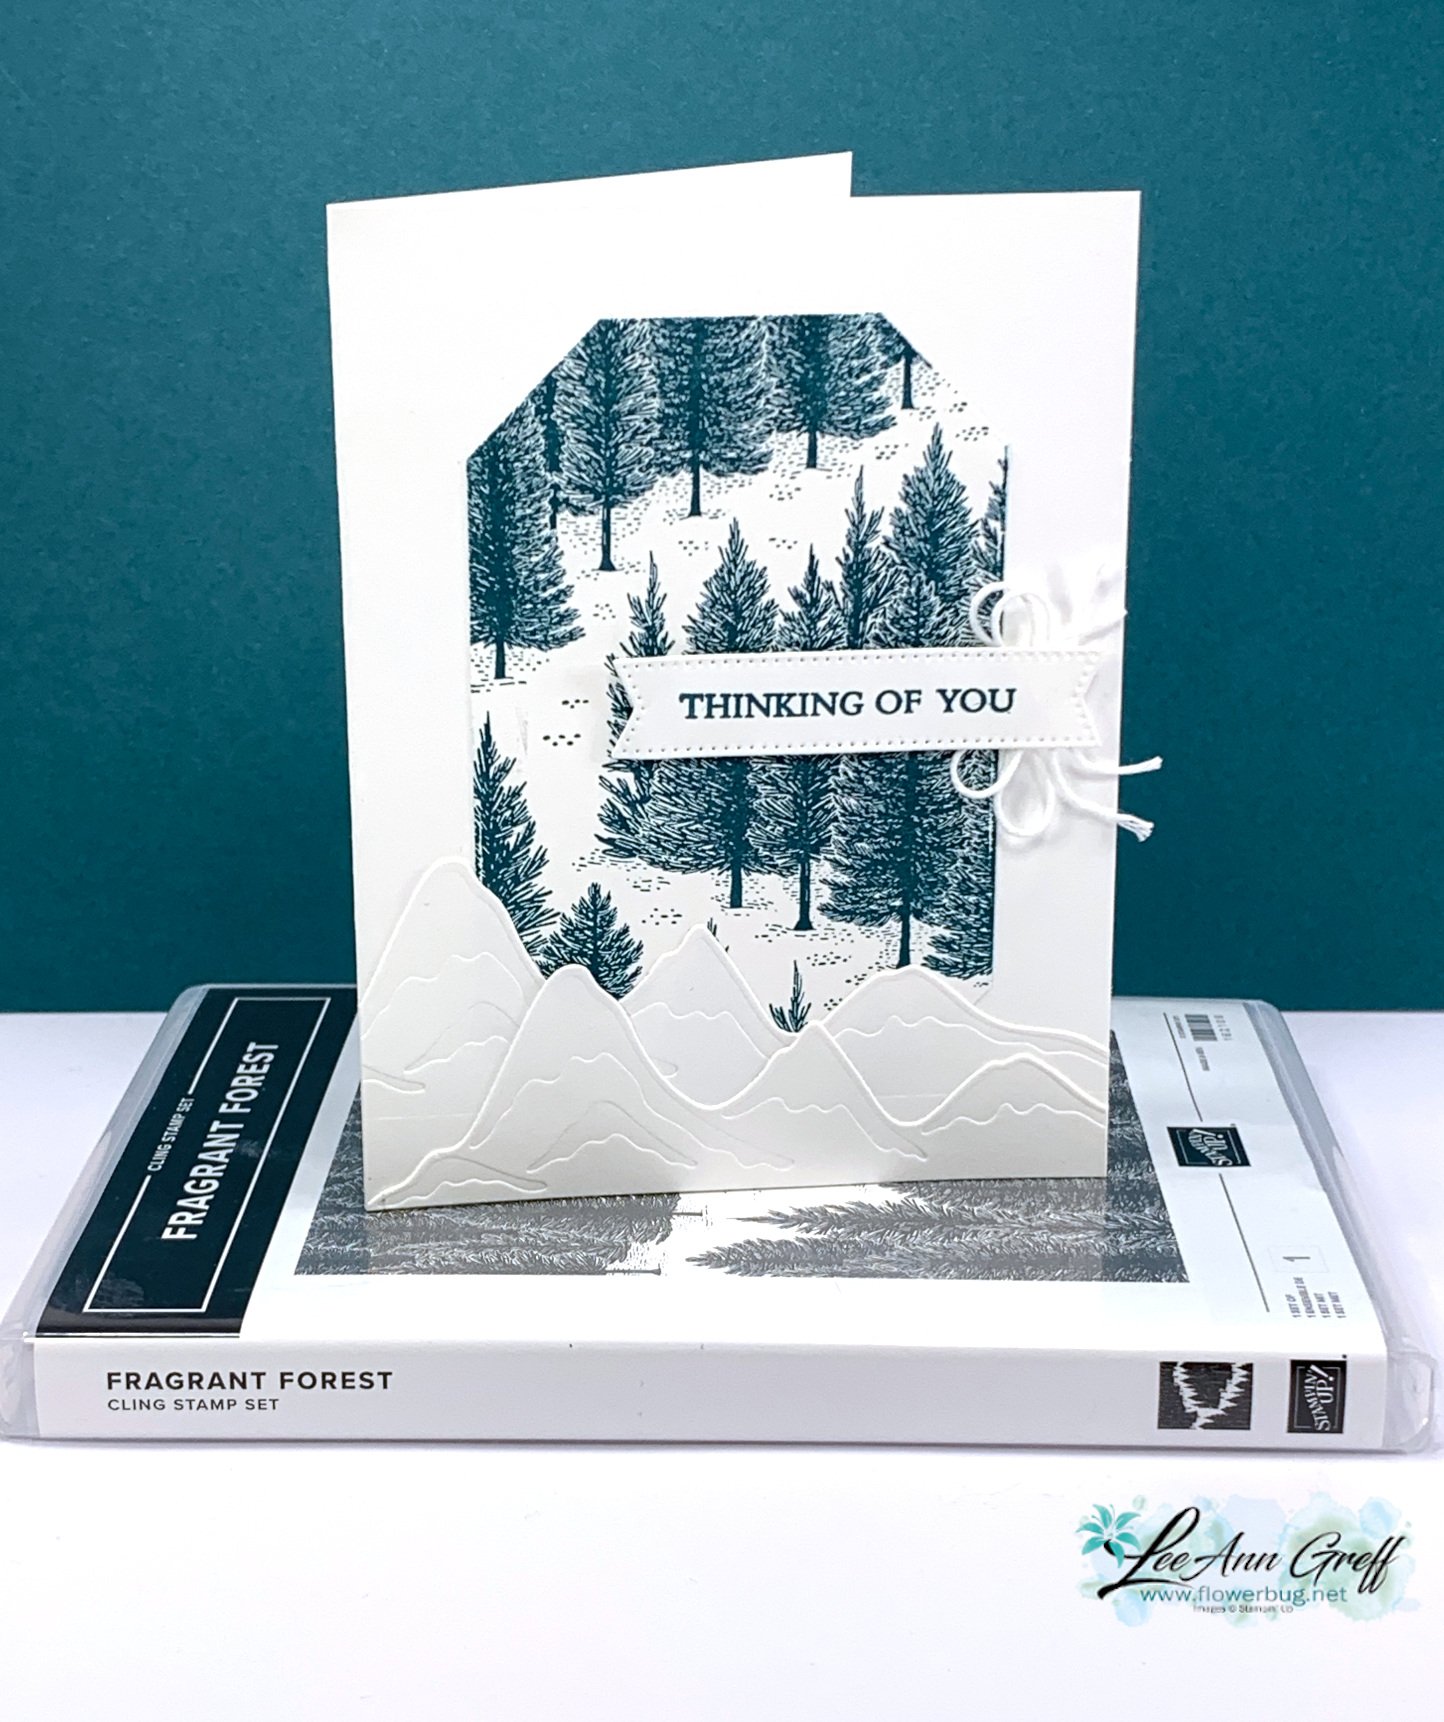
    On last week's Live video I featured the Fragrant Forest stamp set. Trees are one of my 'go to' choices for card making; I like most botanical images though. I find them comforting and versatile and this large background stamp is truly beautiful. 

    I kept my colors to White & Pretty Peacock. If you ever struggle with color combos try just one with White or Vanilla; they're usually quite beautiful. 

    Dies used here include the Countryside Corner dies (2023-24 annual catalog) & Forever Forest dies (2023 Holiday catalog) for the die-cut mountains on the bottom of the card . The greeting die-cut is from the Stylish Shapes dies; a definite must have! See the Fragrant Forest stamp set here. 

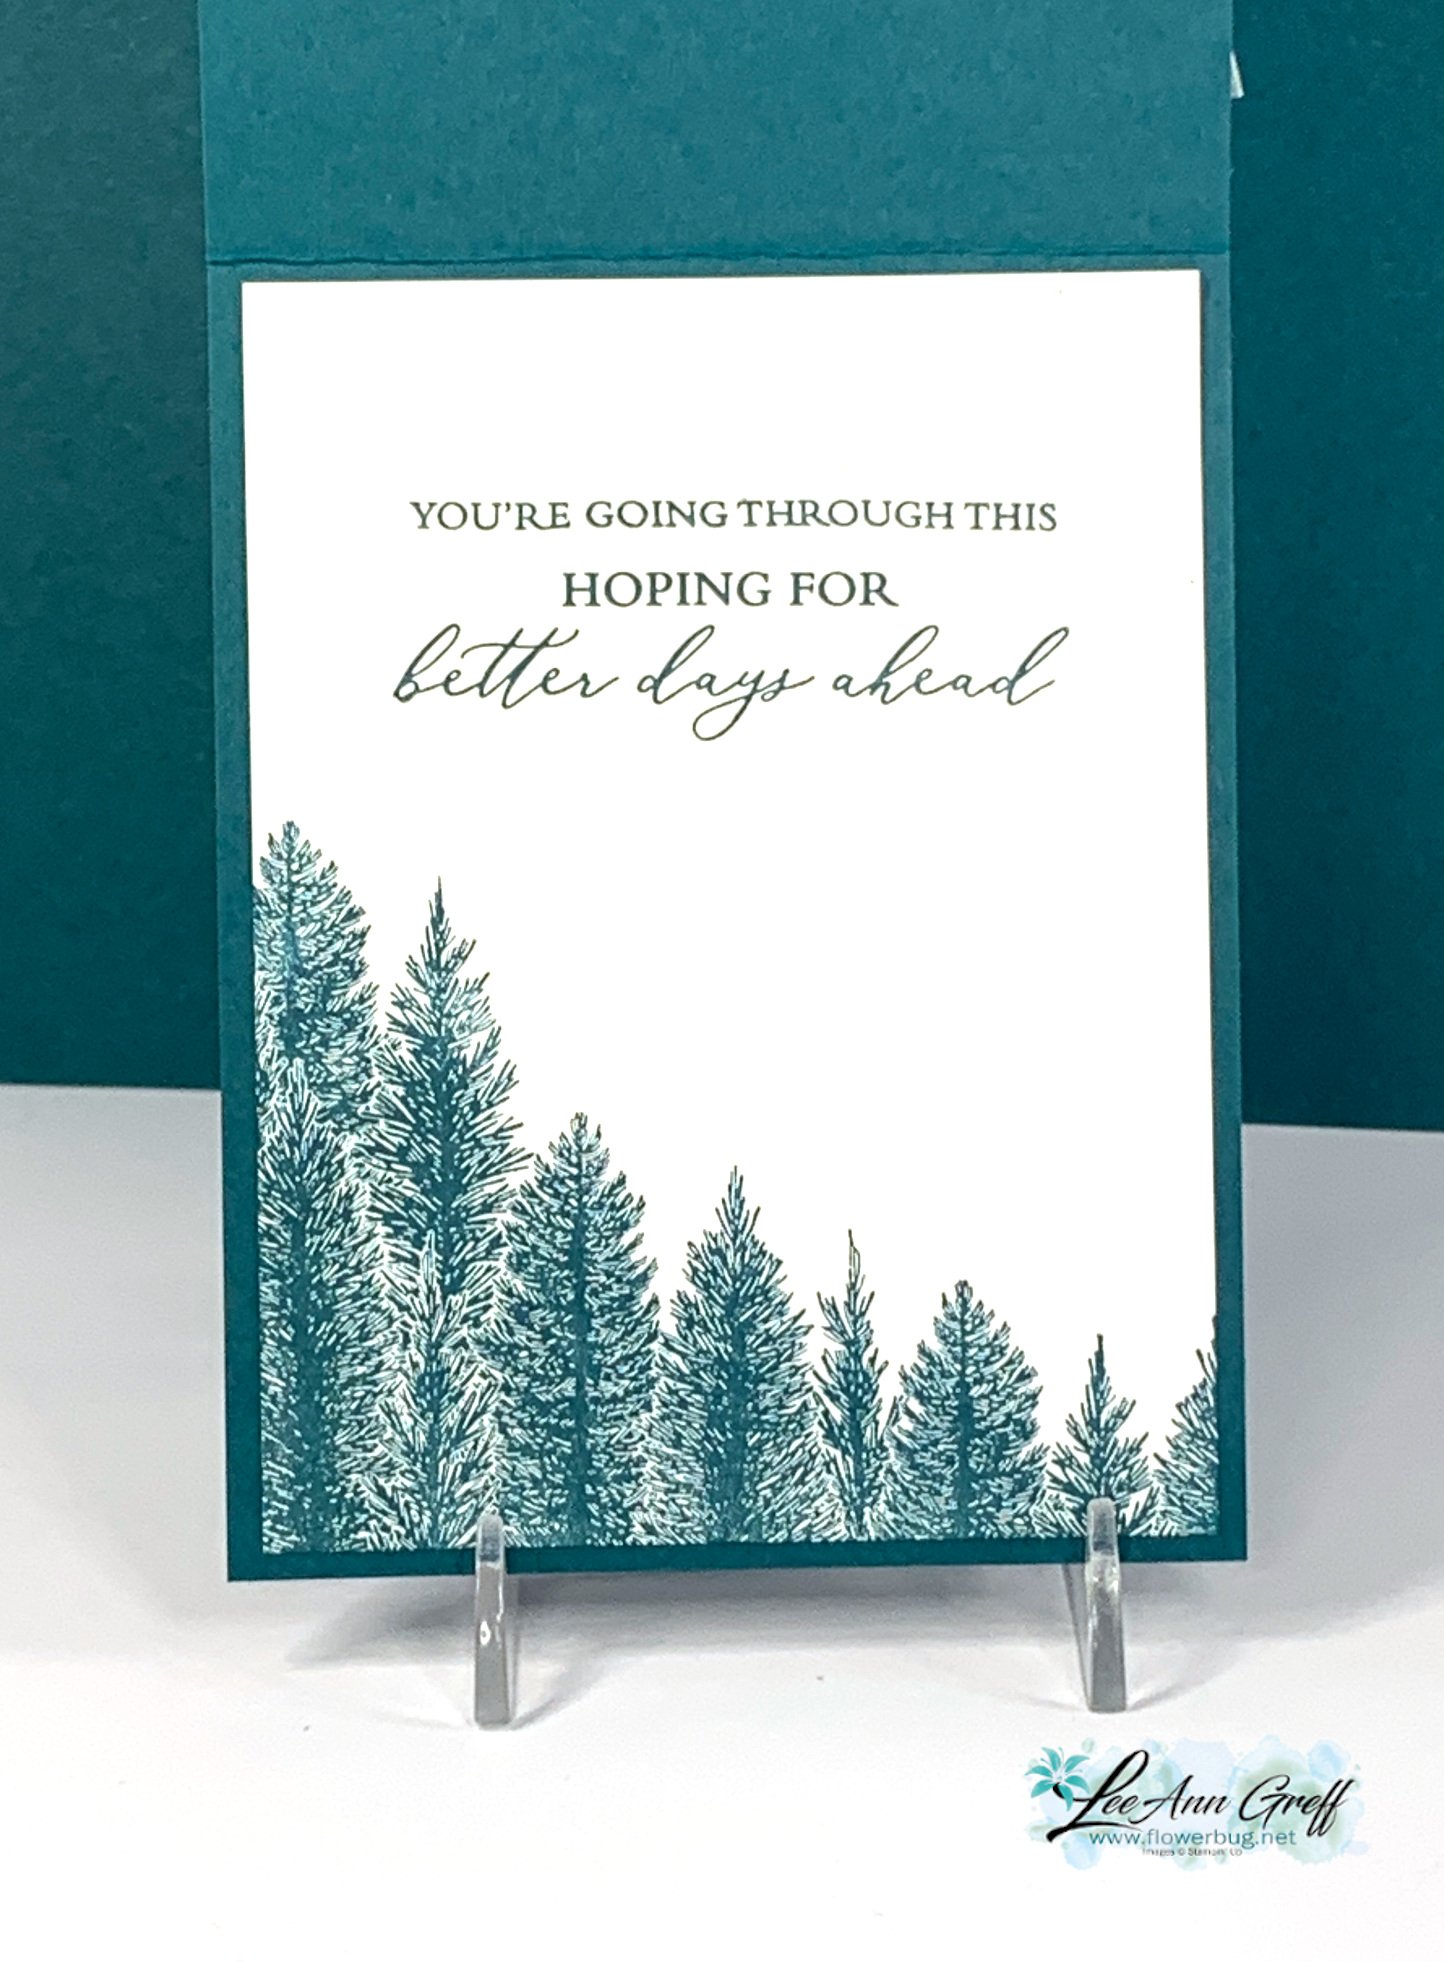
    Here's the inside view: 

    Here's a free project sheet for this card; click on this link to download it.  Download Frosty Fragrant Forest card

    You might wonder just how I achieved the bottom half of this stamp on the inside of the card. Watch the video here. 

    I cut my stamp apart! 

    Cutting your stamps can make them so much more versatile!  And they fit right back together on your block if you do want to use the entire stamp.  Try it! 

    Click here or on the photo below to watch my video.  Please subscribe to my YouTube channel too!  

    ~~~

    December Specials: 

    Get a free embellishment from the 2023 Holiday catalog with an

    online order over $50


    *current host codes:  PN2C7Z4E or 77277NNH

    Click on the image below to see the Holiday Last Chance items 

    Leave a Reply

    Your email address will not be published. Required fields are marked *


Notice: LeeAnn Greff, Independent Stampin’ Up! Demonstrator, Manager. The content of this website is my sole responsibility as an independent Stampin’ Up! demonstrator and the use of, and content of, the classes, services, or products offered on this website is not endorsed by Stampin’ Up! Copyright 2025