/


Latest Post

Boughs of Holly Suite projects; with a special fun fold you’ll be amazed at!


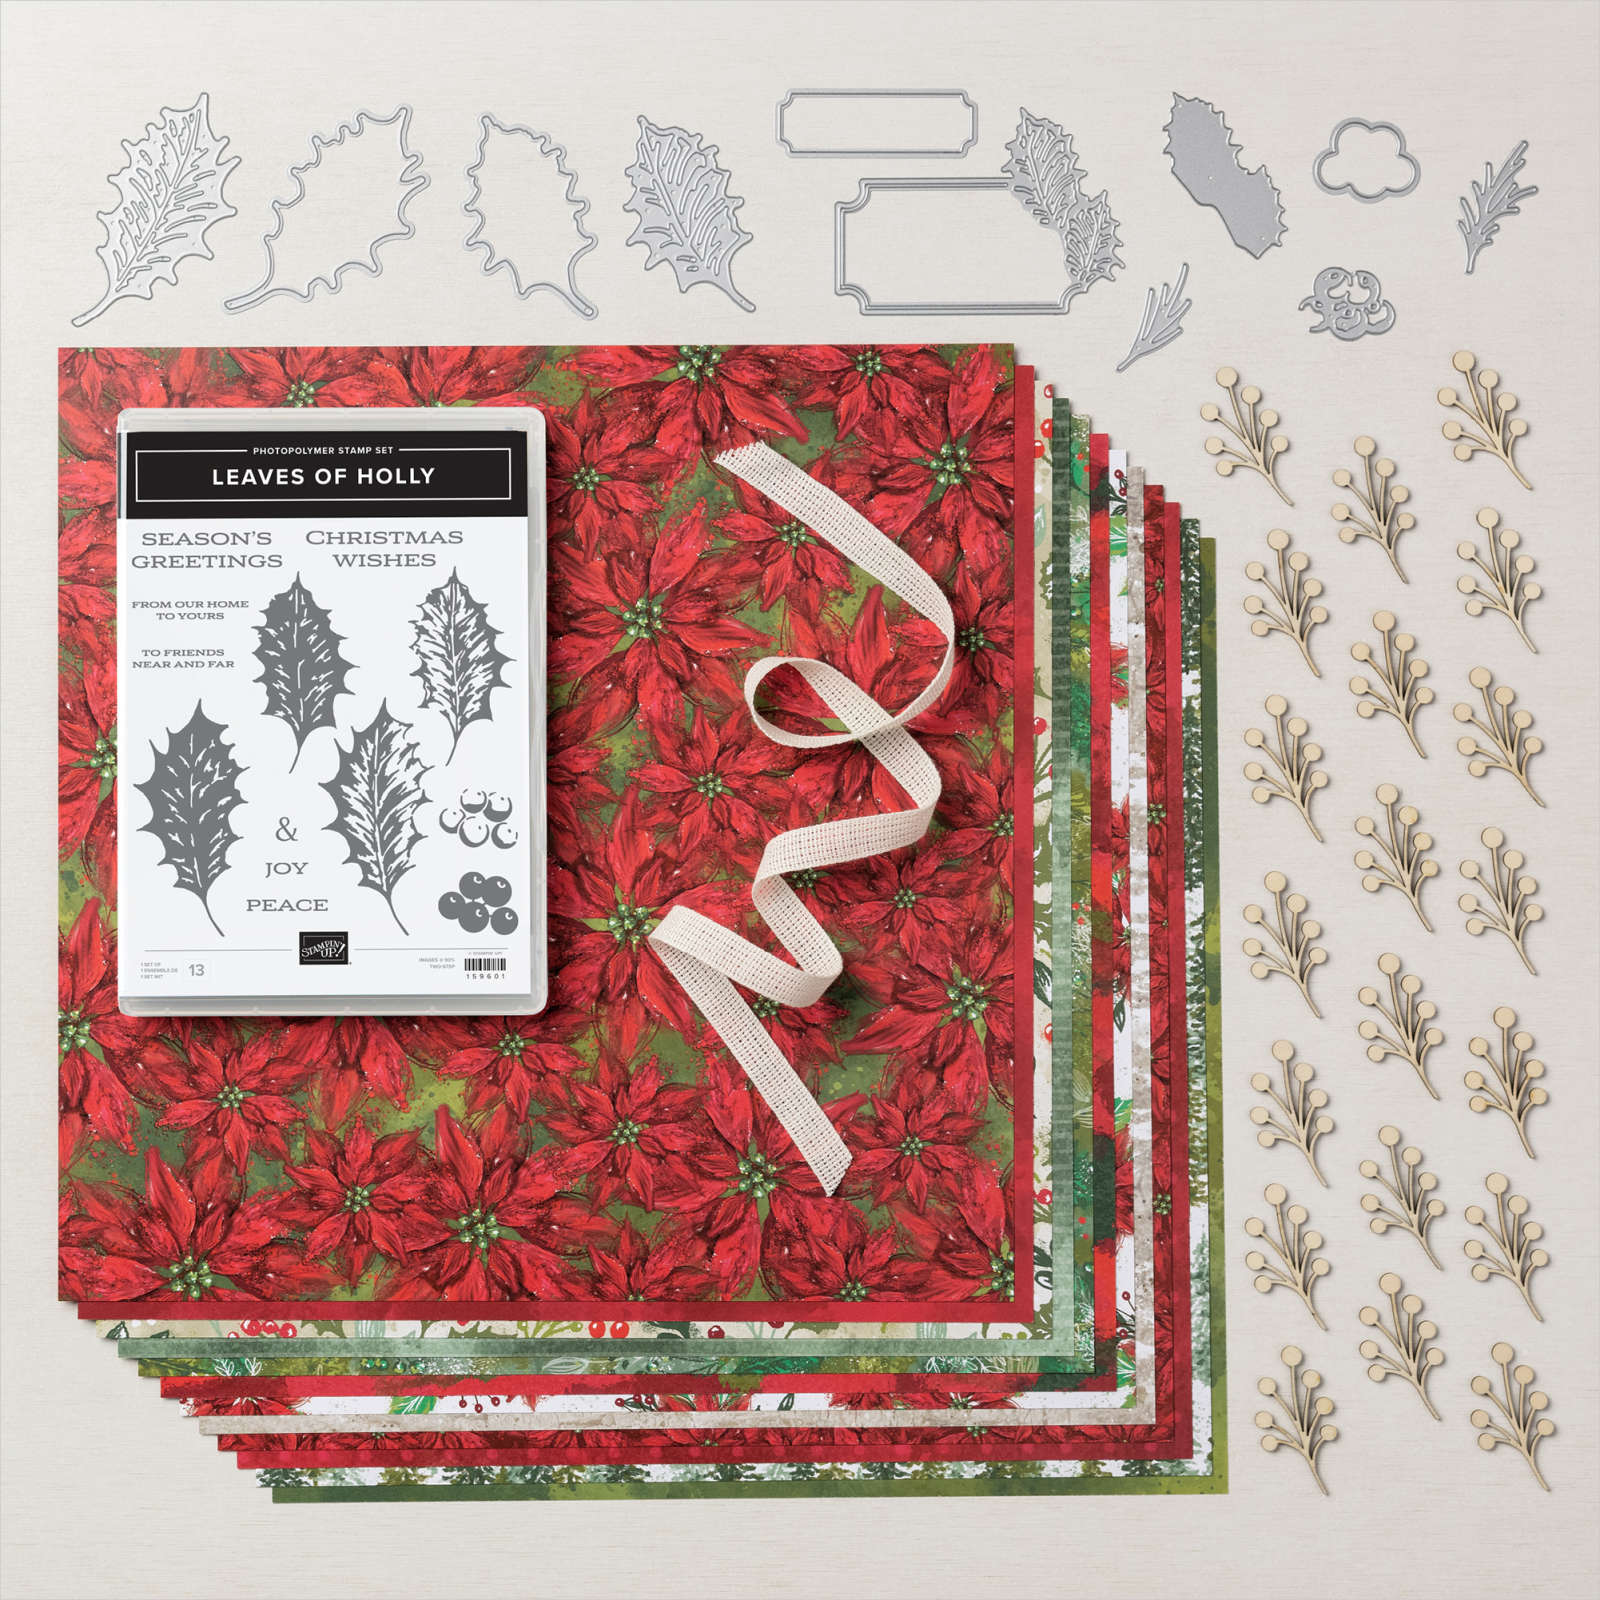
I think everyone is loving the Boughs of Holly suite seen here; the paper is stunning and the Leaves of Holly bundle is incredible as well!  

These are the last swap cards from our Christmas swap with my Flowerbug's Team.  I hope you've enjoyed their amazing & creative projects. *Scroll back to see them all. 

Marilyn made this pretty card:

Her colors include Mossy Meadow & Cherry Cobbler with White.  She stamped a few spatters on the designer paper before texturing it with the Gingham embossing folder before adding the die-cut greeting and leaves.  This greeting die-cut with the attached holly leaves is so pretty & unique. 

Measurements: Card base 5 1/2" X 8 1/2", DSP is 4 1/2" X 3 1/4", the Cherry Cobbler layer is 4 3/4" X 3 1/2" 

Here's a photo of the entire Boughs of Holly suite:
Next up is an amazing card by Paula.  She made a vertical Pillar card.  I've never seen one before.  
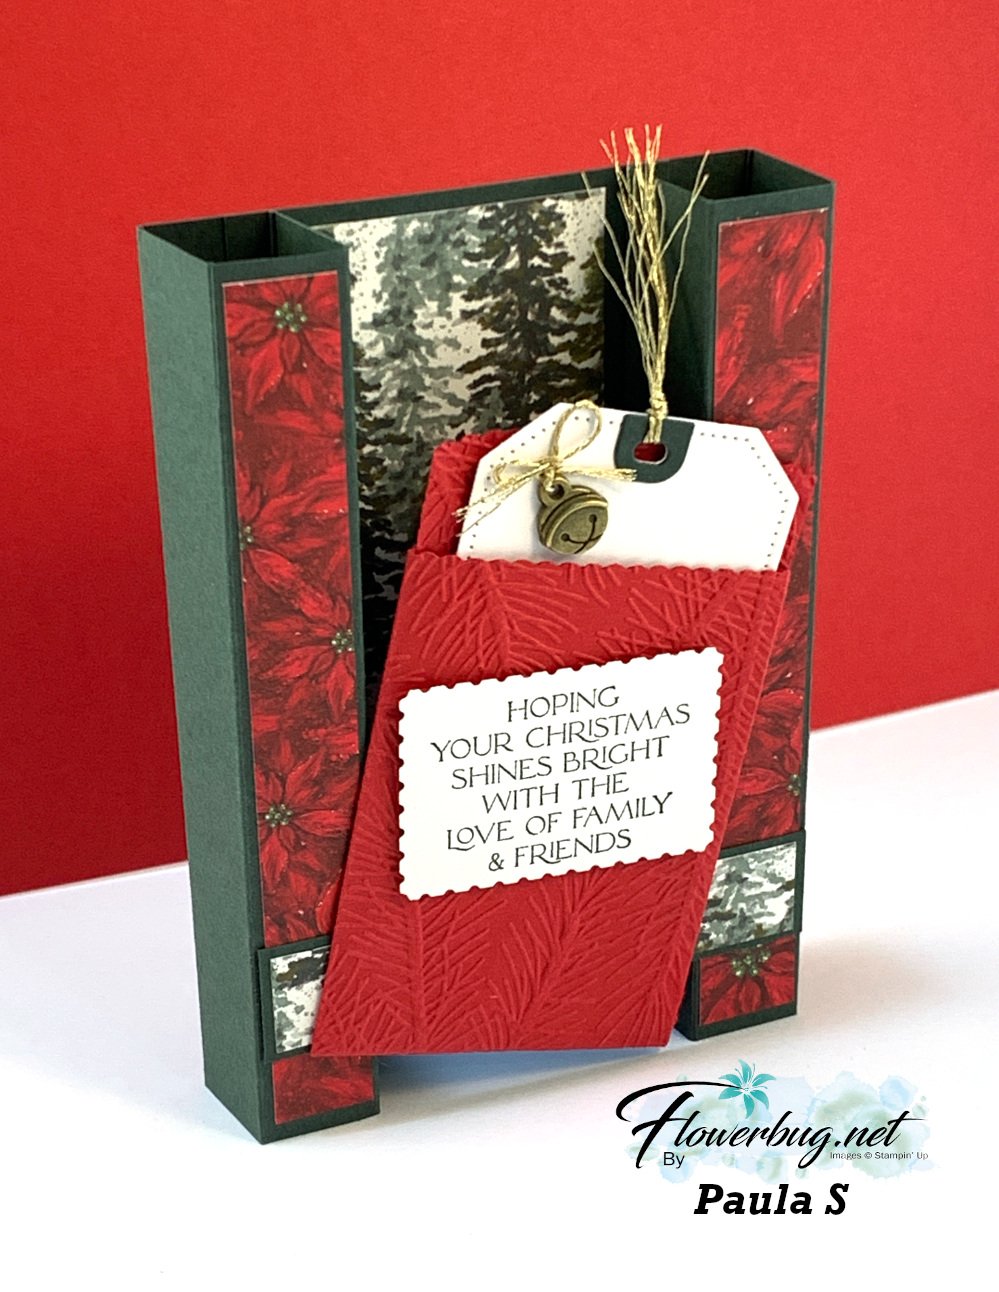
The way she attached the mini envelope across the front 'bridge' is so neat.  Here are the directions she shared with me:

The dimensions are:
  • 8-1/2 x 5-1/2 cardstock in Evening Evergreen
  • On 8-1/2 side score down 1/4, 1, 1-3/4, 2-1/2  6, 6-3/4, 7-1/2 and 8-1/4.
  • Banish all score lines toward the center
  • DSP strips are 5/8" X 5 1/4" and the center DSP is 1 3/4" X 5 1/4", the bridge piece across is 5/8" X 3 3/8"  

It folds flat to fit in a A2 size envelope.  

Products used include the Mini Pocket Envelope die, the tag was Tailor Made tags and the Rectangular Postage Stamp punch for the greeting. She also added the Flat Jingle Bells on page 27 of the Holiday catalog and the Wintry 3D embossing folder for the texture on the pocket. 

The tag pulls out of the pocket for even more interest. 
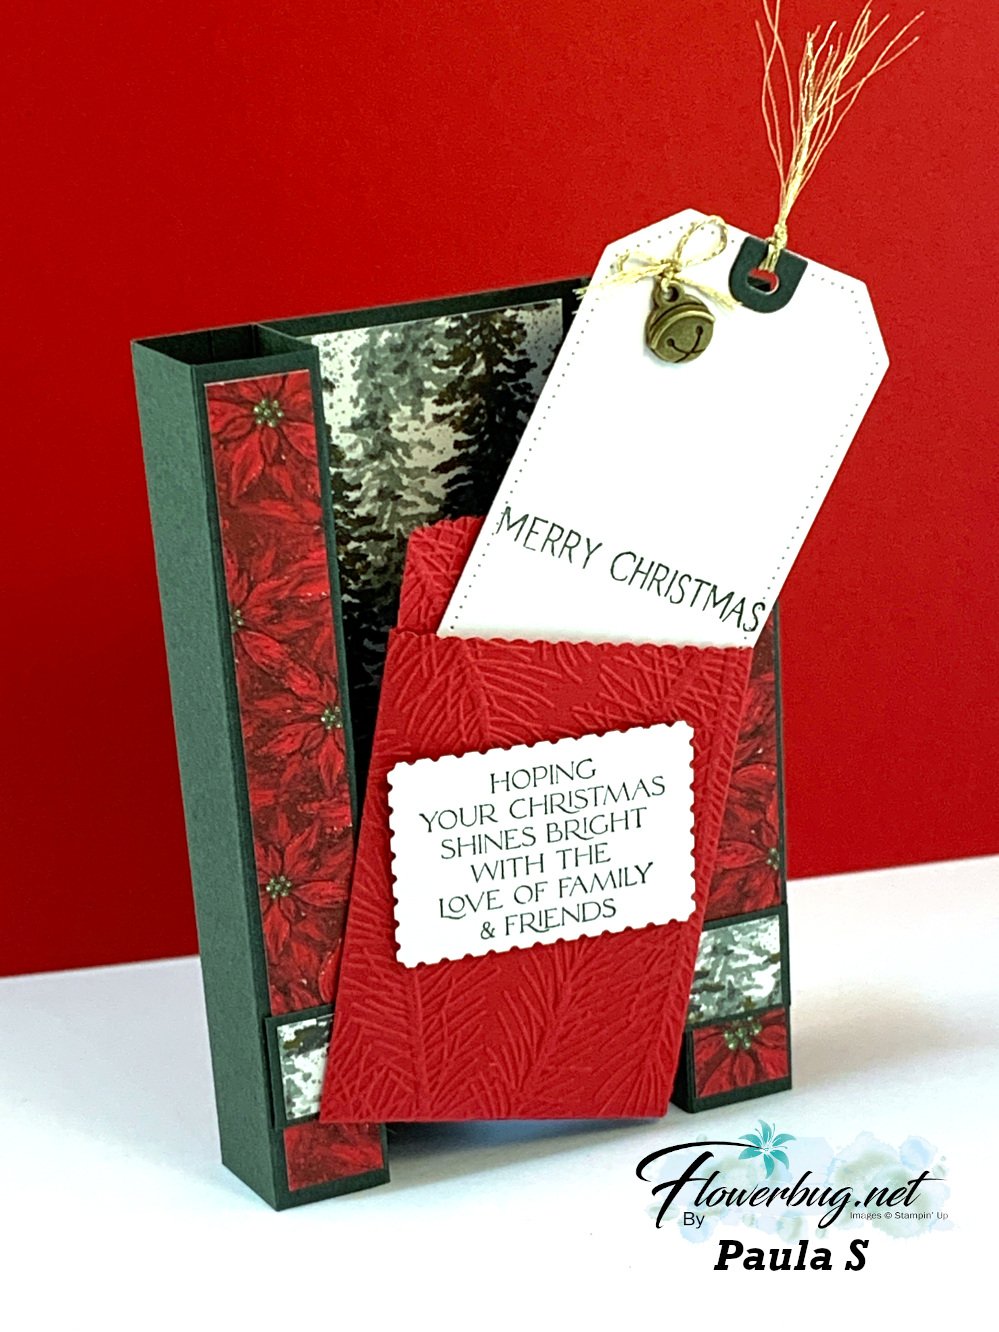
So creative and unique!  

Here is a photo of all of the incredible swap cards by my Team in October. I hope you've enjoyed this weeks posts featuring their cards.  
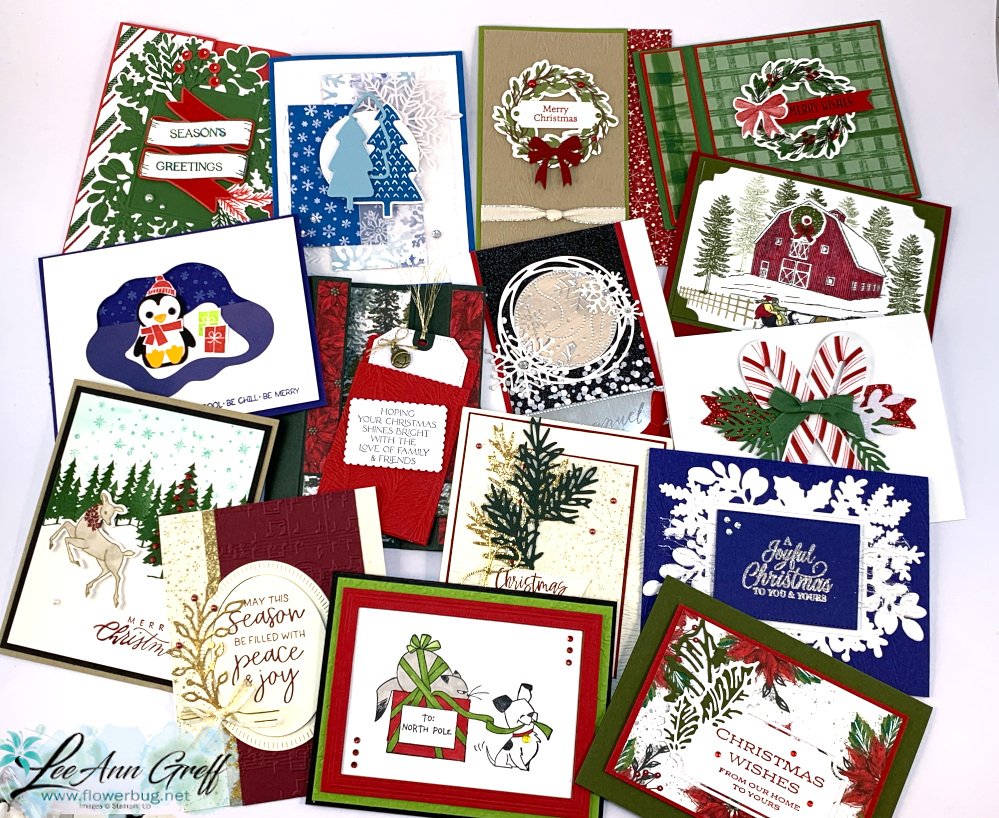

*Love swapping?  Or maybe you like discounted products?  Consider joining my Flowerbug's Team! 

The Starter Kit has bonus free dollars this month!  Check it out below:   

~~~

October Specials

Starter Kit special! Get $155 in product for just $99

click here

~~~

Order online here

Host code link: SVBHWRCY

Get a free embellishment from me with online orders over $50!


Earn free products with my loyalty rewards! 

Click here to download yours and earn a $50 shopping spree!

All Posts

  • Fabulous & SO Easy ‘Quilted Star’ card with a cool punch trick, a free project sheet & video


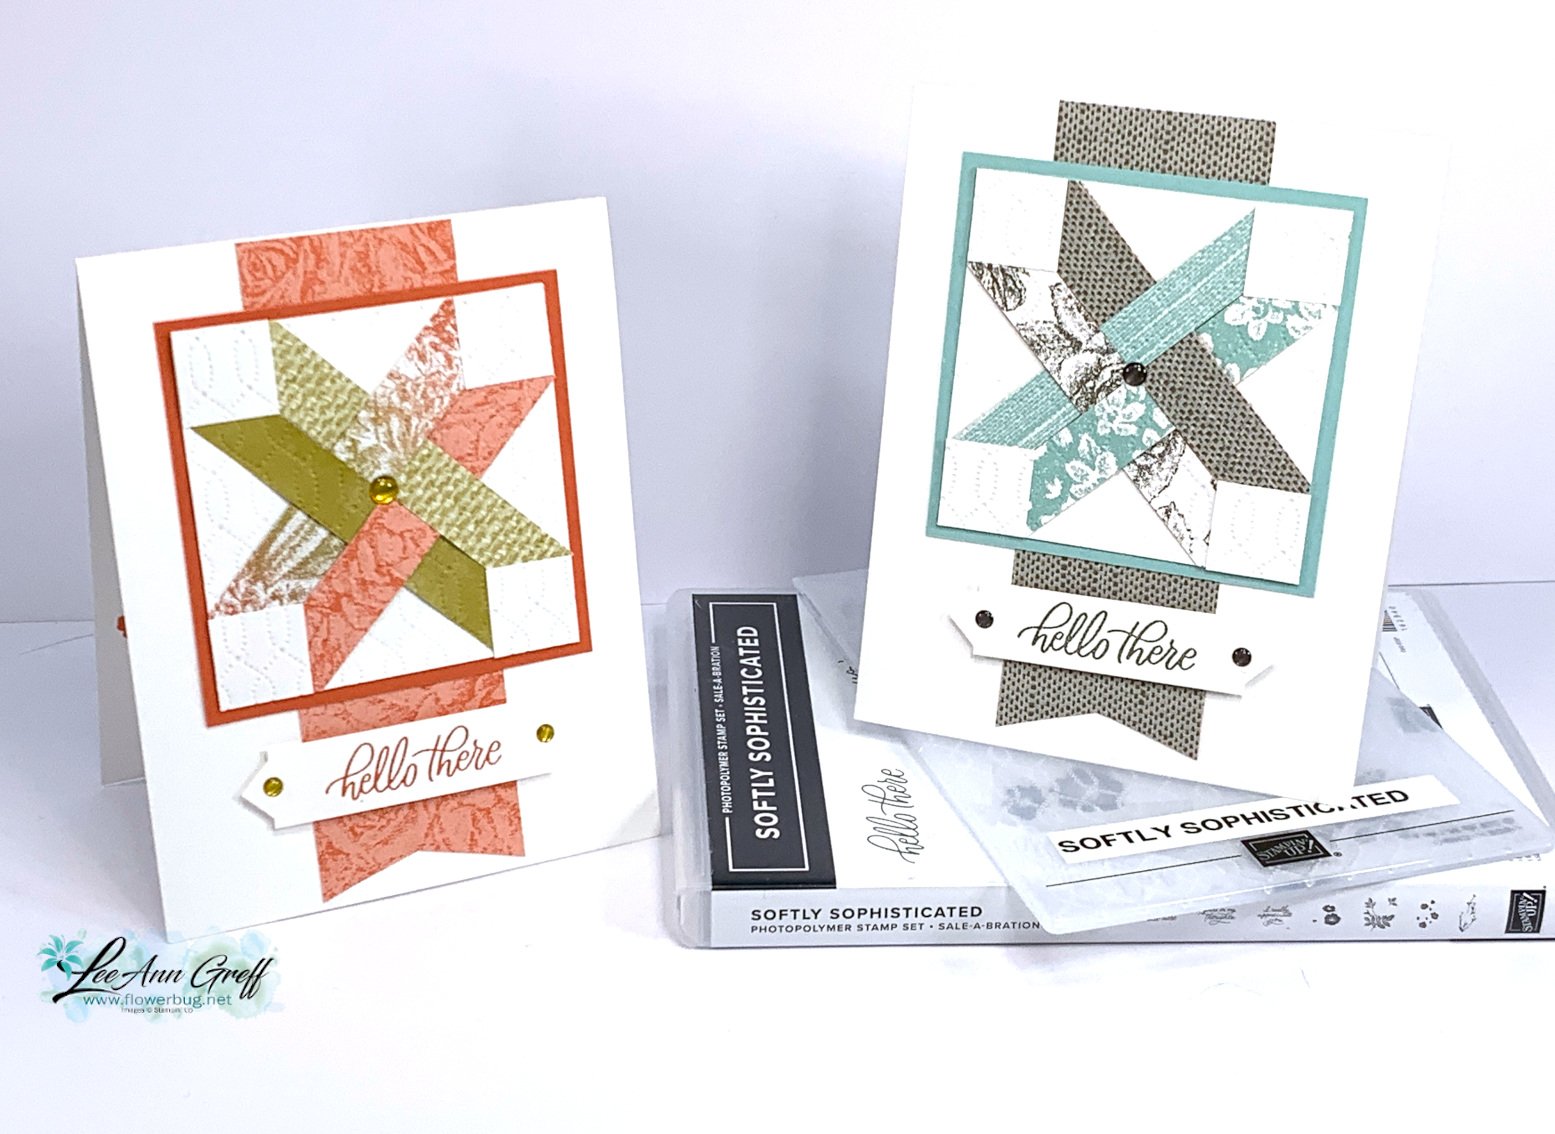
    One of my team members shared a card like this in our Flowerbug's group and claimed it was so easy she's making lots of these cards.  I loved it so much I had to find out how she made it! 

    I learned how by watching the creators video; her name is Julie Heitz and she goes by the Chirpy Cardmaker. I shared how to make it during last week's Live video.  

    The products used include the pretty Softly Stippled designer paper from our Sale-a-Bration catalog.  It's free with any $50 Stampin' Up! order.  See it here.  

    Colors are Pool Party, White & Pebbled Path.  Aren't they beautiful together? Pebbled Path is like a cross between brown & gray; it's a wonderful neutral!  

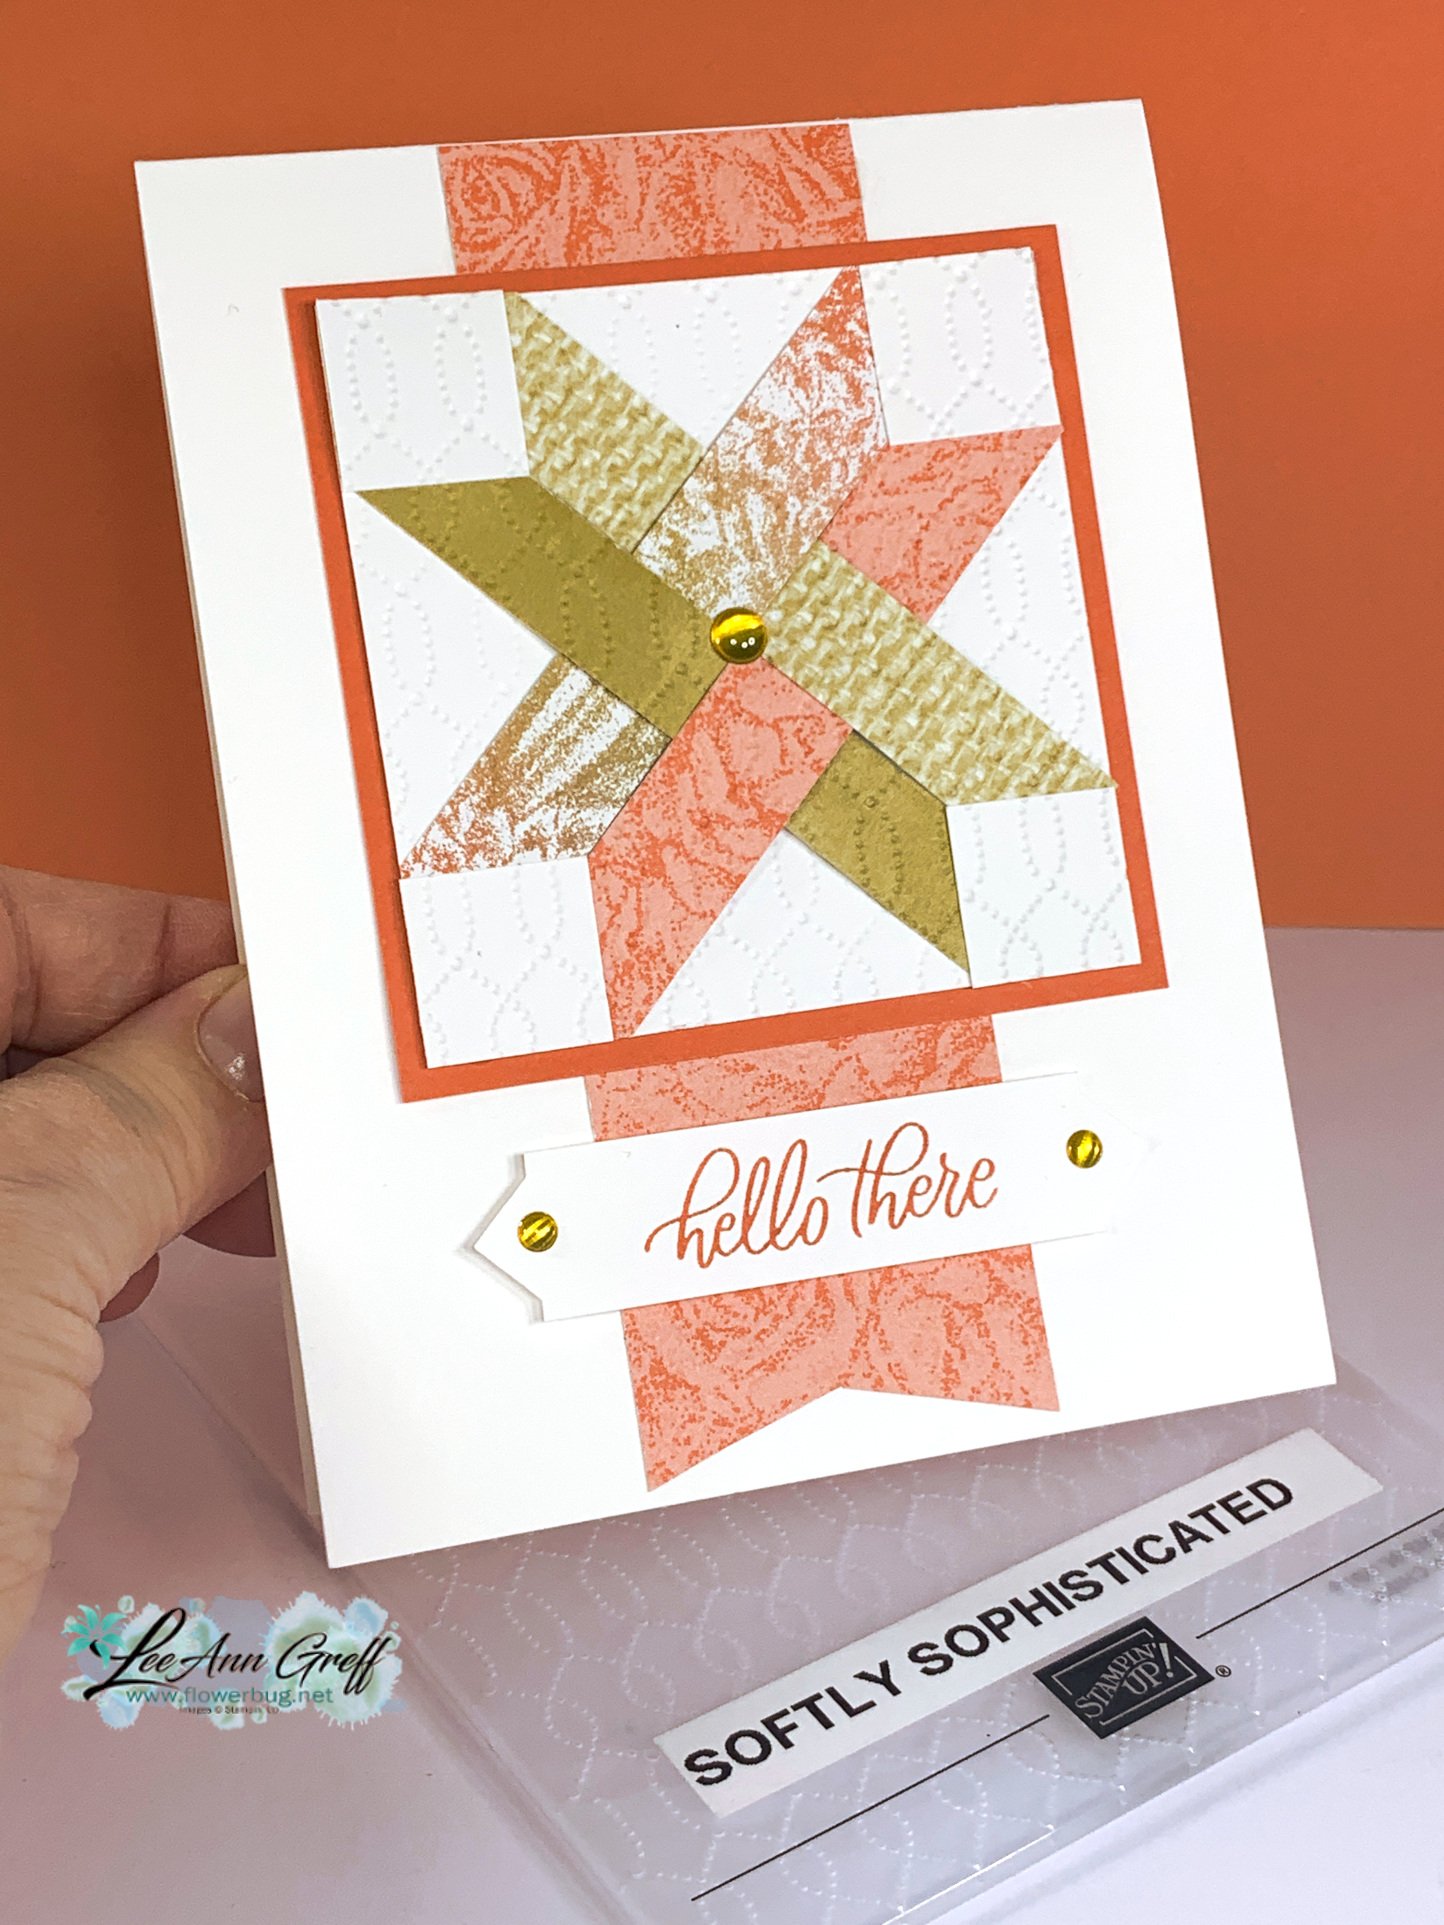
    Here's another color combo I tried using the same Softly Stippled designer paper – Calypso Coral with Wild Wheat. 

    You can see the 'quilting' better on this photo. That is the Softly Sophisticated embossing folder – it's also a free choice in out SAB catalog but is paired with a stamp set (greeting used here) – both are free with a $100 order. See them here.  

    Creating this quilted star block with paper is super easy. However watching the video helps a lot!

    1. Start by drawing a line from corner to corner on your 3" white card stock square.
    2. Choose 4 strips of designer paper 1/2" X 6". Add two strips to one corner and the other two strips to the corner next to it. 
    3. Weave the strips as shown. Then adhere down the opposite ends of each strip to the White square.  
    4. Trim off excess. 

    You might think it would be hard to get those perfect points on your star, right?  That was my first thought when I saw this card layout; I'd never get them perfect.  Well there's a super easy trick to it! 

        5. After you add your strips to the white square, trimming off the excess, you'll add four white 3/4" squares to each corner.  It creates the points for you!  Genius! 

        6. Run the block through an embossing folder. It helps to 'deboss' it so any stitching is pressed in.  When using the Softly Sophisticated folder you'll have the wrong side up on the Stampin' Up! label.  

    You might notice the unique banner for my greeting.  It's created with the Inked & Tiled punch like this:  

    I start out with a 5/8" white strip and insert the punch in the back of the punch; not the usual place. Wiggle it into the slot and adjust it until it's even and punch.  Now you'll start looking at your punches in a new way and likely find some great options for banners!  The nice thing is that it doesn't have to be a certain width to work.  

    Click on this link to download the free project sheet:  Download Quilted Star Block cards

    Remember there is a free project sheet for most of my video projects; see them all here. 

    Click here or on the photo below to watch my video tutorial on this card and TWO more pretty cards featuring this beautiful designer paper and stamp & embossing folder bundle.  The Quilted Star cards are the first cards shown.  They loved these project ideas!  

    ~~~

    January Specials: 

    Earn FREE products with your Stampin' Up! purchase during

    Sale-a-Bration! *click here

    ~~~

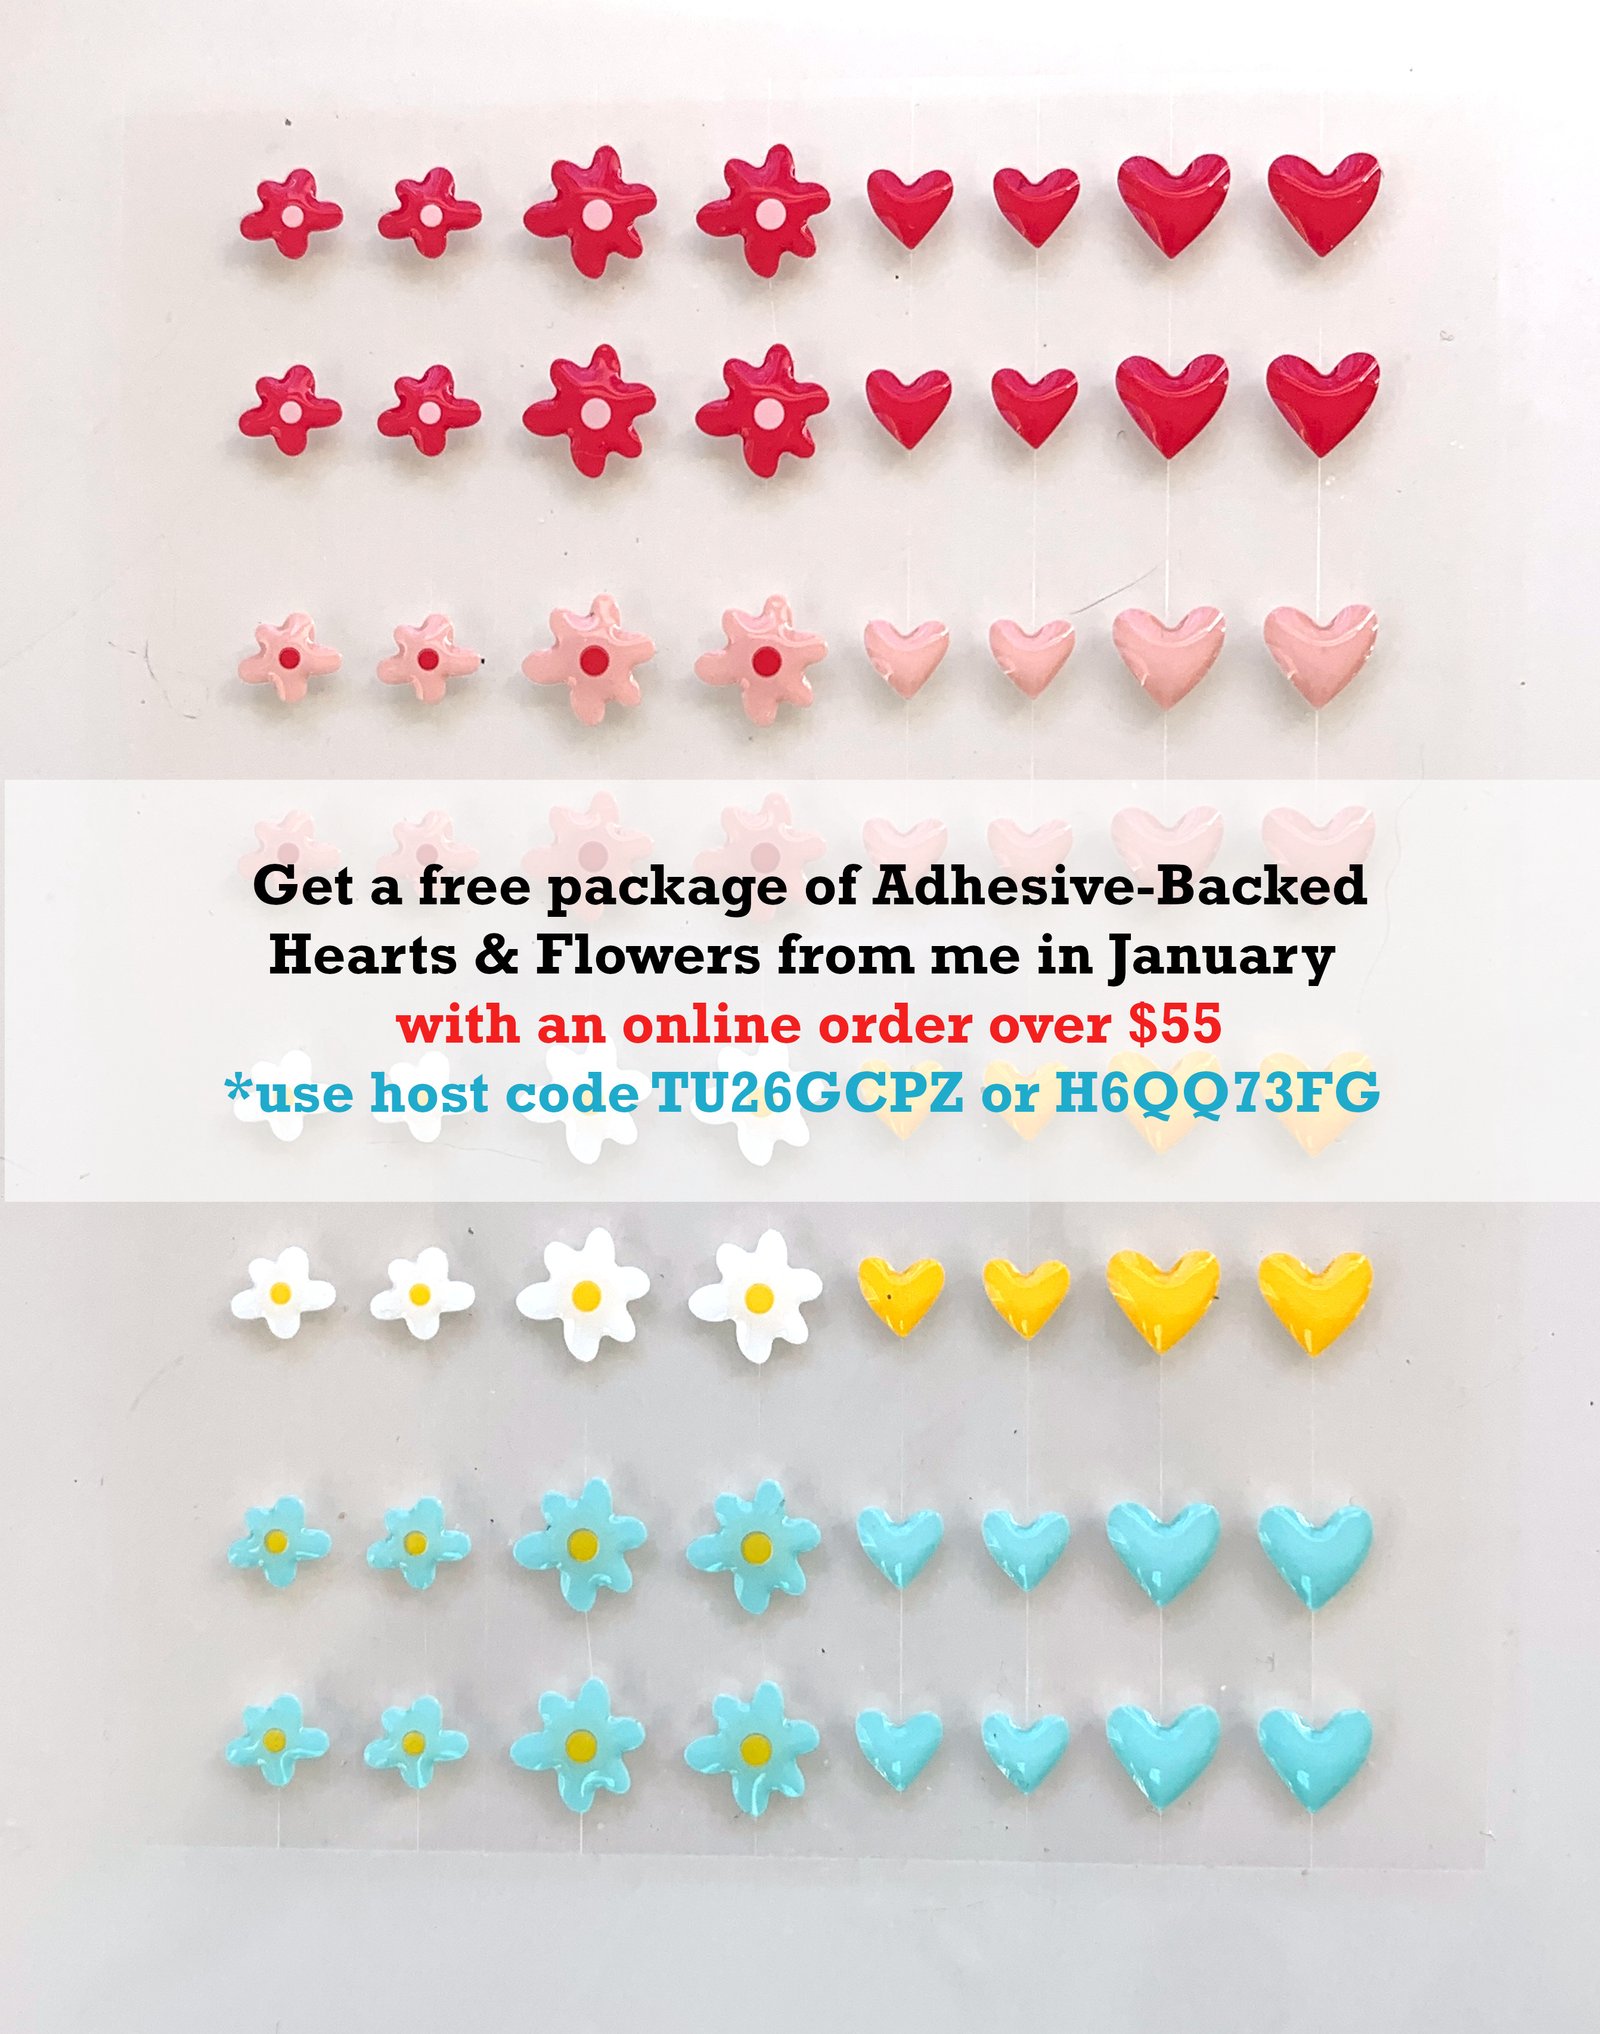
    Get a free embellishment from the 2024 Spring catalog

    with an online order over $55


    *current host codes: TU26GCPZ or QS26PCUJ

    ~~~

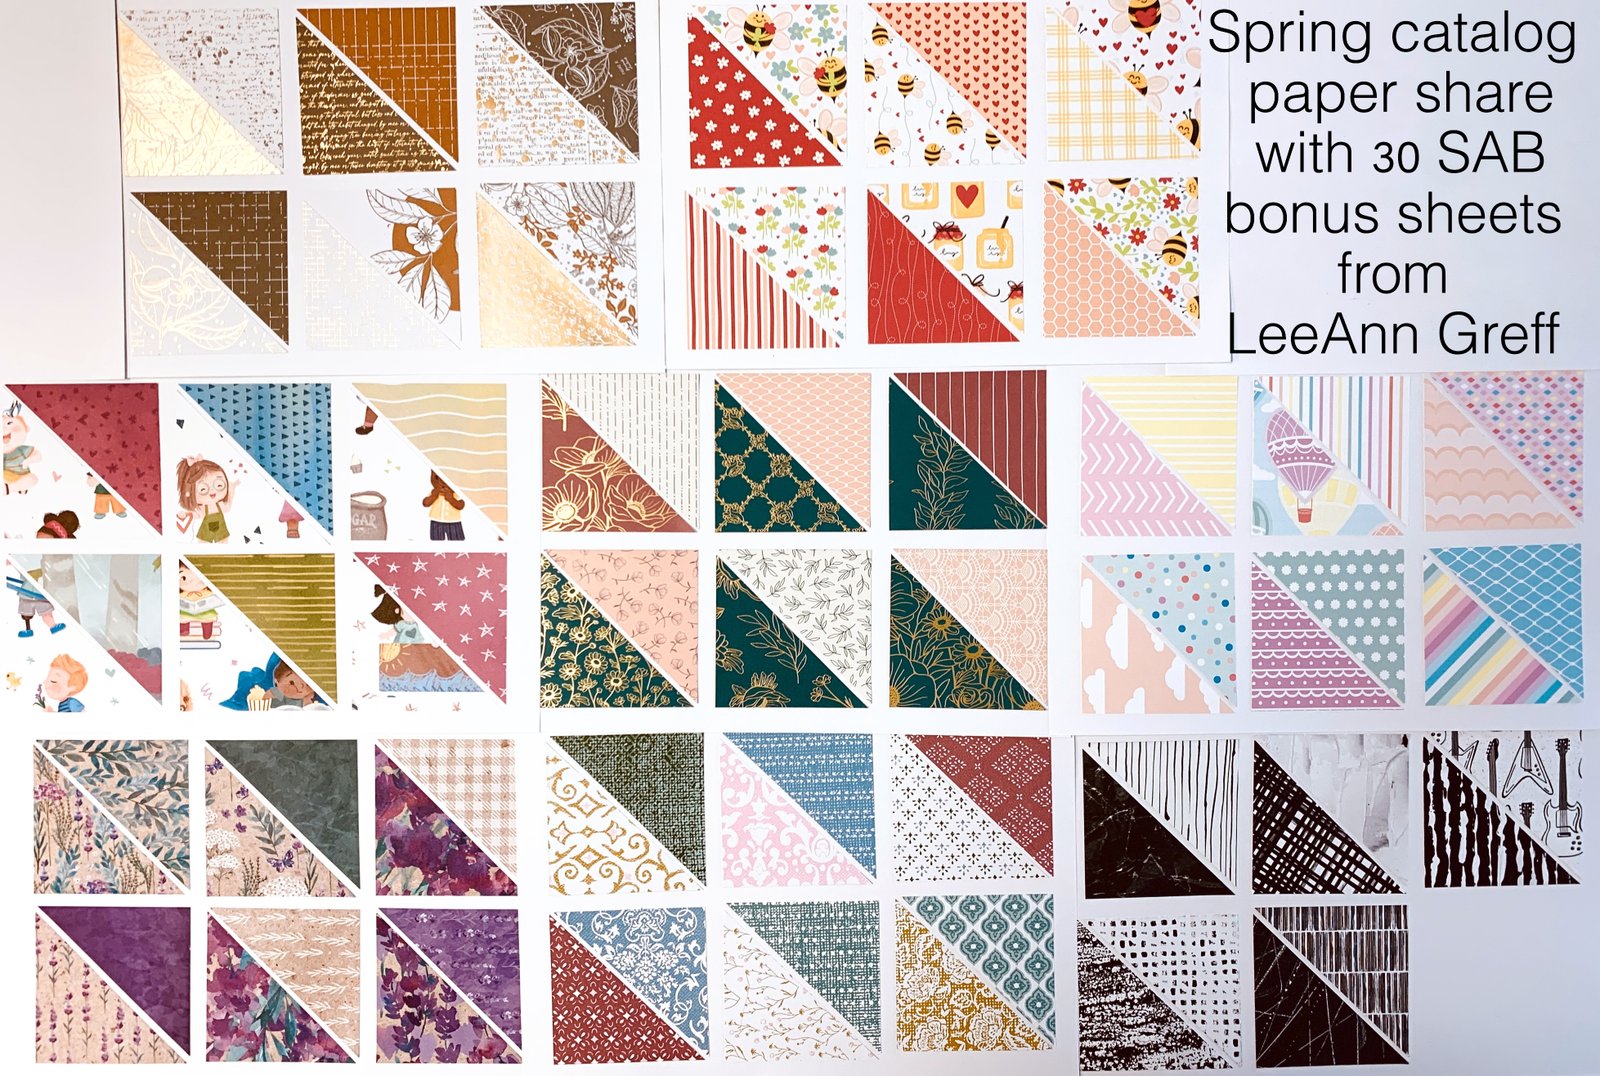
    Reserve your Spring & Sale-a-Bration designer paper share

    $18 for 78 sheets! (plus $7 shipping). Email me here

    ~~~

    I have several pre-cut card & scrapbook kits to go; ready to mail out!

    Click here to see them all.

    Leave a Reply

    Your email address will not be published. Required fields are marked *

  • LOTS of tips & samples from both new catalogs on my Zoom replay


    Check out this video of my new catalogs walk through; it's a replay of my Zoom a few weeks ago. 

    It features tons of tips on the new products, lots of swaps & samples and more.  

    I hope you enjoy it and learn a bit more about our Spring & Sale-a-Bration products. 

    I love Sale-a-Bration when you can earn free products with your Stampin' Up! orders!!

    ~~~

    January Specials: 

    Earn FREE products with your Stampin' Up! purchase during

    Sale-a-Bration! *click here

    ~~~

    Get a free embellishment from the 2024 Spring catalog

    with an online order over $55


    *current host codes: TU26GCPZ or QS26PCUJ

    ~~~

    Reserve your Spring & Sale-a-Bration designer paper share

    $18 for 78 sheets! (plus $7 shipping). Email me here

    ~~~

    I have several pre-cut card & scrapbook kits to go; ready to mail out!

    Click here to see them all.

    Leave a Reply

    Your email address will not be published. Required fields are marked *

  • Pretty Detailed Dogwood card swaps


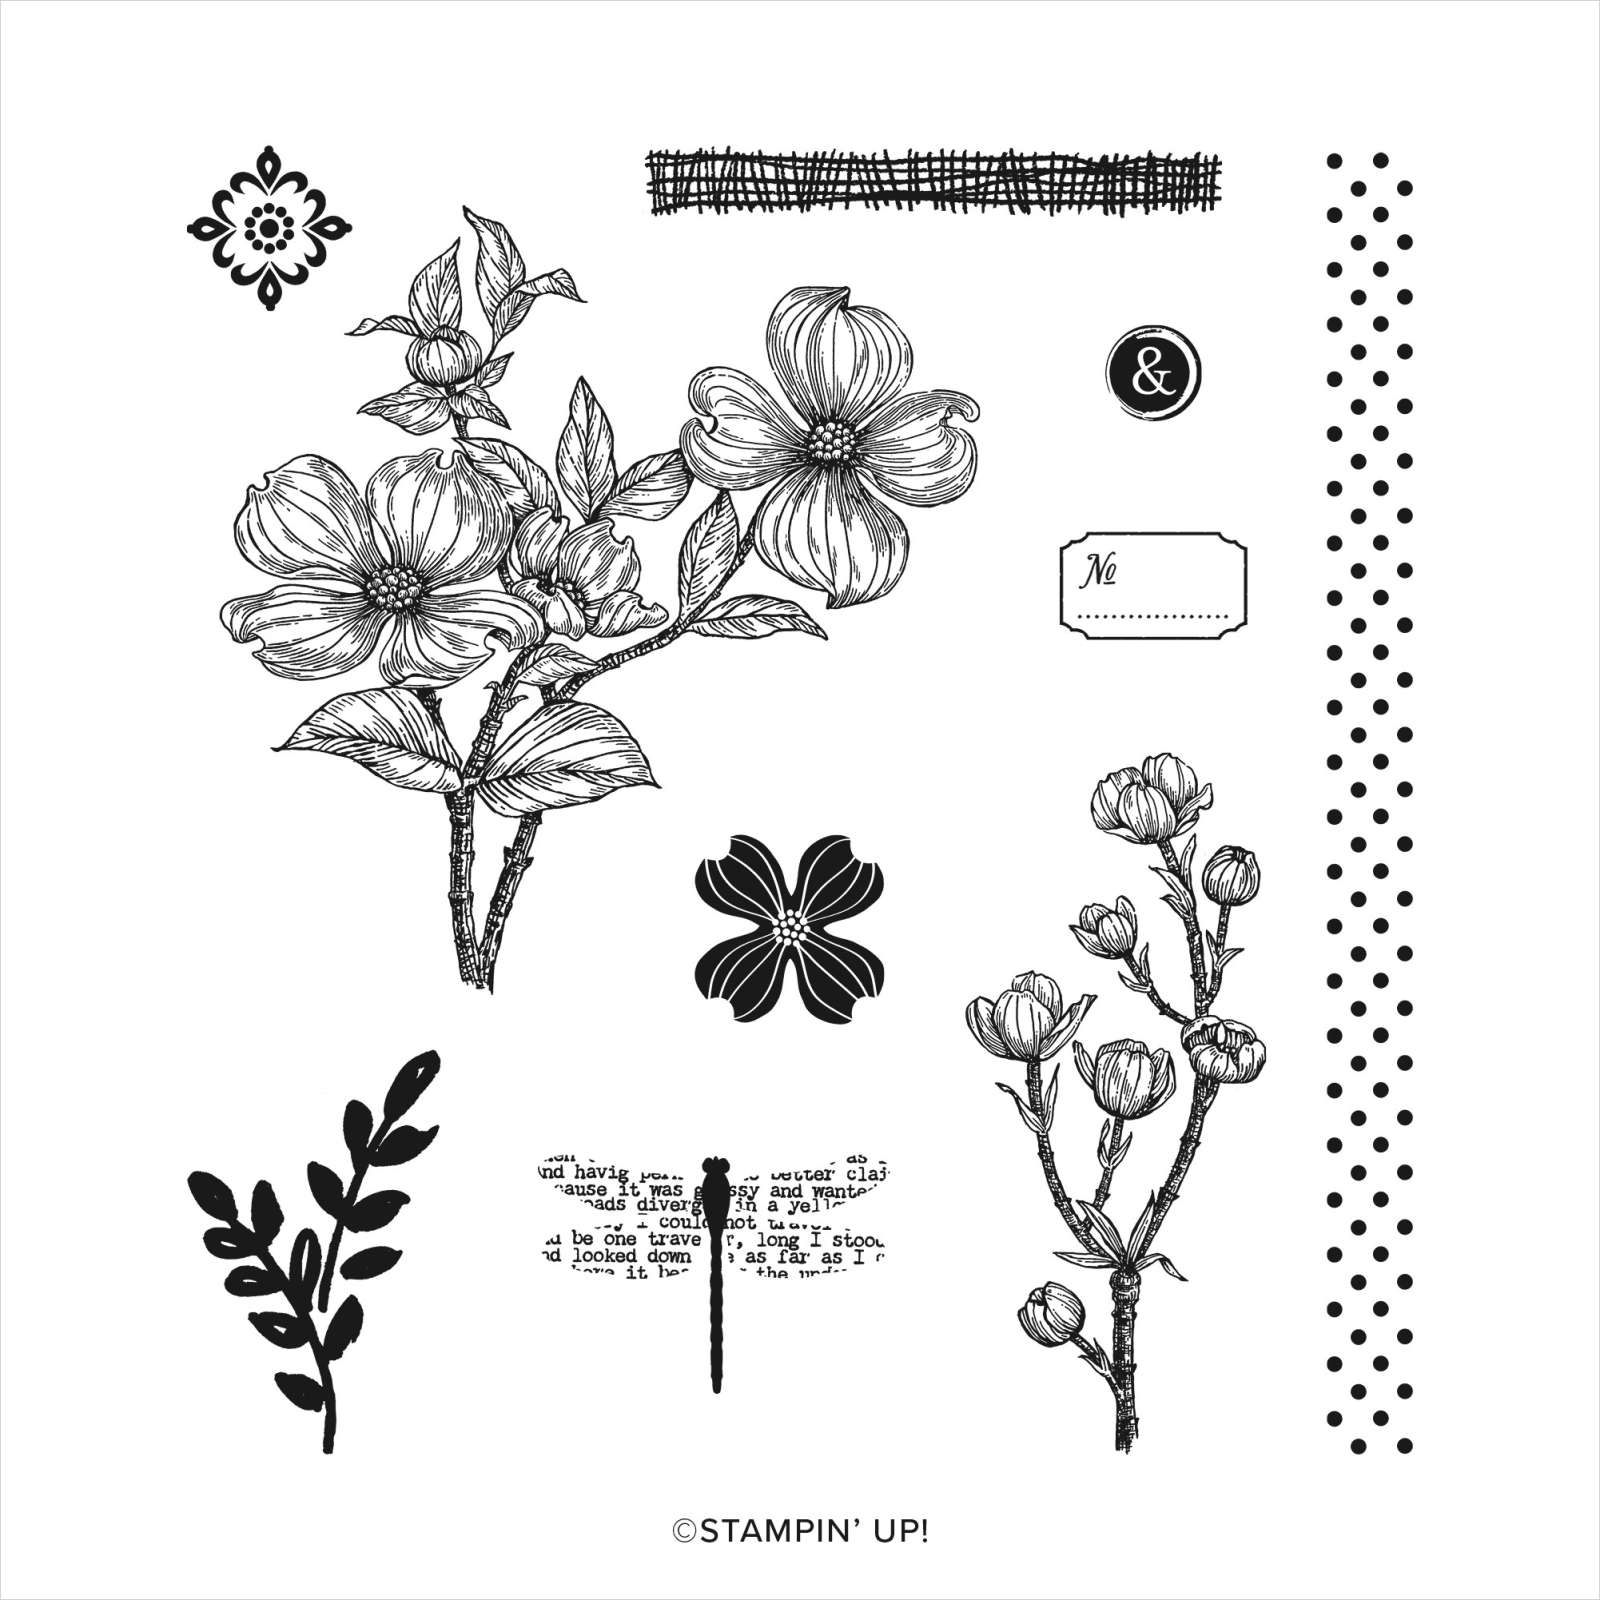
    Today I'm sharing a few swaps I received featuring the new Detailed Dogwood stamp set – one of the choices in the 2024 Sale-a-Bration catalog. 

    Trayce Bauer made this stunning card using Bubble Bath, Granny Apple Green and Mossy Meadow.

    She fussy cut the flowers out and added them to the Bubble Bath layer that has been embossed using the Softly Sophisticated embossing folder – also from our Sale-a-Bration selection.

    I love how she added the dotted image to create a background on both the white layer and the greeting! The greeting die is from the Thoughtful Expressions dies.  

    Below is a photo of the stamp set.  See it here online.

    It's free with a $100 purchase from Stampin' Up! through February 29th when Sale-a-Bration ends.  

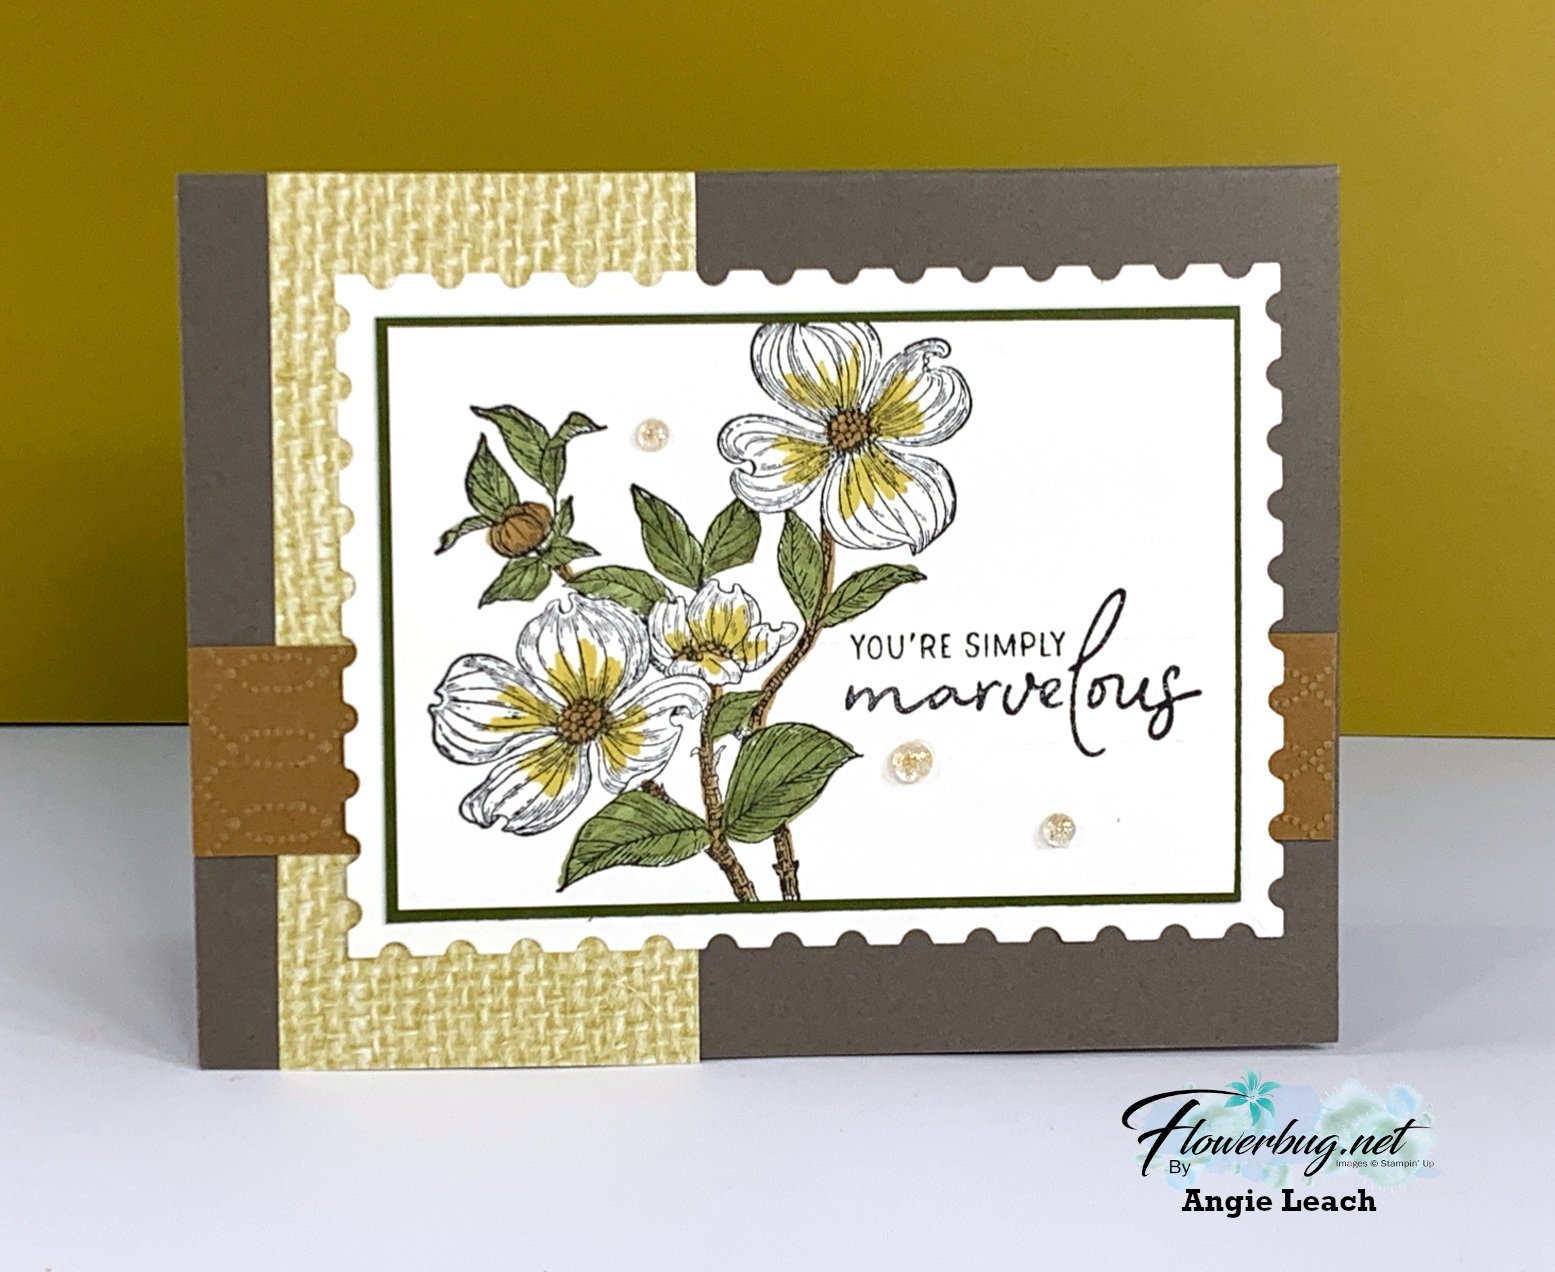
    Next is a gorgeous card made by Angie Leach. 

    She used a beautiful set of neutral colors – Pebbled Path, Wild Wheat, Mossy Meadow and Copper Clay. The large white die is from the Postage dies. Wow!

    I love the layout. Adding a few strips below your main focal point adds balance and interest and ties the colors together too. 

    ~~~

    This last card is also a swap I received but I cannot give credit to the creator as there wasn't a name on it. 

    Her colors of Black, Real Red and White are stunning! Note the simple stamped background on the large White layer, mimicking the main floral image.  That dragonfly is such a neat image. It does not coordinate with our Dragonfly punch unfortunately. 

    ~~~

    January Specials: 

    Earn FREE products with your Stampin' Up! purchase during

    Sale-a-Bration! *click here

    ~~~

    Get a free embellishment from the 2024 Spring catalog

    with an online order over $55


    *current host codes: TU26GCPZ or QS26PCUJ

    ~~~

    Reserve your Spring & Sale-a-Bration designer paper share

    $18 for 78 sheets! (plus $7 shipping). Email me here

    ~~~

    I have several pre-cut card & scrapbook kits to go; ready to mail out!

    Click here to see them all.

    Leave a Reply

    Your email address will not be published. Required fields are marked *


Notice: LeeAnn Greff, Independent Stampin’ Up! Demonstrator, Manager. The content of this website is my sole responsibility as an independent Stampin’ Up! demonstrator and the use of, and content of, the classes, services, or products offered on this website is not endorsed by Stampin’ Up! Copyright 2025