/


Latest Post

Bonus Days are here! Plus lots of exciting new products seen online!!


First, I want to wish you a wonderful & happy 4th of July!  I hope you get to spend it with family or friends.

~~~

Bonus Days start today!  That means that for each $50 you spend (before tax and shipping) you earn a free $5 coupon to redeem in August. 

Tips on earning & using these coupons:

  • Spend in July & redeem in August – if you tend to order monthly or every other month it makes sense to assure your order is over $50 in July so you can redeem it in August
  • Need some of the new colors – In Colors or the new Basic Beige? Grab them in July!
  • Wanting to try Paper Pumpkin kits? Or if you already love Paper Pumpkin grab a 3 or 6 month pre-paid subscription here and earn free coupons!

Below is a sneak peak of the upcoming 3 months of Paper Pumpkin kits. There is an optional add on that coordinates with each of these kits! See that here. 

Remember that Paper Pumpkin subscribers get perks!  They are eligible to purchase any of the available past kits, refills or add ons.  I love the refill options; they're a fabulous deal!  See those here. 

Subscribe here to receive a kit sent to you each month. *Remember you are in charge of the kits you receive.  You can opt out or skip a month.  If you want to receive the Painted Petals kit be sure to opt in or subscribe by July 10th!

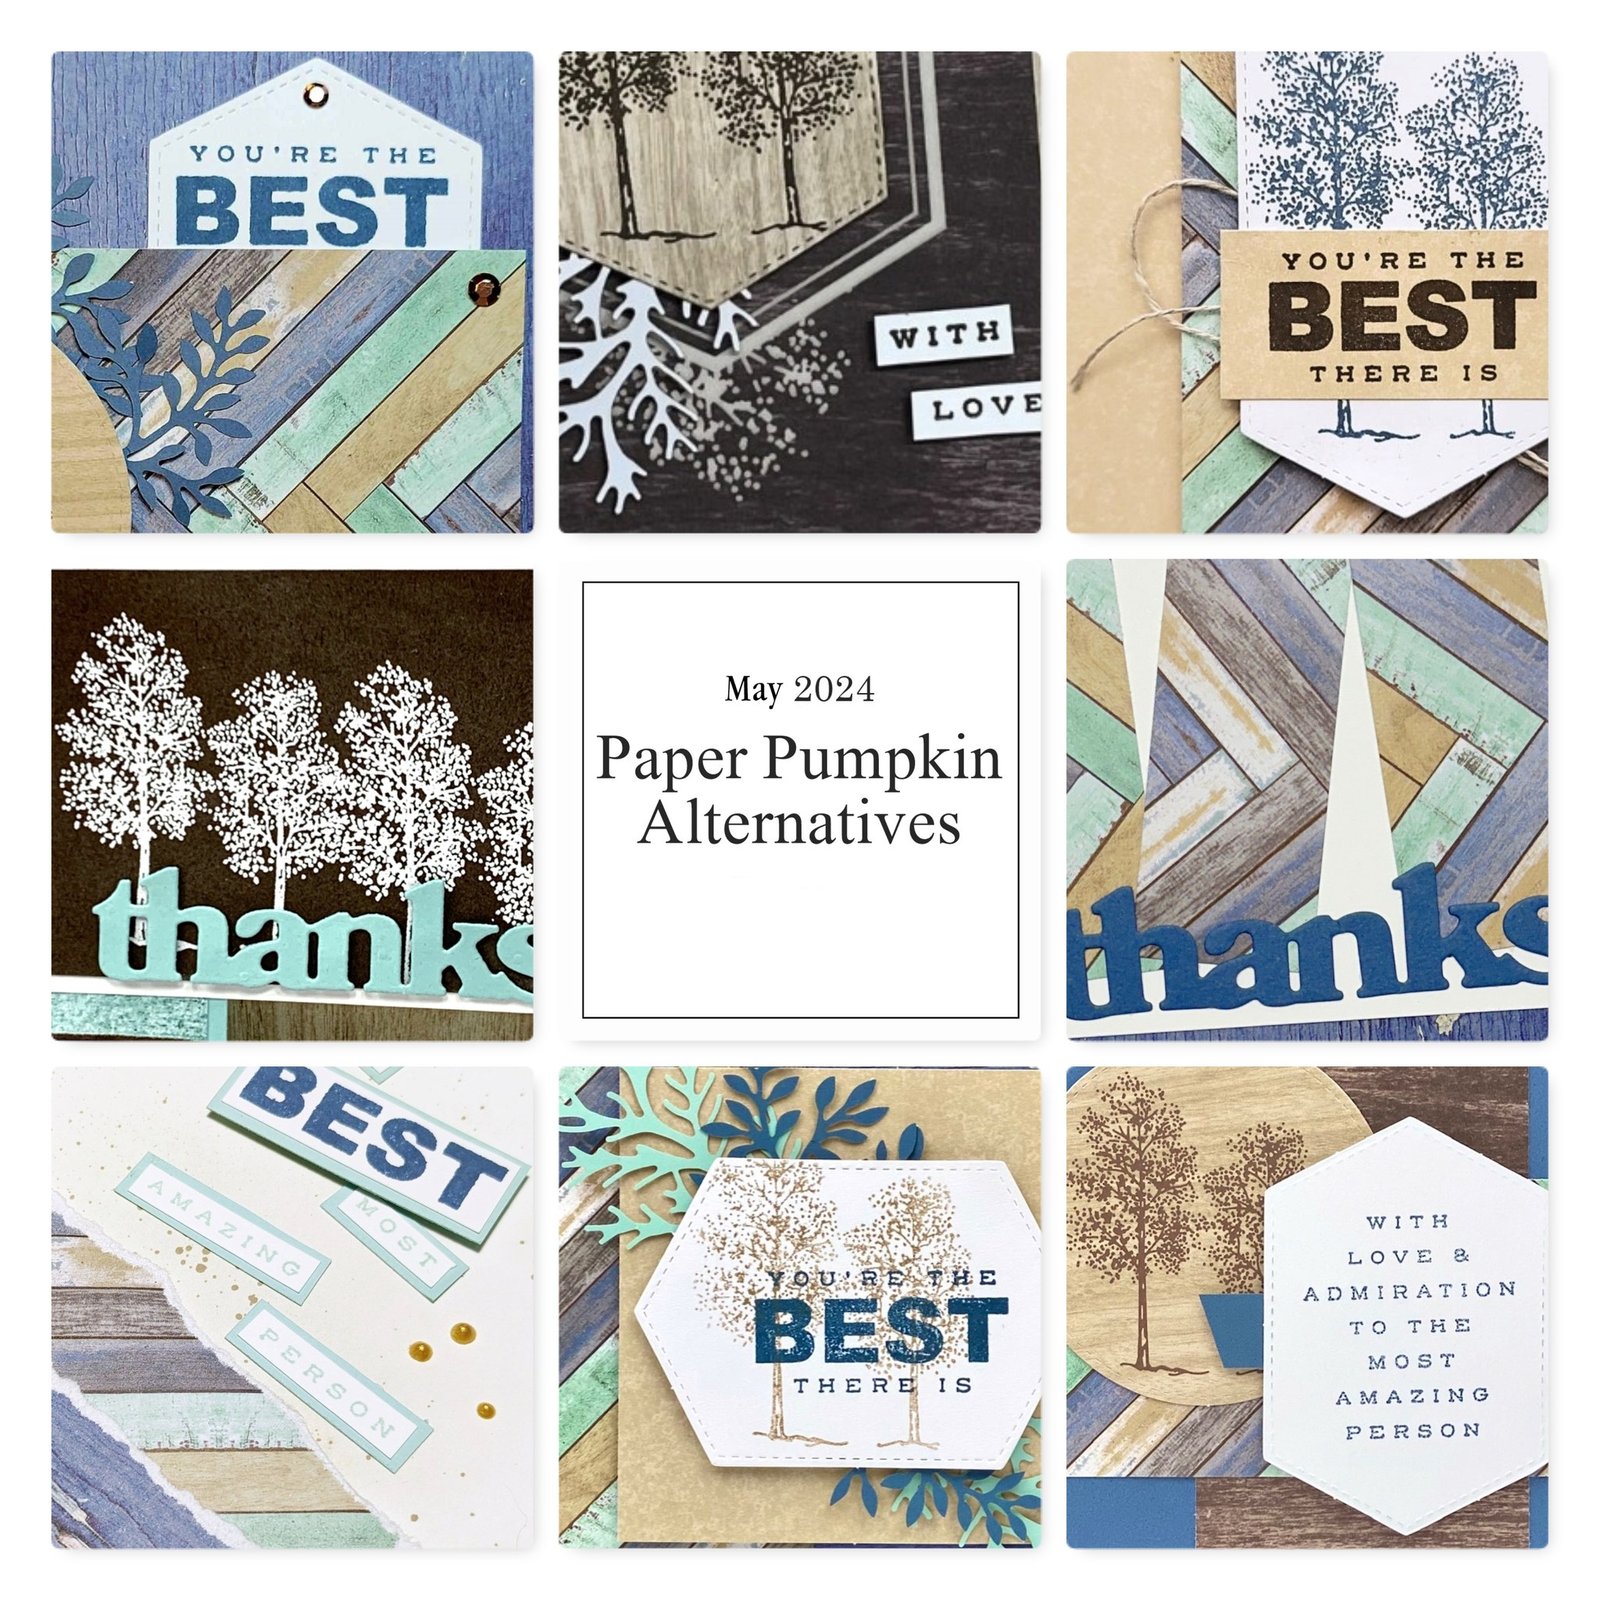
My subscribers get a free project tutorial that includes multiple bonus projects each and every month!  Here is a peak at May's tutorial projects: 
~~~

Click here to see the many new Online Exclusive products released yesterday; you can print it out too.  Fall, Halloween and Christmas as well as everyday greetings.  Here's a flyer made by Terri Gaines that you can print so see them all. Download July 24-OnlineExclusivesRelease

~~~

*current host code links: GF24T6XG or 3A73HXYB
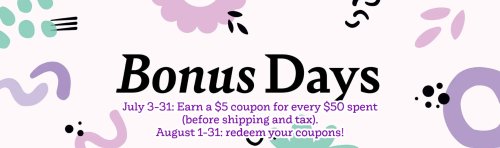

Starting July 3rd, earn $5 coupon for every $50 you spend in July; redeem in August. 

~~~

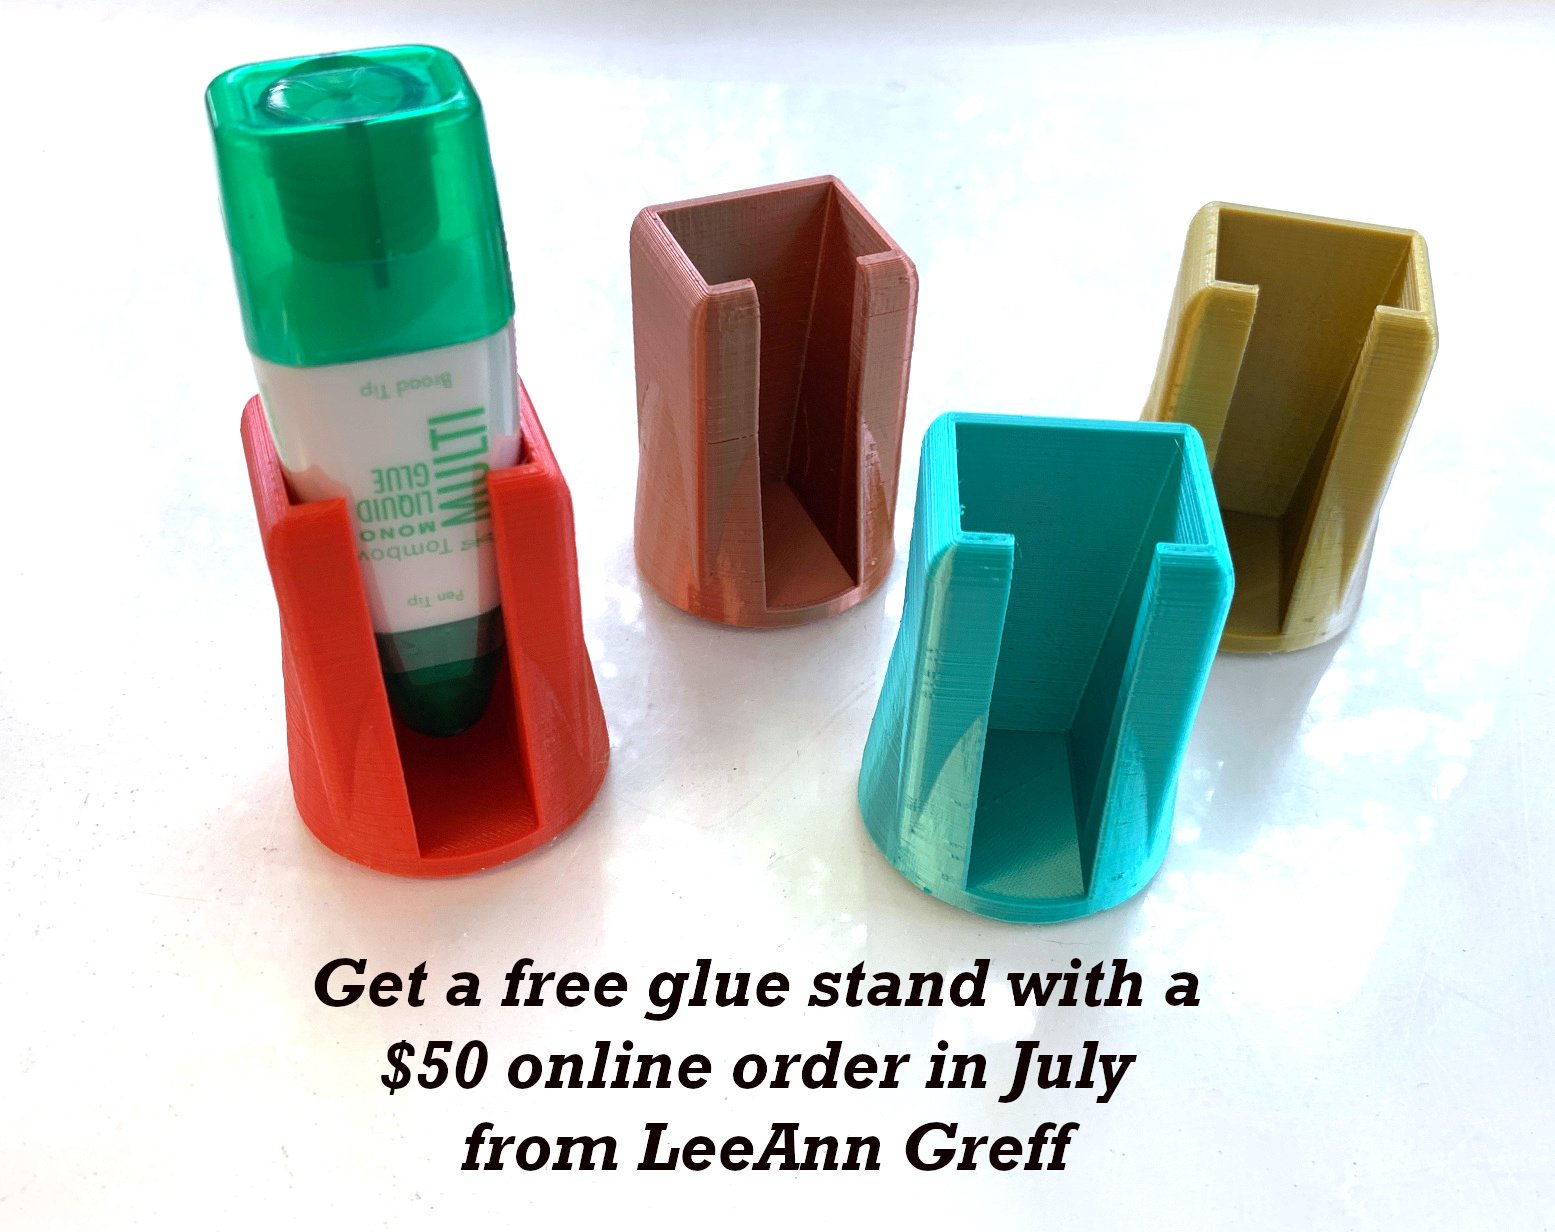
Get a free glue stand from me in July with your online order!
All online orders will receive my PDF tutorial featuring the Full of Life suite

All Posts

  • Cut once for two card fronts with the Border Basics dies; video tips & tutorial too


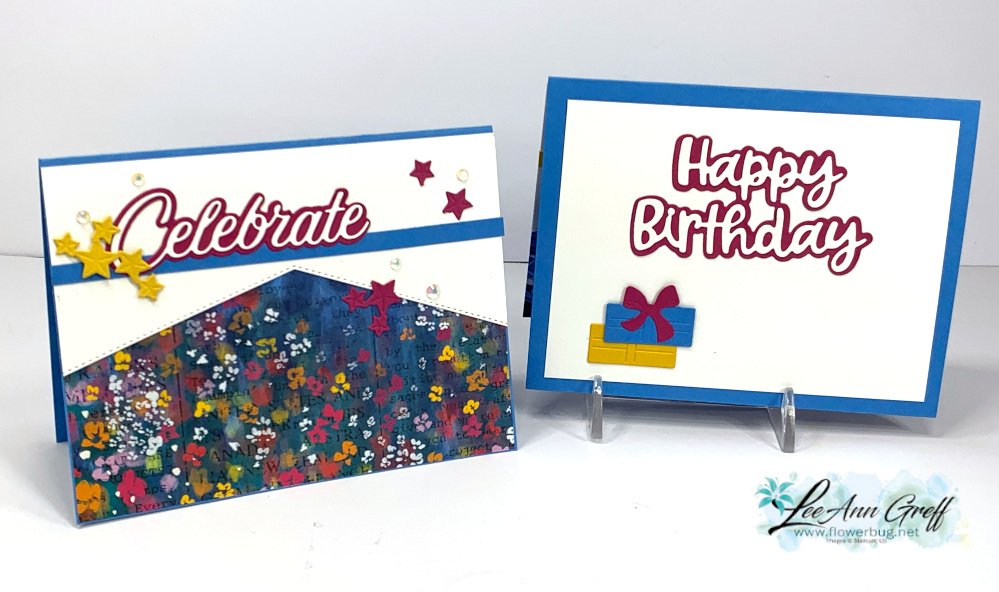
    I shared one of the cards I made in last week's video and here's another one. Both feature the same three products: Masterfully Made designer paper, Wanted to Say dies and the Border Basics dies.  

    I used the White die-cut leftover from the card I shared yesterday on this card; basically getting two cards from one die-cut!

    The Border Basics dies are wonderful and so versatile since they die-cut the stitched edge on both sides.  Below is a photo of the inside of the card: 

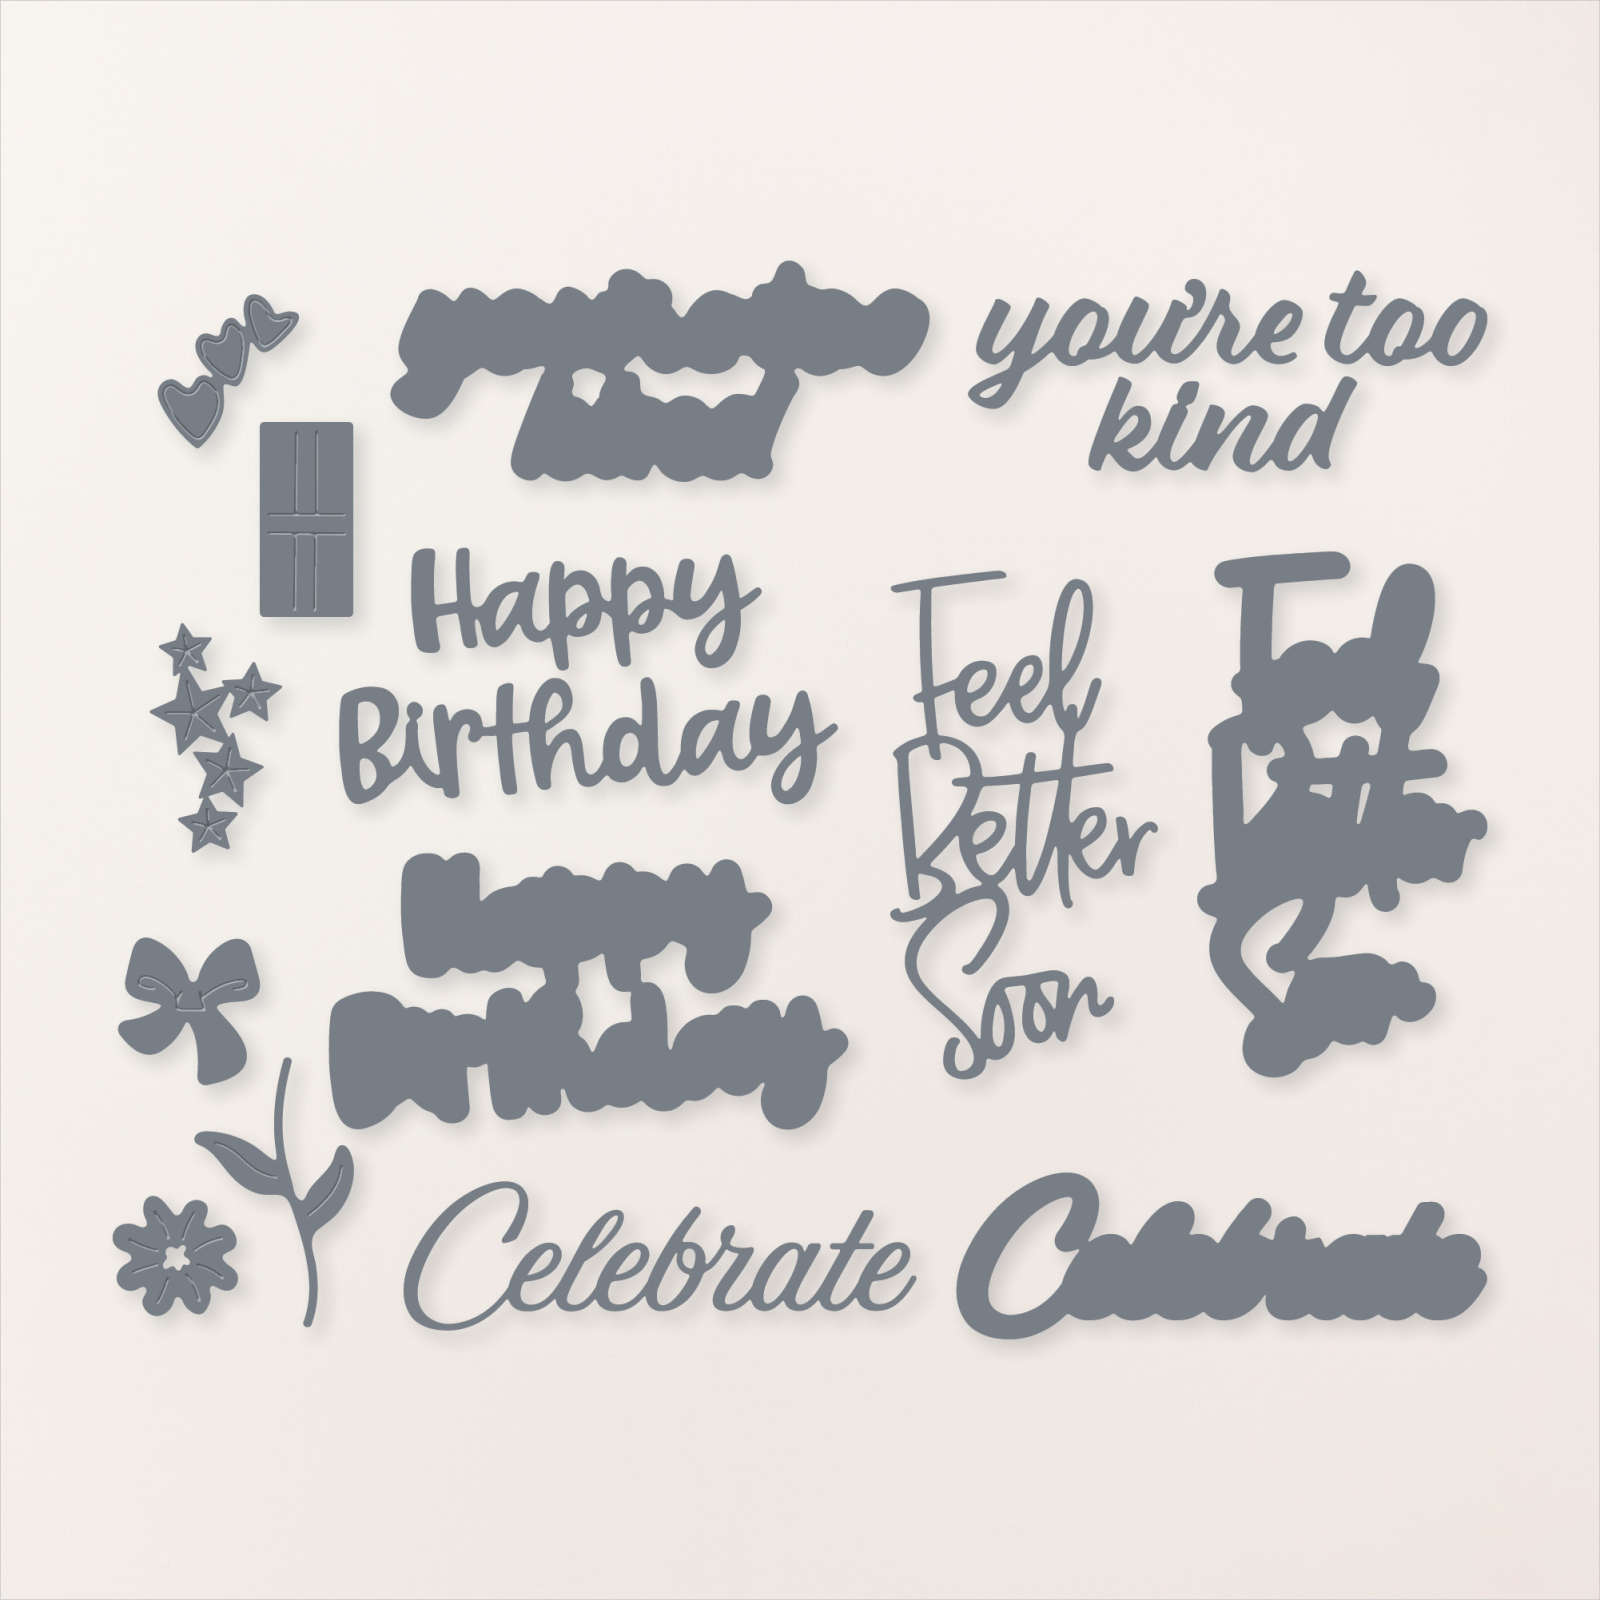
    The Celebrate, Happy Birthday, stars and present die-cuts are all from the Wanted to Say dies seen here: 

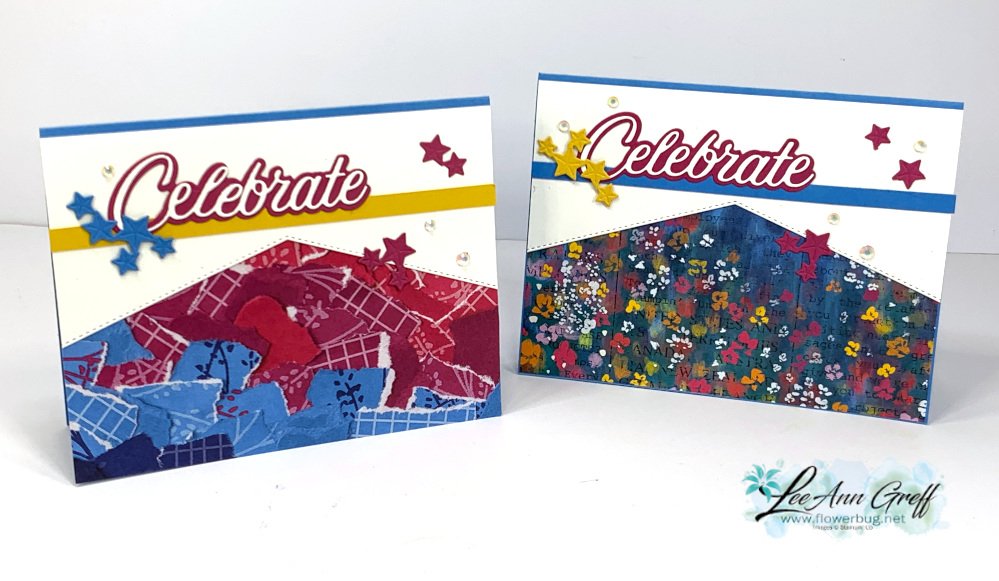
    Here are both cards I shared; each with a different piece of the Masterfully Made CS.  As you can see I added a thin line of card stock to rest the 'Celebrate' die-cut on. I love the effect!

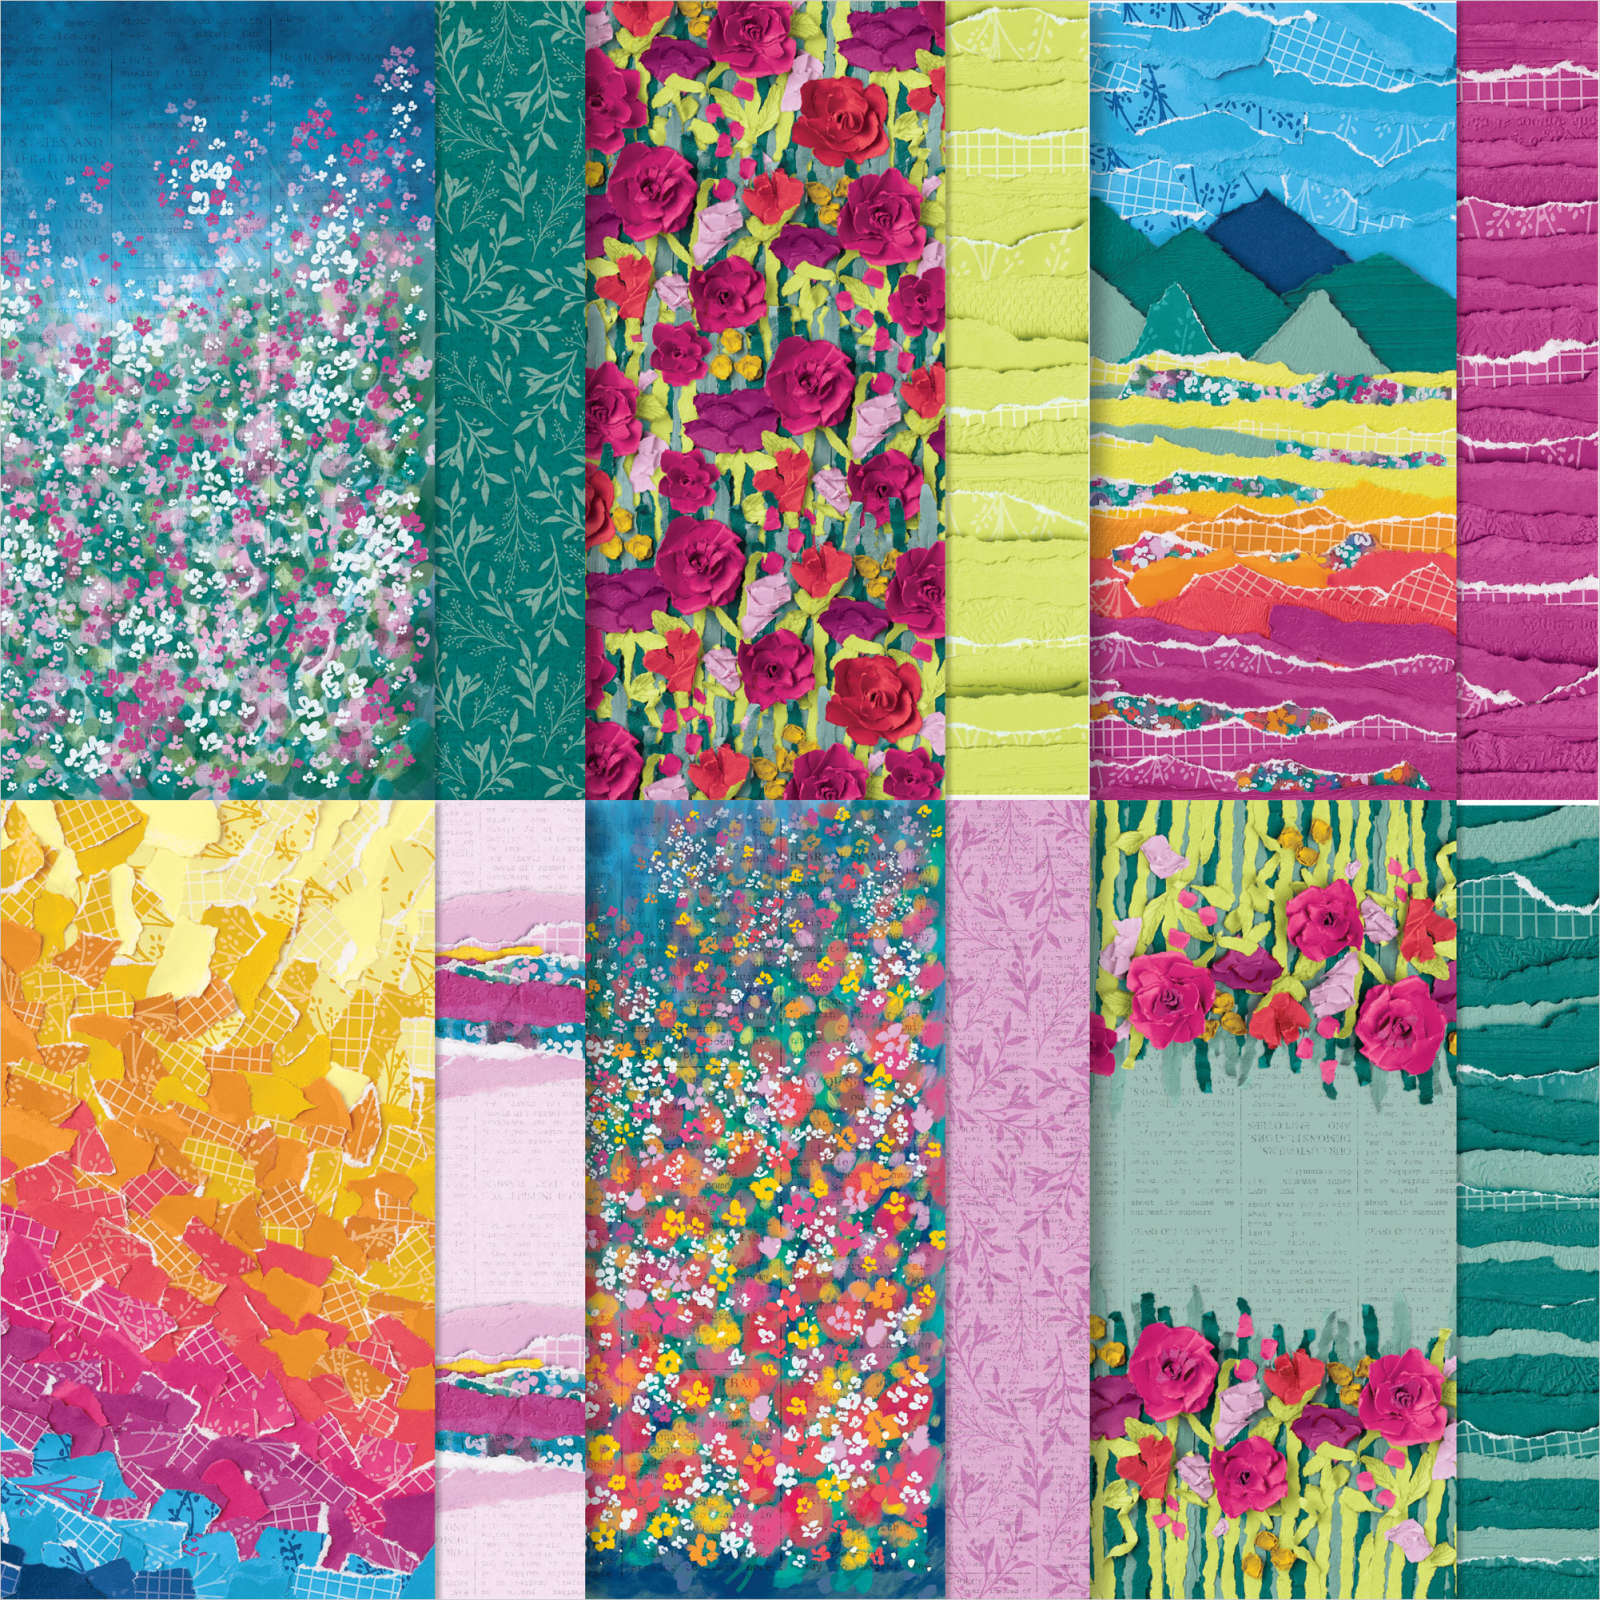
    You can see this beautiful designer paper here.  It's discounted in June; down to $10.62.

    The photo below shows both cards; one cut for two card front! 

    I cut the right side of the card front off (on the left card) and used that piece on the card on the right. Essentially I cut the card front in half and added it to the card on the right, adding DSP underneath to show off the angles.  One cut; two cards!  

    You can see how I made this card on the video here.  Or click on the photo below to watch. Remember to follow me on Facebook here or on my YouTube channel here. 

    ~~~

    June Specials:

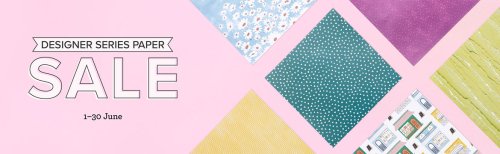
    Designer Paper is 15% off in June!

    WOW – get $155 in product for $99 with free shipping! click here!

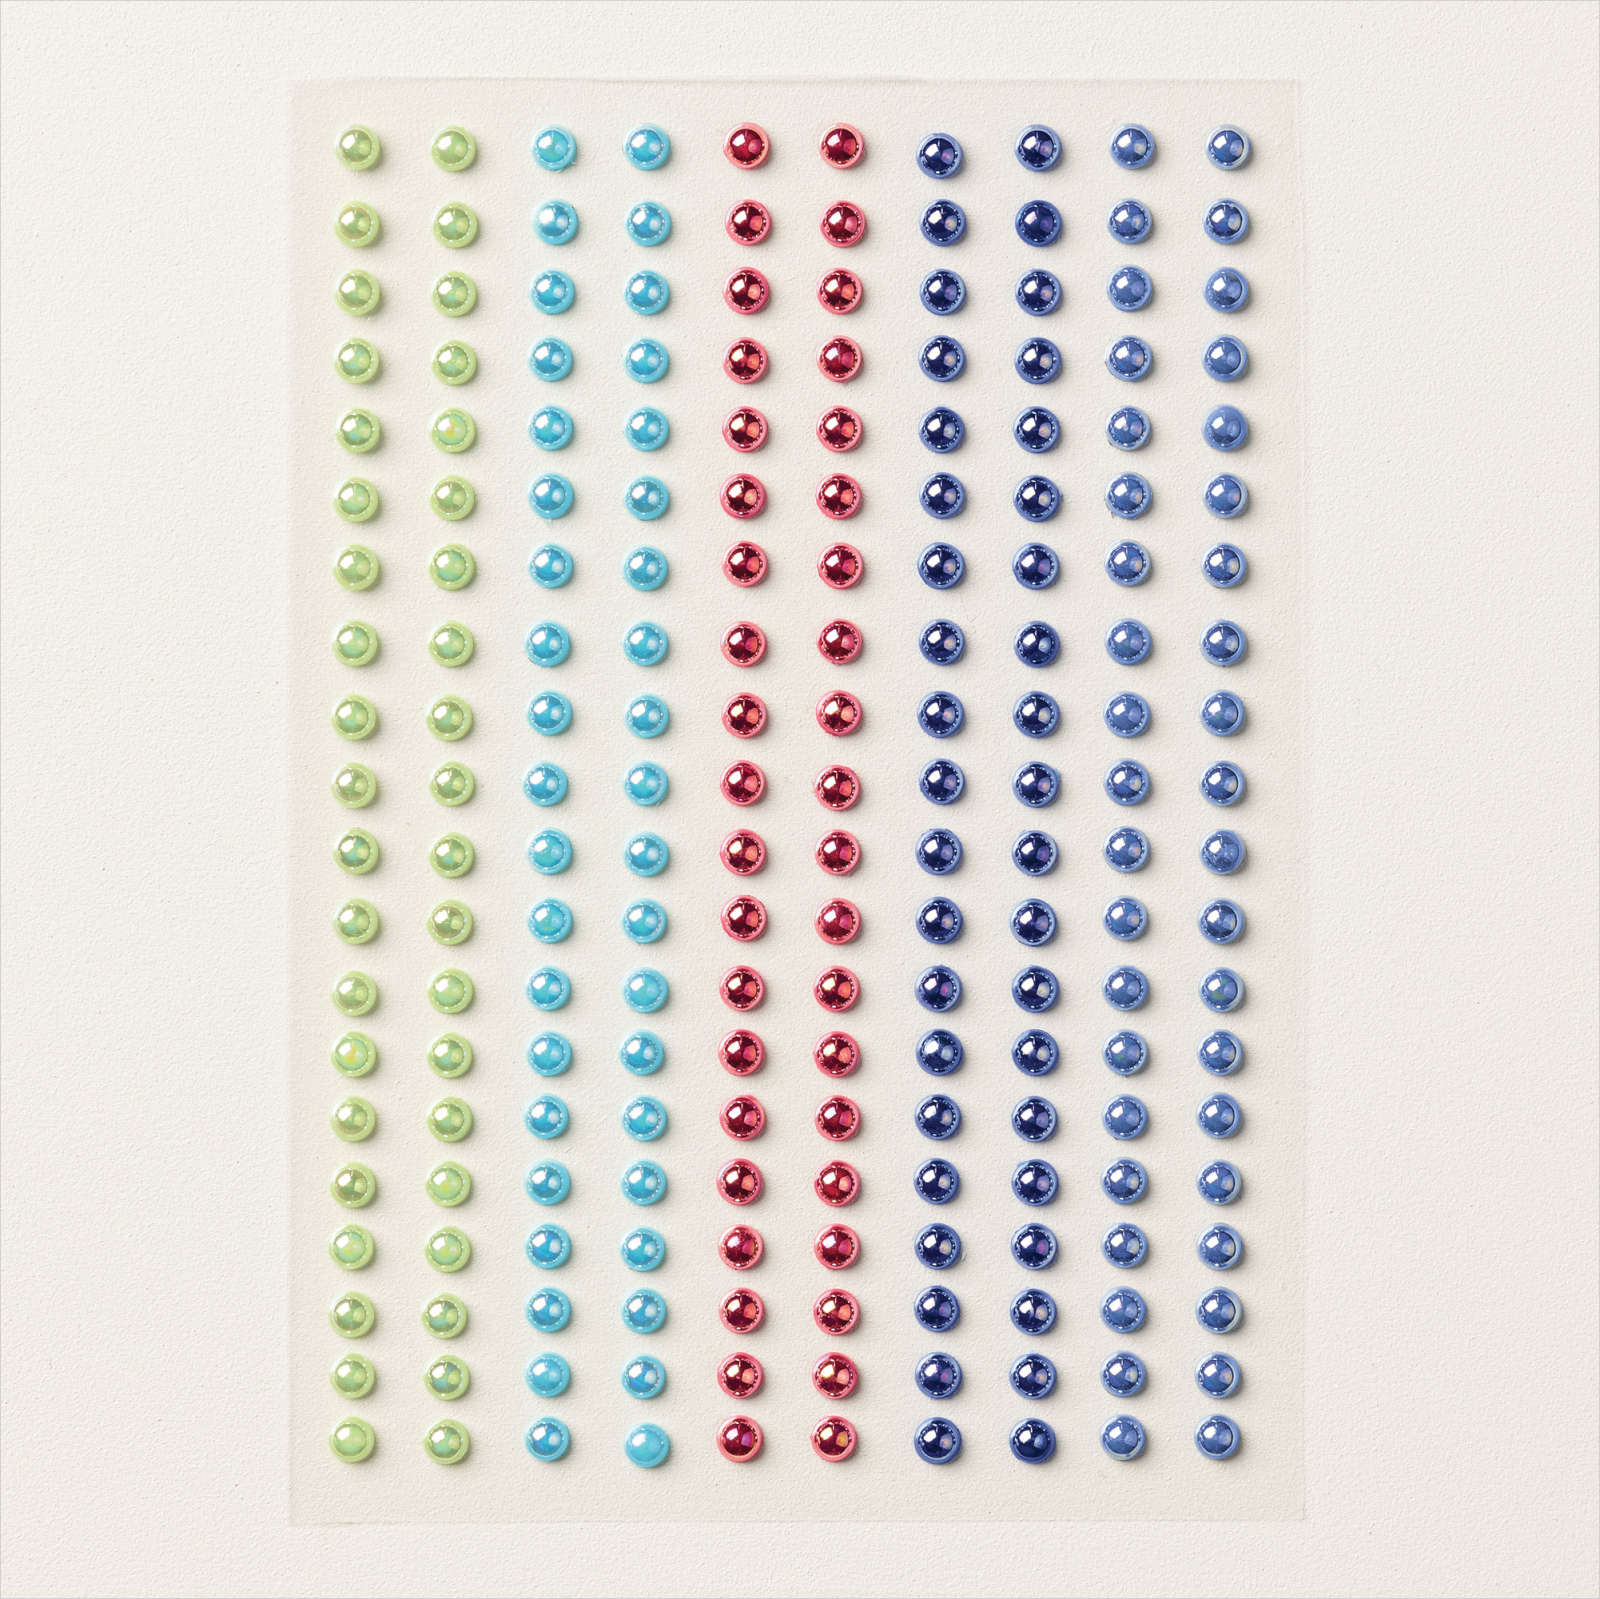
    Get a package of In Color pearls with online orders over $55 using a host code.

    *current host code: M7SCQSVS 

     Earn free products with my loyalty rewards! 

    Click here to download yours and earn a $50 shopping spree!

    Leave a Reply

    Your email address will not be published. Required fields are marked *

  • Masterfully Made & Wanted to Say quick card ideas with video tips


    And our annual Stampin' Sale is done!  Each June my customers and I host a paper crafting sale – this year we had 30 sellers and we had a fabulous turnout!  

    That photo was just the stamps for sale; we had so much more!  I wish you could be here for it, but I know it is a long way for some to Minot, ND.  But if you're near me, plan for the weekend after Father's Day. Make a road trip if you can.  
    We had one person come from St. Louis and another who was in town visiting from Peru!  They were so glad to be here for this annual event.  

    ~~~

    Last week I shared three card ideas featuring three products: Masterfully Made designer series paper, Wanted to Say dies and Border Basics dies. Here's one of them:

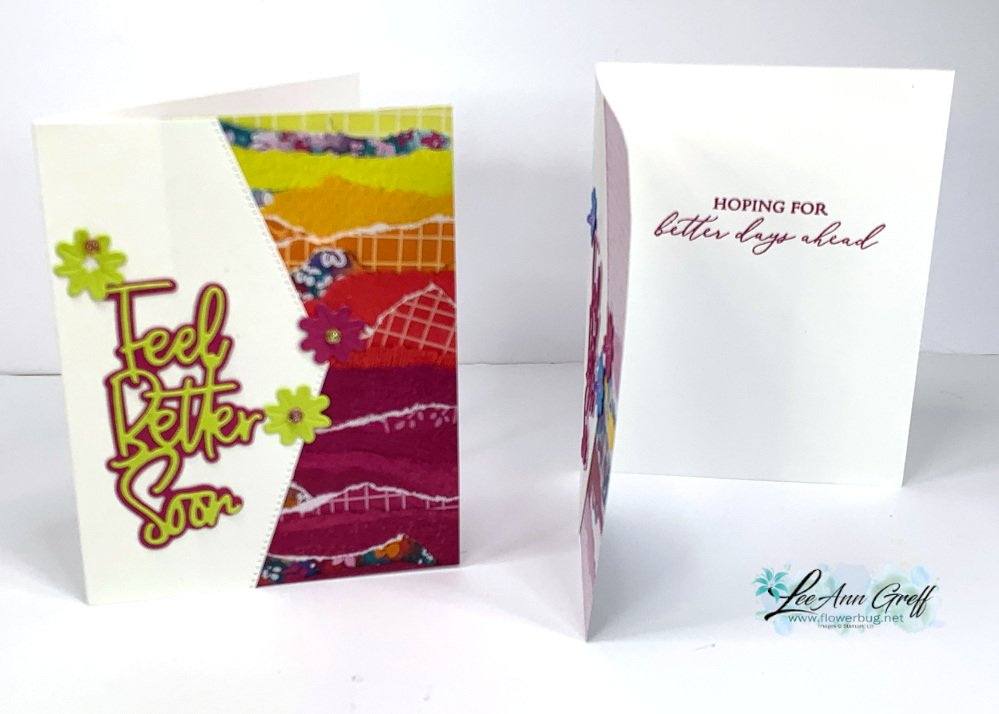
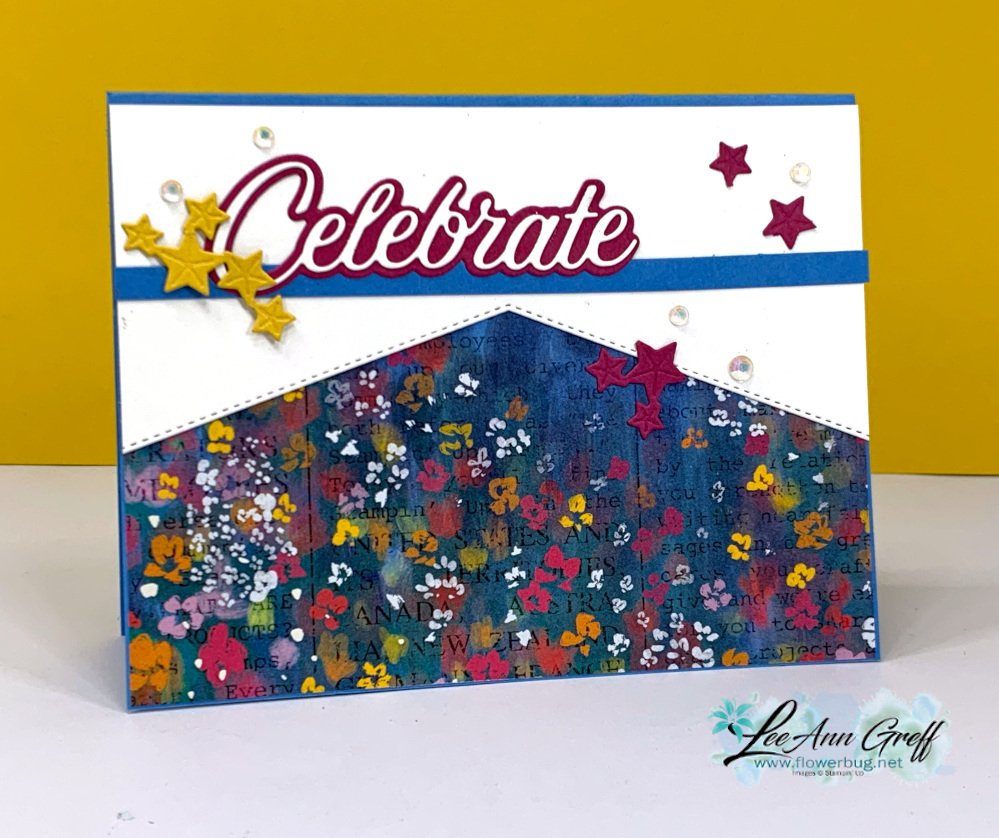
    The Masterfully Made designer paper features a torn edge look to a few of the sheets.  I chose this one because of it's beautiful colors.  I added Berry Burst, Fresh Freesia and Azure Afternoon in the die-cuts from the Wanted to Say dies.  This set of dies has a detailed and a layered die for each set of words in the set, plus a bunch of other dies like the flowers I used here. You can see them here.

    The angled border on the White card base is die-cut with the Basic Borders dies seen here.  I love these and use them often.  You can see them here.  I saved the piece I die-cut and used it on another card.  Here are both of the cards I made, using two different sheets of the Masterfully Made DSP. 

    You can see this beautiful designer paper here.  It's discounted in June; down to $10.62.

    As you can see, there is no stamping on the front.  But I did add a greeting to the inside:

    You can see how I made this card on the video here.  Or click on the photo below to watch. Remember to follow me on Facebook here or on my YouTube channel here. 

    ~~~

    June Specials:

    Designer Paper is 15% off in June!

    WOW – get $155 in product for $99 with free shipping! click here!

    Get a package of In Color pearls with online orders over $55 using a host code.

    *current host code: M7SCQSVS 

     Earn free products with my loyalty rewards! 

    Click here to download yours and earn a $50 shopping spree!

    Leave a Reply

    Your email address will not be published. Required fields are marked *

  • Beautiful Monochromatic card swaps using designer series paper


    These are the last few swaps for our June swap theme of 'using designer paper' on a card.  

    Annette created this one with the Earthen Elegance designer paper and Nature's Prints stamp set. 

    It's gorgeous in our new Pecan Pie color with Very Vanilla.  There's just something about monochromatic cards! 

    Measurements:

    • Pecan Pie card base 8 1/2" X 5 1/2" score at 4 1/4", layer is 2 3/4" X 4 1/4"
    • Vanilla 2 1/2" X 4" and 4" X 5 1/4"
    • Designer paper 2" X 5 1/4"

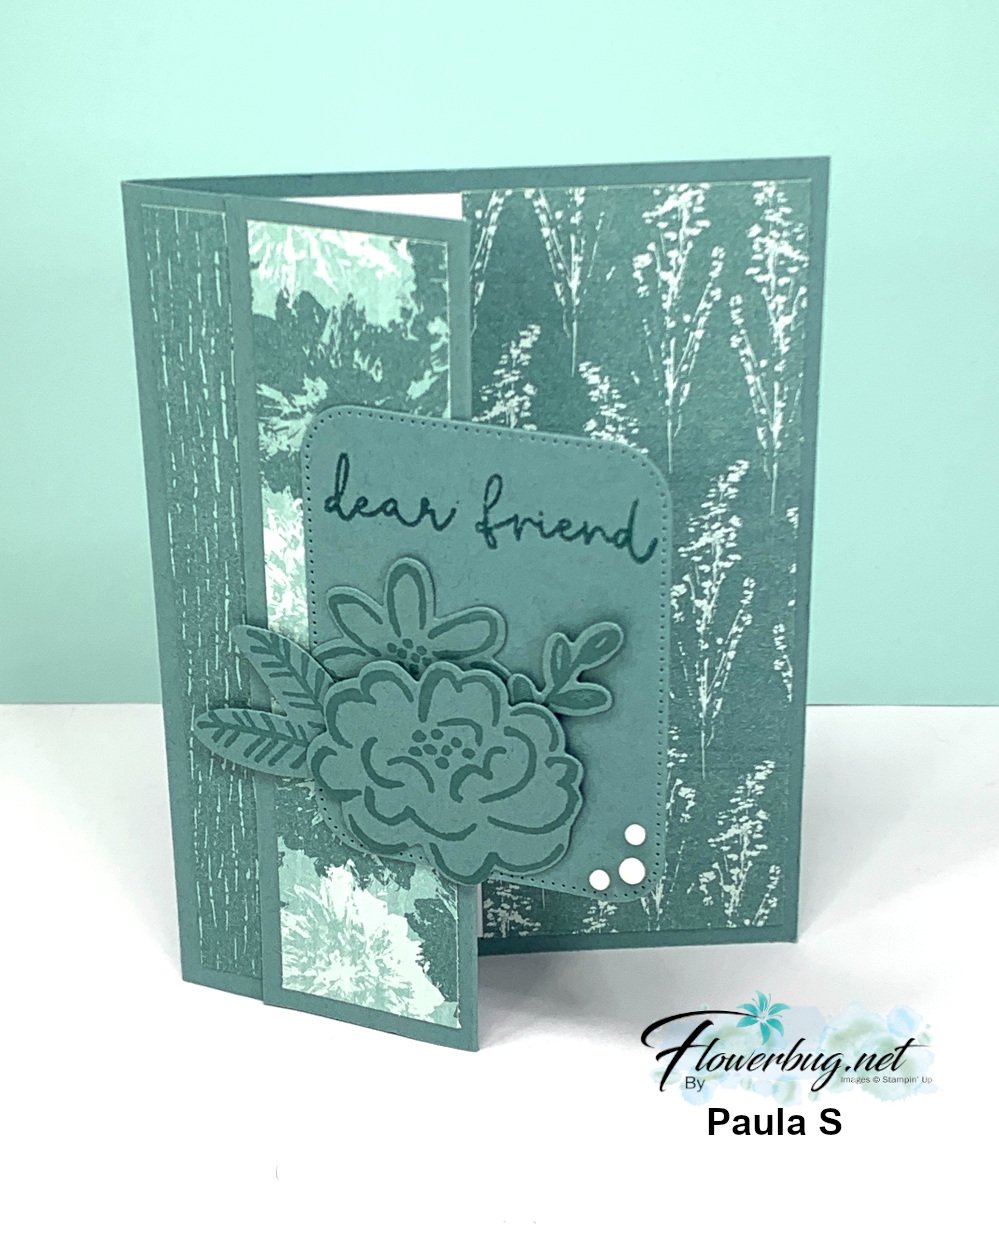
    Next is Paula's card; it's a fun fold card featuring the Inked Botanicals designer paper. It's another monochromatic card! She folded back her front card base to show off the designer paper on the inside.  


    She used the Darling Details bundle for her greeting, flowers & leaves. The greeting die-cut is made with the new Nested Essentials dies. 

    Measurements:

    • Lost Lagoon card base 8 1/2" X 5 1/2" score at 1 1/2" and 4 1/4" 
    • DSP left front 1" X 5 1/4", front fold (and inside front fold) is 1 1/4" X 5 1/4" and inside is 2" X 5 1/4"
    • White inside is 2" X 5 1/4" 

    Love how she added designer paper everywhere!  

    ~~~

    June Specials:

    Designer Paper is 15% off in June!

    WOW – get $155 in product for $99 with free shipping! click here!

    Get a package of In Color pearls with online orders over $55 using a host code.

    *current host code: M7SCQSVS 

     Earn free products with my loyalty rewards! 

    Click here to download yours and earn a $50 shopping spree!

    Leave a Reply

    Your email address will not be published. Required fields are marked *


Notice: LeeAnn Greff, Independent Stampin’ Up! Demonstrator, Manager. The content of this website is my sole responsibility as an independent Stampin’ Up! demonstrator and the use of, and content of, the classes, services, or products offered on this website is not endorsed by Stampin’ Up! Copyright 2025