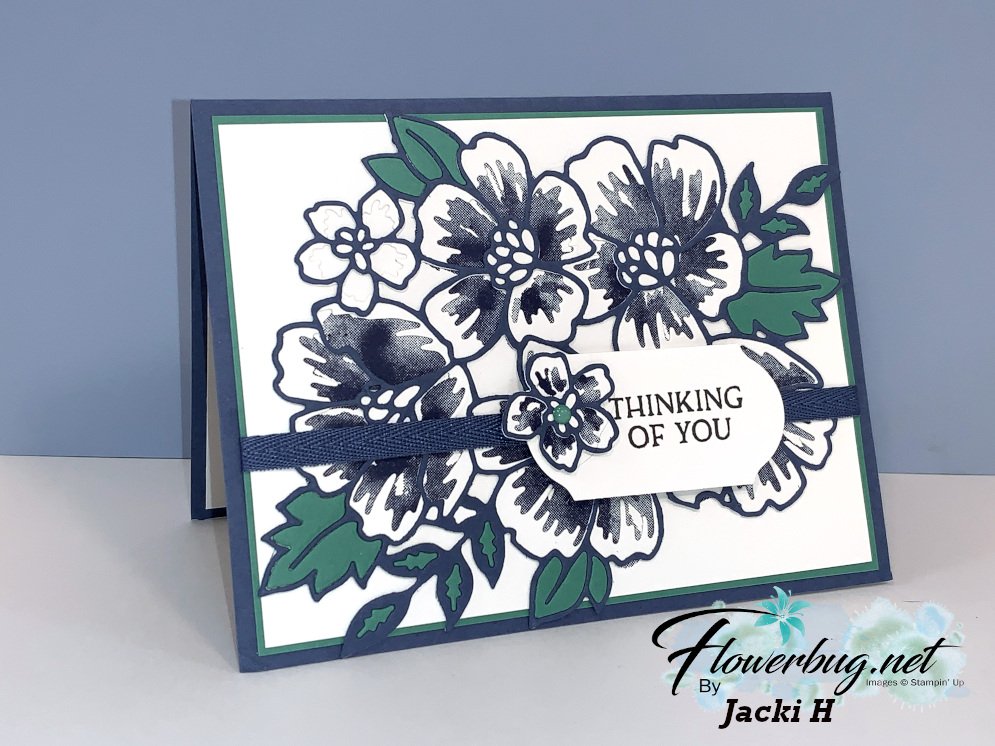
I just love these colors together; Just Jade and Misty Moonlight.
Can you tell that she stamped the large floral image on her White CS using Misty Moonlight? Then she added die-cut layers in White, Misty Moonlight and Just Jade. Yes; she cut out three dies for each card and puzzle fit them over the stamped image!!! Amazing, but stunning!
If you want to see this bundle online, click here.
I believe she cased this card from Pinterest; made by Mary Detherage.
~~~
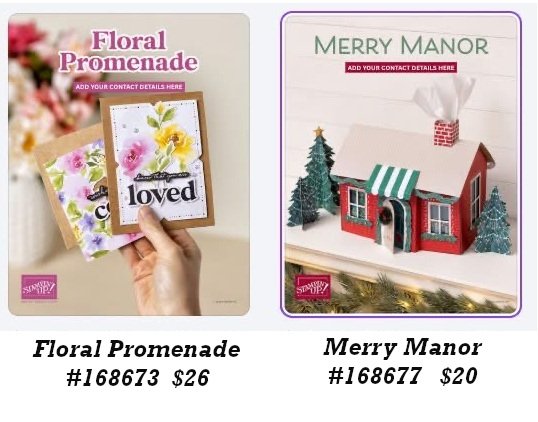
Choose the best deal in the catalog and pick any bundle of your choice FREE!
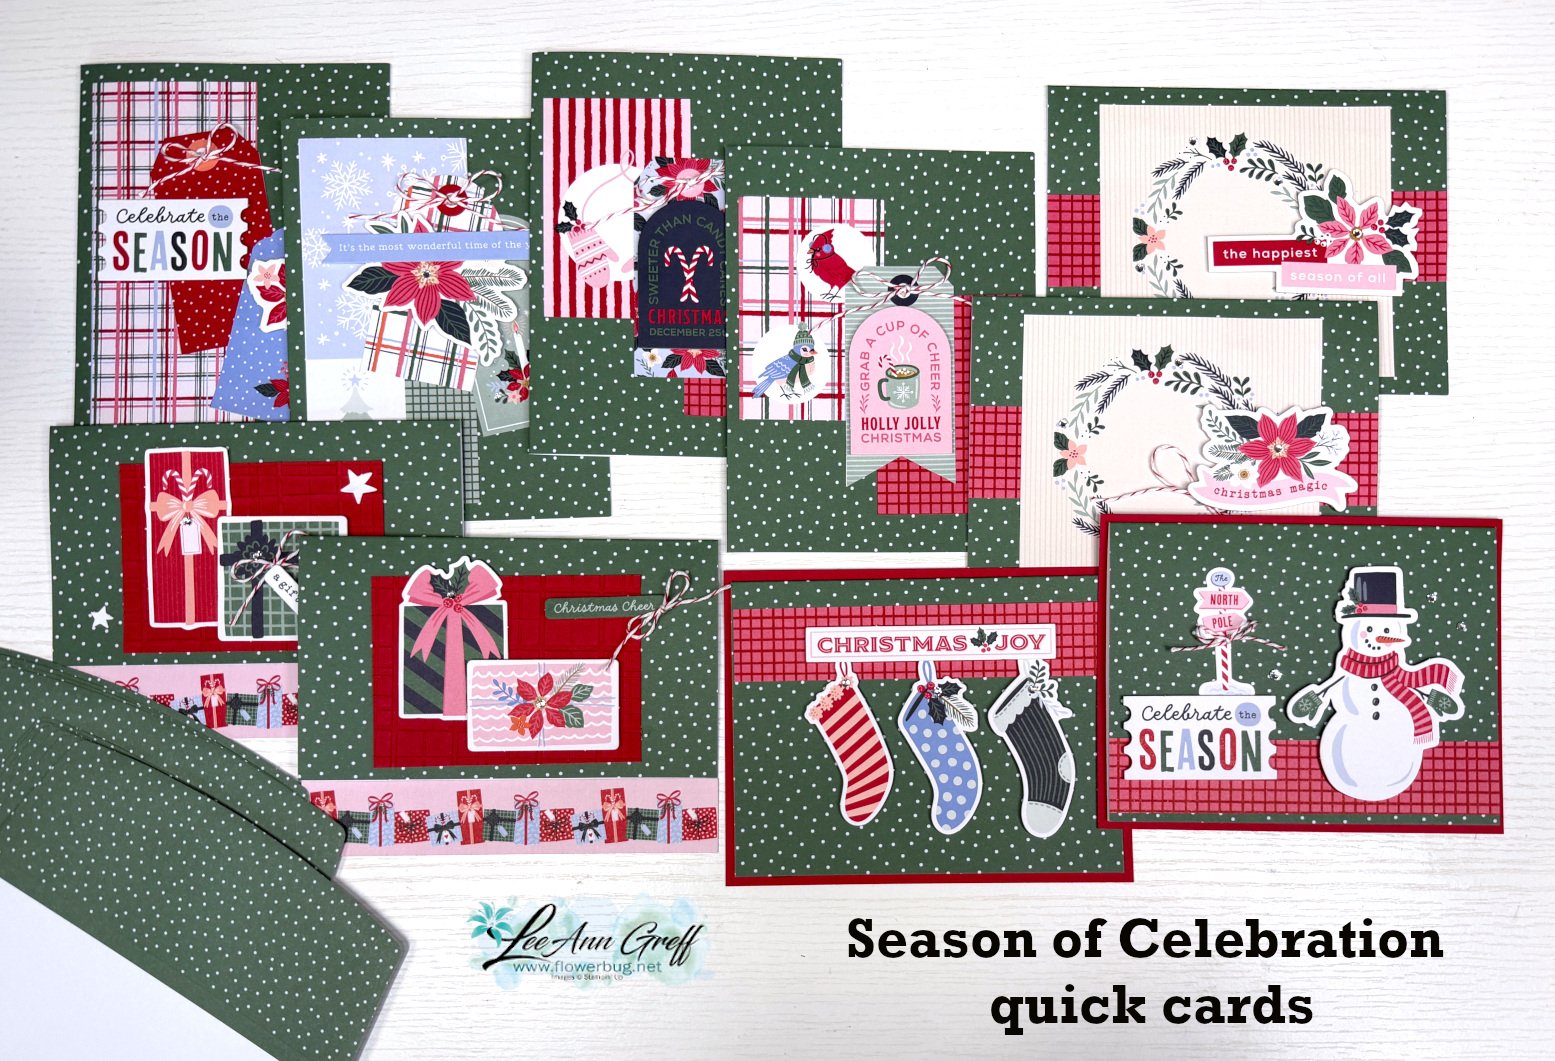
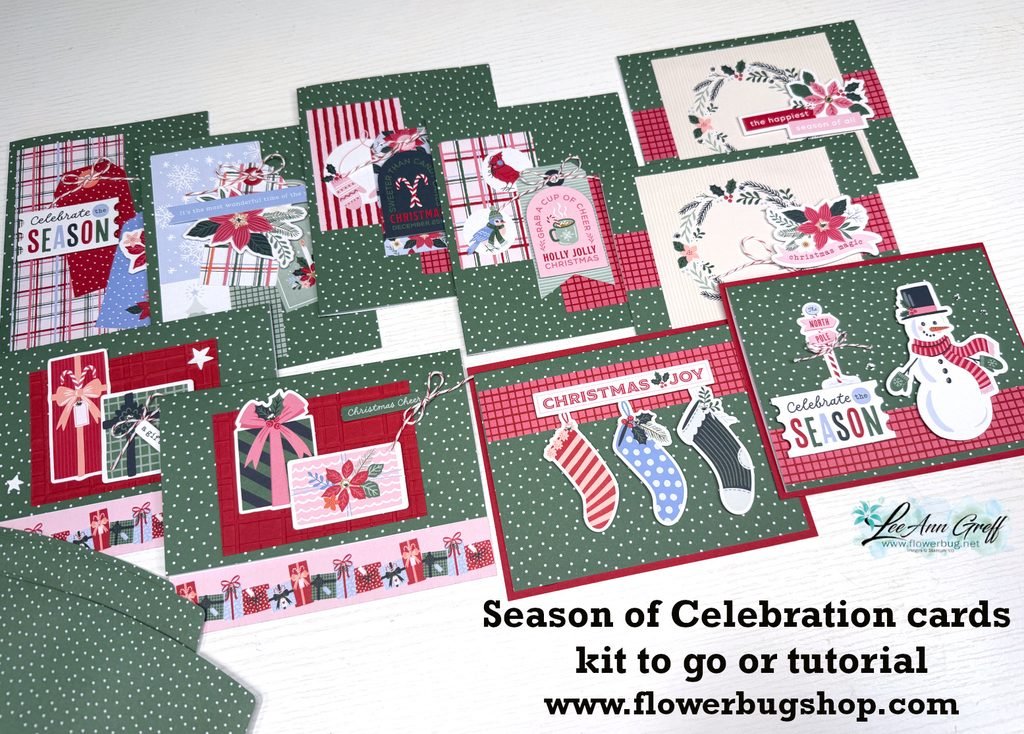
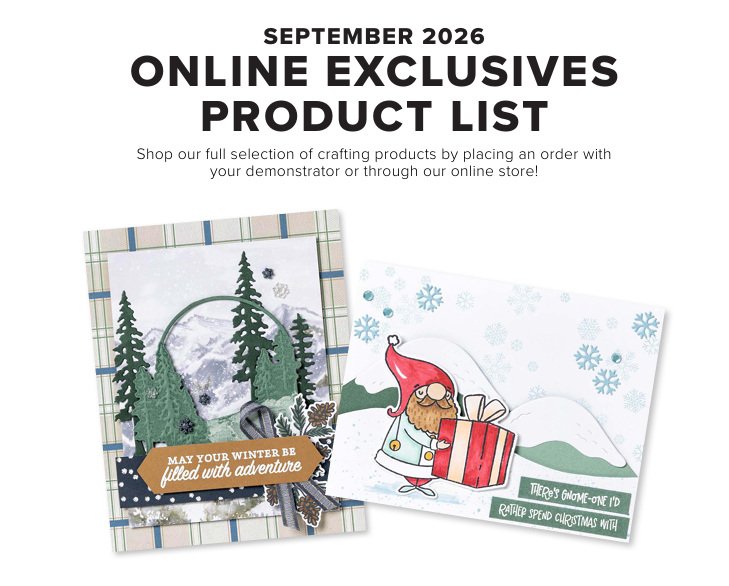
They use a few of the new products in our 2026 Holiday catalog by Stampin’ Up!
This kit includes shares of the Season of Celebration ephemera pack, the Creative Celebrations 6 X 6″ DSP, Red & White Baker’s Twine and a Festive Flecks cards & envelopes pack. You’ll also receive the PDF tutorial too! There is $20 in product in this kit!
This kit will be mailed out at the end of October in plenty of time to create for Christmas. I will be offering one more new Christmas cards kit next week; so stay tuned.
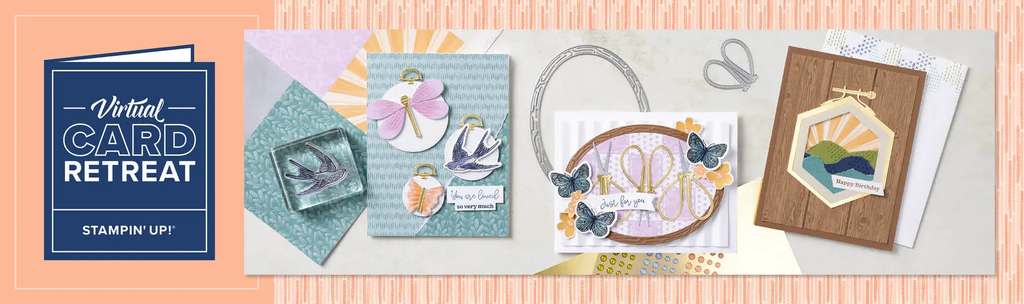
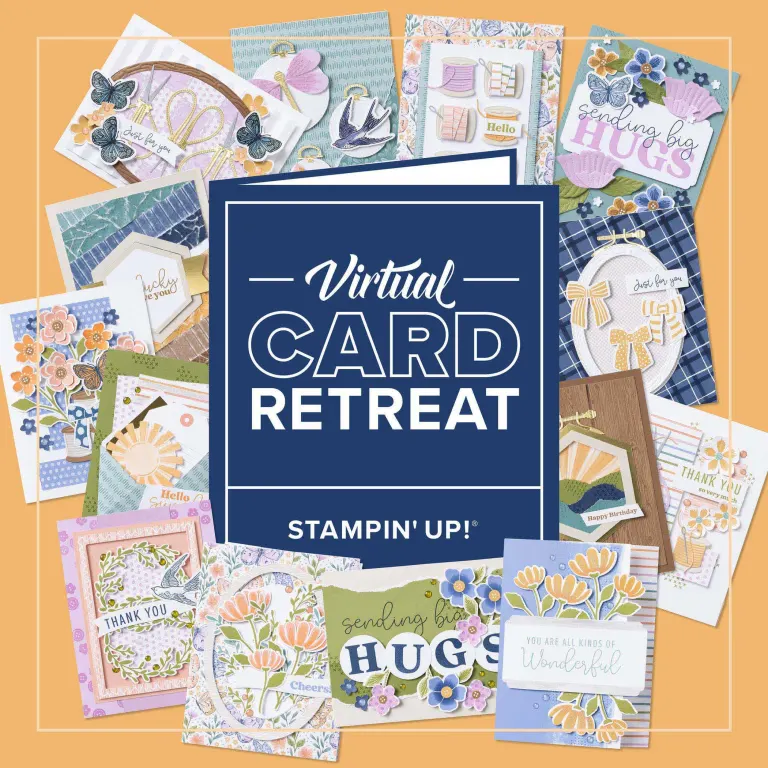
During the retreat, you’ll build creative confidence as you make 15 beautiful, technique-focused cards and craft along with Stampin’ Up! staff using the 2026 October Card Retreat kit. We’ll even have some fun giveaways!
It’s $165 for the products and the virtual class and you earn product credits on this purchase too! See it here.
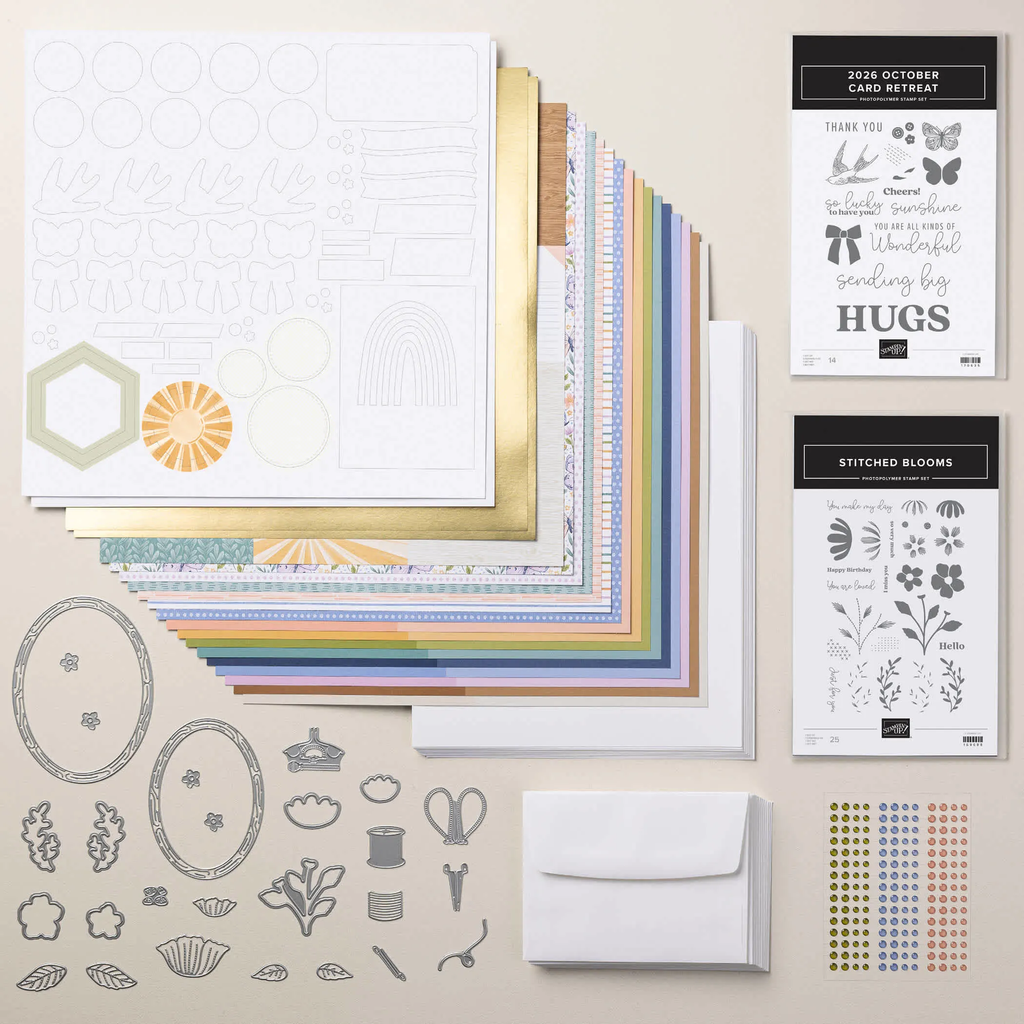
What’s included in the Virtual Card Retreat: – Card making supplies for 15 cards: This kit includes two stamp sets, one die set, Designer Series Paper and Two-Tone Cardstock with cut guidelines printed on the back, printed precut images, embellishments, envelopes, Basic White Cardstock, and one sheet of gold foil paper. (See the Additional Supplies List below for products you will need to complete the retreat projects; you may already have some of these supplies in your craft stash.) – Access to a crafting community: This kit also includes a card with a personalized link to the exclusive Facebook group where we’ll host the event. In our exclusive retreat Facebook group, you can meet and connect with fellow crafters, ask our talented Stampin’ Up! staff all your questions, share your progress, learn from other creative people, and get motivated by the amazing community. – Craft along with live instruction: During the retreat, we’ll stream LIVE on Facebook and have presentations by Stampin’ Up! staff, including CEO Sara Douglass. The retreat will be recorded and available for replay in the Facebook group so you can watch later and craft at your own pace. – Detailed instructions: You can download step-by-step project instructions before the event. Reference these instructions as you craft or use them after the retreat is over.
These products are exclusive to this class and not available separately.
Gorgeous, right? I cased this fold from my friend Susie Wood. I get so many fun fold ideas from her. Check out her blog here.
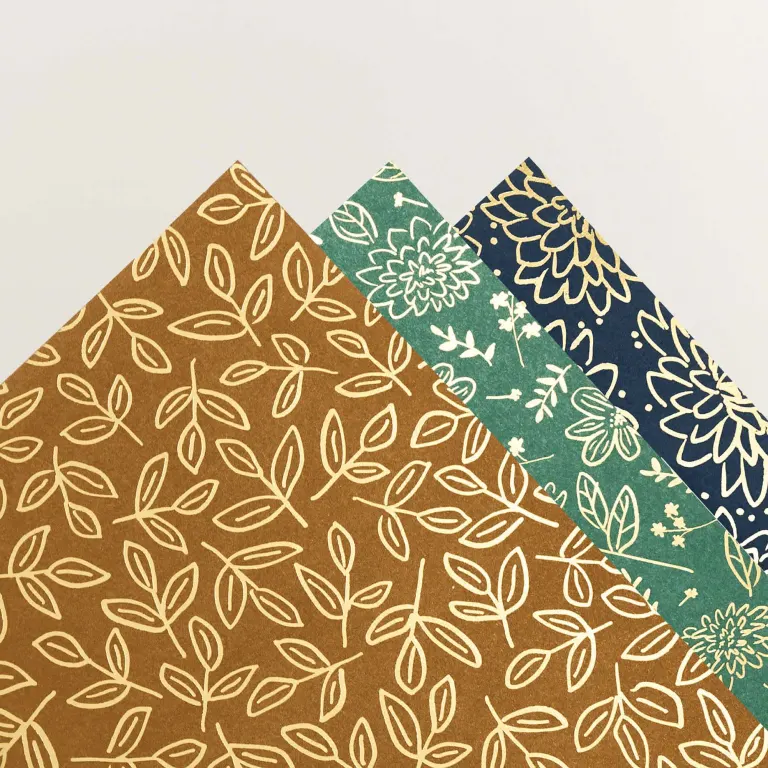
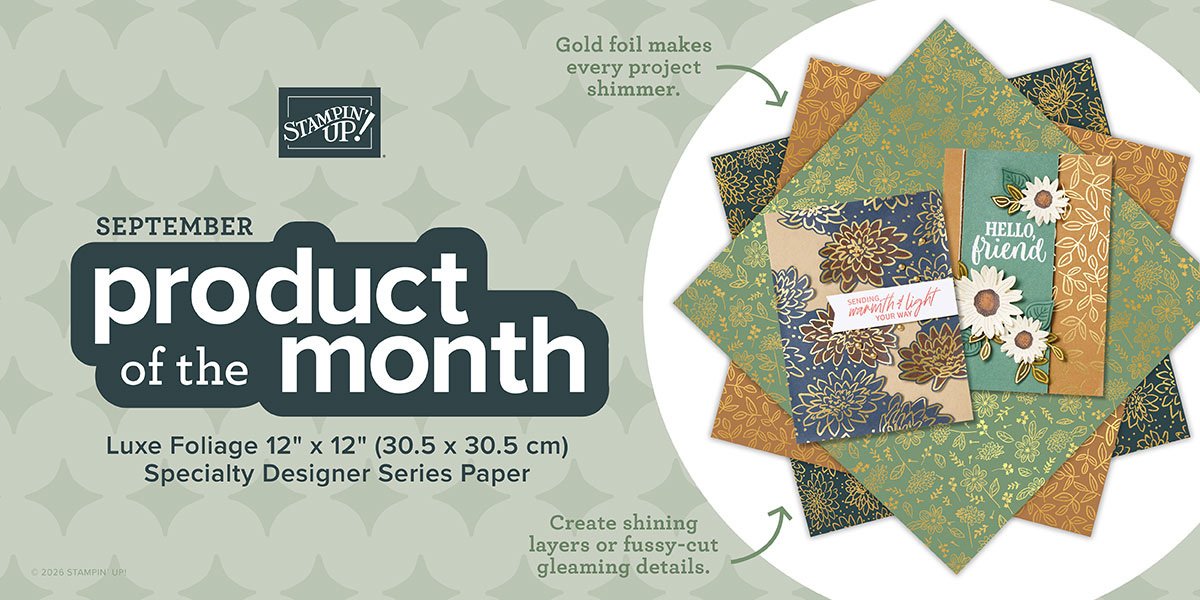
This stunning Luxe Foliage DSP is a Product of the Month and available while supplies last. See it here.You can redeem it for just $5 once your order reaches the $75 mark. There are 4 sheets of each pattern in this pack!
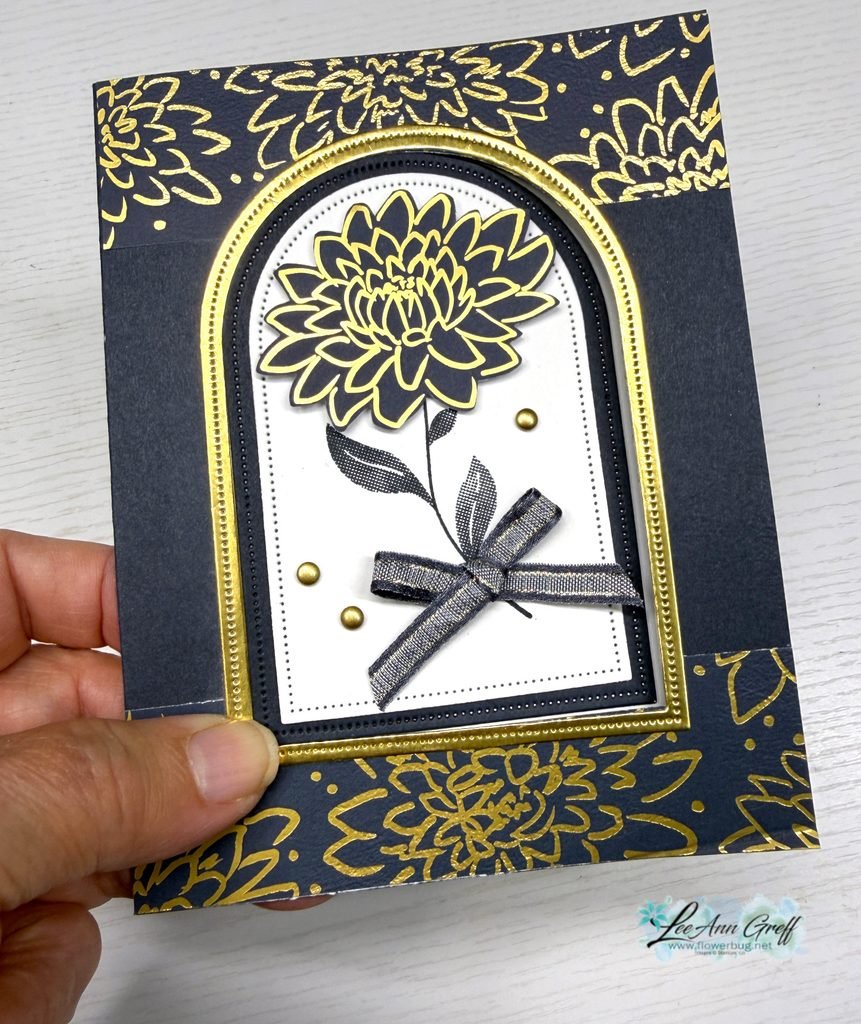
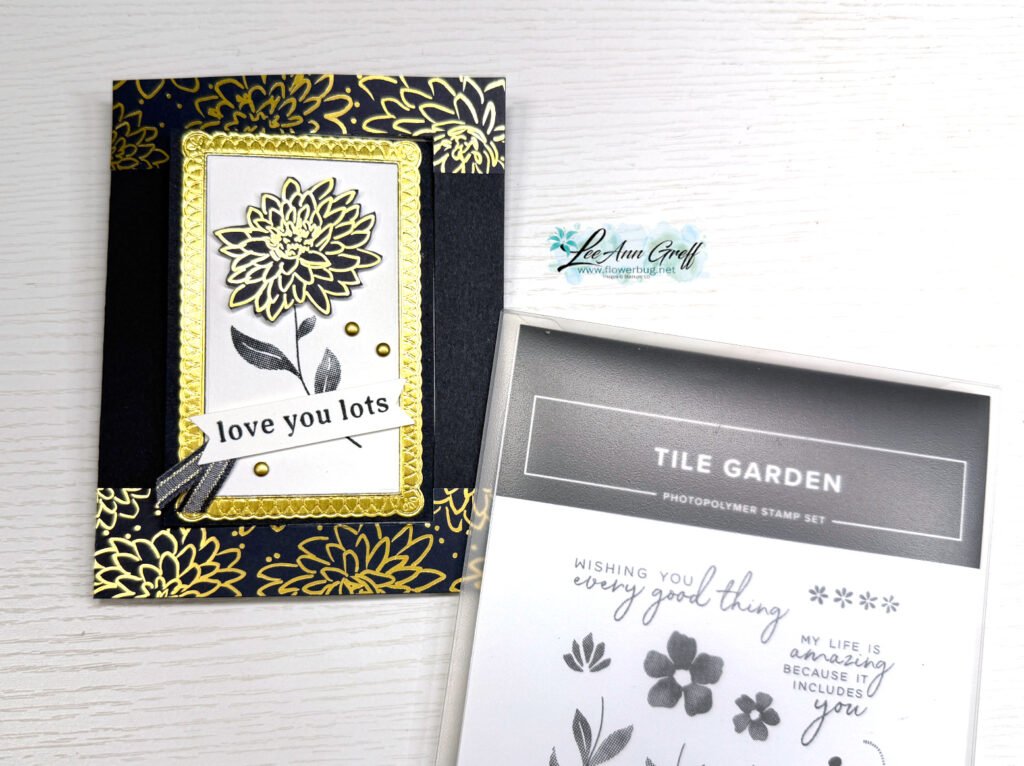
I paired it with Secret Sea, Gold foil and White here. On this card I used the Everyday Arches dies for the window and the Tile Garden stamp set for the leaves/stem.
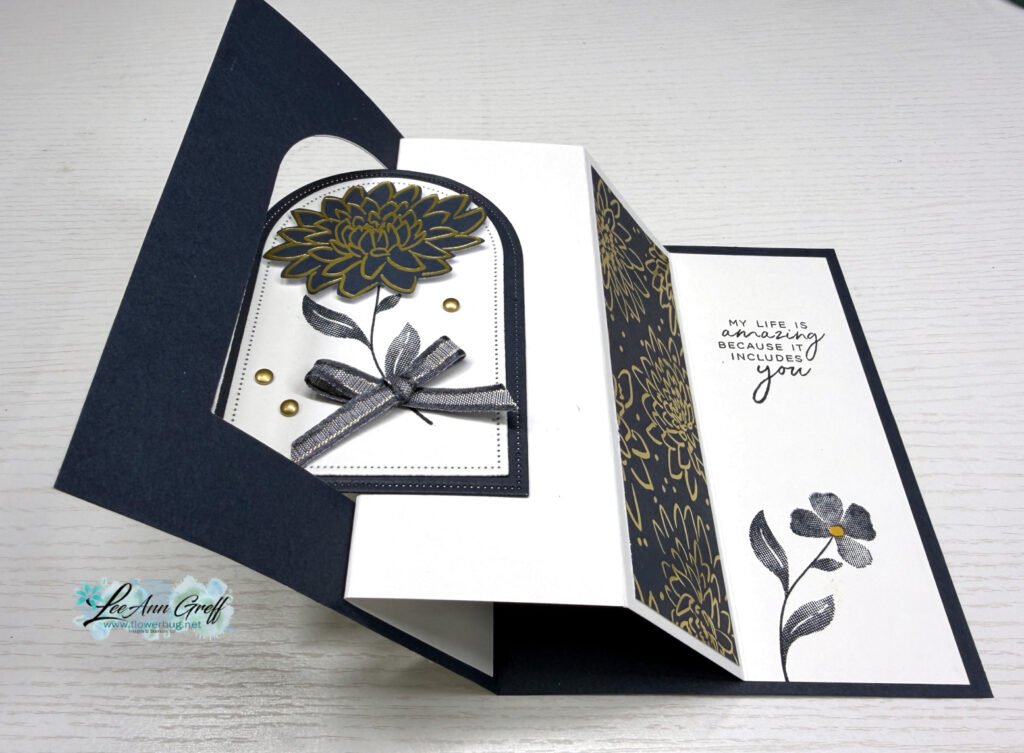
This card involves die-cutting a window in the front layer of your card and reusing it on the inside scored White layer. You can catch on to how it opens in the above photo but it may help a lot if you watch the video here.
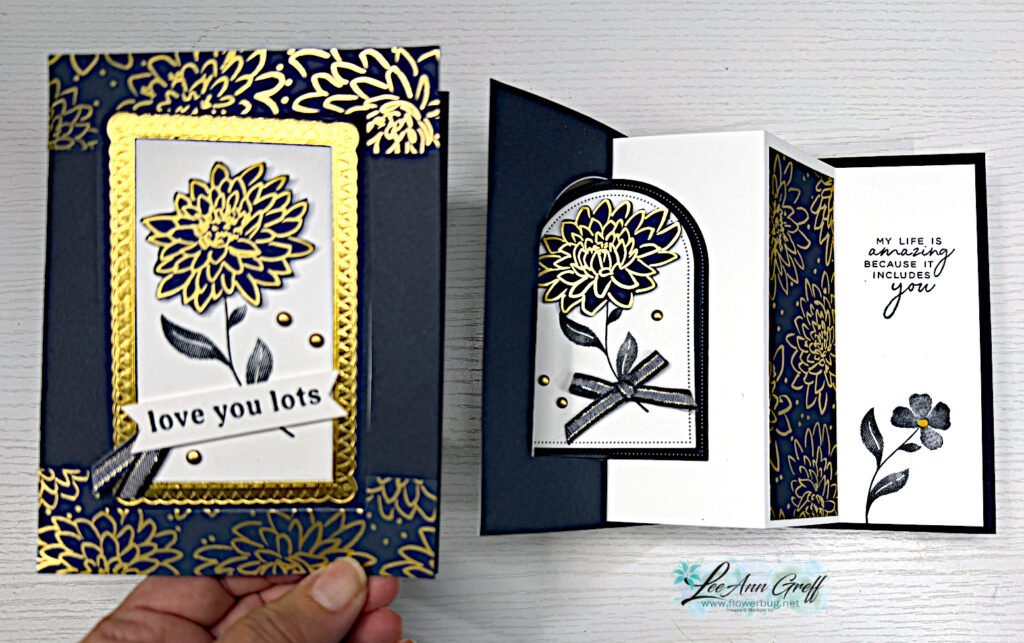
On the left card below I used a different set of dies for my window. First the Tile Garden dies to create a rectangle window. Yes; these dies are square…. so I cut a second time to create the rectangle window. The Gold textured frame is made with the Phrases & Frames dies seen here.
Notice: LeeAnn Greff, Independent Stampin’ Up! Demonstrator, Manager. The content of this website is my sole responsibility as an independent Stampin’ Up! demonstrator and the use of, and content of, the classes, services, or products offered on this website is not endorsed by Stampin’ Up! Copyright 2025
















Leave a Reply