/


Latest Post

Blessings of Home card ideas; beautiful layouts


This week I'm sharing Monochromatic cards made by my Flowerbug's Team members.  It was our swap theme this month.  

It was a challenge for some but their cards were incredible as usual! Both cards today feature the Blessings of Home bundle; seen here.

This first card was created by Marilyn.  Her colors include Misty Moonlight, Night of Navy & White.  

She used the large flower image to create a background using Misty Moonlight ink for a pretty tone on tone look.  She stamped the flower again on a piece of White CS and used the dies to cut it out. You cannot see in the photo but she added Wink of Stella to the flower.  

It's adhered over a pretty Encircled in Beauty Navy die-cut. 

This next card was created by Tracey using the same Blessings of Home bundle.  

She used 3 different designer papers here – Heart & Home, Hand-Penned & the In Color 6 X 6" prints. I love how our colors & products coordinate so effortlessly.  Our color coordination is what brought me to Stampin' Up! and keeps me happy to stay. 

Details:

  • She stamped her flower image in Basic Gray ink and colored it in with Blends markers. It's fussy cut with the coordinating die-cut. 
  • She heat embossed her greeting with White embossing powder onto Designer Paper.  What a gorgeous card and a neat layout. 
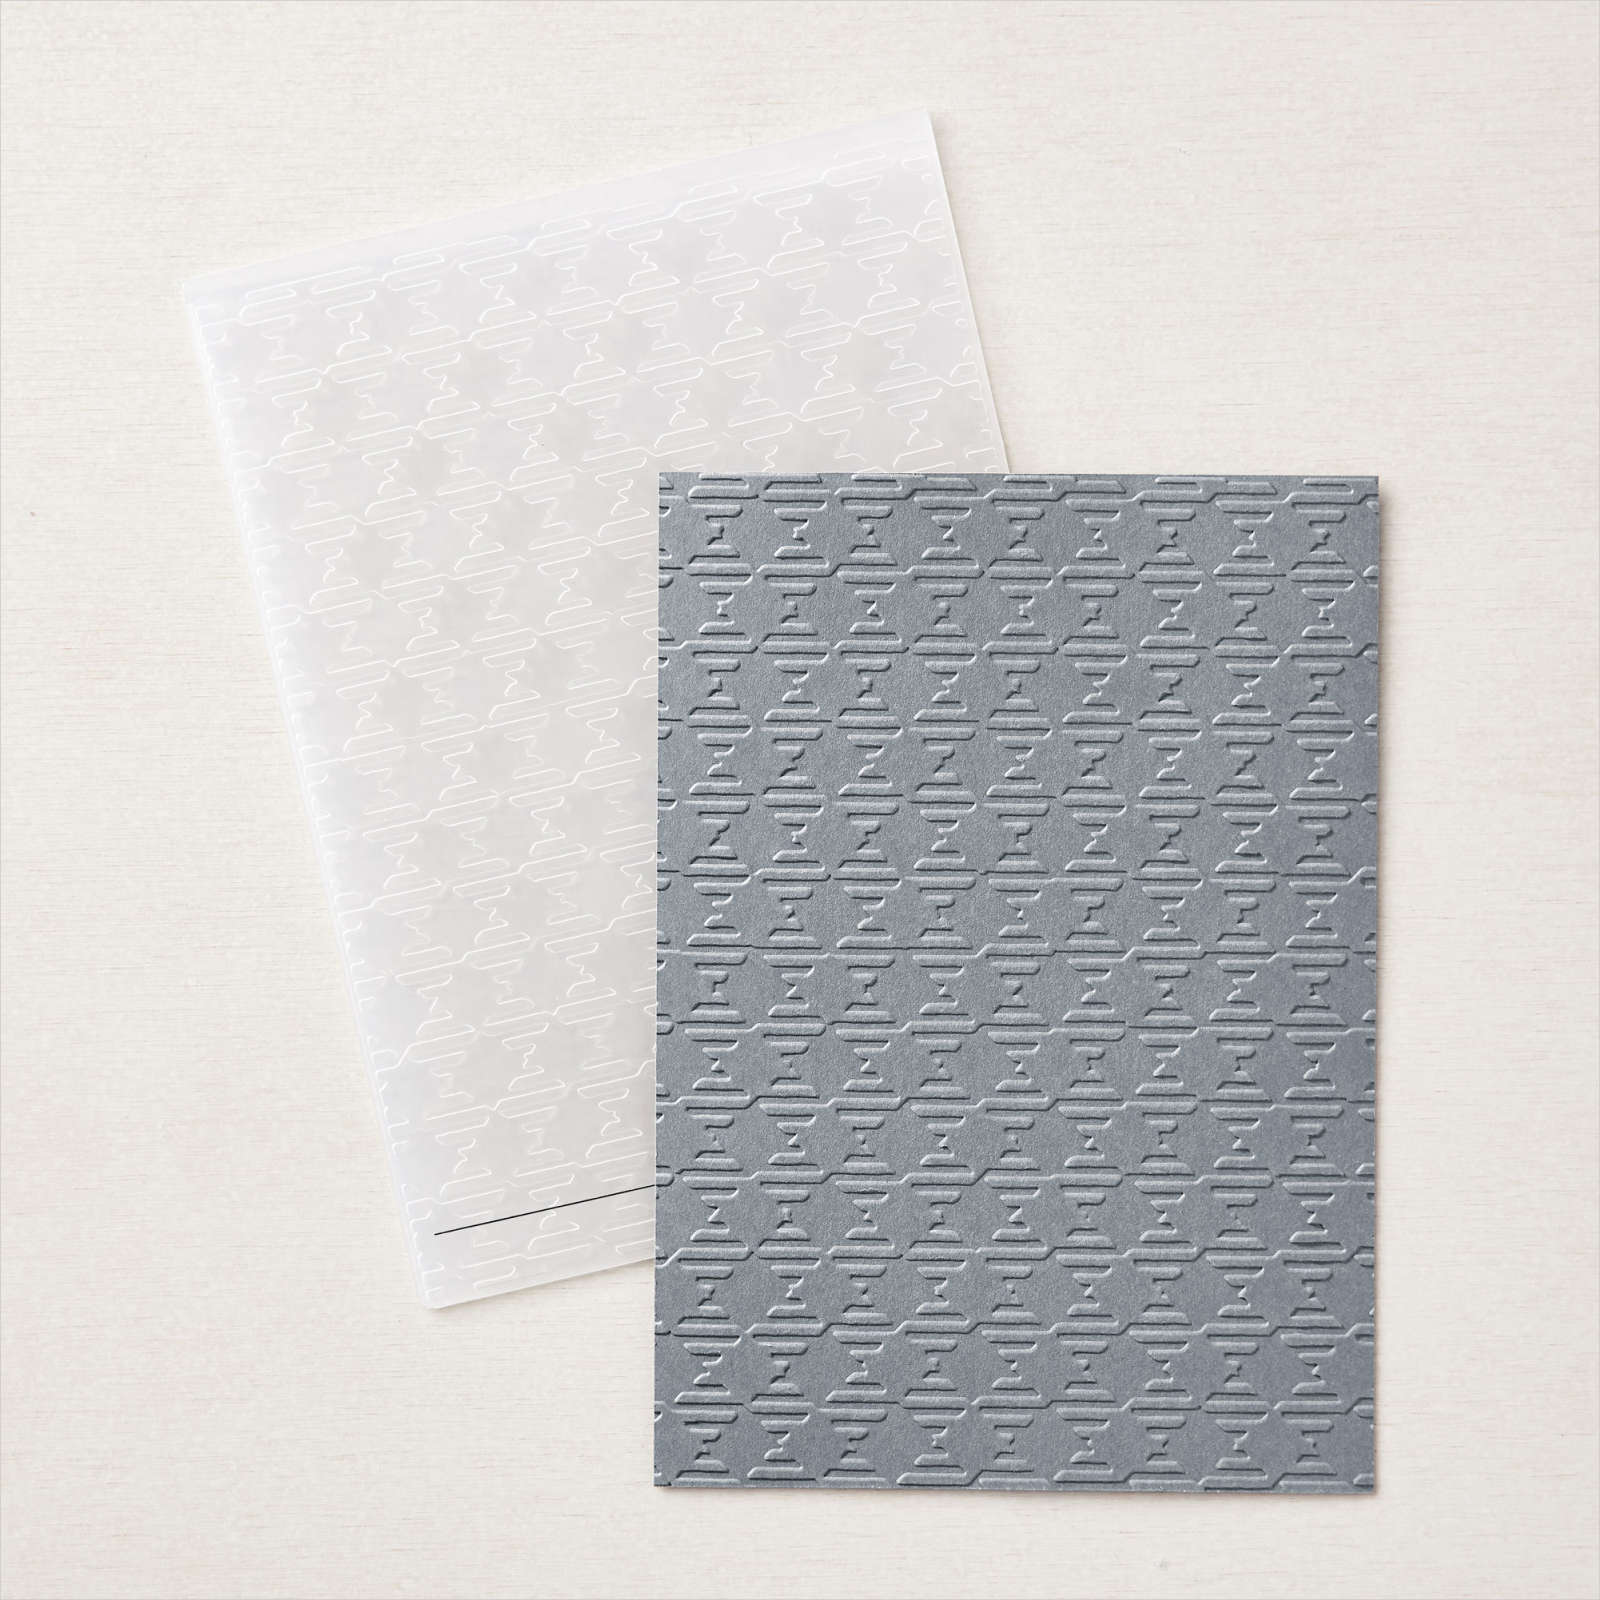
  • The White CS behind the flower is textured with our new Gingham embossing folder seen here


~~~

January Specials:

Purchase the Starter Kit during Sale-a-Bration

and choose ANY 2 stamp sets free plus FREE shipping too!

Click here to get yours.


Host codes:  T9YW6QCC or S9WGFH9Z

 *click here to order 

Use the host code above & get free Iridescent Rhinestones with

a $50 order in January, 2022! 

Free Heart & Home PDF projects with any online order!

All Posts

  • Create this eye-catching scene with ink and blending brushes; video tutorial too!


    Here's another card I created on last week's video. Do you love colorful scenes too? 

    Here I used Cloud Cover cardstock for my base; scored it an extra time to create a flap near the center. This is a great way to add the main element of your card.  In this case it's a stamped and colored tree scene on our new Party Banner dies.  

    I found the Peaceful Pier stamp set seen here to be perfect for my scenes. It's a great line-art set you don't have to color in, as you can see in my example. 

    Here is the free project sheet with measurements and supplies listed: Click on the following link to download it.  Download Peaceful Pier fun fold scene

    I am now adding my project sheets to my Flowerbug's Stamp & Share FB group the same day I share the live video.  Click here to join the group. 

    I used these inks for blending; from bottom to top – Granny Apple Green, Calypso Coral, Daffodil Delight and Cloud Cover. Blending brushes make it easy to add ink smoothly. But there are tricks to it!  

    Below is the video tutorial on how to add ink smoothly with Blending Brushes.  I hope you watch it!

    ~~~

    June Specials:

    The Suite Sale is on! 

    Buy one get 50% the second item – on all available suite products. 

    Shop here or see products below: 

    ~~~

    Last Chance List has been updated!  see it all here. Don't miss out on the deals!

    ~~~

    Earn free card kits in June with online orders! Get 4 kits with a $50 order and orders over $80 receive all 6 cards. All you need are greetings, gems and adhesives to assemble. 

    Order here 

    ~~~

    Get my Celebratory Sips PDF tutorial free with any online order in June!

    Leave a Reply

    Your email address will not be published. Required fields are marked *

  • How to create a beautiful scene with the Peaceful Pier set; a free project sheet & video tutorial


    I shared a video tutorial on how to create this gorgeous scene last week.  

    I used the Peaceful Pier stamp set, inks and blending brushes.  

    I first stamped the dock and tree images using Black Memento ink. Then added a few more 'grass' images at the bottom. Next you add ink with Blending Brushes.  I used Lost Lagoon for the water, Granny Apple Green for the grass, Balmy Blue and Daffodil Delight for the sky. 

    I did color the dock and trees with Blends markers. I did not need to mask anything. As long as you're adding ink lightly with the Blending Brushes you shouldn't need to.  

    After I was finished adding color I used the Textured Notes dies to cut my image into 2 pieces. Ad added the frame to a Black CS layer and added the center with Stampin' Dimensionals.  I love the dimension this gives to the card scene. 

    Here is the free project sheet for this card: Click on the following link to download or print it. Download Peaceful Pier scenic card

    Below is the video tutorial on how to add ink smoothly with Blending Brushes.  I hope you watch it!

    ~~~

    June Specials:

    The Suite Sale is on! 

    Buy one get 50% the second item – on all available suite products. 

    Shop here or see products below: 

    ~~~

    Last Chance List has been updated!  see it all here. Don't miss out on the deals!


    ~~~

    Earn free card kits in June with online orders! Get 4 kits with a $50 order and orders over $80 receive all 6 cards. All you need are greetings, gems and adhesives to assemble. 

    Order here 

    ~~~

    Get my Celebratory Sips PDF tutorial free with any online order in June!

    Leave a Reply

    Your email address will not be published. Required fields are marked *

  • Celebratory Sips card kit to go with PDF tutorial option & exclusive video!


    Here's my newest pre-cut card kit to go – featuring the Celebratory Sips designer series paper.  I love that this paper is so unique; something we haven't had before. 

    There are 10 cards in this kit; most are fun fold layouts too.  This paper was super fun to play with.  I love how the cards turned out!  

    The kit includes 1/2 pkg of the Celebratory Sips DSP (6" X 12), a share of both 1/8" gold trim and Low-profile gems.  Plus you get the pdf tutorial free!  It also includes an exclusive video tutorial. 

    This kit will be ailed out at the end of June;  reserve your Celebratory Sips pre-cut card kit to go here.  

    Or choose the PDF tutorial here for $16. 

    I also added two other new kits to my shop too.  You can save on shipping and get more for your $$ when you purchase more than one kit. See them all here. 

    First is the Painted Petals 12 card kit – created with a former Paper Pumpkin kit but jazzed up with extra cards & product. See it here. 

    Next is the Daisy Daydream 12 card kit – also created with a previous Paper Pumpkin kit – I changed up the cards, added 3 extra cards, gems & ribbon added. See it here. 

    ~~~

    June Specials:

    The Suite Sale is on! 

    Buy one get 50% the second item – on all available suite products. 

    Shop here or see products below: 

    ~~~

    Earn free card kits in June with online orders! Get 4 kits with a $50 order and orders over $80 receive all 6 cards. All you need are greetings, gems and adhesives to assemble. 

    Order here 

    ~~~

    Get my Celebratory Sips PDF tutorial free with any online order in June!

    Leave a Reply

    Your email address will not be published. Required fields are marked *


Notice: LeeAnn Greff, Independent Stampin’ Up! Demonstrator, Manager. The content of this website is my sole responsibility as an independent Stampin’ Up! demonstrator and the use of, and content of, the classes, services, or products offered on this website is not endorsed by Stampin’ Up! Copyright 2025