/


Latest Post

Blending tips with this cute Cheers & Sips card; video & free project sheet too!


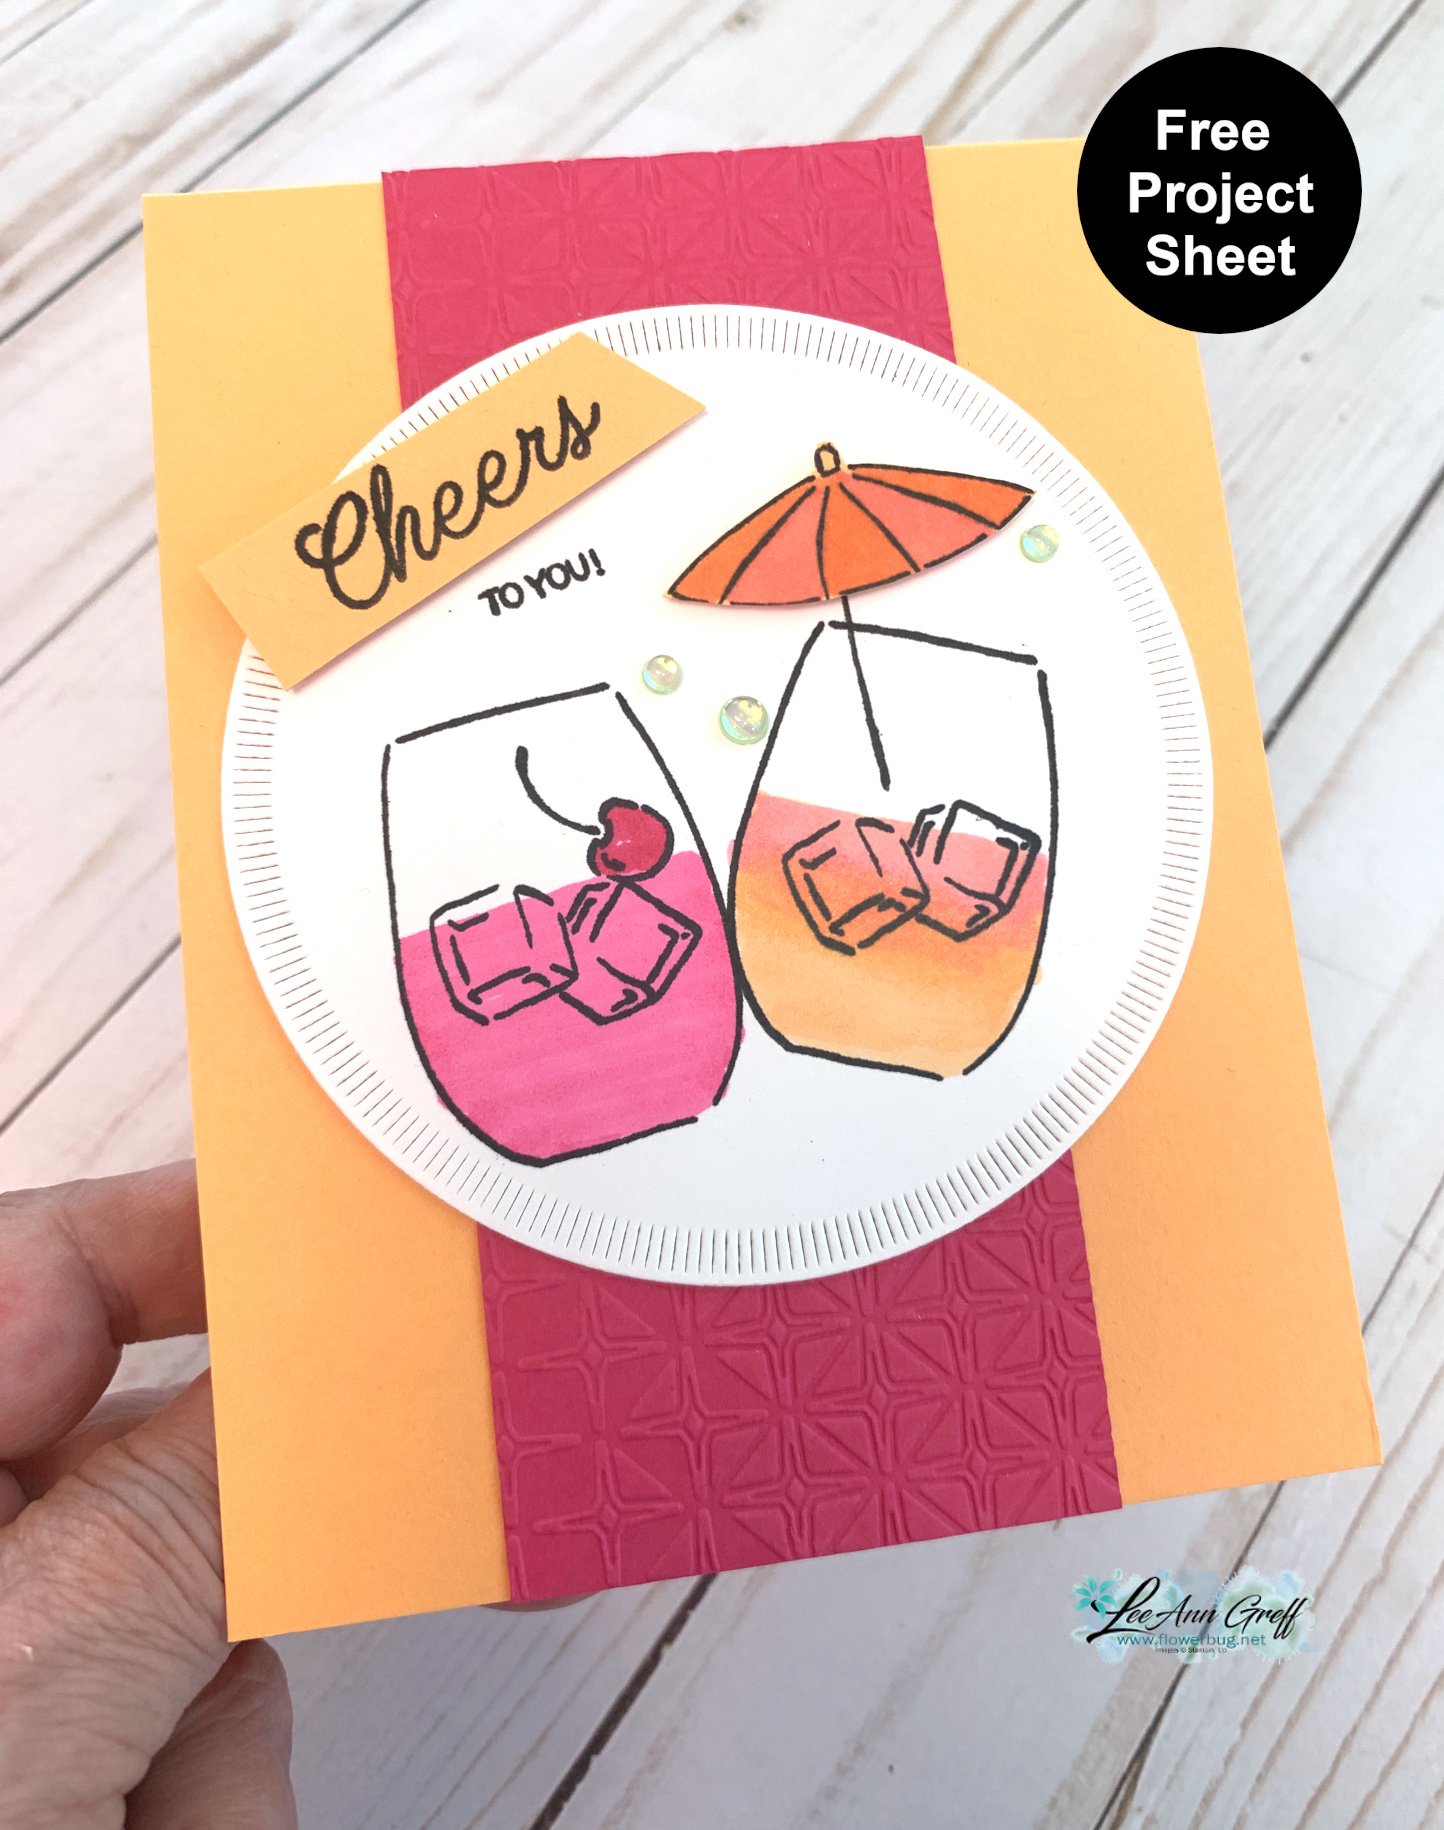
Today I'm sharing a pretty & bright color combo for this cheery card using the Cheers & Sips stamp & die bundle. I made it on last week's Live video. 

The colors include Peach Pie with Melon Mambo. It's a simple layout but the stamped images sure make it special.  

The circle die-cut is from the Spotlight on Nature dies.  I stamped the images in Black Memento ink and colored them in with our Blends markers.  I love them because you rarely get any lines when coloring.  If you like to color you NEED the Blends markers!  Watch the video to see how to blend easily.  

I created a free project sheet with measurements & a supplies list. Click on the following link to print or download it.  Download Cheers to You card
The Cheers & Sips dies are currently out of stock but they'll likely be back around July 14th. See the bundle here
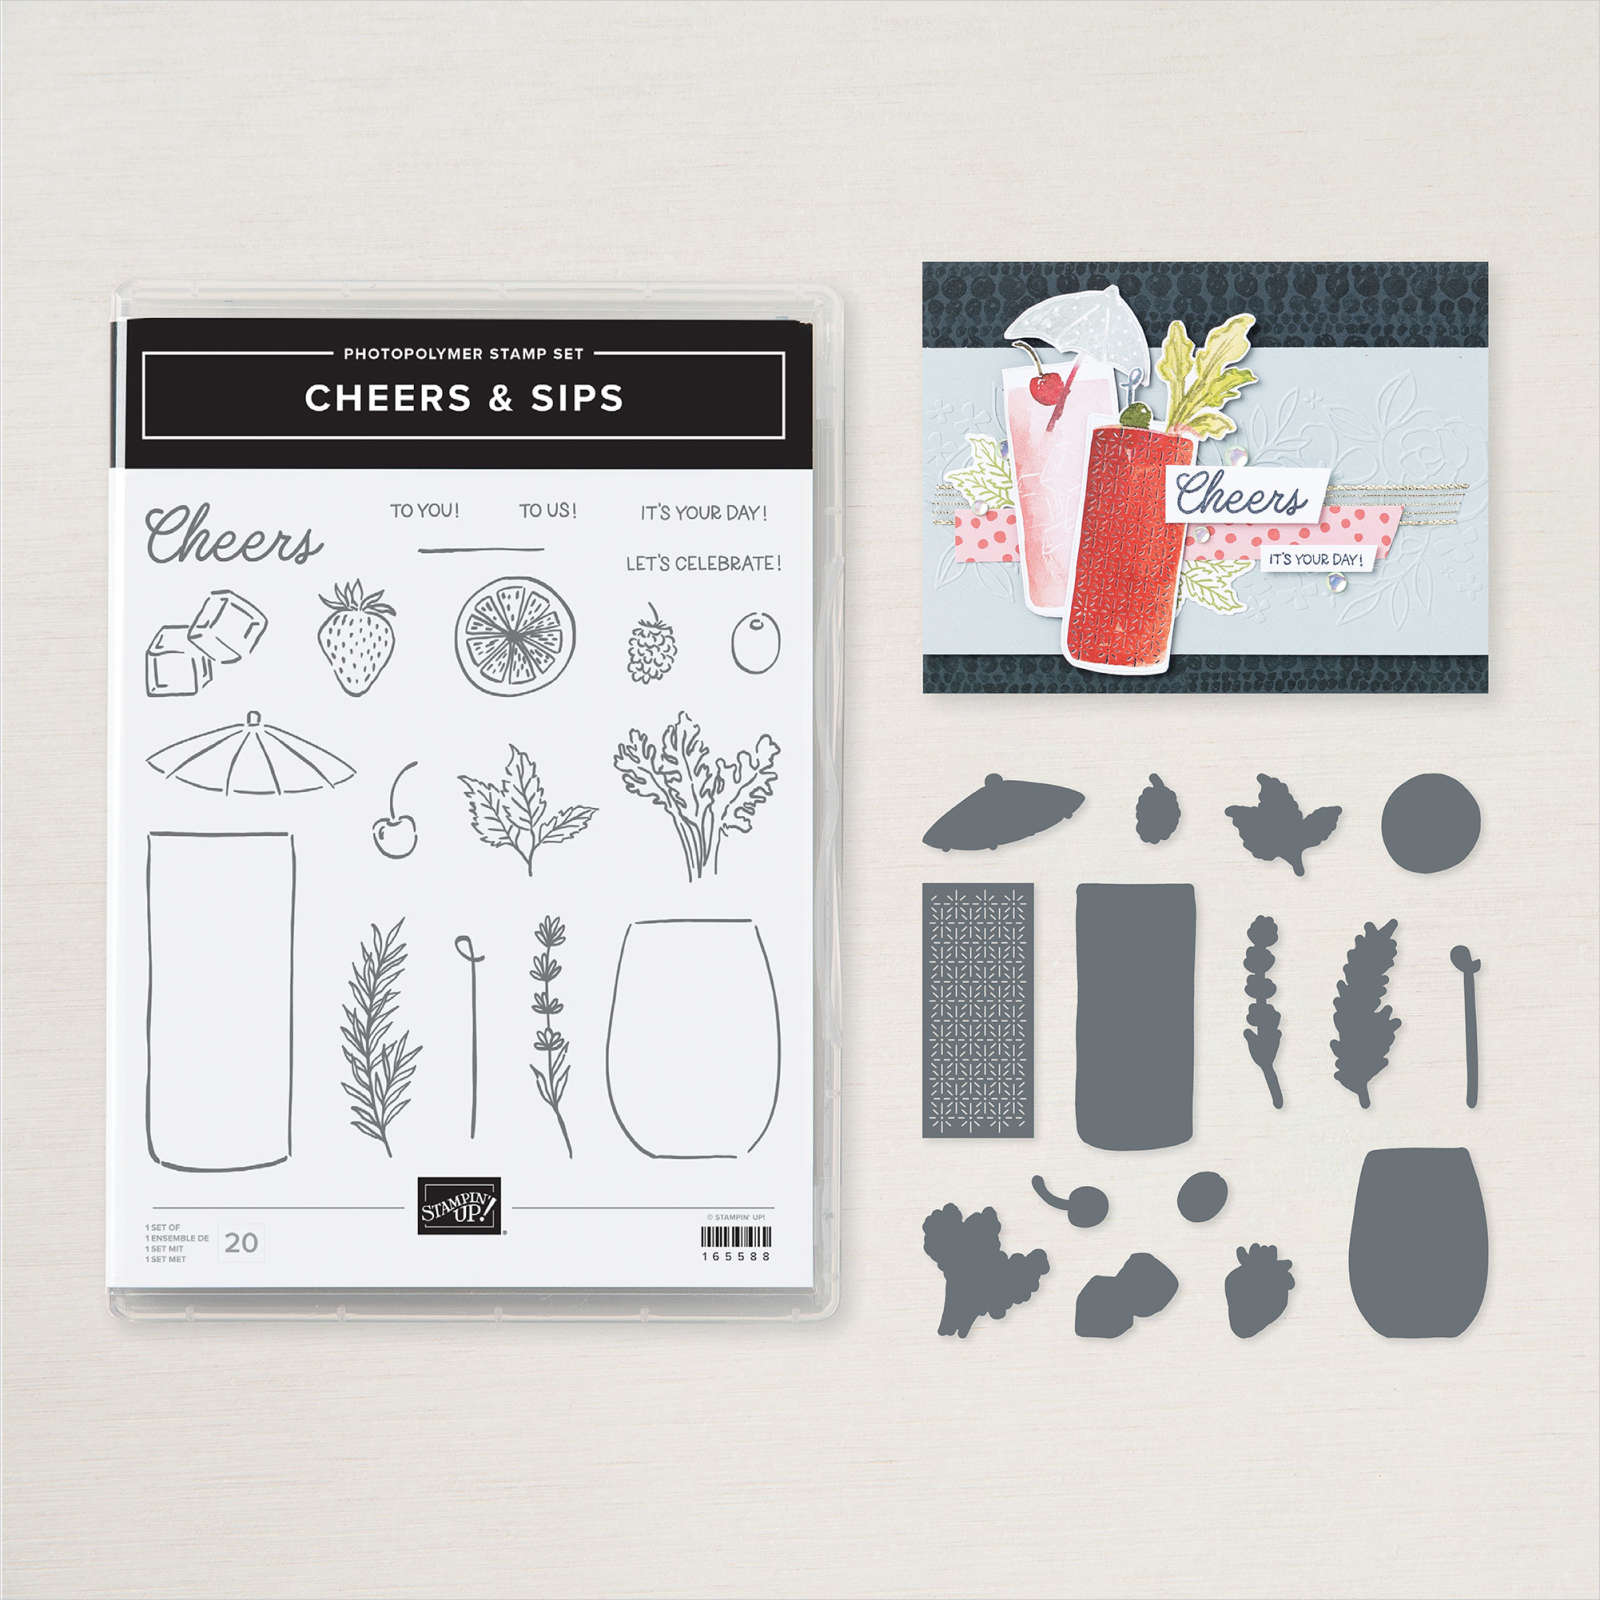
Below is the video for this card and TWO more with this neat bundle and the coordinating Celebratory Sips DSP seen here.   I love this colorful & unique paper; it's something completely different! 

Click below to watch the video for this and two other cards! 

~~~

July Specials:

New Online Exclusives are here!  

~~~

Last Chance List has been updated!  see it all here. Don't miss out on the deals!

~~~

Get my Turtle-y Cute PDF tutorial free with any online order in July!

All Posts

  • Perched in a Tree Explosion card with video tutorial!


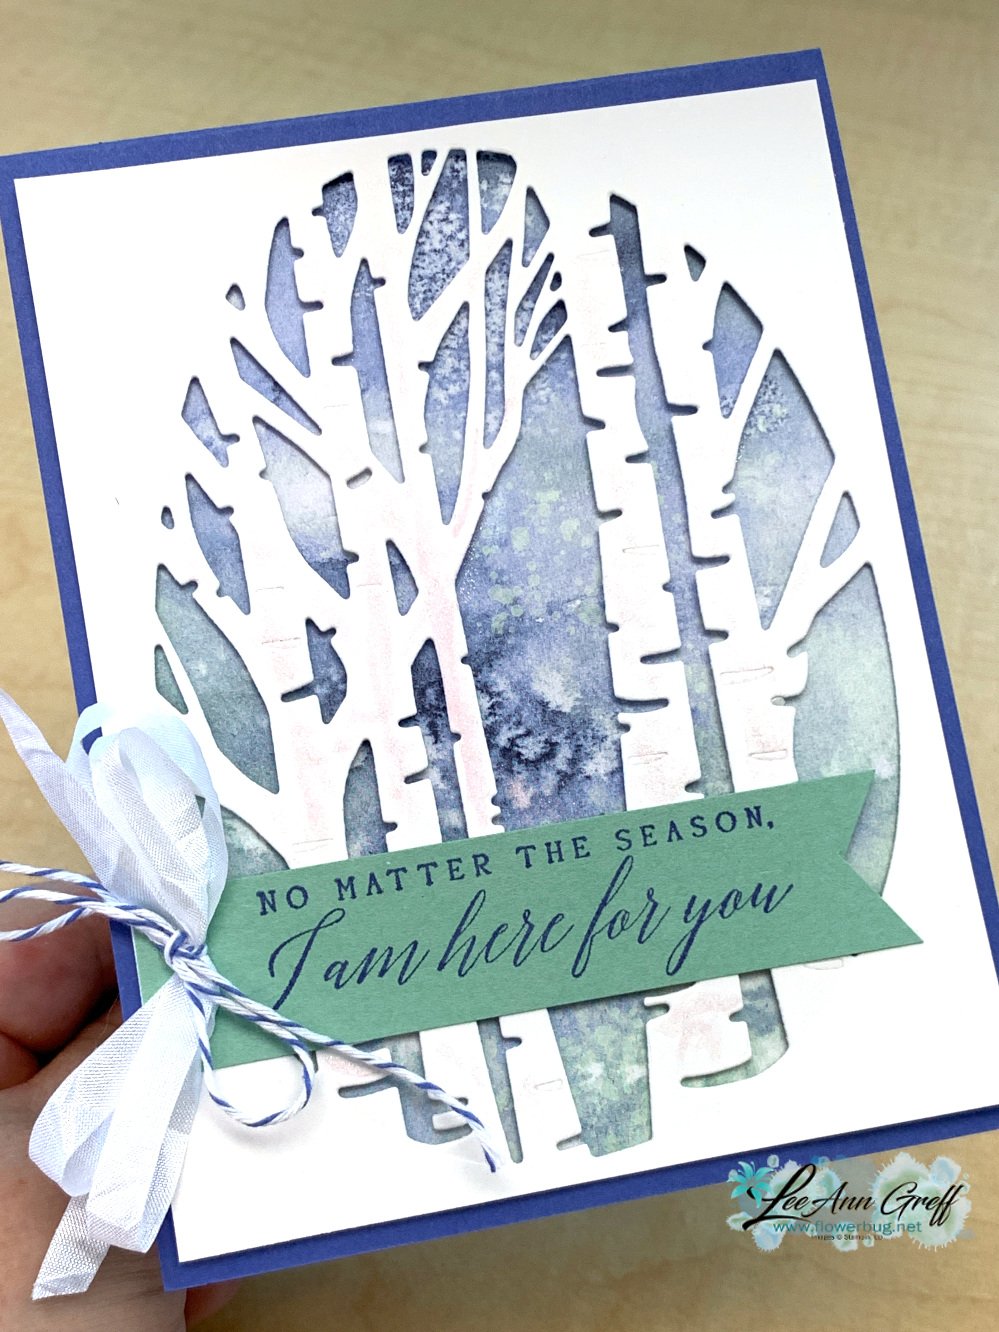
    I can't stop using the Aspen dies!  I absolutely love this tree die-cut!  

    Did you know these dies are free during August with our Sale-a-Bration promotion?  Any $100 Stampin' Up! order and they're yours free! 

    I created this card on last week's FB Live video.  You can watch it here.  

    For the card front, I simply added a layer of the Rings of Love DSP behind it for a soft background.  You can keep it this simple or create your own background!  

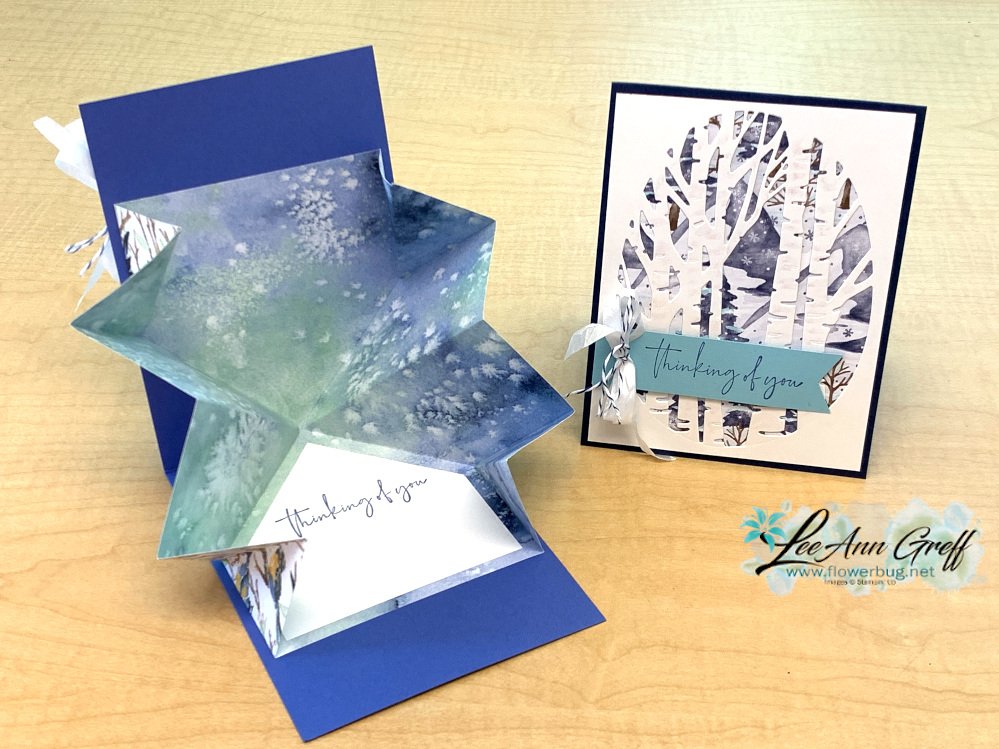
    However I made the inside of the card extra special with an Explosion fold. These look so difficult to do but honestly they're not!  Please watch the video; afterwards you'll want to make one!

    The left card has the Rings of Love DSP and the card on the right features the Storybook Gnomes designer paper.  For greetings I used the Soft Seedlings & Perched in a Tree stamp sets.  

    I also shared an easy ribbon trick in the video; if you have trouble with bows I hope you watch.  

    Measurements: 

    • Card base 4 1/4" X 11" scored at 5 1/2"
    • DSP – 3 7/8” X 5 1/8”, inside is 8” square
    • Greeting strip 1” X 4”
    • White 4” X 5 ¼” & inside is 3 ½” square


    Get the details & see my other 2 cards in the video below:

    ~~~

    August Specials

    Get free items here in August during Sale-a-Bration! 


    Host code: YFR367QW


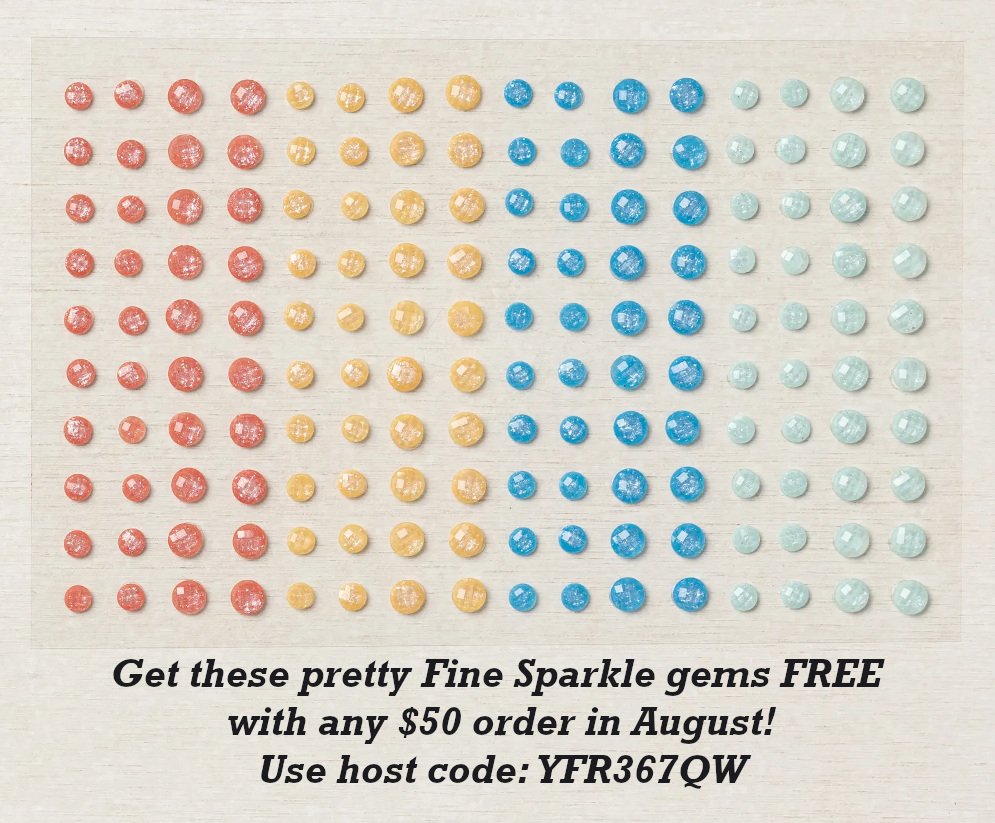
    Get these pretty gems free! *click here to order 

    Earn free products with my loyalty rewards! 

    Click here to download yours and earn a $50 shopping spree!

    Leave a Reply

    Your email address will not be published. Required fields are marked *

  • Stamparatus ‘Step’ technique with Amazing Phrasing set


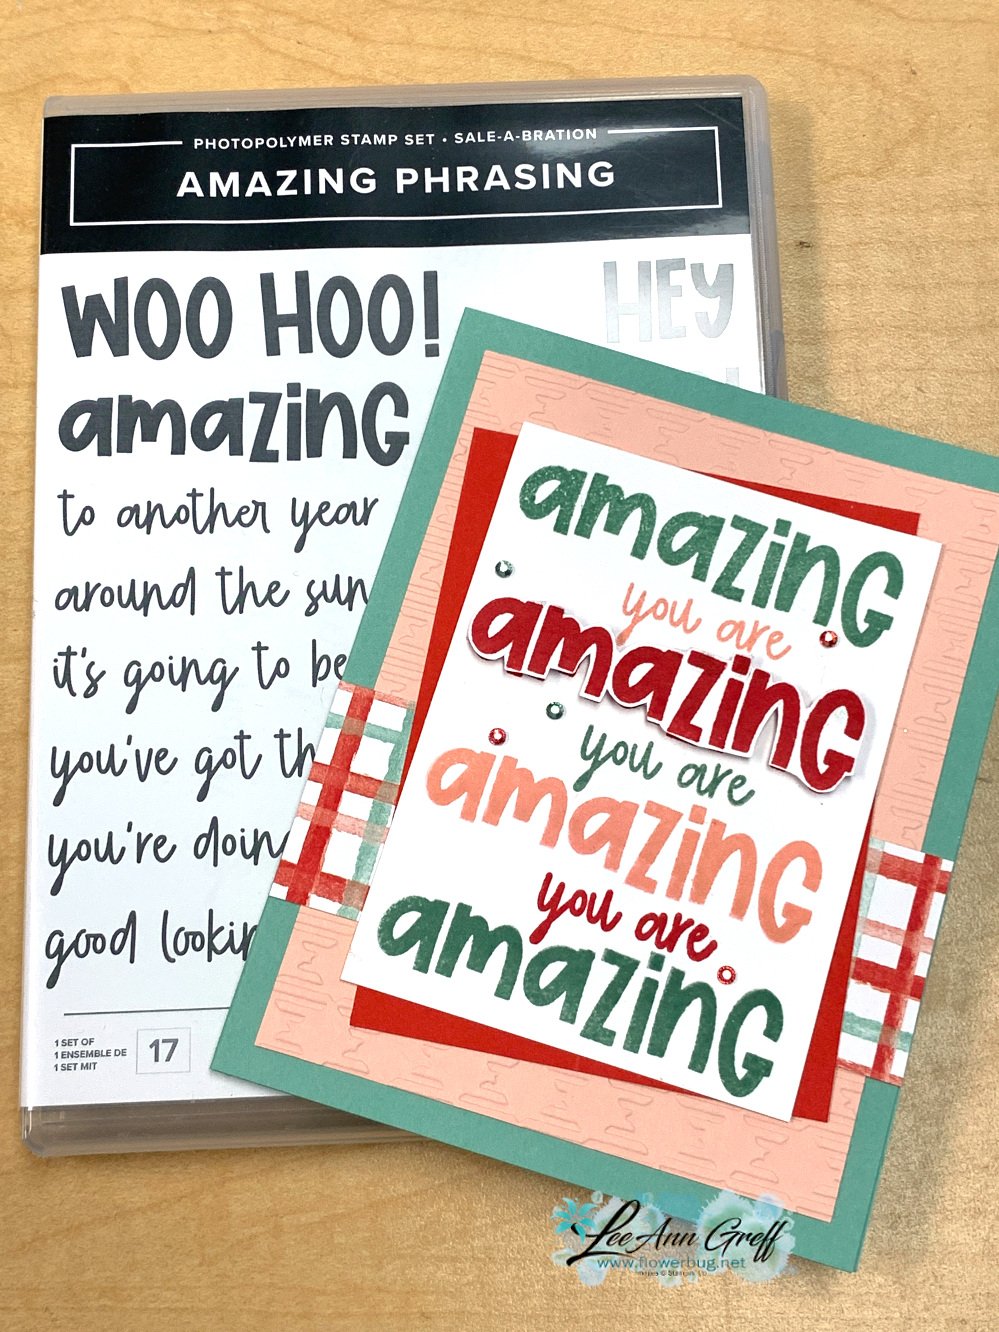
    I played with the Rings of Love DSP on this week's FB Live and this is one of the cards I made.  It's so bright & cheery!

    I wanted to really show off the fun phrases you can create from the Amazing Phrasing stamp set seen here. I used just a bit of my favorite pattern in the Rings of Love DSP seen here.  That was my inspiration for the colors – Mint Macaron, Poppy Parade & Petal Pink.  

    In the video I show you how easy it is to get the images stamped perfectly in place.  It is quite simple yet crazy cool!  

    I did stamp the 'amazing' one extra time and fussy cut it to pop it up on the card front.  I also colored a few rhinestones with Blends markers to add some coordinating sparkle.  

    The Rings of Love DSP is free with any $50 order and the Amazing Phrasing stamp set is free with a $100 order.  I love Sale-a-Bration!!

    Get the details & see my other 2 cards in the video below:

    ~~~

    August Specials

    Get free items here in August during Sale-a-Bration! 


    Host code: YFR367QW


    Get these pretty gems free! *click here to order 

    Earn free products with my loyalty rewards! 

    Click here to download yours and earn a $50 shopping spree!

    Leave a Reply

    Your email address will not be published. Required fields are marked *

  • Sweet Songbird candy nest box – a cute & easy project!


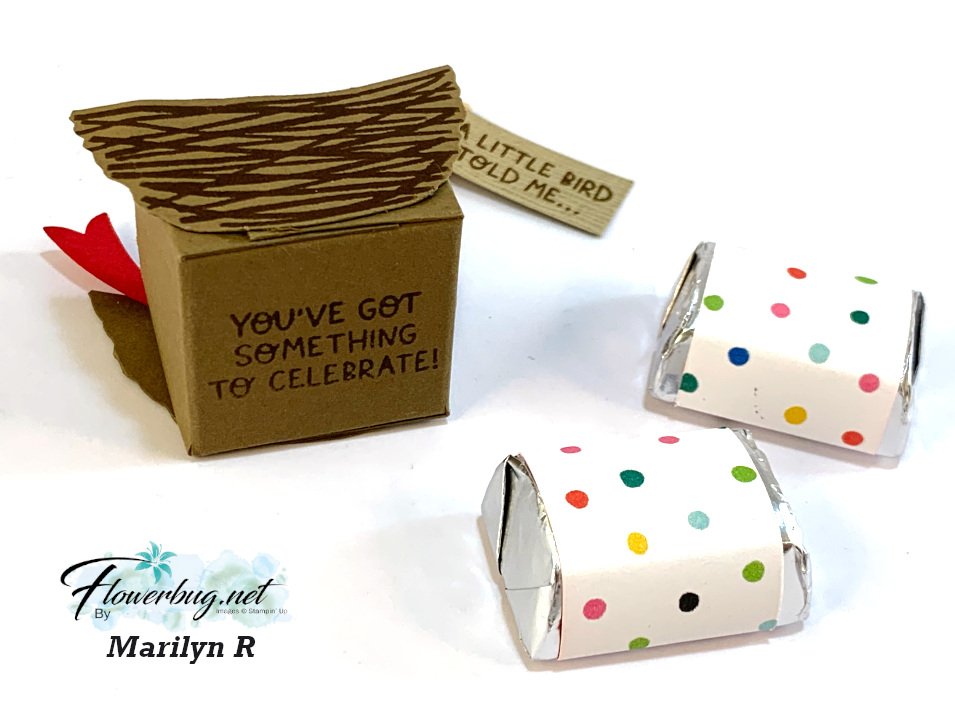
    Marilyn brought this adorable little treat basket to our Flowerbug's Team gathering a few months ago.  I can't believe I haven't shared it here yet! 

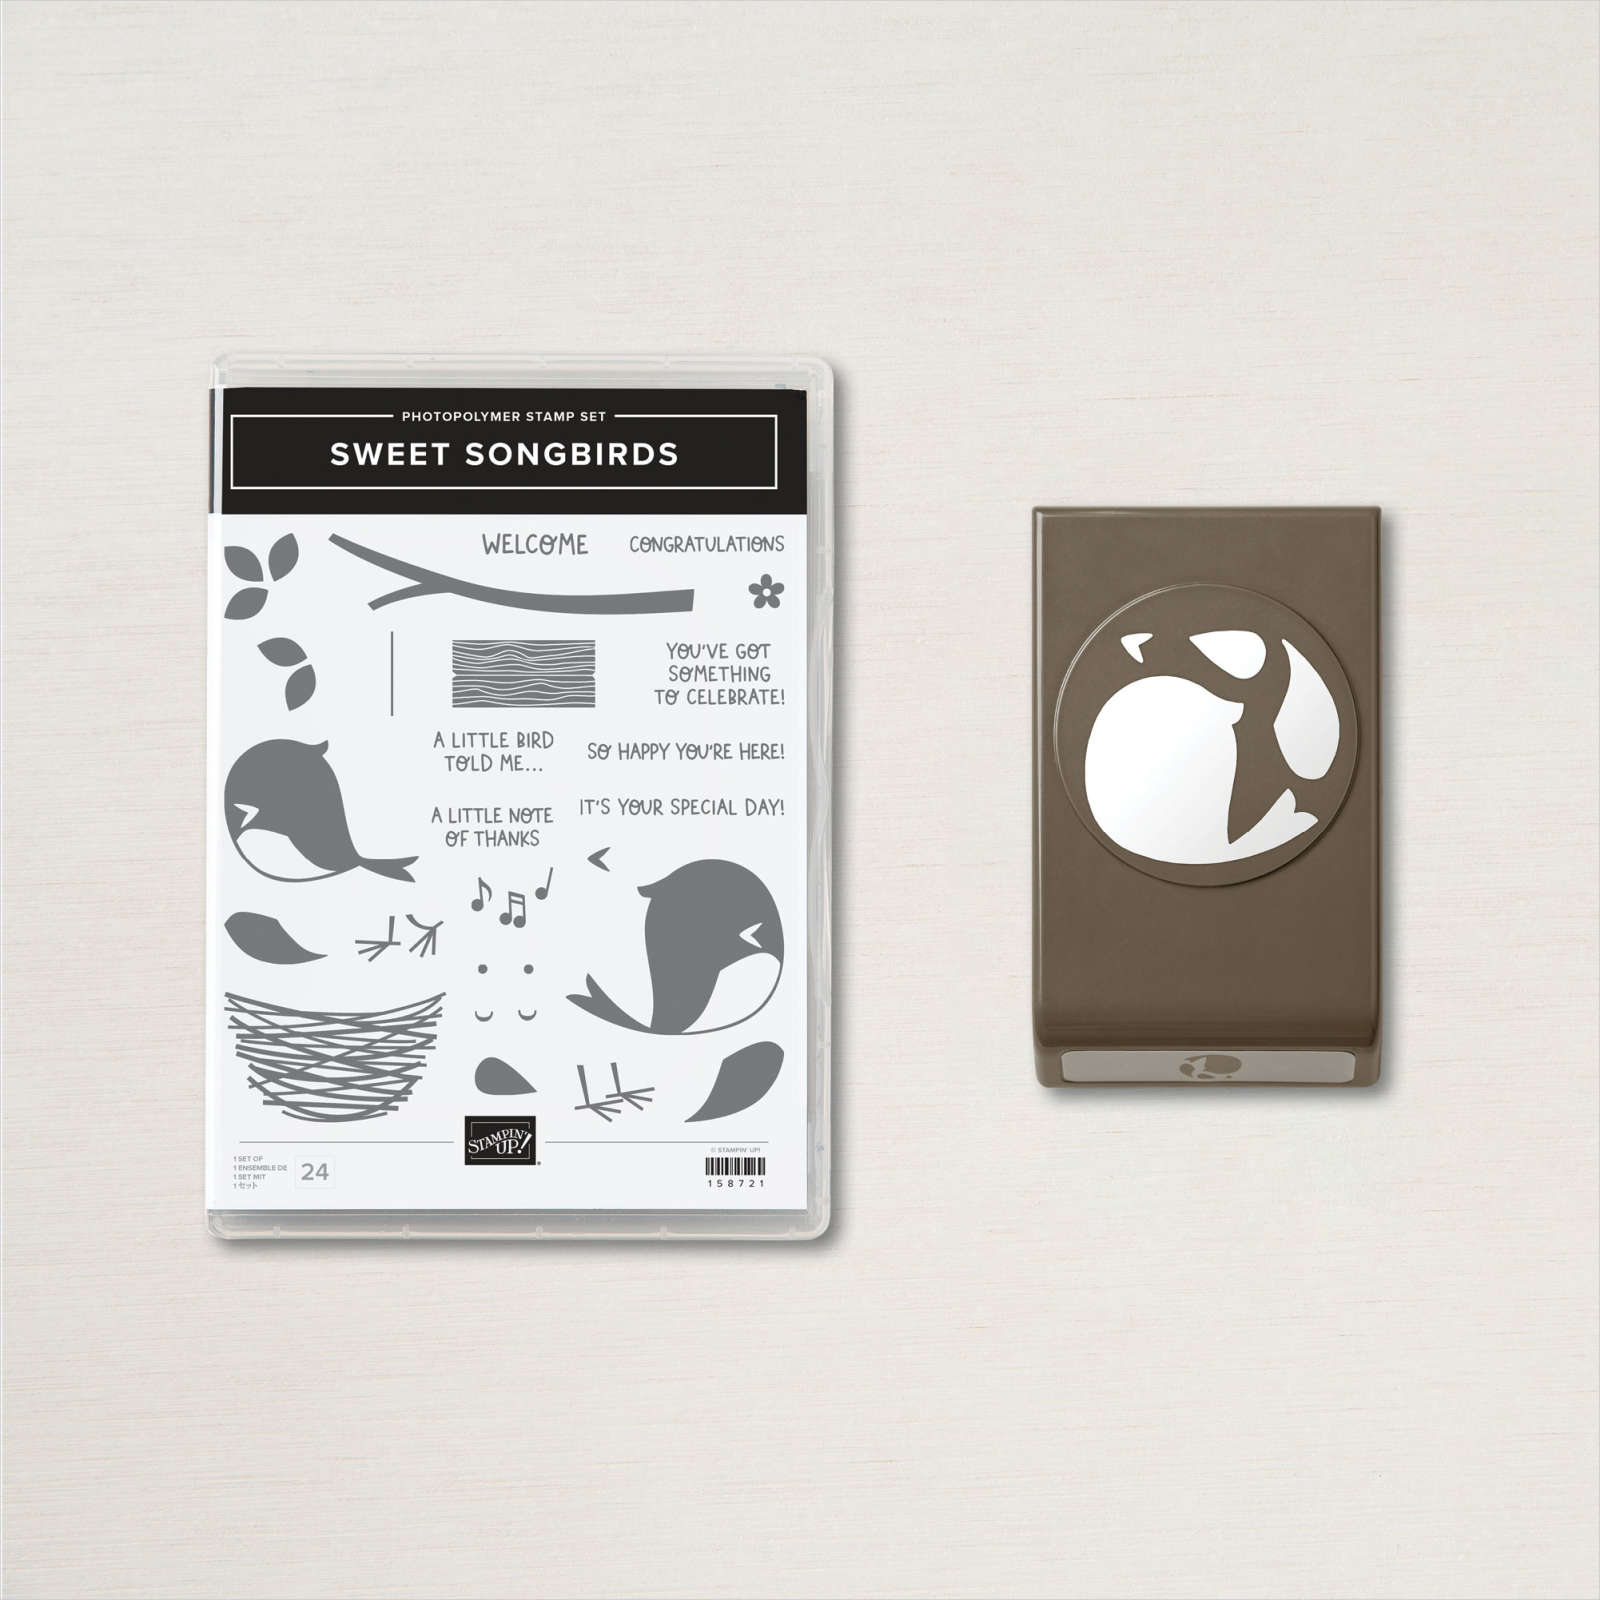
    She used the Sweet Songbirds stamp set & punch bundle to make it.  See this bundle here. 

    Isn't it cute!?  She stamped the nests in Soft Suede ink onto Soft Suede card stock and fussy cut them out – one for the front and one for the back. 

    The box is made with a 3 1/4" square of Soft Suede card stock. Score at 1" on all sides. Cut up on four of the score lines to form your box.  Glue the 2 fussy cut nests on the front & back. It fits a few wrapped chocolates inside.  

    *Tip; before you form your basket, stamp a greeting on the bottom panel if you wish.  Smart! 

    She stamped the greeting on a strip of Crumb Cake card stock and curled it around a toothpick. It's glued behind the bird. 

    The bird is punched using the Bird Builder punch from Real Red card stock.  She sponged around the edges slightly to accent the wing etc.  The belly is in White and is also punched out.  

    It's just the sweetest little treat!  Thank you Marilyn!

    ~~~

    August Specials

    Get free items here in August during Sale-a-Bration! 


    Host code: YFR367QW

    Please use the host code when ordering: YFR367QW

     *click here to order 

    Earn free products with my loyalty rewards! 

    Click here to download yours and earn a $50 shopping spree!

    Leave a Reply

    Your email address will not be published. Required fields are marked *


Notice: LeeAnn Greff, Independent Stampin’ Up! Demonstrator, Manager. The content of this website is my sole responsibility as an independent Stampin’ Up! demonstrator and the use of, and content of, the classes, services, or products offered on this website is not endorsed by Stampin’ Up! Copyright 2025