/


Latest Post

Birthday ‘Tackle’ Treat box with video tutorial & measurements!


I was so inspired by the 'Tackle' box Candace created for her 'Artist of the Month' projects I had to try making one.  She made hers with the Gone Fishing suite.  And she made this project up herself – she's incredible with box designs!  I decided to recreate it on a video and share it with you.  
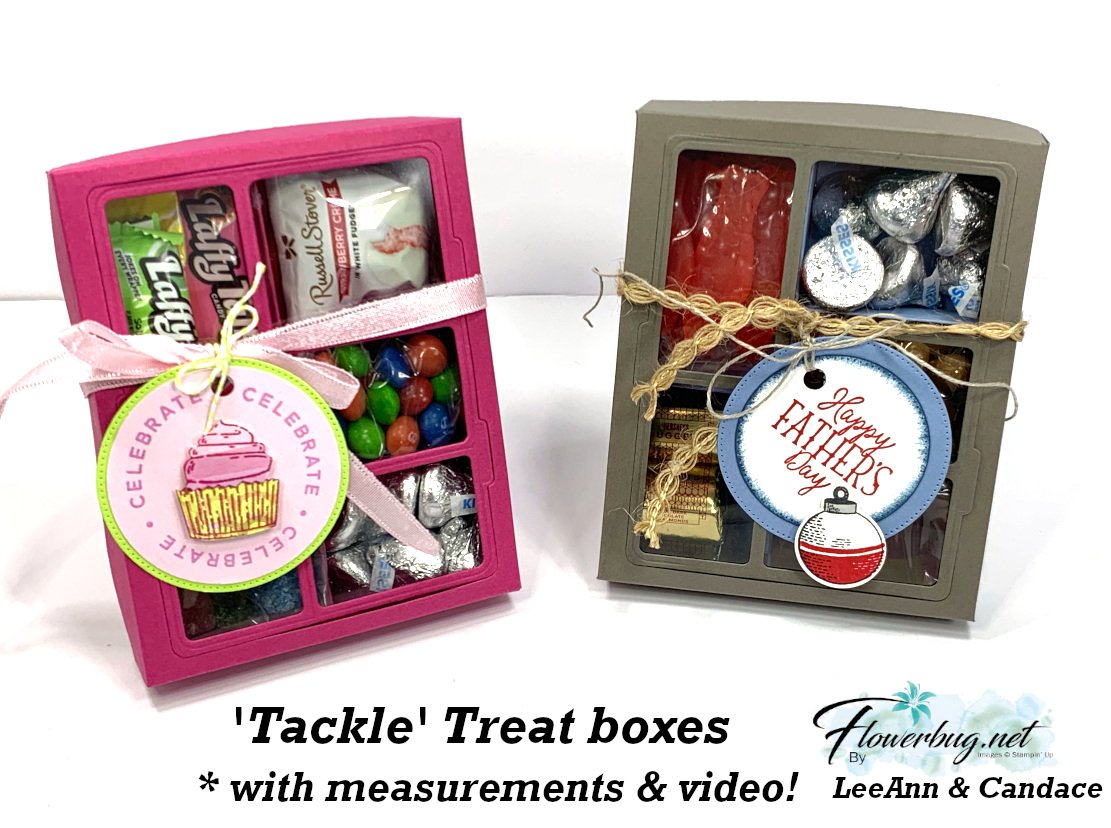
Isn't it amazing? I thought it would be really challenging to make, but with her box as my starting point it wasn't bad at all. And the Gone Fishing dies make the 'window' front a breeze. 

I chose to use Berry Burst as my box color because I wanted it to be bright and happy for a Birthday gift.  I went to the dollar store and found some fun candy treats to add. I put the loose candies in small baggies I had on hand. 

The box is quite easy to put together. After scoring the box lid, be sure to die-cut the 'window' using the Gone Fishing die.  Then you adhere it to a window sheet and add to the inside front of the box lid. 

I notched the tabs before adhering. 
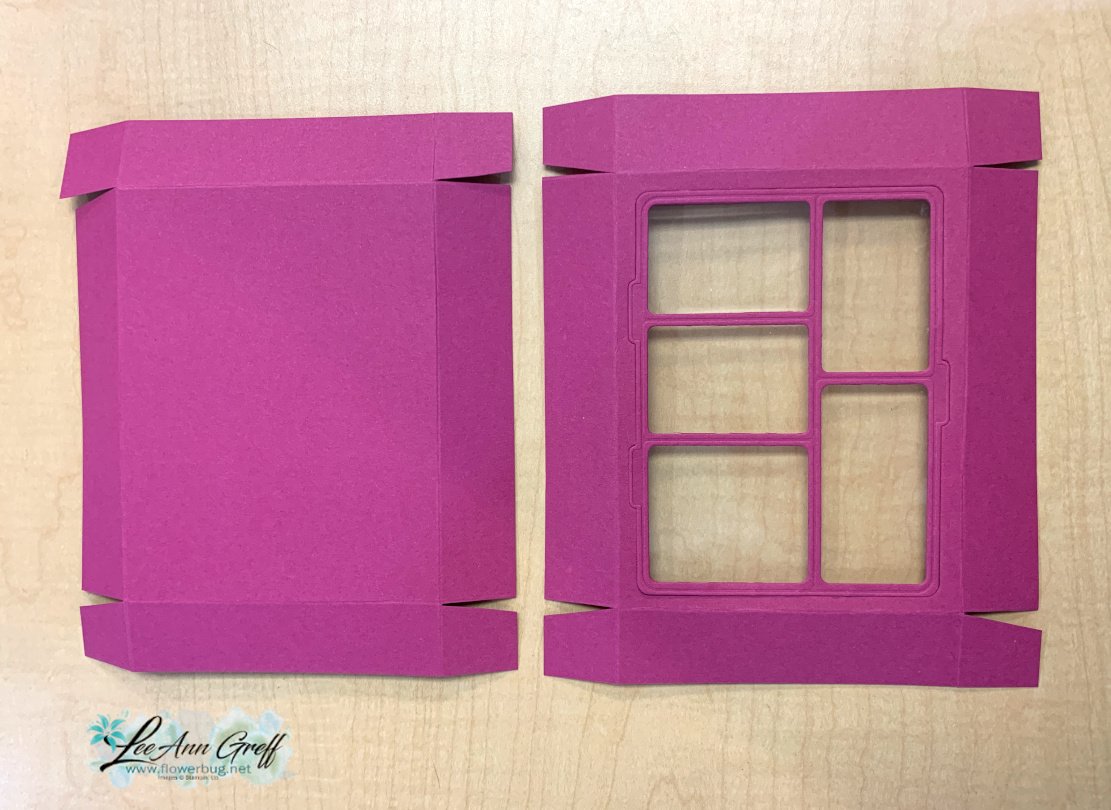
  • top of box 6 1/4 X 7 1/2" score 1" on all sides
  • bottom of box 6 1/8" X 7 3/8" score at 1" on all sides
  • window sheet 4 1/8" X 5 1/4" 
  • left inside divider (two compartments) is 1 7/8" X 6 3/4" score at 2 3/4", 3 1/2" & 4 1/4" 
  • right inside divider (three compartments) is 2 1/8" X  8 1/4" scored at 2", 2 3/4", 3 1/2", 5 1/8", 5 7/8" & 6 5/8" 
  • inside bottom – add under the two divided sections; 5 1/4" X 5 5/8" score at 1 7/8", 2 5/8" & 3 3/8".  (It's shown vertically in the photo below)

Watch the video to see how these sections go together.   

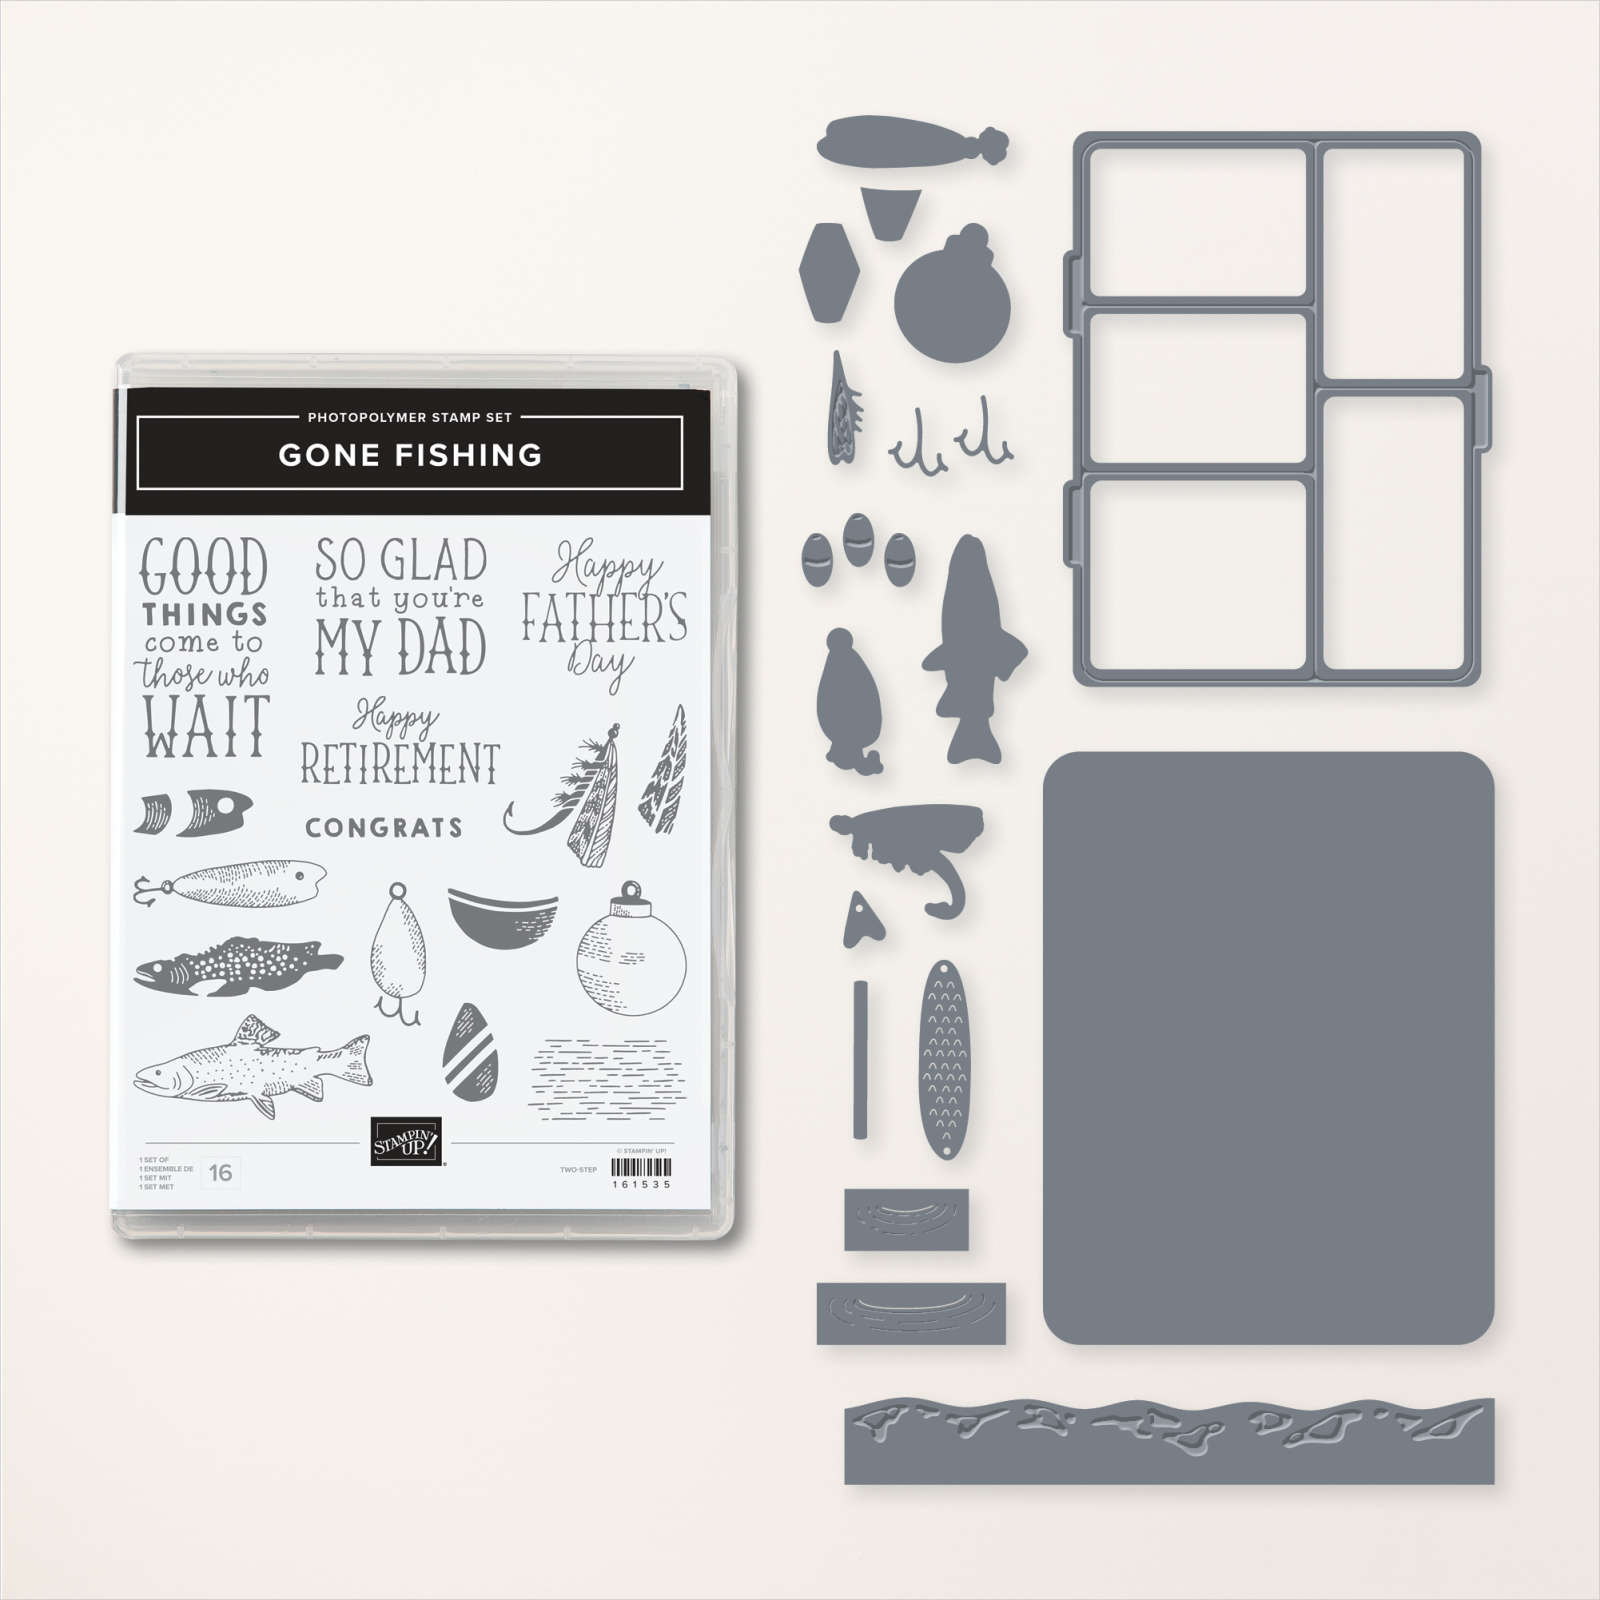
You can see the Gone Fishing bundle here.  *They're currently out of stock but should be back in late August. 
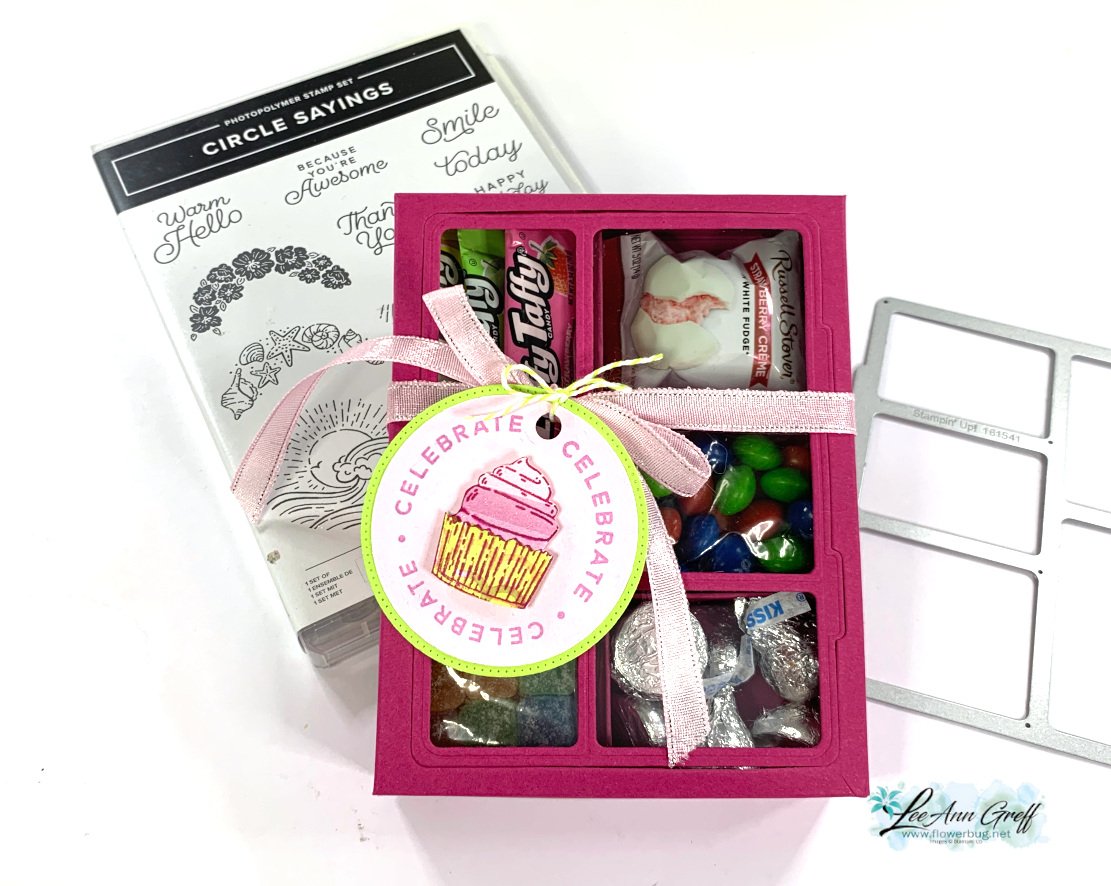
I chose the Circle Sayings bundle for my greeting tag. *see it here It's quite a versatile set and pairing it with the coordinating 2 2/8" circle punch was so smart of Stampin' Up!  *I added a die-cut stitched Lemon Lime Twist circle from the Stylish Shapes dies.
 

You can watch the video on this project here.  It's the last project. Or click on the photo below to watch it below.  *Remember to follow me on either my FB page here (Tuesday Live videos) or my YouTube channel here. 

~~~

July Specials: 

Bonus Days!

Get a $5 coupon for each $50 order you place in July.  Use the coupon in August!

 

Clearance Rack update!

See all items available here

 NEW Online Exclusives will be available

See them all here

~~~

Plus my monthly special for online orders:

Get a free card kit & a new Beautifully Happy stamp set 

with online orders over $65; must use a host code.

 *current host code: MY4YDGEM
All Posts

  • Get all 5 New Magnetic Ink Pads FREE in May!


    During May you can grab the Starter Kit deal where you get to choose from either the 5 new In Color ink pads or an extra $35 in free product.

    There are so many benefits to joining as a Stampin’ Up! Demonstrator.

    First of all you get 20-25% off all future SU purchases.
    Second is a favorite of many – you can see and pre-order new products before anyone else.
    Third – be on my Flowerbug’s Team! We have a wonderful group of talented, kind and sharing people!

    Thinking about joining my team? New demonstrators now get 50% off their first Paper Pumpkin kit—which is a great way to try this monthly crafting subscription! It’s just one of the perks of getting started.

    Click here to get this deal!

    Enjoy the discount while you can. Or make a little money on the side while enjoying your hobby!

    Leave a Reply

    Your email address will not be published. Required fields are marked *

  • How to make the embossing folder the star of your card; with video!


    I shared a few ways to highlight the texture on your 3D embossing folders on last week’s video. I shared the cards I created with the 5 new In Colors and how it’s done.

    This is the Floral Spray 3D embossing folder seen here. It’s currently out of stock unfortunately. Please put your name on the list to be notified when it’s back.

    Steps: I textured the CS first. Then rubbed my Craft White ink pad over it lightly. It catches on all the pretty raised areas, highlighting them beautifully. This can take some practice and I recommend you ink pad not be fully inked.

    I wrapped matching In Color ribbons across the cards and added a greeting. So simple but stunning in person.

    The greeting die-cuts are from the Scalloped Blooms dies seen here. The greetings are from the Opulent Oasis & Balloon Festoon stamp sets.

    Of course this technique; I’m calling it ‘white-washing’ shows up best on darker card stock. Here’s one I did with the Fern & Flora embossing folder seen here:

    This is our new Peaceful Pine in color. The greeting tag is from the new Classic Labels Mix & Match ephemera seen here. Love these pretty White labels!

    Below is the video tutorial with tips for success on this technique.

    I still have a few Mystery Boxes left! It’s a buy one get two free deal! Each box is valued at over $200 and is shipped to you FREE when you place a $100 order from me (before tax & shipping).

    Be sure to grab a Product of the Month once your order is over $75.

    Leave a Reply

    Your email address will not be published. Required fields are marked *

  • Beautiful Scenic Coast swap card


    Look at this beautiful Scenic Coast swap card made by Darla. Our Team swap theme was to use new product from the 2026 May-August catalog.

    She used multiple new products here. First is the Scenic Coast DSP seen here and the Sunset Coast bundle here for the main image. I love how she added yellow to the lighthouse and green to the hills. They are small itty pieces inserted in the die-cut windows. Wow!

    The background is Crisp Cantaloupe textured with the So Swirly embossing folder. The White ‘Thank You’ die-cuts are from the Words & Wishes dies seen here.

    Just plain stunning! And she is a very new swapper on my Team too! You did a wonderful job Darla!

    Thanks for stopping in today!

    I still have 4 Mystery Boxes left! Place an order today to redeem yours! Don’t wait!
    Go to ShopwithLeeAnn.com

    Leave a Reply

    Your email address will not be published. Required fields are marked *


Notice: LeeAnn Greff, Independent Stampin’ Up! Demonstrator, Manager. The content of this website is my sole responsibility as an independent Stampin’ Up! demonstrator and the use of, and content of, the classes, services, or products offered on this website is not endorsed by Stampin’ Up! Copyright 2025