/


Latest Post

Birthday card ideas you’ll want to case! Free project sheet too


On last week’s video I shared two birthday card ideas I know you’ll want to copy/case.
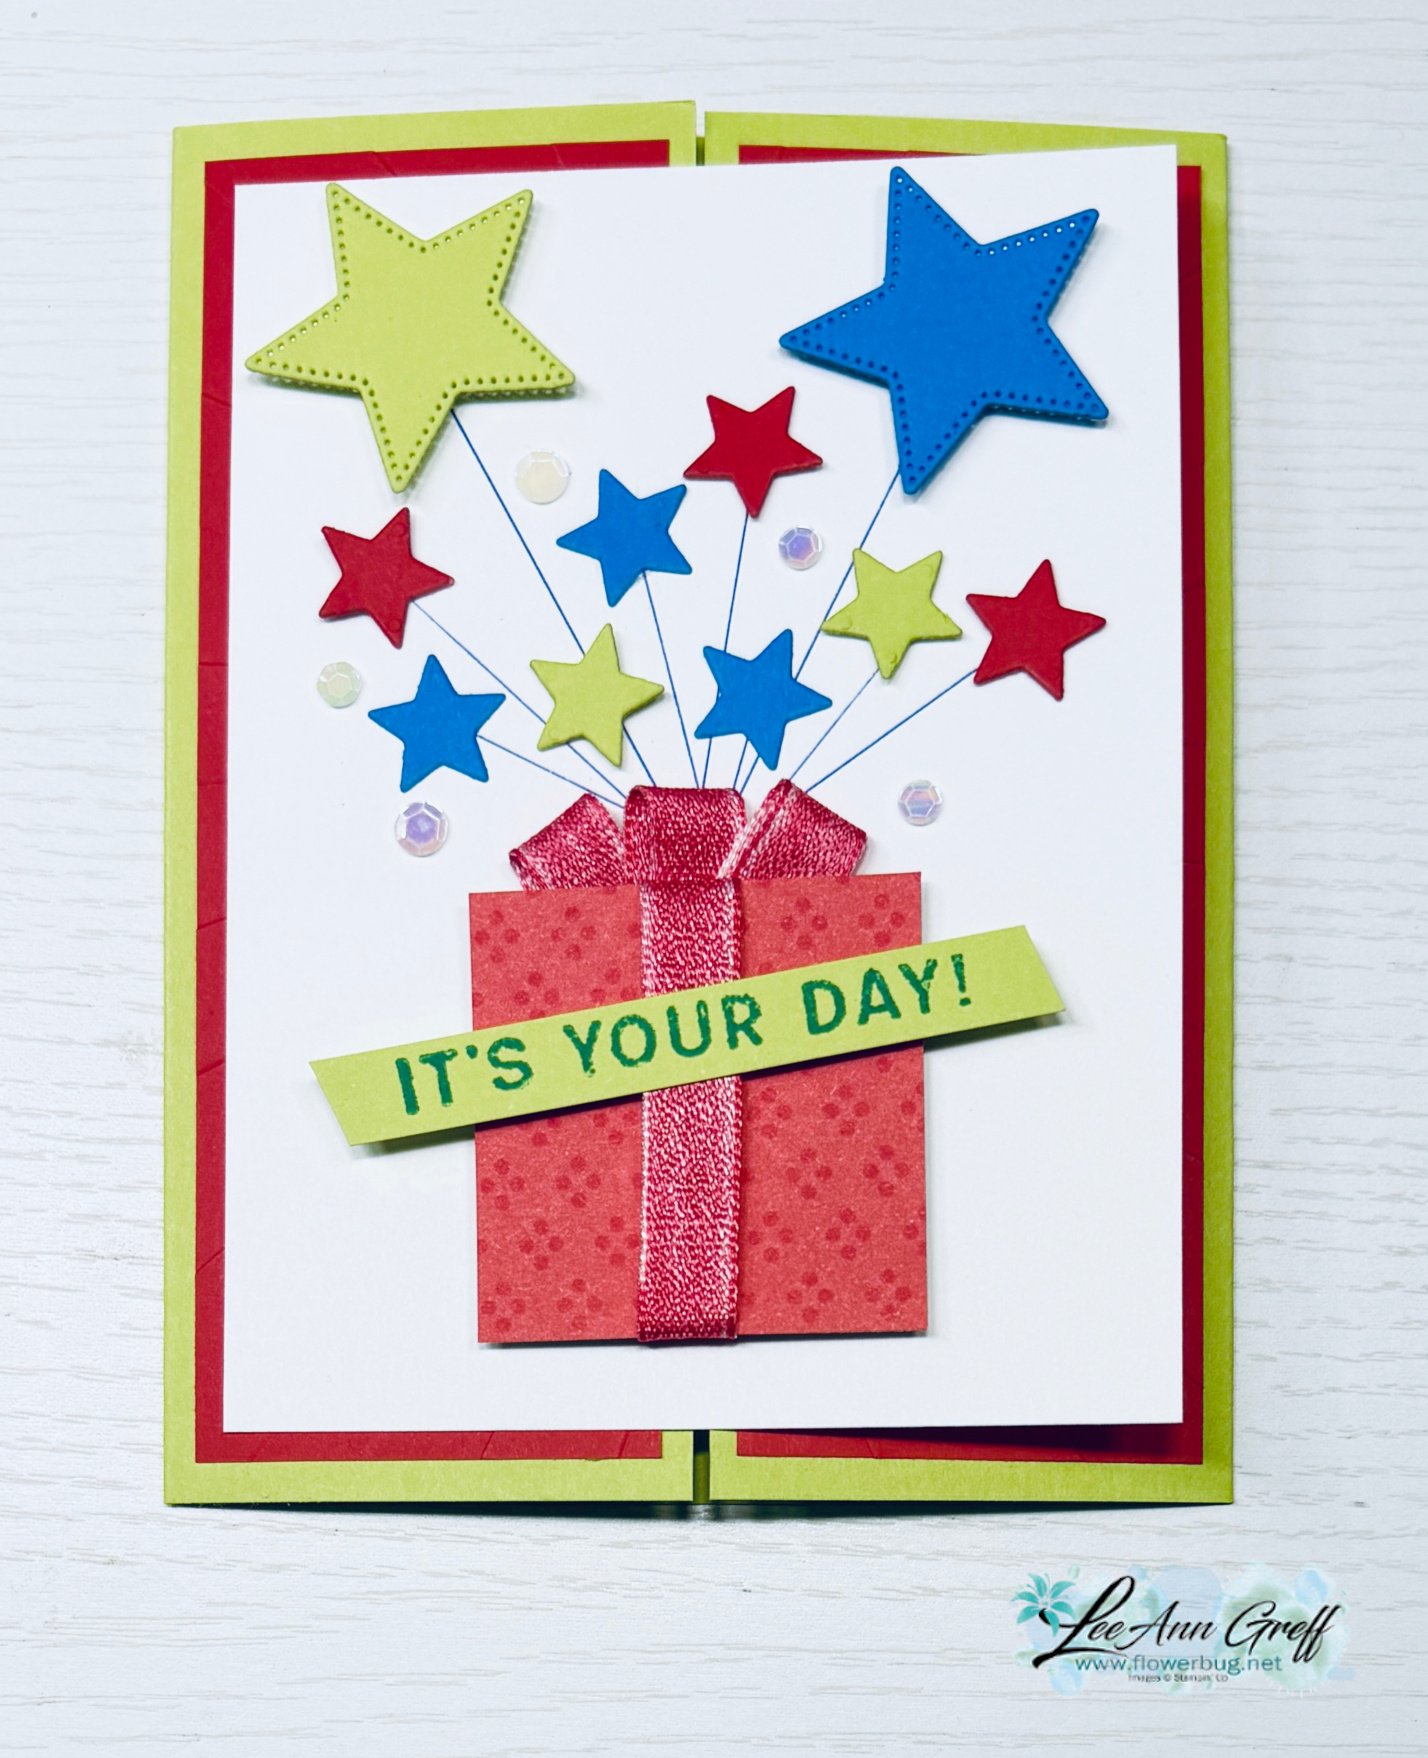
Isn’t this a great idea?! To create the present, I cut a small square of DSP and wrapped ribbon around it with a few loops at the top.

I drew lines from the top of the present for the star die-cuts. The Shining Stars dies worked perfectly. These dies just sold out! They were the product of the month for October; I’m surprised they lasted as long as they did.
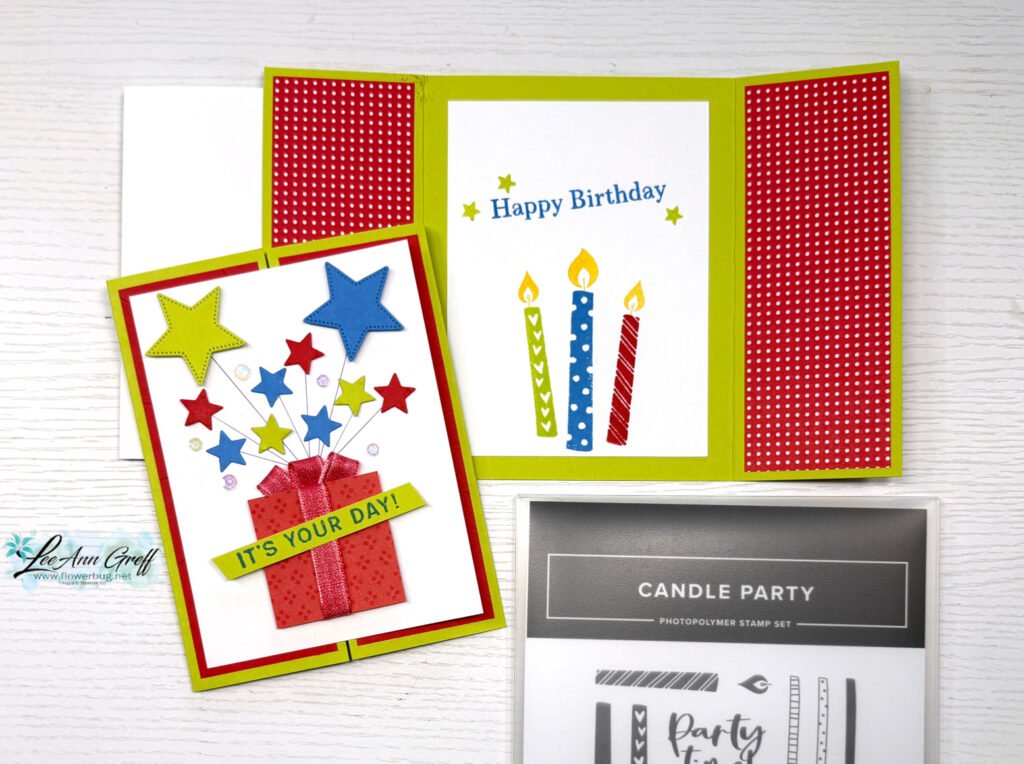
This card is a gatefold and the images are from the Candle Party stamp set seen here. It’s so cute! It does come with coordinating dies in the bundle seen here. My colors include Lemon Lime Twist with Azure Afternoon and Poppy Parade. The Designer paper inside is the Timeless Christmas.

I used a white ribbon on the gift but colored it with my Poppy Parade Blends marker. Perfect match!
This is a special and unique birthday card anyone would love to receive!

I did create a free project sheet for this card; click here to download or print it.
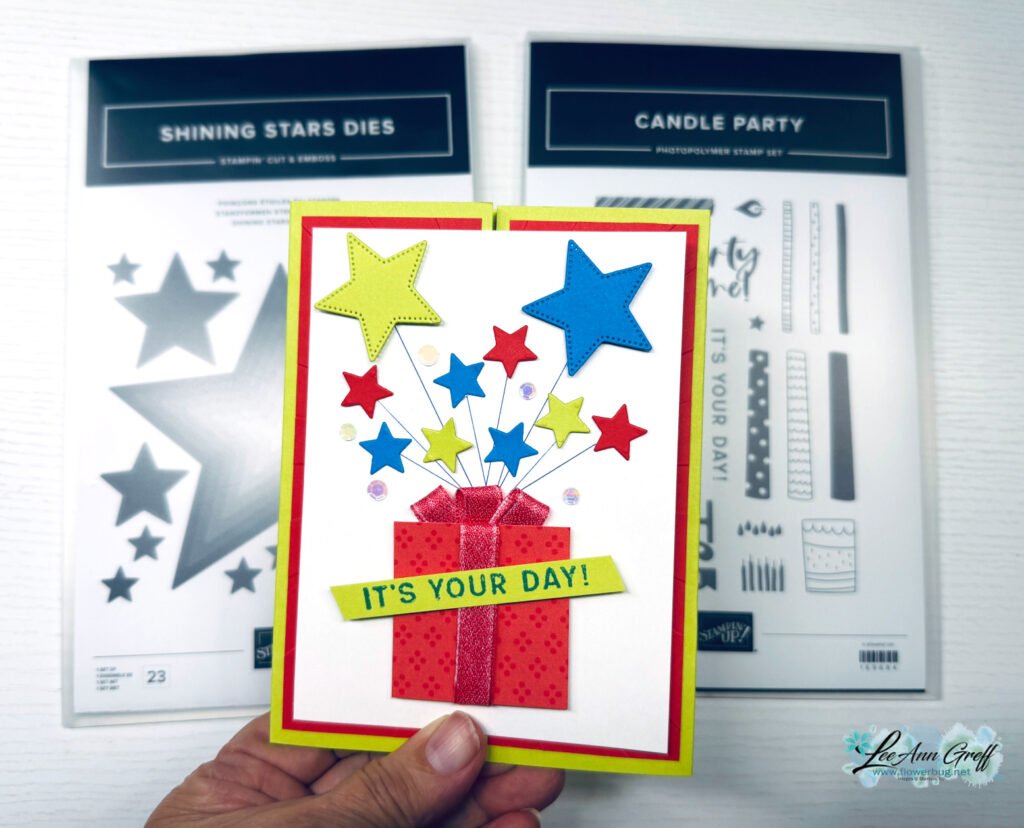
And below is the video tutorial for this card and one more fabulous idea using this stamp set and the Shining Stars dies.

November Specials:

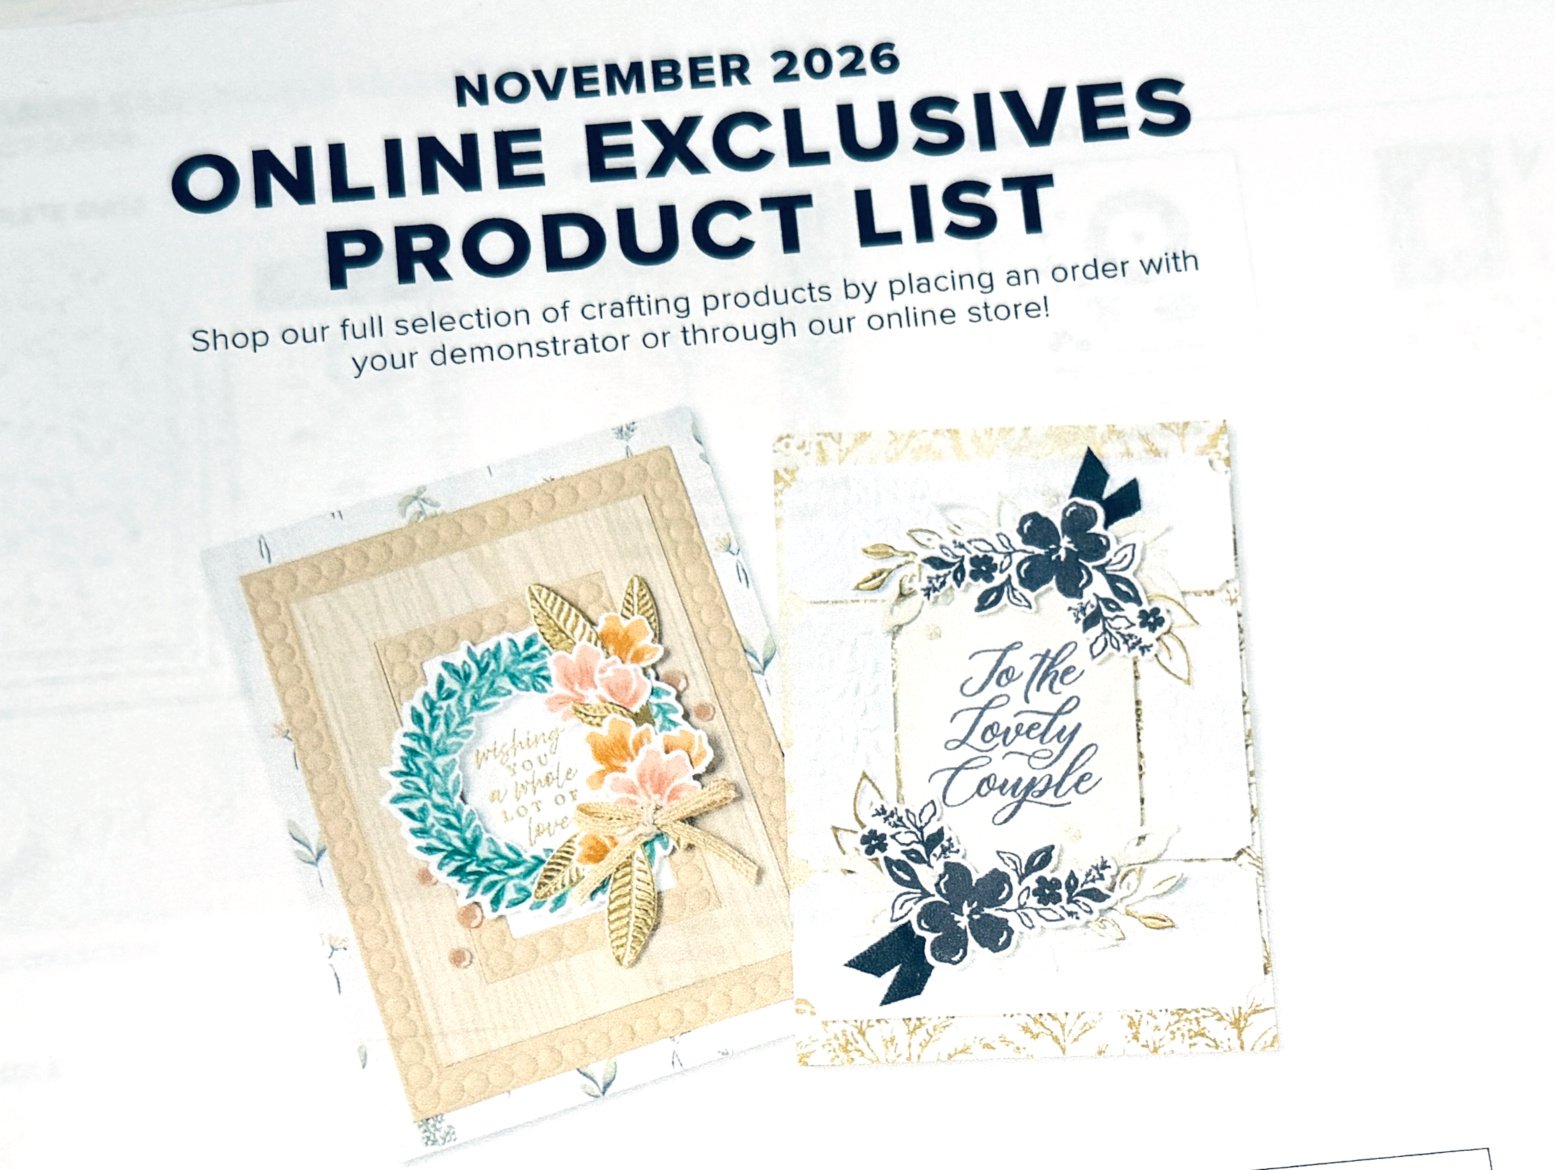
The November Online Exclusive products are now available! See them all here.
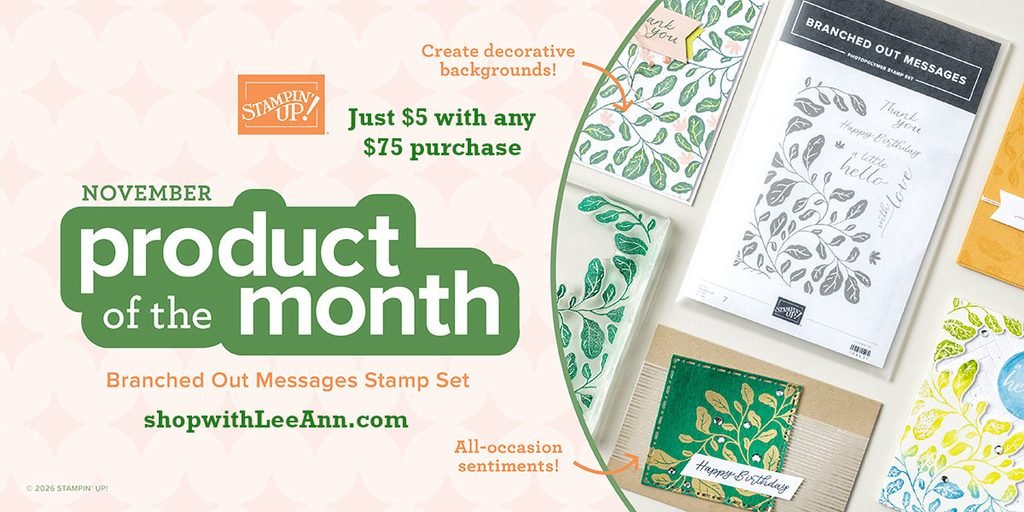
The newest product of the month is the Branched Out Messages stamp set; it’s just $75 with a $75 minimum order.
Get a free card kit from me with any order of $50 or more!
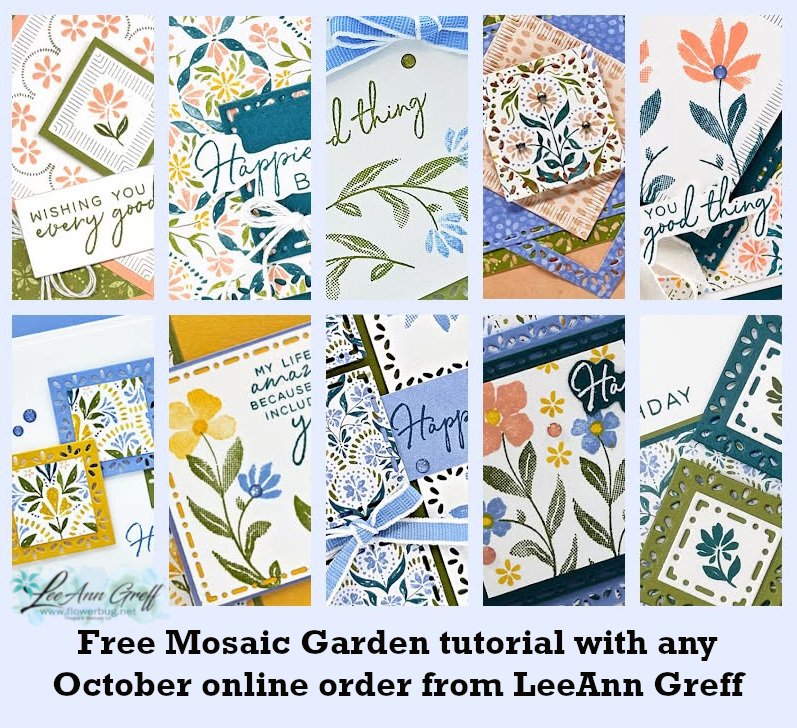
The Mosaic Garden suite is gorgeous! Get this PDF tutorial free with ANY online order!
All Posts

  • All Aflutter envelope-flap style card with free project sheet & video


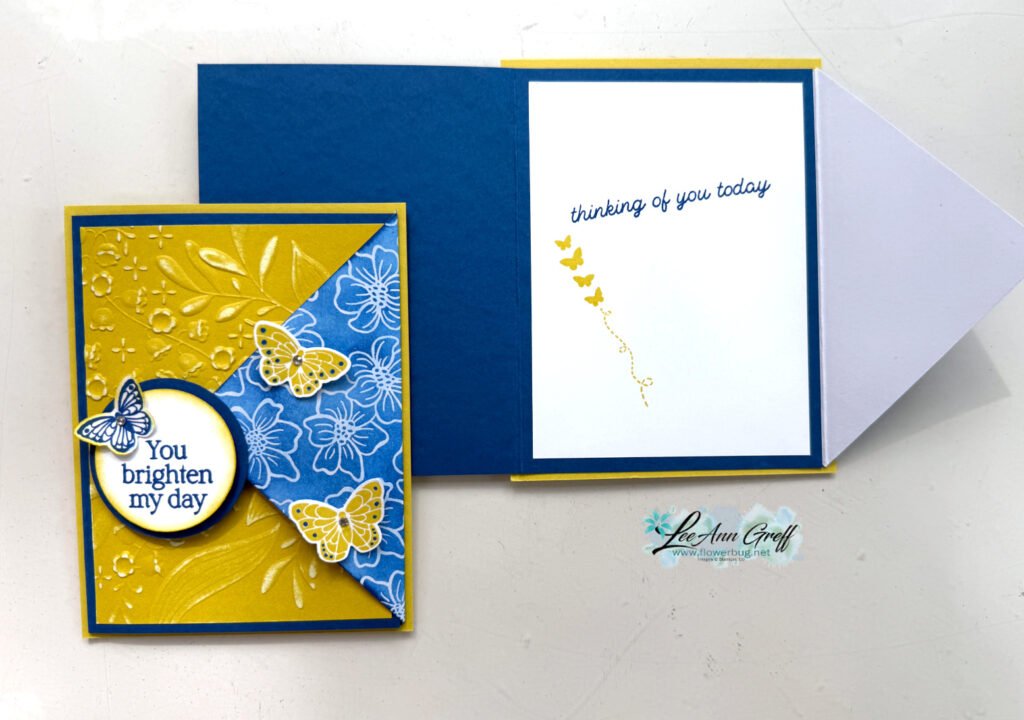
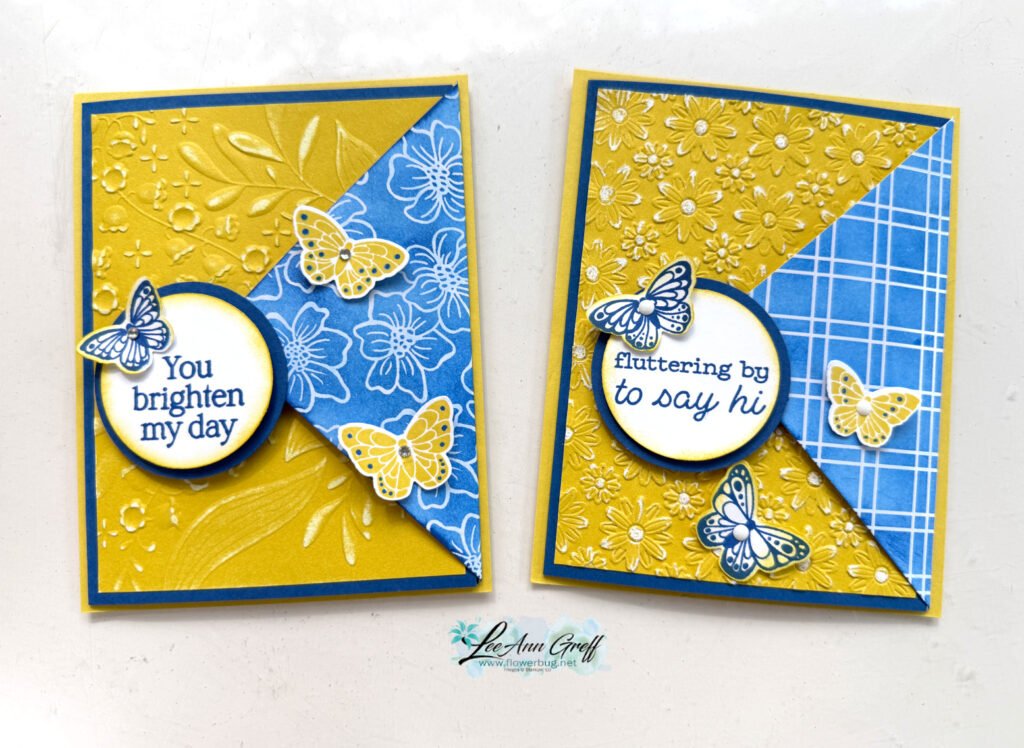
    This neat fun fold card was created for my June card clubs. I call it an envelope flap closure.

    My colors include Darling Duckling, Blueberry Bushel with White. Wonderfully bright for summer! I used quite a few products here so I’ll list them for you.

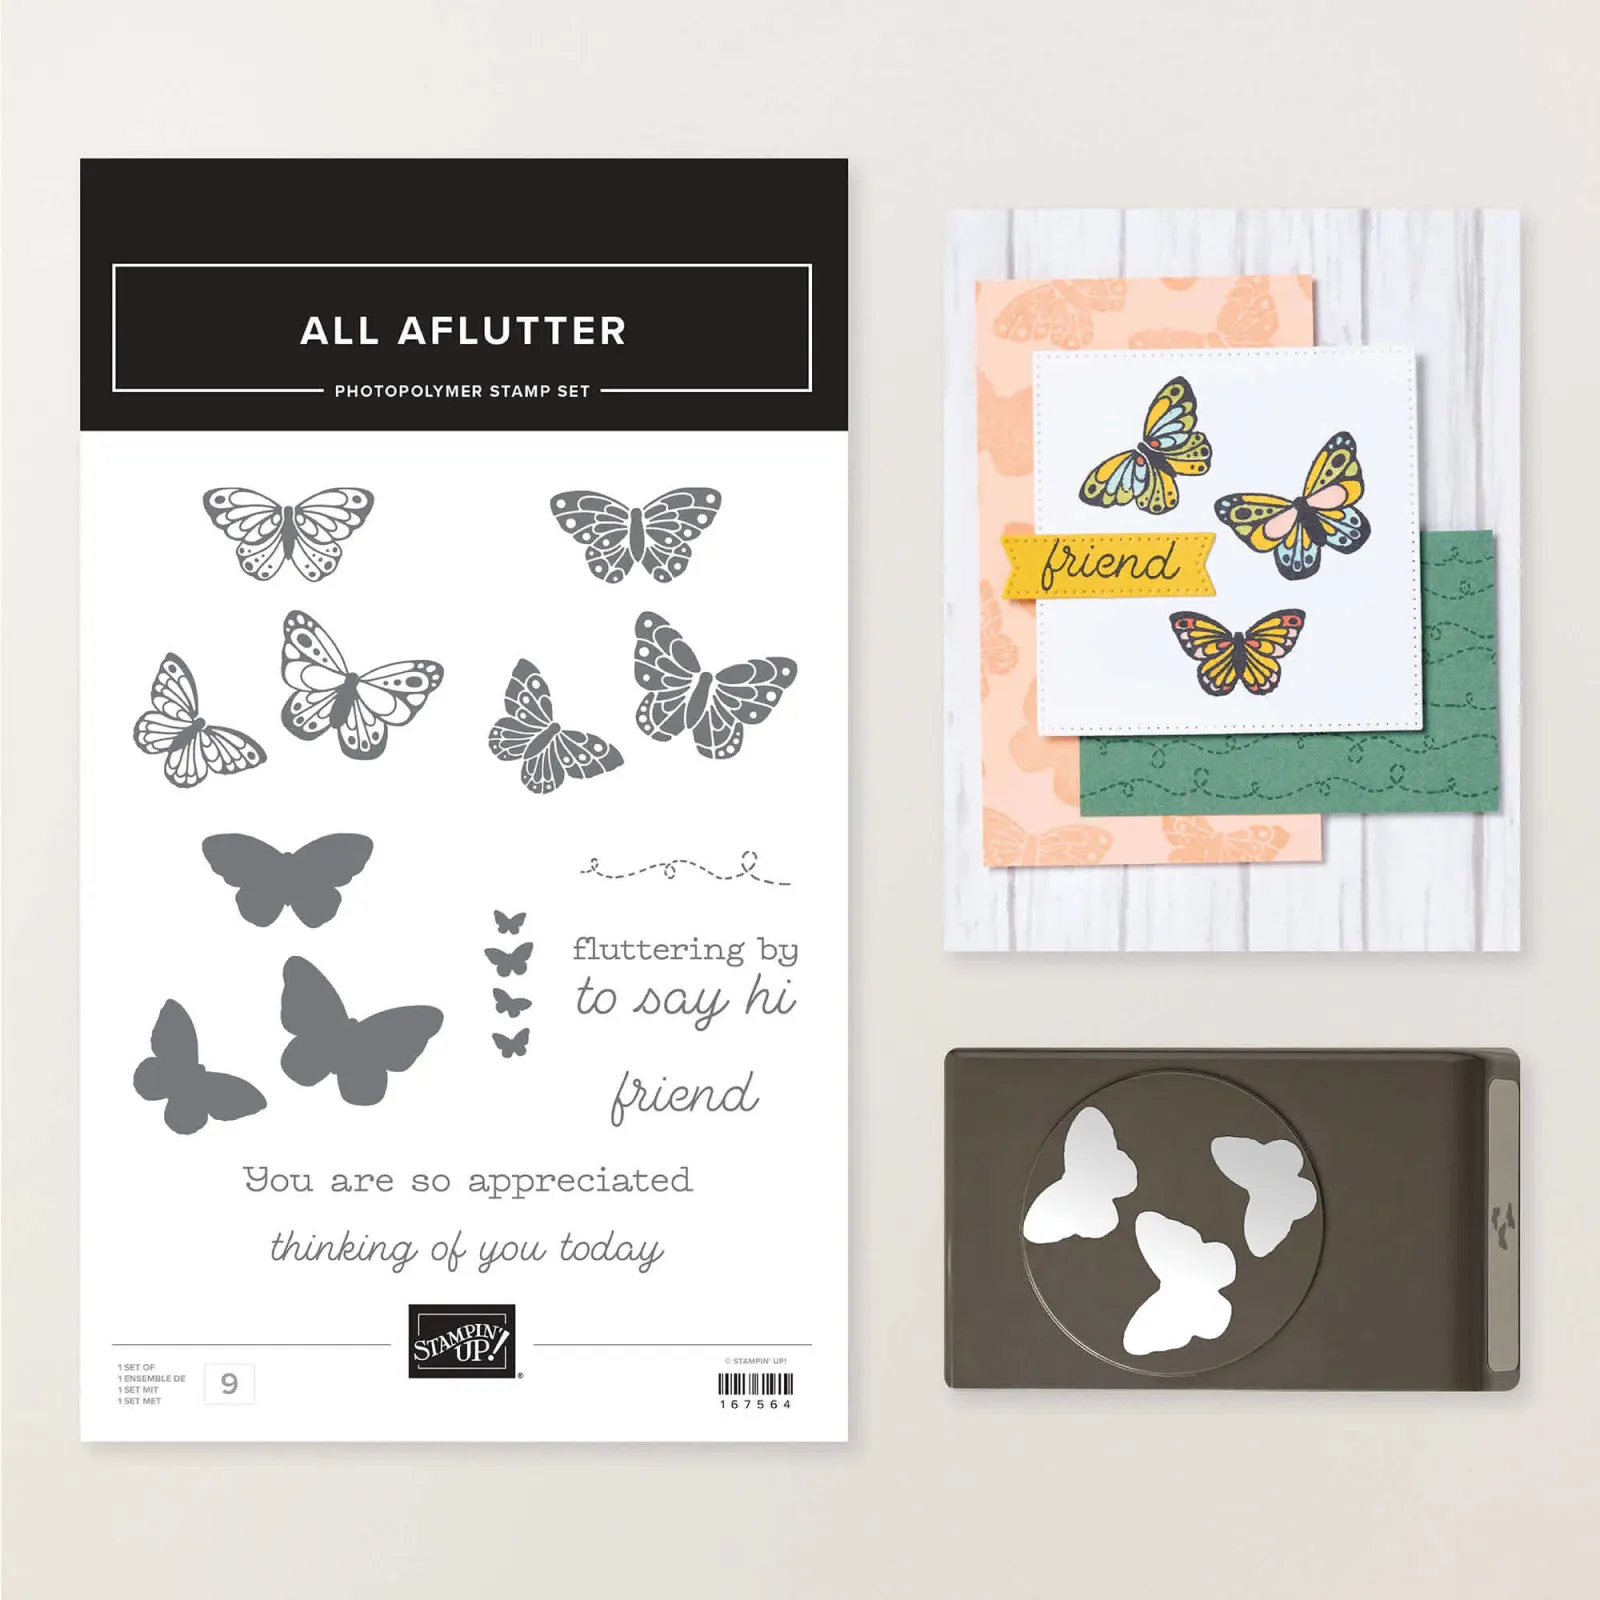
    • All Aflutter stamp and dies bundle seen here
    • Darling Duckling 12 X 12″ Two-toned card stock
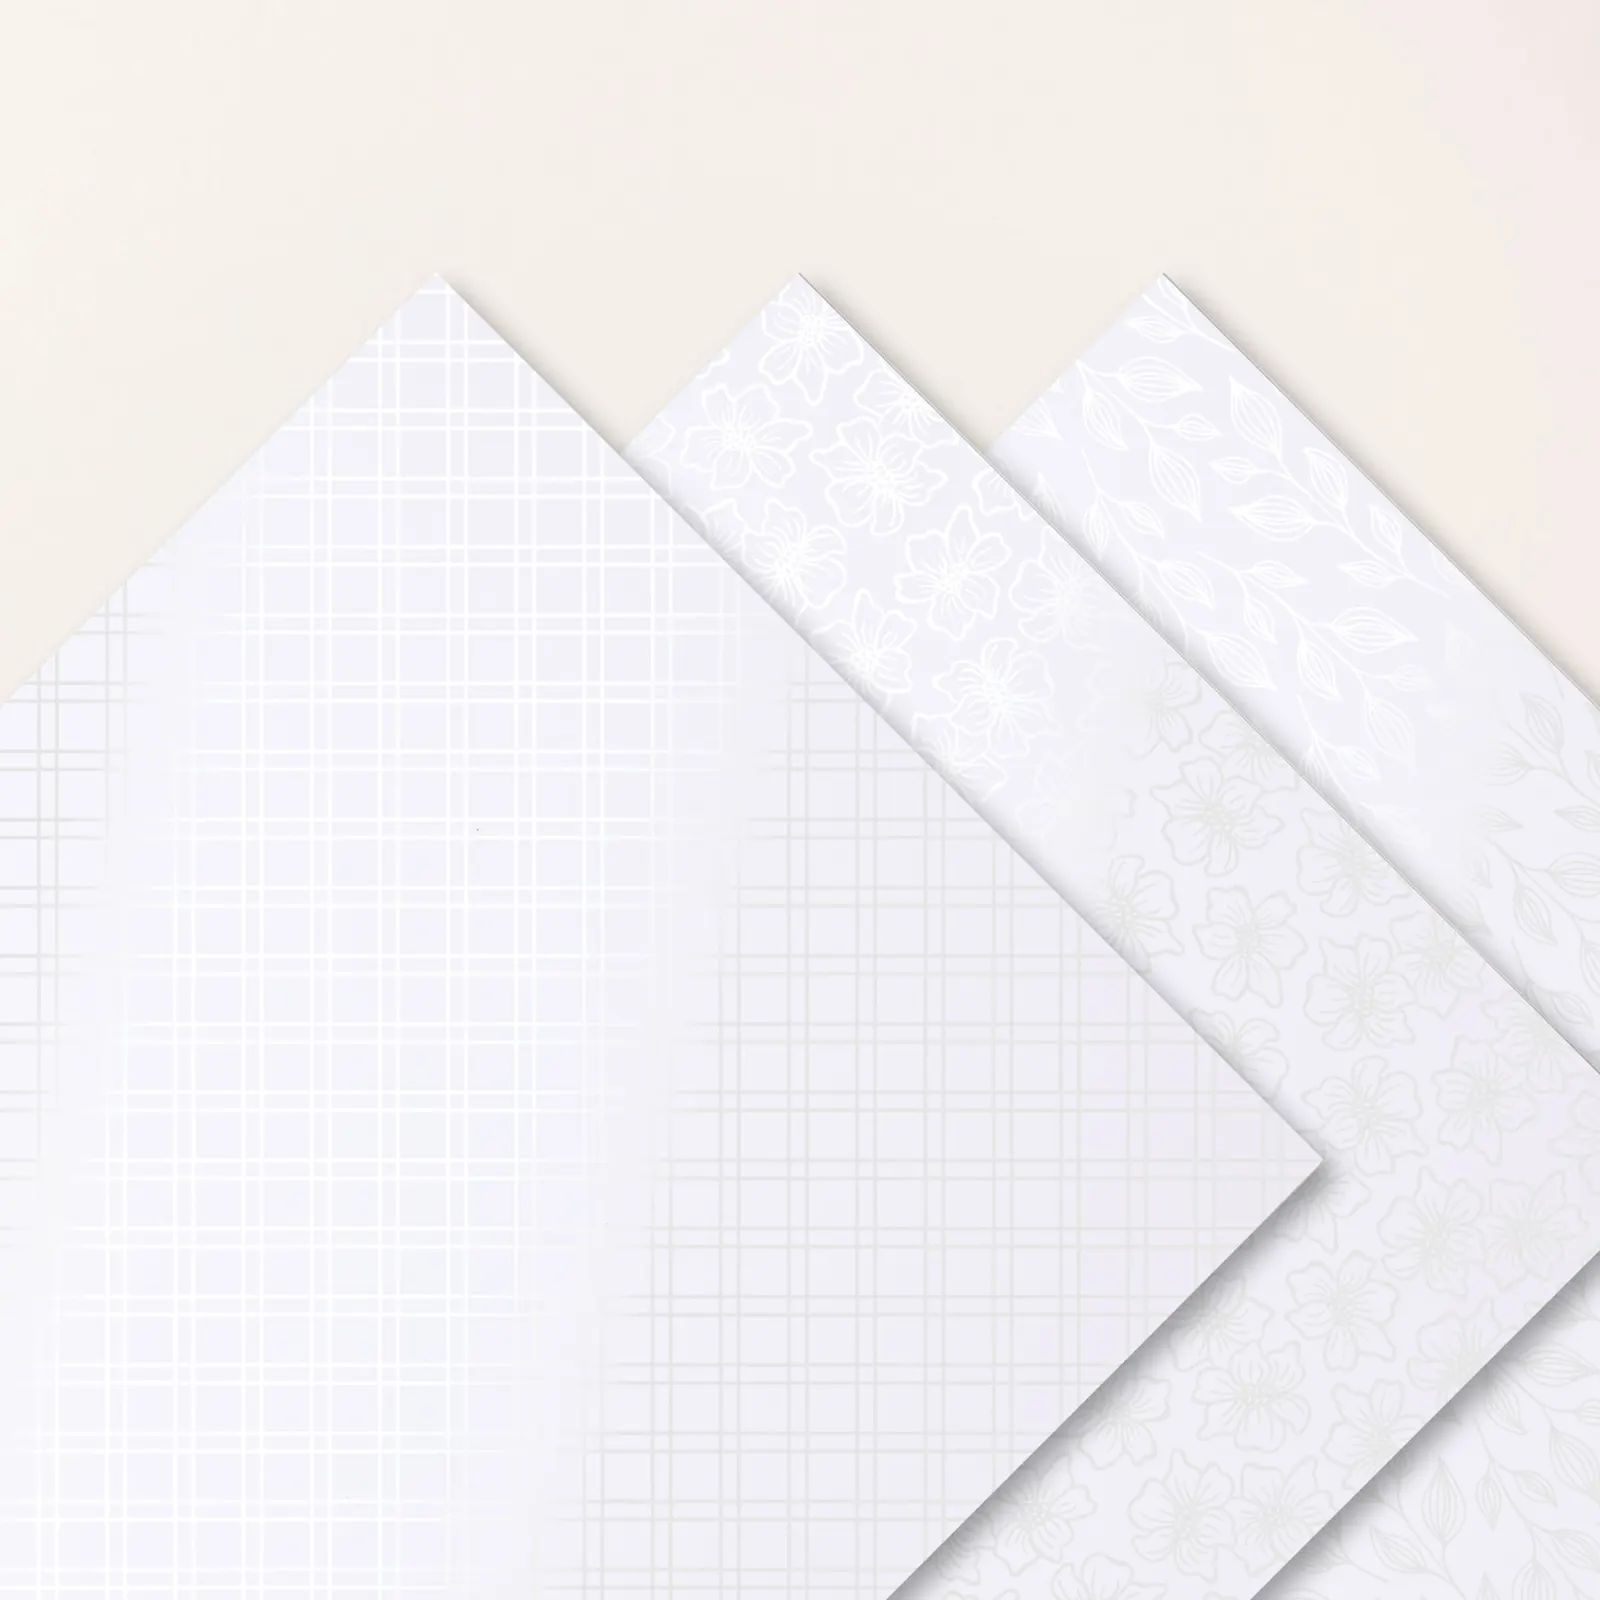
    • Irresistible specialty designer paper seen here
    • Lazy Daisy & Floral Spray 3D embossing folders
    • 1 3/4″ and 2″ circle punches
    • Blending Brushes
    • a sanding block

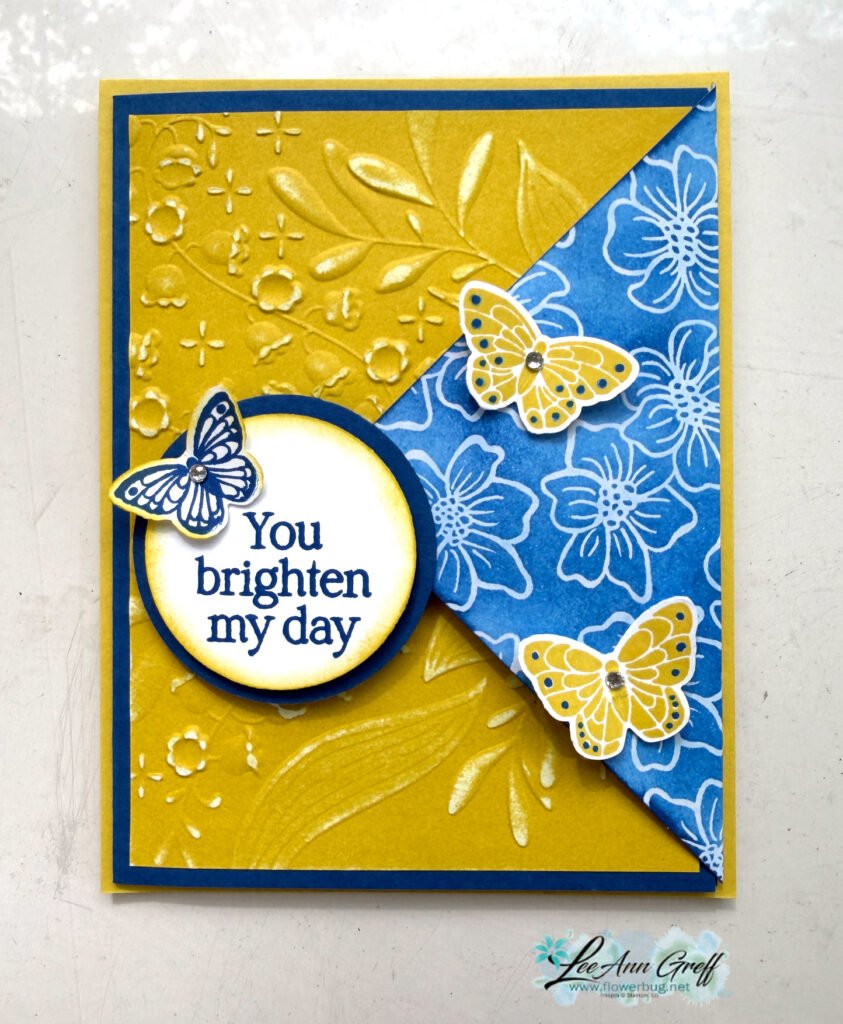
    The Irresistible designer paper is cut into a 3 3/4″ square and scored in the center diagonally. It’s adhered to the back of the Blueberry Bushel card base before that is adhered to the larger Darling Duckling CS.

    There are three patterns in this specialty Irresistible designer paper you can see here. When you add ink to this specialty paper it reveals the white shiny pattern.

    You can see the two patterns I used on my card here.

    And here’s the other version. Note both the blue Irresistible patterns and the embossing folders.

    After we textured the 2-toned Darling Duckling card stock we sanded it with a sanding block (from my husband’s shop) to reveal more of the White core.

    You can see the All Aflutter bundle here. I love having butterfly images with a coordinating punch! See it here.

    I created a free project sheet for this card with measurements, photos and supplies list. Click here to see it.

    Below is the video tutorial for this card and one other made with the cute All Aflutter bundle.

    I’ll share the second card with the free project sheet tomorrow.

    Leave a Reply

    Your email address will not be published. Required fields are marked *

  • How to use our Flip Flaps


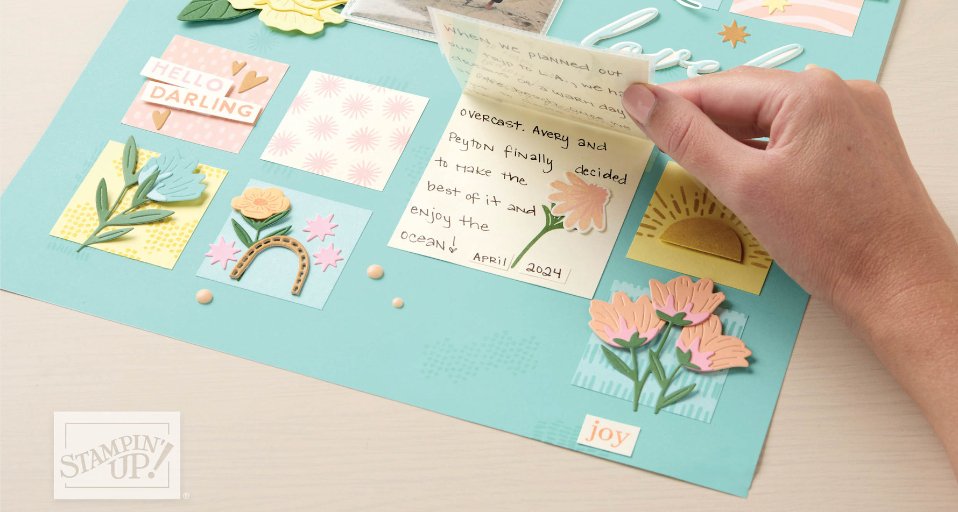
    Whether you scrapbook or make cards these Flip Flaps are super fun! A great way to add hidden layers in a surprising way.

    Stampin’ Up! created a picture tutorial on how to use them with additional ideas as well. Click here to see it.

    Here’s the link to see our Flip Flaps in the online store.

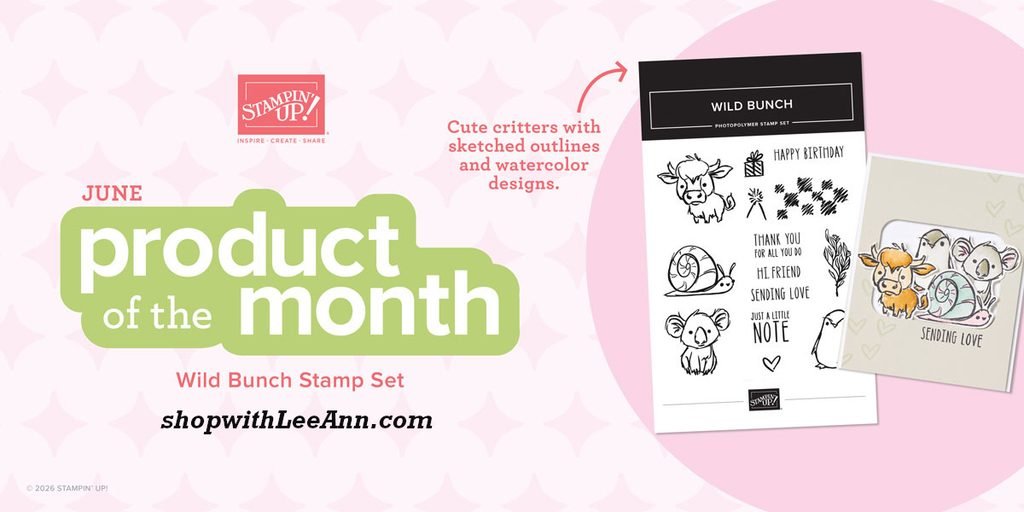
    Here’s the latest product of the month – Wild Bunch stamp set – just $5 with a $75 online order. Click here

    Leave a Reply

    Your email address will not be published. Required fields are marked *

  • Last Chance List is updated!


    Check out the updated Last Chance list here.
    There are tons of products with some at 60% off regular price. They’re available while supplies last.

    You can see it all by scrolling down a bit.

    Click on each item to see it in the store. Remember you can redeem a Product of the Month once you hit the $75 mark.

    Leave a Reply

    Your email address will not be published. Required fields are marked *


Notice: LeeAnn Greff, Independent Stampin’ Up! Demonstrator, Manager. The content of this website is my sole responsibility as an independent Stampin’ Up! demonstrator and the use of, and content of, the classes, services, or products offered on this website is not endorsed by Stampin’ Up! Copyright 2025