/


Latest Post

FREE Shipping tomorrow!! Best Witches & Bewitching projects – amazing Halloween cards!


Tomorrow there is FREE Shipping on all orders over $75!!! 


It's a great time to get those items on your wish list or from the Holiday Catalog. 

Local gals, let me know if you need anything; I'll be ordering in the evening.

~~~

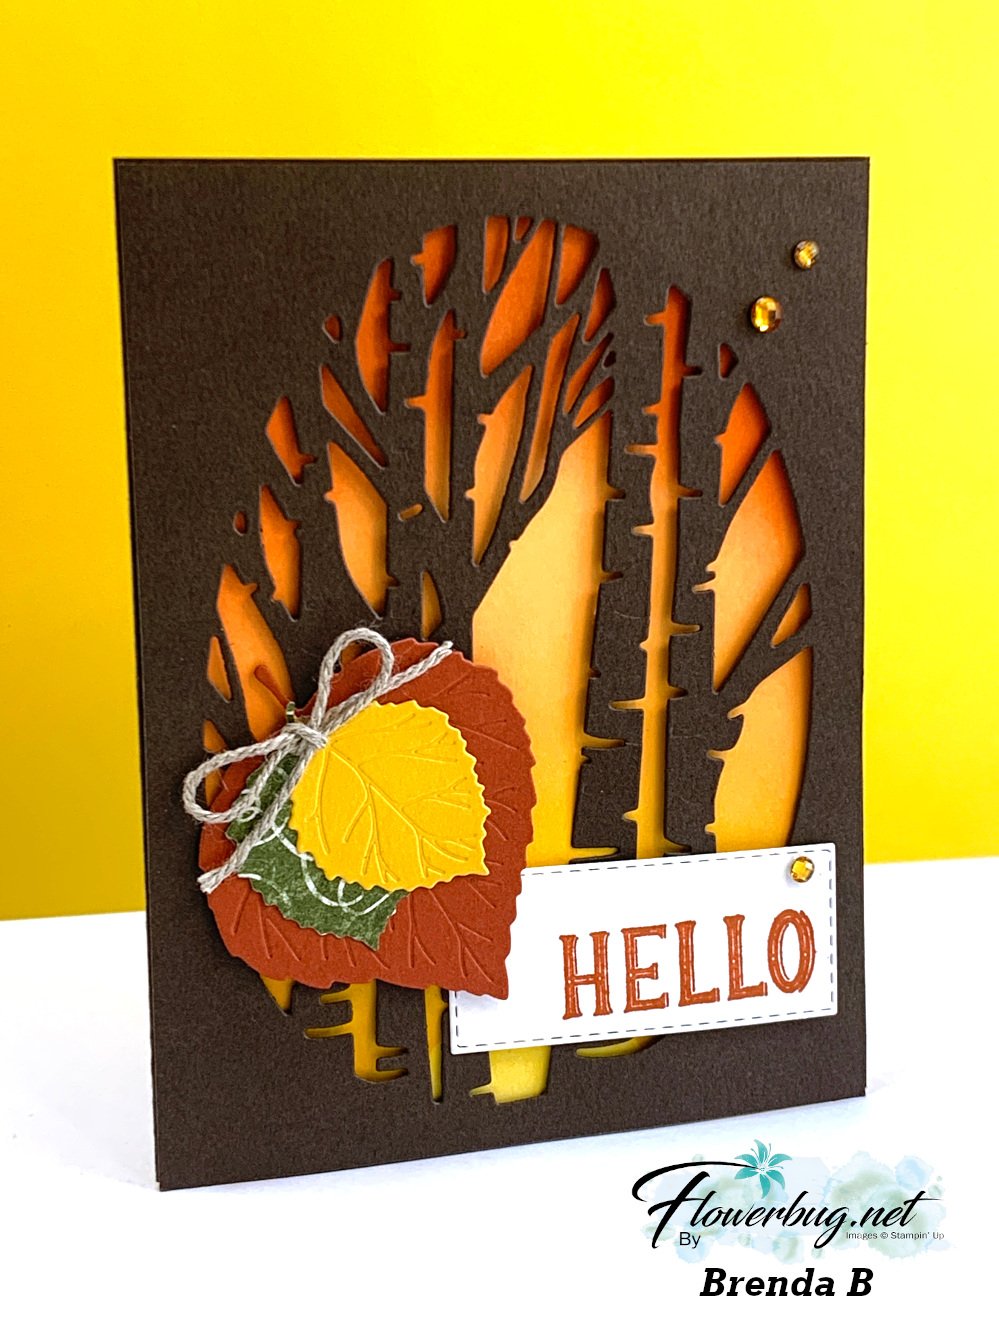
My Flowerbug's Team amazes me with their incredible card swaps; each and every month their cards are super fabulous!  I shouldn't be surprised at this point!  

Our September Team card swap featured Halloween or Fall cards and I'll be featuring them for the next several days.  

Annette made this first card with the Best Witches stamp set seen here.  Look at her amazing coloring!

The colors include Highland Heather, Black & a bit of Granny Apple Green on the frog.  She used Blends markers for her coloring.  Love that face!

The designer is our Black & White Designs from the Holiday catalog.  The circles are from the Layering Circles dies. 

It's also a fun fold 'latch' card!  Here's the inside view: 

Measurements:

  • Highland Heather: Card base 6 1/2" X 5 1/2" scored at 4 1/4".  Side flap is3 1/2" square
  • Black: 2 3/4" X 3 1/4" & 2" X 5 1/4"
  • DSP: 1 3/4" X 5"
  • White: front is 2 1/2" X 3", inside is 4" X 5 1/4"

In the photo below you can see how the right panel is 'latched' with the layered circle greeting to keep it closed.  

Next is a super cute card made by Candace with the Bewitching punch bundle seen here.  Unfortunately the punch is unavailable right now but it will be back!  I just love her playful circles layout! 

She used Gorgeous Grape, Pumpkin Pie, Black & Granny Apple Green.  She cut off the front flap with the Border Basics dies and added a strip of Gorgeous Grape with the same die-cut edge.  

The way she added the boots to be under the hat with this fold is genius!  


Measurements:

  • Grape card base 5 1/2" X 4 1/4" plus a 3/4" X 5 1/2" strip for the zigzag die-cut border 
  • White is 5 1/4" X 7" scored at 4 1/8"
  • Circles are all die-cuts from the Stylish Shapes dies!  


Don't you agree that these cards are amazing!?  I'm so proud to share the creativity of my Flowerbug's Team!  More to come tomorrow!  

~~~

October Specials

Starter Kit special! Get $155 in product for just $99


Free Shipping Tuesday October 4th! 

Order online here

Host code links: KSAEED9Y or JPJ4FKYJ

Get a free embellishment from me with online orders over $50!

Earn free products with my loyalty rewards! 

Click here to download yours and earn a $50 shopping spree!

All Posts

  • Peaceful Cabin; beautiful!


    We made this beautiful card at my December card clubs; it features the Peaceful Cabin bundle.  Unfortunately the stamp set is already sold out and unavailable. So sad; it's just gorgeous! 

    I used only White card stock and Misty Moonlight ink. A monochromatic card can be so simple & soothing to the eye.  And there's something about a mostly white card that is rich and elegant. It’s cased from a card made by Helen Reed  


    The texture on the background is made with the Evergreen Forest 3D embossing folder.  That is also currently unavailable. But it is in the annual catalog and will be back. 

    There are two pieces that you stamp first and then die-cut.  The background trees is one layer and the cabin and foreground is another.  It's so neat how the dies cut the silhouettes out so perfectly. 

    Measurements:
    White card base 5 1/2" X 8 1/2"
    White layers – for trees – 3 3/4" X 2 3/4", for cabin 2 3/4" X 5 1/4", embossed layer is 4" X 5 1/4"

    ~~~

    December Specials:

    Host code:  6YCWV7QN

     *click here to order 

    Use the host code above & get a free card stock sampler ring with a $50 order in December! 

    See the last chance list here

    See the July-December catalog carry over list here

    Leave a Reply

    Your email address will not be published. Required fields are marked *

  • Star & Snowflake Ornaments; so pretty!


    I had to give these gorgeous star projects a try!  Sara from Stampin' Up! made them for a tree topper but they were one sided.  I decided to turn her idea into ornaments by making them 2-sided.  

    They're made with our Stitched Stars dies seen here.  I used the largest and third smallest to make these. I used the Gingerbread & Peppermint DSP but unfortunately it was on the retired list and is sold out now. 

    You probably wonder where the snowflakes come from.  They are called 'Wonderful Snowflakes' and they also just sold out! The retiring list can be so hard; items you want can be gone in an instant! 

    You need a good stack of Dimensionals between each layer like this: 

    You can see why you need a smaller star inside; to support the stacks of Dimensionals. *There's a second stack under that smaller star.  You'll add a second large star on top of the dimensional stack seen above. 

    Tips:

    • I found a stack of 4 to work best.
    • I added a rolled up mini glue dot to the tip of each star point to secure them together.  It's not necessary but does finish if off so they stay closed. 
    • Add the cord with a glue dot to one of the star points. 

    They were so fun to make I couldn't stop! I plan to add these to my cookie trays or to Christmas presents instead of a traditional bow. 

    I thought this last one would look sort of ho hum in this pattern.  But once I added our Red Rhinestones to the snowflake it sure came to life!  

    Below is the video to see exactly how to make these pretty ornaments.  They're the third project I share. 

    ~~~

    December Specials:

    Host code:  6YCWV7QN

     *click here to order 

    Use the host code above & get a free card stock sampler ring with a $50 order in December! 

    See the last chance list here

    See the July-December catalog carry over list here

    Leave a Reply

    Your email address will not be published. Required fields are marked *

  • Origami Christmas Tree card; soooo easy!


    I make one of these trees almost every year.  Why? Because they are easy & fun and we always have new Designer Paper for me to play with. 

    All you need are four squares of DSP. No scoring or other measurements.  Watch the video here or below to see how it's done. 

    Here are the supplies:

    • Card stock – Old Olive & Mossy Meadow card bases, Real Red & Cherry Cobbler layers, White greeting strip & inside
    • Designer Paper – Heartwarming Hugs (out of stock now) and Sweet Stockings
    • Greeting image from the Christmas Cheer stamp set
    • Star topper from the Starlit punch
    • Embossing folder – Evergreen Forest (out of stock temporarily) 

    Measurements: 

    • Card base 5 ½” X 8 ½”
    • DSP – 4 square pieces at 1 ¼”, 1 ¾”, 2 ¼” & 2 ¾”
    • Textured front & White inside are 4” X 5 ¼”

    Below is the video for you. I share another special card project and some pretty star/snowflake ornaments as well.  

    ~~~

    December Specials:

    Host code:  6YCWV7QN

     *click here to order 

    Use the host code above & get a free card stock sampler ring with a $50 order in December! 

    See the last chance list here

    See the July-December catalog carry over list here

    Leave a Reply

    Your email address will not be published. Required fields are marked *


Notice: LeeAnn Greff, Independent Stampin’ Up! Demonstrator, Manager. The content of this website is my sole responsibility as an independent Stampin’ Up! demonstrator and the use of, and content of, the classes, services, or products offered on this website is not endorsed by Stampin’ Up! Copyright 2025