/


Latest Post

Best Tips for successful Shaker Cards with video tutorial!


Who wouldn't like to receive a shaker card?!  They're fun, shakable and hard to resist playing with. 

I made a bunch of these for our July Team card swap featuring 'window sheets'. I love the fact that I could get multiple, colorful die-cut flowers with the Extraordinary Floral Washi Tape and the coordinating die-cut. Just add it to another piece of cardstock and die-cut. So fast & EASY! 

Notice the sponged green designer paper above. That is the Irresistible Designs 12" DSP seen here.  I added Olive ink to it with a Blending Brush; the printed embossed designs 'resist' the ink.  Pretty cool! 

I used the Paper Tags stamp set – stamping the greeting directly onto the window sheet with Black Stazon ink. Then I turned it over to add a bit of Flirty Flamingo blends marker on the 'celebrate' part.  
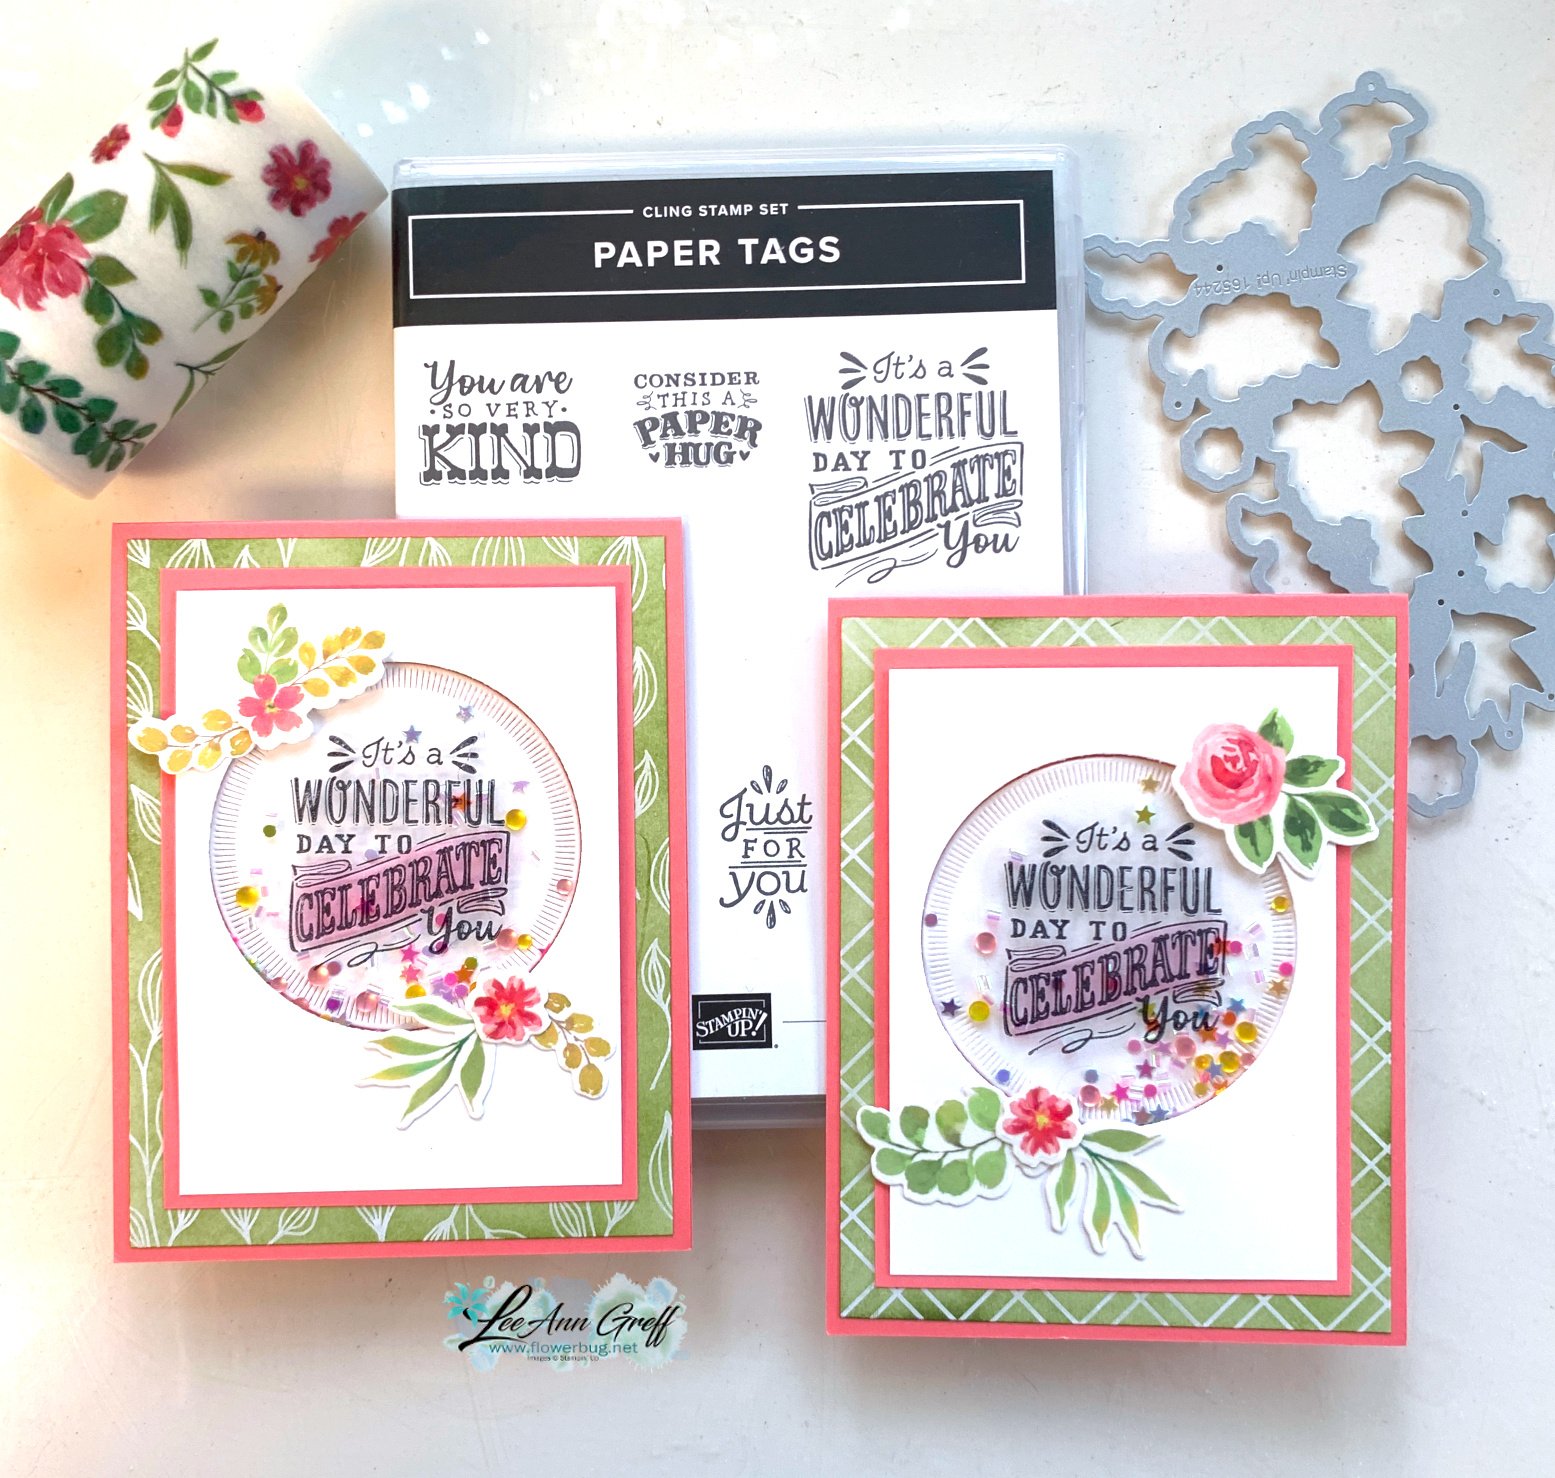
My colors include Flirty Flamingo, Old Olive and White for a fresh floral card design. Want to know the steps to achieve a shaker card?  Best to grab the free project sheet below or watch the video tutorial. 

Here's the free project sheet with measurements for you. Click on the following link to print or download it.  Download Paper Tags Shaker Card


Below is the video tutorial for this neat shaker card.  Watch to get the tips for success on making one plus another pretty card featuring the Extraordinary Floral washi tape. 

~~~

July Specials:
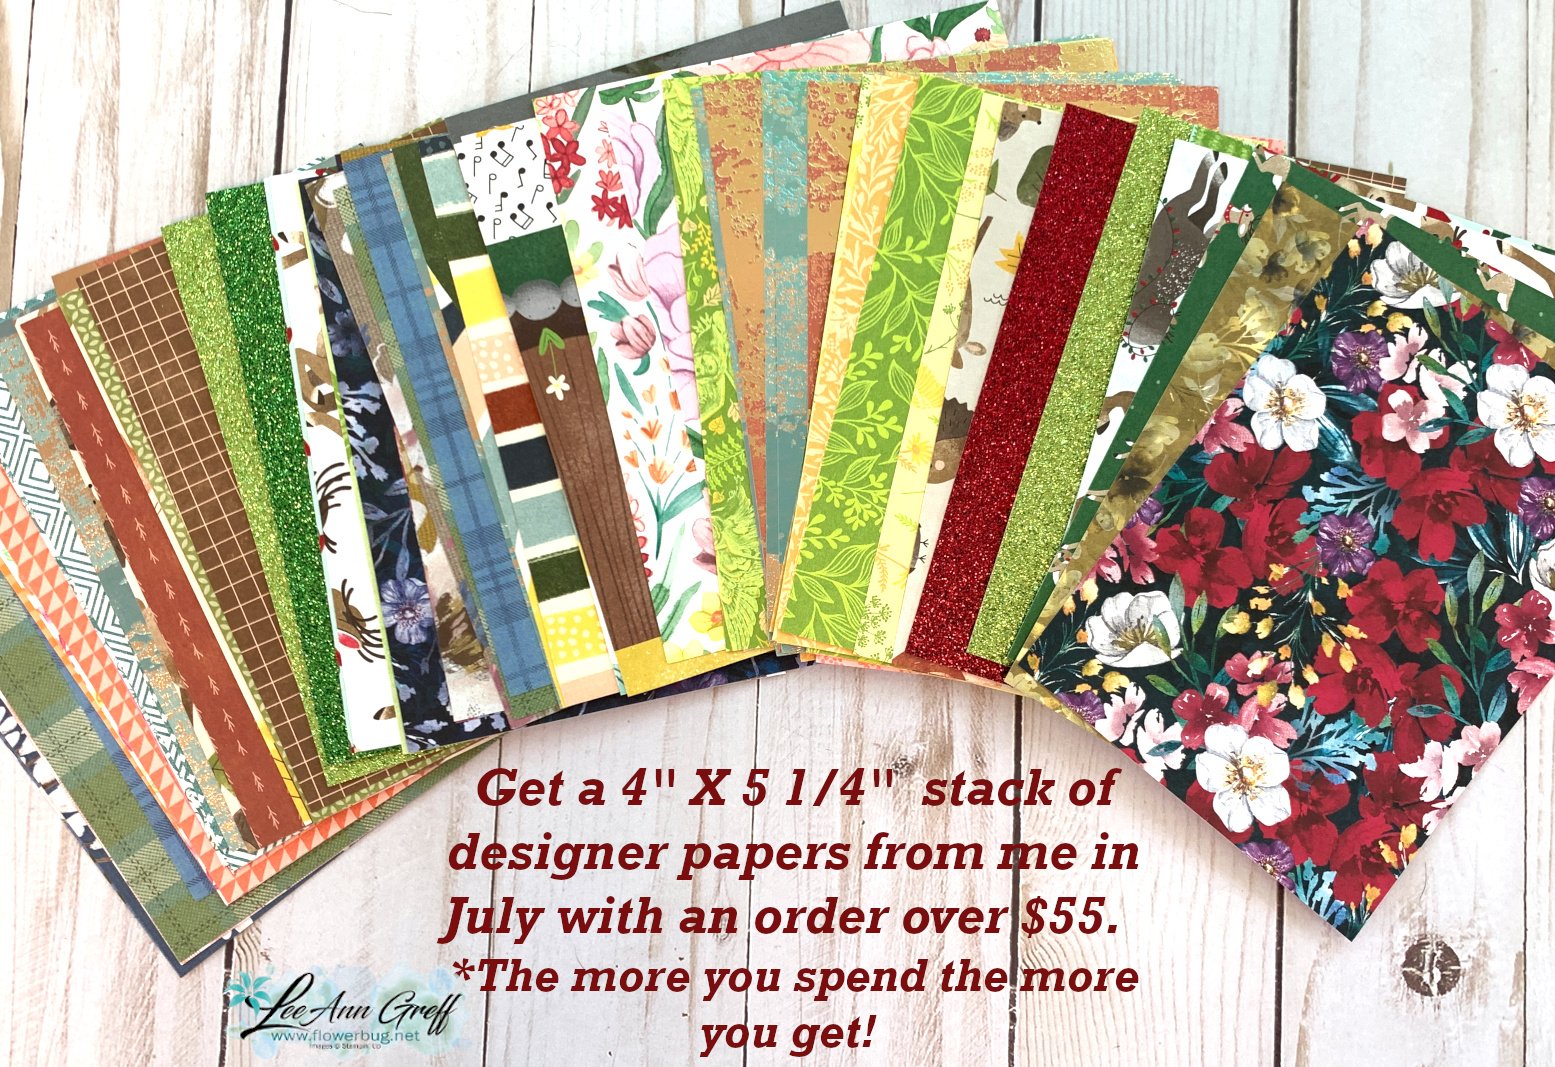

New Online Exclusives are here!  Click here

~~~

Get my Turtle-y Cute PDF tutorial free with any online order in July!

All Posts

  • Gorgeous color combo in this Impressions Abloom card


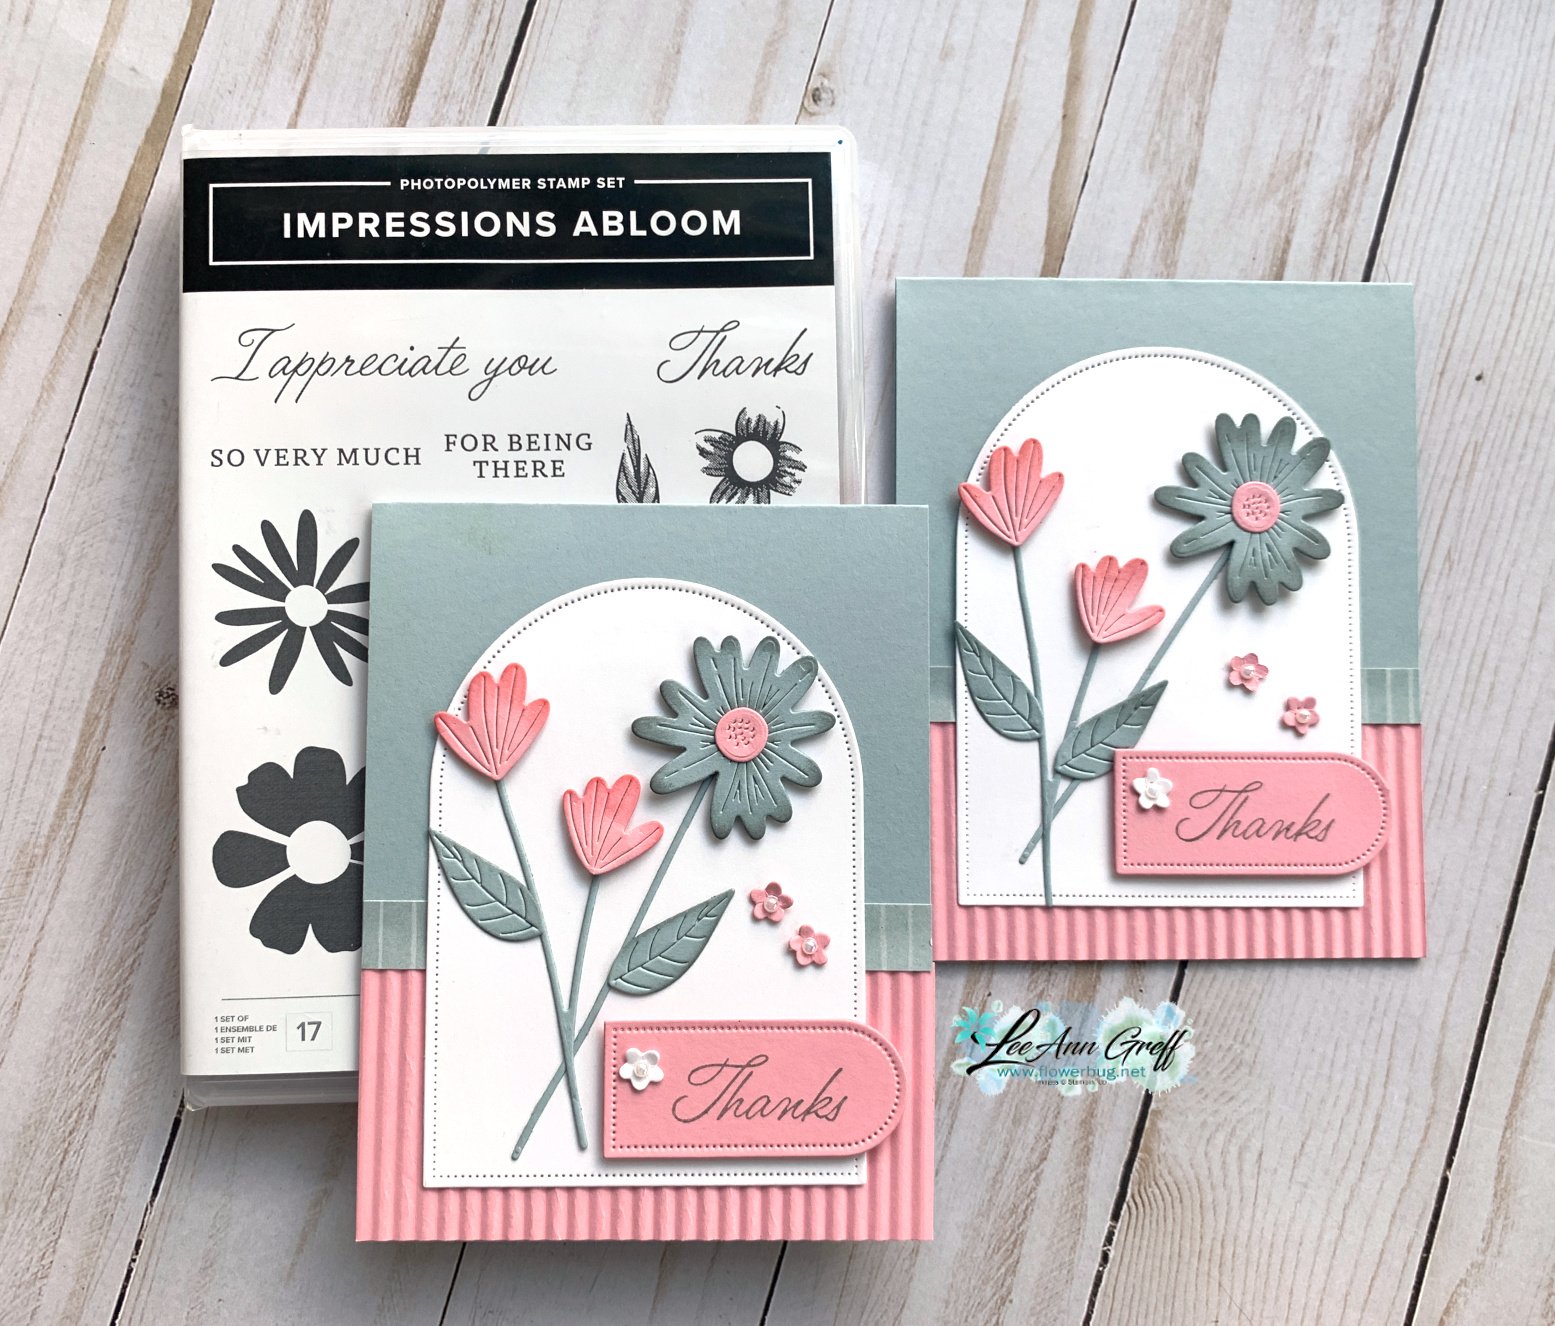
    Look at this pretty card made almost entirely of die-cuts! 

    I absolutely love these soft colors together!  Pretty in Pink with the new Cloud Cover & White. 

    Measurements:  

    • Card base is 4 1/4" X 11" scored at 5 1/2"
    • Pink textured layer is 4 1/4" X 2"
    • DSP strip 4 1/4" X 1/2" 
    • White arch is 3 1/4" X 4 1/2", pink greeting arch is 2 1/4" X 1"

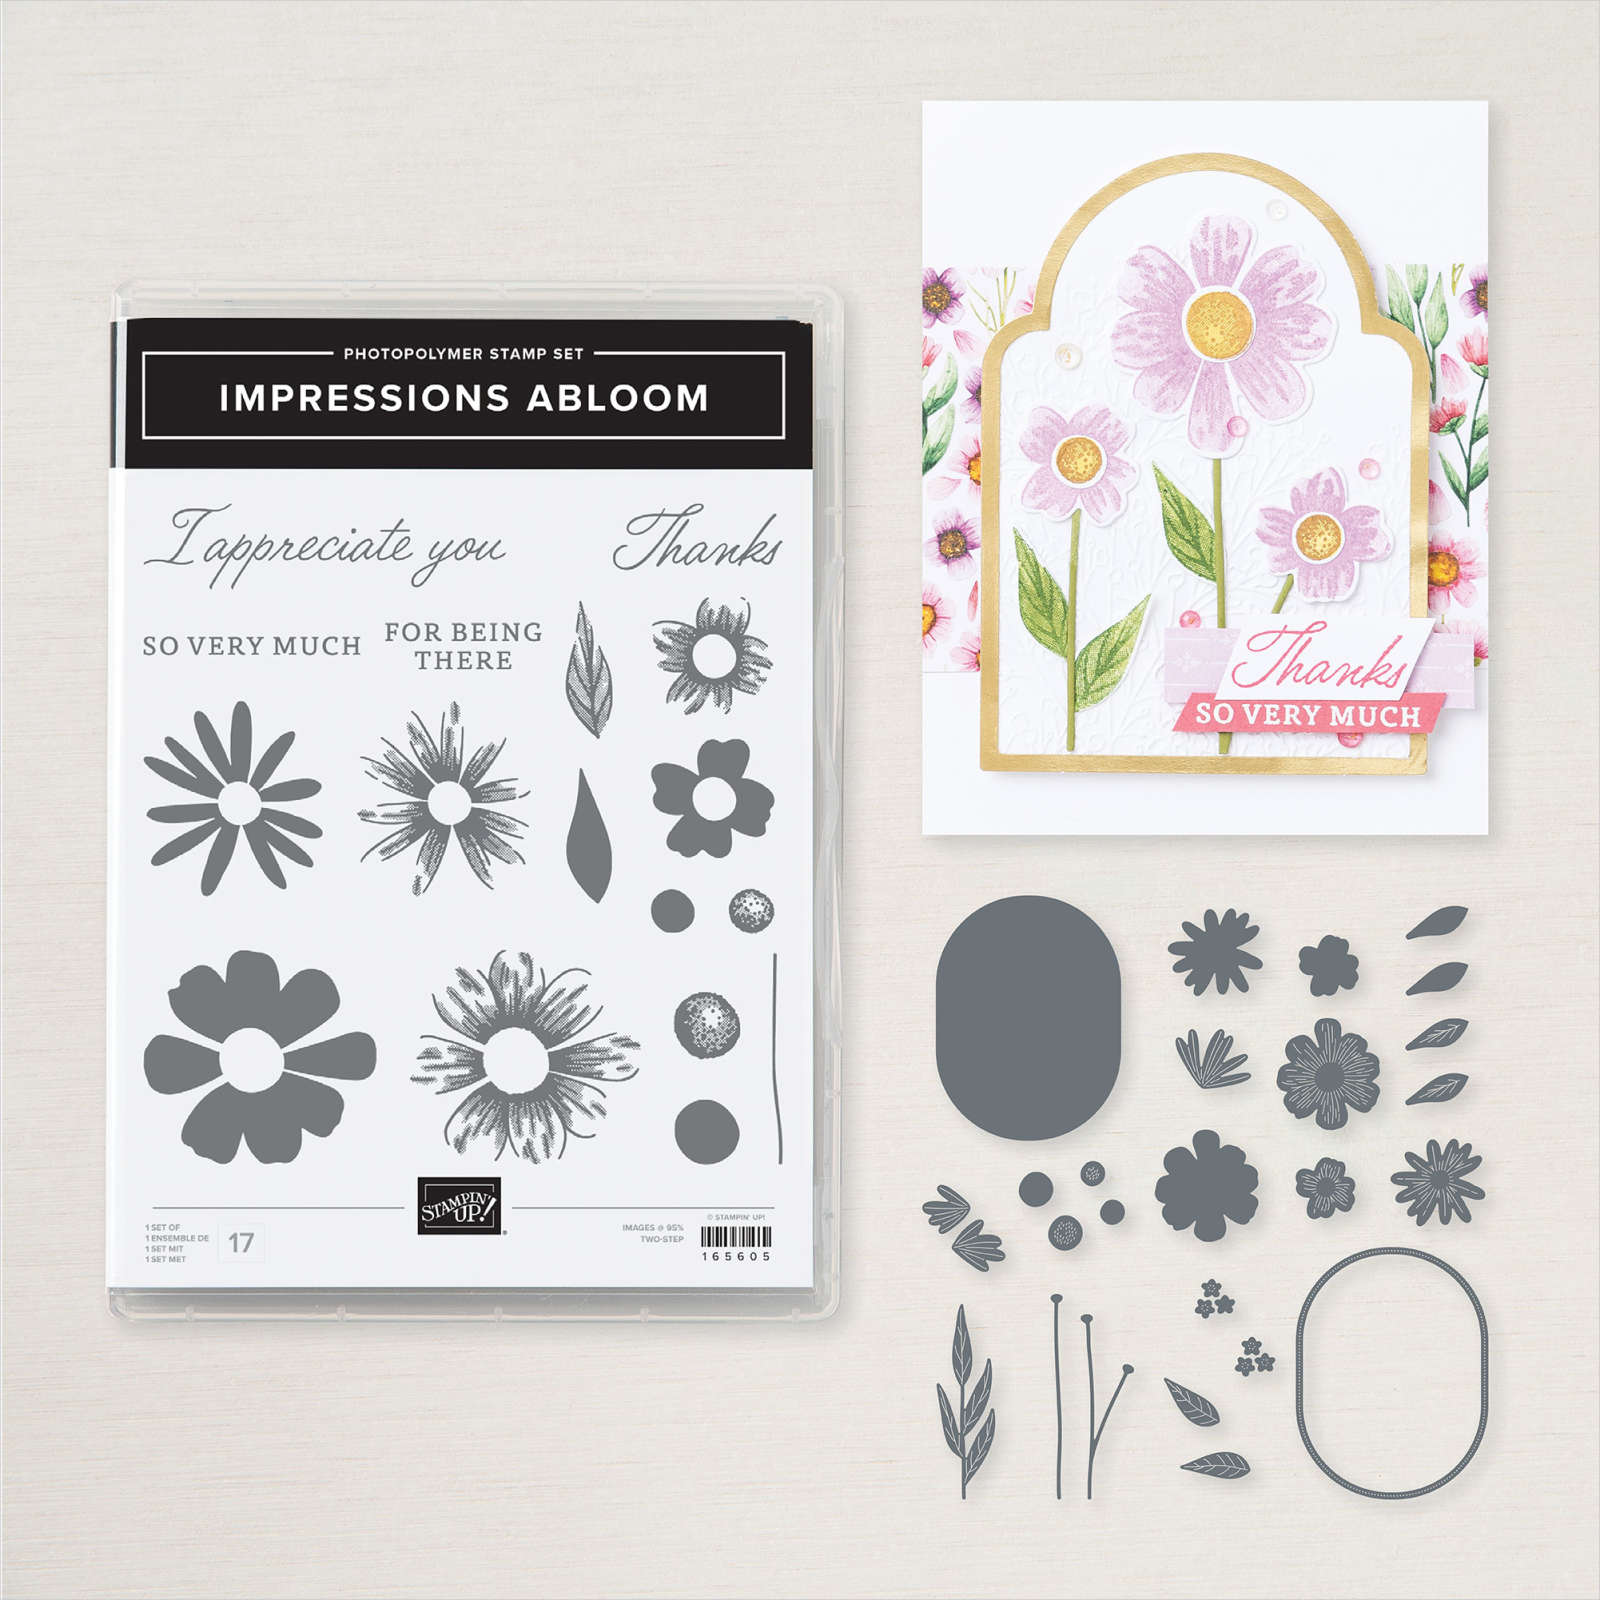
    This pretty card is made with the Impressions Abloom bundle seen here.  

    Other products used are the Arches dies, the Mini Corrugated embossing folder and a thin strip of Florals in Bloom DSP too.

    Technique: I sponged the die-cut flowers with coordinating ink to add depth.  Two quick ways to add easy detail and depth to your projects is to use Stampin' Dimensionals and sponging.  It's amazing what sponging can add to your projects! 

    You can see many of the dies in this bundle in the photo below.  

    If you missed the last few project I made with this bundle scroll back a few days here on my blog.  

    ~~~

    May Specials

    Starter kit deal! 

    Reserve my new Designer Paper Share here

    Get $166 in product of your choice for just $99 with free shipping! Click here!


    Earn free card kits in May with online orders! Get 4 kits with a $60 order and orders over $80 receive all 6 cards. All you need are greetings, gems and adhesives to assemble. 

    Order here 


    Get my Florals in Bloom PDF tutorial free with any online order in May!

    Leave a Reply

    Your email address will not be published. Required fields are marked *

  • A fun layout with the Impressions Abloom bundle; with free project sheet!


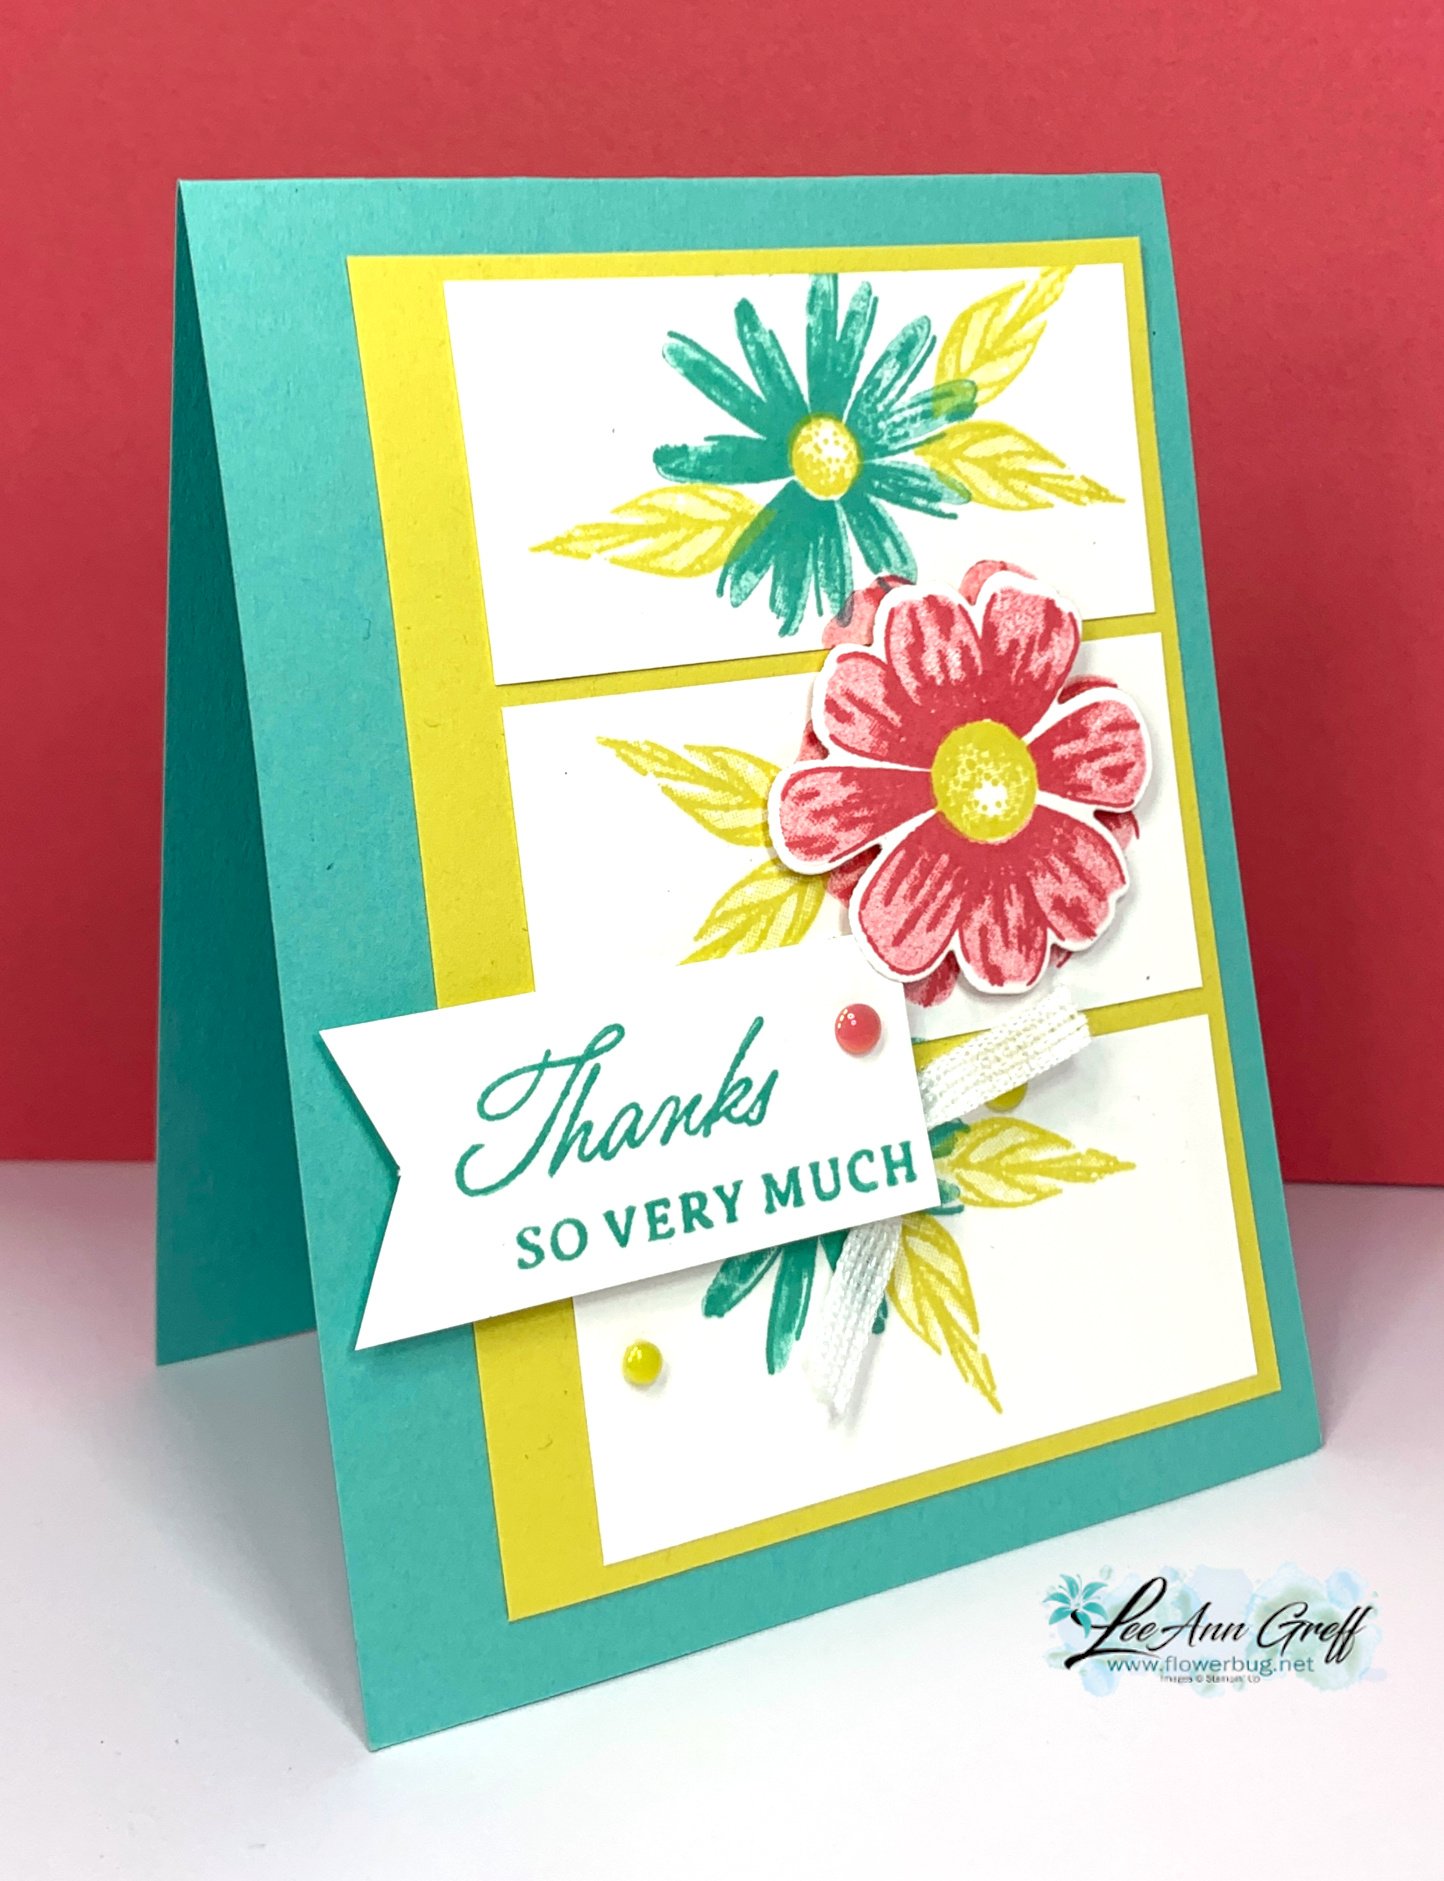
    I shared this striking card on last week's video.  It has a color combination I love! 

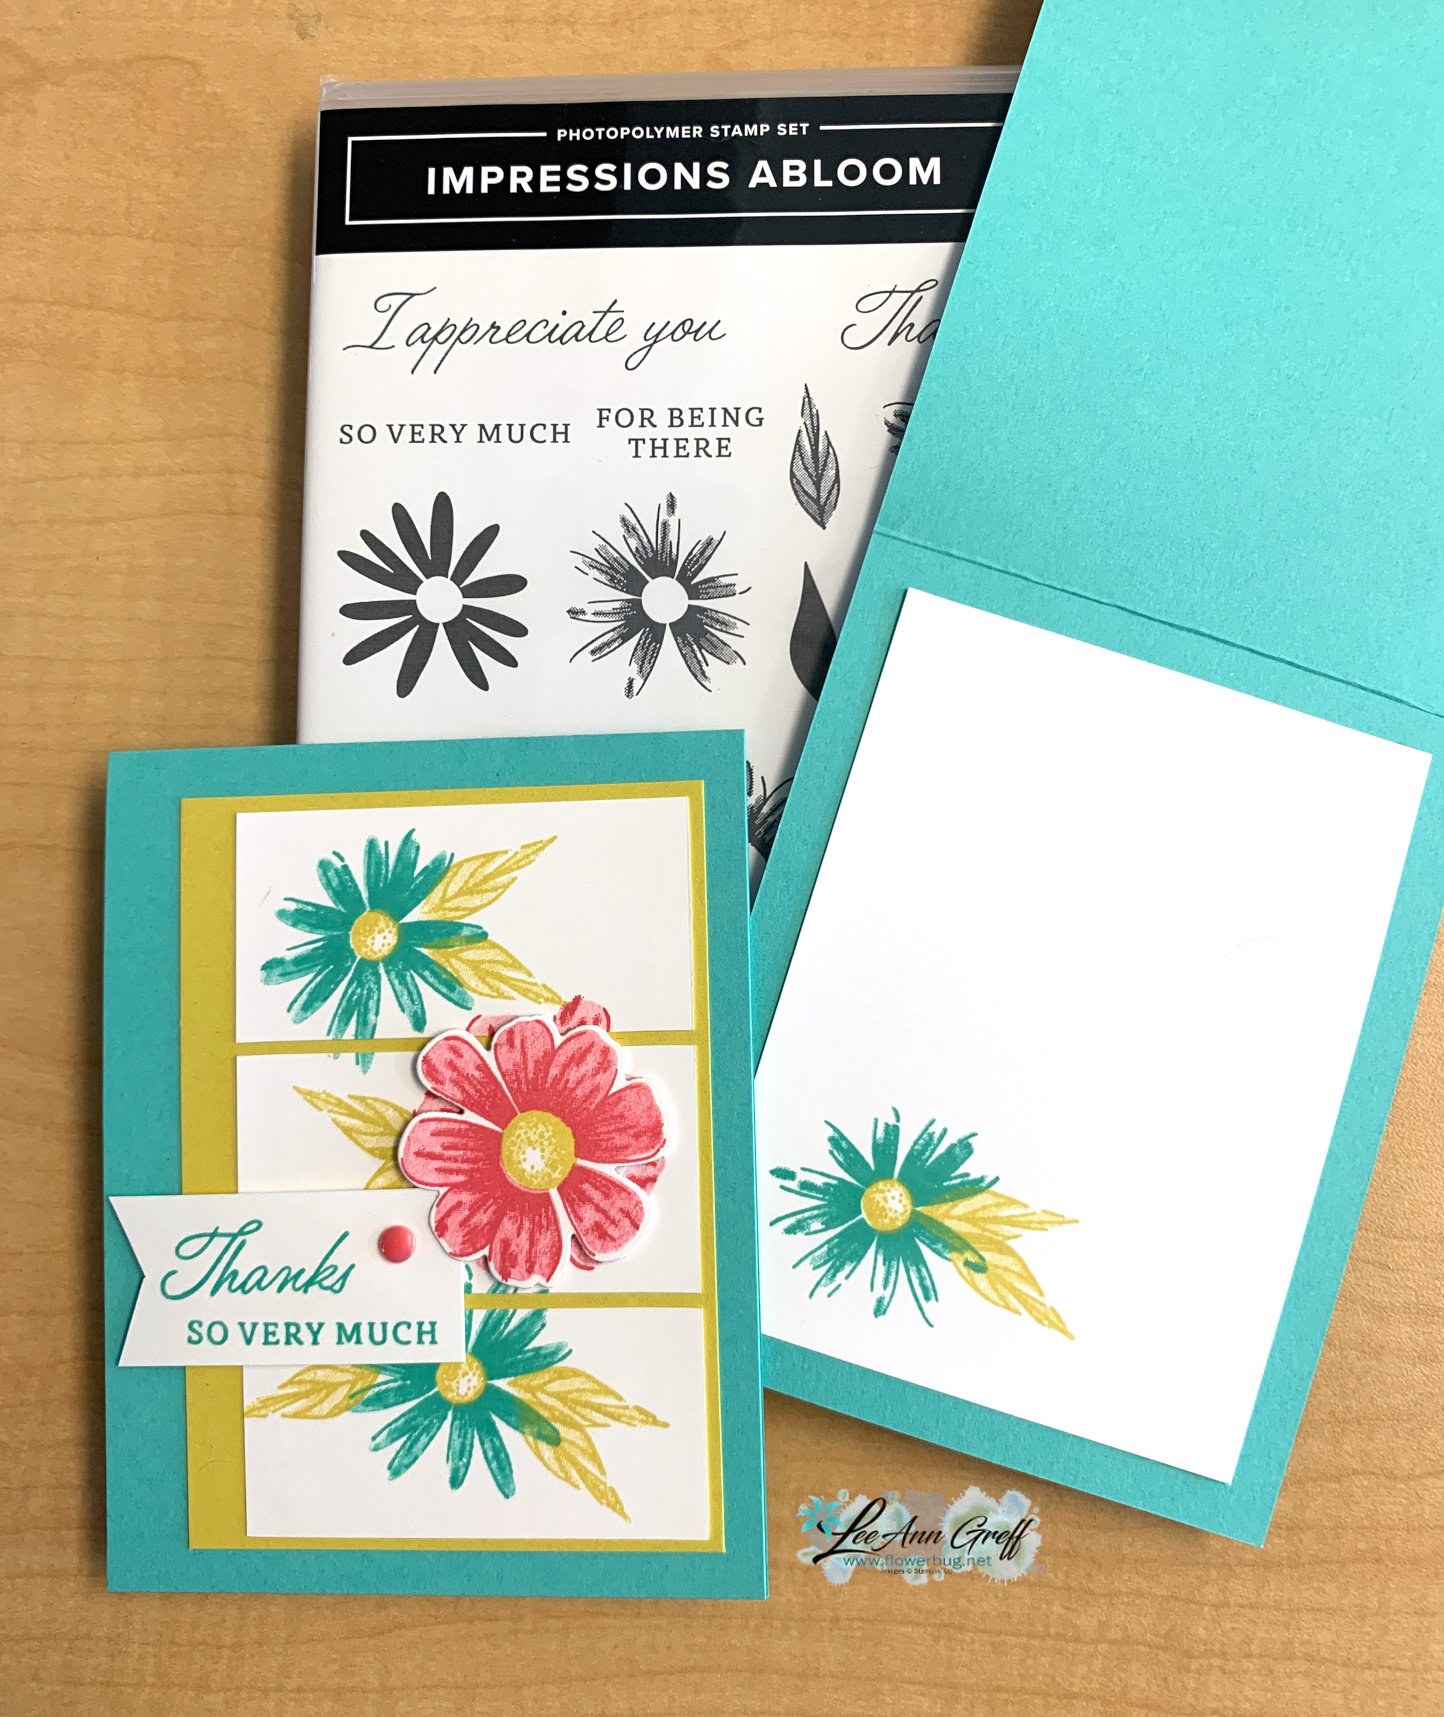
    The colors include Summer Splash, Strawberry Slush, White & Darling Duckling.  It features the Impressions Abloom bundle seen here.  

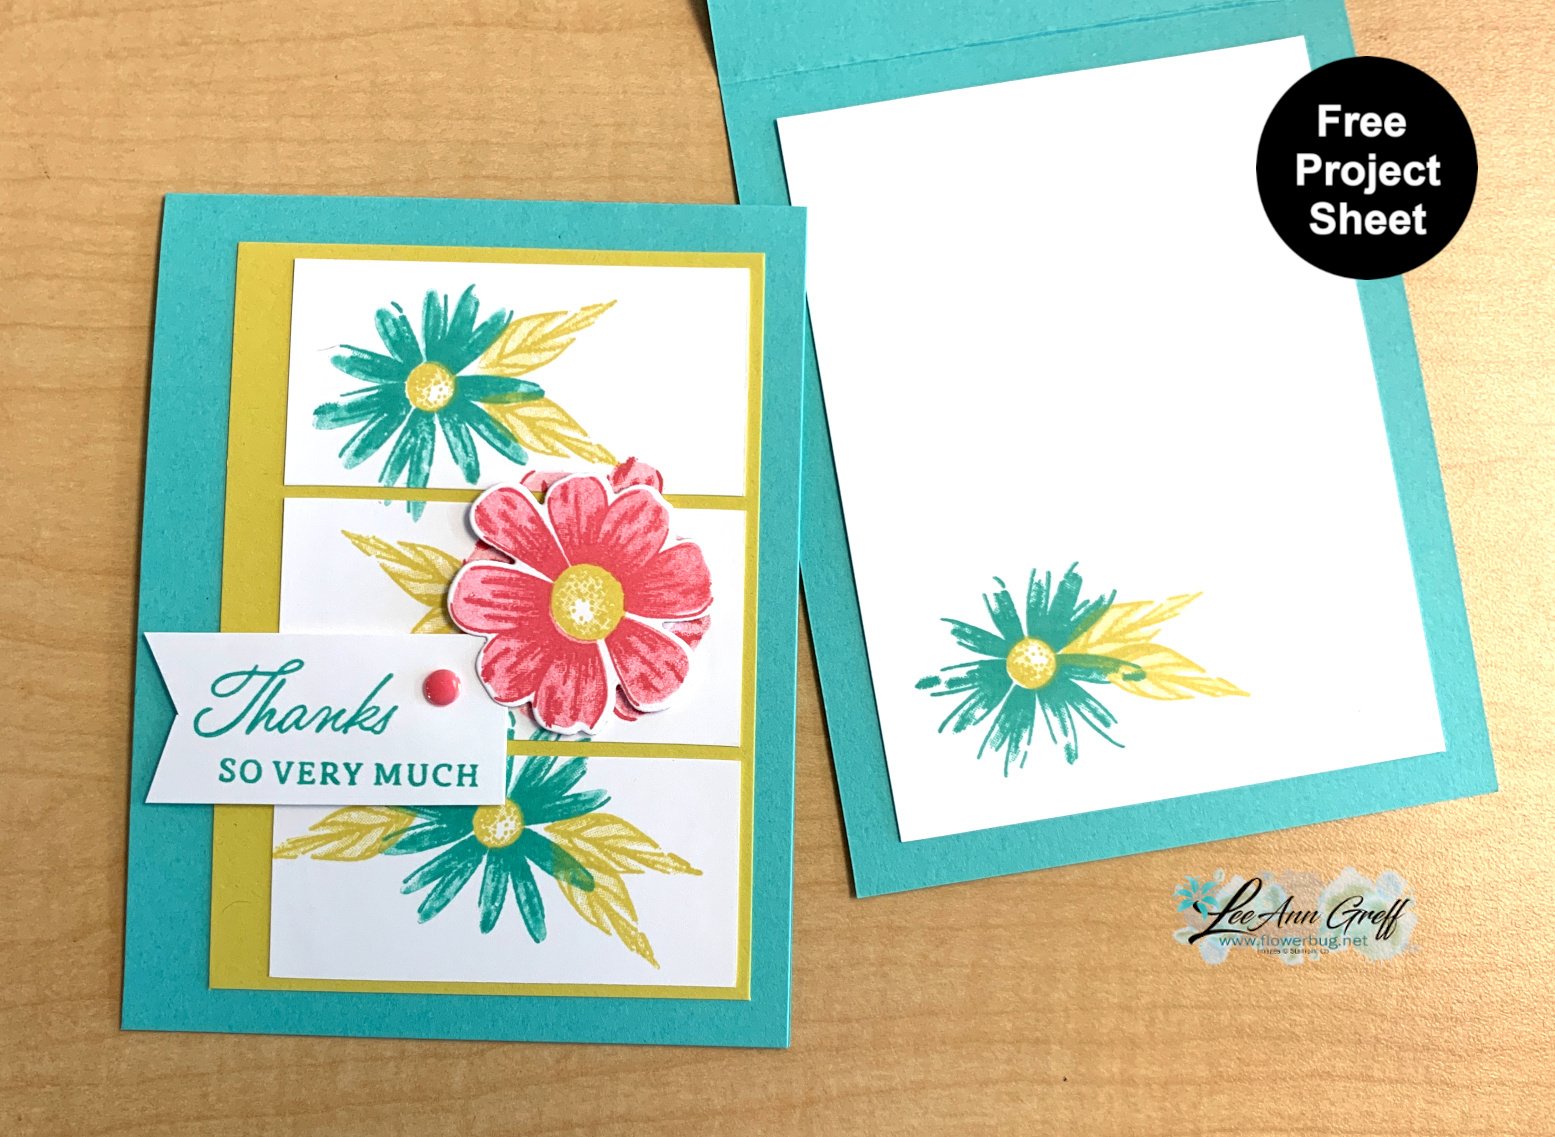
    I love the split view of the stamped panel. I did this by stamping first and cutting it into thirds afterwards.  It's simply 3 1/2" X 4 1/2", cut into 1 1/2" panels. 


    Here's a free project sheet for you to print or download.  Click on the following link: Download Impressons Abloom stacked card

    The Impressions Abloom bundle has it all; floral and greeting images with fabulous, coordinating dies.  I'll be sharing a another card made with it this week.  

    This stamp set is both a 2-step set and a distinktive style which means it gives multiple hues of color with one inking.  I've been loving this bundle! Between the flowers, greetings and dies it's a sure winner!  

    Below is the video tutorial for this card and another; both using this wonderful bundle.  I hope you watch it; don't forget to subscribe to my YouTube channel too! 

    ~~~

    May Specials

    Starter kit deal! 

    Reserve my new Designer Paper Share here

    Get $166 in product of your choice for just $99 with free shipping! Click here!


    Earn free card kits in May with online orders! Get 4 kits with a $60 order and orders over $80 receive all 6 cards. All you need are greetings, gems and adhesives to assemble. 

    Order here 


    Get my Florals in Bloom PDF tutorial free with any online order in May!

    Leave a Reply

    Your email address will not be published. Required fields are marked *

  • 3 opportunities for free stuff; don’t miss out!


    I have many special offers happening in May but most end on Saturday!  I hope you'll read about each of them below:

    1. Reserve my new Designer Paper Share here

    ~~~

    Starter kit deal! 

    2. Get $165 in product of your choice for just $99 with free shipping! 

    There are many reasons to choose the Starter Kit special right now. 

    1. Choose product from the new annual catalog or new online exclusives in your kit!
    2. Get free shipping and a free Paper Pumpkin kit. 
    3. You have through September to meet your $300 quarterly minimum.  
    4. Get 20% off your orders plus 10% host rewards!  Wow!  
    5. Order from the new Holiday catalog in August! 

    Click here to get yours!

    ~~~

    3. Earn free card kits in May with online orders! Get 4 kits with a $60 order and orders over $75 receive all 6 cards. All you need are greetings, gems and adhesives to assemble. And you get the printed project sheets with the kits!  

    Order here 


    Get my Florals in Bloom PDF tutorial free with any online order in May!

    Leave a Reply

    Your email address will not be published. Required fields are marked *


Notice: LeeAnn Greff, Independent Stampin’ Up! Demonstrator, Manager. The content of this website is my sole responsibility as an independent Stampin’ Up! demonstrator and the use of, and content of, the classes, services, or products offered on this website is not endorsed by Stampin’ Up! Copyright 2025