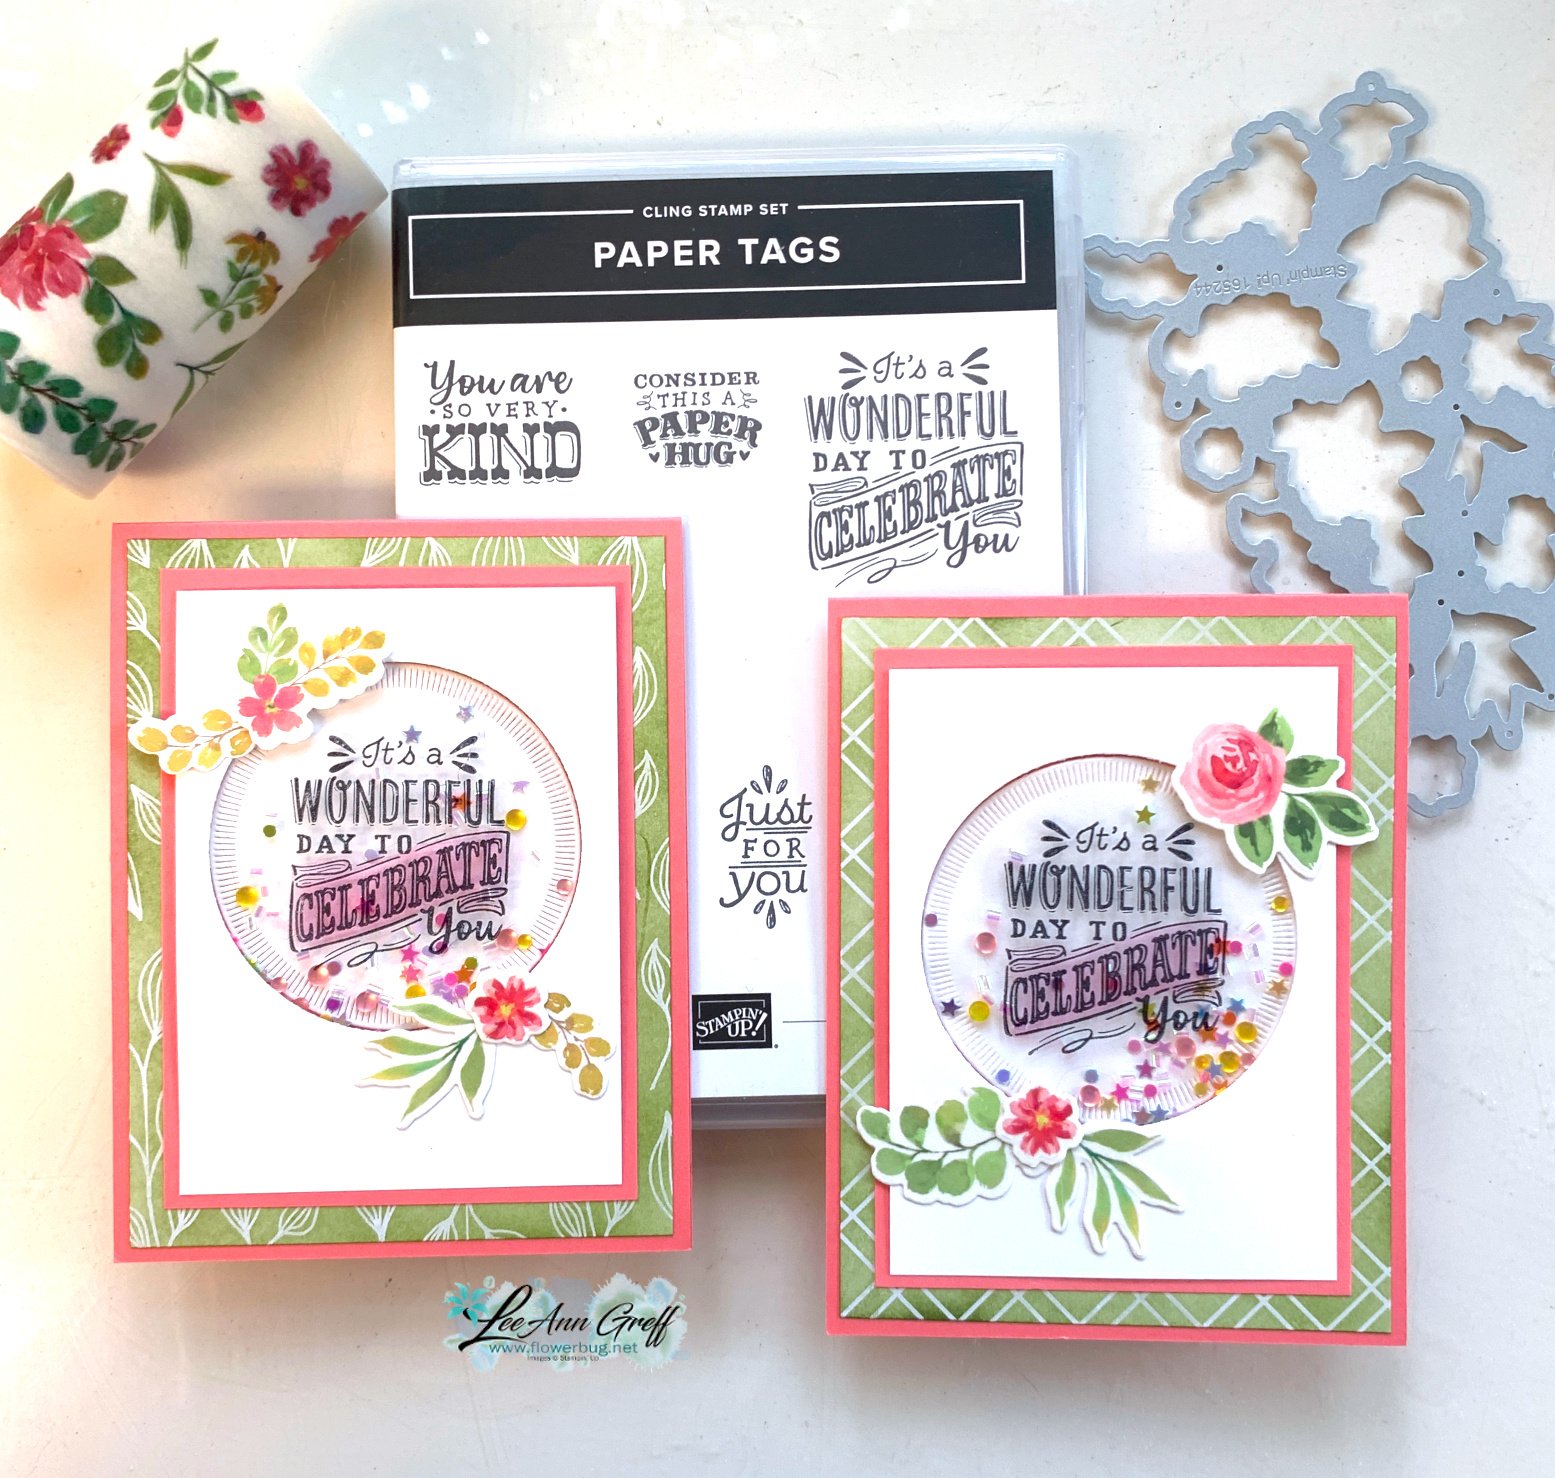
I made a bunch of these for our July Team card swap featuring 'window sheets'. I love the fact that I could get multiple, colorful die-cut flowers with the Extraordinary Floral Washi Tapeand the coordinating die-cut. Just add it to another piece of cardstock and die-cut. So fast & EASY!
Notice the sponged green designer paper above. That is the Irresistible Designs 12" DSP seen here. I added Olive ink to it with a Blending Brush; the printed embossed designs 'resist' the ink. Pretty cool!
I used the Paper Tags stamp set – stamping the greeting directly onto the window sheet with Black Stazon ink. Then I turned it over to add a bit of Flirty Flamingo blends marker on the 'celebrate' part.
My colors include Flirty Flamingo, Old Olive and White for a fresh floral card design. Want to know the steps to achieve a shaker card? Best to grab the free project sheet below or watch the video tutorial.
Below is the video tutorial for this neat shaker card. Watch to get the tips for success on making one plus another pretty card featuring the Extraordinary Floral washi tape.
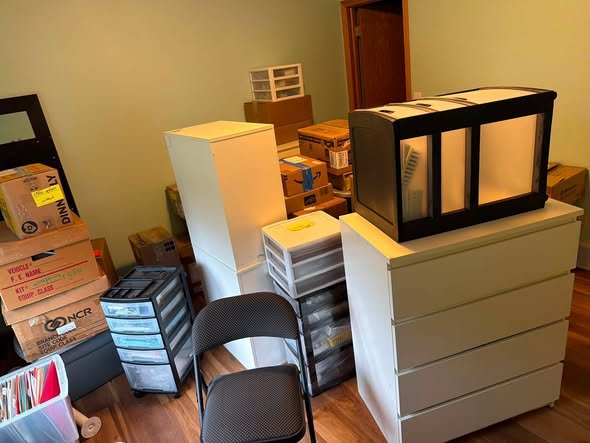
If you haven’t watched my recent videos you may not know that we have moved from Minot, ND to Bismarck, ND this month. It’s been a super busy time of downsizing, selling excess, packing and moving.
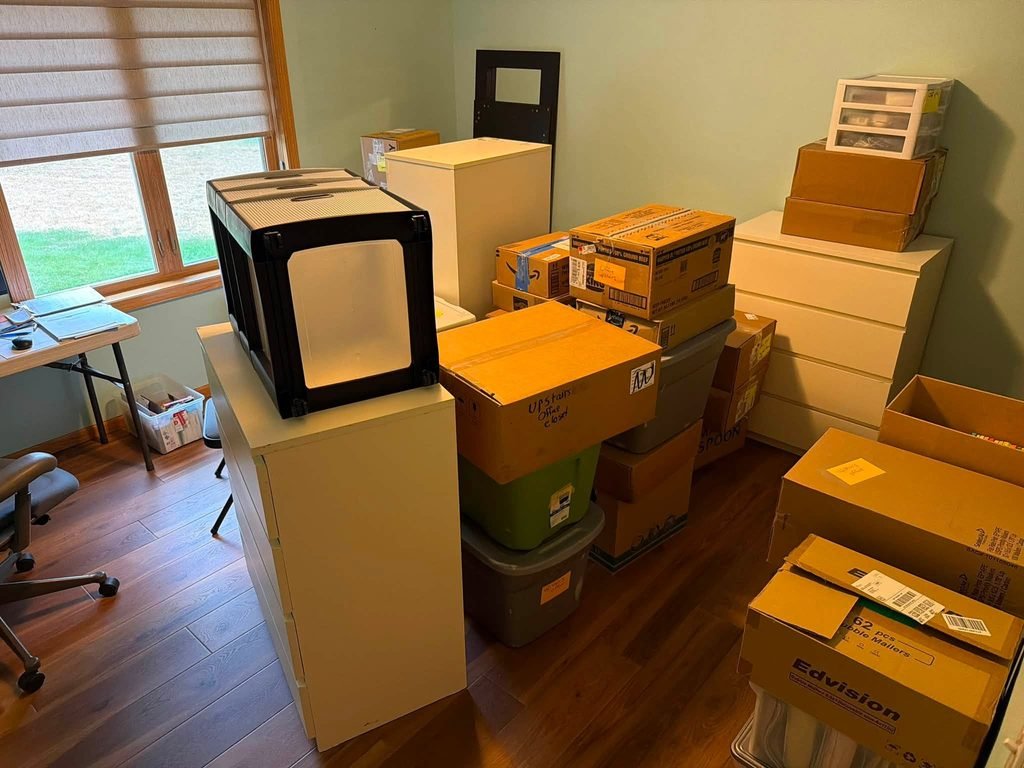
Why did we move? Well, there are many reasons but mostly my husband retired and we moved to be closer to our son and other family. It was very difficult to leave our beautiful home but we will love our new home too. Here’s a picture of my office/craft room before I was able to unpack. I’ll share new photos once I’m settled.
In that back doorway is a walk in closet; that will help with storage! I did find a nice L shaped desk and hope to get that set up today; then I can really set up my room.
This is why I’ve been missing in action lately; it’s hard to do both stamping/business and moving/getting settled. So I’m taking a bit of a break in August. Have patience with me; I’ll be back to blogging and videos soon!
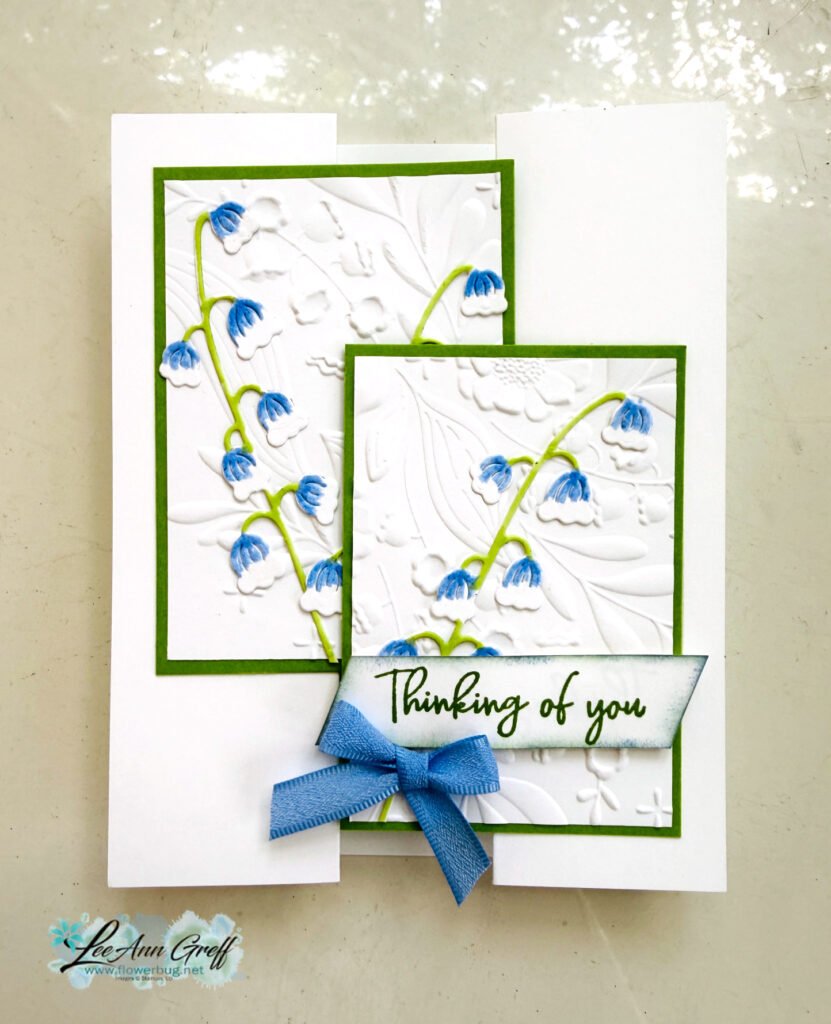
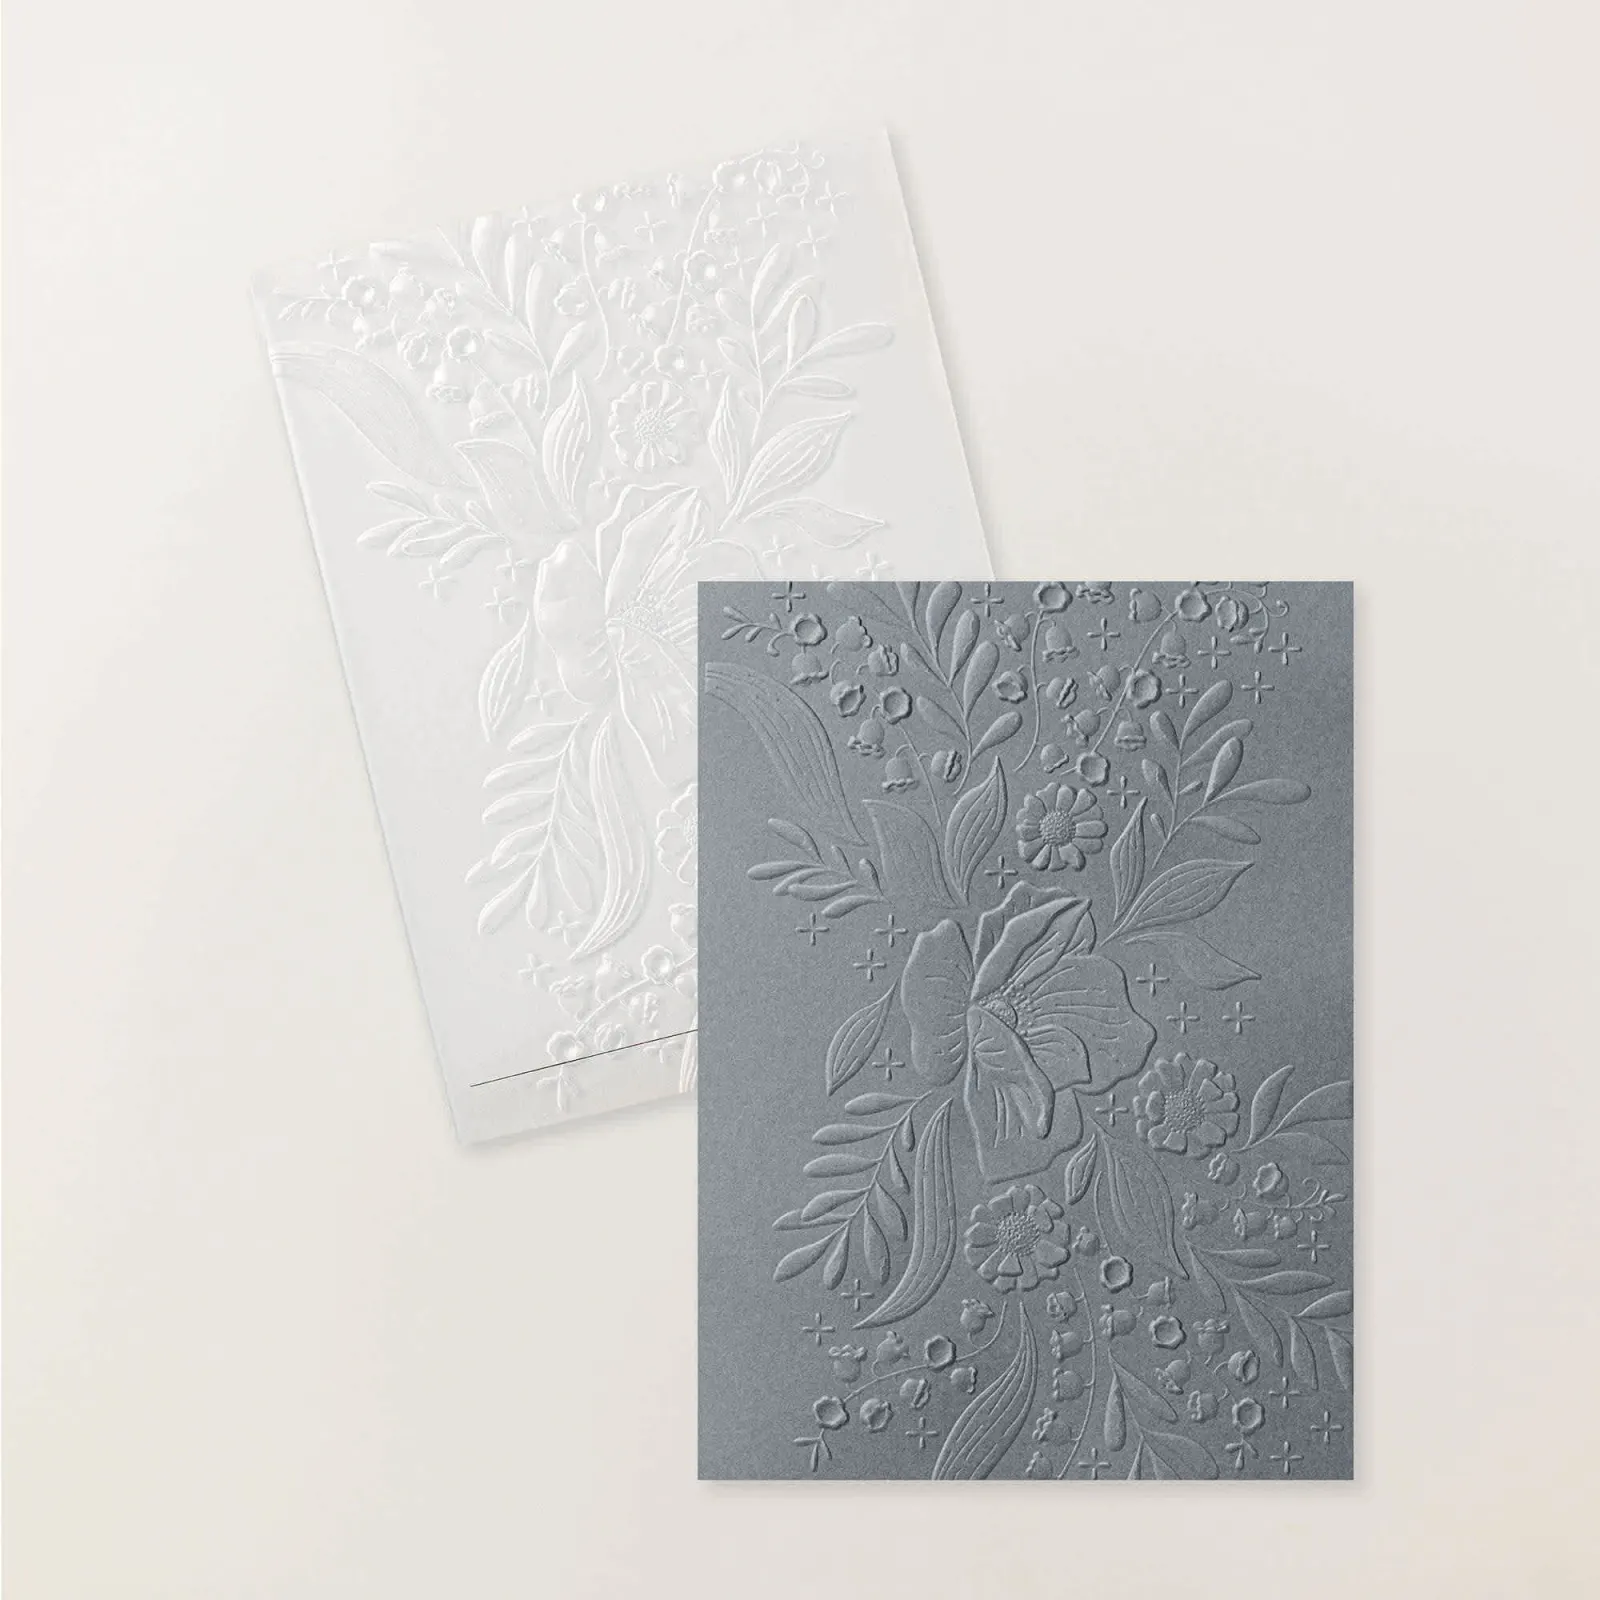
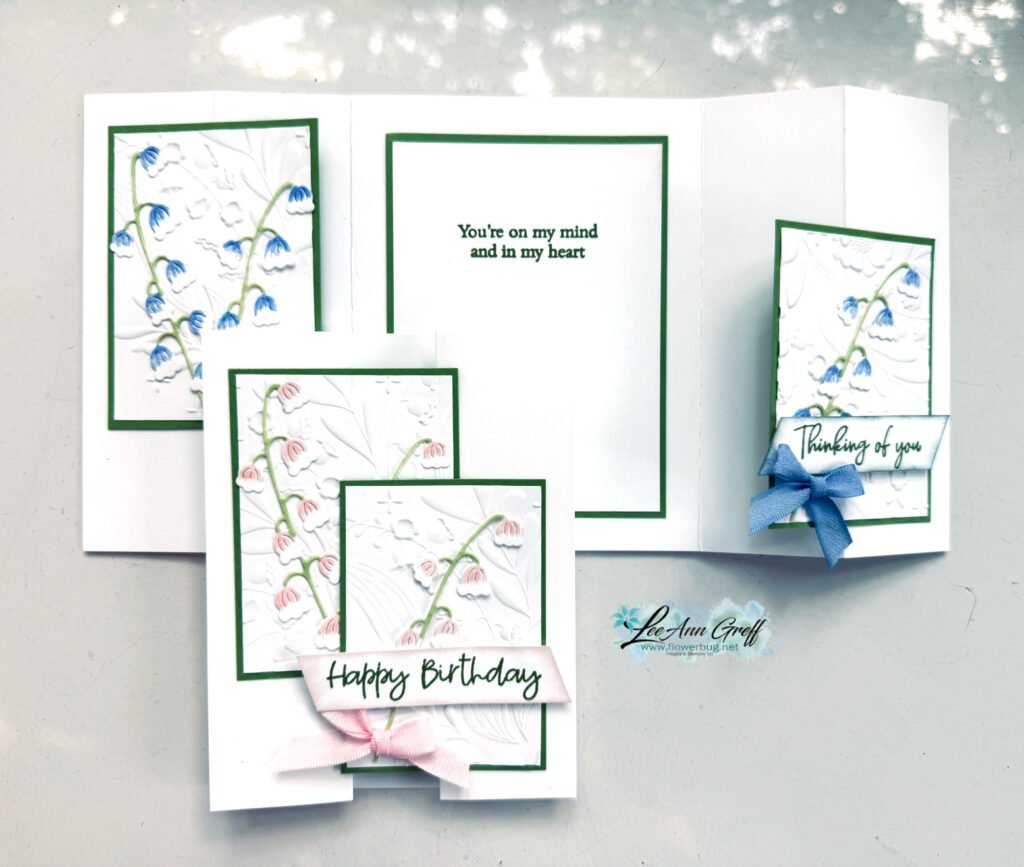
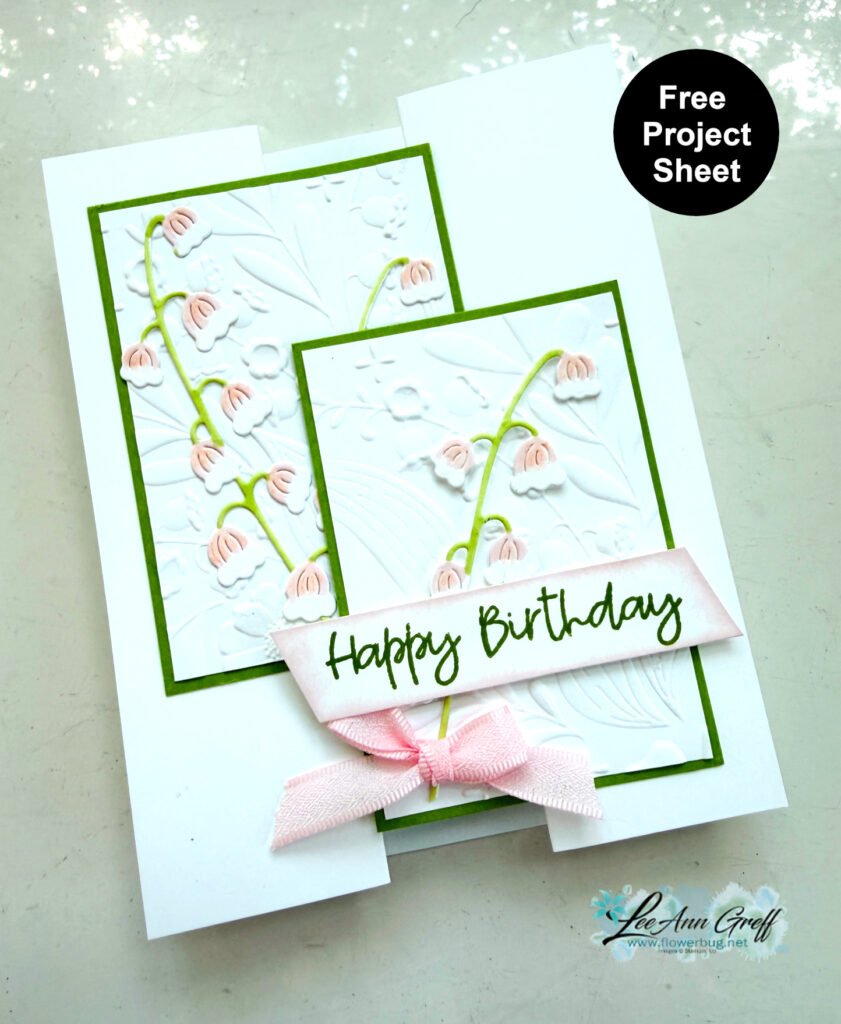
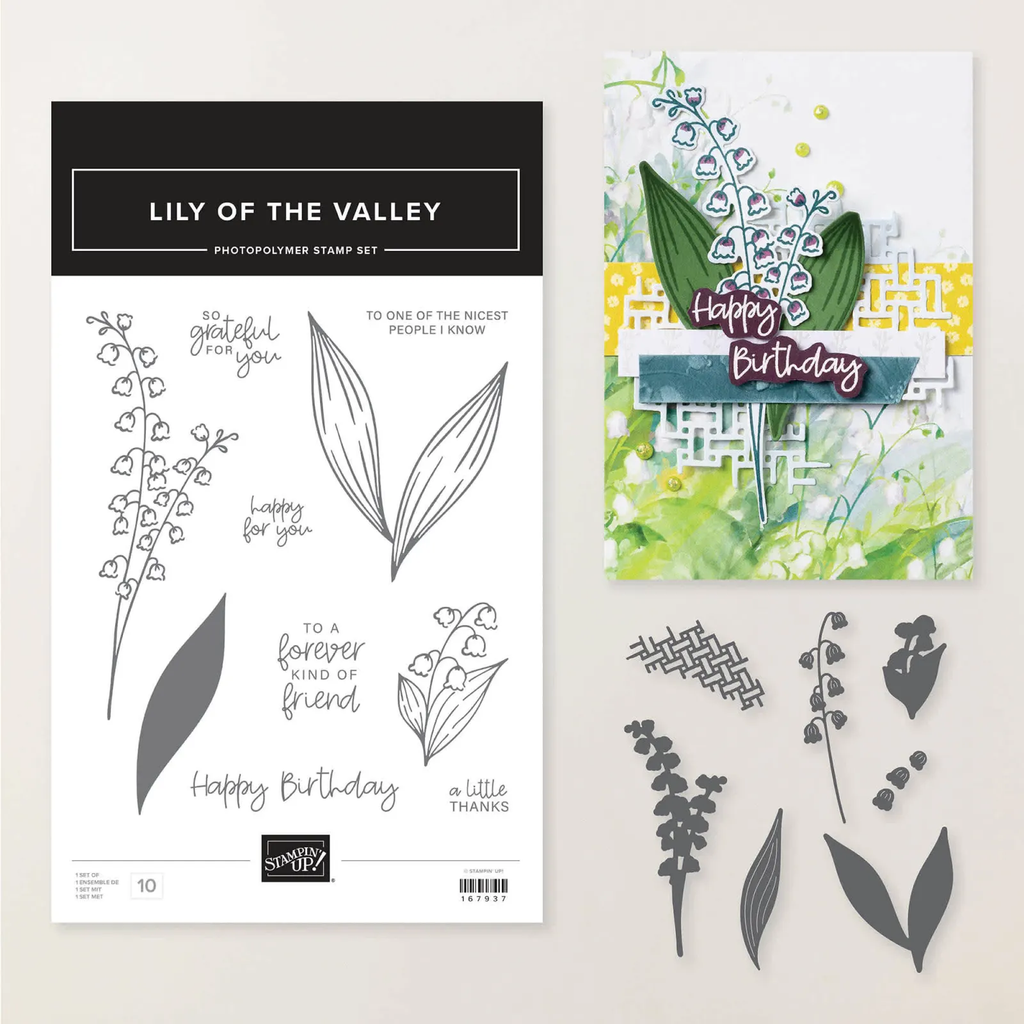
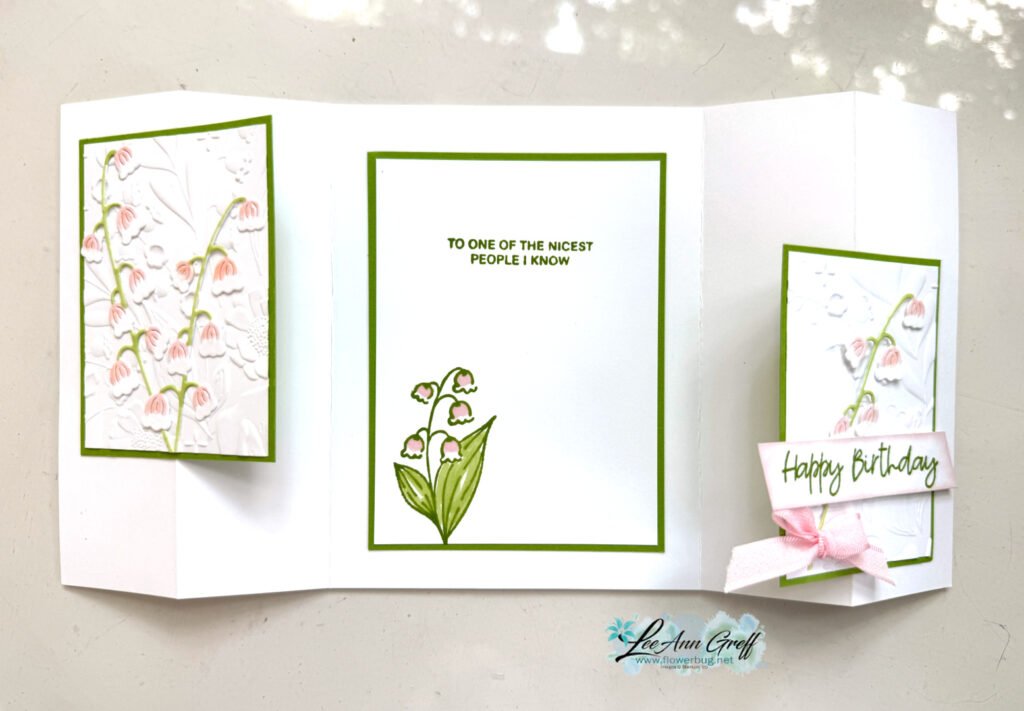
My colors here are White with Hydrangea Hue and Granny Apple Green. I colored the Lily of the Valley die-cuts with both Blends markers and tried the new Shimmer Brushes too. The gorgeous textured layers are made with the Floral Spray 3D embossing folder; it’s back in stock now!See it here.
Look closely at the layers in my photo above and note how the upper left piece tucks under the right lower piece. That’s why it’s called a crossover fold; it actually locks together to lay mostly flat. You can see how it’s made in the video below.
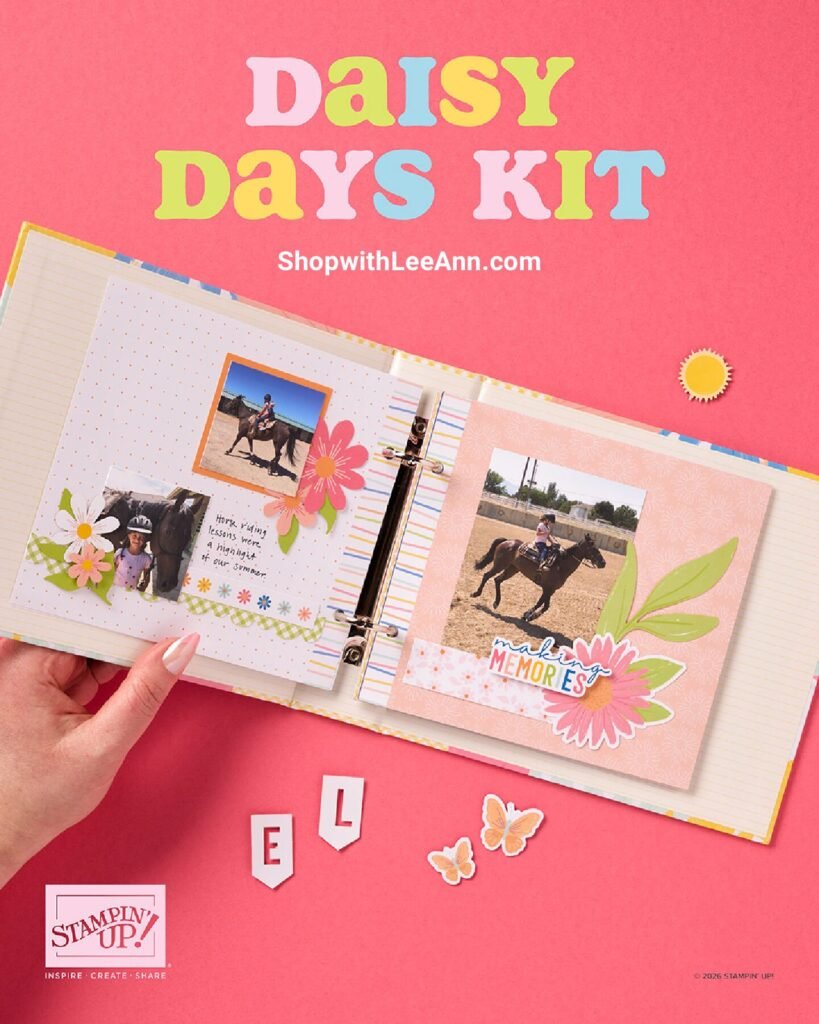
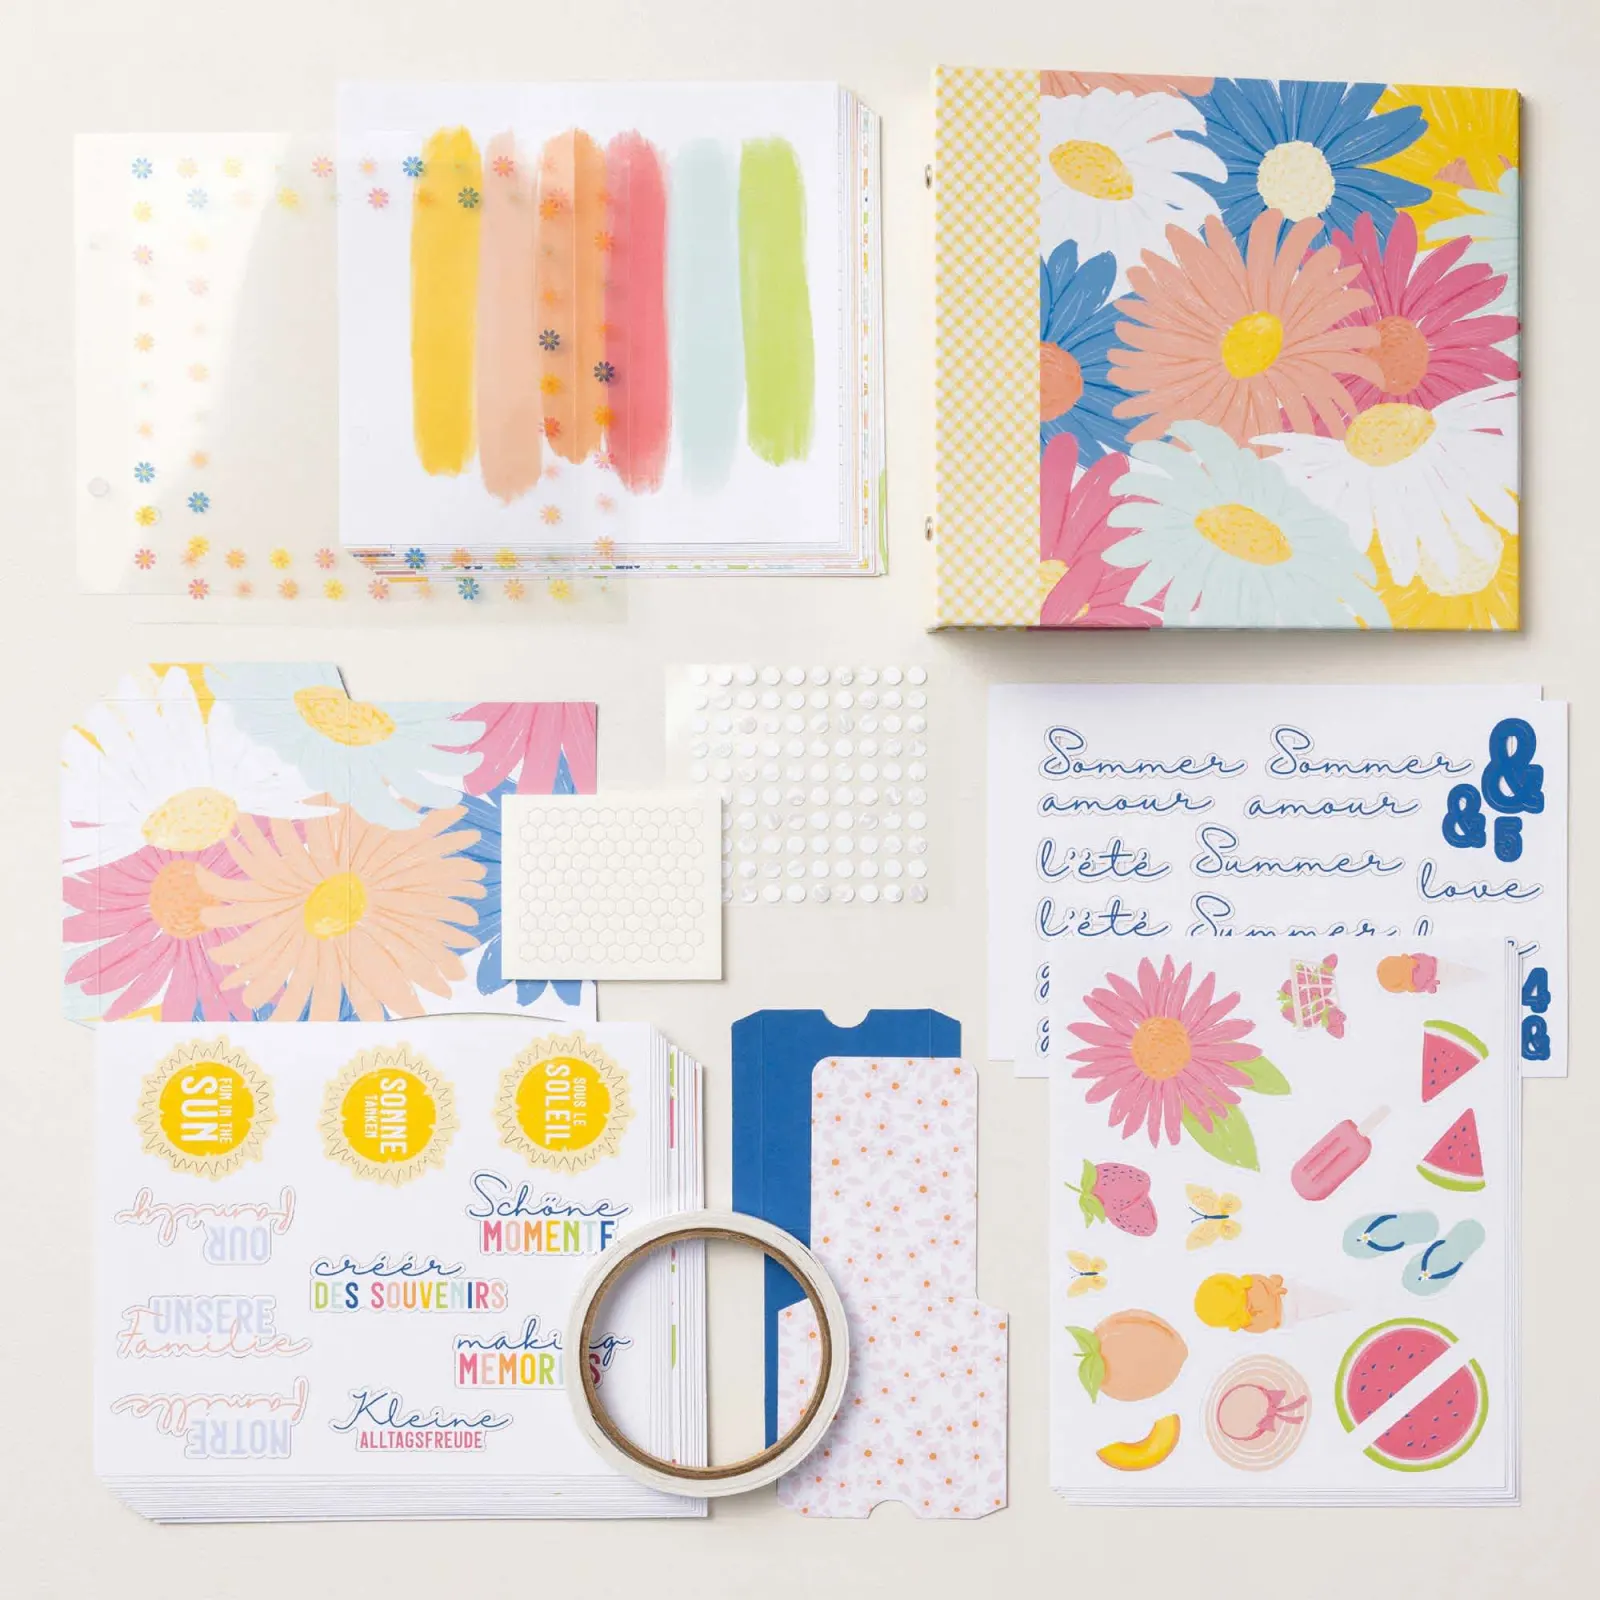
DETAILS – Makes 1 album with 28 pages – Album size: 7-3/4″ x 7″ x 1-7/8″ – Page size: 6.5″ x 6″ – Colors: Blueberry Bushel, Crisp Cantaloupe, Crushed Curry, Granny Apple Green, Pool Party, Strawberry Slush, Timid Tiger – Sentiments printed in English, French, and German
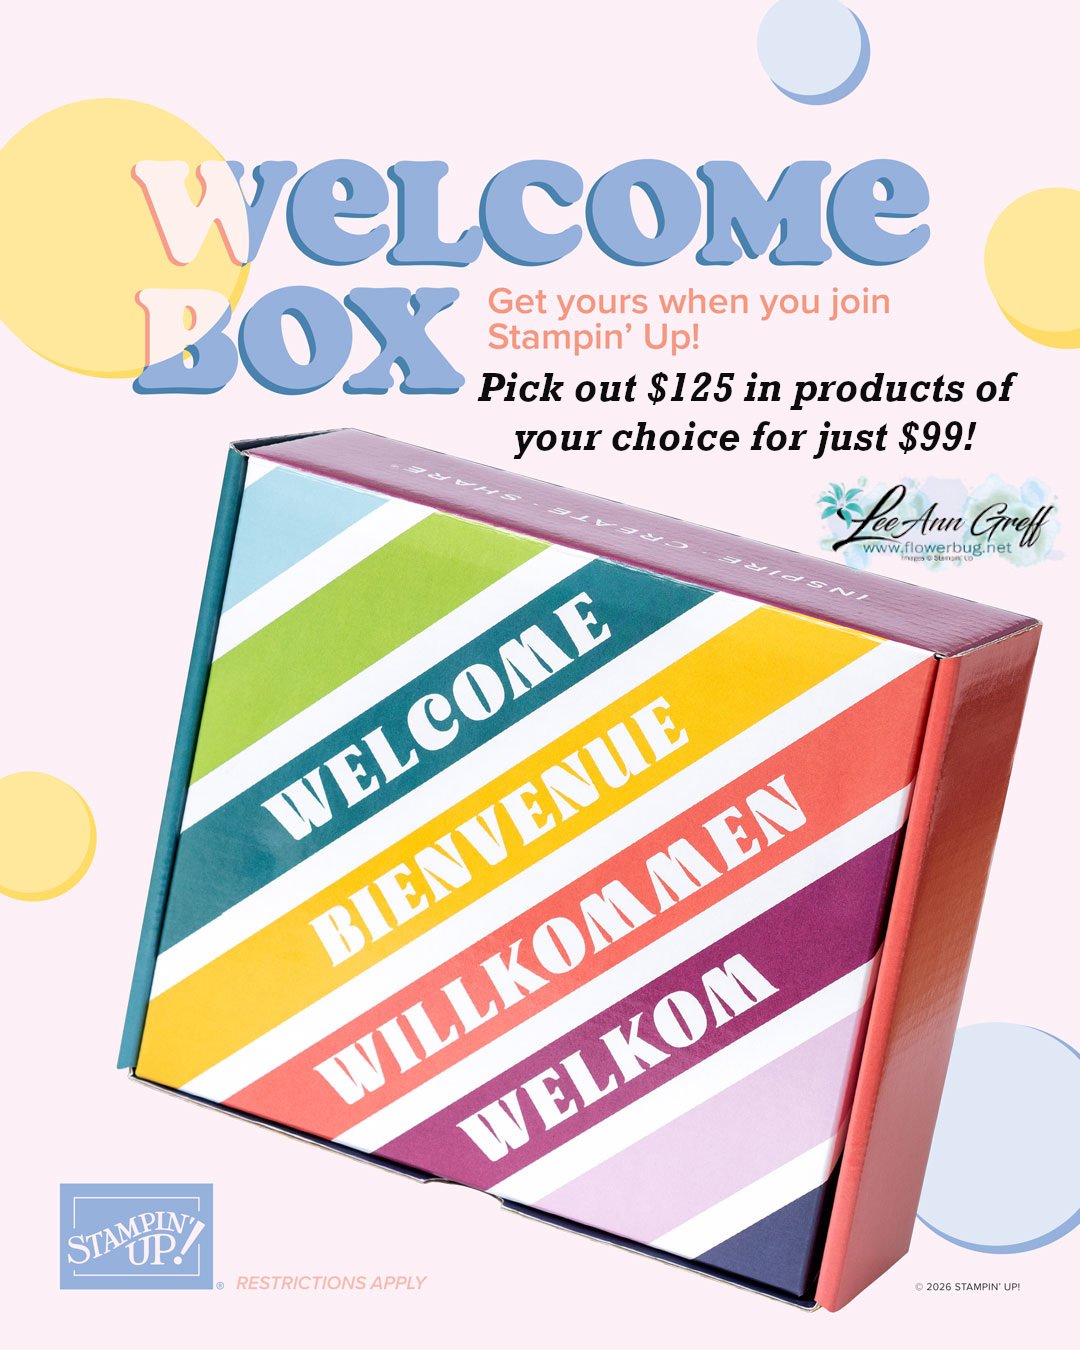
This is super exciting news! All first-time demonstrators (beginning July 1, 2026) will receive a surprise Welcome Box—a gesture of appreciation and a warm welcome into the global Stampin’ Up! creative community.
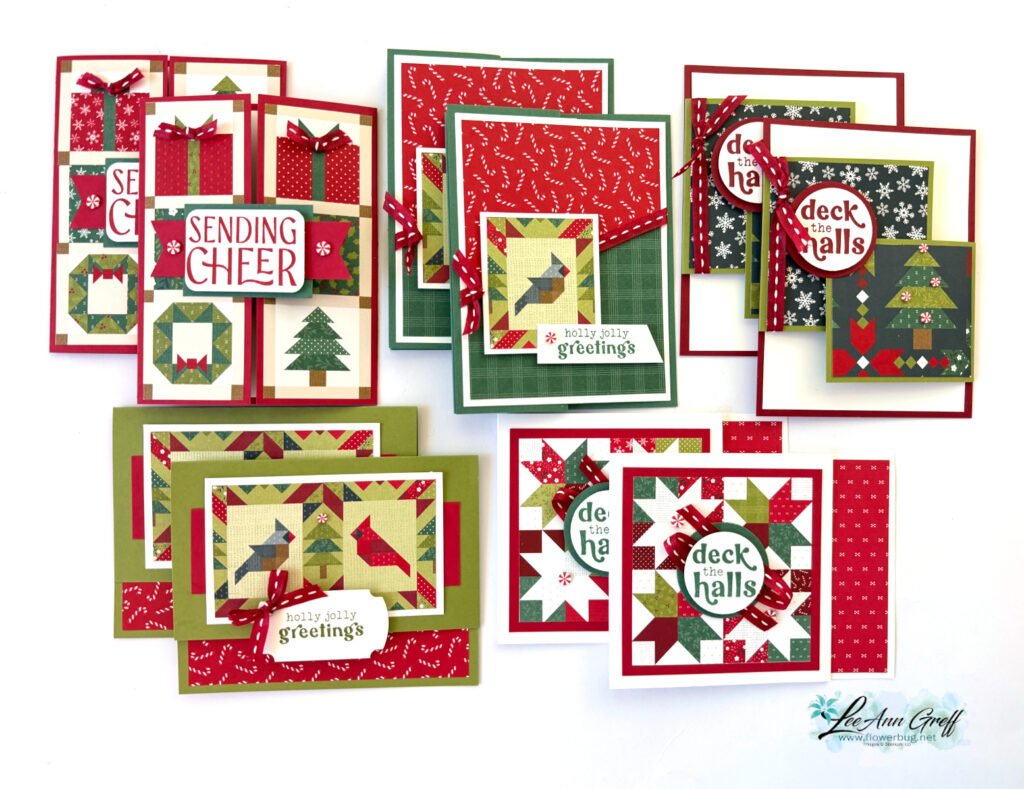
These cards are all fun fold layouts and make the most of this adorable paper. You’ll love the fun layouts and the Peppermint gems and stitched Red ribbon included in the kit.
The kit to go includes approximately $20 in Stampin’ Up! product plus the PDF tutorial for all 10 cards. The tutorial includes photos, measurements, a supplies list and step by step directions.
Click here to get the pre-cut kit to go with product & tutorial. It’s $33.
Click here to get the PDF tutorial only for $17. The PDF tutorial will be sent to you immediately in an email. The kit to go will be mailed out in mid August.
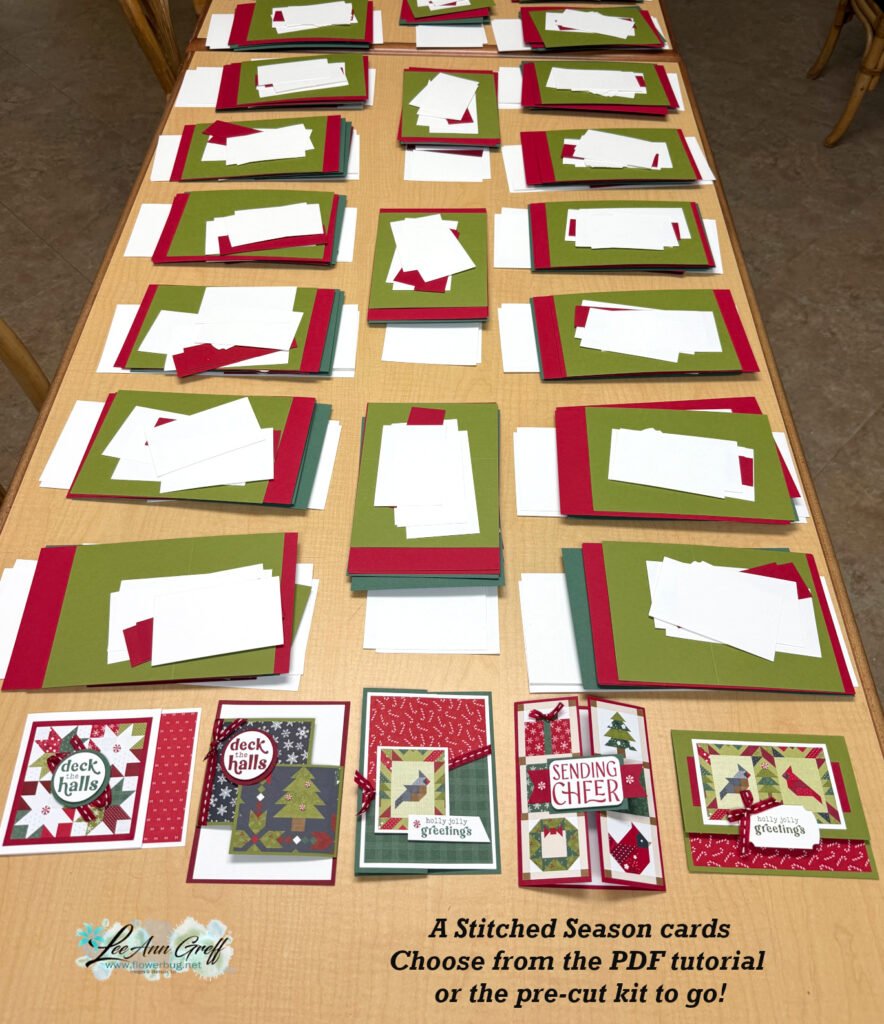
Here’s a peek at my pre-cut layers before packaging:
Notice: LeeAnn Greff, Independent Stampin’ Up! Demonstrator, Manager. The content of this website is my sole responsibility as an independent Stampin’ Up! demonstrator and the use of, and content of, the classes, services, or products offered on this website is not endorsed by Stampin’ Up! Copyright 2025




















Leave a Reply