/


Latest Post

Beauty of Friendship Fun Fold card


Finally I can share this beautiful fun fold card we made at my May Card Clubs!  

I like to wait until after all of my Clubs are held so I can surprise them with the cards we're making.  I'm not sure why; it's just a habit now after many years of doing it that way!  

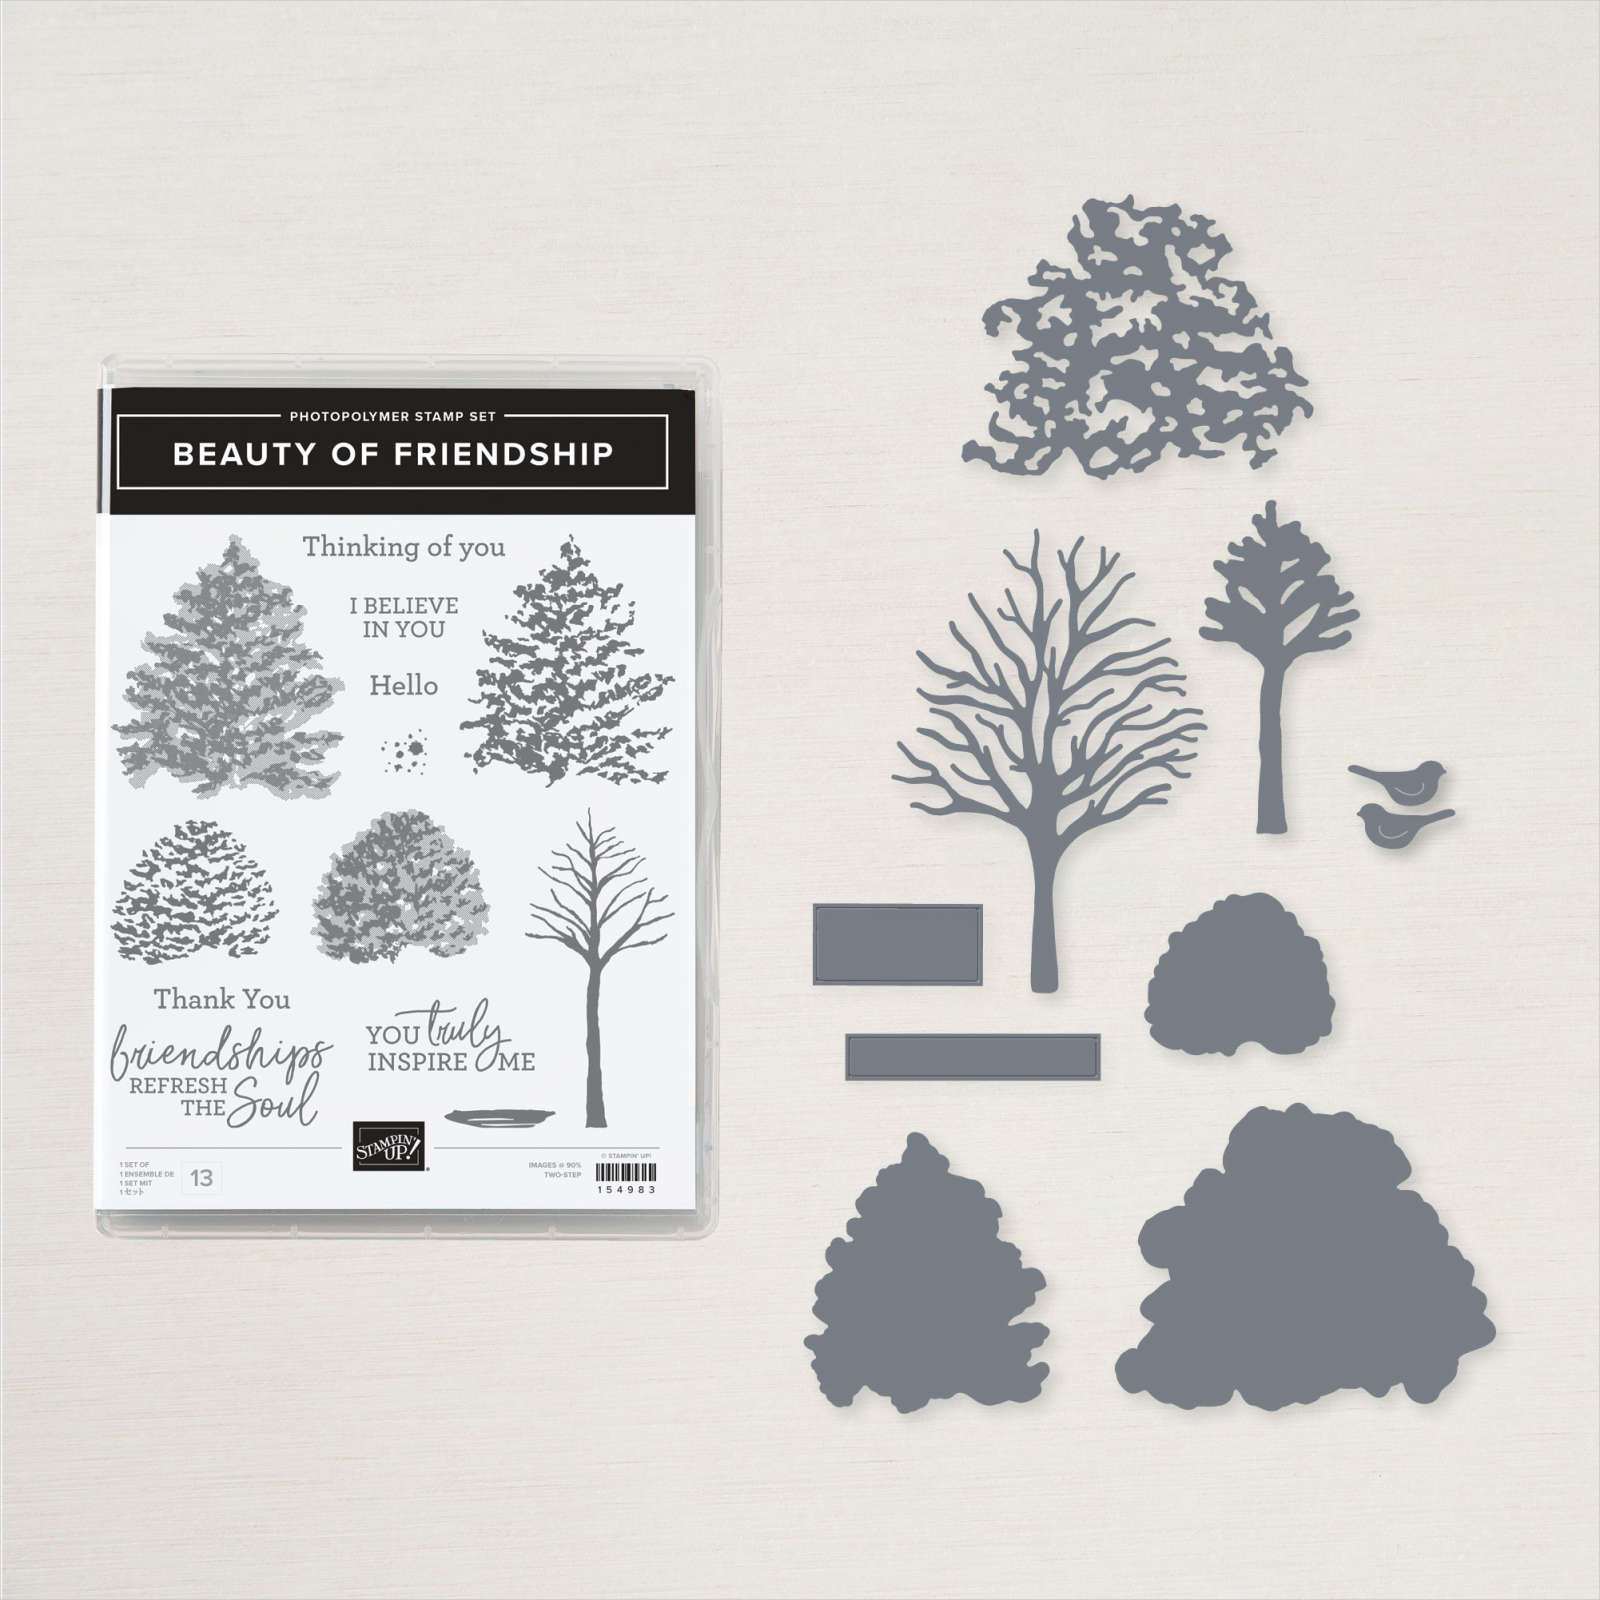
I chose to use the Beauty of Friendship bundle (seen here) to make this unique 'Latch fold'. 

I chose to use a few of our new In Colors; So Succulent & Evening Evergreen along with Pool party.  It sure created a pretty, almost monochromatic card.  Everyone sure loved it; which is always my goal!

This fold is very deceiving but so simple!  Just a little trick at the end to put it all together.  Watch the video below! 

Download the Beauty of Friendship latch fold card project sheet or use these measurements:

  • Pool Party 5 1/2" X 6 1/2" scored at 4 1/4", 3 1/2" X 3 1/4" scored at 2 3/4" along the 3 1/4" side
    Whisper White 2" X 5 1/4", 2 1/2" X 3 1/4" and 4" X 5 1/4" inside, plus a scrap for die-cut
    Evening Evergreen – scrap for 2 1/4" circle

 ~~~

May Specials & Promotions!

Get $56 in free product with purchase of the Stampin' Up! Starter Kit!  Choose $155 in product of your choice for just $99 and get FREE SHIPPING as well! 

That's 36% off your products!


Earn an extra $25 in free product if your order is over $250!  That means you get $50 in free product!  *combine your order with a friend.


Get a NEW embellishment from the Annual Catalog with an online order

over $50 before tax & shipping. 

Host code: WB2EX96R  Click here to order

Use this host code if your order is under $150. If it's over you'll still get the jewels but you'll also earn host benefits! Better yet, choose the Starter Kit and get $55 in FREE product and FREE Shipping as well!  Click here!

*All online orders in May receive a free PDF full of project ideas with 2 new catalog suites! 

All Posts

  • Gift Wrapped Fun Fold card!


    Look at this super cute Fun Fold card featuring the Gift Wrapped bundle seen here! 

    I LOVE the bright, eye-catching colors she choose; Granny Apple Green & Poppy Parade.  Can you see that she used both the Light & Dark colors in these Blends markers?  

    She also used the Wink of Stella on the punched bow and 'ribbon' on the front. See that cute baby tag?  That's part of the punch too! 

    Can you see how the front flap catches on the greeting on the left?  Love this! 

    Measurements: 

    • Granny Apple Green 4 1/4" X 8 1/4" and 3" X 6" scored at 3" and two 1/2" X 2 3/4" strips and a 1" X 1 1/4" piece for the greeting layer
    • Poppy Parade 2 3/4" square
    • Whisper White 4" X 5 1/4" plus a 2 3/4" square for inside the smaller flip area and scraps for the Tasteful Labels die-cut, and ribbon punches. 

    ~~~

    October Specials!

    Current Host code is MJK7R2CU

    Designer Paper Sale; click here!

    Get a free package of Adhesive Backed Snowflakes in October with an

    online order over $45. 


    All online orders will receive my Tutorial of the Month featuring the Poinsettia Petals suite!

    Leave a Reply

    Your email address will not be published. Required fields are marked *

  • Clear Block Stamping; a fun & easy background for quick cards!


    Have you ever tried Block Stamping?  If you have a clear block and ink pads you can do this!  

    I shared these cards on Facebook Live last week Tuesday.  You can watch the replay below.  Remember every Tuesday morning at 11 am CT I'm Live on FB here. 

    I chose a few different stamp sets and inks for the cards I made.  I also have a few tips for you when doing this technique. 

    The above card features Soft Seafoam and In The Pines stamp set.  The White layer is 4 3/4" X 3 1/2".  I inked the 'H' block in Soft Seafoam ink and spritzed it with a mixture of rubbing alcohol and Champagne Shimmer Paint. 

    You can use water but that takes longer to dry and I wanted a bit of shimmer. Shimmer Paint mixes well with rubbing alcohol. I added random strips of Shaded Spruce CS across the card.  Quick & easy! 

    This card features Calypso Coral (2" X 5 1/2"), Petal Pink and the Queen Anne's Lace stamp set. The textured layer is from the set of Wrapped in Texture embossing folders.

    Can you see the marbling effect here? I inked the block in Seaside Spray ink and then added a few swirls of Misty Moonlight with a Stampin' Write marker. *Watch the video below. 

    I used the Snowflake Wishes set on this card and the Flowers for Every Season ribbon/twine combo pack.  The colors are Seaside Spray & Misty Moonlight.  The White layer is 3 1/2" X 4 3/4" and the Misty Moonlight is 3 3/4" square – a scrap I had. 

    Tips on the Clear Block Technique:

    • Use a light color of ink
    • Choose a block that fits on your card stock
    • Ink it and spritz with either water or rubbing alcohol until it almost starts to puddle.
    • Add a swirl of darker color with a marker after inking the block and before spritzing. 
    • Alcohol dries faster than water 
    • Add a bit of Shimmer Paint to your alcohol for additionals glitz! 
    • Whisper White card stock works just fine; no need for thicker papers


    ~~~

    October Specials!

    Current Host code is MJK7R2CU

    Designer Paper Sale; click here!

    Get a free package of Adhesive Backed Snowflakes in October with an

    online order over $45. 


    All online orders will receive my Tutorial of the Month featuring the Poinsettia Petals suite!

    Leave a Reply

    Your email address will not be published. Required fields are marked *

  • Christmas themed fun-fold swaps


    Last Friday I started sharing last month's fun fold cards made by my talented Flowerbug's Team members. Here are a few more 

    Jacki created this one using the Brightly Gleaming Specialty Designer paper and the Beautiful Autumn stamp set. It's a latch card!

    Once you add the layers to the card front you'll use the Classic Label punch to create the window for the latch to catch into.  

    Measurements:

    • Night of Navy card base 4 1/4" X 9" scored at 5 1/2"
    • DSP 3 3/4" square on the front; 1 1/4" X 4" on the inside right edge
    • Pretty Peacock 4" square ont he front and a thin strip on the right inside edge
    • Latch – Navy 2" X 3 1/2" scored at 1/2"
    • Vanilla latch 1 3/4" X 2 3/4", inside is 4" X 5 1/4"

    Here's another card made by Paula featuring the Little Treat Box dies and the Wrapped in Christmas stamp set.  

    She cut the treat box dies into separate pieces (Garden Green & Vanilla) for her card front.  It also opens up to reveal a gift card holder inside. Lots of texture with the Winter Snow embossing folder too!  

    Measurements:

    • Garden Green card base 5 1/2" X 4 1/4"
    • Very Vanilla 5 3/8" X 4 1/8" 
    • Real Red 4 1/2" X 10 3/4" scored at 3/4", 4" and 7 1/4" 
    • Poinsettia Place DSP 4 1/4" X 3" 

    Stop back again for more Fun Fold cards!  I have lots more to share! 

    ~~~

    October Specials!

    Current Host code is MJK7R2CU

    Designer Paper Sale; click here!

    Get a free package of Adhesive Backed Snowflakes in October with an

    online order over $45. 


    All online orders will receive my Tutorial of the Month featuring the Poinsettia Petals suite!

    Leave a Reply

    Your email address will not be published. Required fields are marked *


Notice: LeeAnn Greff, Independent Stampin’ Up! Demonstrator, Manager. The content of this website is my sole responsibility as an independent Stampin’ Up! demonstrator and the use of, and content of, the classes, services, or products offered on this website is not endorsed by Stampin’ Up! Copyright 2025