/


Latest Post

Beautiful swaps with NEW products!


We held out Team card swap Saturday and I want to share some of these awesome swaps they made. Our theme was to use new catalog products. This swap was ‘shoebox’ style so we made each other’s cards in person. I love shoebox swaps!

Tracey created this special card using the new Peaceful Pine in color. She paired it with Cloud Cover and Berry Burst here.
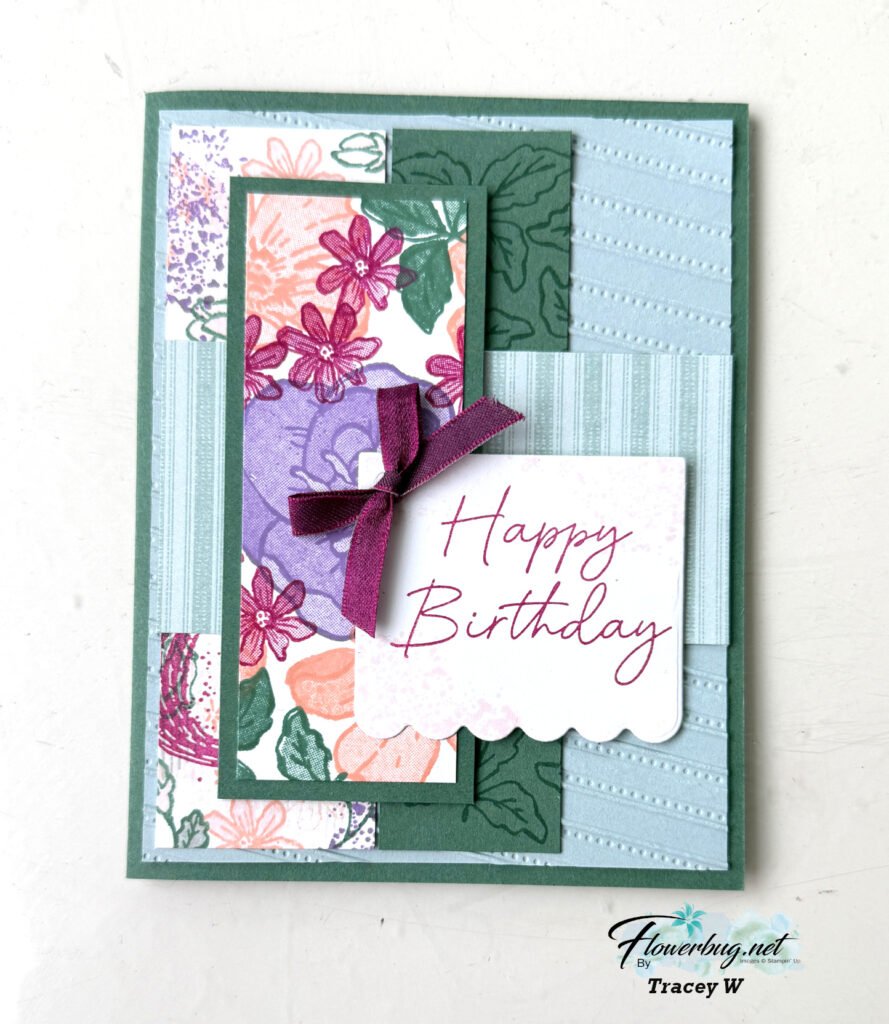
Look at that stamped panel; it is NOT designer paper! She stamped it because she loves to create with our stamps. And she finds it fun to create unique color combos too. She used the stamps from the Boutique Blossoms bundle seen here.
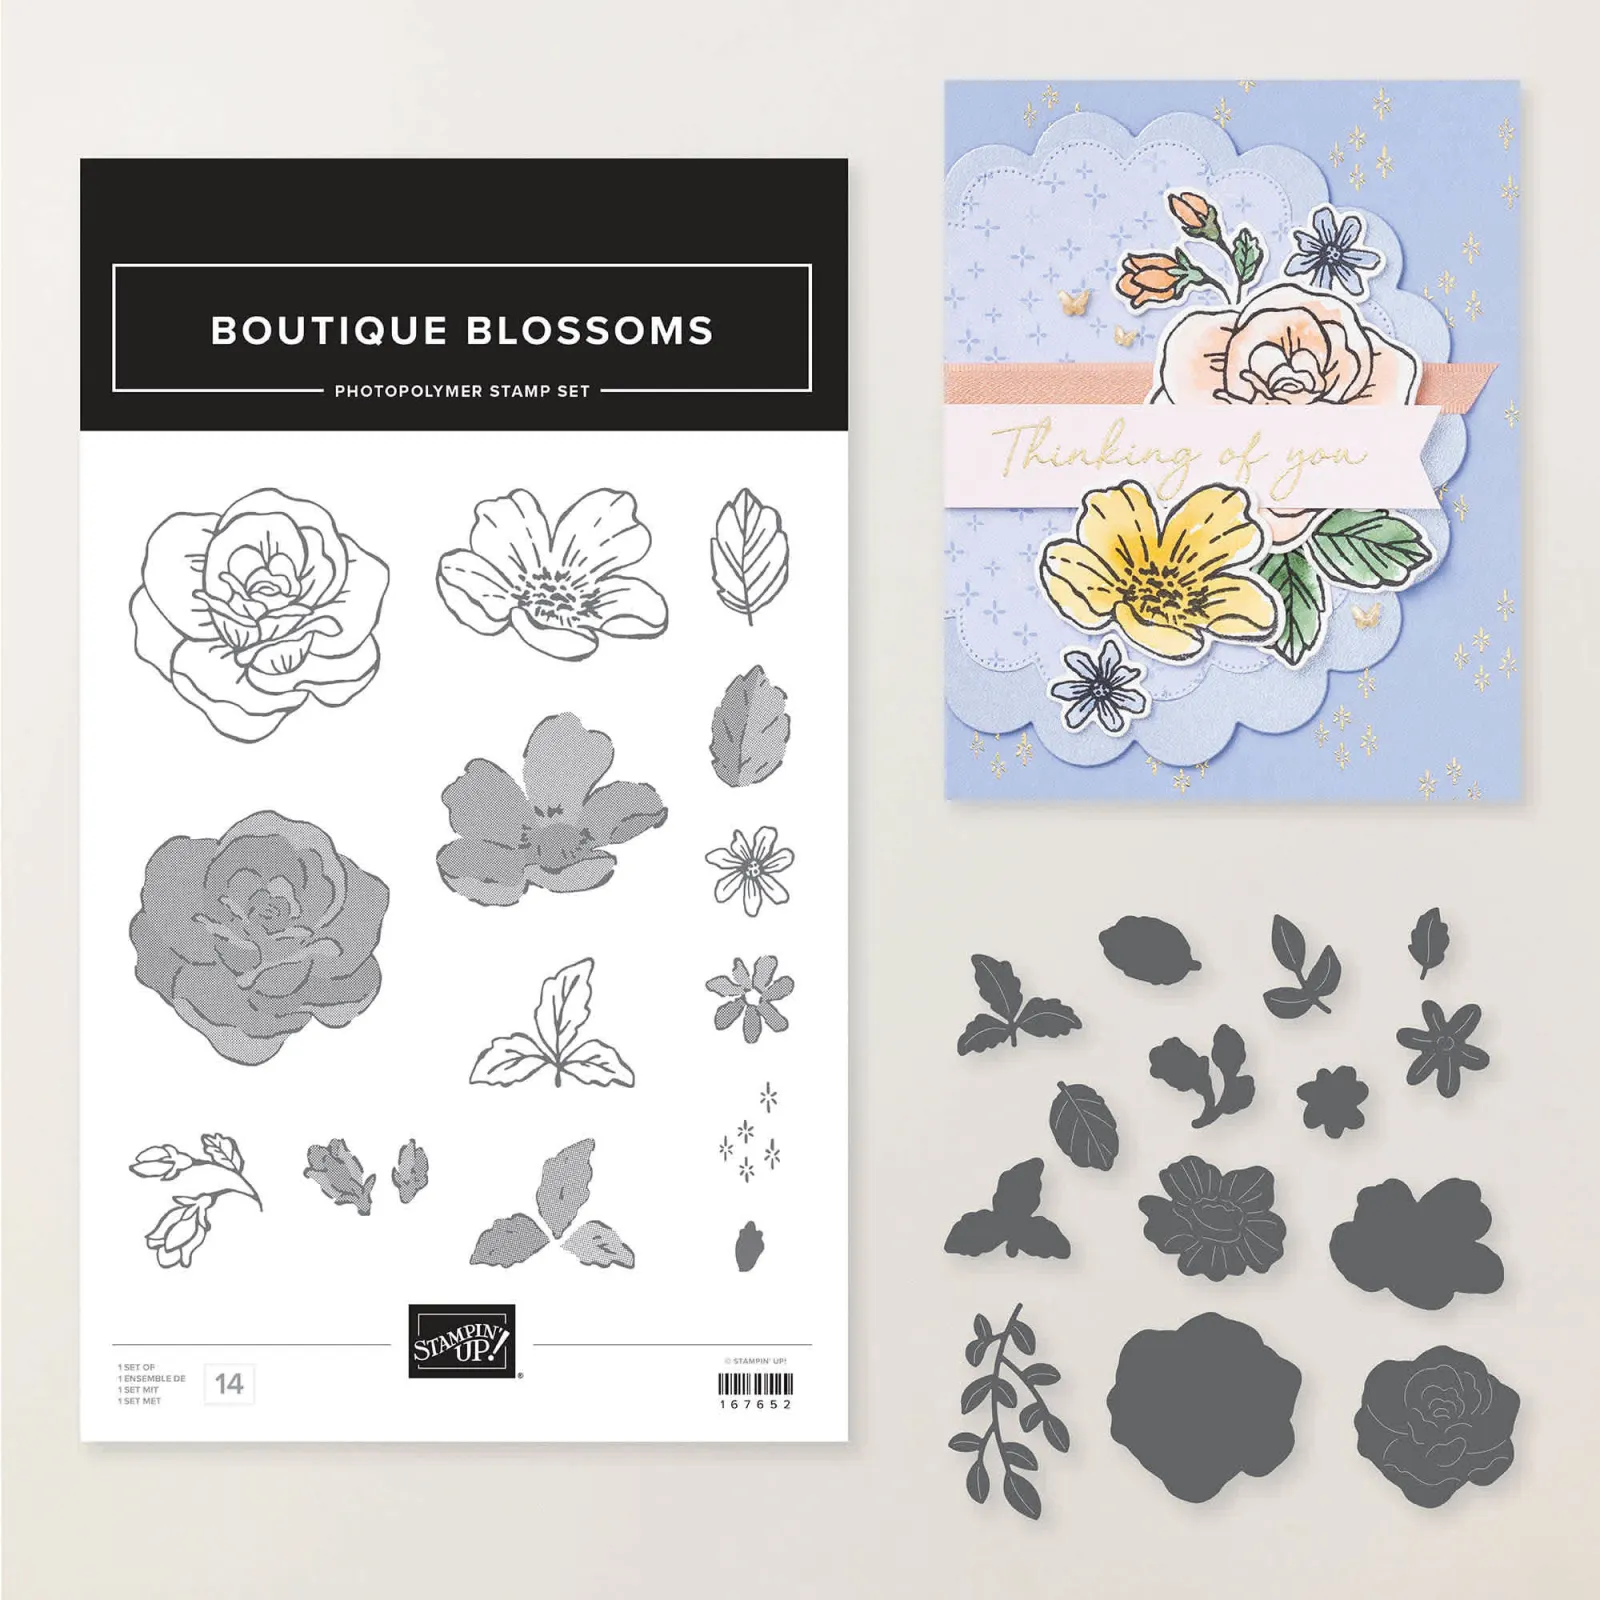
The Heirloom Boutique suite is one that Stampin’ Up! says will remain current for a year! I love knowing this; it helps when you join swaps and post projects for customers.
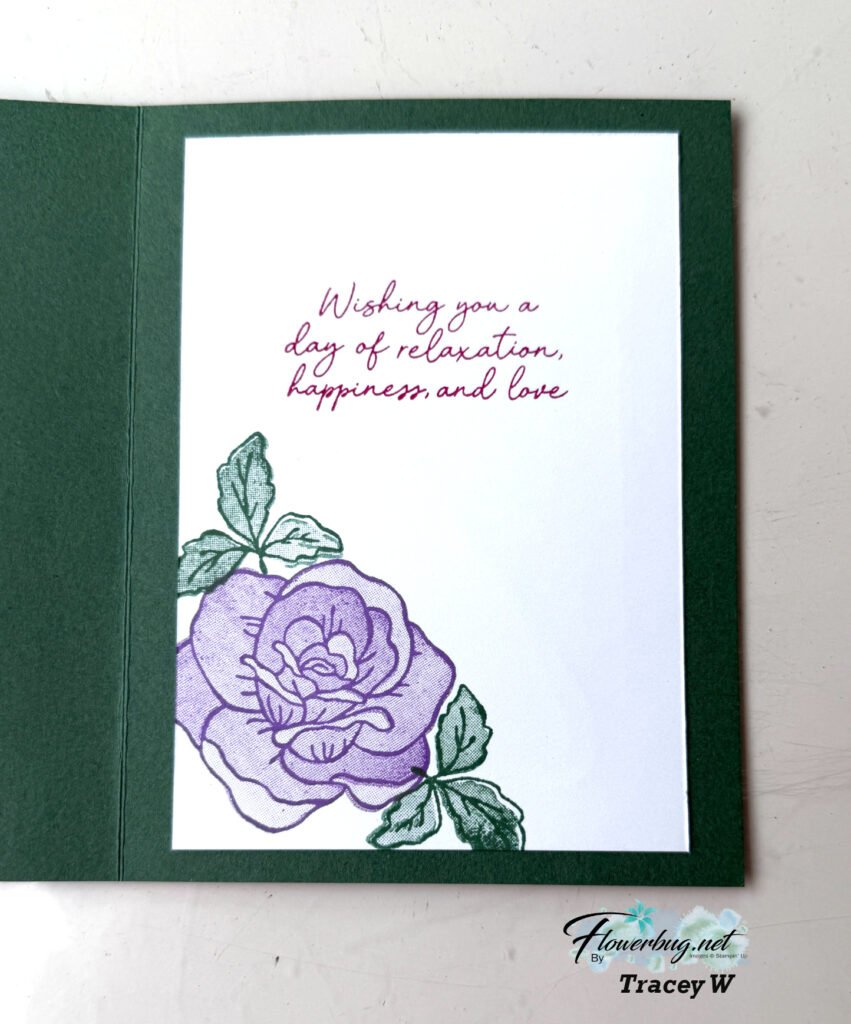
Here I stamped the outline image in 1st generation ink and the inside of the flower and leaves in 2nd generation ink. *that means stamped off once.

A fabulous card Tracey!

~~~~

And here is Lori’s neat pop-up fun fold card:
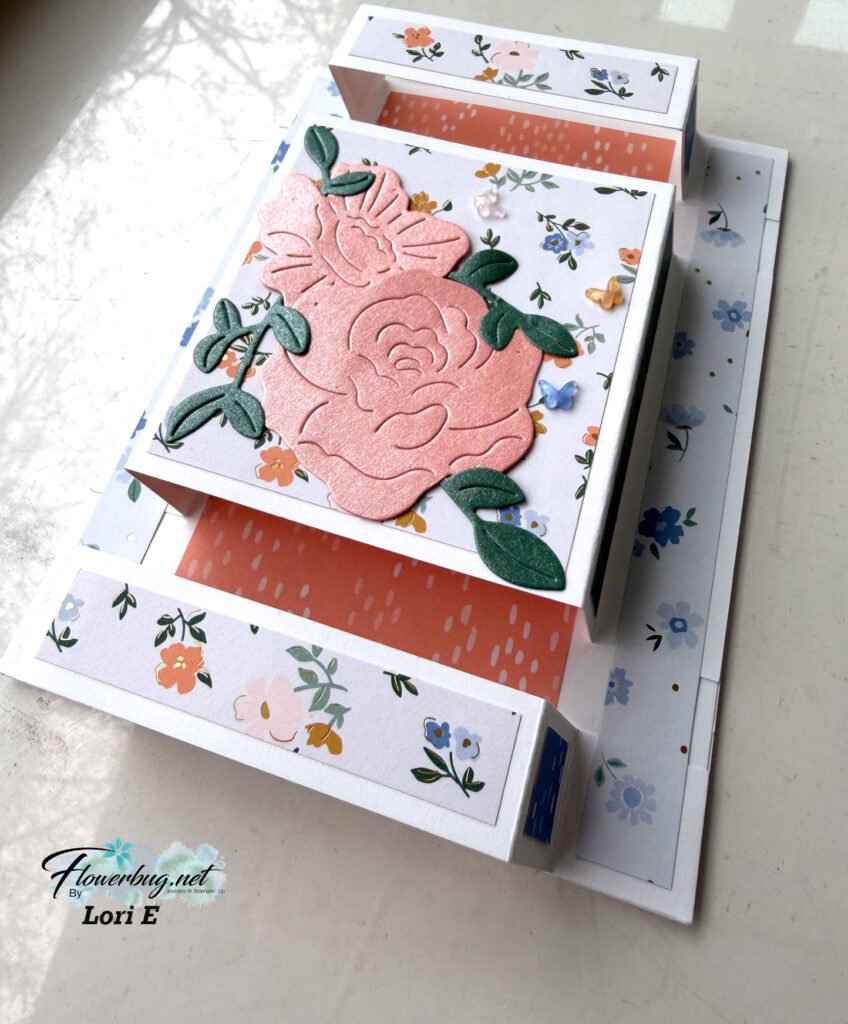
It had three layered panels that pop up from the card front. Very cool!
It also features the Bloom Boutique suite seen here. It was hard to get a good photo of this fun fold card that she cased from Susan Campfield. The die-cuts on the front are cut from the new 2026-28 In Color Pearlized Specialty paper seen here.

Here are the measurements:

Card Base 8 1/2″ X 5 1/2″ score at 4 1/4″
Flaps – center is 3″ X 5 3/4″ score at 3/4″, 1 1/2″, 4 1/4″, 5″
top & bottom flaps 3/4″ X 5 3/4″ score at 3/4″, 1 1/2″, 4 1/4″, 5″
Inside panel of DSP 2 1/2″ X 5 1/4″
DSP – middle is 2 3/4″ X 2 1/2″, top & bottom 1/2″ X 2 1/2″, left & right 1/2″ X 5 1/4″, sides 1/2″ X 2 3/4″, corners 1/2″ square
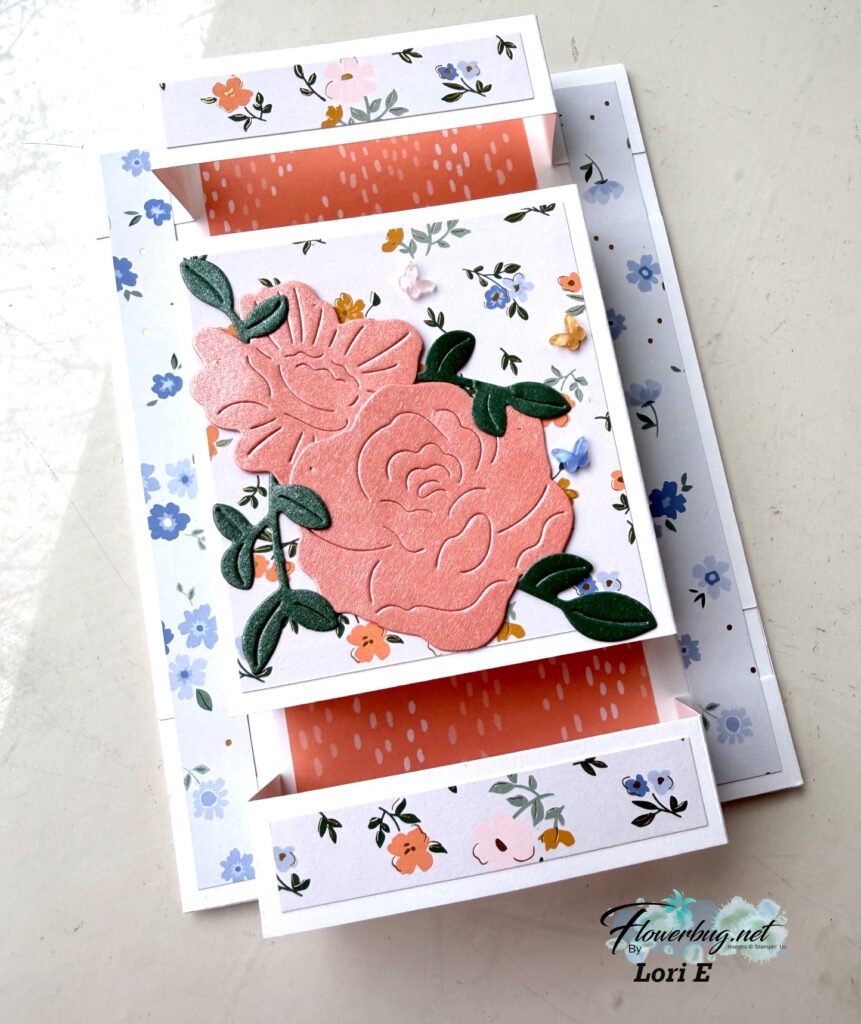
What a special card she made!

~~~~

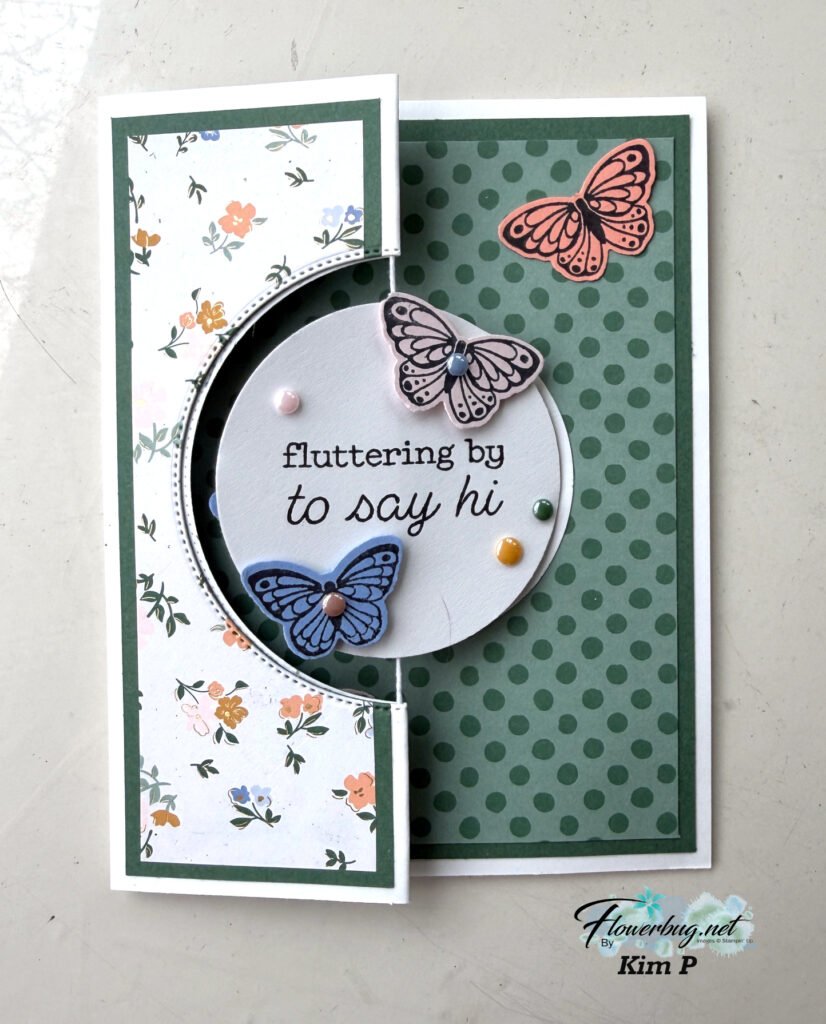
Next is another special fancy fold card featuring the Bloom Boutique specialty designer paper; this one is created by Kim.
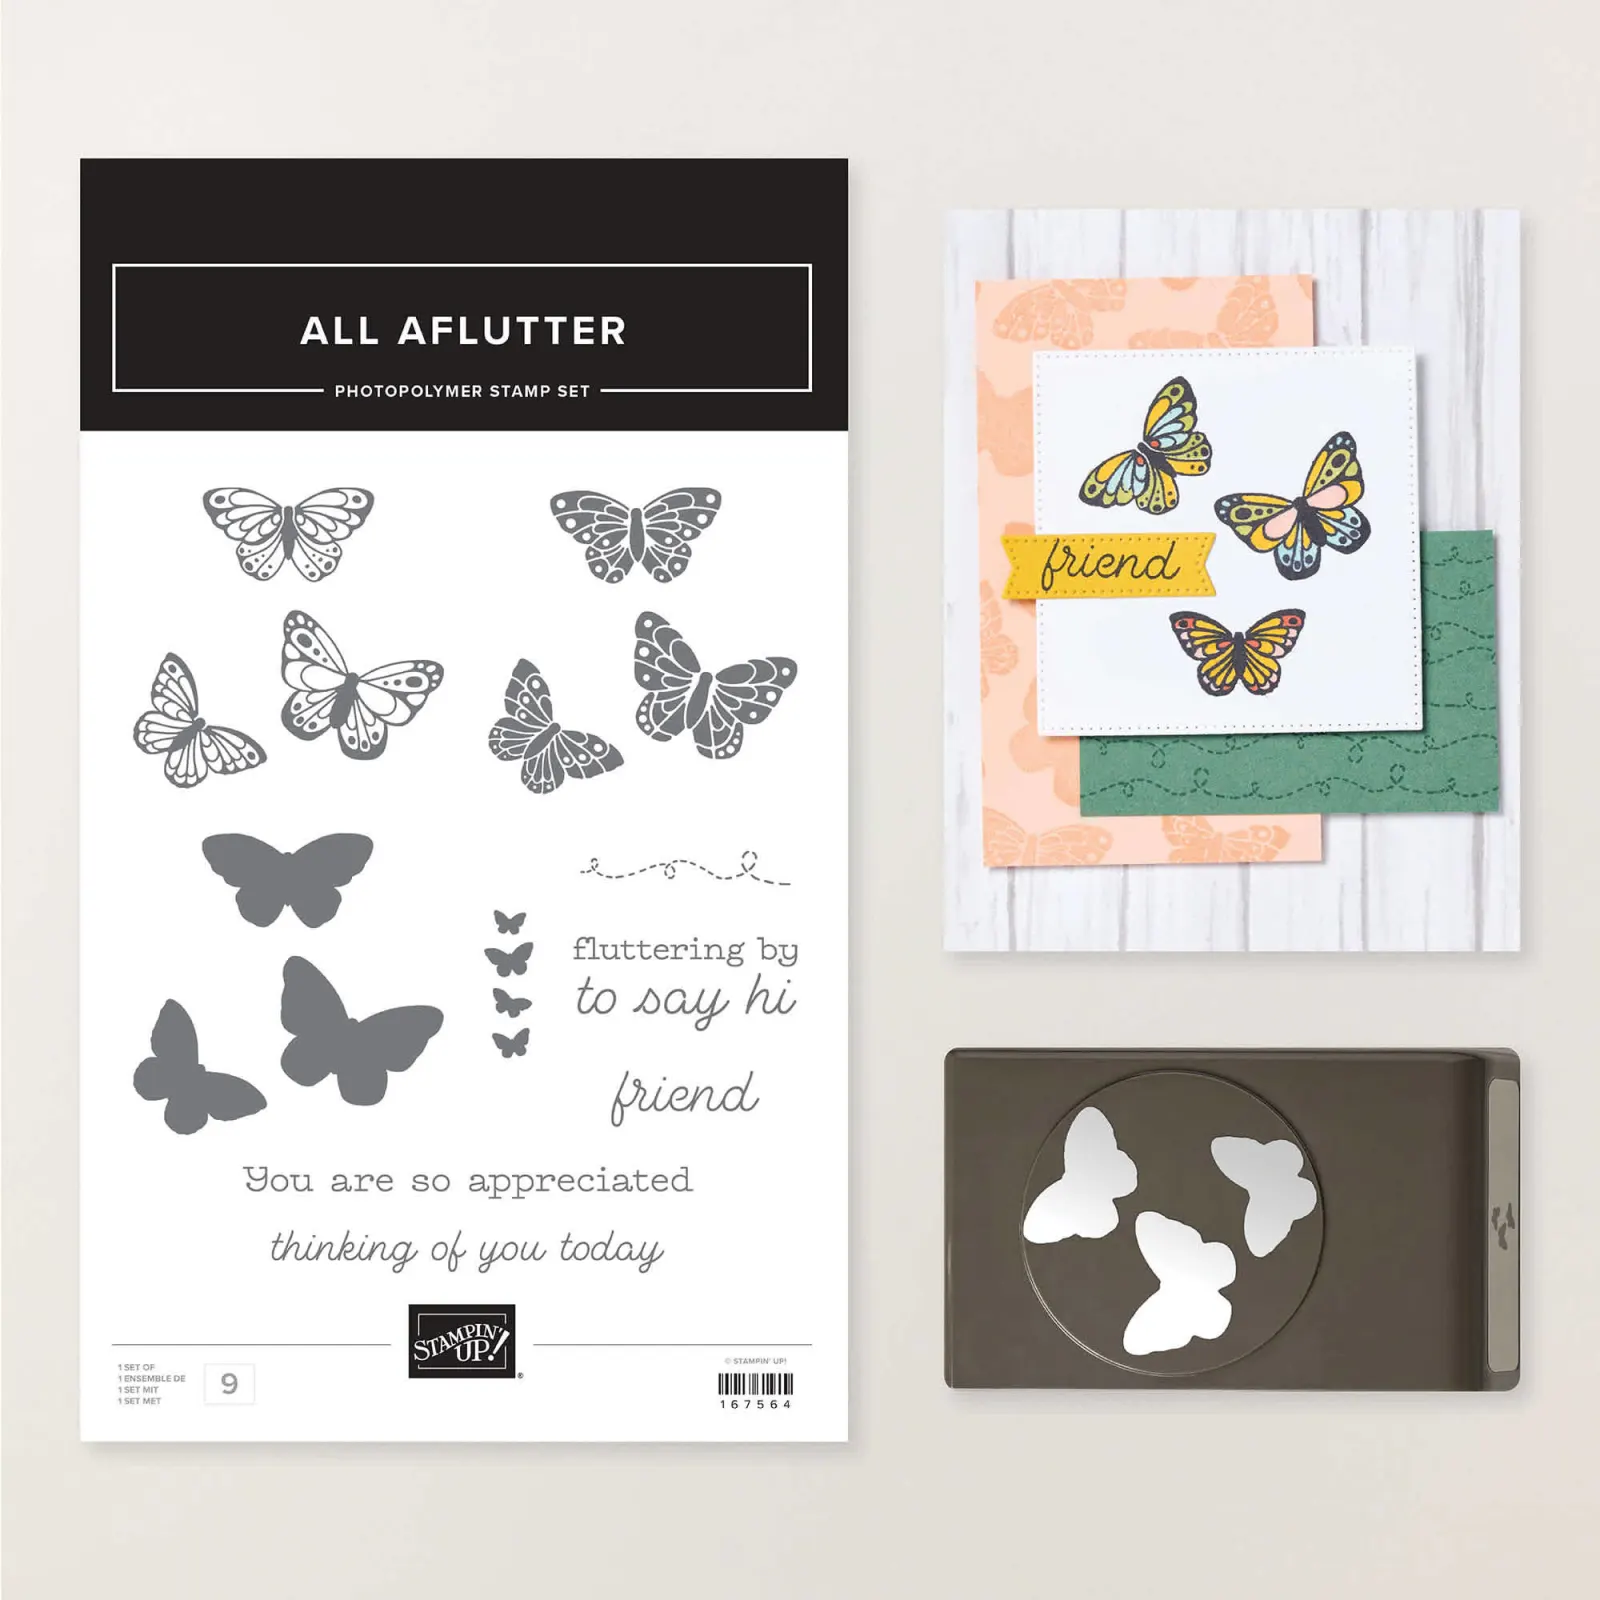
She featured the All Aflutter punch bundle seen here. I’m so happy we have a new butterfly punch again!
Her card is a spinner card using Baker’s Twine. It’s fun to set up a card like this so when the recipient removed the card from the envelope the circle spins. You simply wind it up before inserting it in your envelope. So cool!

We added stamped & punched butterflies all over this card; using the newest In Colors. The inside polka dot DSP panel is from the new Painted Patterns 12 X 12″ DSP seen here. It’s available in most of our color families!
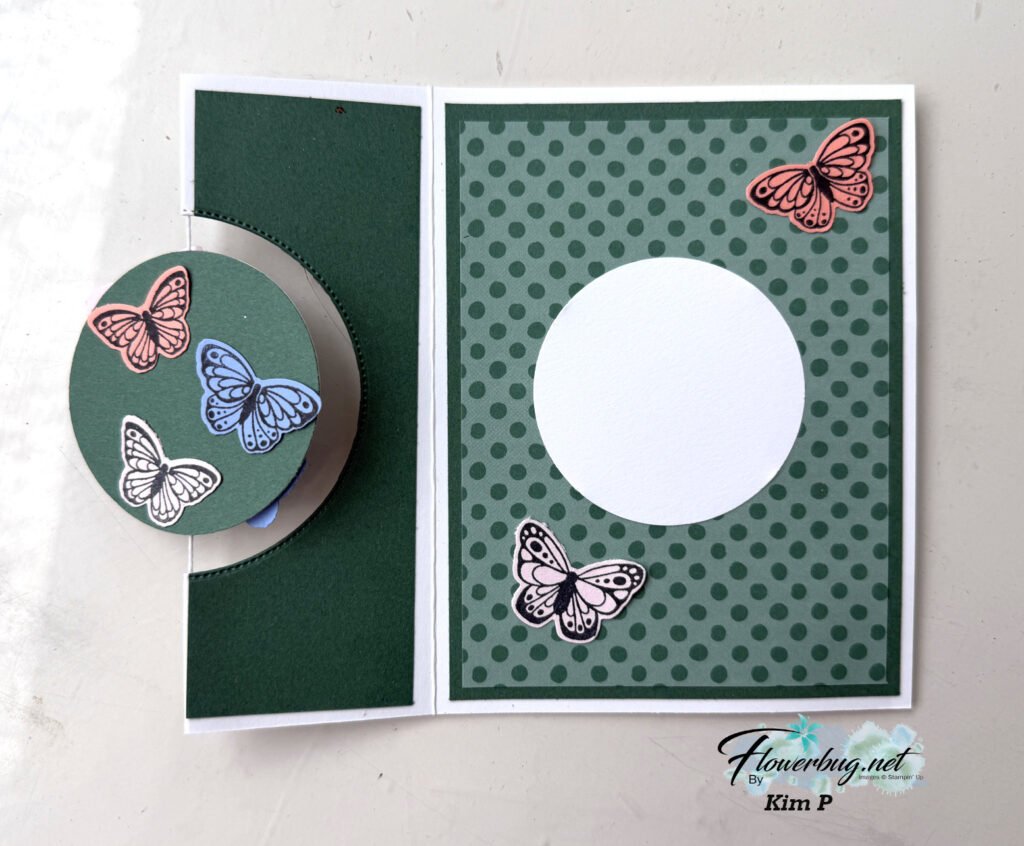
Before the string is added to the crease of the fold you’ll cut the larger circle from the front. She has so many layers on her card; it can be tricky to get the circle die-cut ‘cut’ through the layers. We ran it back and forth the Cut & Emboss machine but it did cut!

It’s an amazing card Kim!

~~~~~

Need a few new things from the Summer Catalog?
Be sure to tack on one of the Product of the Month choices for just $5 (once the order is over $75).

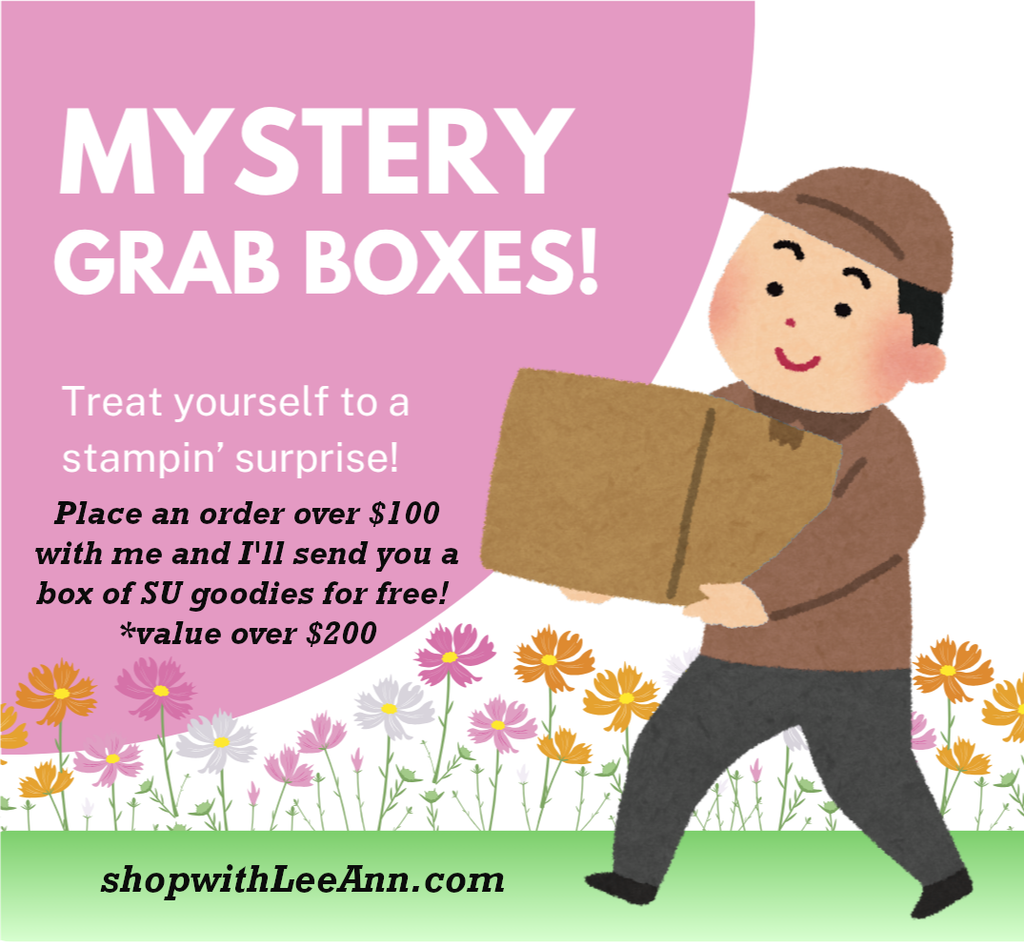
And if you’re already at $75 bump it up to $100 and earn a FREE Mystery Box from me! I have a few left and they’re stocked up with recently retired Stampin’ Up! products valued at over $200! Shop here.
All Posts

  • Merriest Moments & Spruced Up Christmas card ideas


    This week it's all about sharing October's Team swaps with a Christmas theme.  I know you love seeing what they make as much as I do!

    First is a gorgeous card made by Kim with the Merriest Moments stamp set & Merriest Frames Hybrid embossing folder.  These products were a bundle in last year's Holiday catalog, but this year they are offered separately.  

    She used Starry Sky and White card stock with beautiful Silver embossing on the greeting and some of our gorgeous Silver mesh ribbon under the center panel.  

    Did you know you can cut and emboss card stock at the same time with our Hybrid embossing folder & dies?  See them here; it's sooo cool! 

    Absolutely stunning!

    ~~~

    Next up Paula used the same dies and stamp set, plus she added the Christmas Banners bundle to it as well.  

    Her colors are Real Red with Garden Green & White.  

    She turned it into a fun fold too but scoring the front panel one extra time at 2 1/8".  Look closely at the many die-cuts she has here! 

    Next is a beautiful card made by Brenda in blues & white with lots of layers.  

    She used the Spruced Up bundle seen here for the trees with lots more product as well.  

    Details:

    • Twigs & Springs embossing folder for the large White layer (seen in the annual catalog here)
    • She embossed her Vellum card stock with the Wintry 3D embossing folder
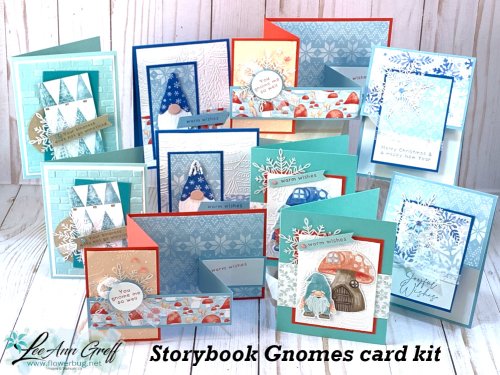
    • The DSP is the Storybook Gnomes seen here
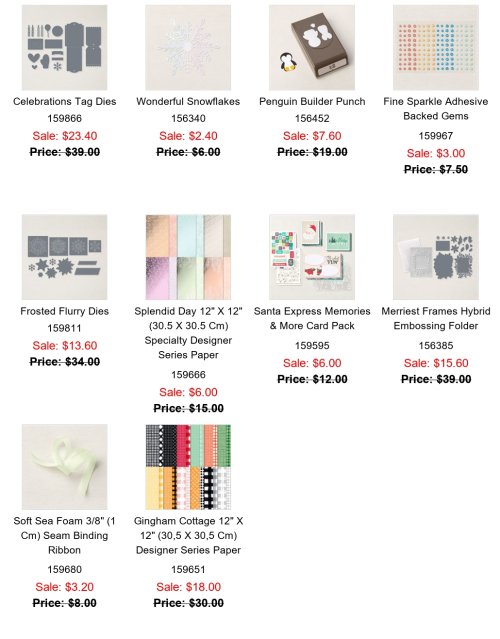
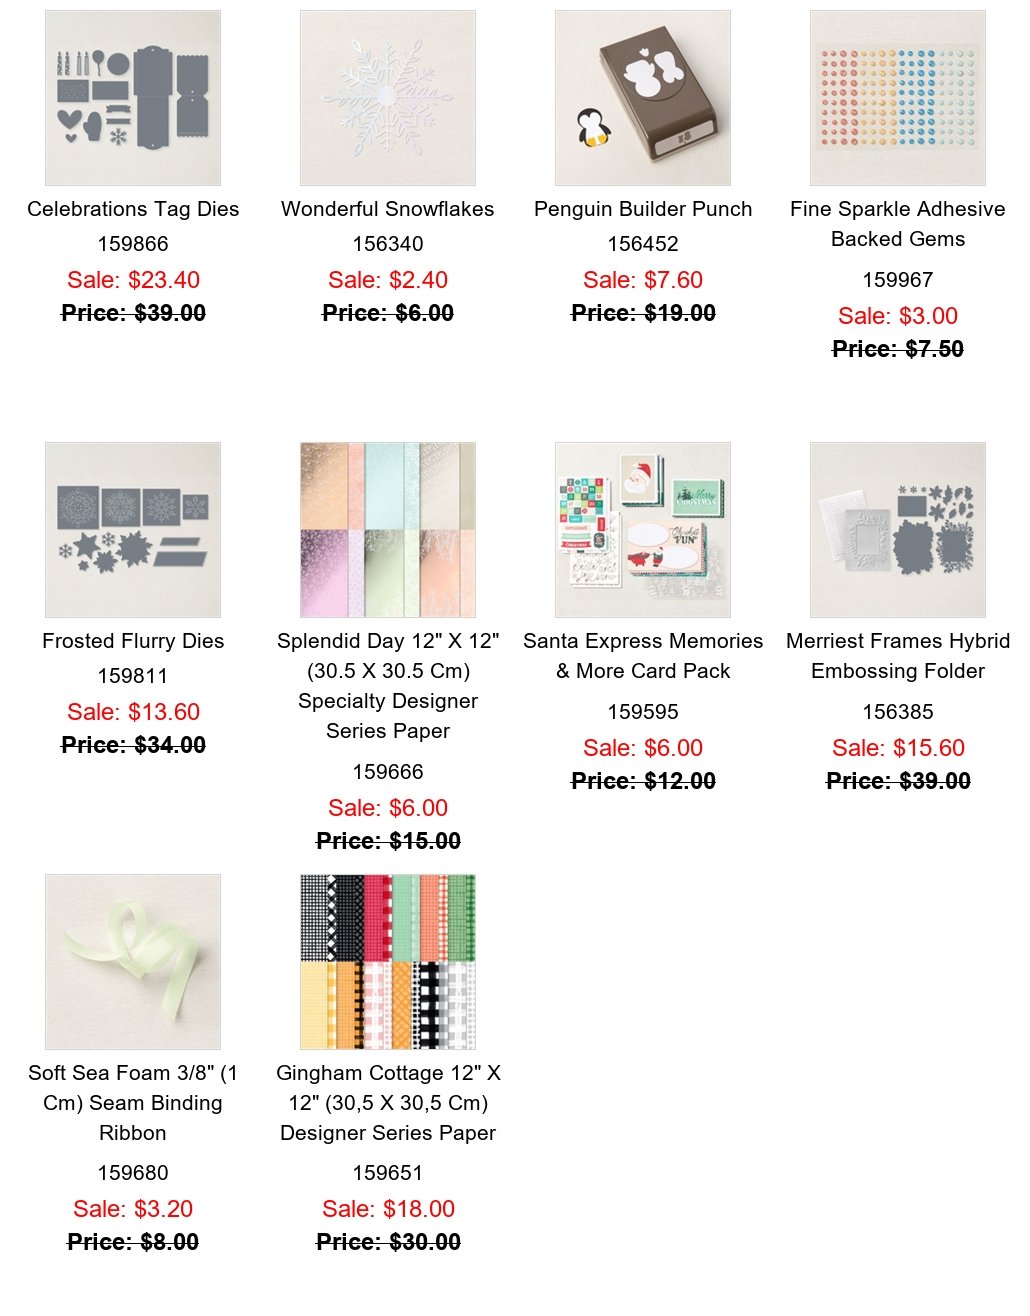
    • That iridescent Snowflake is from the Wonderful Snowflakes seen here; all cut & ready for you & a great value!

    Stay tuned for more incredible swap cards by my Team. 

    *Love swapping?  Or maybe you like discounted products?  Consider joining my Flowerbug's Team!  The Starter Kit has bonus free dollars this month!  Check it out below:   

    ~~~

    October Specials

    Starter Kit special! Get $155 in product for just $99

    click here

    ~~~

    Order online here

    Host code link: SVBHWRCY

    Get a free embellishment from me with online orders over $50!


    Earn free products with my loyalty rewards! 

    Click here to download yours and earn a $50 shopping spree!

    Leave a Reply

    Your email address will not be published. Required fields are marked *

  • Look at these amazing WOW Christmas swaps!


    You'll be amazed by the talent in these Christmas swap cards by my Flowerbug's Team.  They knocked it out of the park this month!  

    Each day this week I'll be sharing their swap cards; be sure to subscribe to my blog (or Facebook page) so you don't miss a thing!  

    Sharon featured the Sweetest Christmas suite on her beautiful card.  I love the clean white background that shows off the gorgeous die-cuts!

    Click here to see all of the products in the Sweetest Christmas suite.  There are two stamp & die bundles, ribbon, Glimmer paper and the fun Designer Paper.  

    The peek of Red glimmer paper adds a perfect sparkle to her card.  Here's the inside view: 

    Adding a strip of designer paper to the inside of your card is a simple way to embellish it to match. 

    Next is a gorgeous card by Karen featuring the Decorating with Happiness bundle seen here: 

    Her card is mostly White with Cherry Cobbler, Evergreen & Gold accents. 

    Details:

    • She cut the large pine die from both Evergreen & Gold glimmer paper and added them off set from each other.  
    • The greeting die is from the Stylish Shapes dies and the embossing folder is Timber 3D.
    • The pretty DSP is the Lights Aglow specialty DSP seen here.  
    • Elegant Metallic cord and Festive Pearls are the additional embellishments.  

    And next is another stunning card made by Tracey; this time with Silver accents.  She used White, Real Red and Black as her elegant color combination. 

    Details:

    • the White layers are from the Chic and Painted Label dies; the Silver is the Stylish Shapes die, embossed with the Wintry 3D folder. 
    • The gorgeous specialty black & Silver paper is called Metallic & Shimmer specialty paper; see it here.
    • She embossed the greeting in clear (or silver?) embossing powder on Silver paper!  

    Stay tuned for more amazing swap cards by my Team. 

    *Love swapping?  Or maybe you like discounted products?  Consider joining my Flowerbug's Team!  The Starter Kit has bonus free dollars this month!  Check it out below:   

    ~~~

    October Specials

    Starter Kit special! Get $155 in product for just $99

    click here

    ~~~

    Order online here

    Host code link:  SVBHWRCY

    Get a free embellishment from me with online orders over $50!


    Earn free products with my loyalty rewards! 

    Click here to download yours and earn a $50 shopping spree!

    Leave a Reply

    Your email address will not be published. Required fields are marked *

  • Check out these fabulous Christmas scene cards by the Flowerbug’s!


    I love seeing what my Flowerbug's make for our Team swaps.  Everyone has their own style and I'm proud to share them with you this week. 

    First is a sweet card by Candace who featured the North Pole Mischief stamp set. 

    I love the Red frame she added to the card; it's from the Fabulous Frames dies seen here.  She used Blends markers to color the images and added Red Rhinestones to set off the scene.  

    Here's the inside view; so cute! 

    Next is a fun card made by Annette who featured the Penguin Place stamp set & Penguin Builder punch. These products are returning favorites from last year and many were super happy about it since the punch ran out of stock last year before some could grab it. 

    I absolutely love the scene she achieved using the Layering Diorama dies seen here!  She used Starry Sky CS on the back, stamping the stars using White Craft ink.  Then she added a layer of Orchid Oasis behind the penguin that looks like water.  So smart!  

    Lastly is a pretty card made by Marla.  She used the Peaceful Deer stamp set and Deer Builder punch.  

    She stamped the trio of trees across the background and then one large tree in the foreground. It gives such depth to the scene.   

    I also like the way she used the Pearlized Enamel effects basics for her tree ornaments.  The stamped blue snowflakes in the sky finish the scene off perfectly!

    Stay tuned for more amazing swap cards by my Team. 

    *Love swapping?  Or maybe you like discounted products?  Consider joining my Flowerbug's Team!  The Starter Kit has bonus free dollars this month!  Check it out below:   

    ~~~

    October Specials

    Starter Kit special! Get $155 in product for just $99

    click here

    ~~~

    Order online here

    Host code links: GDCBRHF7 or SVBHWRCY

    Get a free embellishment from me with online orders over $50!


    Earn free products with my loyalty rewards! 

    Click here to download yours and earn a $50 shopping spree!

    Leave a Reply

    Your email address will not be published. Required fields are marked *


Notice: LeeAnn Greff, Independent Stampin’ Up! Demonstrator, Manager. The content of this website is my sole responsibility as an independent Stampin’ Up! demonstrator and the use of, and content of, the classes, services, or products offered on this website is not endorsed by Stampin’ Up! Copyright 2025