/


Latest Post

Beautiful Peaceful View card the easy way with video & free project sheet


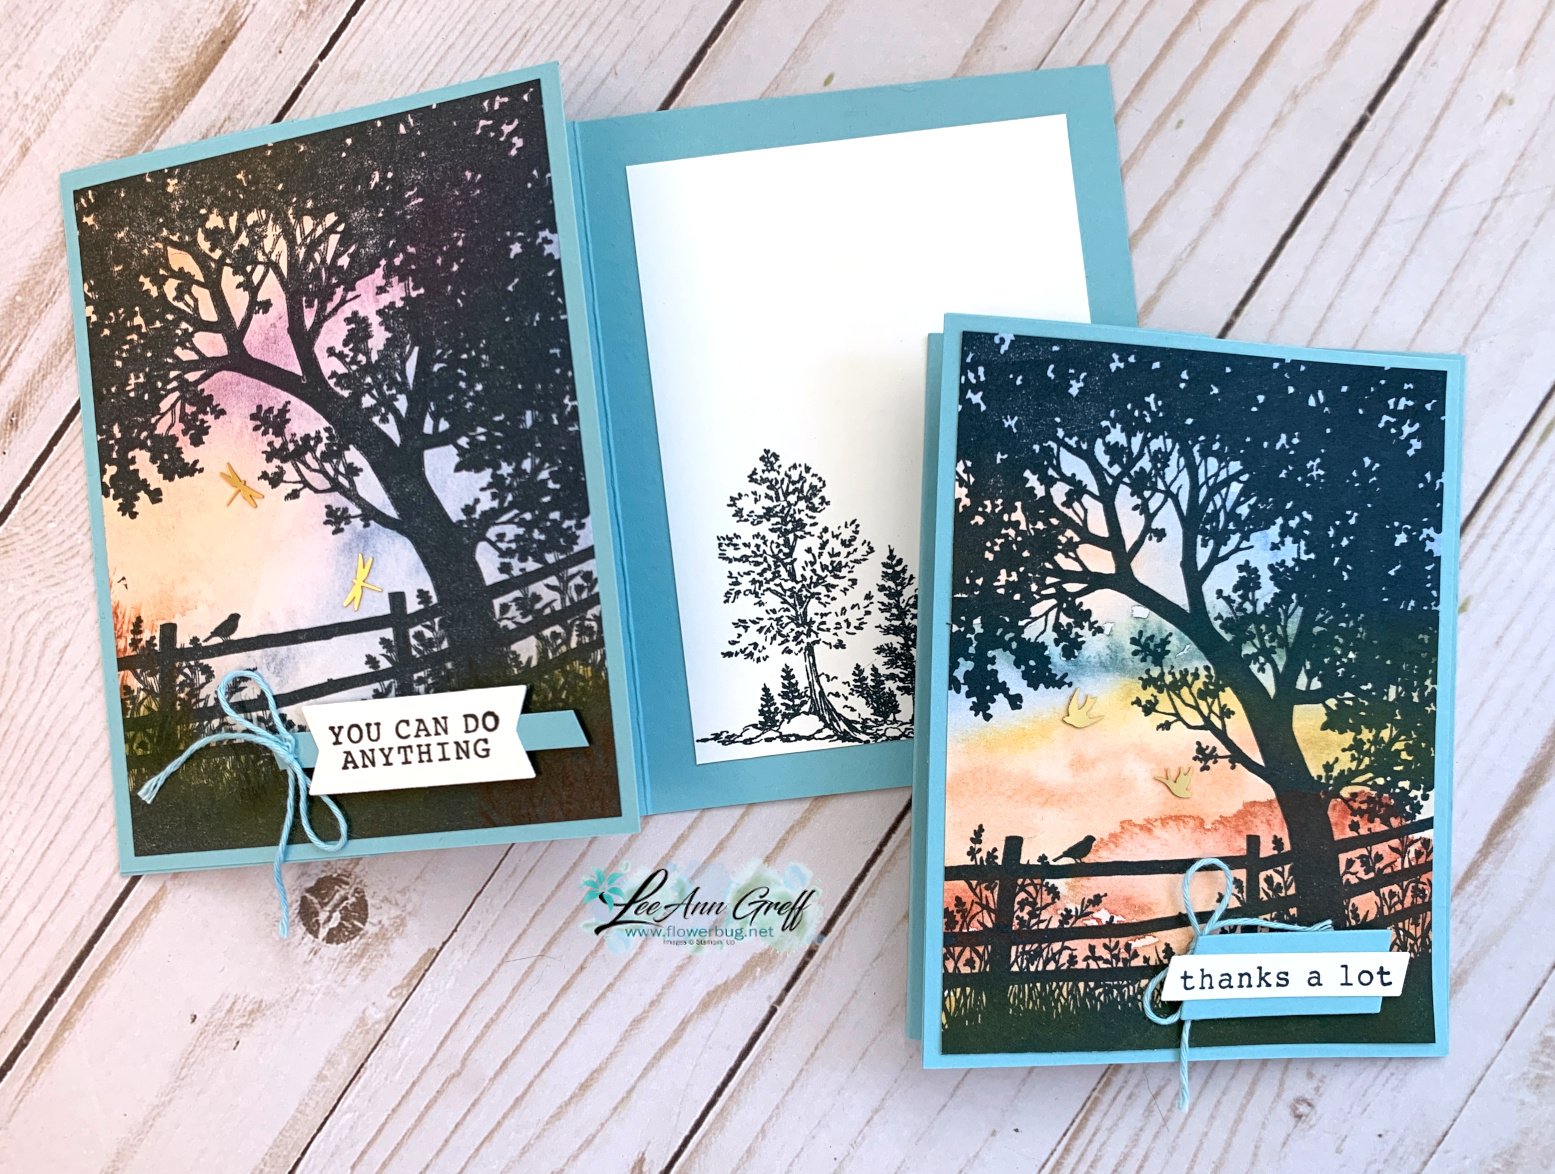
For my June card clubs I knew I wanted to feature the Peaceful View stamp set.  This gorgeous stamp makes it easy to create a stunning card with.  I've asked for this type of stamp for years and finally got one! 


Could you ask for a more perfect background for this image?  Where did it come from?  It's a piece of designer series paper – from the Thoughtful Journey 6" X 6" DSP seen here.   It's absolutely the perfect choice and much easier than creating a coloreful background with ink. 

The majority of the papers work well for this stamp so my club members could pick their favorite. 

We inked the tree scene with Secret Sea ink and stamped on the designer paper.  It's then adhered to a full 4 1/4" X 5 1/2" piece of Balmy Blue CS before it's added to the front flap of the card base (front is folded back once).  

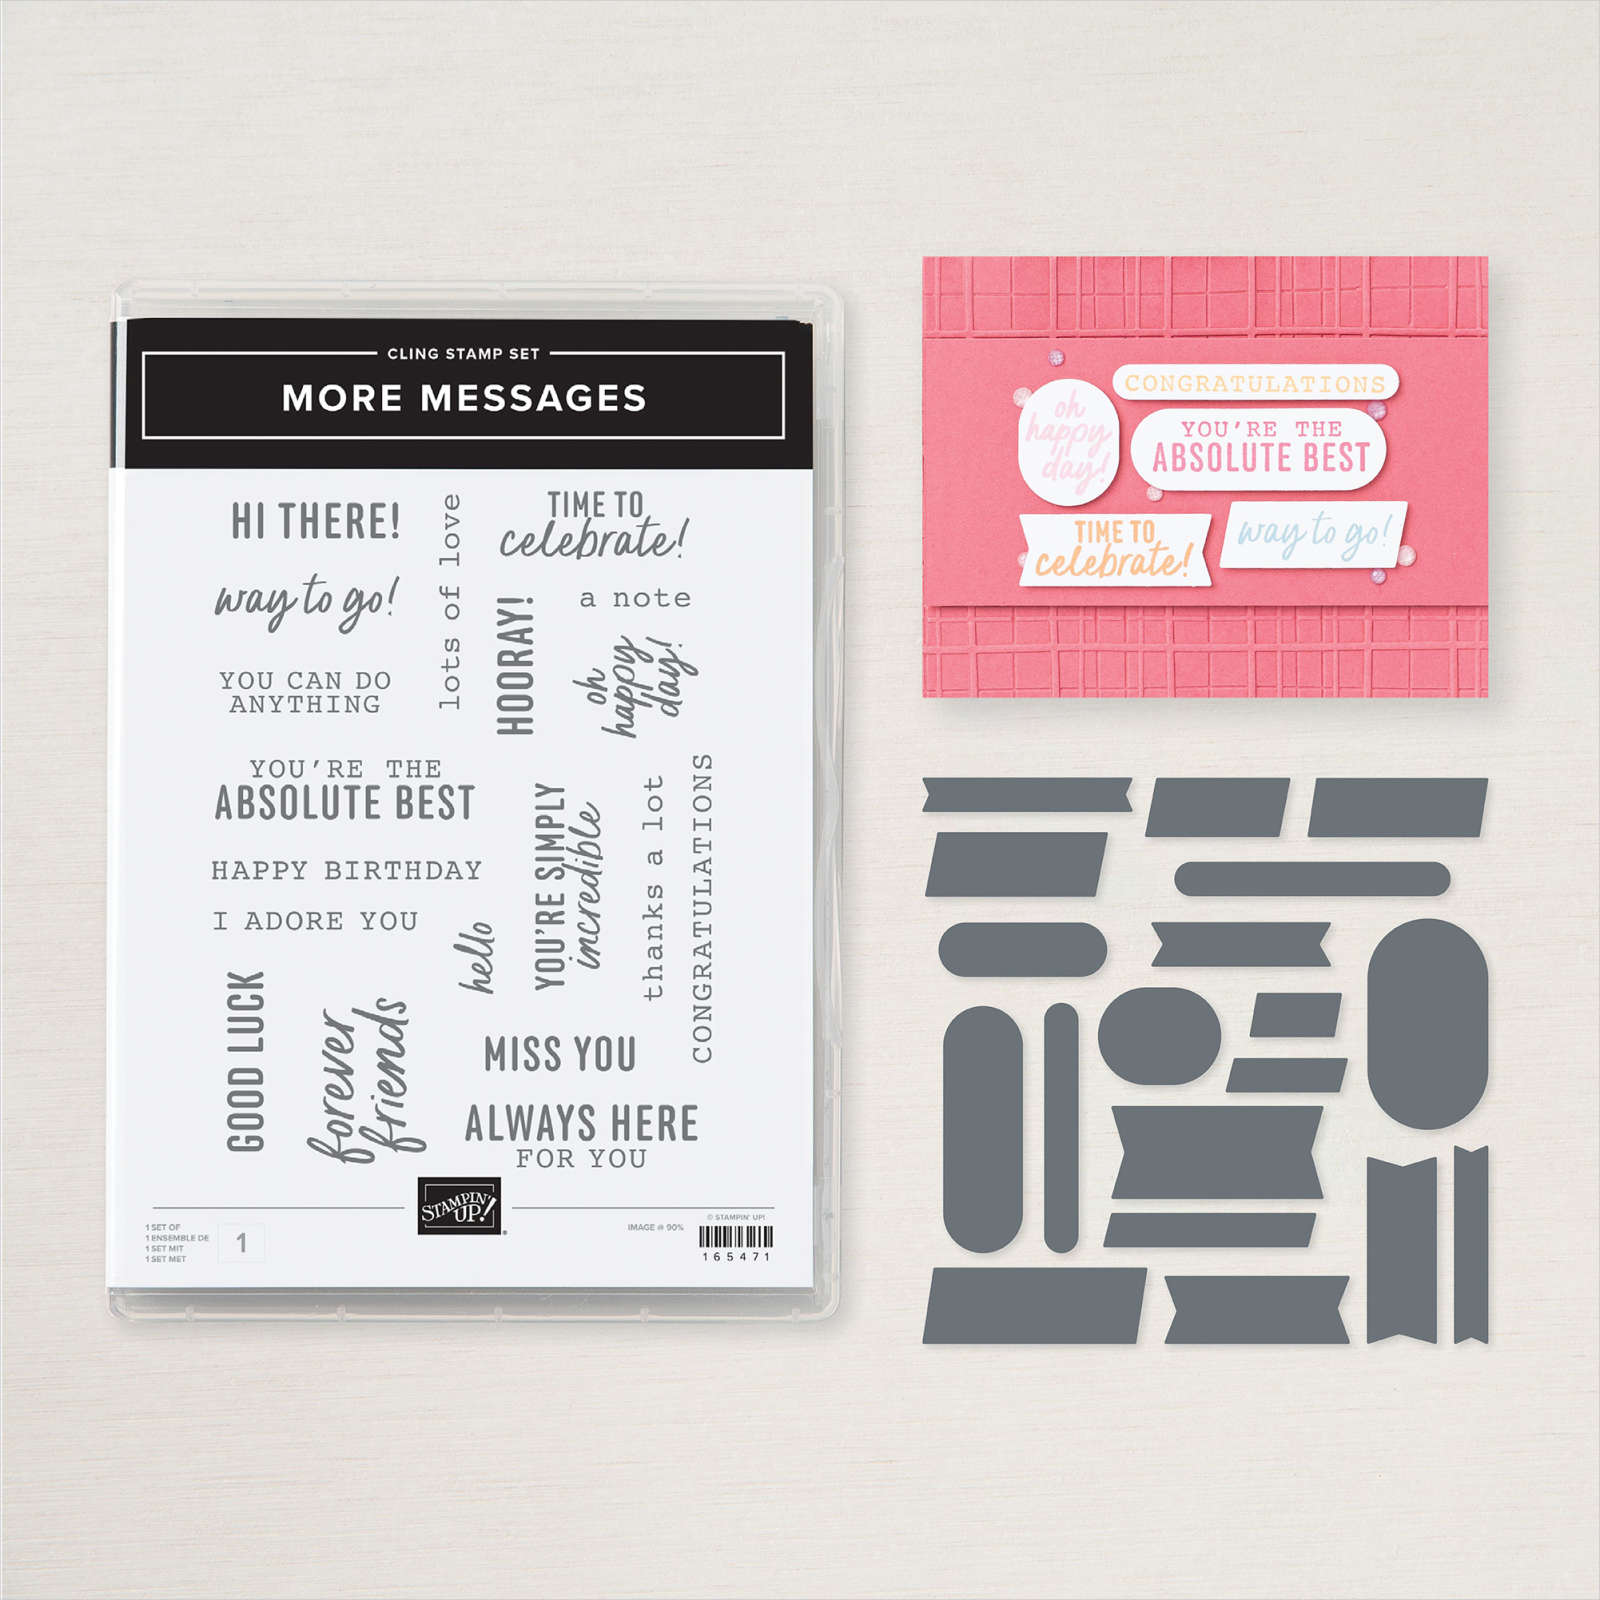
For the greetings I stamped the More Messages stamp a few times and used the coordinating die to cut them all out.  I had tons of greetings for them to choose from.  They then layered them onto another Balmy Blue strip or die-cut. 

What I love about this latest messages bundle is that the greetings and die-cuts are larger than ever before. See the bundle here. 
Here's the free project sheet with measurements and supplies for you: Download Peaceful View June Club

Below is the video for this card and another where I show you how to add color to the stamp. I'll share details on that project tomorrow.  

~~~

July Specials:

New Online Exclusives are here!  

~~~

Last Chance List has been updated!  see it all here. Don't miss out on the deals!

~~~

Get my Turtle-y Cute PDF tutorial free with any online order in July!

All Posts

  • Curvy Celebrations!! Woo hoo; it’s available today!


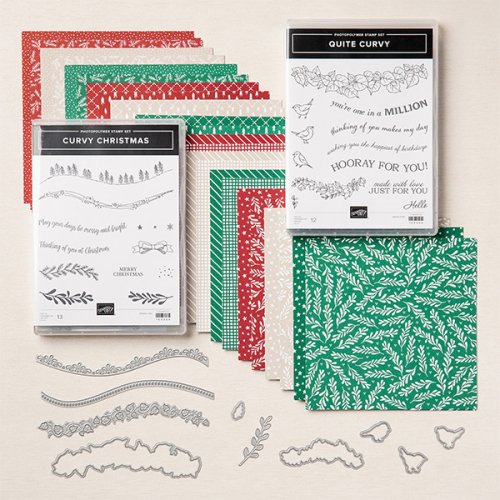
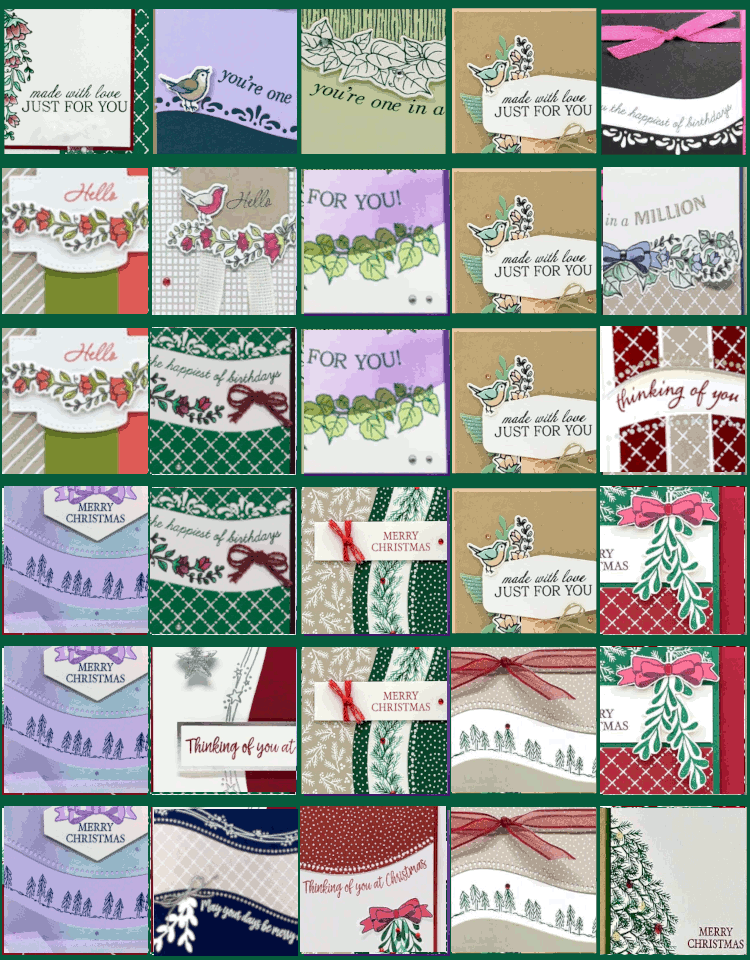
    Stampin' Up! is releasing brand new product today!!  Most of these Curvy Celebration items are from the upcoming spring catalog!  Demonstrators could pre-order these items early but now you can get them too.

    In fact you can get all of this for $70.50!   

    See them all here.

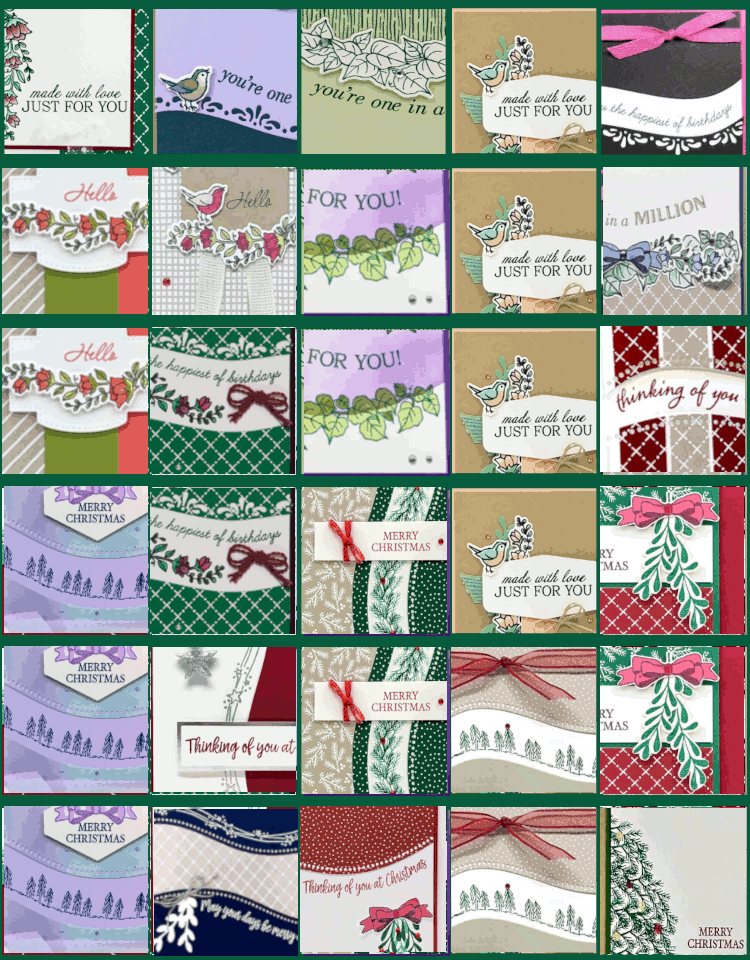
    I love these products so much I'm giving away a huge 22 project PDF tutorial to everyone who either purchases any of these items from me or places an online order in my store. 


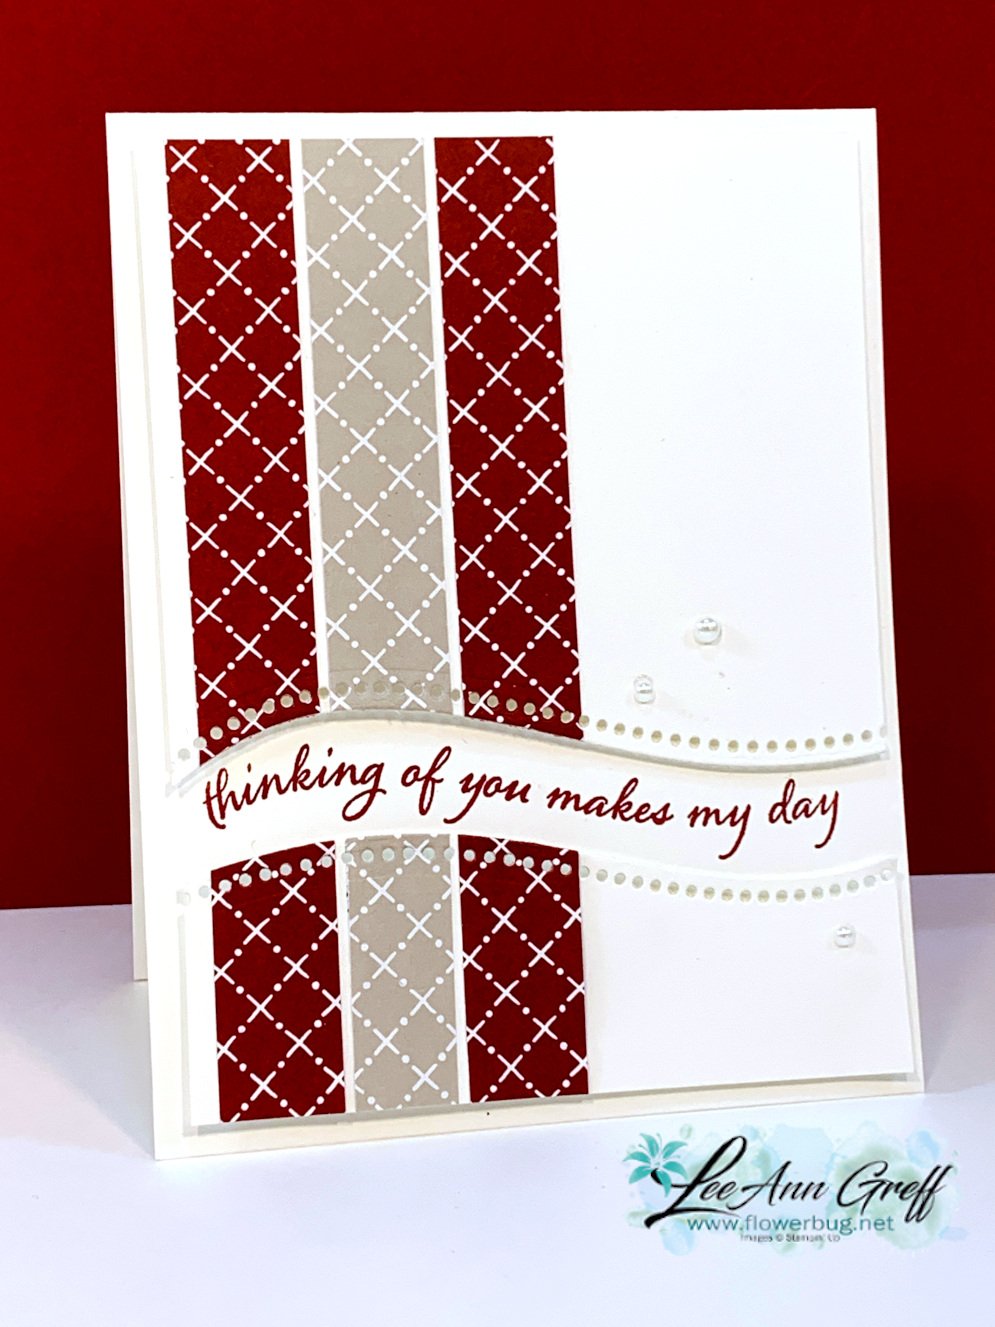
    I also joined a few online swaps with these products; here's one of my favorites!


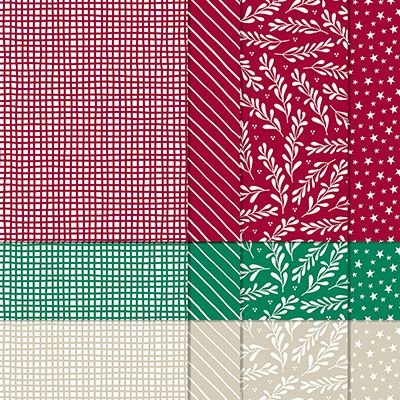
    I chose to use two of the colors in the Classic Christmas 6" designer paper pack; Cherry Cobbler & Sahara Sand.  I cut 3/4" long strips and adhered them to a 5 1/4" X 4" piece of White CS.  Then I used the dotted, curvy die to cut about 4" down from the top.  Then I turned the die over to cut the other end and trimmed it to fit the card. 

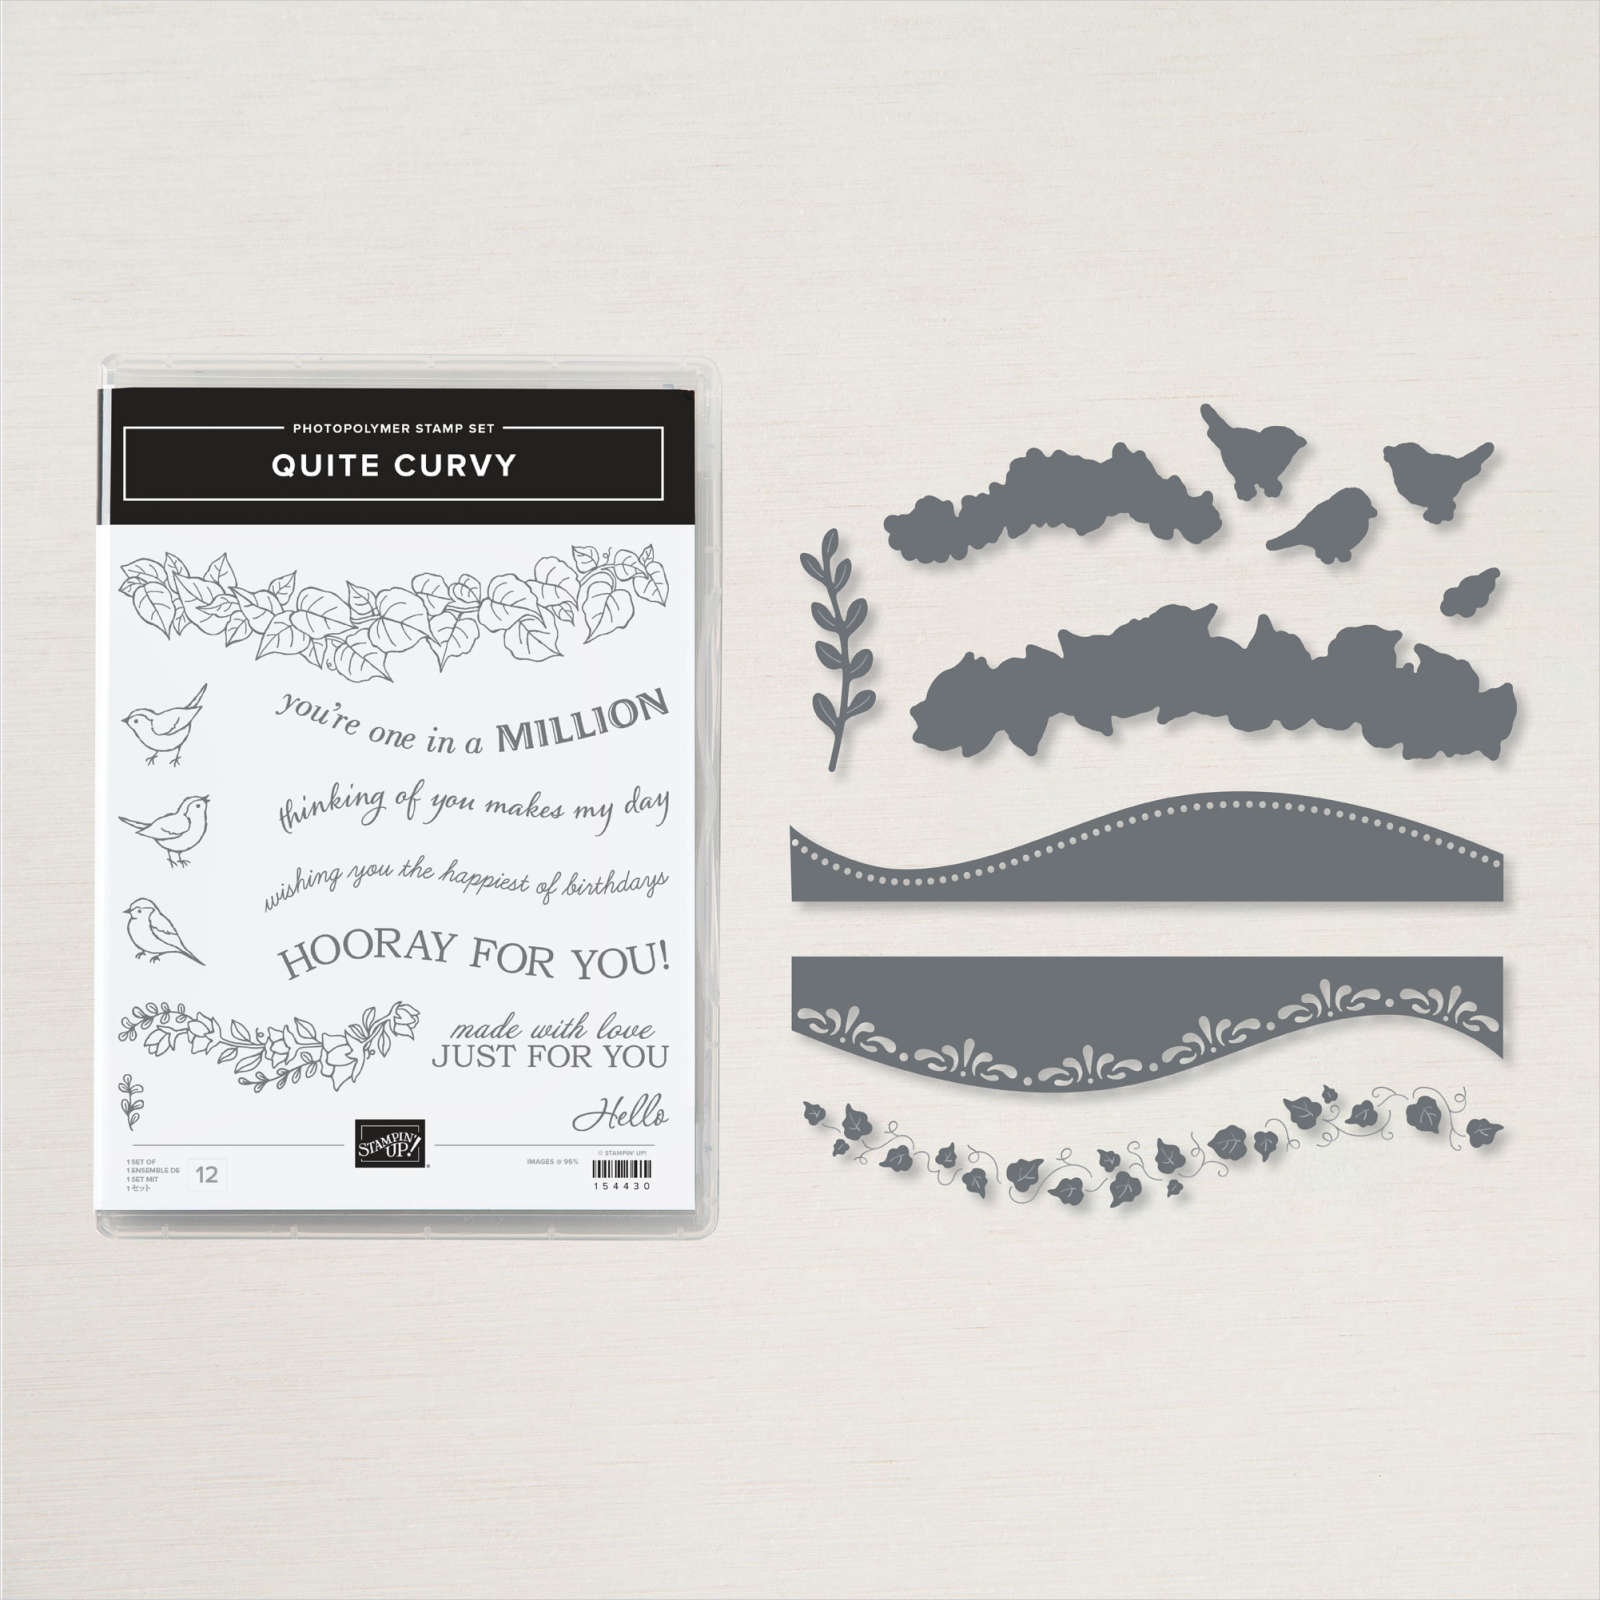
    The greeting is from the Quite Curvy stamp set which is available in the bundle at 10% off.   


    Get it whole bundle and I'll send you a free Winter Snow embossing folder

    and the 22 project PDF tutorial too!  

    ~~~

    November Specials!

    Current Host code is GRC9VVUU


    All online orders receive my FREE Curvy Celebrations 22 project PDF Tutorial! 

    Leave a Reply

    Your email address will not be published. Required fields are marked *

  • Festive Corners Triangle Christmas Tree Card


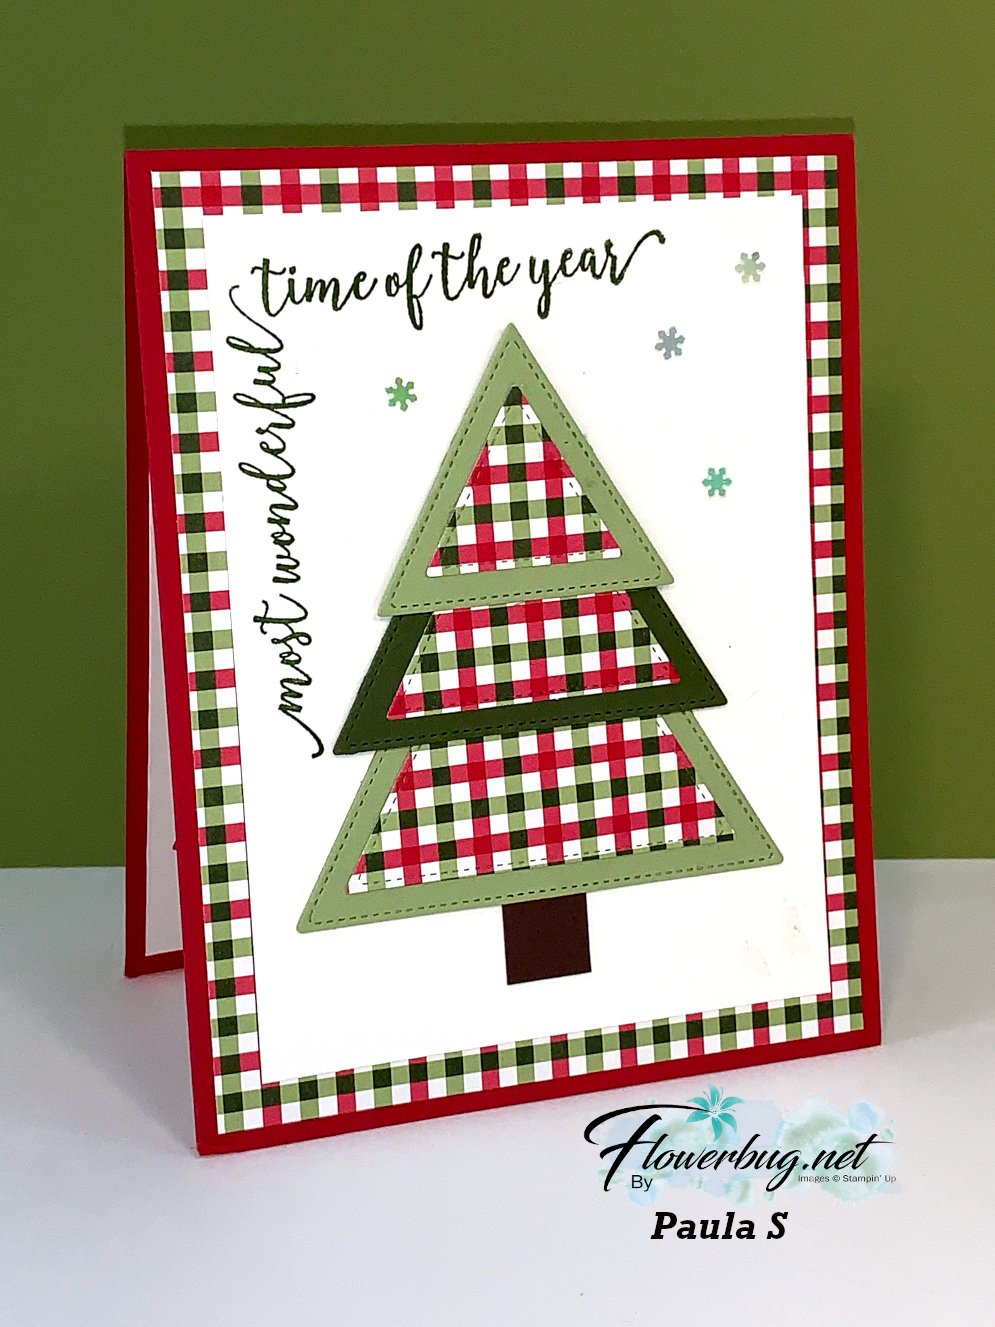
    Look at this cool swap card Paula made using the Festive Corners stamp set seen here and the Stitched Triangle dies! 

    She used Pear Pizzazz, Real Red & Mossy Meadow card stock and the classic Heartwarming Hugs Designer Paper.  And she saved paper by cutting out the DSP triangles from her large designer paper layer (behind the White CS).  I love that!!

    Check out the Triangle Dies here and the Heartwarming Hugs DSP here. 

    I'll be sharing lots of my Team swaps this week; stay tuned!

    ~~~

    November Specials!

    Current Host code is GRC9VVUU


    All online orders receive my FREE Curvy Celebrations 22 project PDF Tutorial! 

    Leave a Reply

    Your email address will not be published. Required fields are marked *

  • Another Stunning Fall Framed Sampler project!


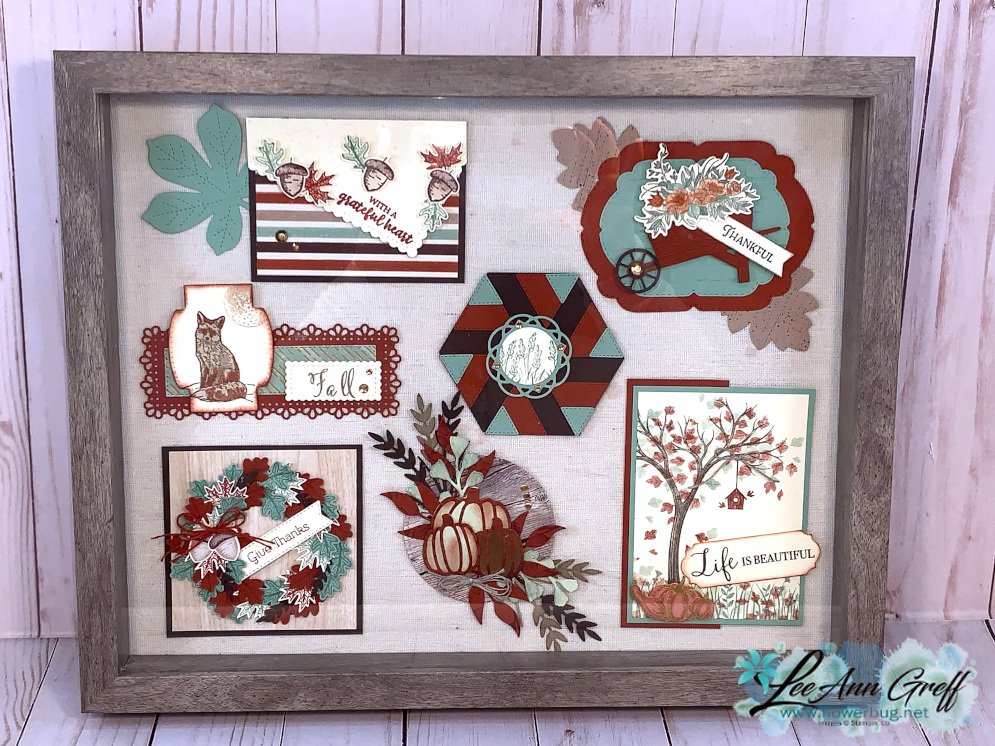
    Here's the second Framed Sampler project from the swap my Flowerbug's Team held earlier this month.  they always impress me with their talent. Check out the first one here. 


    I love each and every one! 

    We chose to use colors in the Gilded Autumn specialty designer paper for our swap.  We could create any shape or design we wanted to within the Fall theme.  It seems to always work out that we have a nice variety of sizes etc.

    Thanks for stopping in!  Have a wonderful weekend!

    ~~~

    October Specials!

    Current Host code is GRC9VVUU

    ***Tomorrow is the last day for the Designer Paper Sale; click here!

    Get a free package of Adhesive Backed Snowflakes in October with an

    online order over $45. 


    All online orders will receive my Tutorial of the Month featuring the

    Poinsettia Petals suite!

    Leave a Reply

    Your email address will not be published. Required fields are marked *


Notice: LeeAnn Greff, Independent Stampin’ Up! Demonstrator, Manager. The content of this website is my sole responsibility as an independent Stampin’ Up! demonstrator and the use of, and content of, the classes, services, or products offered on this website is not endorsed by Stampin’ Up! Copyright 2025