/


Latest Post

Beautiful Peaceful View card the easy way with video & free project sheet


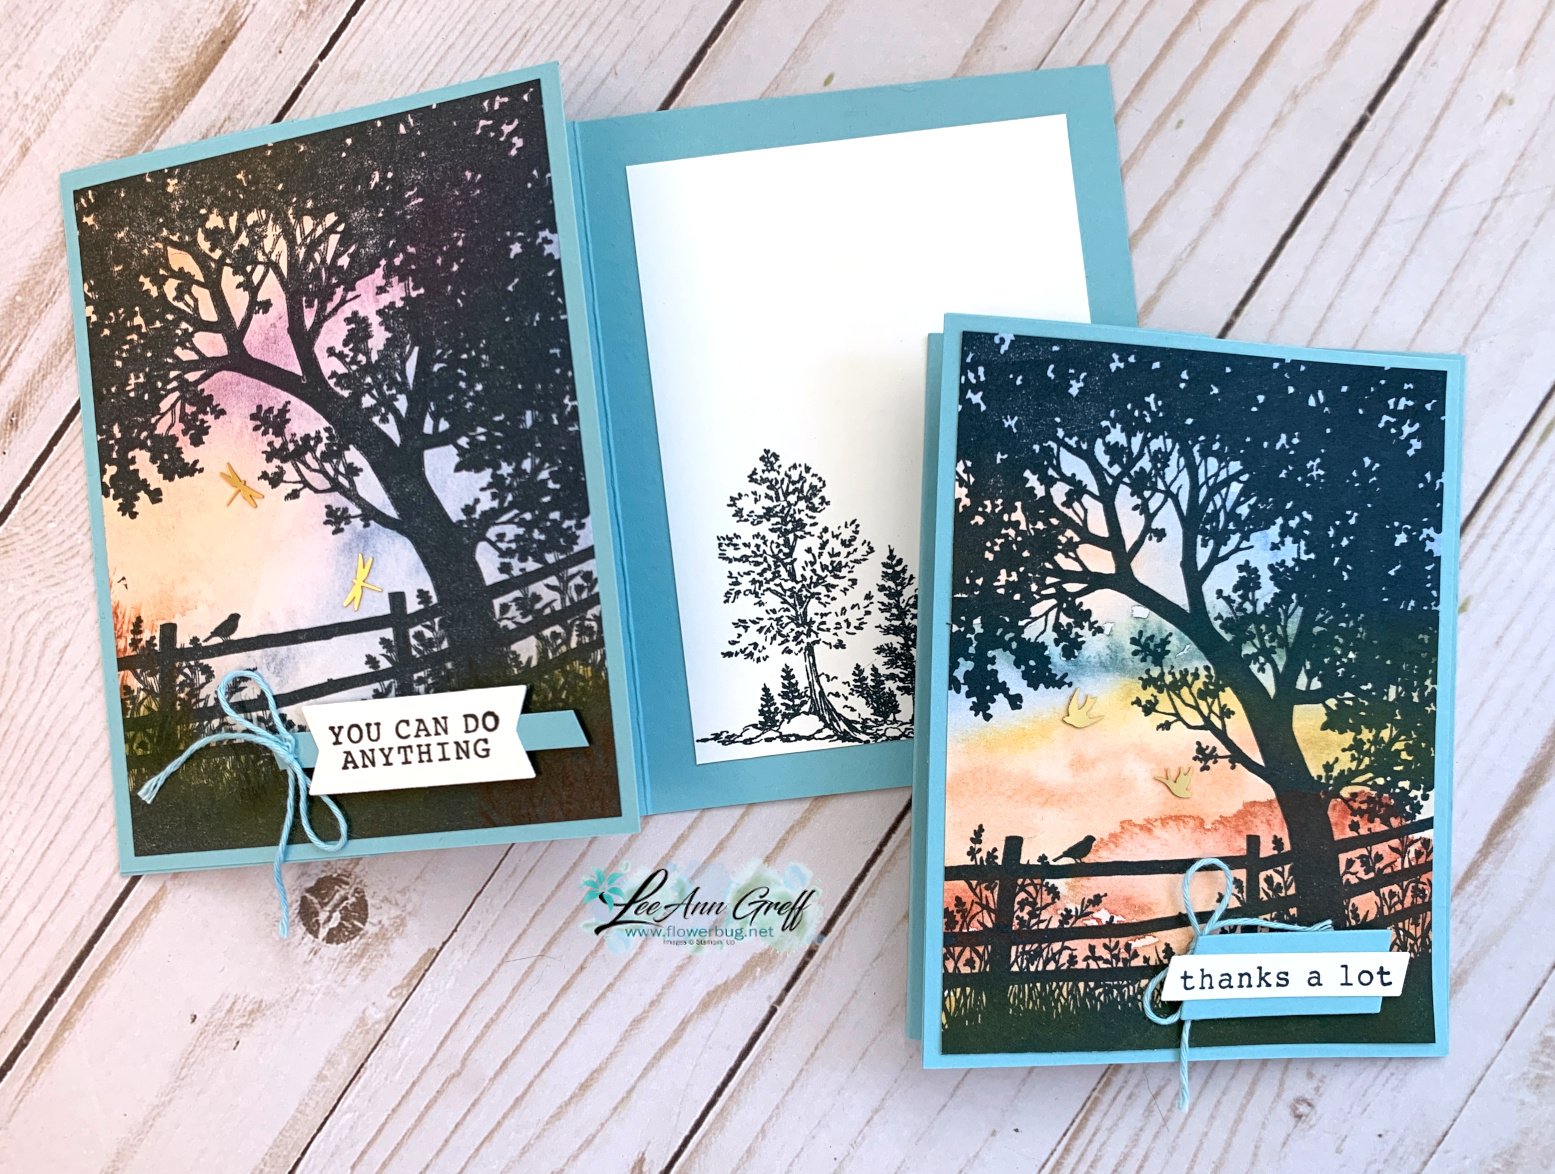
For my June card clubs I knew I wanted to feature the Peaceful View stamp set.  This gorgeous stamp makes it easy to create a stunning card with.  I've asked for this type of stamp for years and finally got one! 


Could you ask for a more perfect background for this image?  Where did it come from?  It's a piece of designer series paper – from the Thoughtful Journey 6" X 6" DSP seen here.   It's absolutely the perfect choice and much easier than creating a coloreful background with ink. 

The majority of the papers work well for this stamp so my club members could pick their favorite. 

We inked the tree scene with Secret Sea ink and stamped on the designer paper.  It's then adhered to a full 4 1/4" X 5 1/2" piece of Balmy Blue CS before it's added to the front flap of the card base (front is folded back once).  

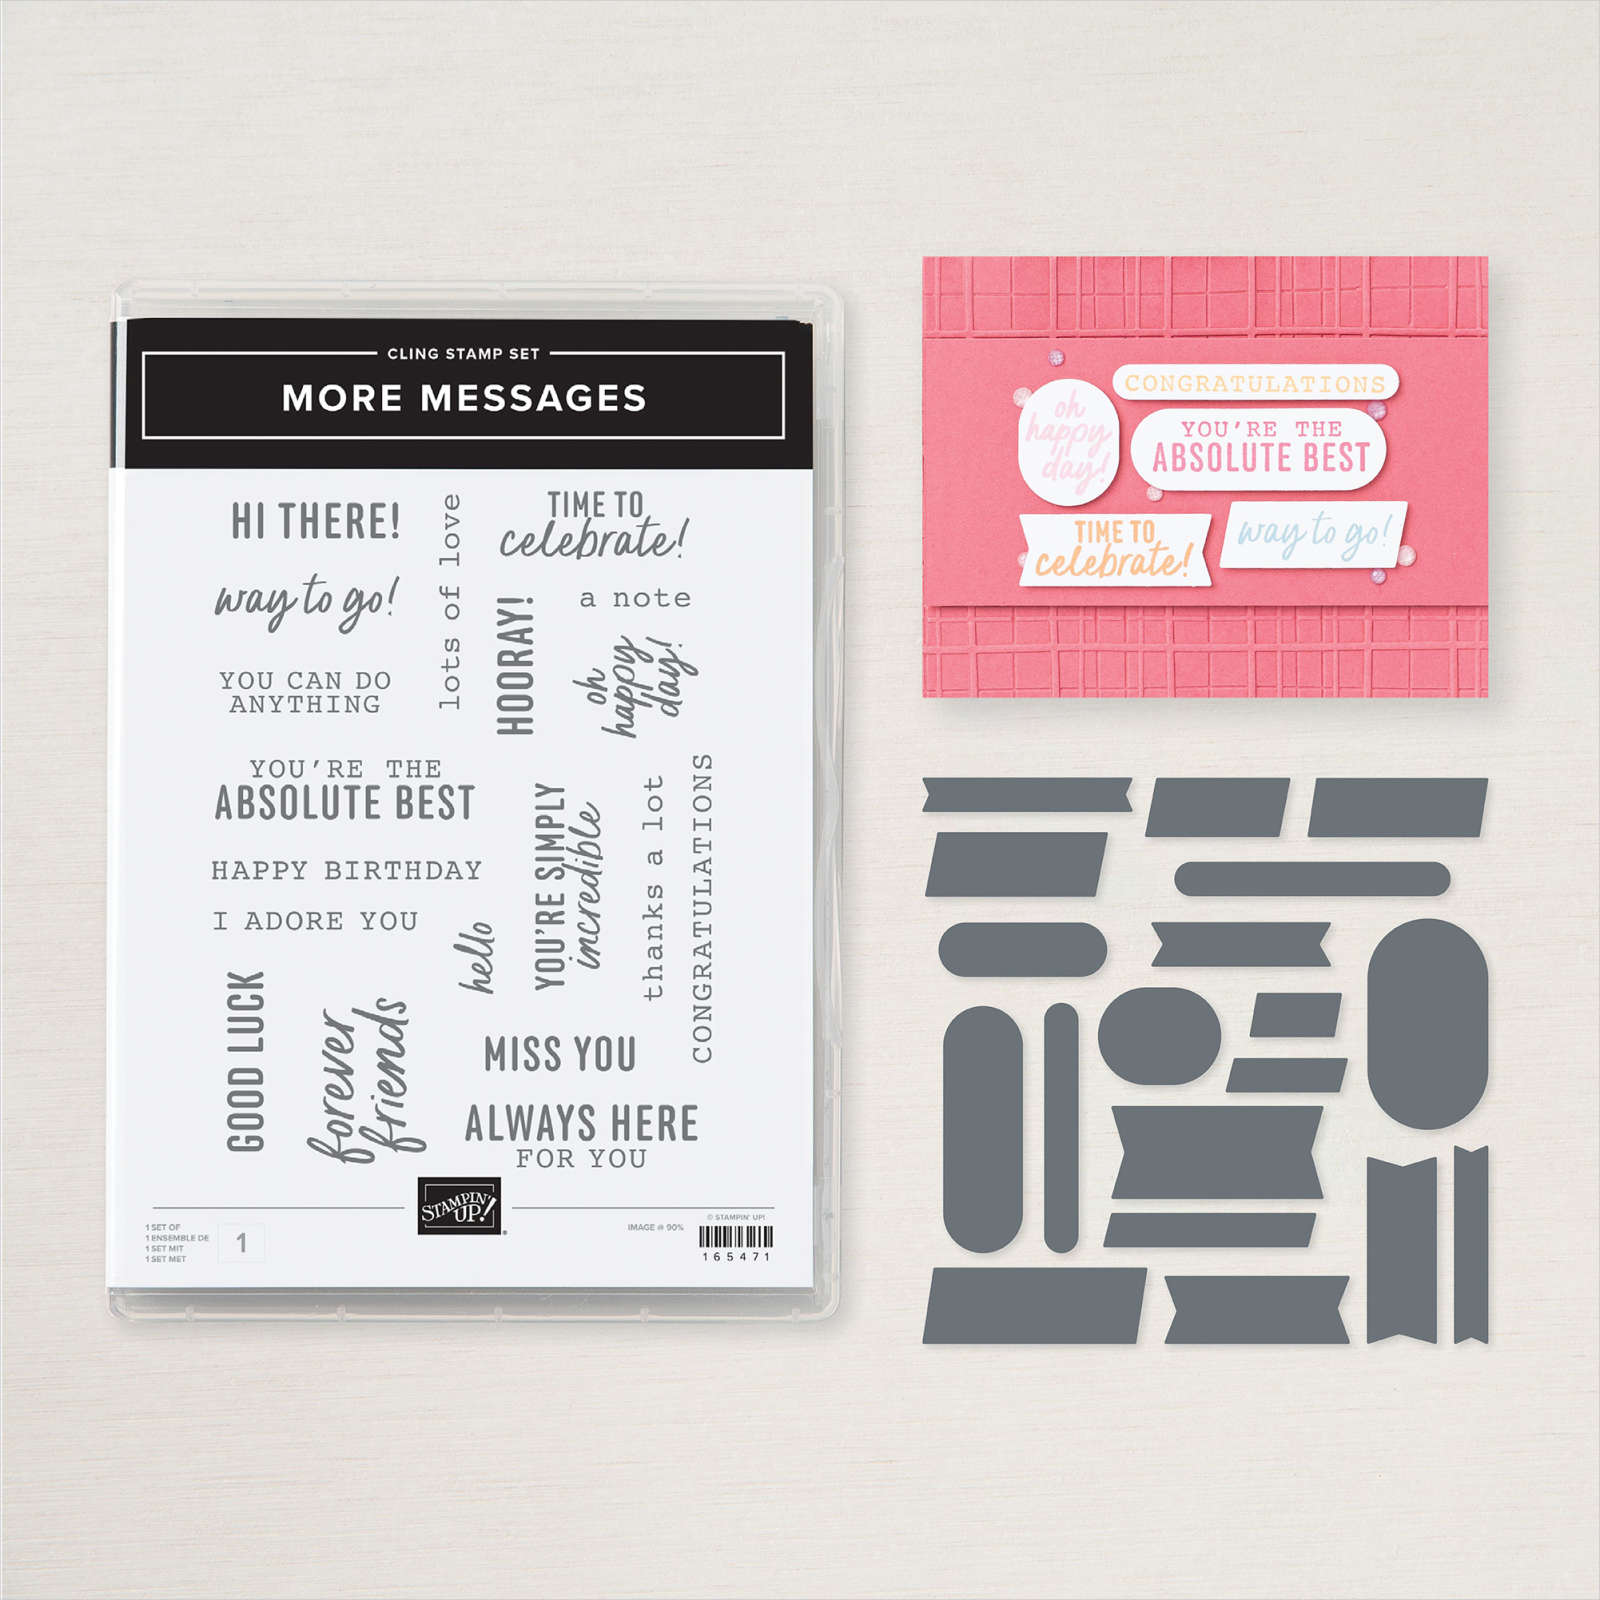
For the greetings I stamped the More Messages stamp a few times and used the coordinating die to cut them all out.  I had tons of greetings for them to choose from.  They then layered them onto another Balmy Blue strip or die-cut. 

What I love about this latest messages bundle is that the greetings and die-cuts are larger than ever before. See the bundle here. 
Here's the free project sheet with measurements and supplies for you: Download Peaceful View June Club

Below is the video for this card and another where I show you how to add color to the stamp. I'll share details on that project tomorrow.  

~~~

July Specials:

New Online Exclusives are here!  

~~~

Last Chance List has been updated!  see it all here. Don't miss out on the deals!

~~~

Get my Turtle-y Cute PDF tutorial free with any online order in July!

All Posts

  • Need ideas for your Christmas stamp sets? Check these out!


    Each year I hold a series of Christmas card classes for my customers and also offer the tutorials for my online customers.  

    These tutorials are for sale here.  Or get them FREE with any online order in December!  You'll have plenty of ideas for next years projects. 

    Each PDF Tutorial includes step by step directions, measurements, photos and a supply list. And the photos show the inside and the stamped envelope too!  

    Click here to order your tutorial.  Or click here to order Stampin' Up! products and get these 16 projects sent to you FREE!  

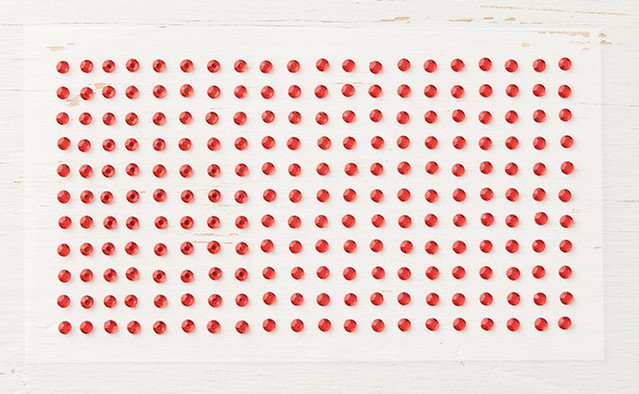
    **Don't forget that if your online order is over $50 you'll receive 220 Red Rhinestones also! 

    ~~~


    December Ordering Special: 

    Current Host code is AHJNPWNB

    Order online here

    All online orders will receive my 16 Christmas cards class PDF!

    Get a free package of 220 Red Rhinestones from me with an online order over $50 using the host code above.

    Below are the Multipurpose Glue stands we're making. They're $6 each and available in my Shop here.  

    Leave a Reply

    Your email address will not be published. Required fields are marked *

  • Curvy Christmas; only available a few more weeks!


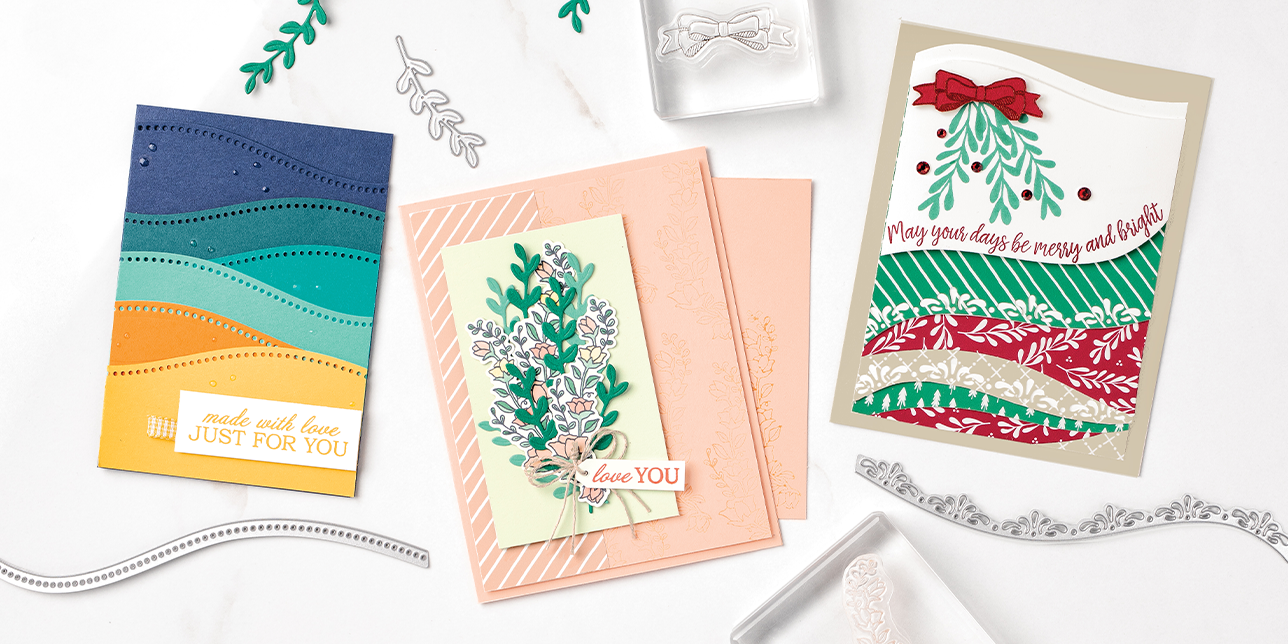
    Look at this WOW card featuring the Curvy Christmas & Quite Curvy dies!  Marilyn made it for our swap last month; she really outdid herself with this one. 

    She used lots of products on this beauty.

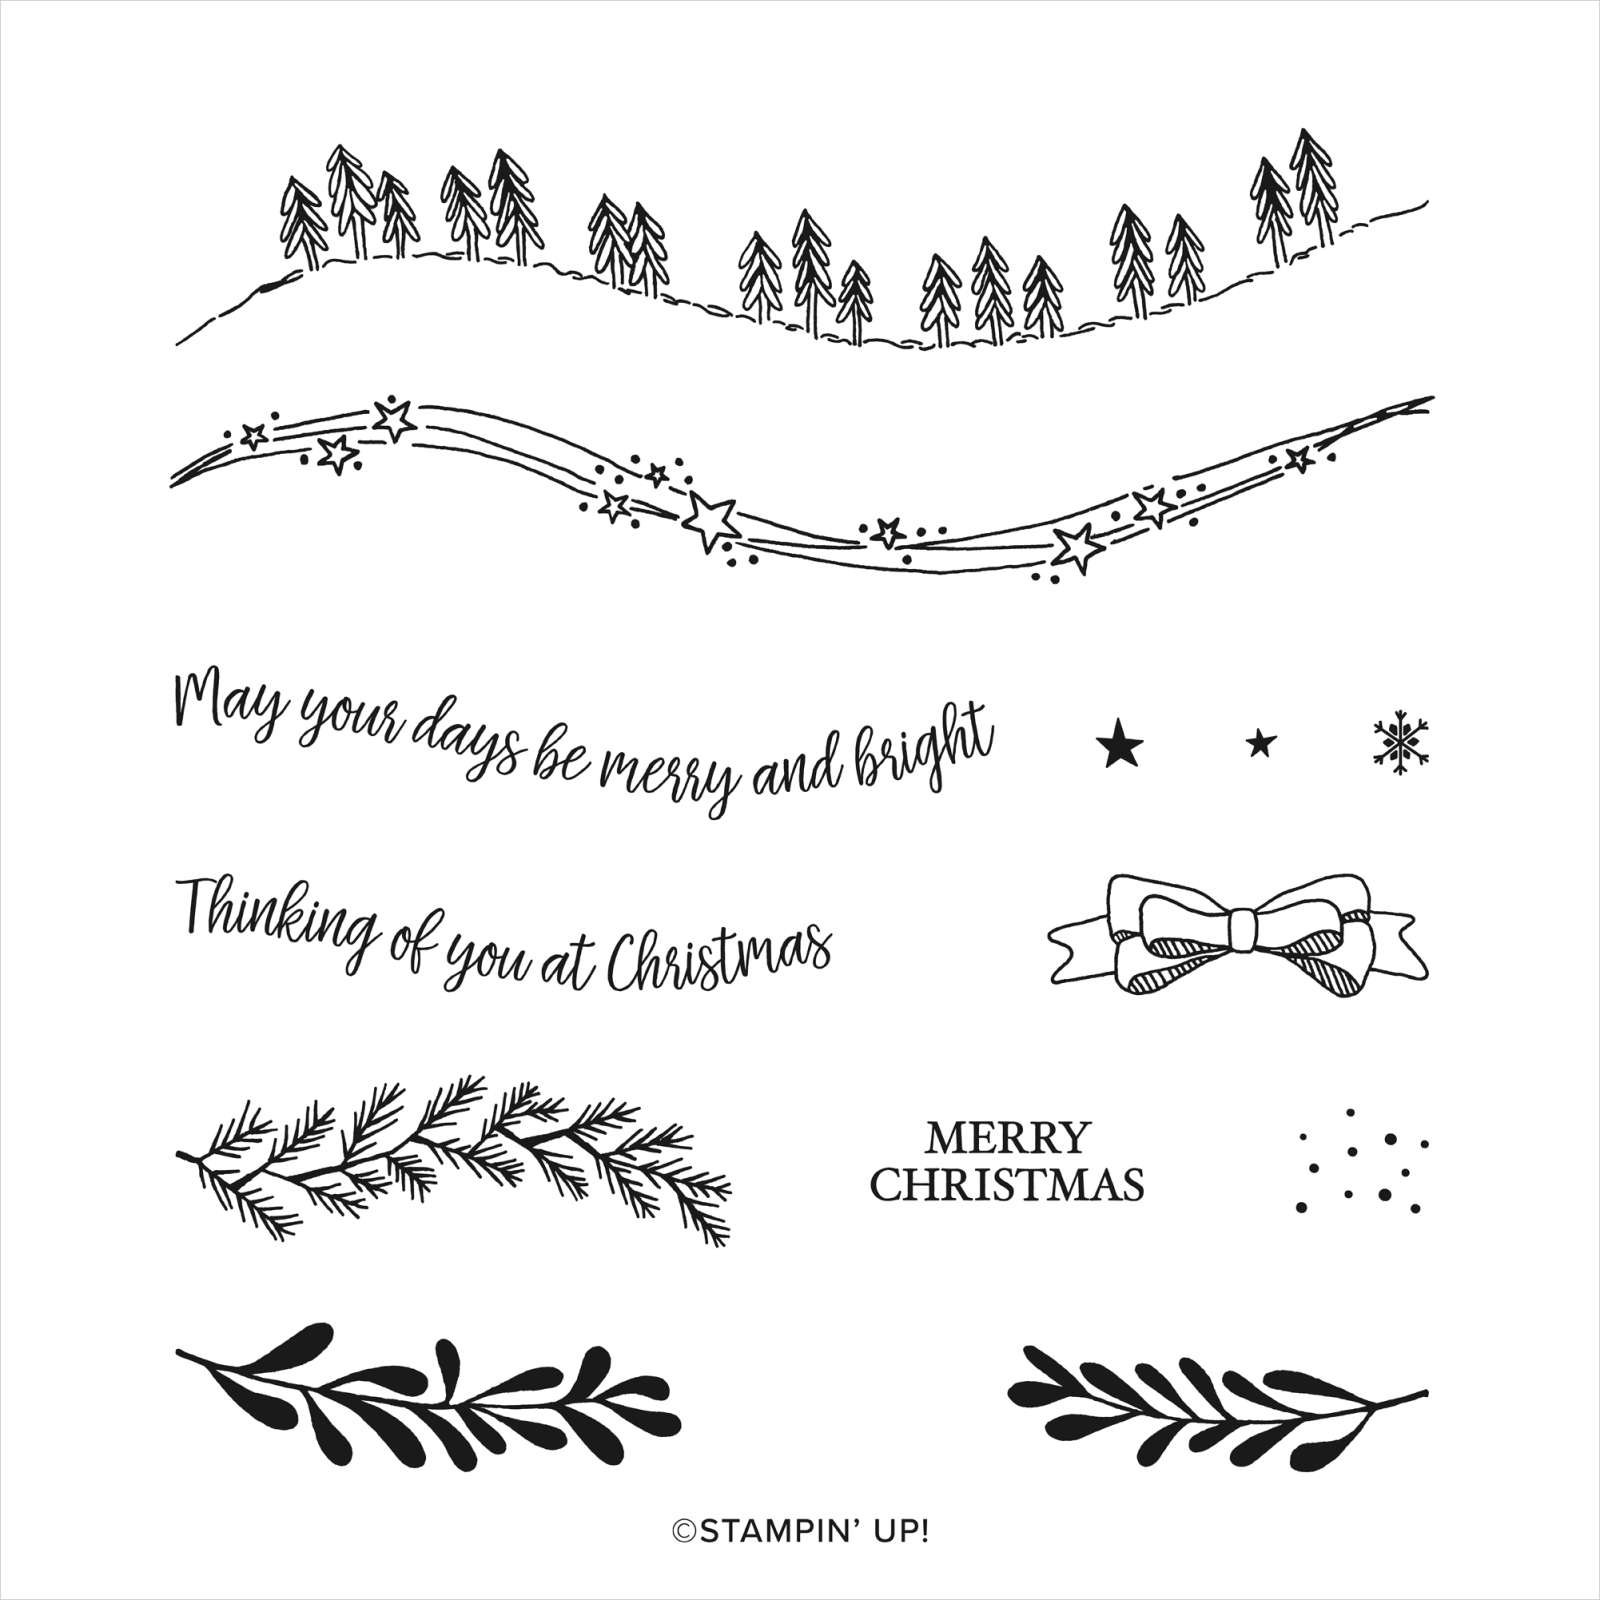
    • Curvy Christmas stamp set
    • Classic Christmas 6" Designer Paper
    • Winter Snow embossing folder – on sale 50% off 
    • Curvy Dies – green leaves and Gold foil & White dotted curvy edge
    • Detailed Band dies – gold leaves
    • Stitched Nested Labels 
    • 3/8" Metallic Gold ribbon – dies Cherry Cobbler
    • Shaded Spruce, Cherry Cobbler & White CS 

    Remember that the Curvy Christmas set and Classic Christmas 6" paper are retiring soon.  They are available while supplies last through January 4th only.  The Quite Curvy bundle will be coming back in the 2021 Spring catalog however.  See it all here. 

    Here are a few more samples using these products: 

    ~~~


    December Ordering Special: 

    Current Host code is AHJNPWNB

    Order online here

    All online orders will receive my 16 Christmas cards class PDF!

    Get a free package of 220 Red Rhinestones from me with an online order over $50 using the host code above.

    Below are the Multipurpose Glue stands we're making. They're $6 each and available in my Shop here.  

    Leave a Reply

    Your email address will not be published. Required fields are marked *

  • Quick Card template & cute Christmas treats & snowman tags


    I shared a ton of Holiday projects on this week's FB Live.  You can see the video below but here are the projects:

    I used the Brightly Gleaming Specialty DSP here along with Very Vanilla, Navy, Brass foil and Peacock CS.  This pretty paper is on sale at 50% off!  See it here.

    This is one of the easiest layouts you can make that still has some layers to it.  I like the card below best since you can stamp directly on the single layer and do not need a second greeting piece to stamp on like the cards on the left & right above.  Measurements below: 


    Easy Christmas card

    • Main card – 8 ½” X 5 ½” or 4 ¼” X 11”, DSP – 3” square
    • CS – 4 ¼” X 3 ¼”, Vanilla greeting layer is 7/8" X 3", Foil strip – ½” X 4”

    Next I have a super cute candy box treat made by my friend Marilyn.  She used the Celebration Label dies; they're 50% off now while supplies last!  See them here. 

    Celebration Labels Treat box

    • Use the largest 2 dies.  Center the CS die-cut at 6”; score at 5 3/8” and 6 5/8”
    • Box is 2 3/8” X 5 1/8” scored at ½” on each edge

    Next is a fun candy bar pull up treat.  I love making these since they're so quick & easy. 

    Santa Pull Up Treat
    Red CS 6 1/2" X 7" score at 3/8", 3/4", 3 1/2" and 3 7/8".
    Black glitter belt 1" X 7"

    This candy bar is in a thin card board box so I had to score it.  Usually I just wrap the card stock around the candy bar and glue the edge overlapping each other.  That one is a lot quicker. 

    Lastly is a sweet snowman tag. 


    It's a piece of Snowflake Splendor DSP and White CS both measuring 4 1/2" X 2" and tied together at the top.  I used the Delightful Tag Topper & 2" circle punches here. The stitched nose is made with the Triangle dies.  I drew Black 'stones' with a marker for his smile. 

    Below you can get the tips on putting these projects together.  Don't forget to subscribe to my YouTube channel here. 

    ~~~


    December Ordering Special: 

    Current Host code is AHJNPWNB

    Order online here

    All online orders will receive my 16 Christmas cards class PDF!

    Get a free package of 220 Red Rhinestones from me with an online order over $50 using the host code above.

    Below are the Multipurpose Glue stands we're making. They're $6 each and available in my Shop here.  

    Leave a Reply

    Your email address will not be published. Required fields are marked *


Notice: LeeAnn Greff, Independent Stampin’ Up! Demonstrator, Manager. The content of this website is my sole responsibility as an independent Stampin’ Up! demonstrator and the use of, and content of, the classes, services, or products offered on this website is not endorsed by Stampin’ Up! Copyright 2025