/


Latest Post

Beautiful Peaceful View card the easy way with video & free project sheet


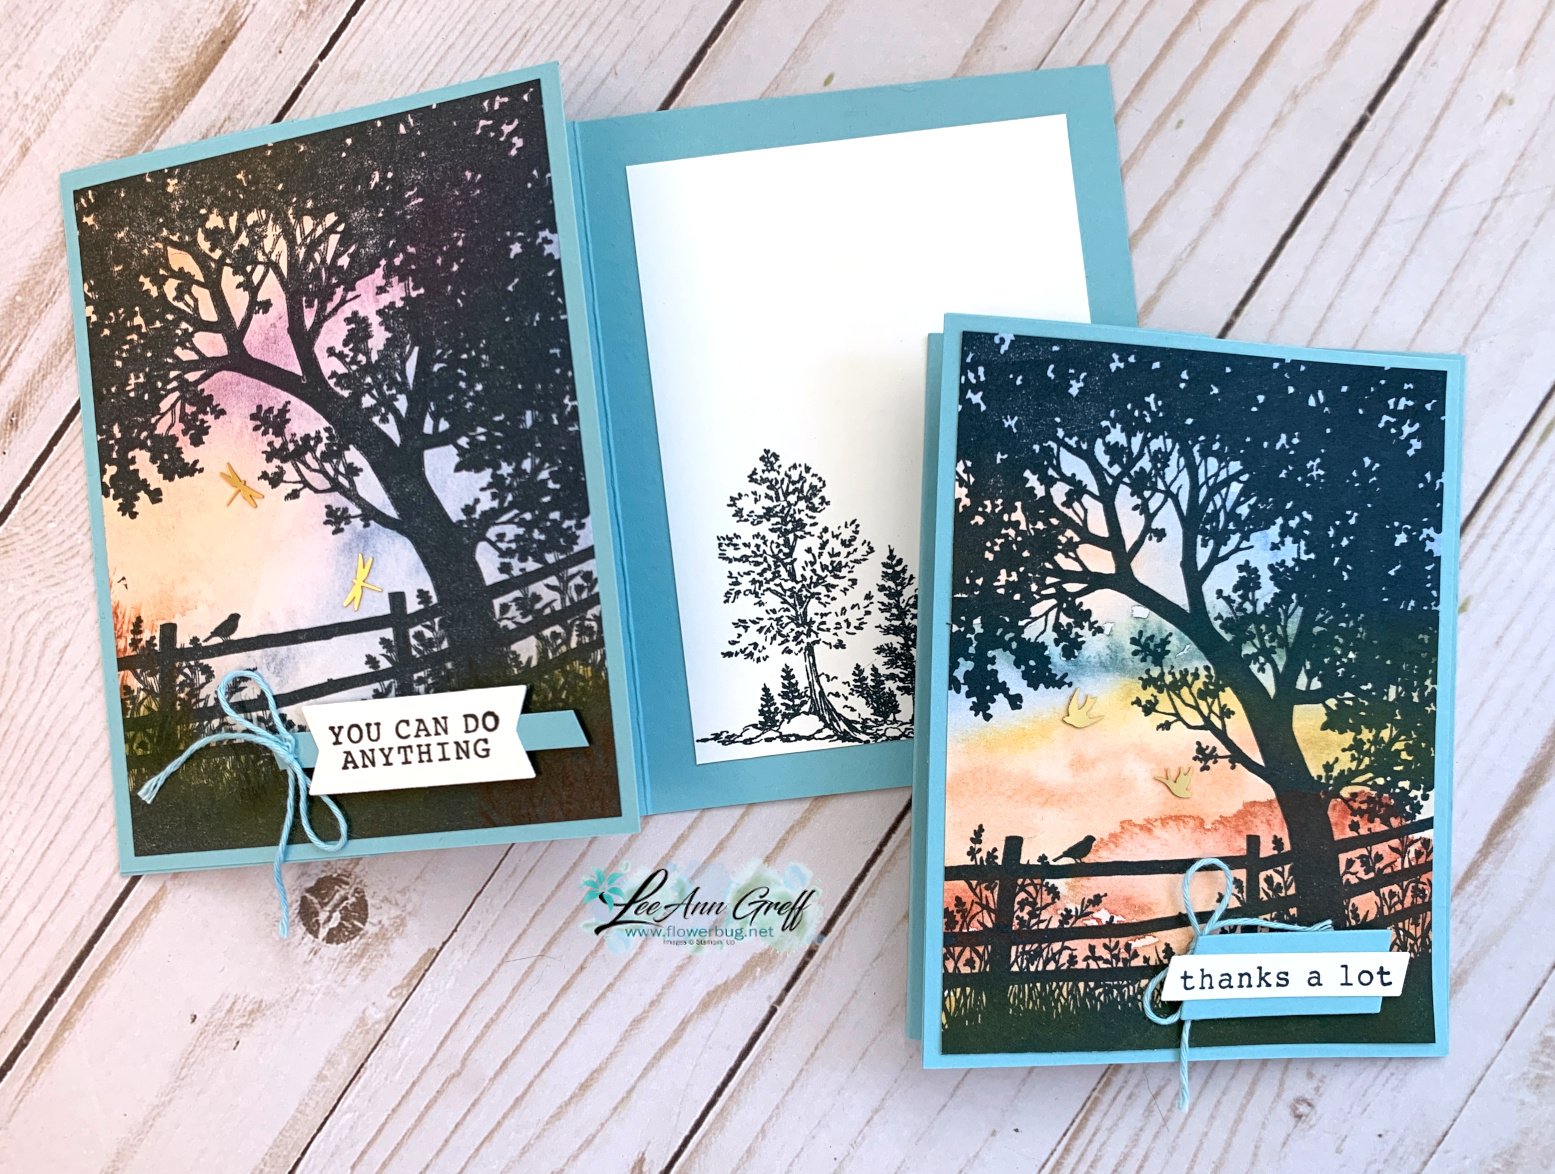
For my June card clubs I knew I wanted to feature the Peaceful View stamp set.  This gorgeous stamp makes it easy to create a stunning card with.  I've asked for this type of stamp for years and finally got one! 


Could you ask for a more perfect background for this image?  Where did it come from?  It's a piece of designer series paper – from the Thoughtful Journey 6" X 6" DSP seen here.   It's absolutely the perfect choice and much easier than creating a coloreful background with ink. 

The majority of the papers work well for this stamp so my club members could pick their favorite. 

We inked the tree scene with Secret Sea ink and stamped on the designer paper.  It's then adhered to a full 4 1/4" X 5 1/2" piece of Balmy Blue CS before it's added to the front flap of the card base (front is folded back once).  

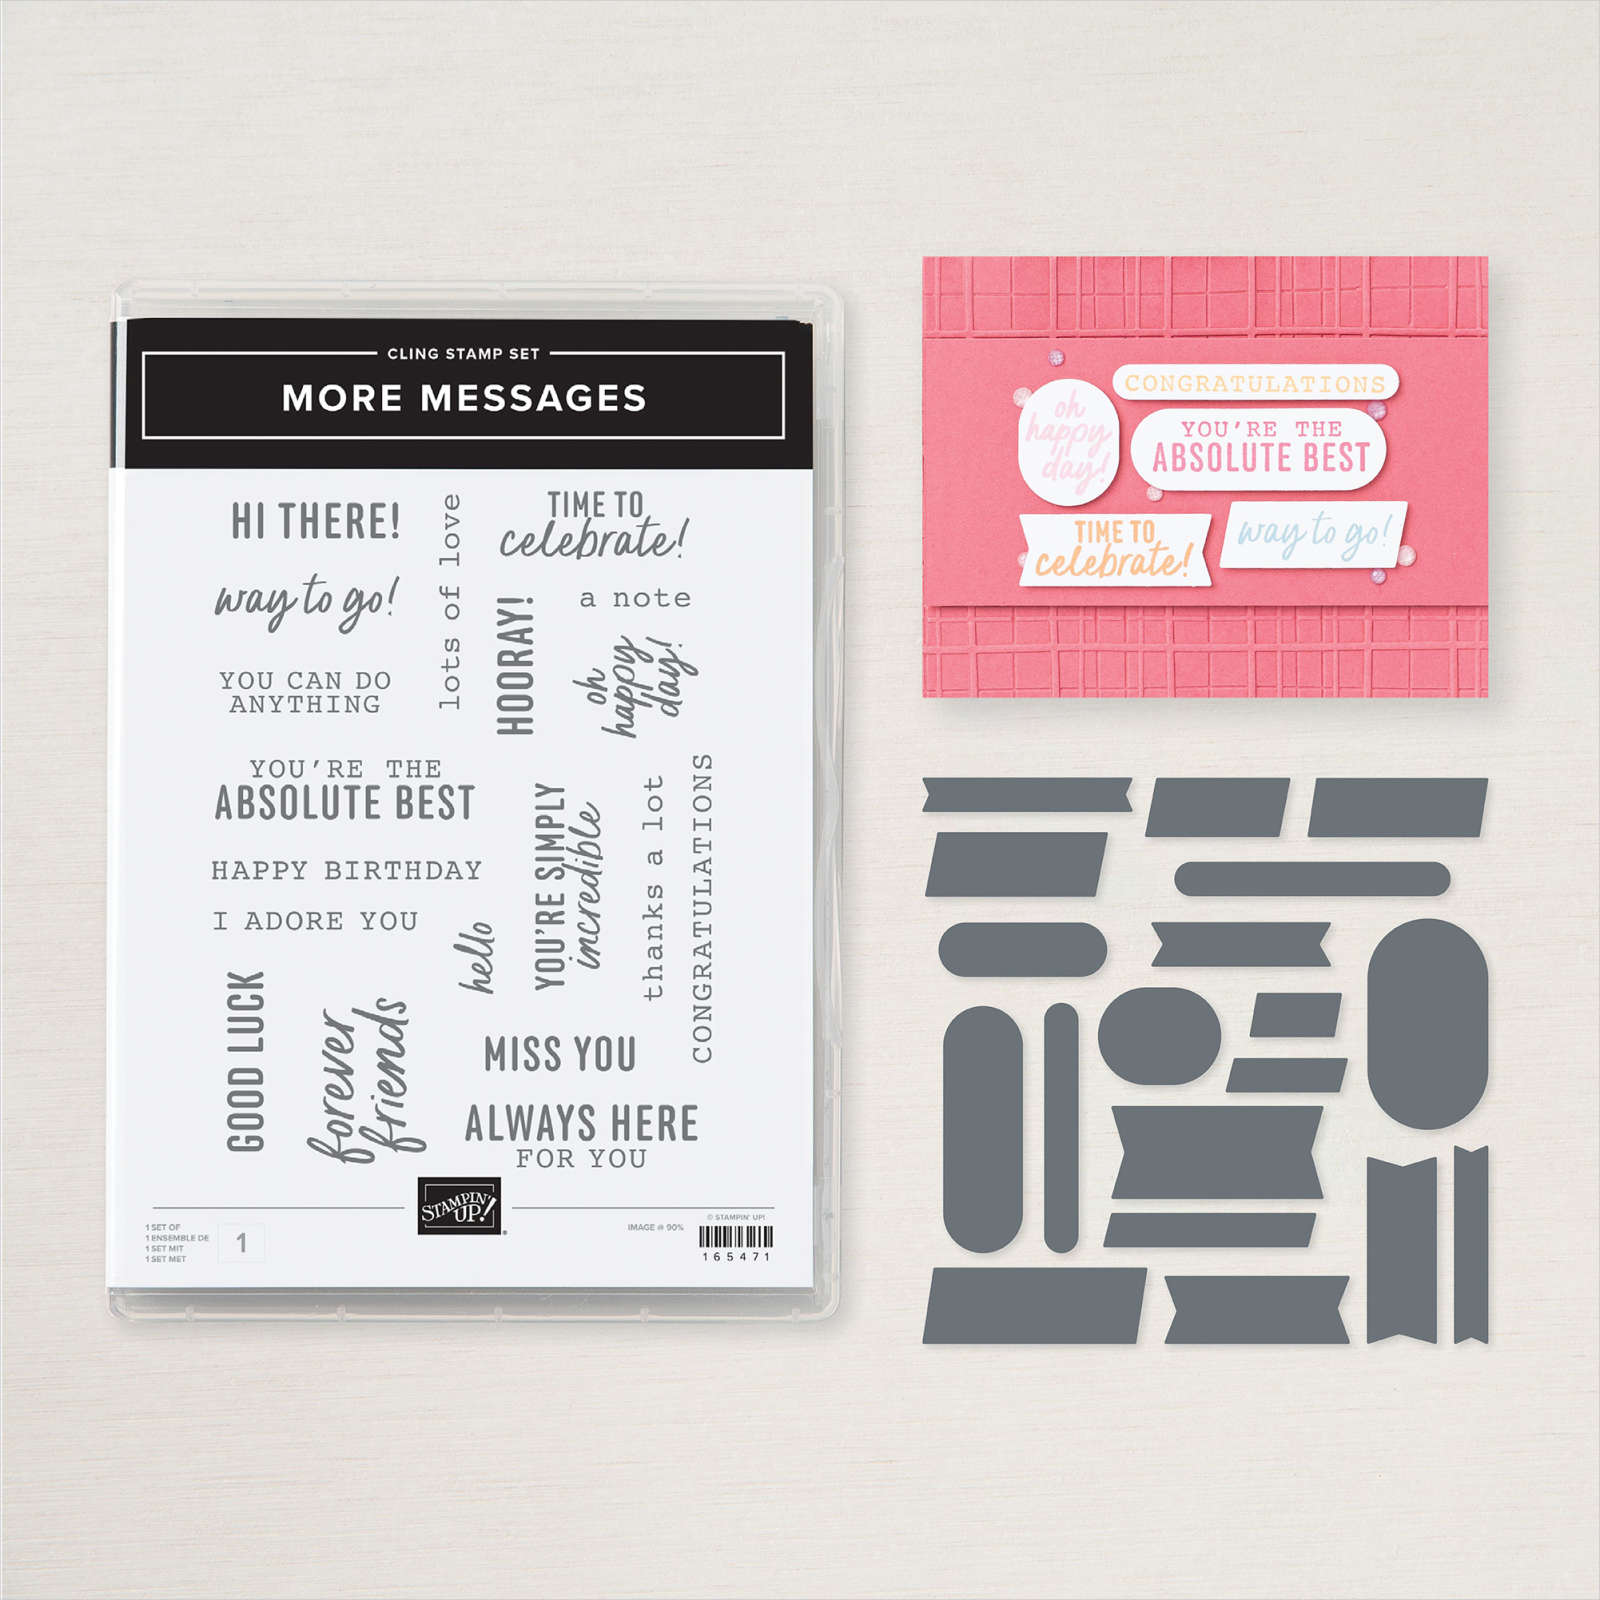
For the greetings I stamped the More Messages stamp a few times and used the coordinating die to cut them all out.  I had tons of greetings for them to choose from.  They then layered them onto another Balmy Blue strip or die-cut. 

What I love about this latest messages bundle is that the greetings and die-cuts are larger than ever before. See the bundle here. 
Here's the free project sheet with measurements and supplies for you: Download Peaceful View June Club

Below is the video for this card and another where I show you how to add color to the stamp. I'll share details on that project tomorrow.  

~~~

July Specials:

New Online Exclusives are here!  

~~~

Last Chance List has been updated!  see it all here. Don't miss out on the deals!

~~~

Get my Turtle-y Cute PDF tutorial free with any online order in July!

All Posts

  • Life is Beautiful fun fold cards with video!


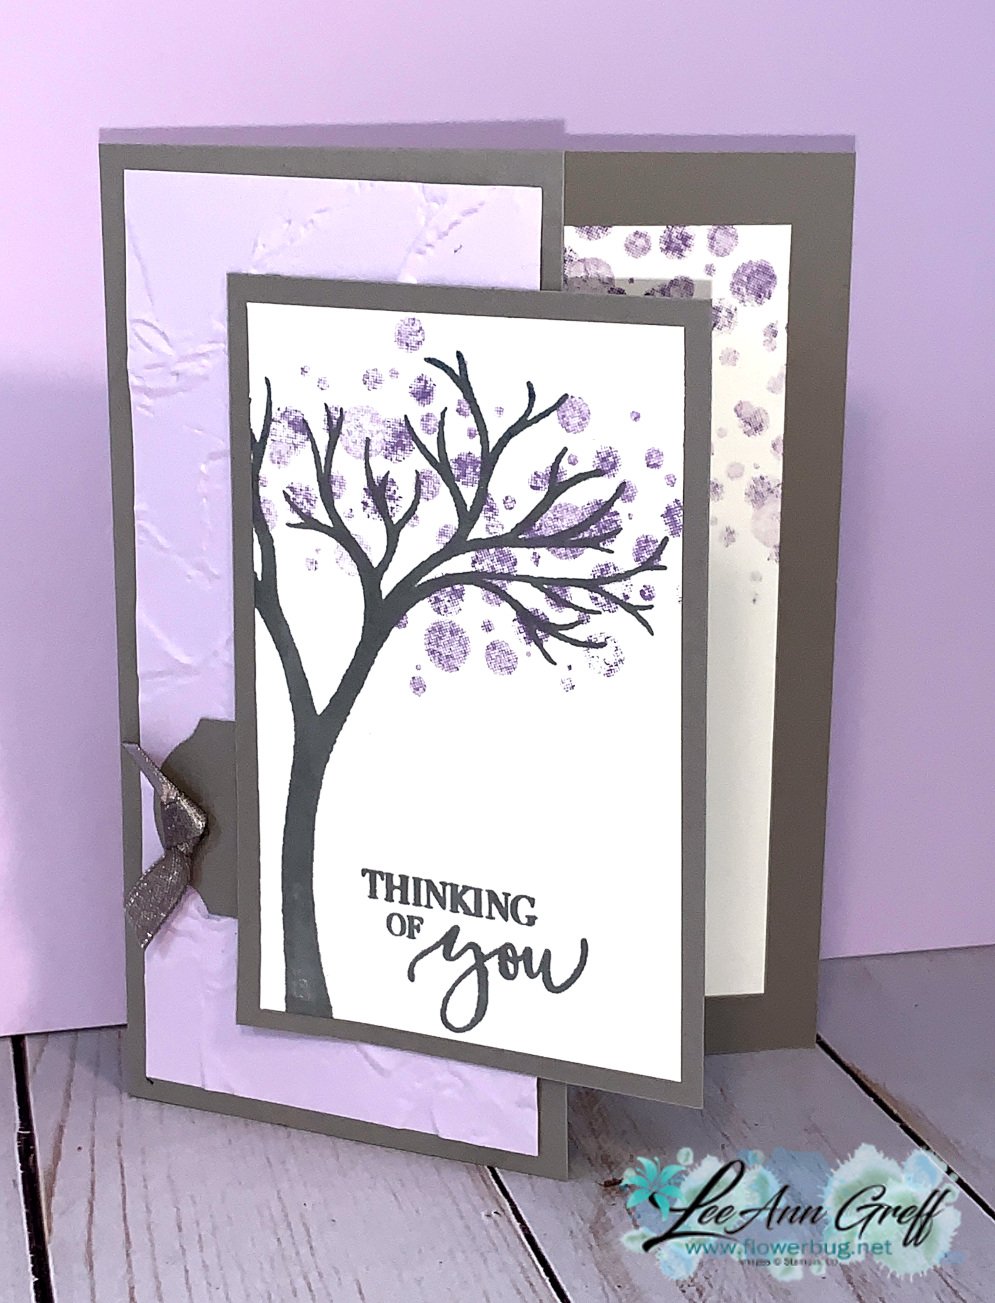
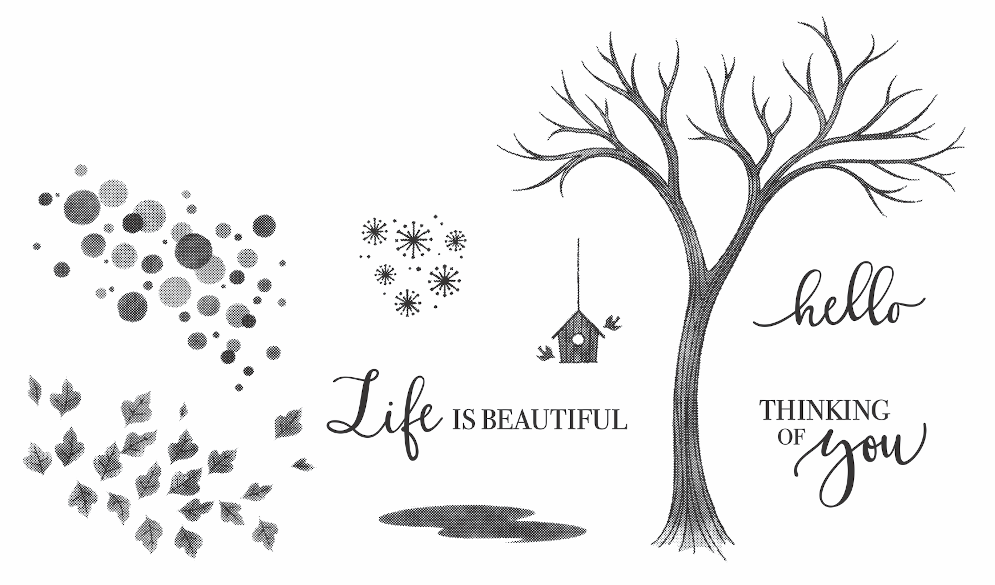
    Here are the two cards I made on FB Live last week.  I had to ink up my Life is Beautiful stamp set one more time. Sadly it's retiring on January 4th.  

    This first card is made with Purple Posy & Gray Granite.  I cut off 1 1/2" from the front layer to reveal a bit of the inside.  I used the Stamparatus to stamp both the tree and greeting at the same time.  I love it for mass producing!  Perfect every time!

    I used Highland Heather ink for the bokeh dots in this set; stamped off a few times.  That neat texture is a new folder in the upcoming Spring catalog called Painted Texture. 


    Get your Life is Beautiful stamp set here before it's gone for good. It's such an easy set to create with! 

    There are tons of samples on Pinterest featuring my stamp set. Click here to see them. 

    Measurements:

    • Gray Granite 5 1/2" X 7" scored at 4 1/4", 4 1/4" X 2 3/4"
    • Purple Posy – 5 1/4" X 2 3/4"
    • Whisper White – front 4" X 2 1/2", inside 4 3/4" X 3 1/2"

    This neat easel card is made with Just Jade, Smoky Slate, Black & White.  Watch the video to see how I did the birdhouse in two colors. 

    Measurements:

    • Smoky Slate – 5 1/2" X 8 1/2" scored at 2 1/8" & 4 1/4"
    • Just Jade 1 7/8" X 5 1/4", inside strip is 3/4" X 3 1/4"
    • Whisper White 3 1/4" X 3", inside is 3 1/2" X 4 3/4"
    • Black 3 1/2" X 3 1/4" 

    Join me here on the 2nd & 4th Monday's for Stamp with Me Live.  Follow my FB page and you'll see the pre-post with measurements so you have time to prep your projects for the Live stamping! 

    If you're not on Facebook I usually share the videos later on my YouTube channel here.  

    ~~~


    December Ordering Special: 

    Current Host code is 399BKWGG

    Order online here

    All online orders will receive my 16 Christmas cards class PDF!

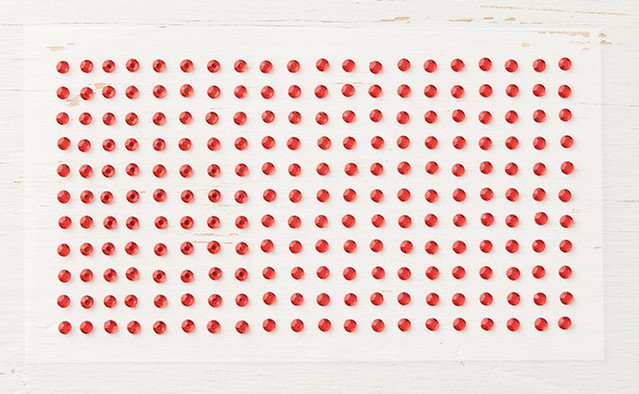
    Get a free package of 220 Red Rhinestones from me with an online order over $50 using the host code above.

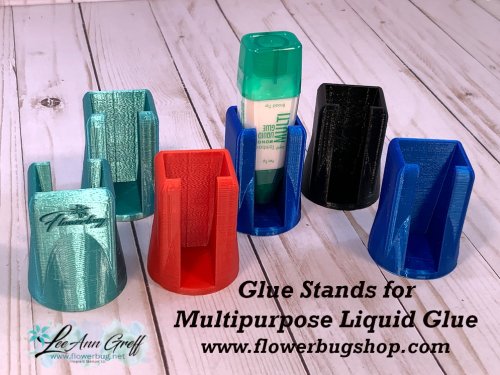
    Below are the Multipurpose Glue stands we're making. They're $6 each and available in my Shop here.  

    Leave a Reply

    Your email address will not be published. Required fields are marked *

  • Oh So Ombre cards; quick & easy with my 2-cut template!


    Check out these cute cards made with the upcoming Sale-a-Bration FREE designer paper called 'Oh So Ombre'.  I created them on my Stamp with Me FB Live Monday night.  I created a template to chop up a piece of designer paper into 4 pieces. See the video below. 

    It's a pack of 48 sheets in 6 X 6" size with beautiful colors & patterns with a gradual color change.  One side is smooth and the other features the fun dots.  

    You'll be able to earn this paper pack FREE with a $50 order during our annual Sale-a-Bration promotion.  It starts in just 6 days and runs from January 5th – February 28th, 2021.

    I made these 3 cards with the Dandy Garden Designer Paper (another sneak peak; from the 2021 Spring Catalog) with my template seen below.  

    Start out with a piece of double sided Designer Paper measuring 4" X 5 1/4" and then cut it into 4 pieces using the template below.  Then, mix & match your pieces on a 5 1/2" X 8 1/2" card base.  

    Tips:

    • This is easiest if you use patterns without a direction on them; such as flowers that grow up from the bottom or words. 
    • Choose one pack of DSP that coordinates well and cut 2-3 pieces in a variety of patterns.  It's fun to mix & match them. 

    Watch the video below to see how and get some creative tips:

    ~~~


    December Ordering Special: 

    Current Host code is 399BKWGG

    Order online here

    All online orders will receive my 16 Christmas cards class PDF!

    Get a free package of 220 Red Rhinestones from me with an online order over $50 using the host code above.

    Below are the Multipurpose Glue stands we're making. They're $6 each and available in my Shop here.  

    Leave a Reply

    Your email address will not be published. Required fields are marked *

  • New: Vine Design Dutch Door fold card


    I made several cards for online swaps featuring products in the upcoming 2021 Spring & Sale-a-Bration catalog.  This pretty fun fold card was one of them.  I gravitate towards anything with leaves or vines so I knew I'd like this set called Vine Design.  

    The colors here are Night of Navy, Seaside Spray & Old Olive with White. I used my Stamparatus for the vine image; it's so perfect for multiple cards!  Perfect inking and placement each time. 

    See that greeting & layered ovals?  We have a new   DOUBLE OVAL PUNCH!!!  I'm so excited about this one.  I've missed out oval punches so much and now both are in one! 

    See the measurements below.

    Supplies:

    • Stamps – Vine  Design (2021 Spring Catalog)
    • Ink – Old Olive, Navy, Seaside Spray
    • CS -  Old Olive, Navy, Seaside Spray, Whisper White
    • Other – Double Oval Punch, Detailed Trio Punch, Well Suited Twine combo pack, Rhinestones, dimensionals, Mini glue dots

    Measurements:

    • Old Olive 5 1/2" X 4 1/4"
    • Night of Navy 2 1/2" X 8 1/2" scored at 4 1/4"
    • Whisper White 3 7/8" X 2 3/4", inside is 2" X 3 3/4"
    • Seaside Spray 4 1/8" X 3"

    ~~~


    December Ordering Special: 

    Current Host code is 399BKWGG

    Order online here

    All online orders will receive my 16 Christmas cards class PDF!

    Get a free package of 220 Red Rhinestones from me with an online order over $50 using the host code above.

    Below are the Multipurpose Glue stands we're making. They're $6 each and available in my Shop here.  

    Leave a Reply

    Your email address will not be published. Required fields are marked *


Notice: LeeAnn Greff, Independent Stampin’ Up! Demonstrator, Manager. The content of this website is my sole responsibility as an independent Stampin’ Up! demonstrator and the use of, and content of, the classes, services, or products offered on this website is not endorsed by Stampin’ Up! Copyright 2025