/


Latest Post

Beautiful Peaceful View card the easy way with video & free project sheet


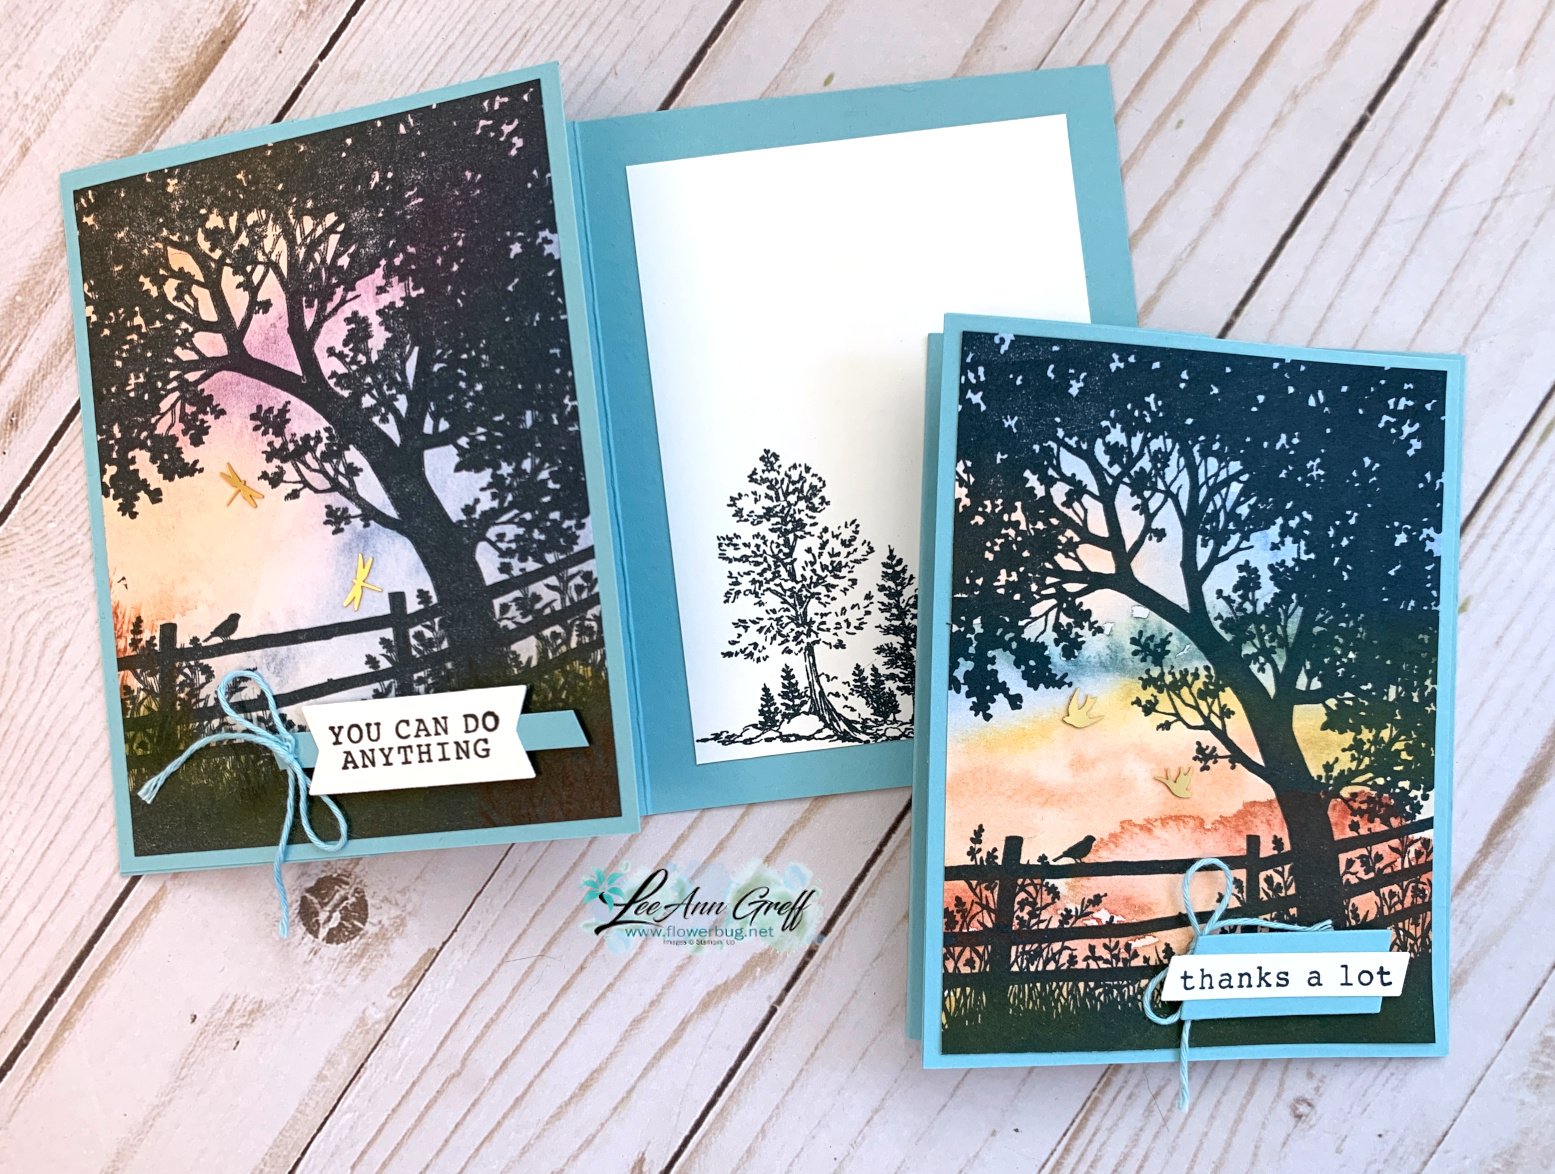
For my June card clubs I knew I wanted to feature the Peaceful View stamp set.  This gorgeous stamp makes it easy to create a stunning card with.  I've asked for this type of stamp for years and finally got one! 


Could you ask for a more perfect background for this image?  Where did it come from?  It's a piece of designer series paper – from the Thoughtful Journey 6" X 6" DSP seen here.   It's absolutely the perfect choice and much easier than creating a coloreful background with ink. 

The majority of the papers work well for this stamp so my club members could pick their favorite. 

We inked the tree scene with Secret Sea ink and stamped on the designer paper.  It's then adhered to a full 4 1/4" X 5 1/2" piece of Balmy Blue CS before it's added to the front flap of the card base (front is folded back once).  

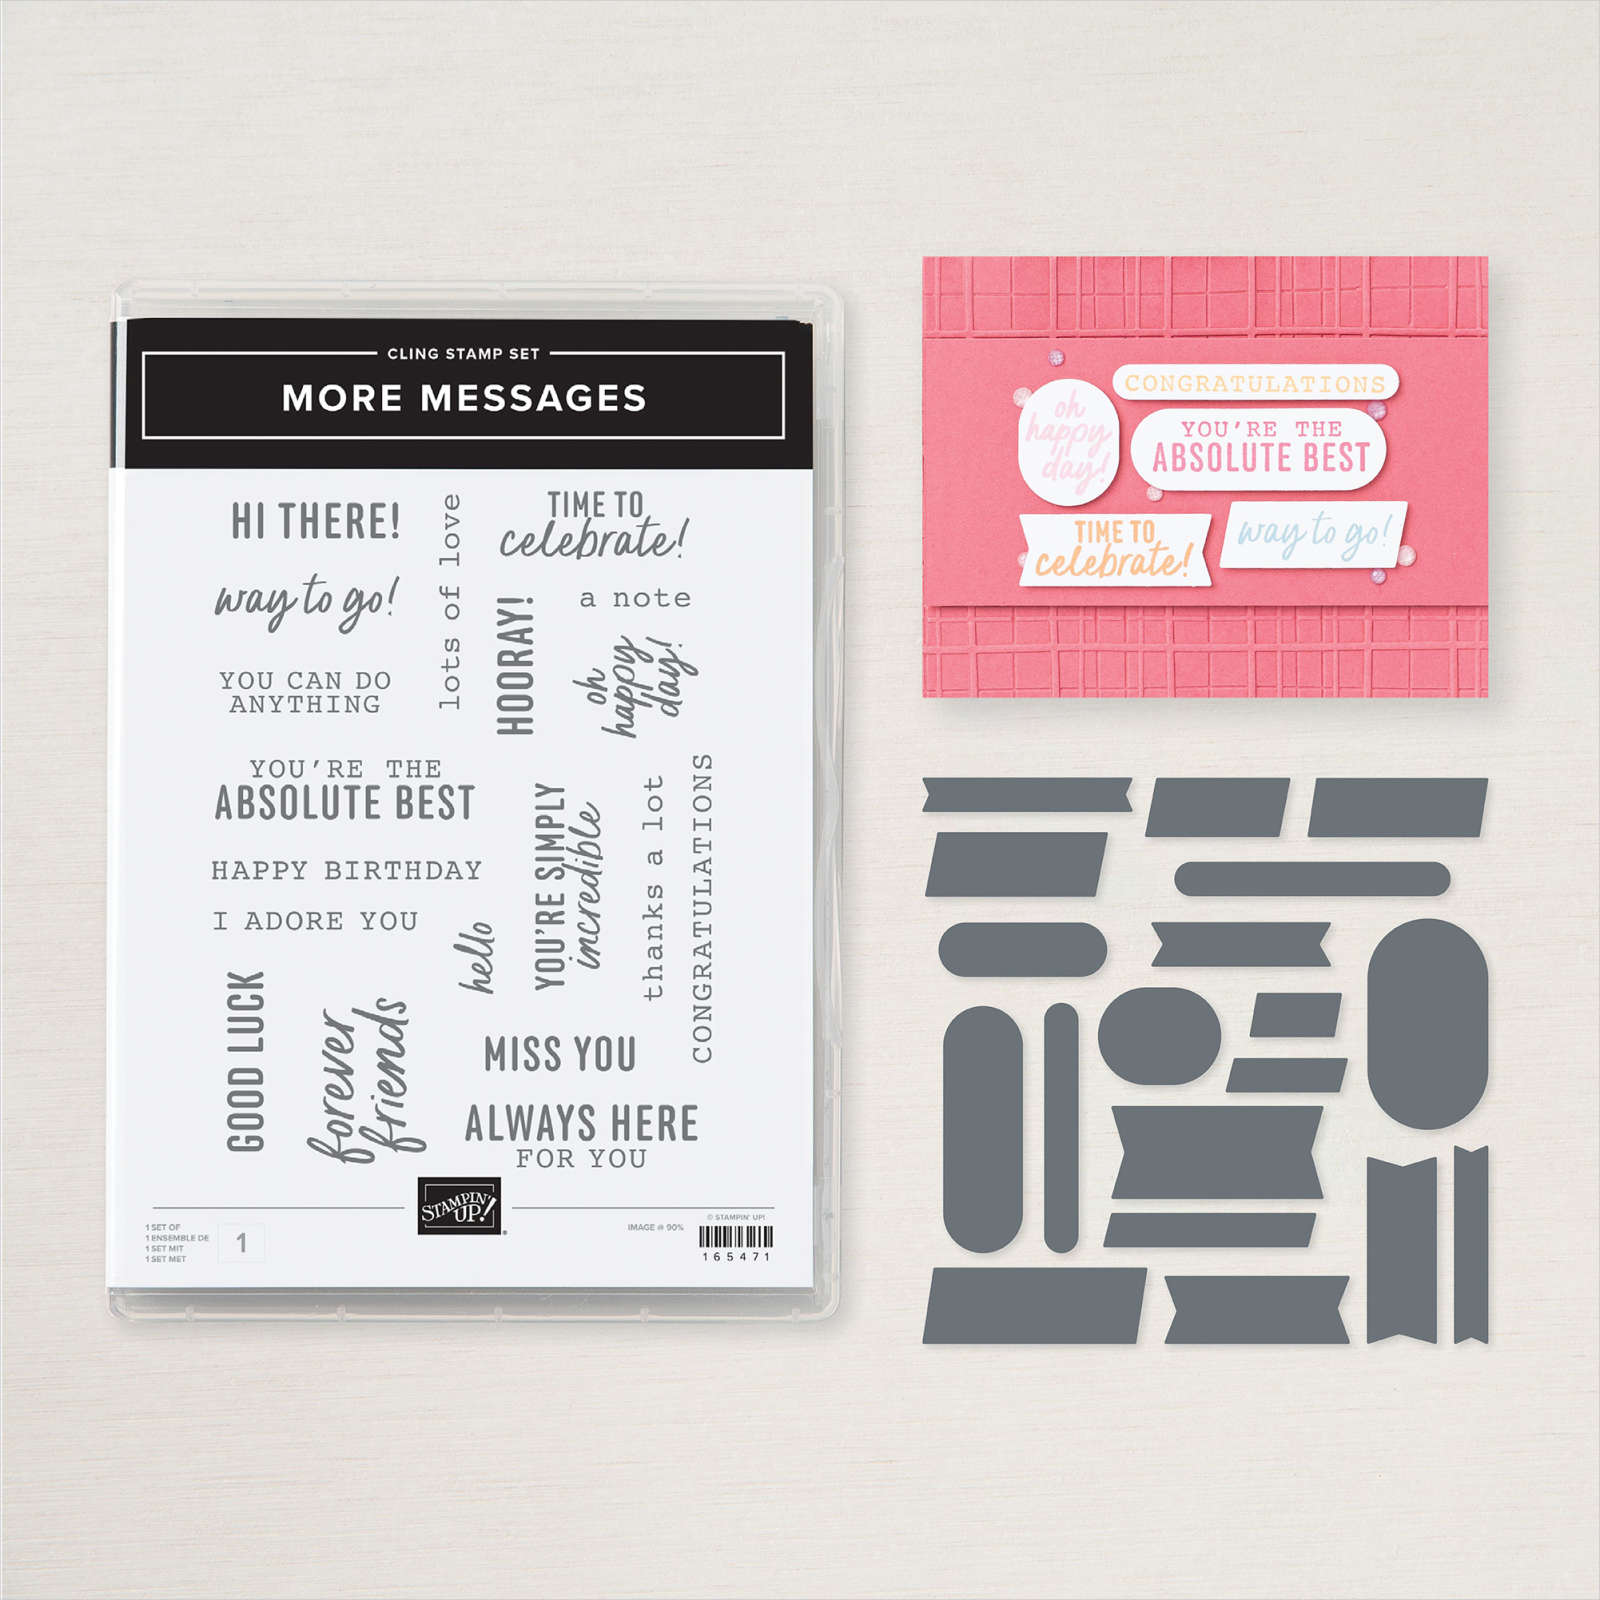
For the greetings I stamped the More Messages stamp a few times and used the coordinating die to cut them all out.  I had tons of greetings for them to choose from.  They then layered them onto another Balmy Blue strip or die-cut. 

What I love about this latest messages bundle is that the greetings and die-cuts are larger than ever before. See the bundle here. 
Here's the free project sheet with measurements and supplies for you: Download Peaceful View June Club

Below is the video for this card and another where I show you how to add color to the stamp. I'll share details on that project tomorrow.  

~~~

July Specials:

New Online Exclusives are here!  

~~~

Last Chance List has been updated!  see it all here. Don't miss out on the deals!

~~~

Get my Turtle-y Cute PDF tutorial free with any online order in July!

All Posts

  • 3 Fun Projects & Video with the Circle Celebration stamp set


    I tried not to order the Circle Celebration stamp set but it kept calling out 'Order me!'  So I caved….and am so glad I did!  The images seem like they're almost 'retro' style which I love.  I do enjoy creating my own stamped background and these are perfect for that.  

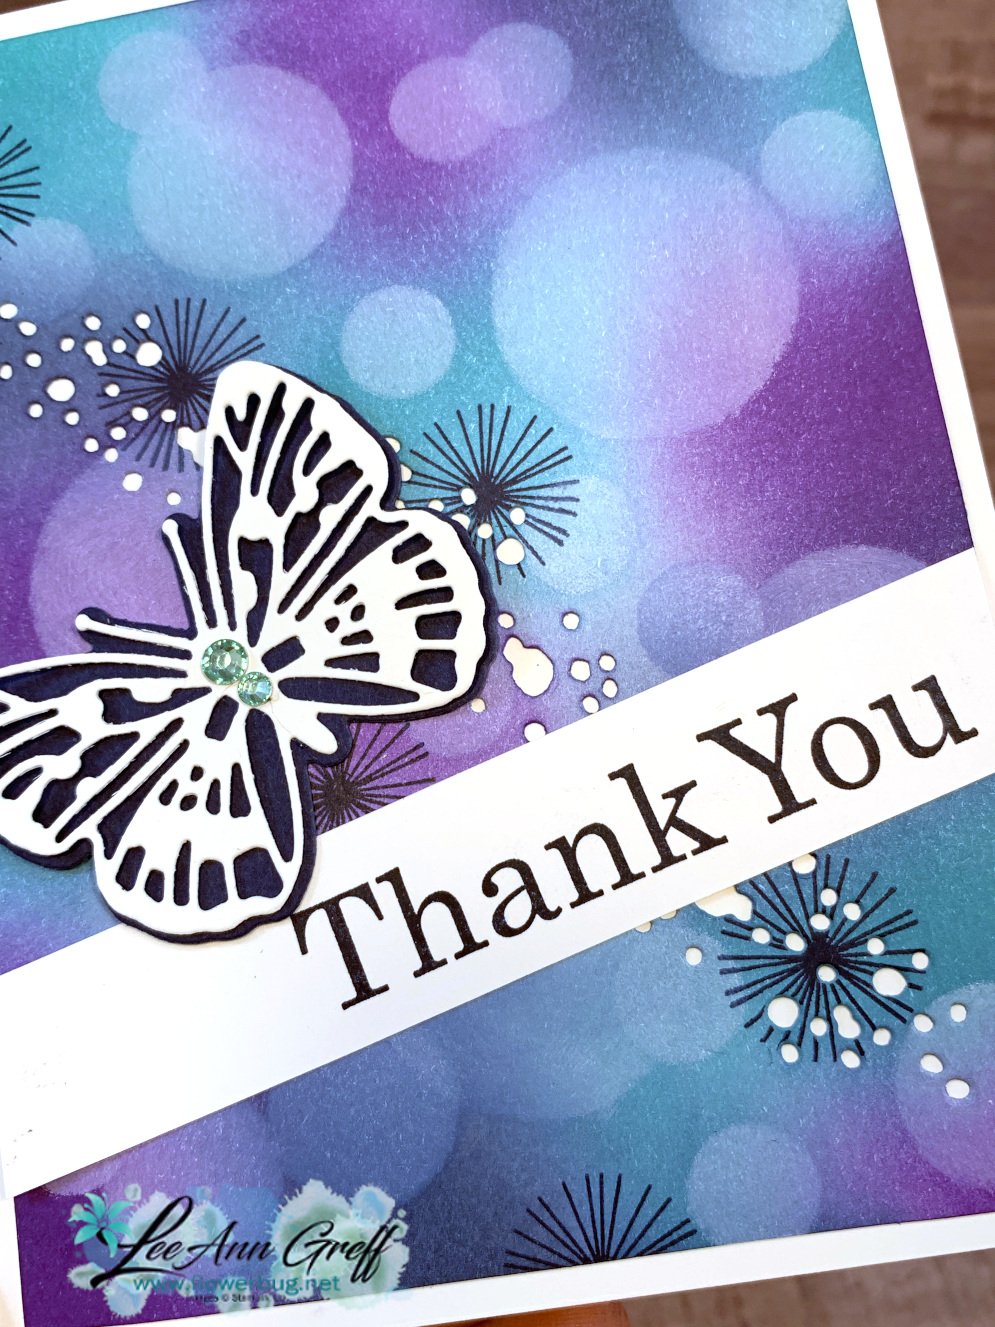
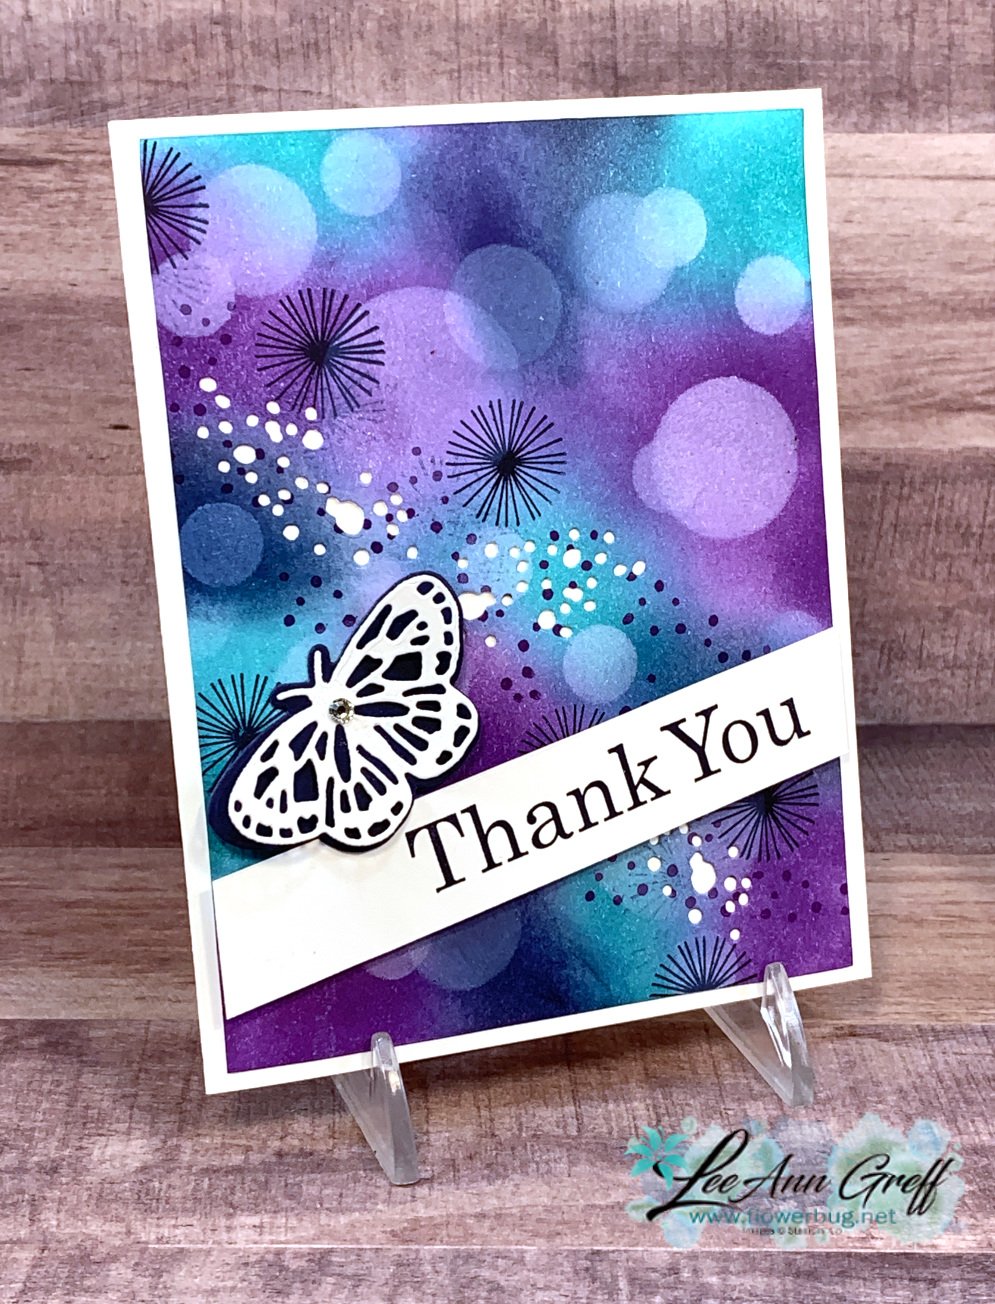
    Today I'm focusing on the cards on the right.  I made them with the Bokeh technique.  It's so fun and almost 3D in appearance.  

    You start out with a sponged background. I used our new Blending Brushes that are awesome! They are currently out of stocks but should be back at the end of March.

    Randomly sponge ink colors onto our Basic White CS.  Choose colors that somewhat coordinate if possible.  this can be difficult for some who struggle with color combos. I choose colors that when mixed do not make mud.  How do I know which colors don't mix?  Trial and error of course!  Here I used Night of Navy, Bermuda Bay and Gorgeous Grape.  Aren't these colors gorgeous together?!!!

    *Another combo I might pick are yellows, oranges & reds.  Or greens & blues!  

    Once you're done you add sponged circles using White Craft ink.  I made my own stencils by punching circles out of card stock.  I share tips on using and re-inking our White Craft ink in the video below.

    The greeting is from the Best Year stamp set in the Annual Catalog and the butterflies AND white dotted die-cut 'holes' are from the new Brilliant Wings bundle seen here.

    Here is the video; I hope you watch it to see how to make these fun projects! 

    Stop in here for tonight's Stamp with Me Facebook Live at 7:30 pm Central Time! We're making these paper quilting cards:

    ~~~

    Lots of March Specials!

    Current Host code is 9UPP3WVQ

    Order online here

    And if your order is over $50 you'll also receive a free adhesive package from me 3 sheets of Dimensionals and 1 for die-cuts!

    *If your order is over $150 do not use the code; you'll still receive the gifts! 

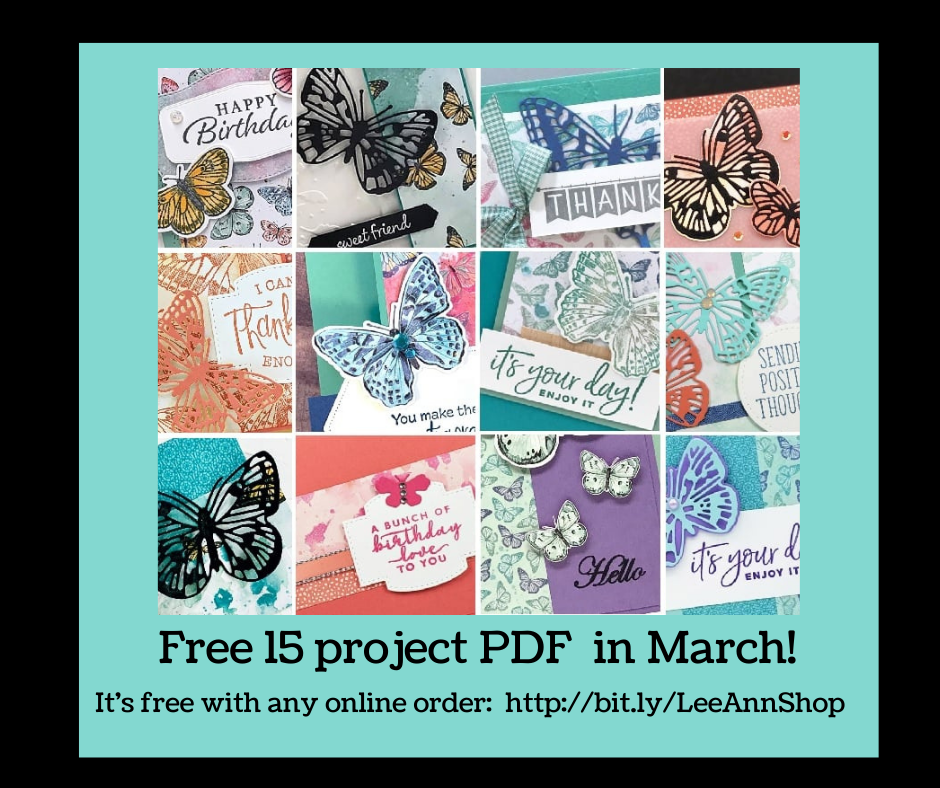
    All online orders receive a free PDF of the new Butterfly Bouquet bundle

    with 15 projects!

    Below are the Multipurpose Glue stands we're making. They're $6 each and available in my Shop here.  

    Leave a Reply

    Your email address will not be published. Required fields are marked *

  • Hot Dog; what an amazing fun fold card!


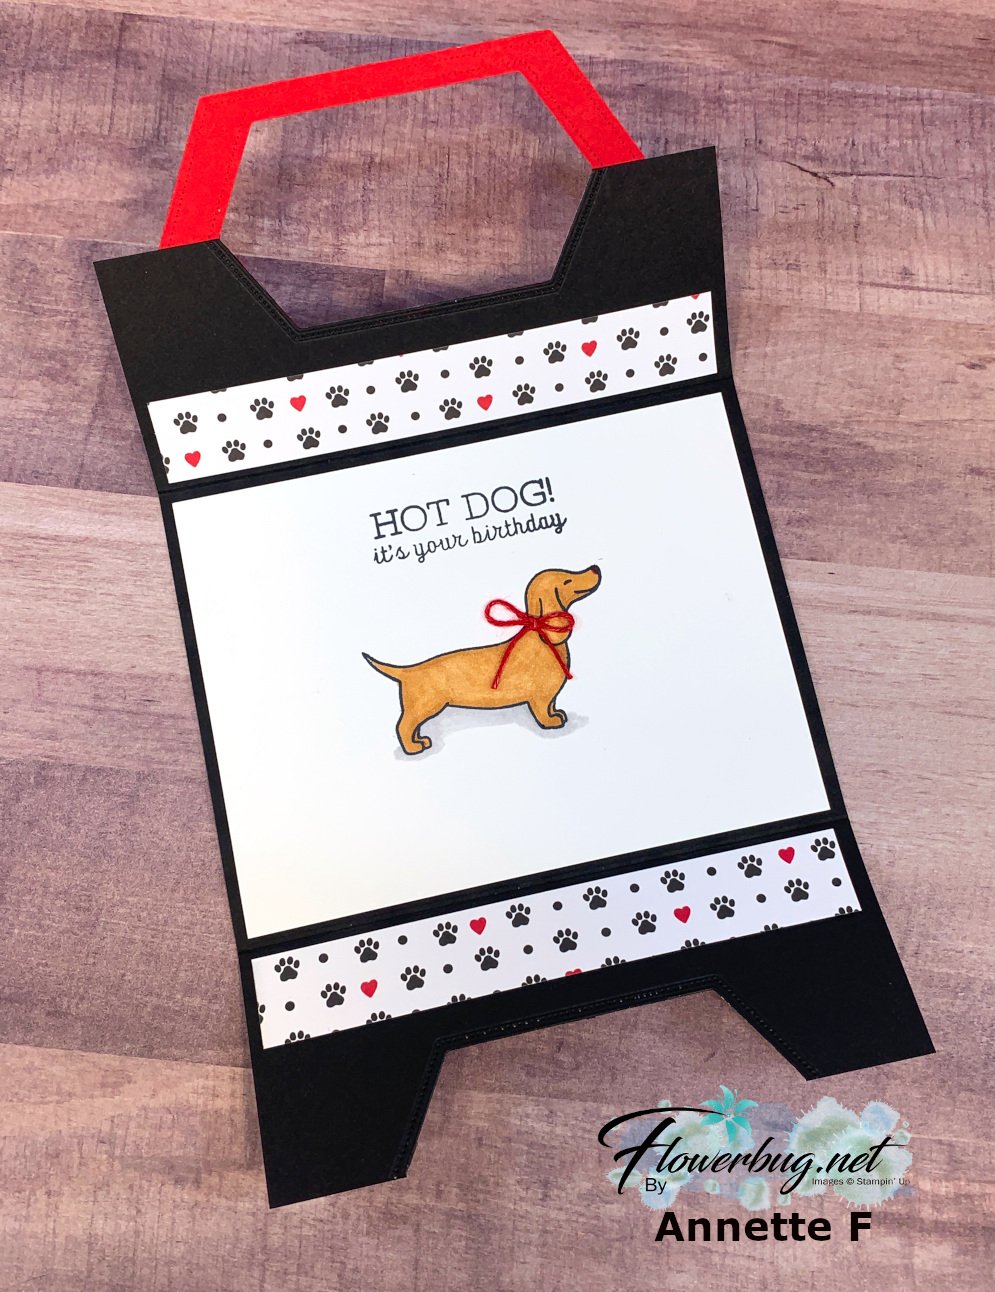
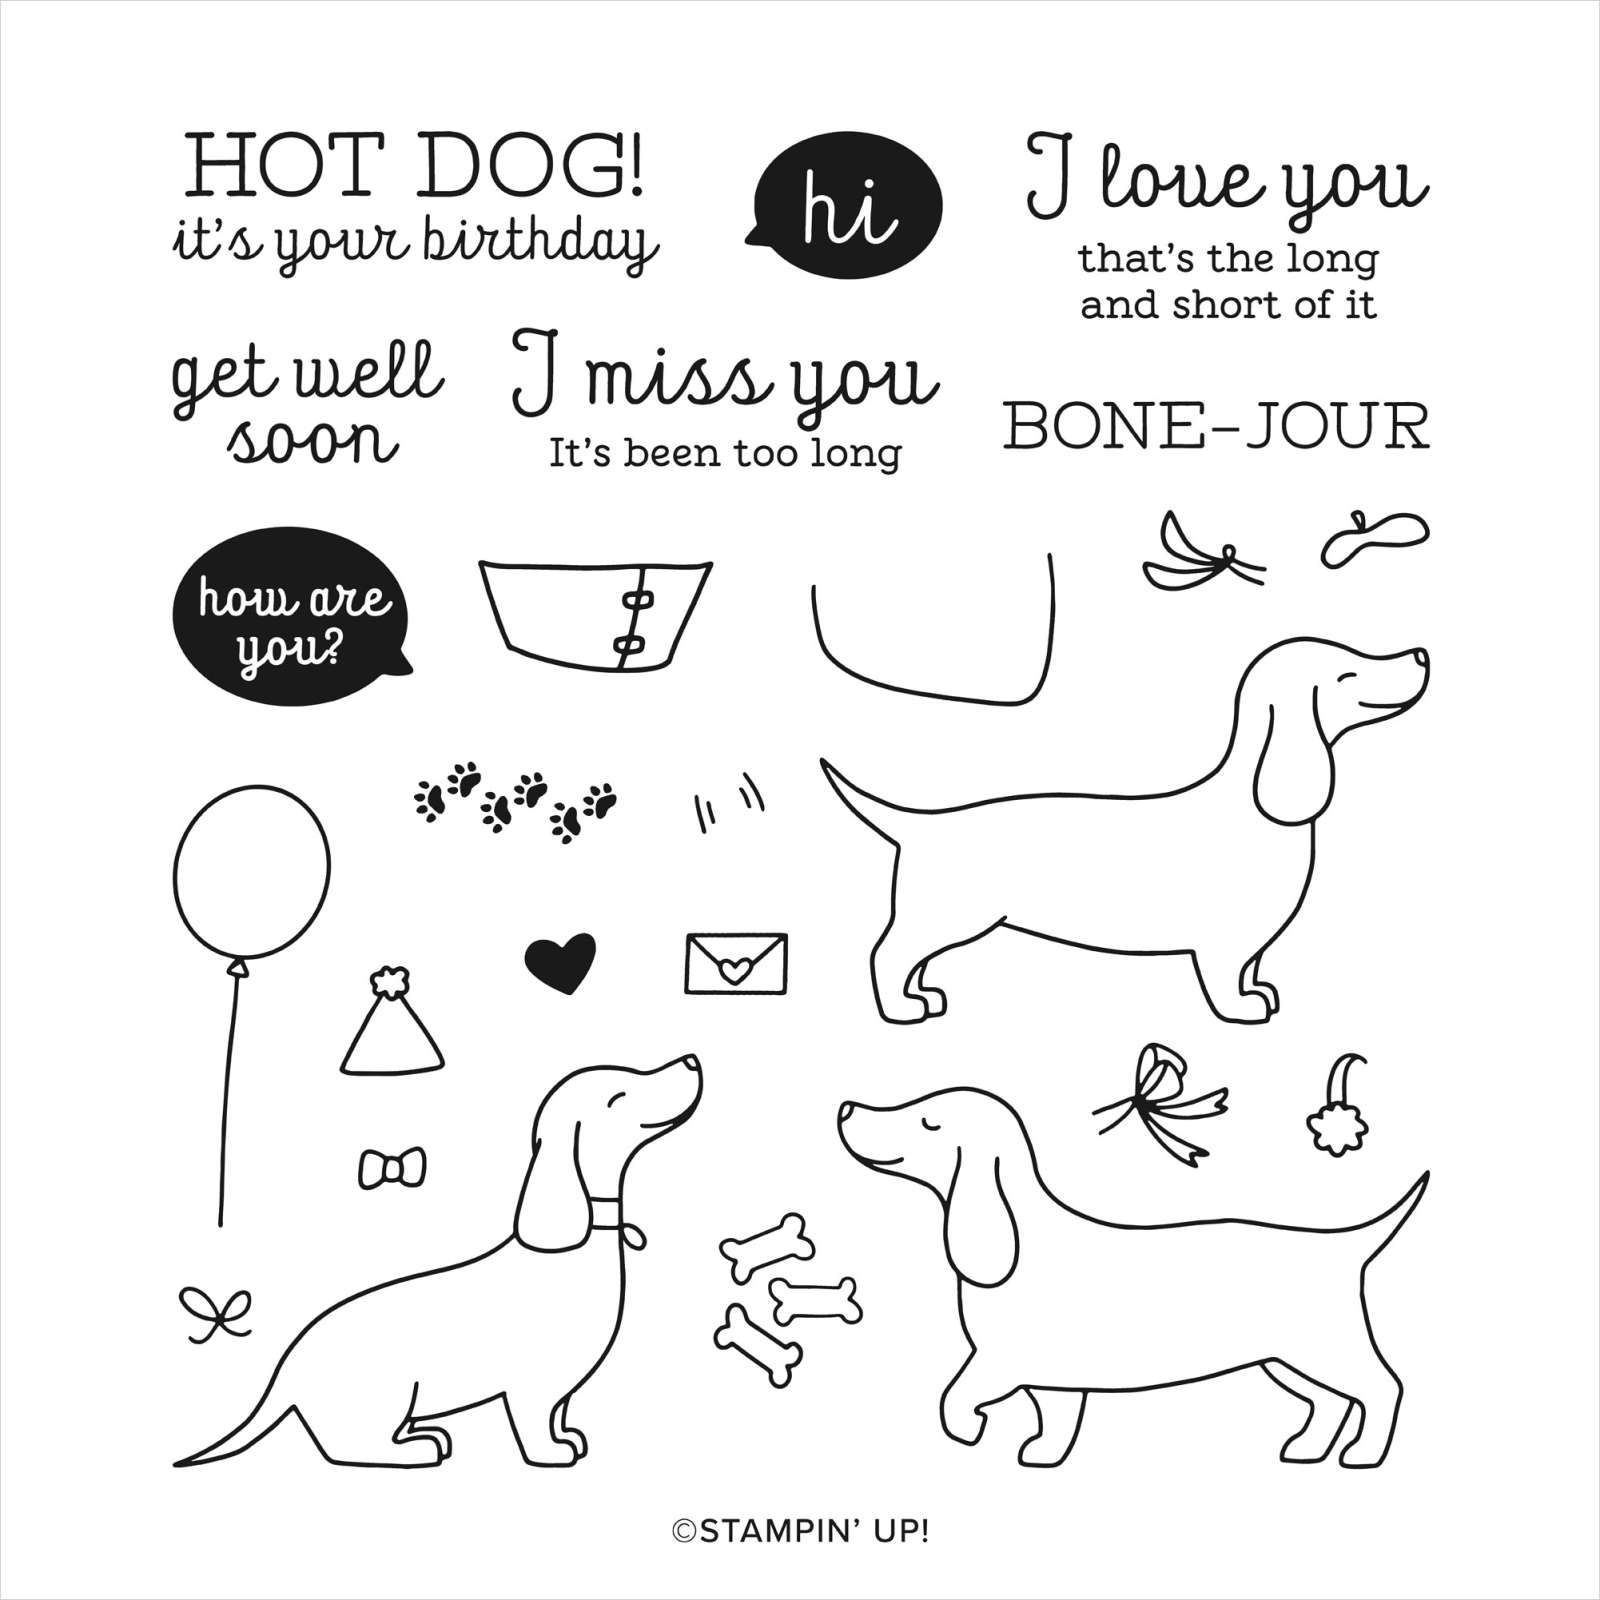
    Have you been enjoying the window cards I've shared this week?  I have more coming tomorrow!   My Flowerbug's Team amaze me each and every month.  They really put effort into creating incredible projects like this fun & amazing card Annette made with the Hot Dot stamp set!  

    I was blown away by it! She based her colors off of the Playful Pets designer paper seen here. *this will likely retire in a week!

    It took a lot of time and effort into lining up the Stitched Nested Label dies so the Real Red window lined up with the inside layers.  She told me that she adhered the designer paper to the front of the card before die-cutting the window.  She did by placing the die between the layers cutting side up; in the middle of the card itself. That takes some patience in lining it all up! 

    Products Used:

    Measurements: 

    • Black Card base 5 1/2" X 8 1/2" scored at 2 1/8" and 6 3/8"
    • White inside 4" X 5 1/4"
    • DSP on front 2" X 5 1/4" and inside are 3/4" X 5 1/4"

    ~~~

    Lots of March Specials!

    Get 5 free cards with a $30 online order through March 20th!

    Current Host code is 9UPP3WVQ

    Order online here

    And if your order is over $50 you'll also receive a free adhesive package from me 3 sheets of Dimensionals and 1 for die-cuts!

    *If your order is over $150 do not use the code; you'll still receive the gifts! 

    All online orders receive a free PDF of the new Butterfly Bouquet bundle

    with 15 projects!

    Below are the Multipurpose Glue stands we're making. They're $6 each and available in my Shop here.  

    Leave a Reply

    Your email address will not be published. Required fields are marked *

  • Two Unique Window cards with Dragonfly Dreams & Soar Confidently stamp sets.


    I'm featuring our Team Swaps this week and the theme was 'window cards'.  I was so impressed with each and every one of them!  

    First up is Deloris's card with the Dragonfly Garden stamp set seen here.

    The little dragonfly is from the Dragonfly Punch which is in the Dragonfly Garden bundle seen here. 

    She used two of the Stitched Label dies and the Subtle embossing folder.  Her colors are Pear Pizzazz and Rich Razzleberry.  I believe she colored the flowers in with Blends markers.  Beautiful job! 

    *The greeting and die-cut are retired and not currently available.  

    ~~~

    Next is a gorgeous card made by Ginny.  She used the Oval dies and the Soar Confidently stamp set seen here.  

    Her colors are Crumb Cake with Soft Suede & Vanilla. That great texture is from the Tasteful Textile folder in the annual catalog. Adding a bit of color to the balloon really makes it stand out!  Take a look at the inside!


    ~~~

    Lots of March Specials!

    Get 5 free cards with a $30 online order through March 20th!

    Current Host code is 9UPP3WVQ

    Order online here

    And if your order is over $50 you'll also receive a free adhesive package from me 3 sheets of Dimensionals and 1 for die-cuts!

    *If your order is over $150 do not use the code; you'll still receive the gifts! 

    All online orders receive a free PDF of the new Butterfly Bouquet bundle

    with 15 projects!

    Below are the Multipurpose Glue stands we're making. They're $6 each and available in my Shop here.  

    Leave a Reply

    Your email address will not be published. Required fields are marked *


Notice: LeeAnn Greff, Independent Stampin’ Up! Demonstrator, Manager. The content of this website is my sole responsibility as an independent Stampin’ Up! demonstrator and the use of, and content of, the classes, services, or products offered on this website is not endorsed by Stampin’ Up! Copyright 2025