/


Latest Post

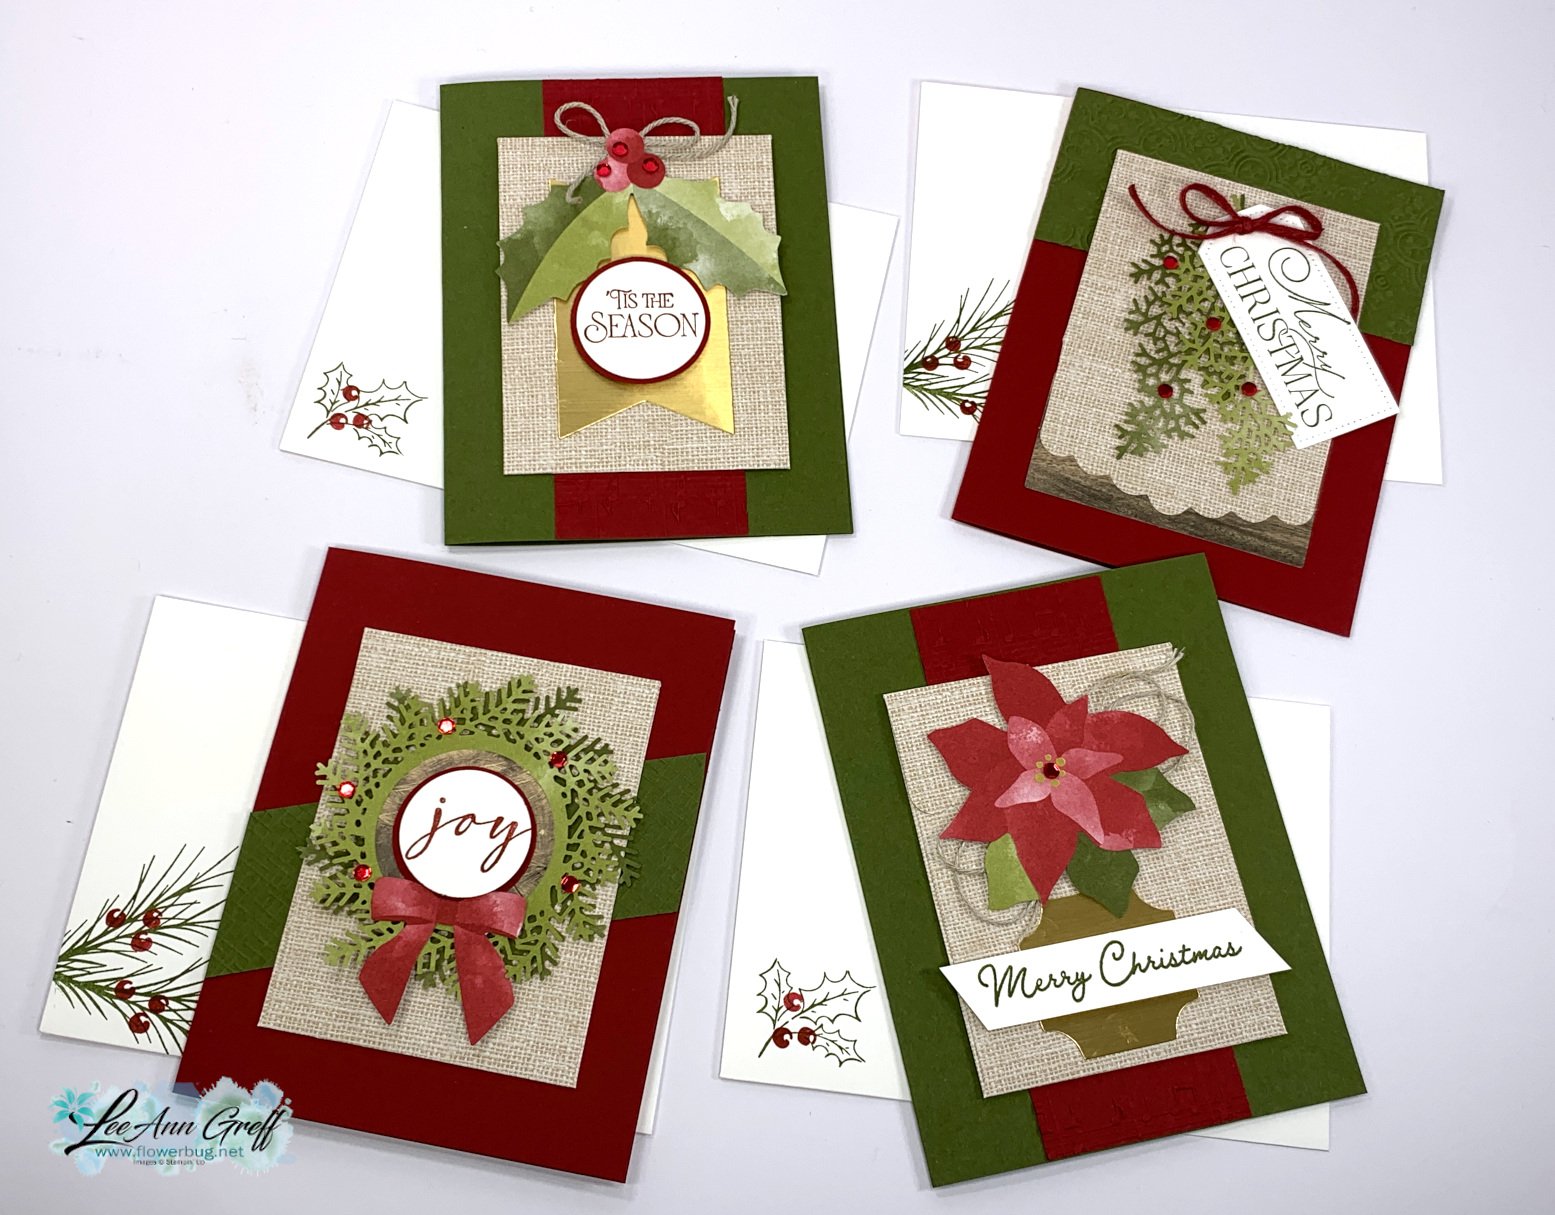
Beautiful cards made with the Rustic Christmas Countdown kit!


I created these pretty cards with the Rustic Christmas Countdown kit.  It's meant to be used as an advent calendar but I thought they'd make great Christmas cards. 

I will not be surprised if this kit sells out soon.  It's gorgeous!  The envelopes for the advent calendar are approximately 3" X 4"; a good size to add a treat inside. 
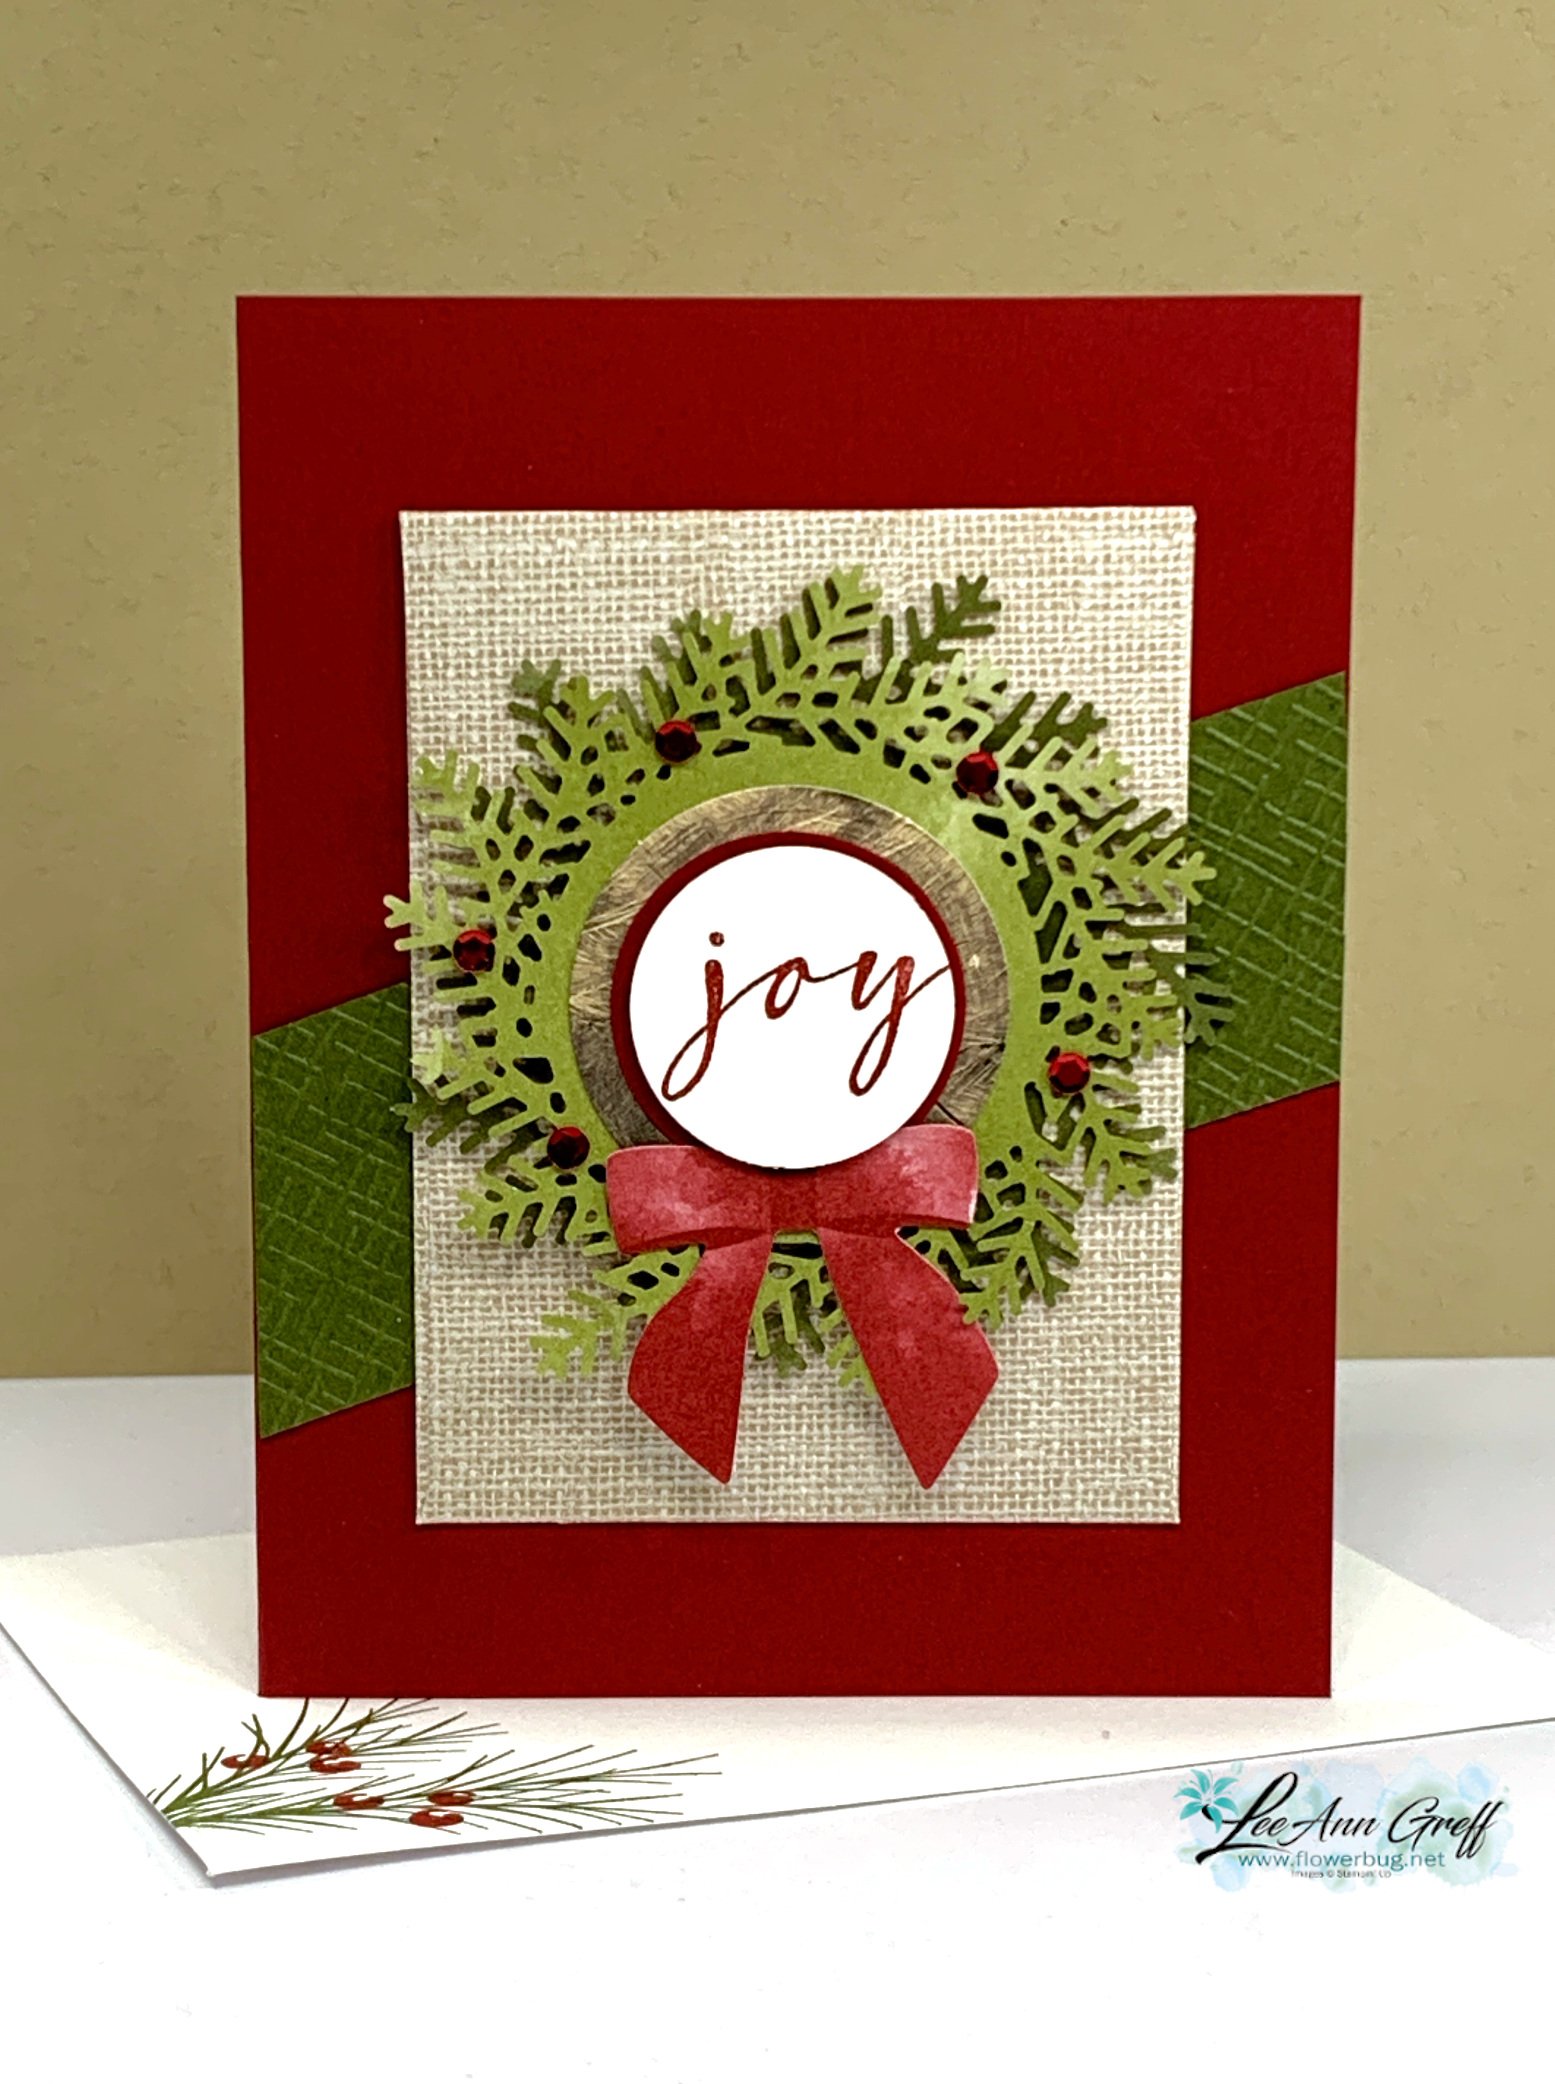
I added Mossy Meadow & Cherry Cobbler card bases, some textured strips of the same colors and a few greetings. 

The greetings mostly cover up the numbers printed on the wood & gold paper elements in the kit. 

For greetings I used the Brightest Glow (annual catalog) and Beary Cute (Holiday catalog) along with circle punches and Tailored Tags dies. 

We made these projects at my October Flowerbug's Team meeting. So pretty but super easy!


You could make up to 25 cards using this kit just by adding card bases, a few layers and greetings.  The red adhesive-backed sequins, Dimensionals, Cherry Cobbler and craft twine all comes in the kit. 
 

See this kit here online.  Our Christmas kits can sell out quick; so don't wait too long.  You never know if it will be back in time for Christmas. 

The kits is gorgeous as an advent project as well!  It also includes the cutest clothespins to close the envelopes. 

While you're shopping our kits be sure to check out the huge selection of kits in our Kit Collection. These kits are all inclusive and can be the answer to quick, seamless crafting or a fabulous gift for any creative person.  See them all here. 


~~~

October Specials: 

Amazing Starter Kit choices! 

Choose one and enjoy the 20% discount on all future orders! Click here

*current host code: HTHK4TQU or Y7VMN2TC

*Get free glitter gems with online orders over $55 (Please use a host code)

All Posts

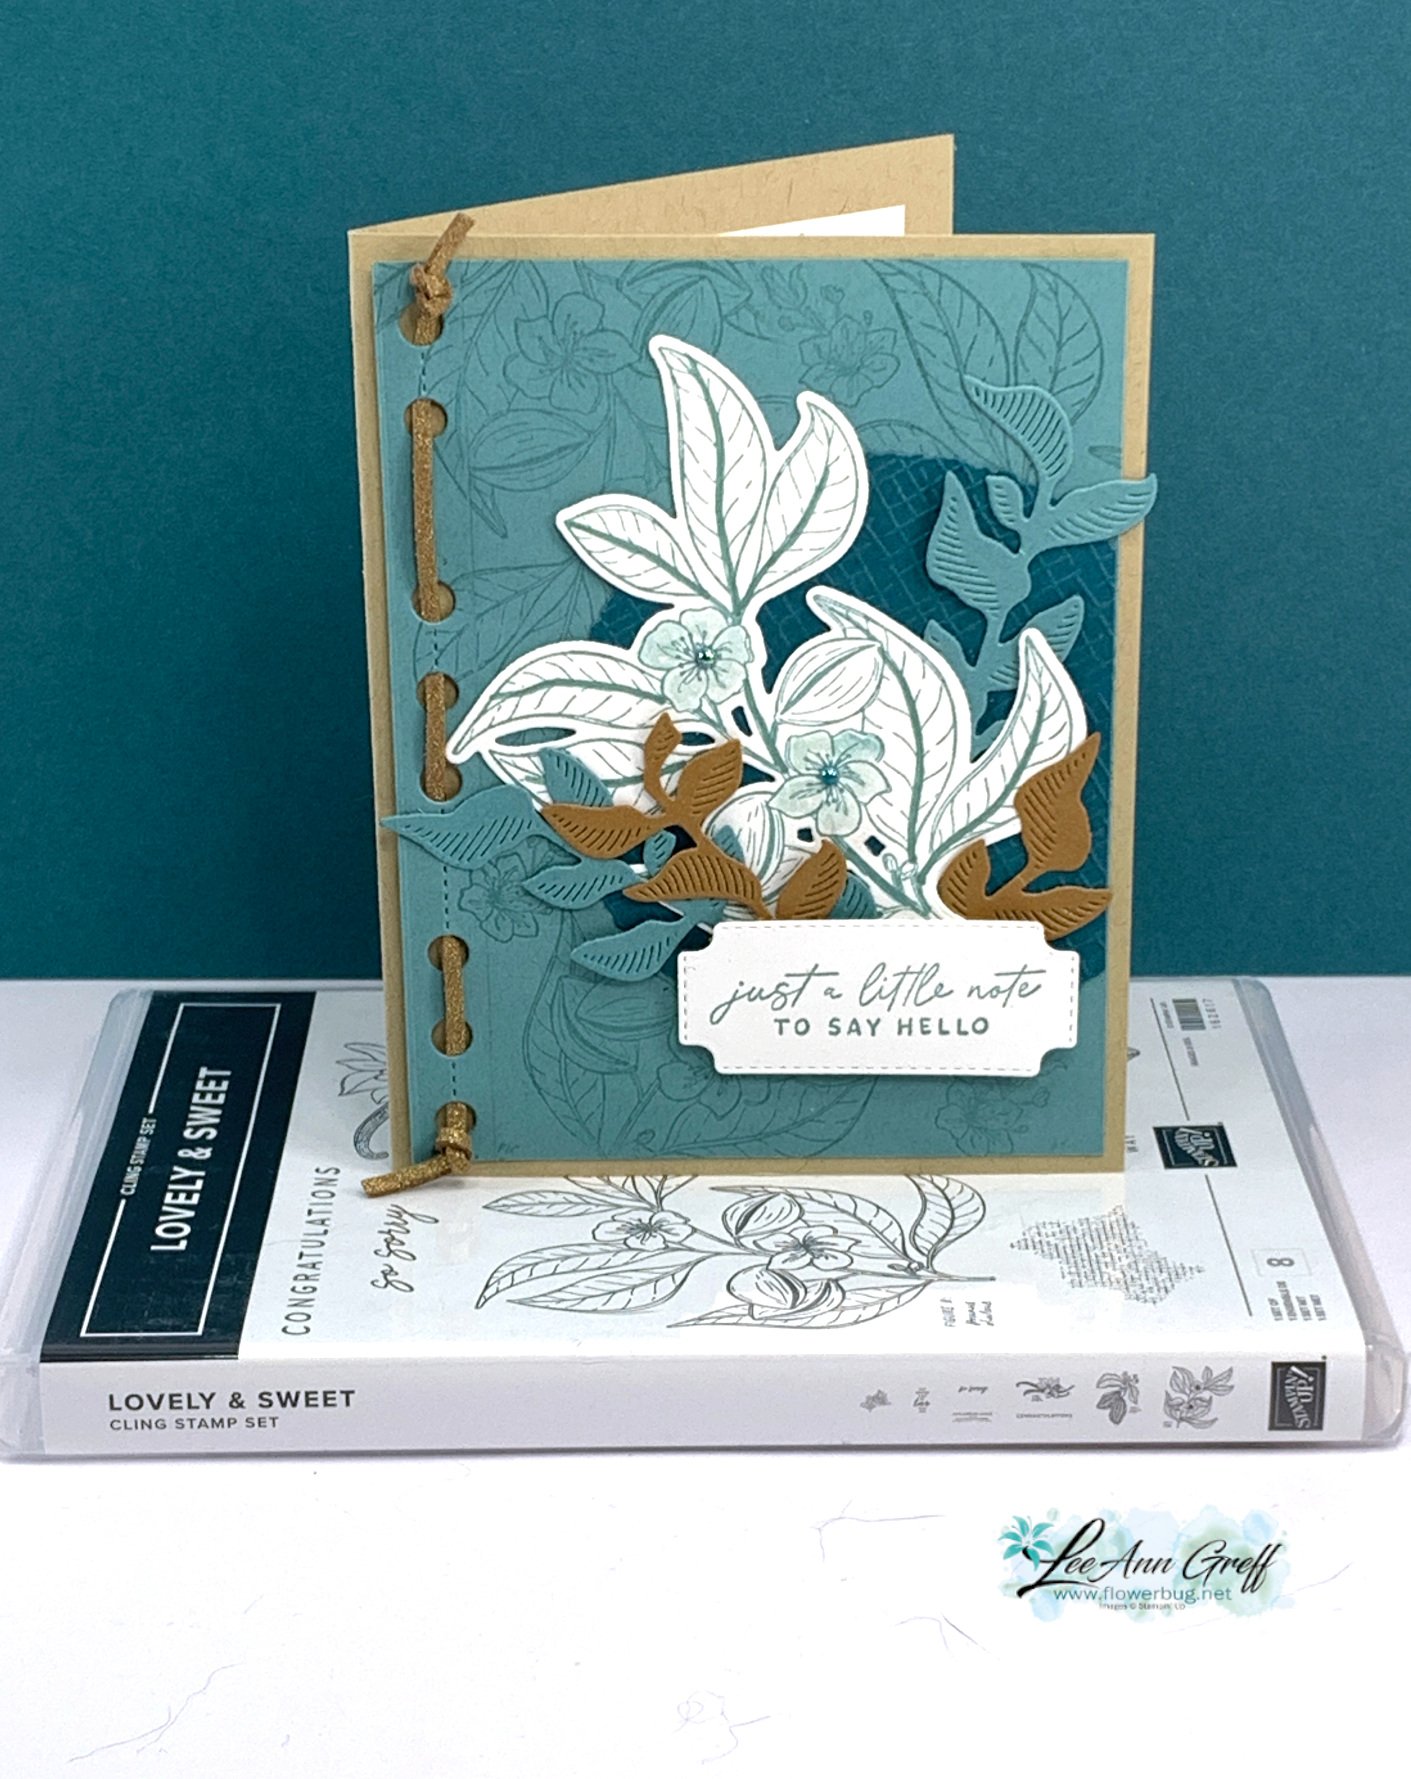
  • Lovely & Sweet card is filled with textures; get the free project sheet or watch the video


    This is one of the cards I featured on last week's Live video. I chose to showcase the Nature's Sweetness suite.  

    The colors include Lost Lagoon, Crumb Cake, Pretty Peacock, White & Pecan Pie. See the neat woven trim on the edge?  that is done with the new Faux Leather trim that has a subtle gold shimmer to it.  The holes and the leaves are made with the Notes of Nature dies seen here. 

    Below is a photo of the entire suite of products. 

    If you order this suite you'll earn two free Sale-a-Bration choices!  Or get it and almost $20 more with the Starter Kit deal! 

    Other dies include the Cheerful Daisies for the label and the Deckled Circles behind the flowers/leaves.  I also used the Wink of Stella with Lost Lagoon ink to color the flowers and added a Blooming Pearl to each one. 

    Click on this link to download the free project sheet: Download Lovely & Sweet Hello

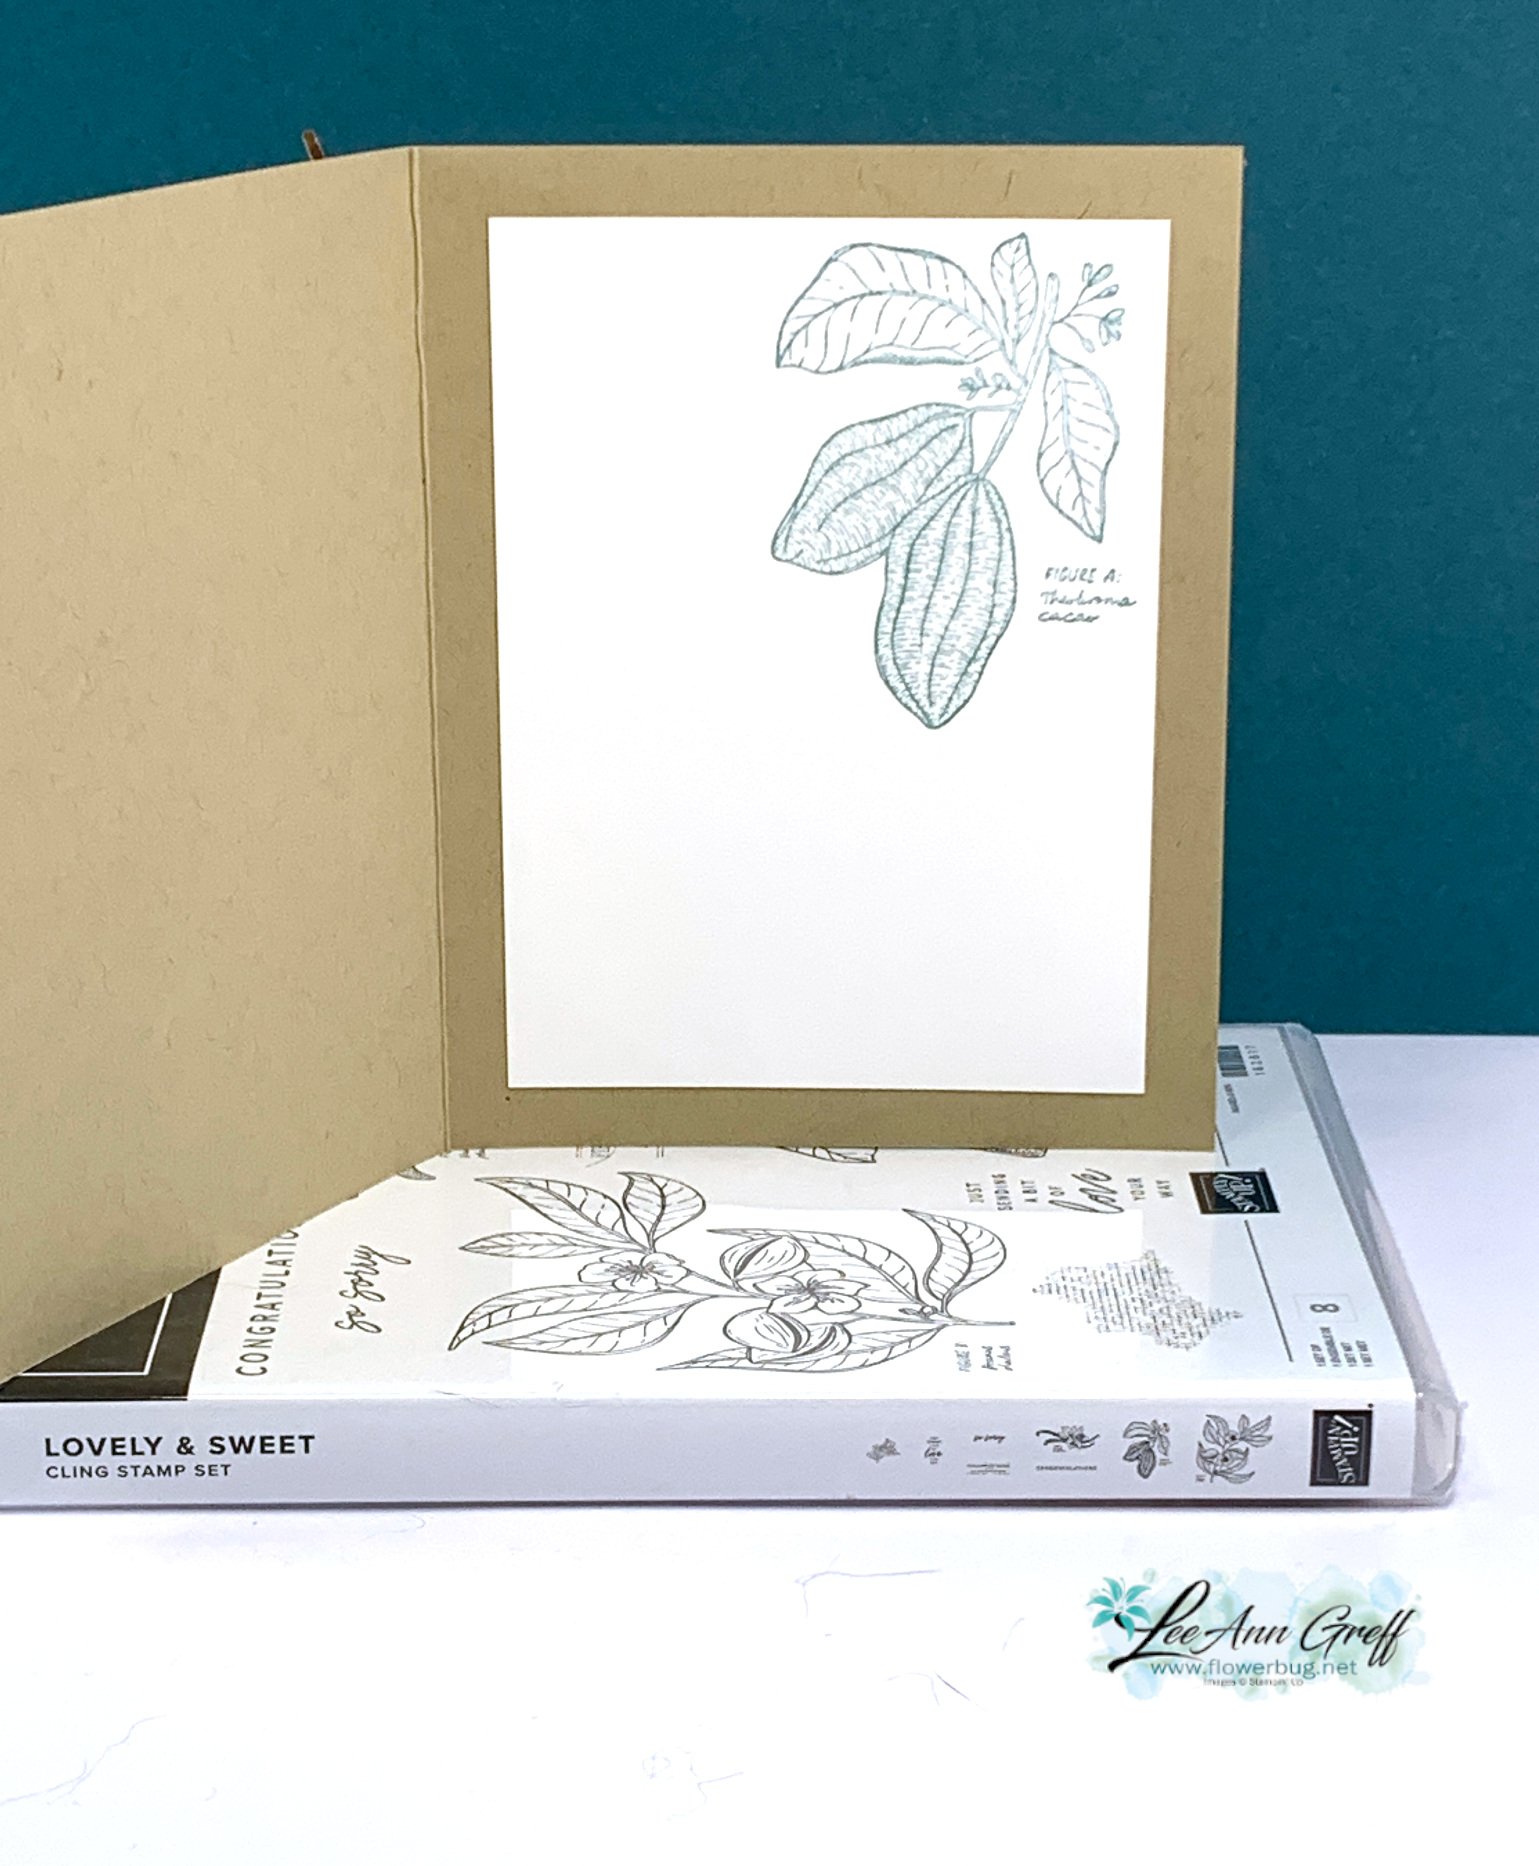
    Here's how I stamped the inside:

    You can see how I put this card together and two more in the video replay here.  Or click on the photo below to watch it. 

    ~~~

    January Specials: 

    Earn FREE products with your Stampin' Up! purchase during

    Sale-a-Bration! *click here

    *current host code link:  M7NAN4HT

    It's the best time to get a pre-paid Sale-a-Bration subscription

    & earn free Sale-a-Bration products!  


    ~~~

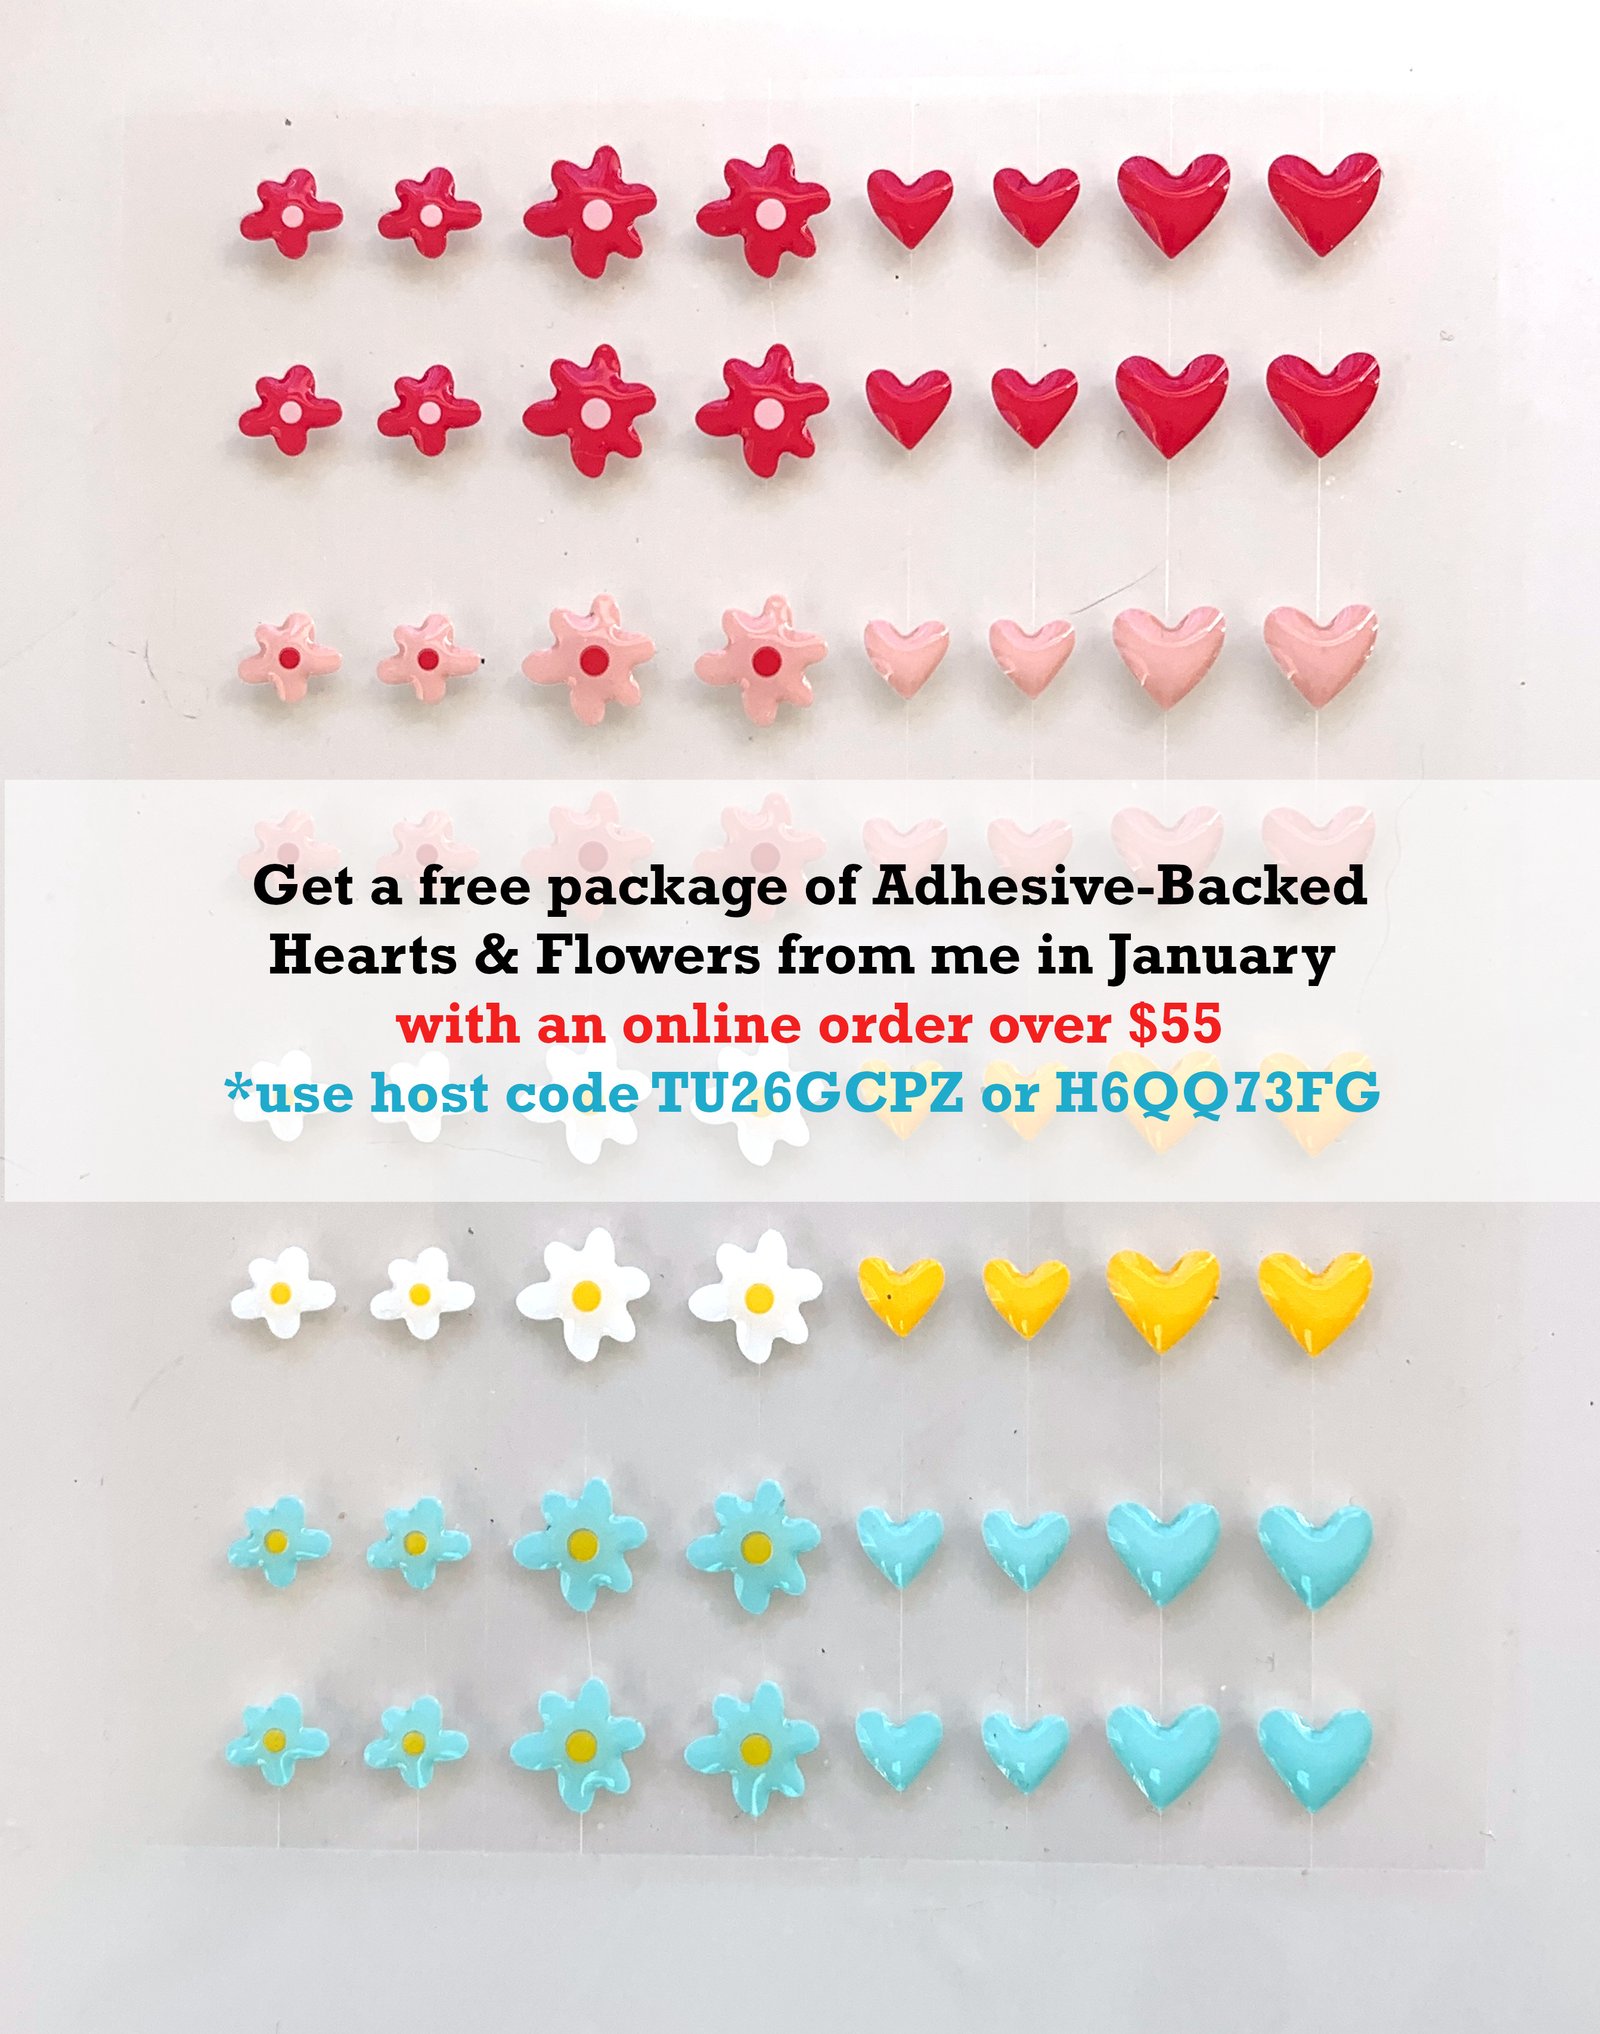
    Get a free embellishment from the 2024 Spring catalog

    with an online order over $55

    Leave a Reply

    Your email address will not be published. Required fields are marked *

  • Gorgeous Notes of Nature card with free project sheet & video tutorial


    I had no idea I would enjoy creating with the Nature's Sweetness suite as much as I did. It's not my usual style but I'm in love with it all!  

    Here's one of the cards I shared on last week's video: 

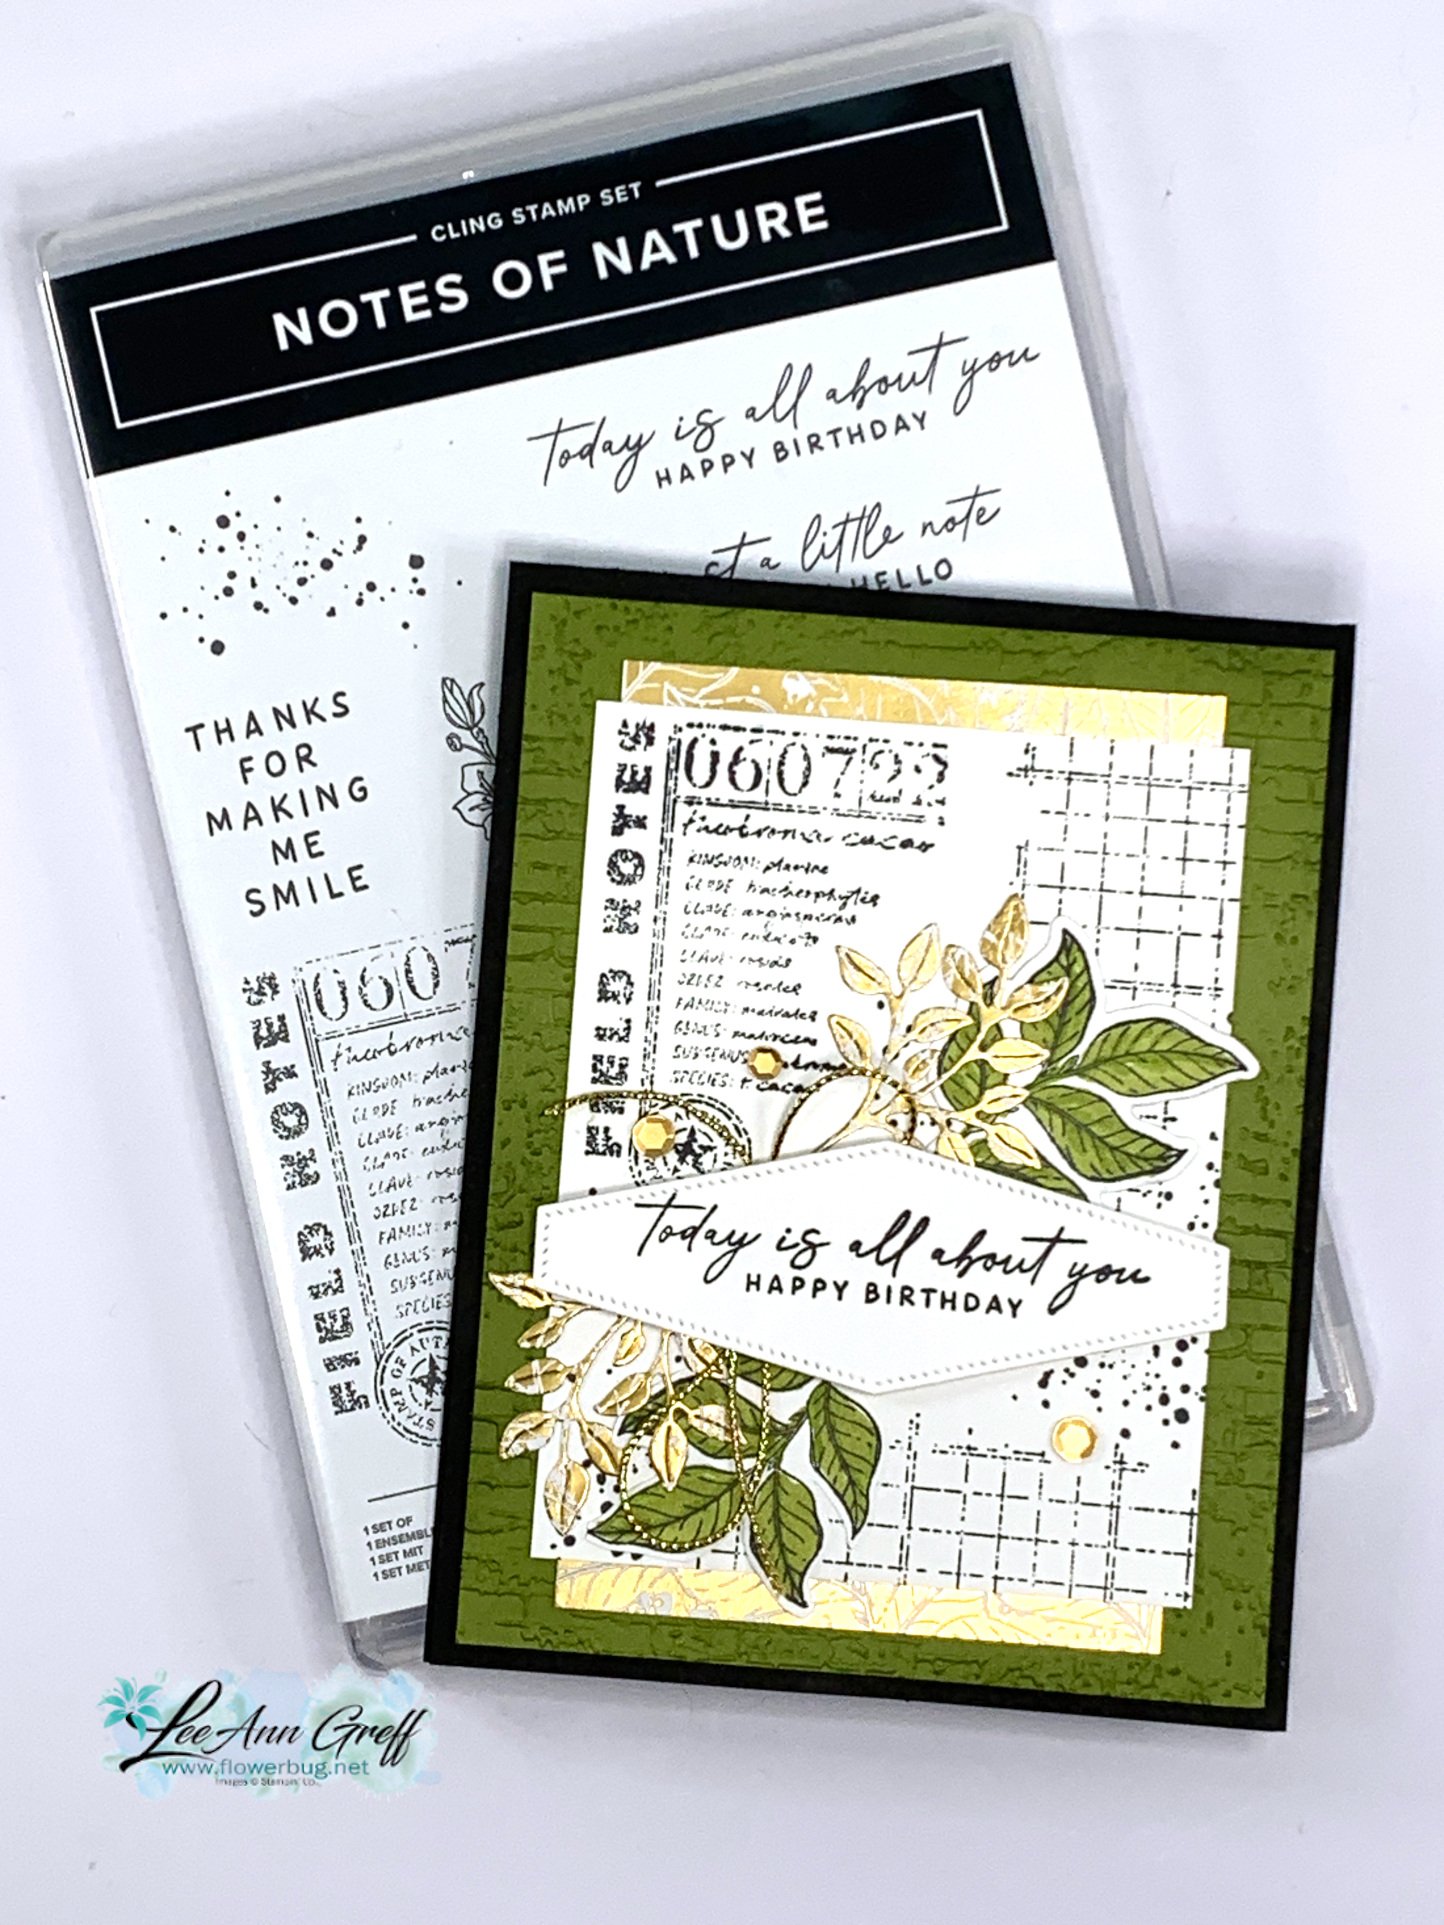
    I used the Notes of Nature bundle and Old Olive, Black and gold accents on this card.  The large white layer is made by stamping a few of the background stamps in Black ink. I added two sets of leaves – one in green and 2 the other in the Gold designer paper. 

    I want to mention what I think puts this card over the top. Of course the gold additions attract your eye but I think repeating colors a few times helps a lot. Notice how the black is repeated, the Olive is and so is the Gold. If you have trouble with color combinations, try adding one color with a neutral or two. Such as Black & White with any color. 

    More Details:

    • I textured the Olive layer with the Exposed Brick embossing folder and used a Blending Brush to add Old Olive ink to it. This really highlights the texture! 
    • Also notice the small strip of Gold designer paper on the top and bottom of the stamped white layer.  This is the Nature's Sweetness specialty paper. 
    • I added gold sequins and gold Elegant trim near the greeting.  

    Click on this link to download the free project sheet: Download Notes of Nature Birthday card

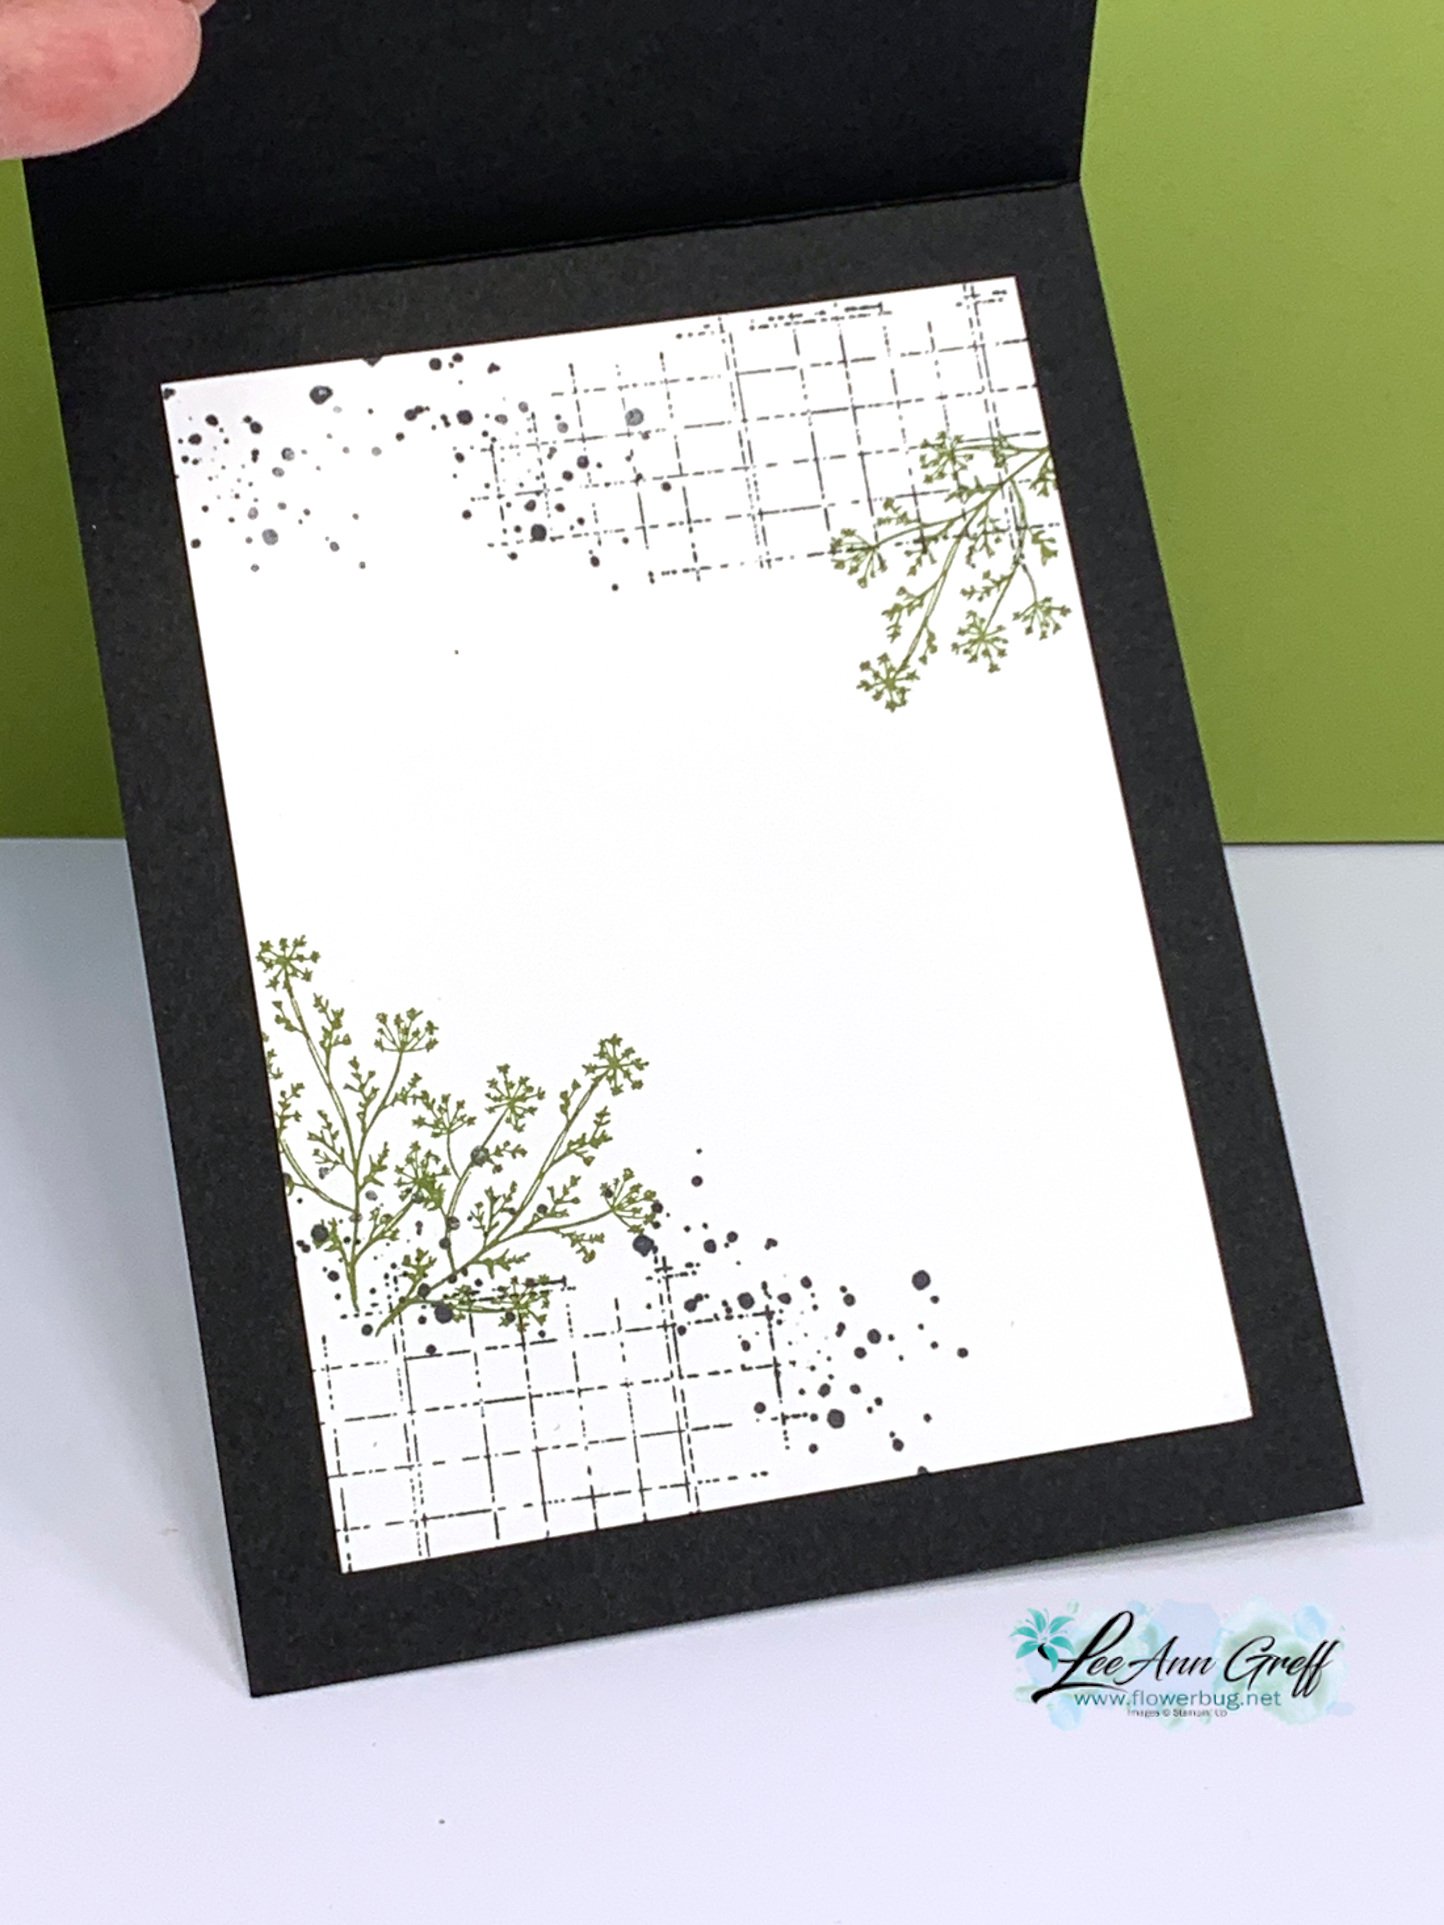
    Here's how I stamped the inside layer: 

    You can see how I made this card and two more in the video replay here.  Or click on the photo below to watch it. 

    ~~~

    January Specials: 

    Earn FREE products with your Stampin' Up! purchase during

    Sale-a-Bration! *click here

    *current host code link:  M7NAN4HT

    It's the best time to get a pre-paid Sale-a-Bration subscription

    & earn free Sale-a-Bration products!  


    ~~~

    Get a free embellishment from the 2024 Spring catalog

    with an online order over $55

    Leave a Reply

    Your email address will not be published. Required fields are marked *

  • Spring Catalog display boards


    I thought I'd share some of my display boards featuring Spring Catalog products.  I've heard back that you enjoy these so here you go…..

    First up is the Hot Air Balloon and Bee My Valentine projects:

    Remember that many of these are swaps and are not made by me. I like to group cards together that use the same stamp set or designer paper. 

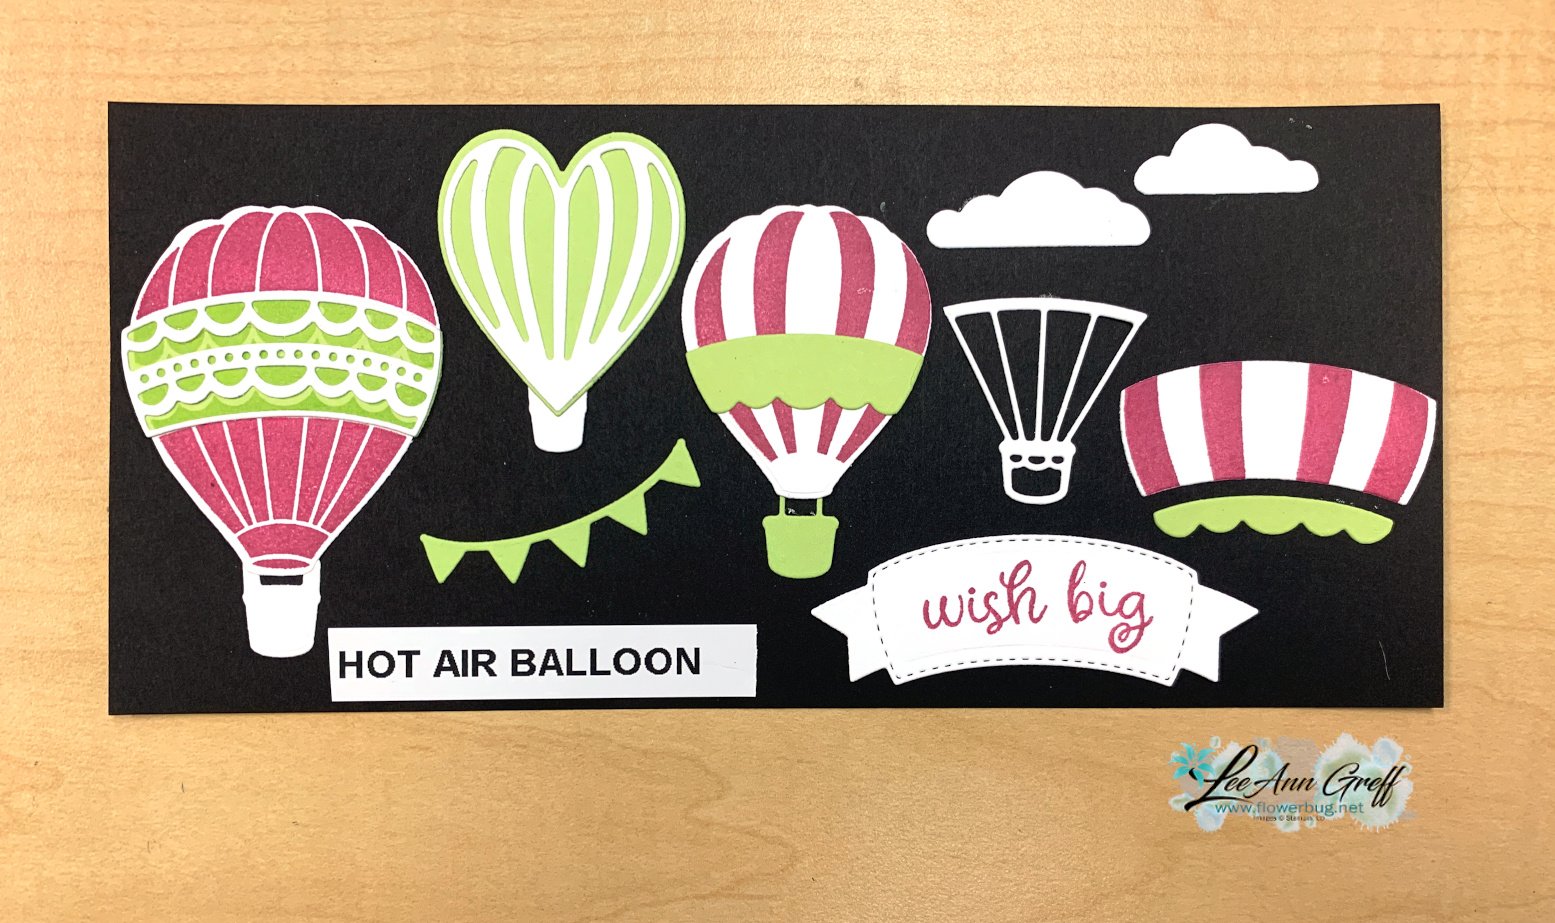
    Here is the Hot Air Balloon dies display.  See the Hot Air Balloon bundle here.  

    Next is the Perennial Lavender suite plus the Hills of Tuscany stamp set on the lower left.  

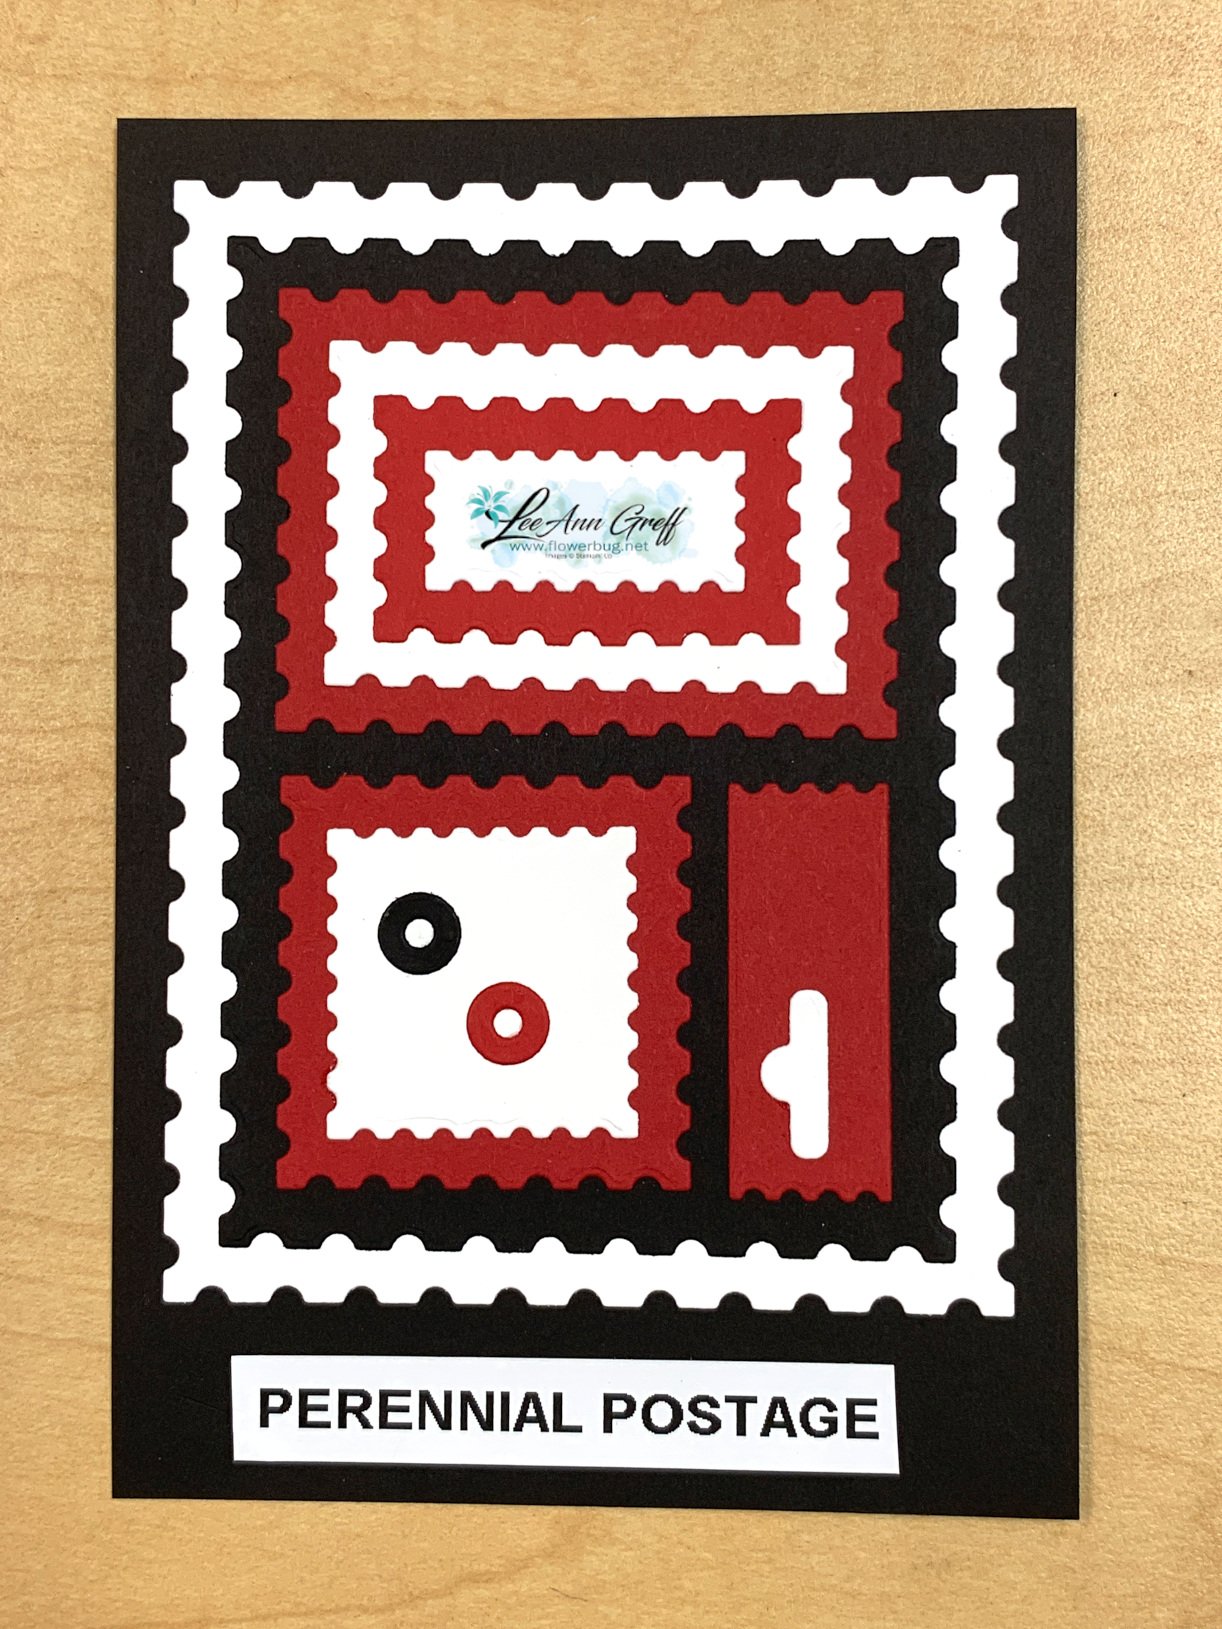
    Here's a close-up of the Perennial Postage dies I put together.  These are fabulous! See them online here. 

    Next is the Nature's Sweetness suite that features two bundles! 

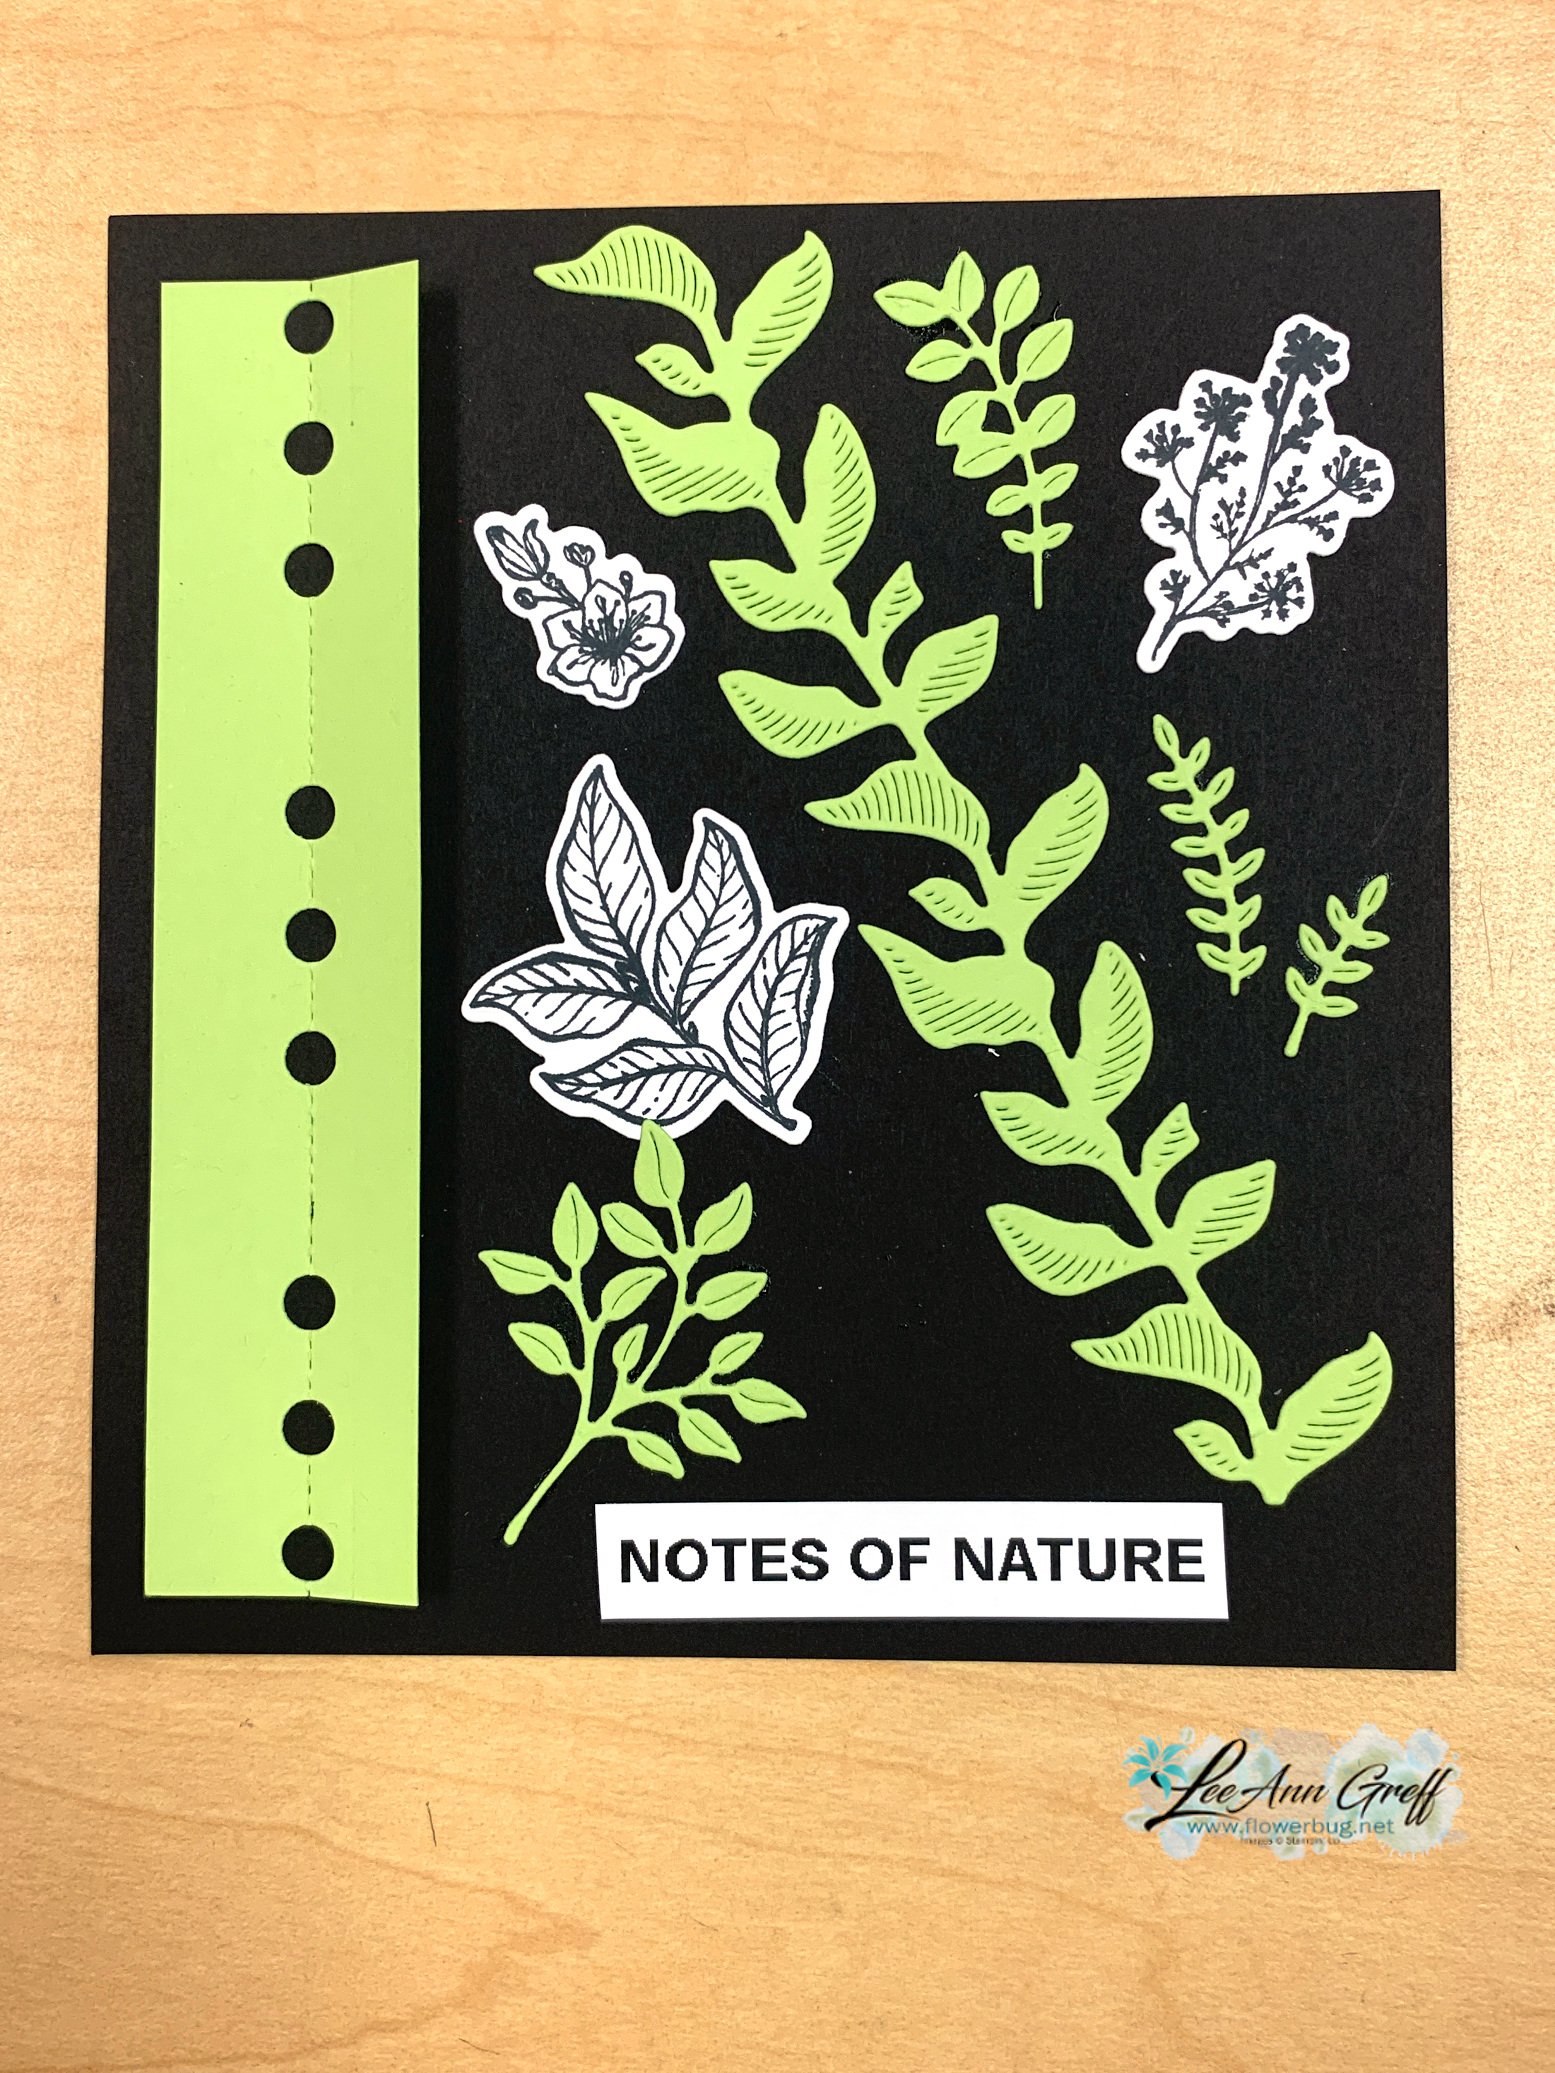
    Below is the die display I created that is part of the Notes of Nature bundle seen here. 

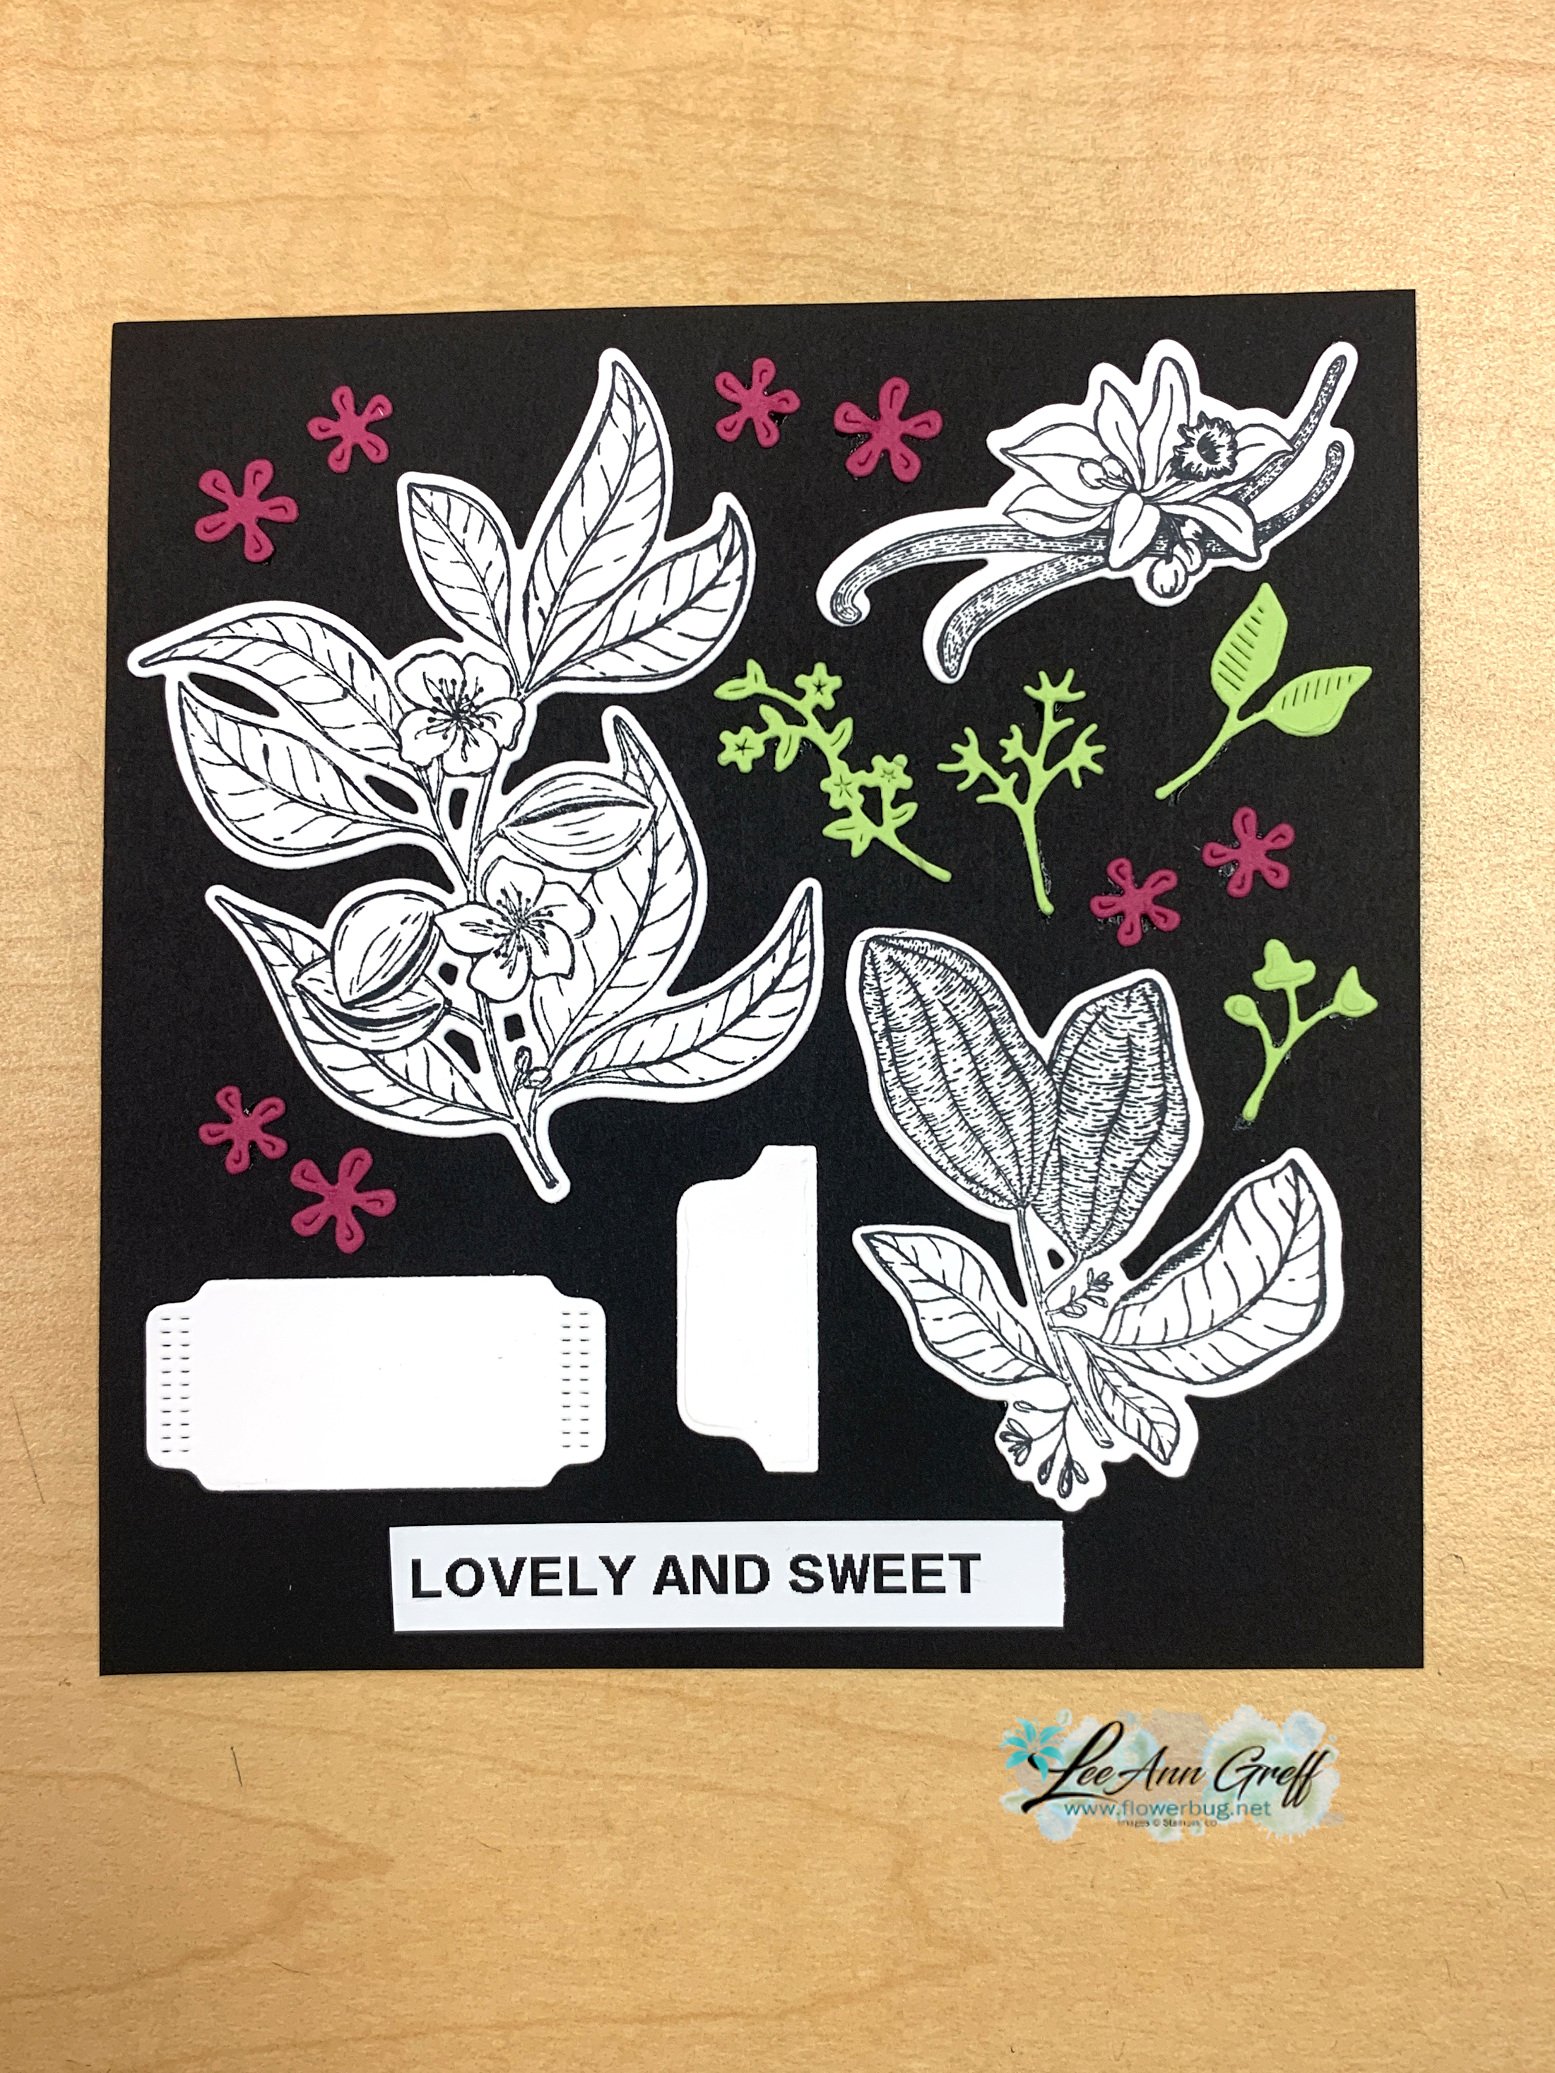
    Below is the Lovely & Sweet dies display; see that bundle here. 


    I featured both of these bundles in a recent video seen here. Everyone loved the projects!  

    ~~~

    January Specials: 

    Earn FREE products with your Stampin' Up! purchase during

    Sale-a-Bration! *click here

    *current host code link: QS26PCUJ or M7NAN4HT

    It's the best time to get a pre-paid Sale-a-Bration subscription

    & earn free Sale-a-Bration products!  


    ~~~

    Get a free embellishment from the 2024 Spring catalog

    with an online order over $55

    Leave a Reply

    Your email address will not be published. Required fields are marked *


Notice: LeeAnn Greff, Independent Stampin’ Up! Demonstrator, Manager. The content of this website is my sole responsibility as an independent Stampin’ Up! demonstrator and the use of, and content of, the classes, services, or products offered on this website is not endorsed by Stampin’ Up! Copyright 2025