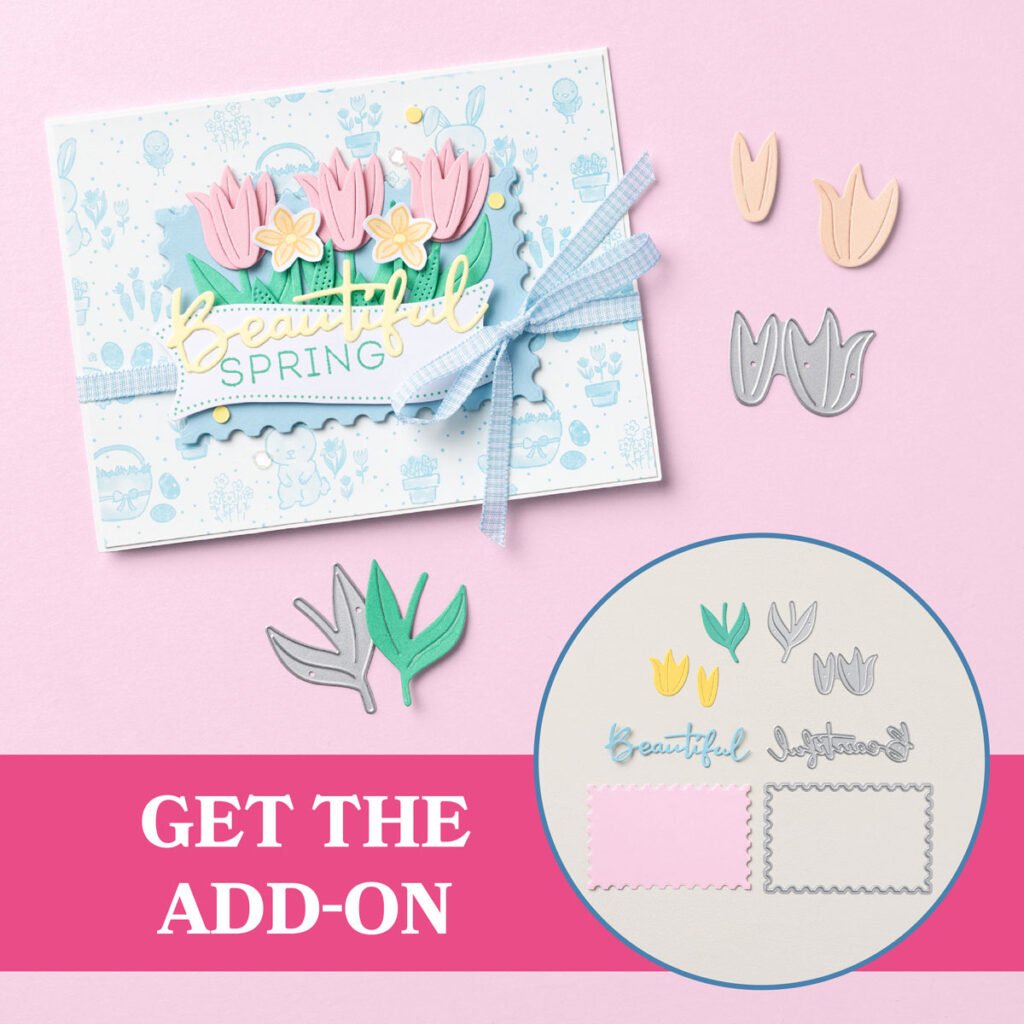
Make the most of your Paper Pumpkin crafting with the Beautiful Blooms Dies add-on seen here!
These four exclusive dies are the perfect way to keep the creativity going, because they coordinate beautifully with the January, February, and March kits!
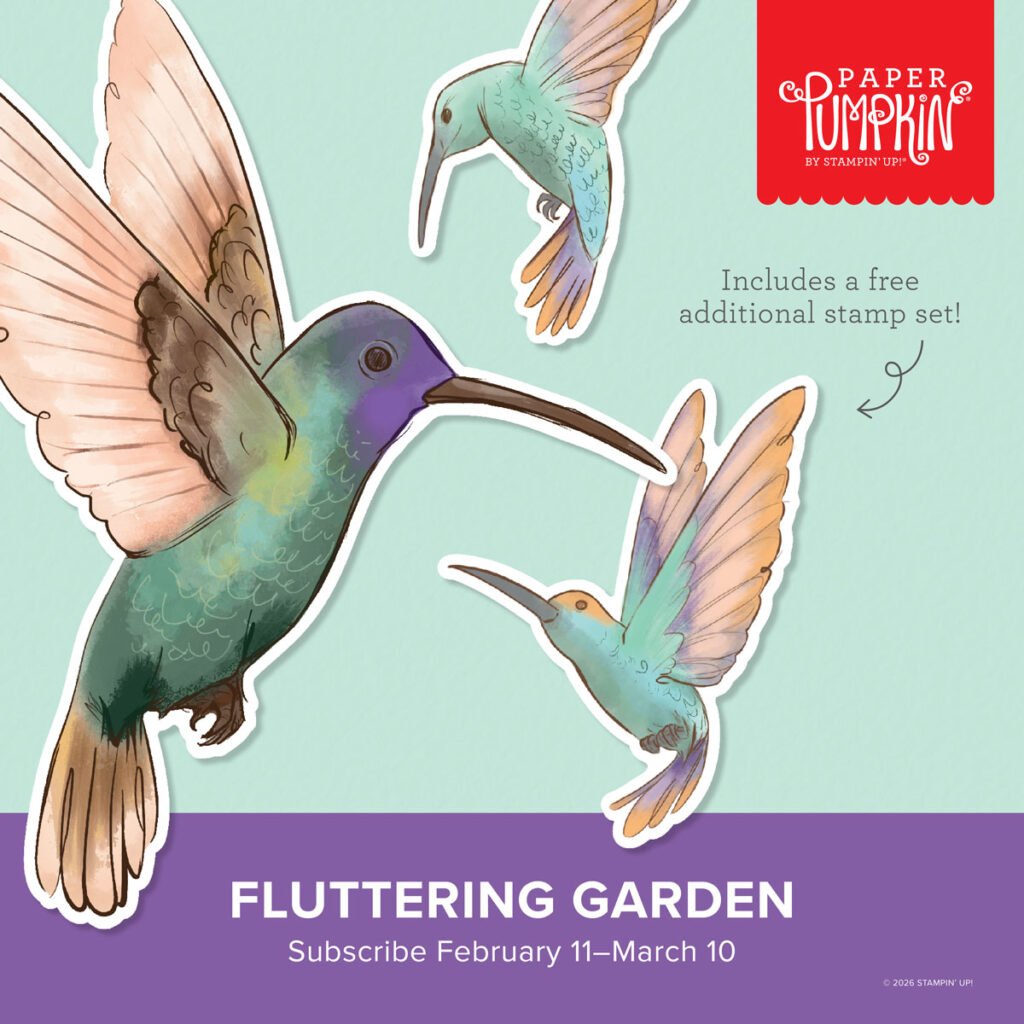
If you subscribe by March 10th you’ll receive the Fluttering Garden kit. Plus, besides the usual coordinating stamp set it will include a BONUS stamp set!
Each month I send a bunch of bonus projects to my subscribers AND my TEAM! Don’t miss out on the fun of receiving a special kit in the mail each month. Click here to get yours.
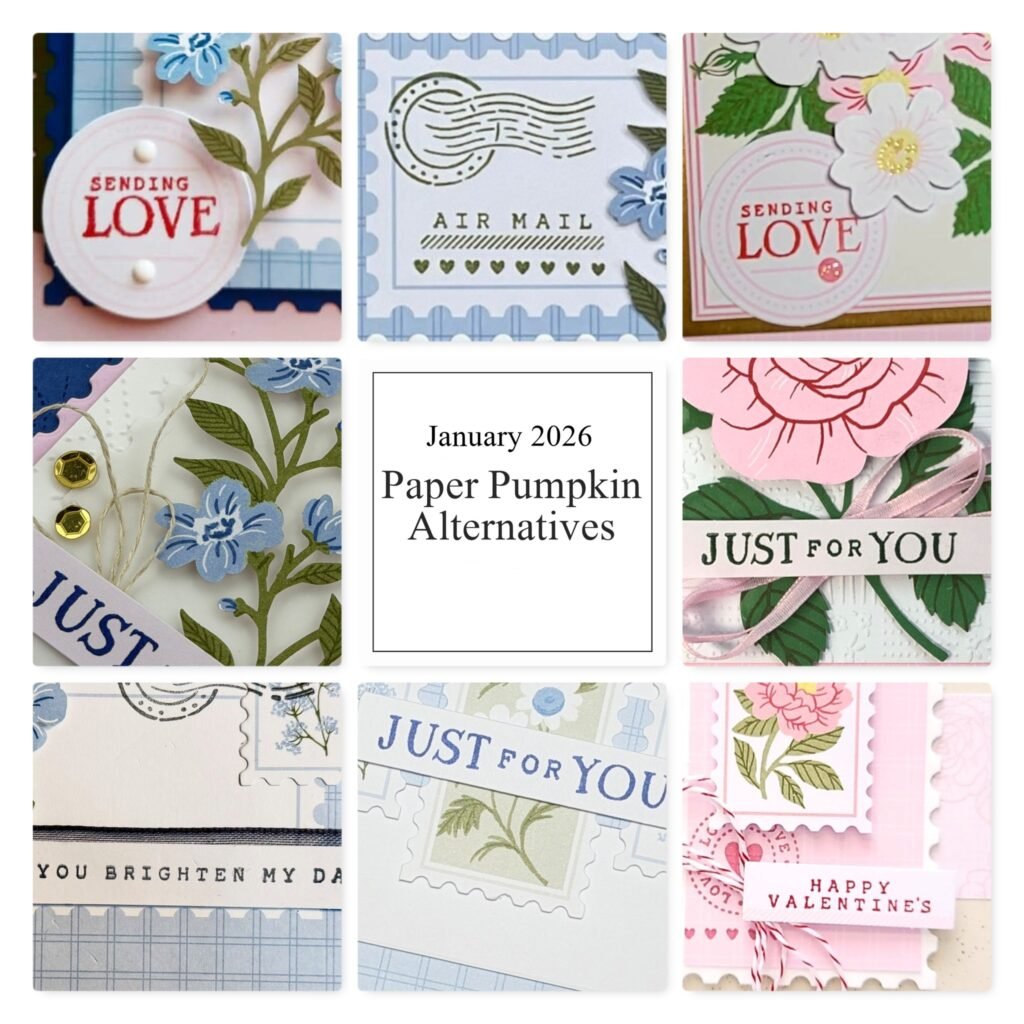
Here’s the graphic showing you some sneak peeks of last month’s Bonus Projects:
Today I’m sharing two more of my Flowerbug Team swaps and both are fun fold layouts. Our theme was Monochromatic cards and these cards include similar colors.
First is Kim’s card featuring the Peace on Earth bundle that’s coming in the new 2025 Holiday catalog in September; just a few weeks away! The long leaves die-cut is from the Memorable Blooms dies but is now retired.
Her colors include Cloud Cover with Pretty Peacock & White. For the large oval die-cuts she used the Impressions Abloom dies seen here. The Damask Designs embossing folder was used on the Cloud Cover 2-toned card stock panel.
Measurements:
card base 11″ X 4 1/4″ score at 2 3/4″ & 5 1/2″
2-toned CS textured panel 2 1/2″ X 4″
Peacock inside 5 1/4″ X 4″
Here’s how her card opens: These doves in this upcoming bundle are so pretty. Perfect for sympathy, wedding or other events.
Her colors include Pretty Peacock, Lost Lagoon, Pool Party & White. Embossing folders are So Swirly & Damask Designs. Dies are Nested Essentials and Textured Notes.
It’s a neat fun fold card that opens up from each side:
I’m sharing more of my Team’s monochromatic swaps today. These pretty cards all feature flowers.
This first stunning card is made by Barb who used the Spotlight on Nature stamp set. I was shocked to see it on the Last Chance list and it’s already out of stock!
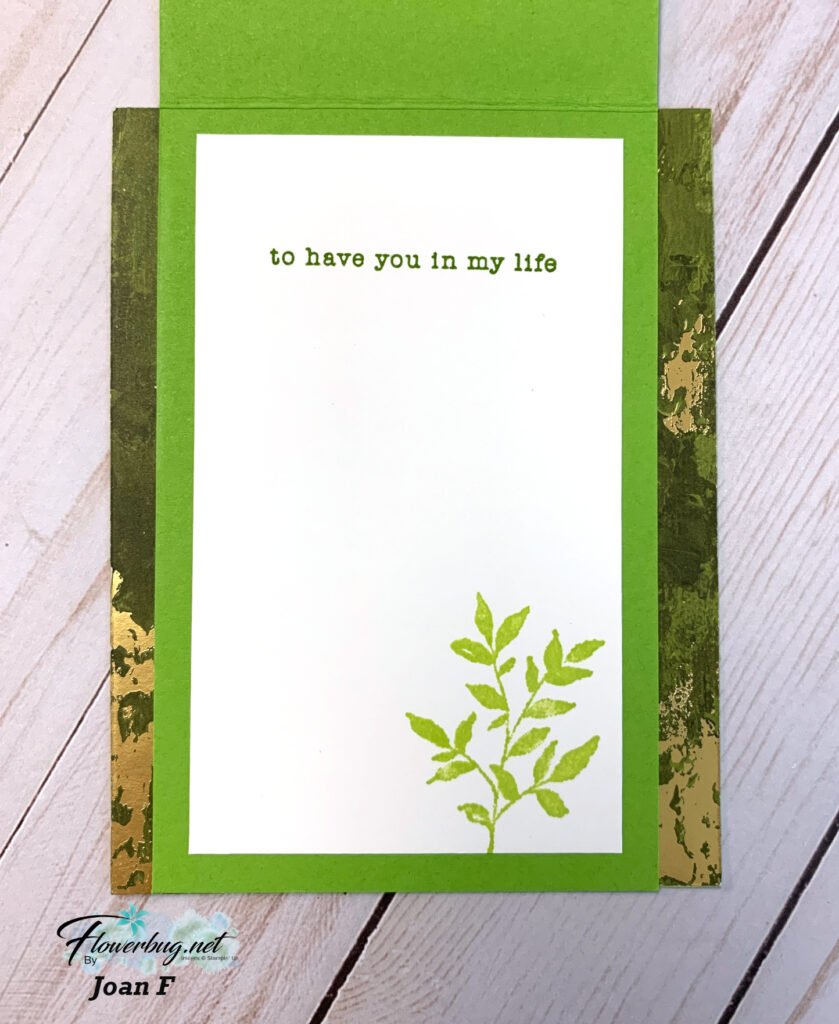
Joan is a master at coloring! Look at the shadow effect she achieved on the flowers and leaves! It looks like it’s raised but it’s simply stamped and Blends marker was added all around the image.
The other stamps she used are Sentimental Framing and Textured Notes. The inks are Granny Apple Green & Memento Black. She added Holographic Resin Dots, a linen thread bow and Wink of Stella on the butterfly to finish it off.
She gave me measurements I can share with you too!
Lemon Lime Twist 4 1/4″ X 5 1/2″
Granny Apple Green 3 1/2″ X 11″ scored at 5 1/2″
White 3 1/4″ X 5 1/2″, inside is 3″ X 5″, greeting is 3 1/4″ X 1″
Barb chose the Gallery Blooms stamp set. She stamped the flower in Night of Navy and used Wink of Stella to pull the color into the image. Very cool idea!
She used the Textured Notes dies (2nd & 3rd largest) for her blue layers of Night of Navy and Blueberry Bushel.
Measurements:
Night of Navy card base 4 1/4″ X 11″ score at 5 1/2″
Blueberry Bushel 4 3/4″ X 3/4″, scrap for greeting
White 2 3/4″ X 4 1/2″ for die-cut, inside is 3 1/2″ X 4 3/4″
Beautiful job Barb!
~~~
Next is a pretty card made by Candace featuring the pretty Charming Day bundle seen here.
Her colors include White, Soft Seafoam and Basic Gray. She added color to the floral die-cut with Blends markers and then added Wink of Stella to all of the die-cuts.
The pretty leaf die-cuts also have Soft Seafoam Blends added. The texture is the Exposed Brick embossing folder seen here. I just love the clean look of this pastel color with White.
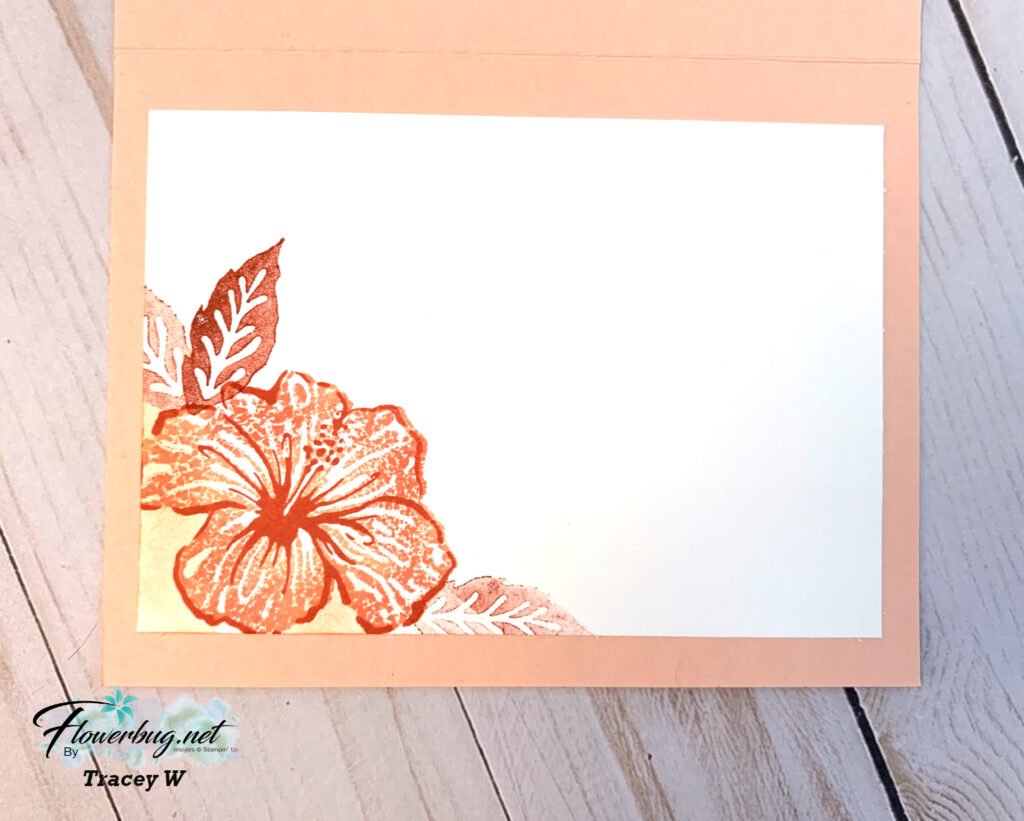
Here’s the inside view. Simply stamping the flower image in the same ink is a beautiful say to finish it.
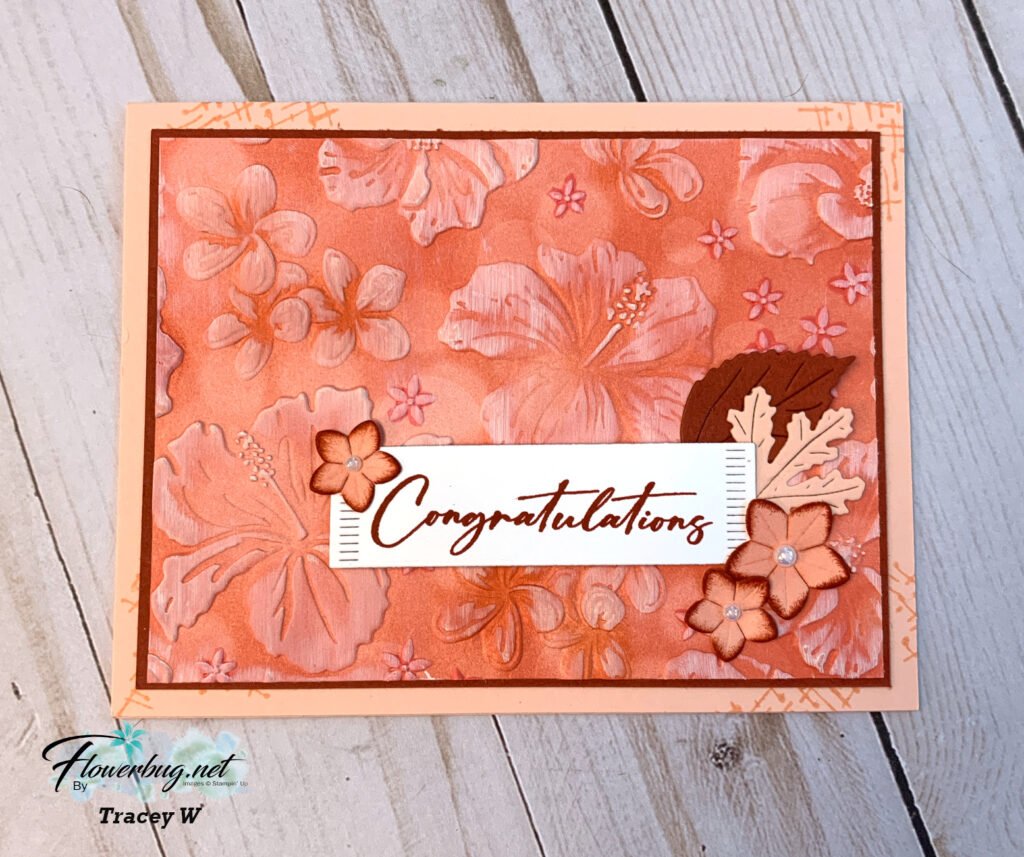
Her colors include Petal Pink, Calpyso Coral and Cajun Craze. She used the Happy Hibiscus bundle. It was on the Last Chance list; but only the embossing folder & dies are left but they are discounted and they easily stand alone without the stamp set! See them here.
She started with the Beautiful Bokeh DSP seen here and after texturing it added ink with sponging and the ‘Direct to Paper’ method. This is when you add ink by tapping or rubbing the ink pad directly onto the paper. She blended Calypso Coral on the large flowers, Timid Tiger on the Medium ones. She finished by dragging White Craft ink across it all.
Her colors include Daffodil Delight with Early Espresso. The card base is Crushed Curry.
She sponged Daffodil Delight ink to the raised areas and it looked so much like Crushed Curry she used that for the card base. I love that she added an extra sunflower to the front to give it more dimension! This one is fussy cut.
Notice: LeeAnn Greff, Independent Stampin’ Up! Demonstrator, Manager. The content of this website is my sole responsibility as an independent Stampin’ Up! demonstrator and the use of, and content of, the classes, services, or products offered on this website is not endorsed by Stampin’ Up! Copyright 2025


Leave a Reply