
This card was cased from my good friend Susie Wood; creating comes naturally to her. She's fast and super talented. See her cute card here.
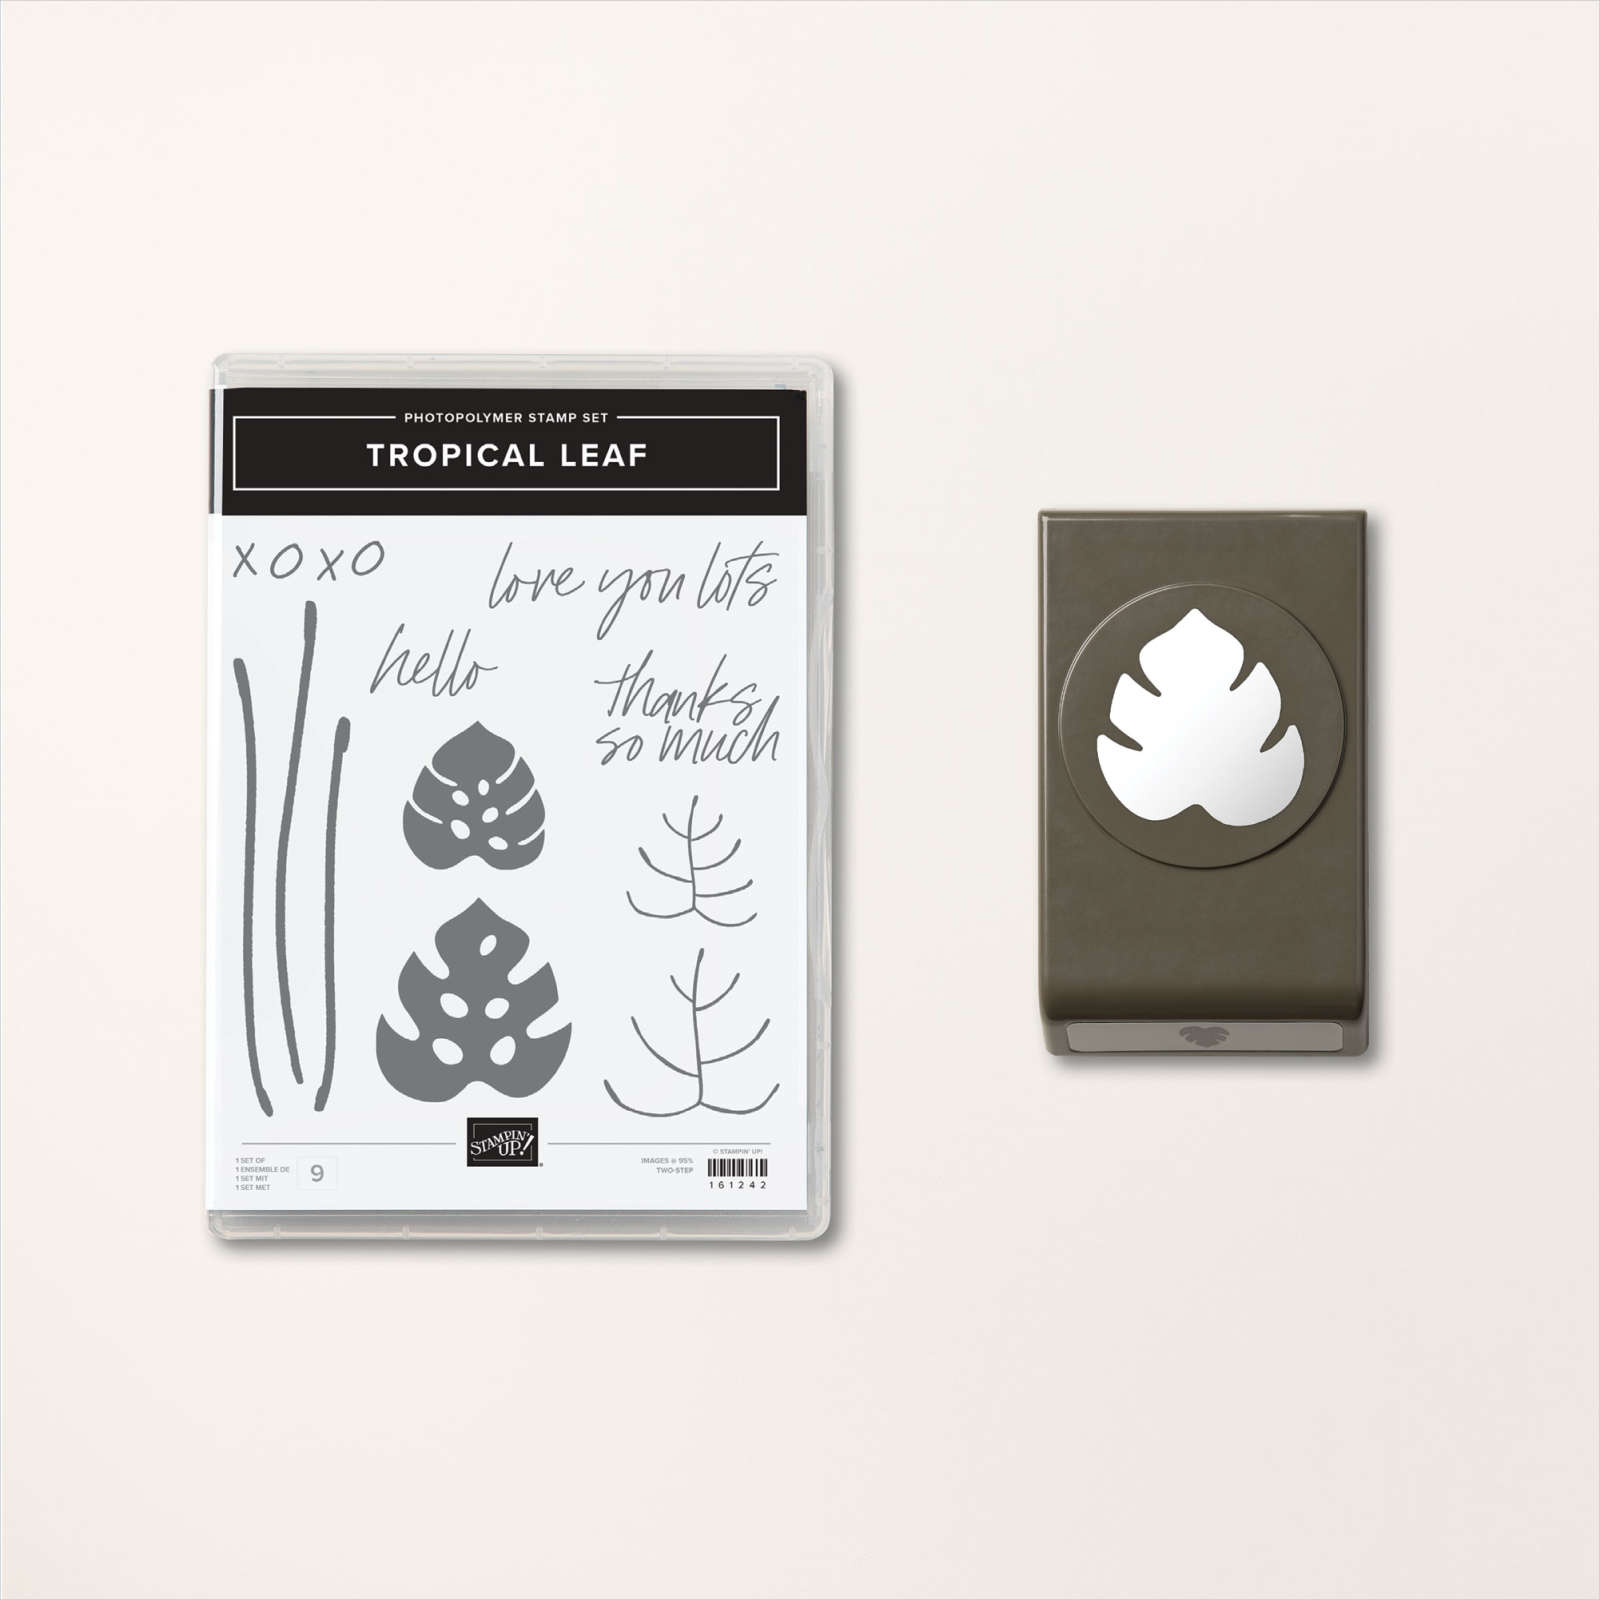
I used the Tropical Leaf bundle in the Online Exclusives section of our online store. I also wanted to feature the baby wipe technique.

The colors include Parakeet Party, Bermuda Bay and a tiny bit of Granny Apple Green. The designer paper inside the clear envelope is Pretty Prints. Here's how I created the clear envelope shaker:

My Pretty Prints designer paper layer is 5 1/4" X 4" and our clear envelopes are about 1/2" larger. For the shaker elements to stay on the front side of the envelope it has to be tight and smaller. So I added tear & tape to the back edge and folded the extra over tightly. Now, insert your shaker elements on the front pocket and fold down the end flap. Wallah! You have a shaker card front!
This DSP is from the Pretty Prints; soon to retire from the Annual catalog. See it here.
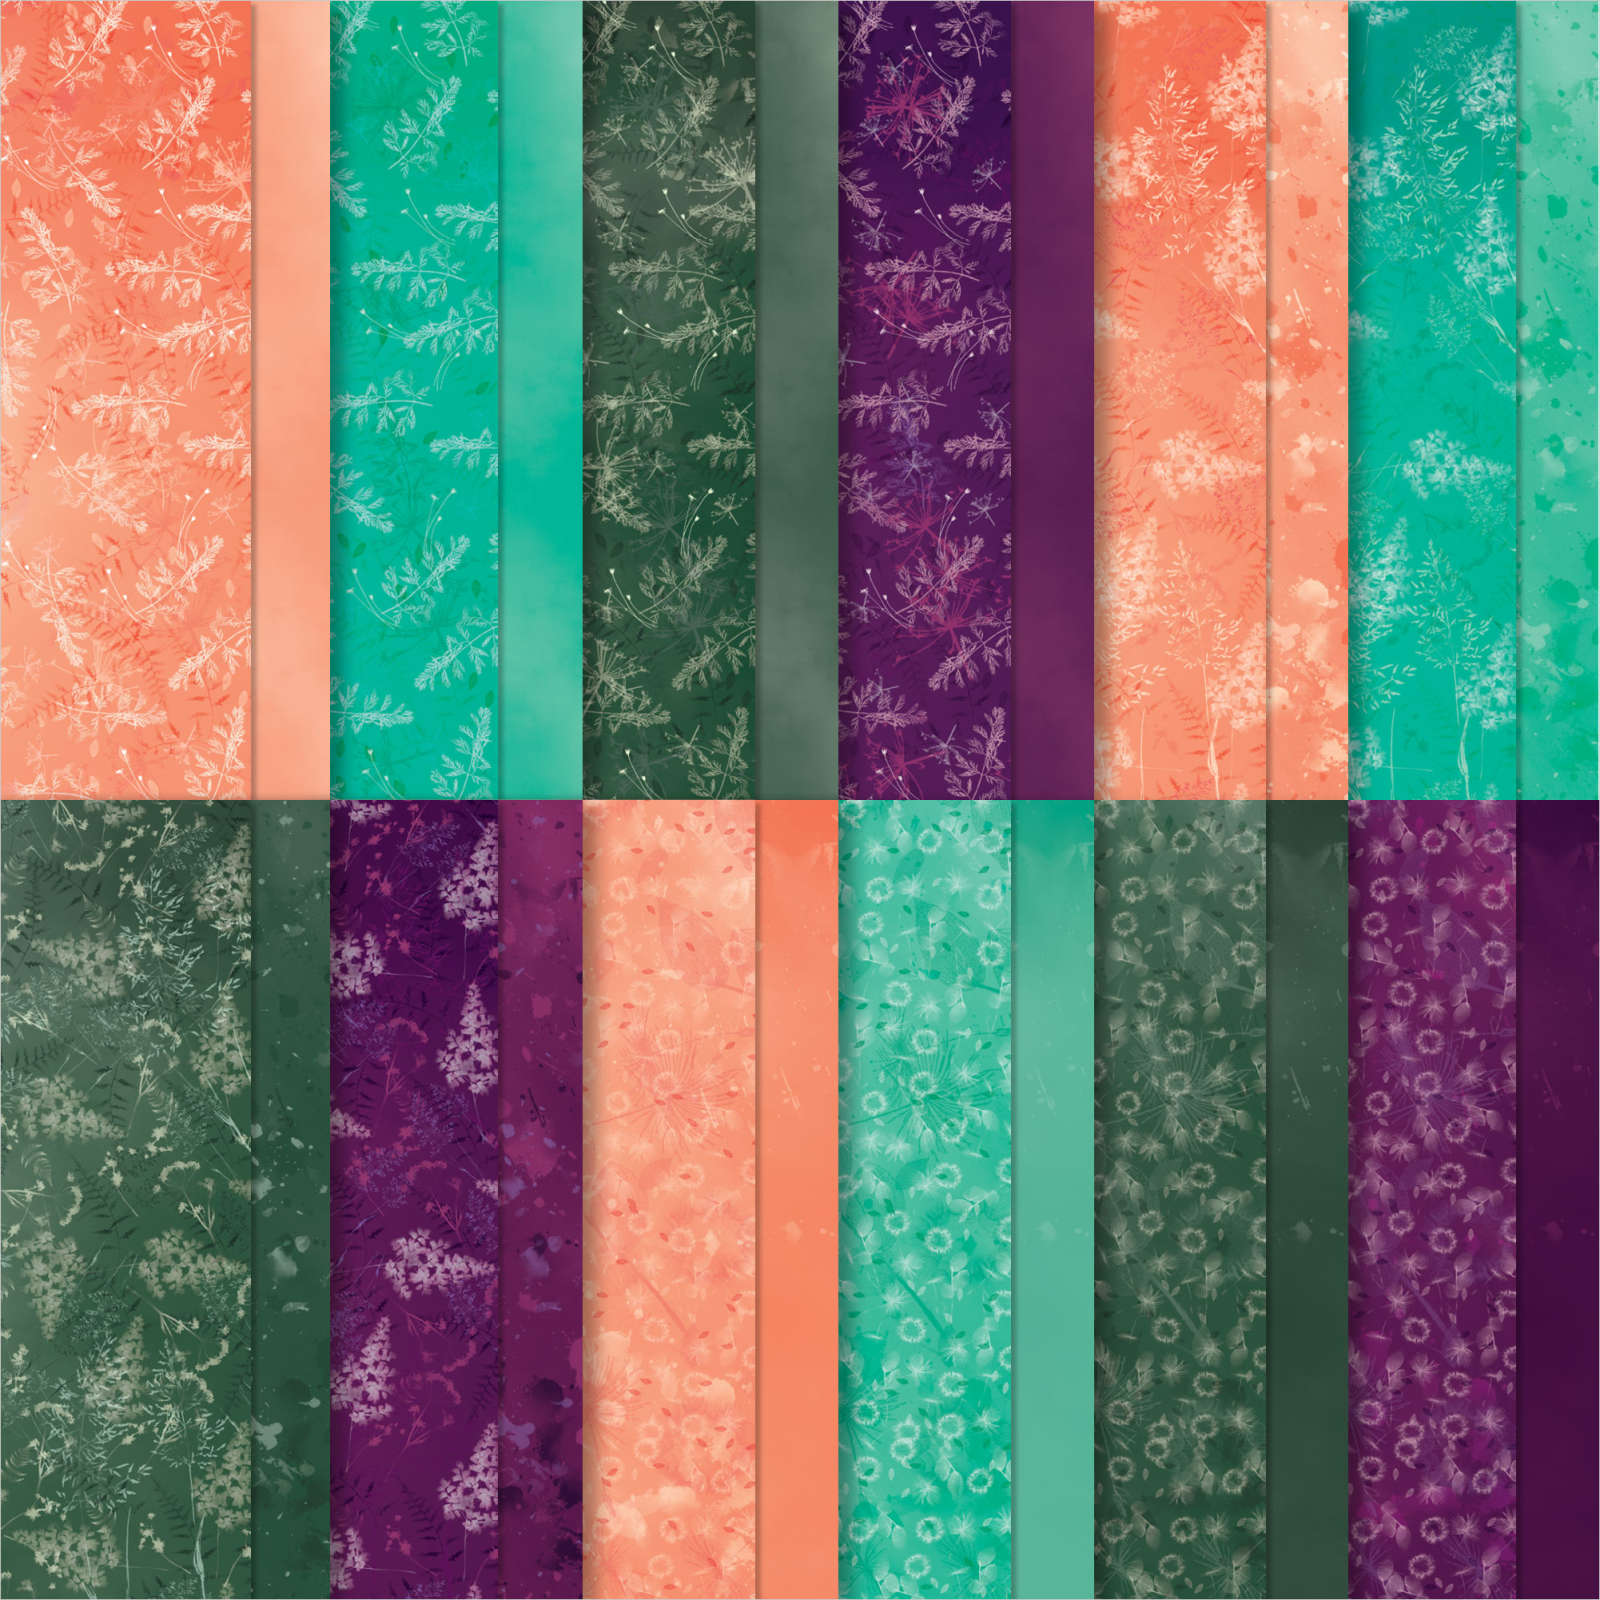
It includes some of my favorite colors – Bermuda Bay, Blackberry Bliss, Calypso Coral and Evening Evergreen.
The CS layers on the front are added on top of this shaker element so you still get the feel of a real card; not all slippery. Watch the video here or below to see how it's done. It's the 2nd project of 3.

You can see this unique Tropical Leaf bundle here: The font of the greetings in this Tropical Leaf stamp set are so unique; love it!
Now to create the baby wipe leaves I made my own ink pad with a folded baby wipe.
Tips for success of the baby wipe technique:
- Fold a baby wipe into a thick layer; at least 4 layers thick. Make your 'pad' as large as your largest stamp image. Place it on a plate.
- Drop multiple drops of each color of ink refill onto the baby wipe, leaving room between colors for another color.
- I recommend at least 2 colors and up to 4 at the most.
- Choosing colors? Find complimentary colors in similar shades – blues/greens, yellows/oranges, oranges/pinks etc.
- Choosing stamps? Solid images work best; outline images will not show off your colors well.
- Ink your stamp in the new colored pad by tapping up and down in the same approximate place. Traveling while inking may muddy your colors.
- Huff on the image and stamp.
- Depending on how much ink you added you can use your new 'ink pad' multiple times. Add more ink drops as needed.
Here's how the inside was stamped:

Products used:
- Tropical Leaf bundle
- Pretty Prints DSP
- Parakeet Party, Bermuda Bay and Granny Apple card stock and ink refills
- For Everything and Sparkle & Shine sequins (Annual Catalog)
- Clear envelopes (Annual Catalog)
- baby wipe
- Bough Punch a big favorite!
- Basics 3D embossing folder
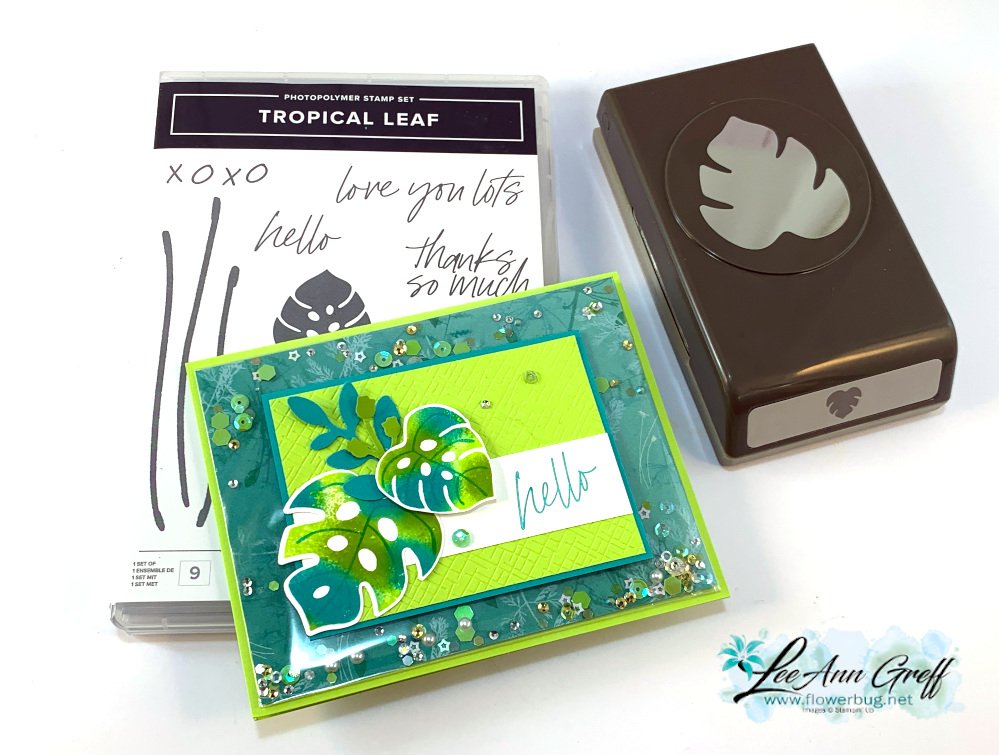
In the video below I demonstrate this fun baby wipe technique; Click here or on the photo below to watch the video.
~~~
March Specials:
See the new Online Exclusives here!
*current host code: BFE4C2KM
Get a free class kit with online orders over $55 when using the host code above!

Earn free products with my loyalty rewards!
Click here to download yours and earn a $50 shopping spree!














Leave a Reply