/


Latest Post

Baby Wipe technique and the easiest Shaker Card ever! Tips for success & Video Tutorial


This card was cased from my good friend Susie Wood; creating comes naturally to her.  She's fast and super talented.  See her cute card here.  

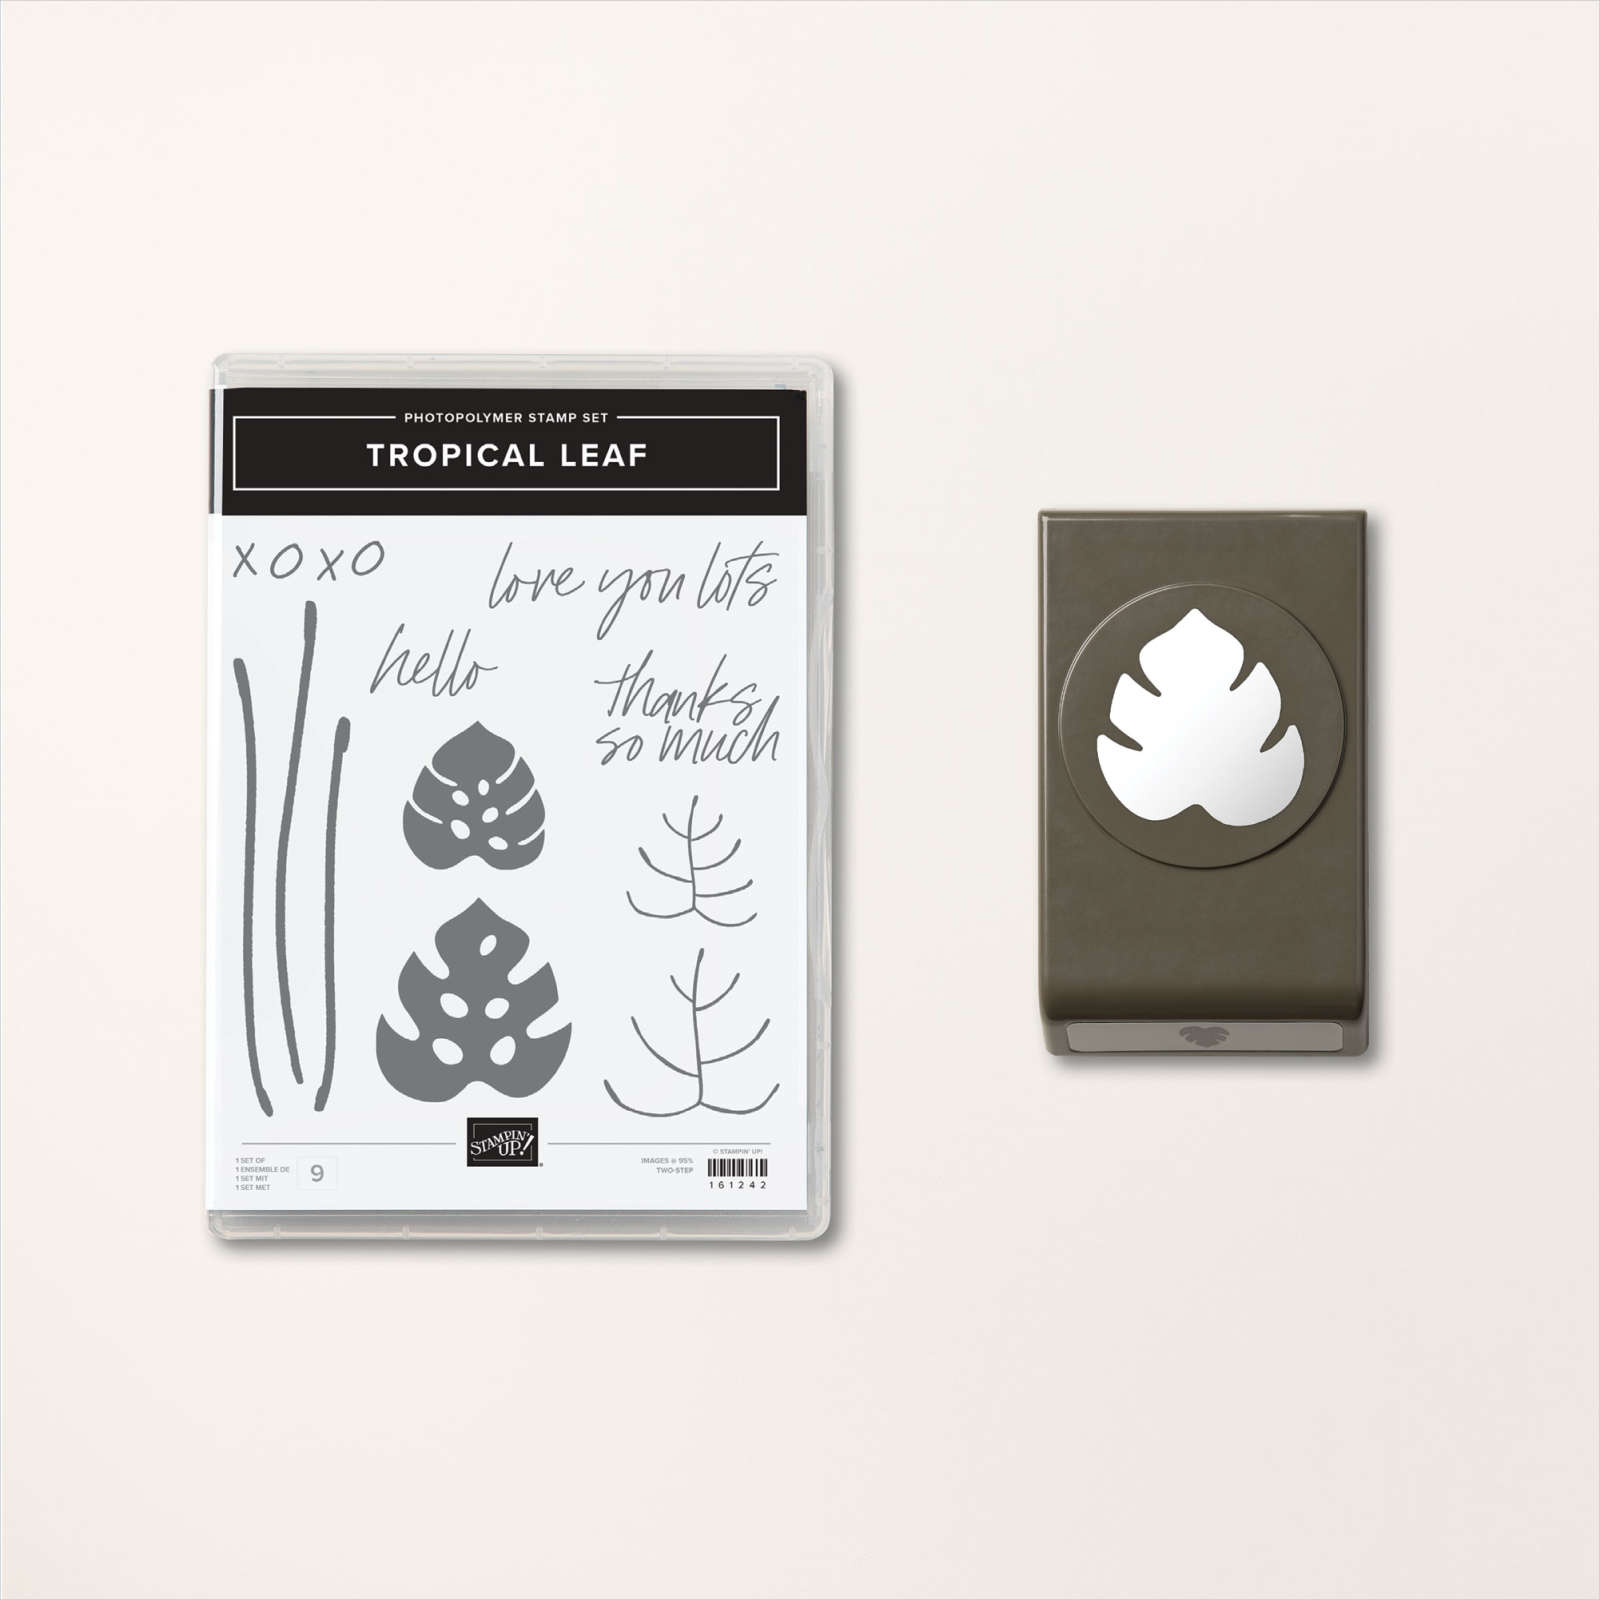
I used the Tropical Leaf bundle in the Online Exclusives section of our online store.  I also wanted to feature the baby wipe technique. 

The colors include Parakeet Party, Bermuda Bay and a tiny bit of Granny Apple Green.  The designer paper inside the clear envelope is Pretty Prints.  Here's how I created the clear envelope shaker:

My Pretty Prints designer paper layer is 5 1/4" X 4" and our clear envelopes are about 1/2" larger.  For the shaker elements to stay on the front side of the envelope it has to be tight and smaller.  So I added tear & tape to the back edge and folded the extra over tightly. Now, insert your shaker elements on the front pocket and fold down the end flap. Wallah!  You have a shaker card front!  

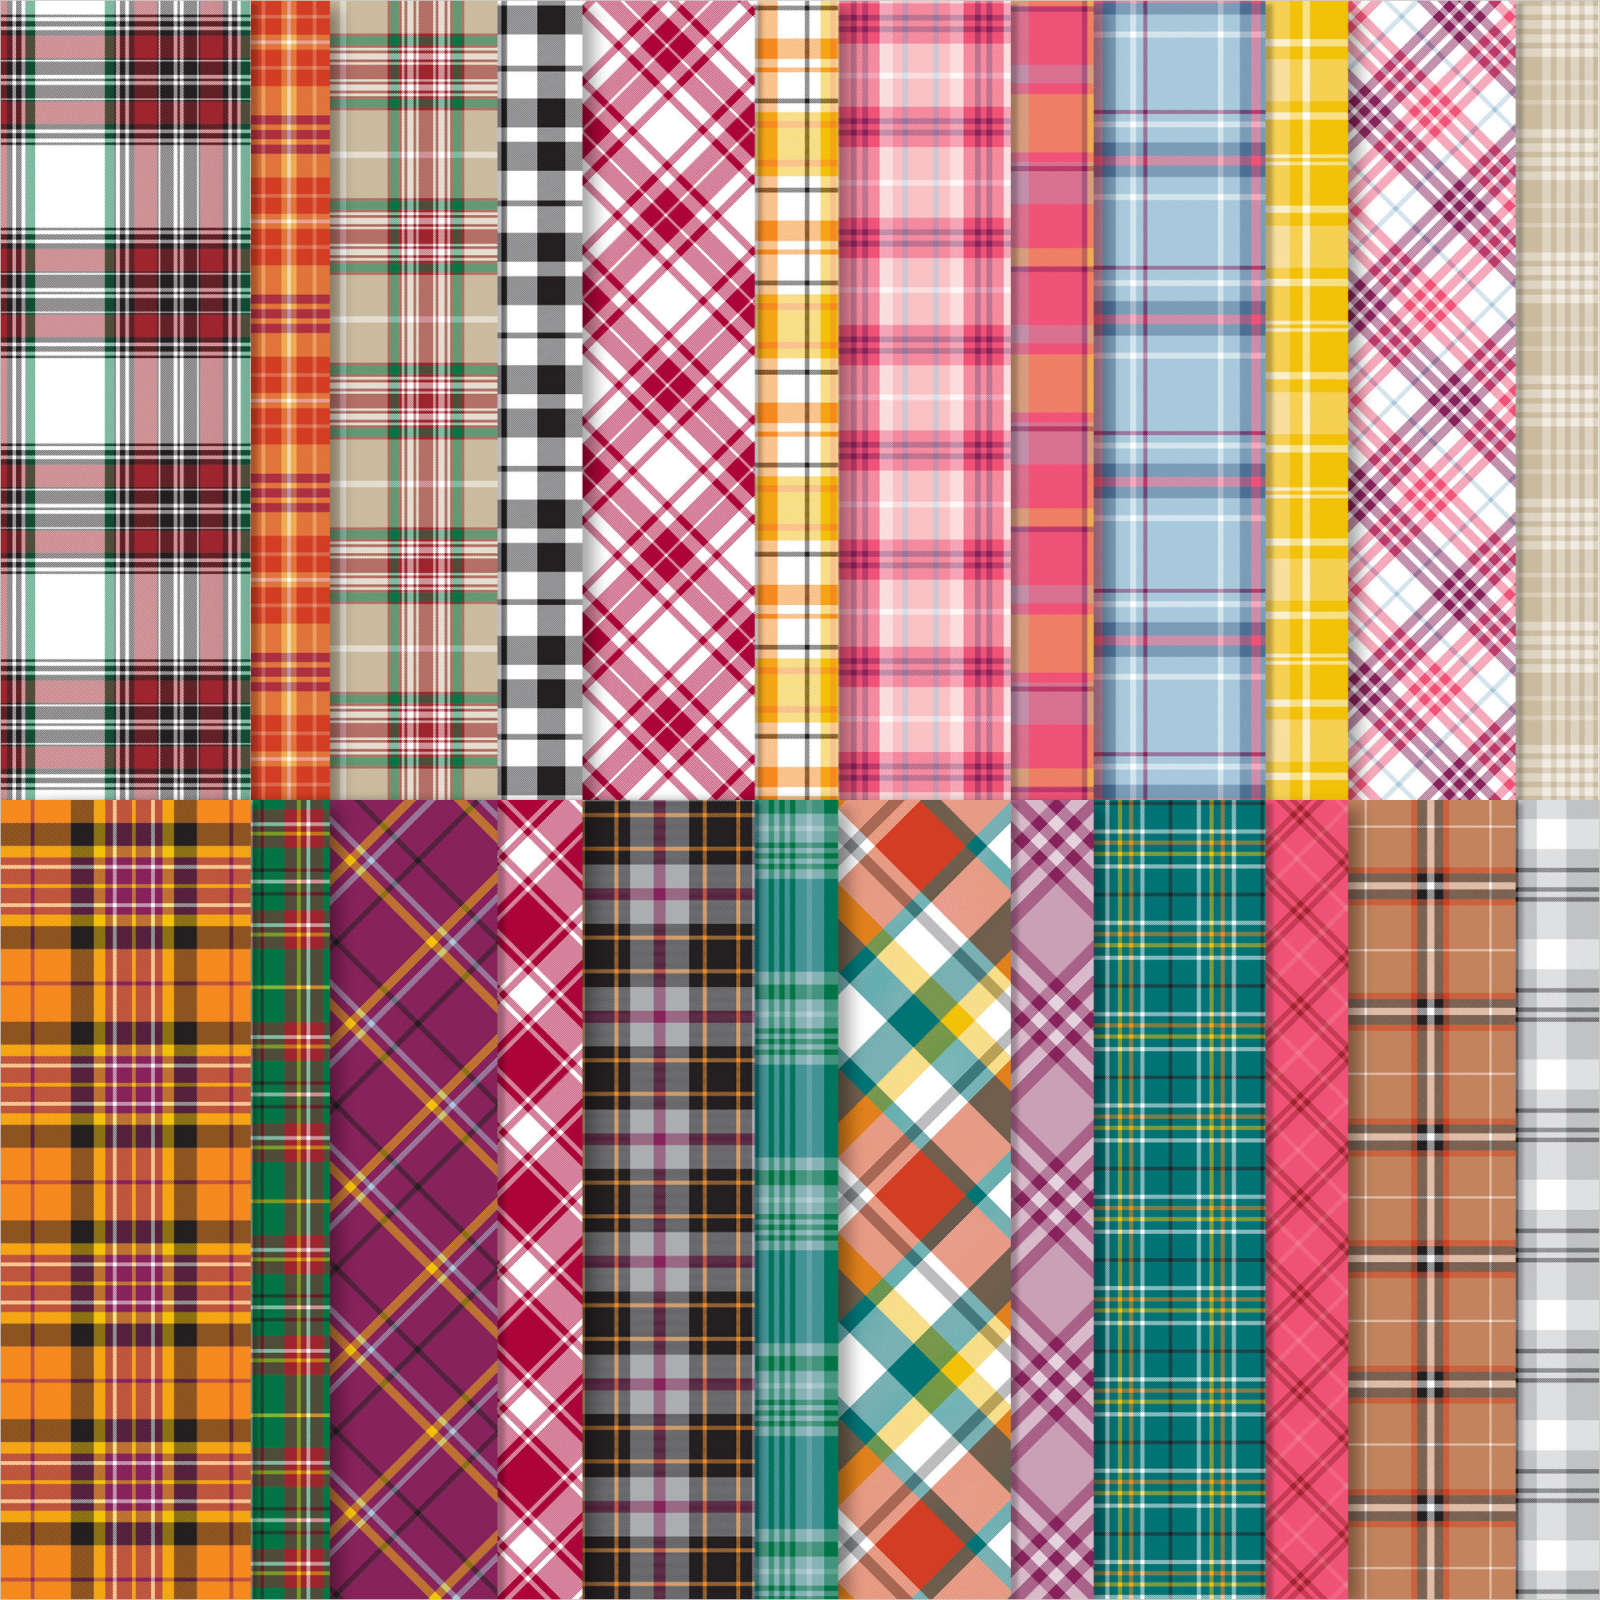
This DSP is from the Pretty Prints; soon to retire from the Annual catalog.  See it here. 

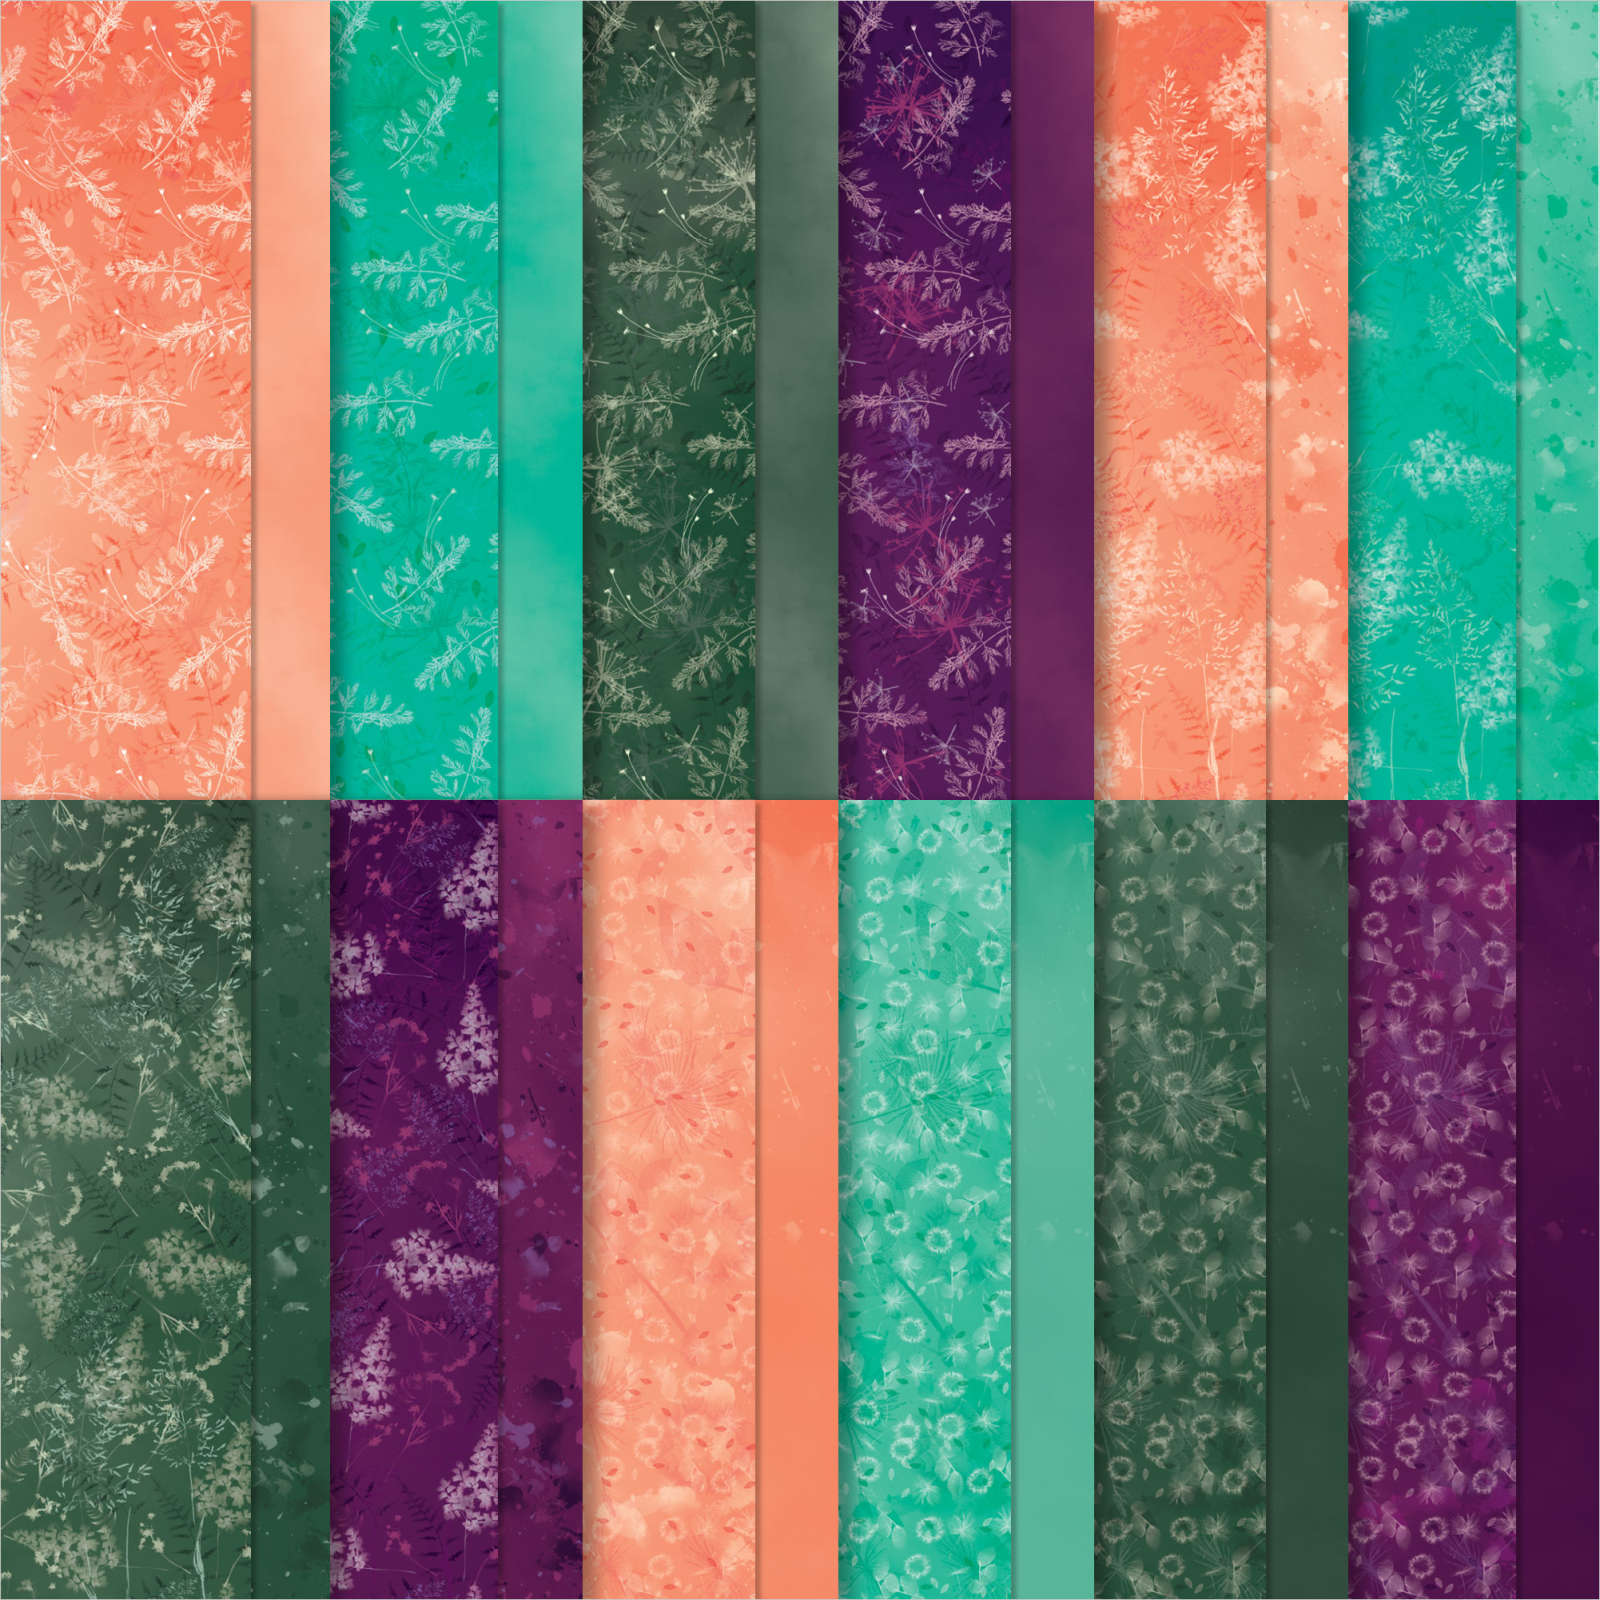
It includes some of my favorite colors – Bermuda Bay, Blackberry Bliss, Calypso Coral and Evening Evergreen.  

The CS layers on the front are added on top of this shaker element so you still get the feel of a real card; not all slippery.  Watch the video here or below to see how it's done.  It's the 2nd project of 3. 

You can see this unique Tropical Leaf bundle here: The font of the greetings in this Tropical Leaf stamp set are so unique; love it! 

Now to create the baby wipe leaves I made my own ink pad with a folded baby wipe.  

Tips for success of the baby wipe technique:

  1. Fold a baby wipe into a thick layer; at least 4 layers thick. Make your 'pad' as large as your largest stamp image.  Place it on a plate.
  2. Drop multiple drops of each color of ink refill onto the baby wipe, leaving room between colors for another color.
  3. I recommend at least 2 colors and up to 4 at the most. 
  4. Choosing colors?  Find complimentary colors in similar shades – blues/greens, yellows/oranges, oranges/pinks etc.  
  5. Choosing stamps? Solid images work best; outline images will not show off your colors well. 
  6. Ink your stamp in the new colored pad by tapping up and down in the same approximate place. Traveling while inking may muddy your colors. 
  7. Huff on the image and stamp.
  8. Depending on how much ink you added you can use your new 'ink pad' multiple times. Add more ink drops as needed.  

Here's how the inside was stamped:

Products used:

  • Tropical Leaf bundle
  • Pretty Prints DSP
  • Parakeet Party, Bermuda Bay and Granny Apple card stock and ink refills
  • For Everything and Sparkle & Shine sequins (Annual Catalog)
  • Clear envelopes (Annual Catalog)
  • baby wipe 
  • Bough Punch a big favorite!
  • Basics 3D embossing folder 

In the video below I demonstrate this fun baby wipe technique; Click here or on the photo below to watch the video.

~~~

March Specials:

See the new Online Exclusives here! 

*current host code: BFE4C2KM

Get a free class kit with online orders over $55 when using the host code above!

Earn free products with my loyalty rewards! 

Click here to download yours and earn a $50 shopping spree!

All Posts

  • Plaid Tidings & Celebration Tidings pair up for October’s cards kit!


    One of October's card kits to go features the incredible Plaid Tidings designer paper!   

    This designer paper contains classic, all season plaids in lots of colors. Each pack has 48 sheets of patterned paper: 4 each of 12 double-sided designs and it's currently on sale. 

    It's so versatile and it these 10 cards show it off nicely!  I featured a few of the upcoming Holiday's in these pretty cards.  This kit is the one my current kit subscribers will receive. There's an additional kit available too; see below. 


    This pre-cut kit includes $20 in current Stampin' Up! product, all for just $28! Yes; you're getting the 10 cards for just a few dollars when you add in tax & shipping. 

    In your kit to go you'll receive:

    • a package of Plaid Tidings Designer Series Paper
    • A spool of 3/8" embroidered ribbon
    • a share of Sequins for Everything
    • the free pdf tutorial for all 10 cards (valued at $15)

    This pdf written tutorial is available separately at my Tutorial shop here.  It includes step by step directions, measurements, a supplies list and photos.  

    I used the Celebration Tidings stamp set on all 10 cards; it's a fabulous holiday set and coordinates with the Celebration labels dies.  

    You have three choices for this cards kit.  See two here. 

    • Cards kit & tutorial – $28 (plus $8 Priority Shipping)
    • Cards kit, the stamp set & tutorial $56 with shipping *please email me at lagreff60@gmail.com and I'll send you a PayPal invoice 
    • PDF Tutorial only $15  

    Tomorrow I'll share the other cards kit available this month!  It features the Heartwarming Hugs DSP and includes 10 Fun-fold cards in the kit!  Save shipping and get both kits!  Go here to see them all. 

    ~~~

    October Specials!

    Current Host code is MJK7R2CU

    Designer Paper Sale; click here!

    Get a free package of Adhesive Backed Snowflakes in October with an

    online order over $45. 


    All online orders will receive my Tutorial of the Month featuring the Poinsettia Petals suite!

    Leave a Reply

    Your email address will not be published. Required fields are marked *

  • Fun Fold card with two versions!


    Saturday was World Card Making Day!  Did you make time to stamp?  First; did you even know about it?  

    We had a few stamping events on my Flowerbug's Team group and Mystery Stamping was one of them.  I sent them measurements so they could prep for the card making event but they didn't have a photo of the card!  Just measurements and supplies.  Use any Designer Paper, etc…..  It was fun to see what they all made.  

    Below are the two fun fold cards I made.  

    The front of the card is cut short to reveal the Designer paper on the left (inside) of the card.  Above I used the Snowflake Splendor designer paper and the Snowflake Wishes stamp set & dies bundle.  This designer paper is on sale right now at 15% off.  See all of the papers on sale here: 

    Next is a card made with the Gilded Autumn specialty designer paper and the Beautiful Autumn stamp & punch bundle.  You can see the measurements for these cards below. 

    Here are the measurements:

    • 2 pieces of Designer Series Paper (3 1/4" x 4" plus a coordinating piece 1 3/4" X 4")
    • Coordinating card base (9" x 4 1/4" scored at 5 1/2")
    • neutral CS like White or Vanilla (2 1/2" X 3 1/2" and 3 3/4" X 3 1/4" for inside)
    • a coordinating layer of CS (2 5/8" X 3 5/8")

    ~~~

    October Specials!

    Current Host code is MJK7R2CU

    Designer Paper Sale; click here!

    Get a free package of Adhesive Backed Snowflakes in October with an

    online order over $45. 


    All online orders will receive my Tutorial of the Month featuring the Poinsettia Petals suite!

    Leave a Reply

    Your email address will not be published. Required fields are marked *

  • Don’t miss this fun technique; use those Designer Paper scraps!


    Do you have trouble tossing those small pieces of Designer Paper left from a project?  I sure do!  There has to be a way to use them, right?  Well you can use them easily with this technique! 

    See?  It's quite eye-catching isn't it?  I kept the cards very simple to highlight the paper.  Each one features the Celebration Tidings stamp set. The card above features the Plaid Tidings designer paper; it's on sale right now too!  

    Watch the video below to get the tips on how to create these.  You just need some 1/2" strips and a ruler. 

    The card above features the Magic in This Night Designer paper.  The card below is the Tis the Season Designer paper; both on sale in October here!  

    Watch the quick video below to get the tricks on this fun technique. 


    ~~~

    October Specials!

    Current Host code is MJK7R2CU

    Designer Paper Sale; click here!

    Get a free package of Adhesive Backed Snowflakes in October with an

    online order over $45. 


    All online orders will receive my Tutorial of the Month featuring the Poinsettia Petals suite!

    Leave a Reply

    Your email address will not be published. Required fields are marked *


Notice: LeeAnn Greff, Independent Stampin’ Up! Demonstrator, Manager. The content of this website is my sole responsibility as an independent Stampin’ Up! demonstrator and the use of, and content of, the classes, services, or products offered on this website is not endorsed by Stampin’ Up! Copyright 2025