/


Latest Post

Baby Wipe technique and the easiest Shaker Card ever! Tips for success & Video Tutorial


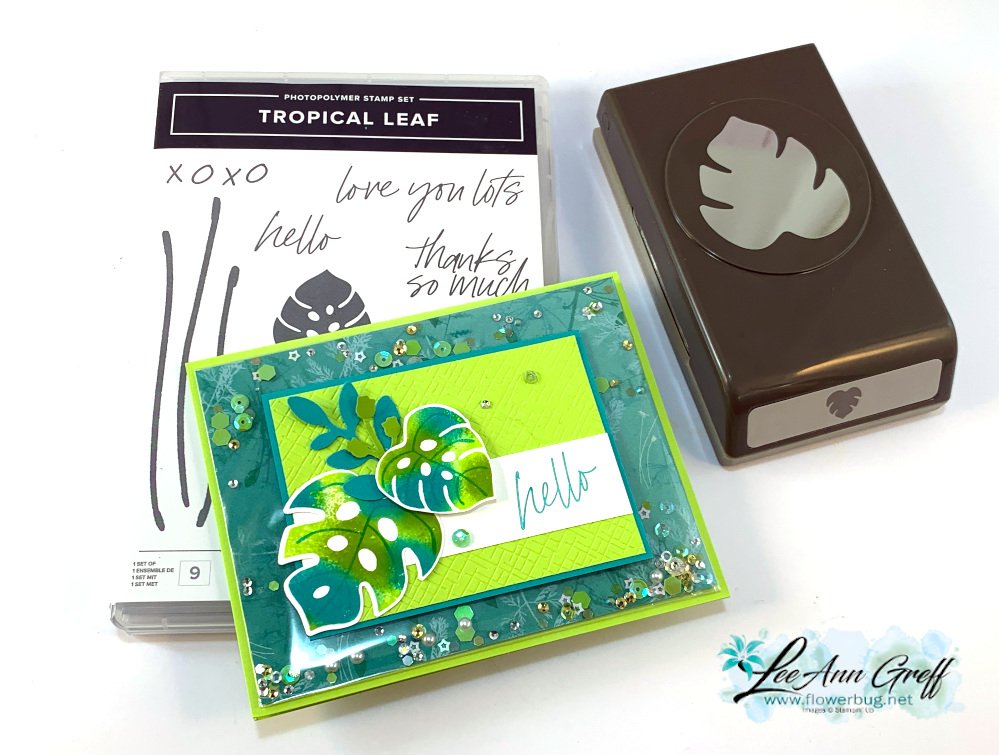
This card was cased from my good friend Susie Wood; creating comes naturally to her.  She's fast and super talented.  See her cute card here.  

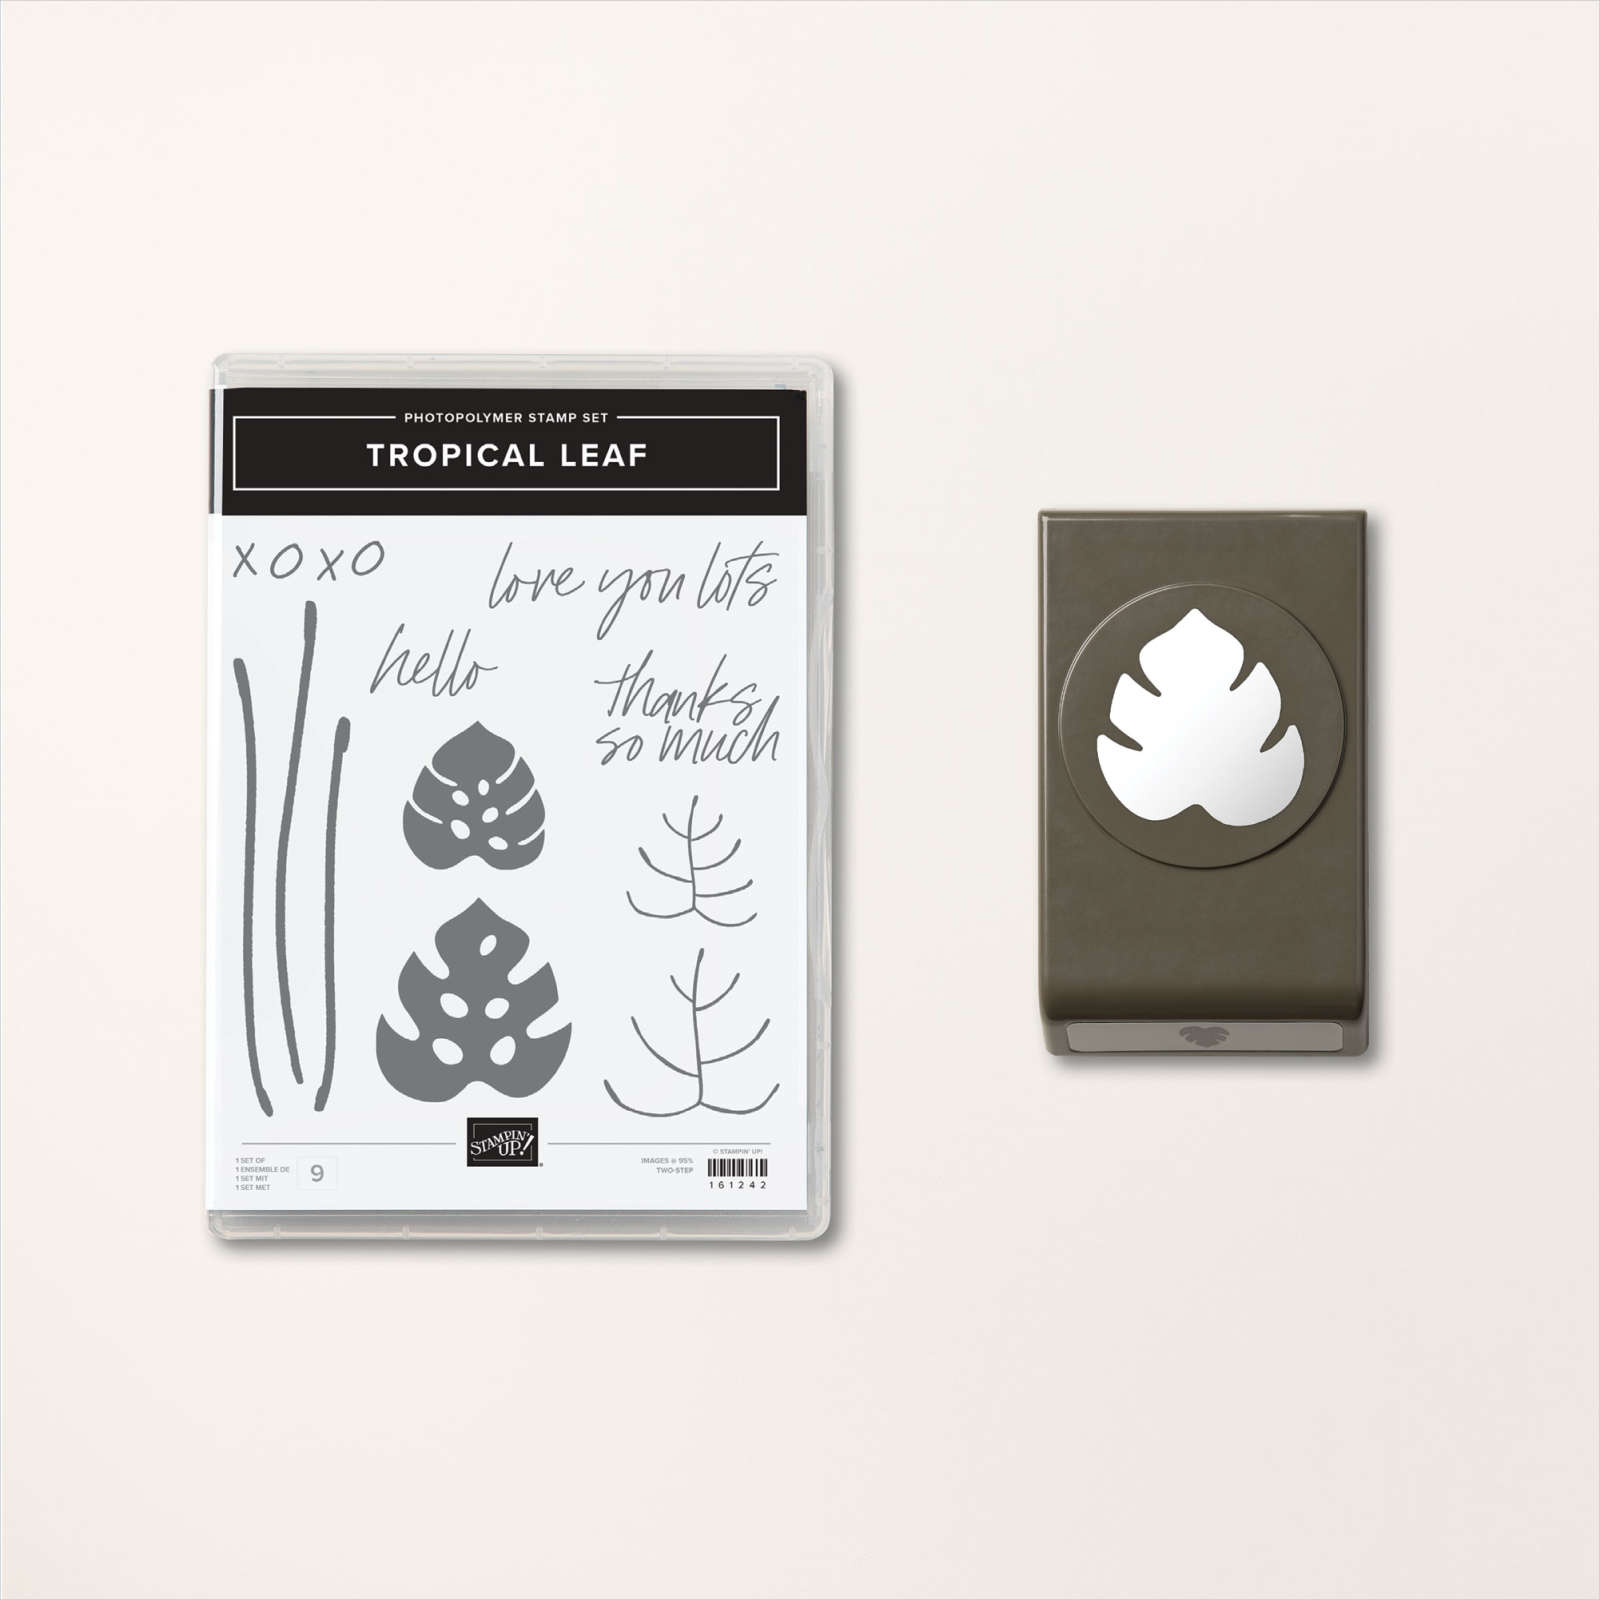
I used the Tropical Leaf bundle in the Online Exclusives section of our online store.  I also wanted to feature the baby wipe technique. 

The colors include Parakeet Party, Bermuda Bay and a tiny bit of Granny Apple Green.  The designer paper inside the clear envelope is Pretty Prints.  Here's how I created the clear envelope shaker:

My Pretty Prints designer paper layer is 5 1/4" X 4" and our clear envelopes are about 1/2" larger.  For the shaker elements to stay on the front side of the envelope it has to be tight and smaller.  So I added tear & tape to the back edge and folded the extra over tightly. Now, insert your shaker elements on the front pocket and fold down the end flap. Wallah!  You have a shaker card front!  

This DSP is from the Pretty Prints; soon to retire from the Annual catalog.  See it here. 
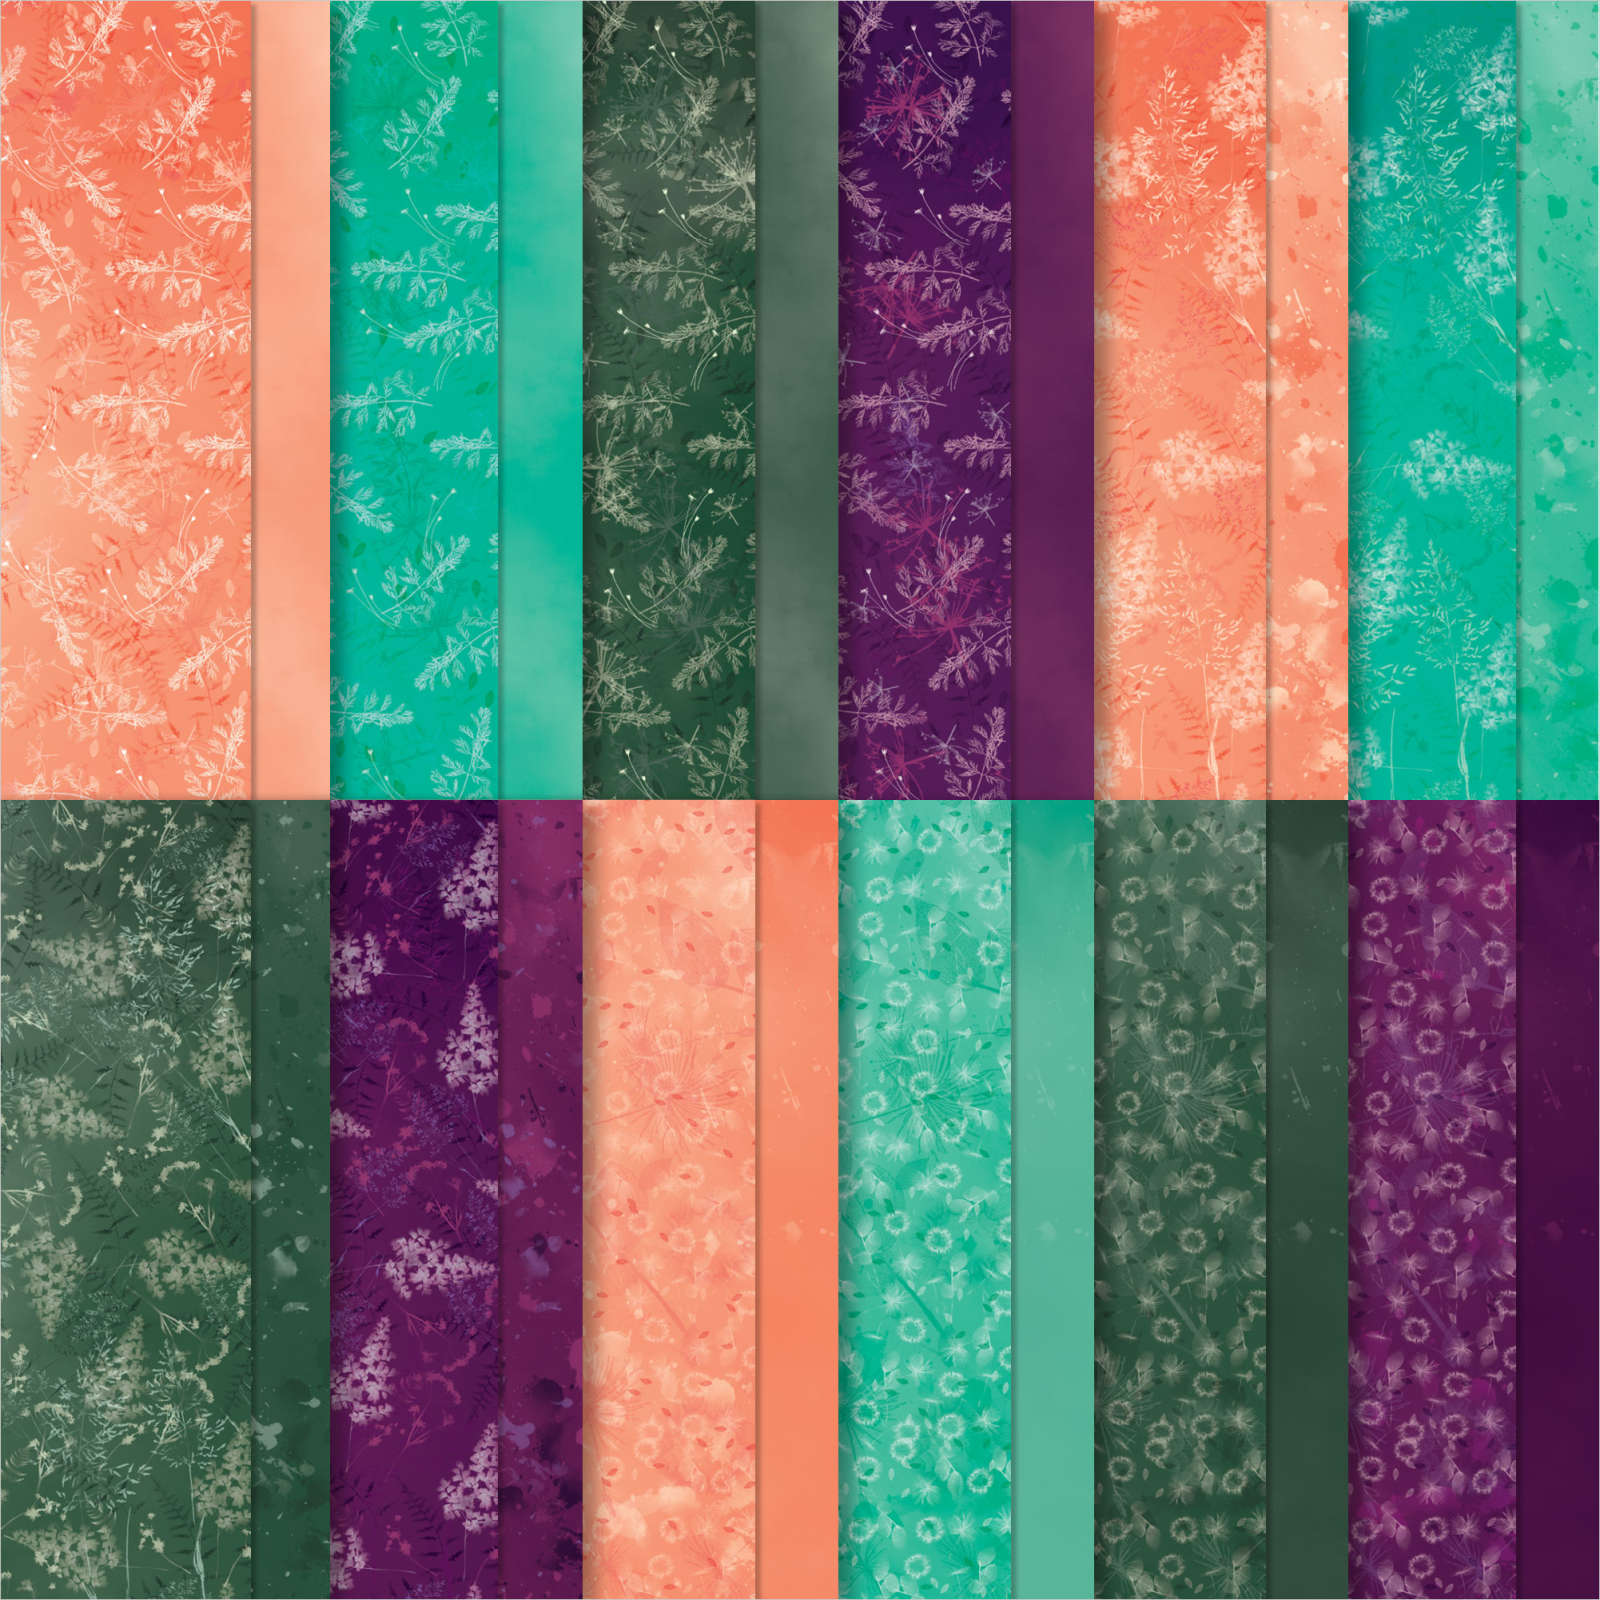
It includes some of my favorite colors – Bermuda Bay, Blackberry Bliss, Calypso Coral and Evening Evergreen.  

The CS layers on the front are added on top of this shaker element so you still get the feel of a real card; not all slippery.  Watch the video here or below to see how it's done.  It's the 2nd project of 3. 

You can see this unique Tropical Leaf bundle here: The font of the greetings in this Tropical Leaf stamp set are so unique; love it! 
Now to create the baby wipe leaves I made my own ink pad with a folded baby wipe.  

Tips for success of the baby wipe technique:

  1. Fold a baby wipe into a thick layer; at least 4 layers thick. Make your 'pad' as large as your largest stamp image.  Place it on a plate.
  2. Drop multiple drops of each color of ink refill onto the baby wipe, leaving room between colors for another color.
  3. I recommend at least 2 colors and up to 4 at the most. 
  4. Choosing colors?  Find complimentary colors in similar shades – blues/greens, yellows/oranges, oranges/pinks etc.  
  5. Choosing stamps? Solid images work best; outline images will not show off your colors well. 
  6. Ink your stamp in the new colored pad by tapping up and down in the same approximate place. Traveling while inking may muddy your colors. 
  7. Huff on the image and stamp.
  8. Depending on how much ink you added you can use your new 'ink pad' multiple times. Add more ink drops as needed.  

Here's how the inside was stamped:

Products used:

  • Tropical Leaf bundle
  • Pretty Prints DSP
  • Parakeet Party, Bermuda Bay and Granny Apple card stock and ink refills
  • For Everything and Sparkle & Shine sequins (Annual Catalog)
  • Clear envelopes (Annual Catalog)
  • baby wipe 
  • Bough Punch a big favorite!
  • Basics 3D embossing folder 

In the video below I demonstrate this fun baby wipe technique; Click here or on the photo below to watch the video.

~~~

March Specials:

See the new Online Exclusives here! 

*current host code: BFE4C2KM

Get a free class kit with online orders over $55 when using the host code above!

Earn free products with my loyalty rewards! 

Click here to download yours and earn a $50 shopping spree!

All Posts

  • Beautiful Wisteria Wishes card with video


    Hot News!!!

    Tomorrow, June 21st is a FREE SHIPPING day!!


    For 24 hours you can get free shipping on any order over $75. 

    This means that the Last Chance List and the Kit Collection BOGO are even better deals! 

    Or get those 'wish list' items from the new Annual Catalog!  

    Order here and use either host code below and you still get my free embellishments too!  WIN WIN!!!

    Host codes: Y23VZ9UC or 9F9AJHYG

    ~~~

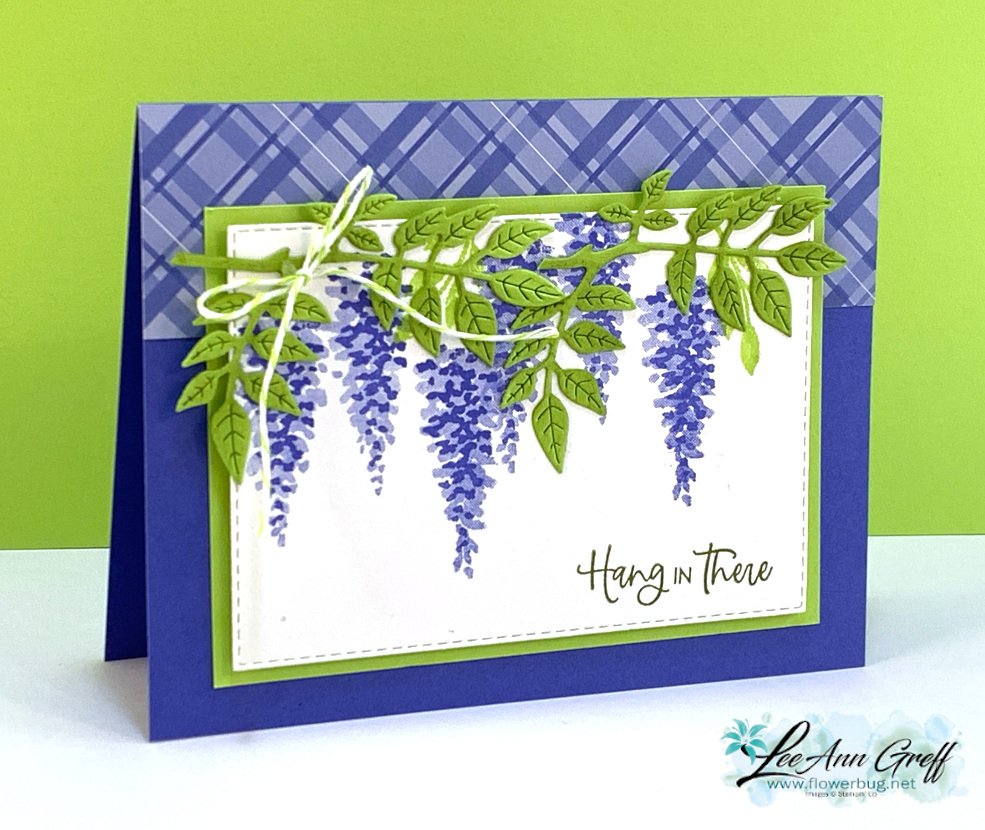
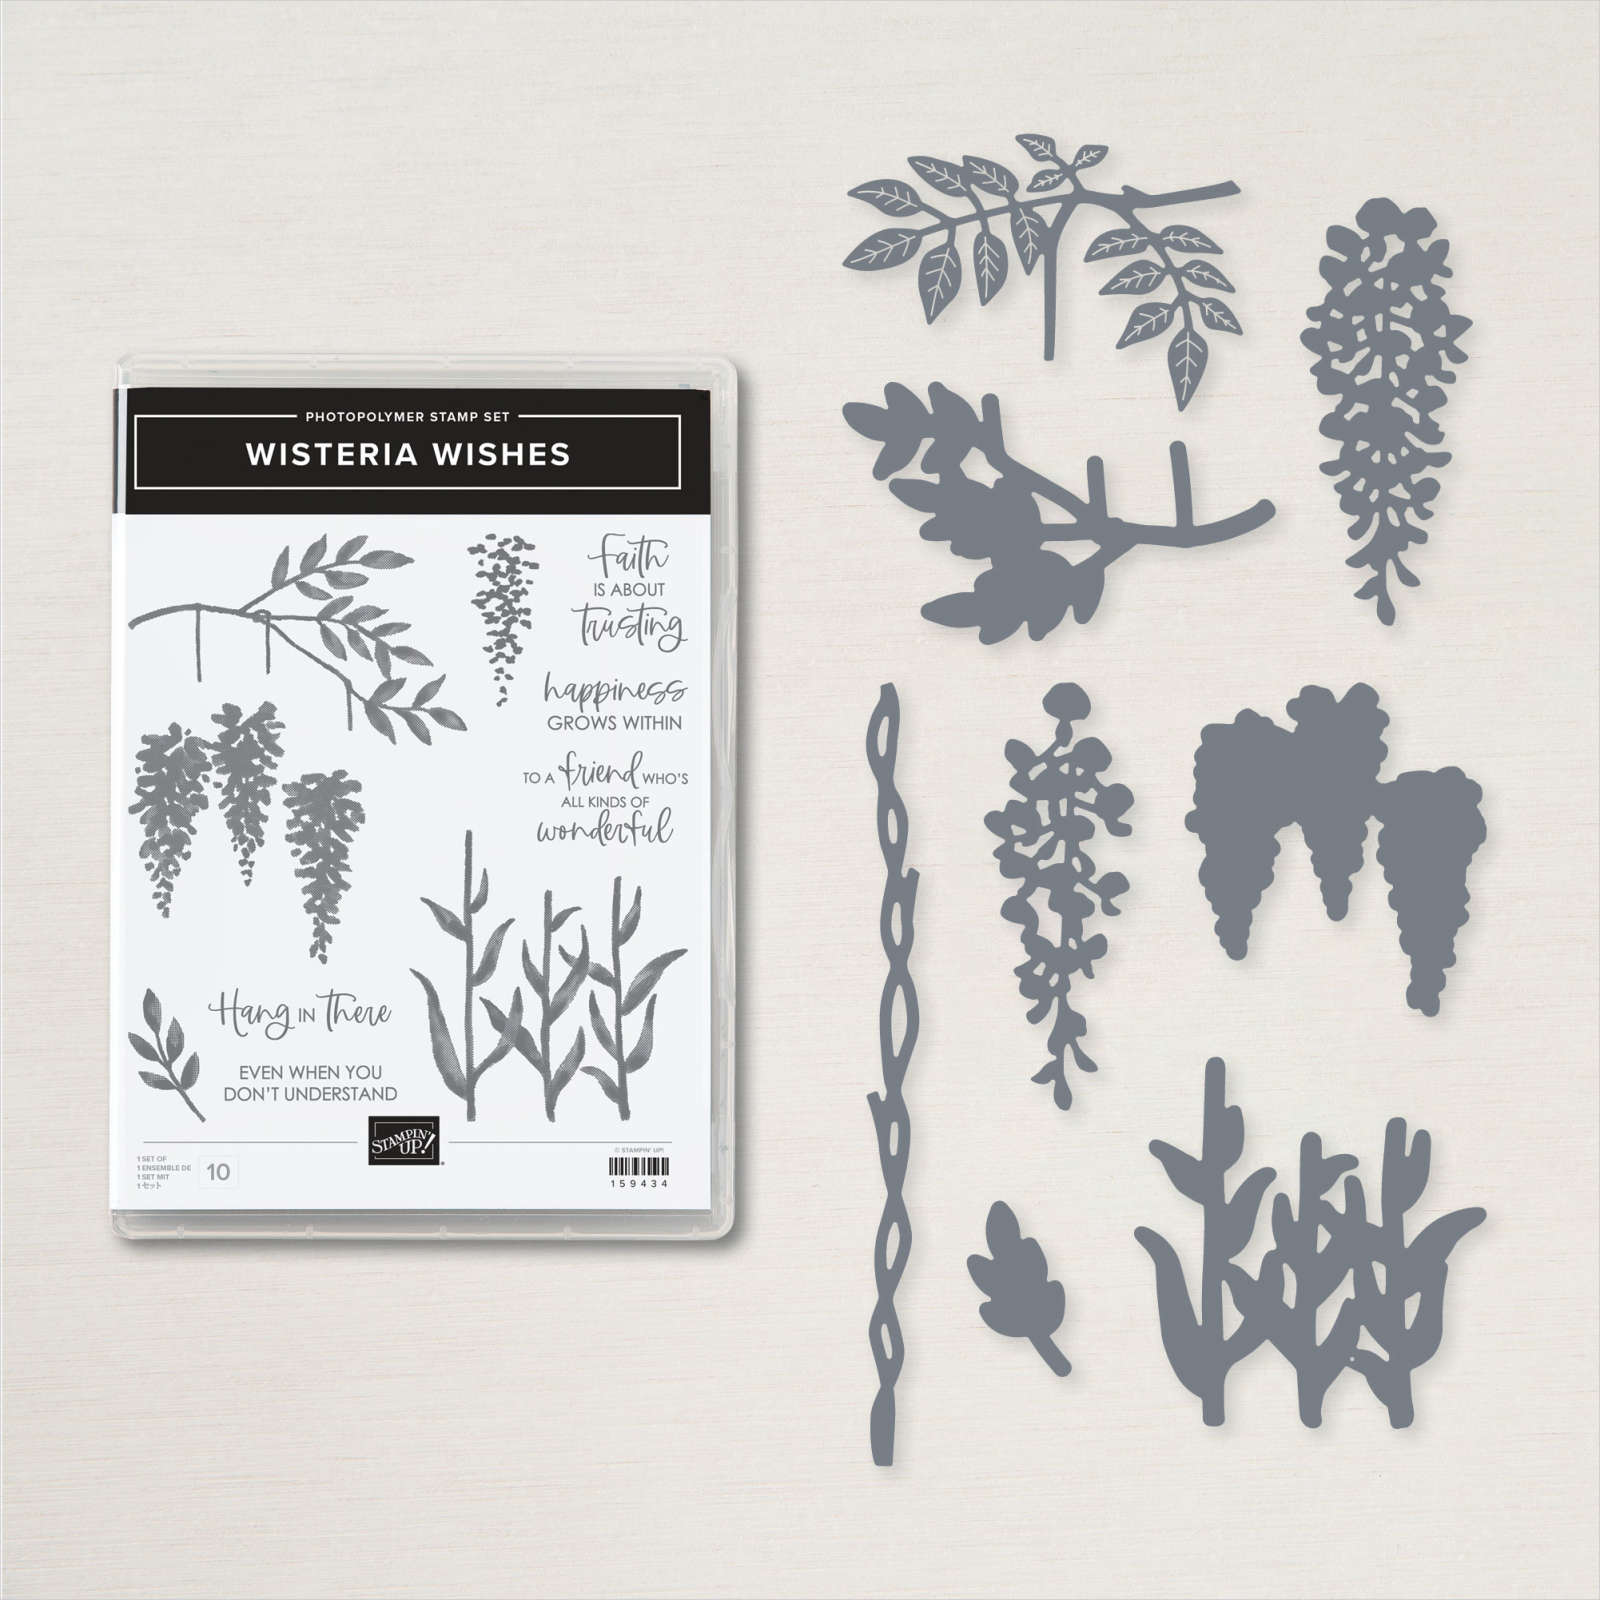
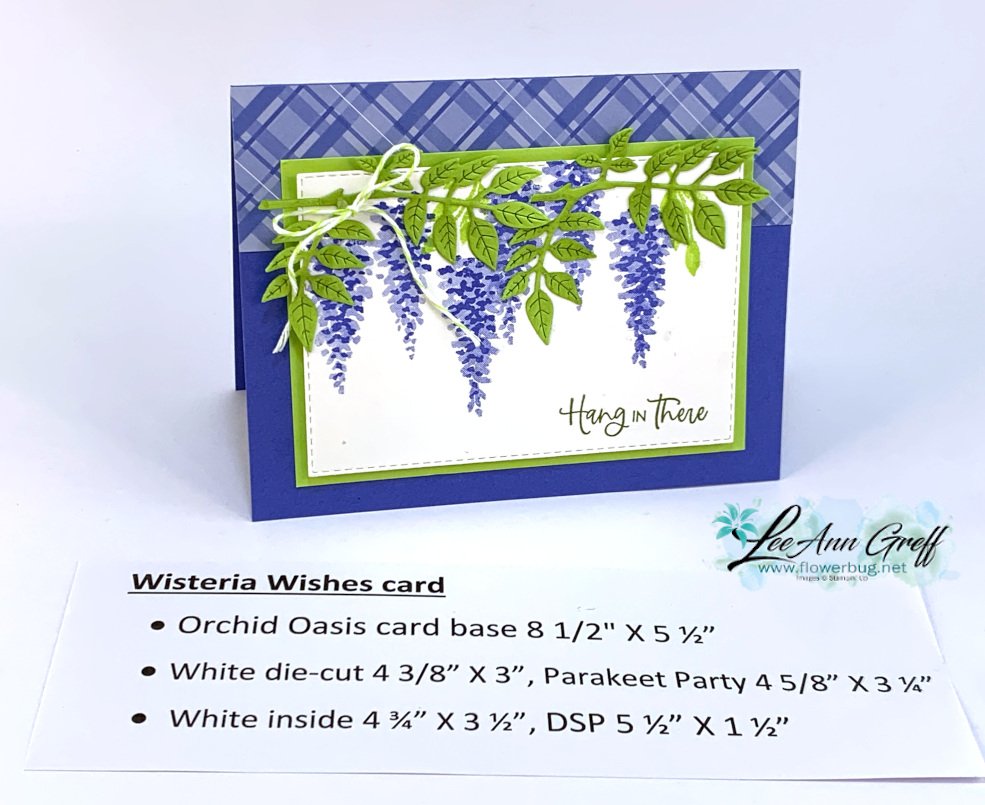
    This week I'll be sharing the cards I made on last week's FB Live video.  I chose to feature the pretty Wisteria Wishes bundle seen here. 

    Join me here for tomorrow's video. 

    My colors include Orchid Oasis, Parakeet Party and a little Old Olive with White.  This card was pretty instinctive; hanging wisteria is the first thing that comes to mind.  There are a few tricks I used to alter the leaves die-cuts though.  I trimmed off a few extra pieces to fit the stamped images better.  You can see what I did in the video below.  

    This bundle is super versatile!  I made two more cards in the video plus shared a bunch of swap card ideas as well.  You might be inspired to purchase it once you see them all!  

    Products used:

    • Wisteria Wonder bundle
    • Orchid Oasis and Parakeet Party card stock & ink, Old Olive ink
    • Stitched Rectangle dies
    • Blending Brushes
    • In Color twine combo pack 


    Click on the photo below to watch the video.  

    ~~~

    Last Chance items are selling out!  


    Kits Collection BOGO – buy 1 get 1 50% off!  

    Host codes: Y23VZ9UC or 9F9AJHYG

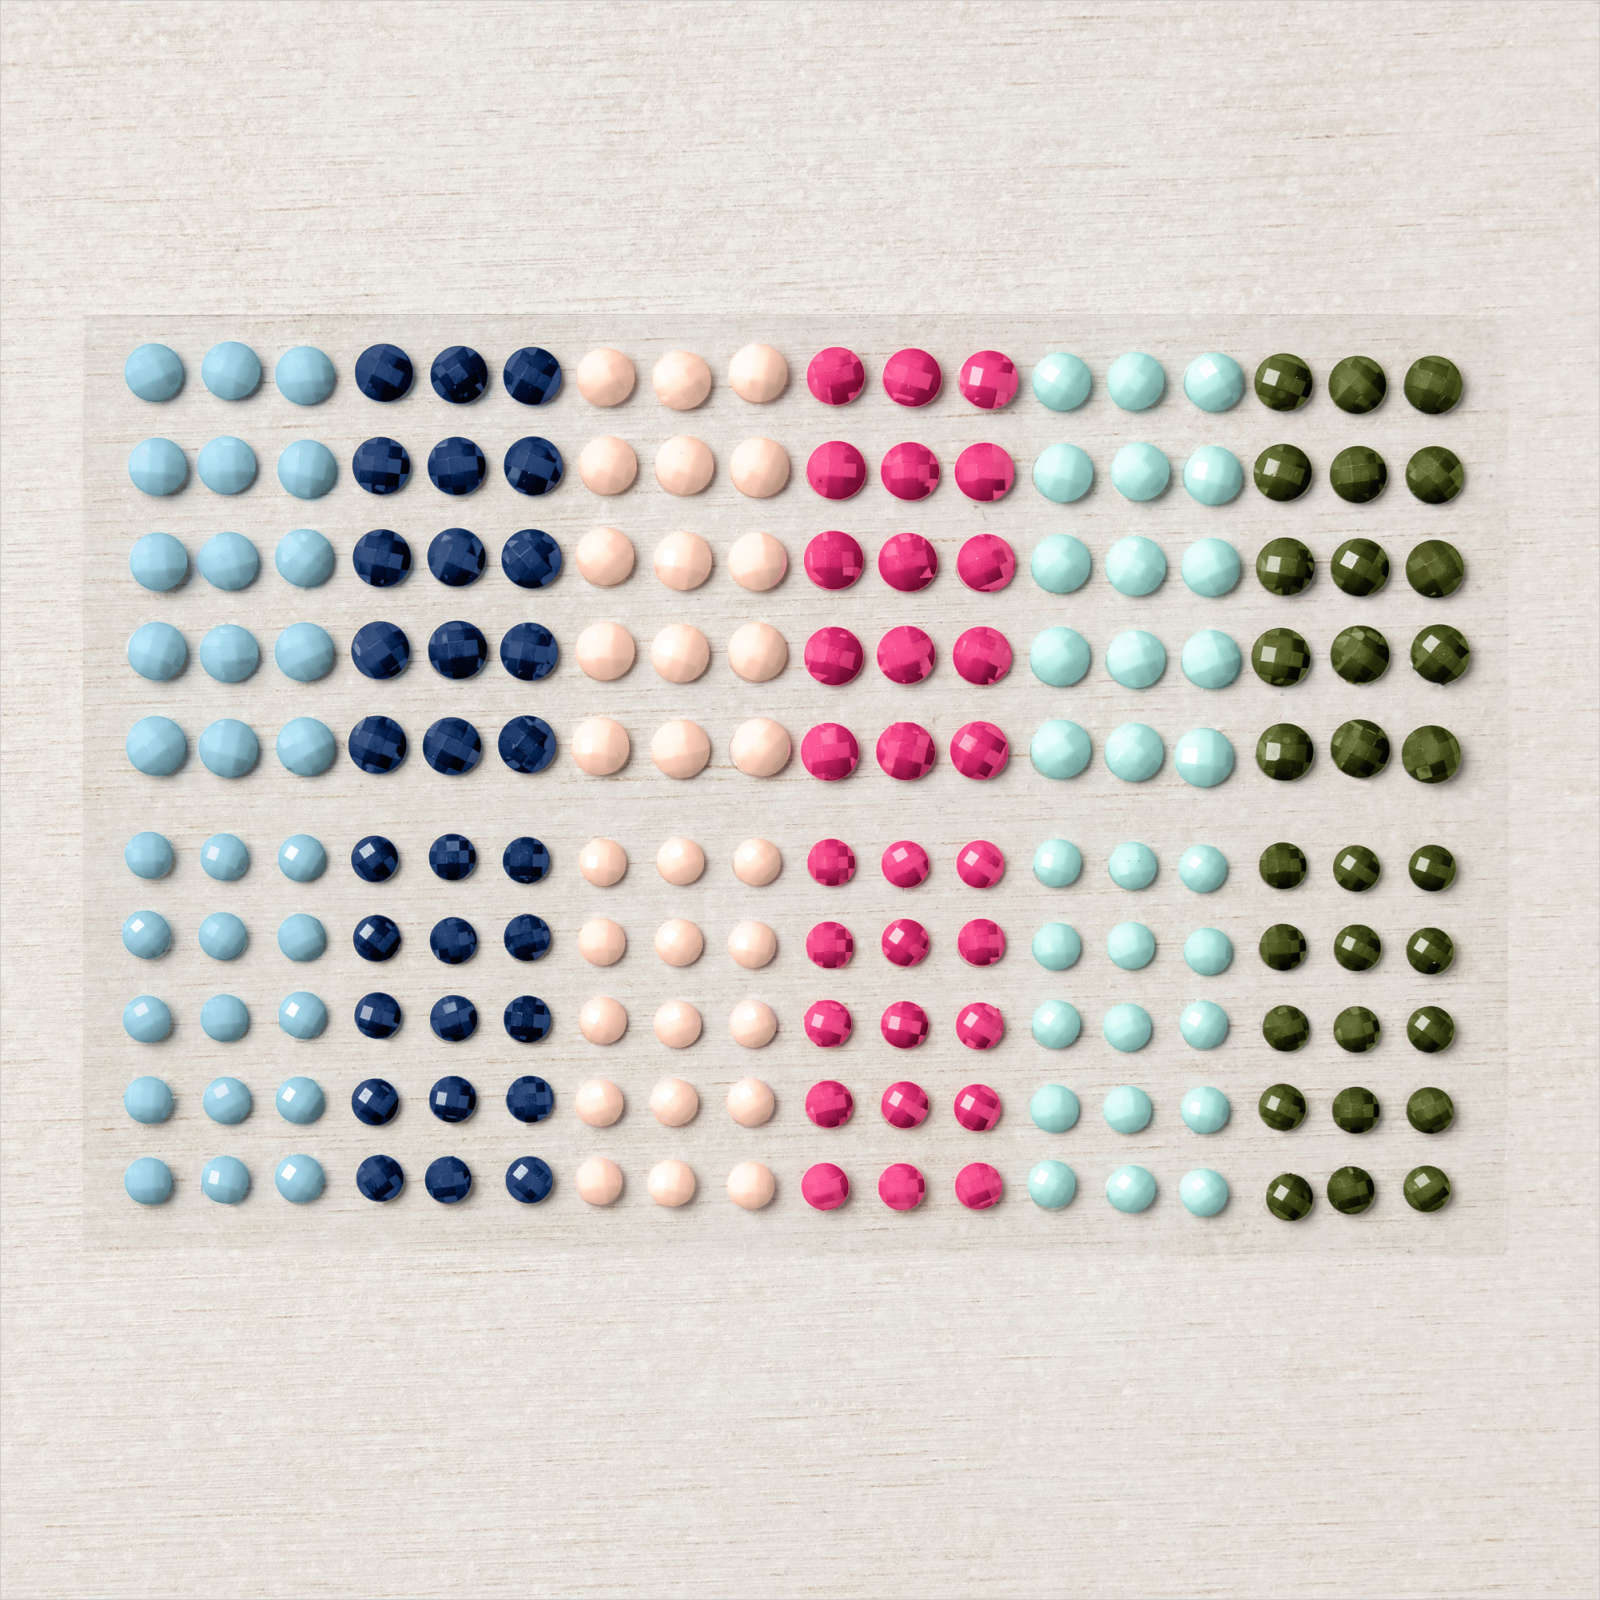
    If your order is over $50 you'll receive a set of Solid Faceted Gems from me. *click here to order 

    Earn free products with my loyalty rewards! 

    Click here to download yours and earn a $50 shopping spree!  
    Leave a Reply

    Your email address will not be published. Required fields are marked *

  • Get great ideas with the Last bunch of the amazing In Color card swaps!


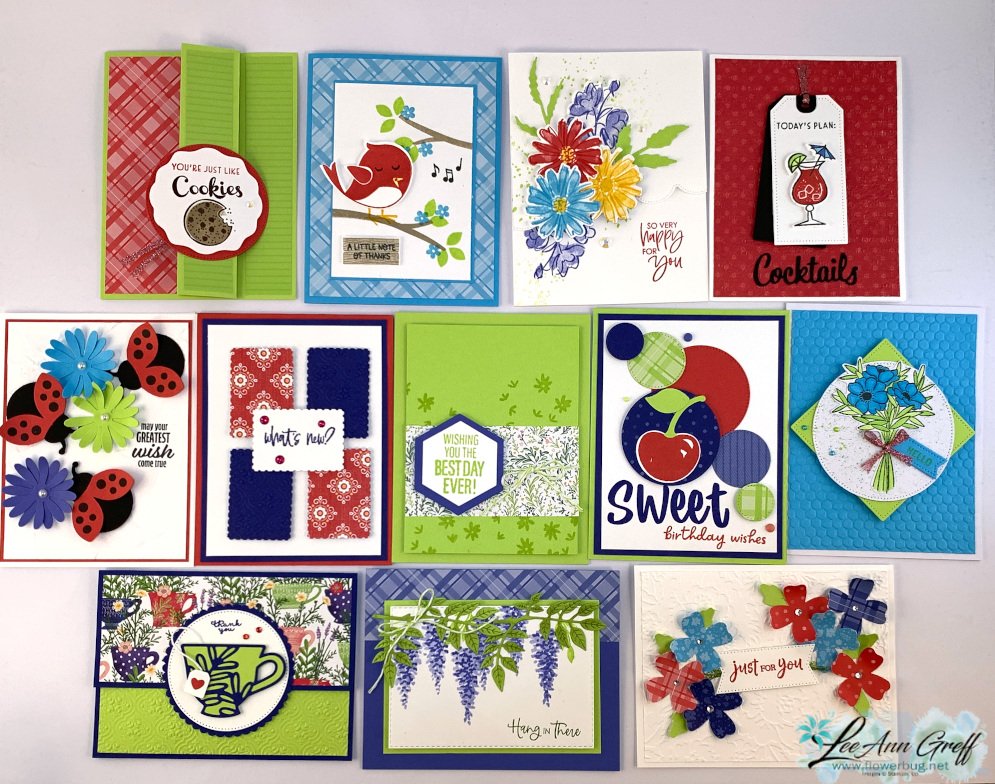
    I've shared my Flowerbugs Team In Color card swaps the last few days and today is the last bunch. I hope you're been enjoying them.  They really are the best stampers!  

    The guidelines for this month's Team swap was to use at least 2 new In Colors on our card.  

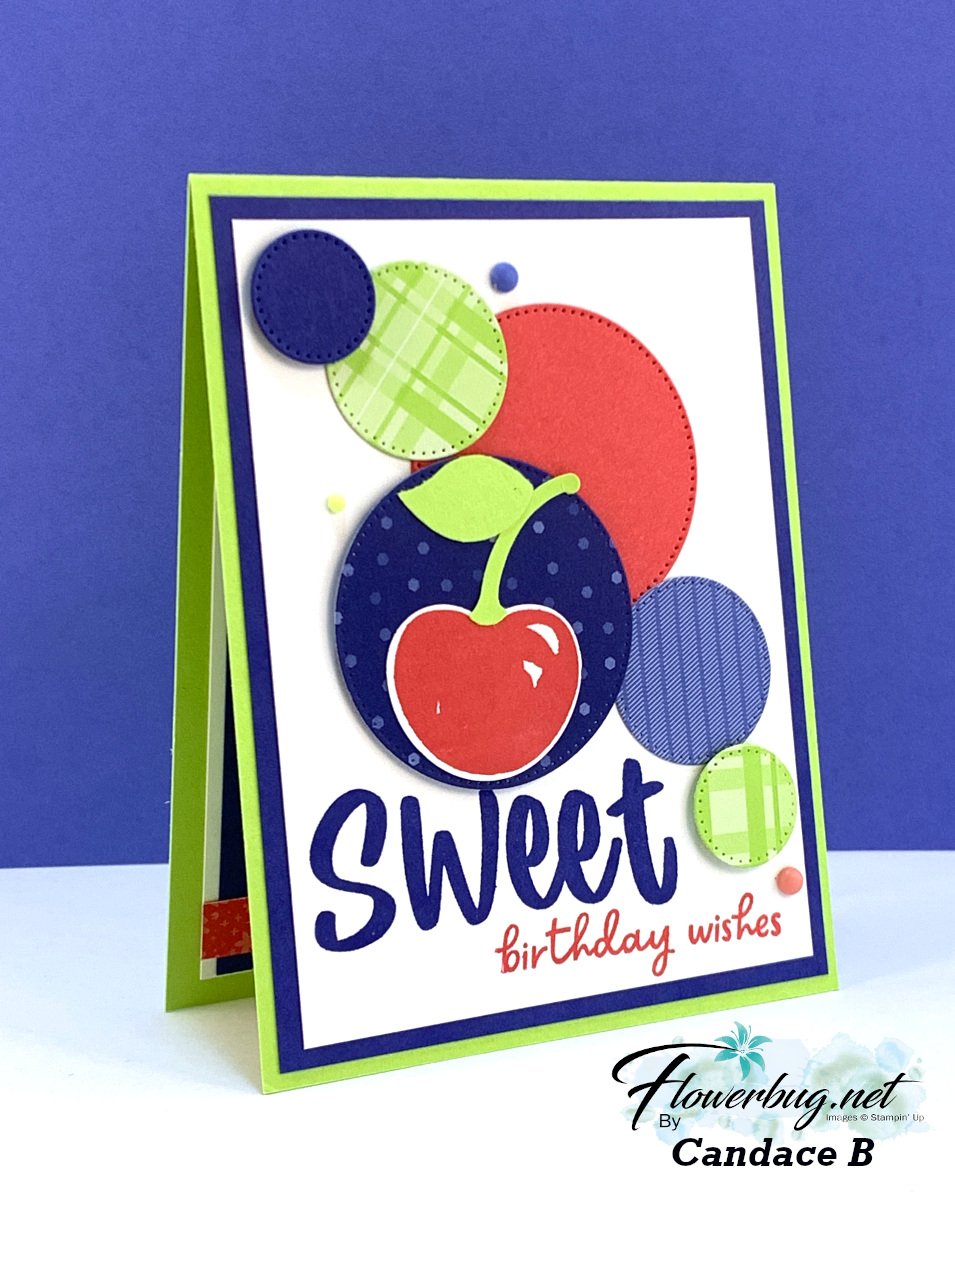
    This first one was made by Candace who used 4 out of 5 of the new In Colors!  Look at this fun layout! 

    She used the Sweetest Cherries bundle, the 6 X 6" pack of In Color DSP and the Stylish Shapes dies seen here.  Her card base is Parakeet Party and the next layer is Starry Sky.  Super cute!

    Next up is an adorable card made by Deloris who used the Sweet Songbird bundle.  

    She used Tahitian Tide, Sweet Sorbet and a bit of Parakeet Party for the leaves.  I love this sweet bundle!  

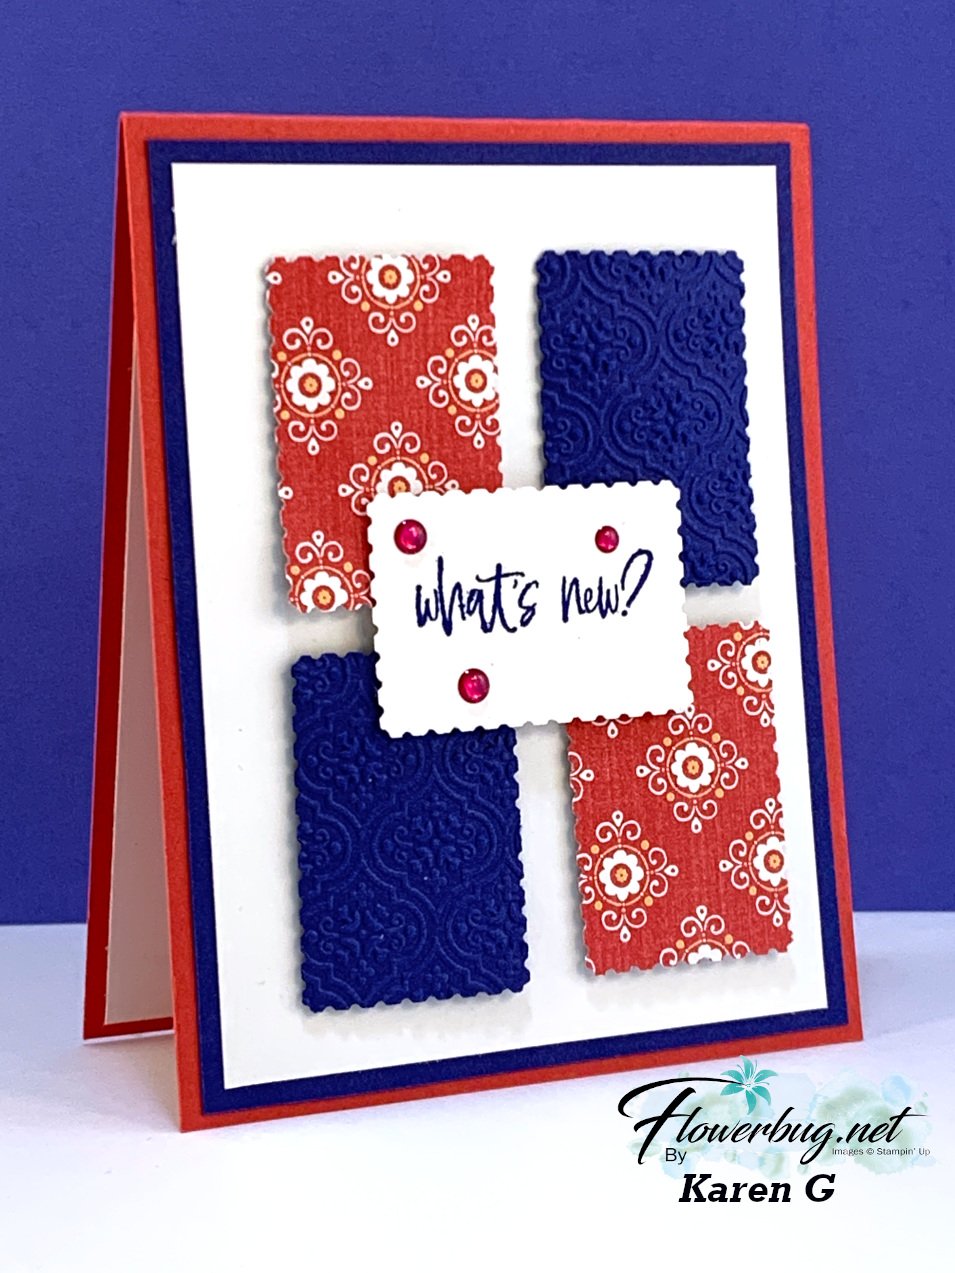
    Lastly is a fun layout Karen made using the Rectangular Postage punch.  Her colors include Sweet Sorbet & Starry Sky. 

    I love how she added the greeting with the same punch as the first 4 but turned horizontally.  What a fun card layout this is!

    I hope you've enjoyed all of the card ideas with our newest In Color cards.  See the first set here and the second here.  


    ~~~

    Last Chance List is out!  


    Kits Collection BOGO – buy 1 get 1 50% off!  

    Host codes: Y23VZ9UC

     *click here to order 

    If your order is over $50 you'll receive a set of Solid Faceted Gems from me.

    Earn free products with my loyalty rewards! 

    Click here to download yours and earn a $50 shopping spree! 
    Leave a Reply

    Your email address will not be published. Required fields are marked *

  • 2nd set of Incredible In Color card swaps by the Flowerbugs


    Yesterday I shared the first set of In Color card swaps by my Flowerbug's Team and today I'm sharing more. 

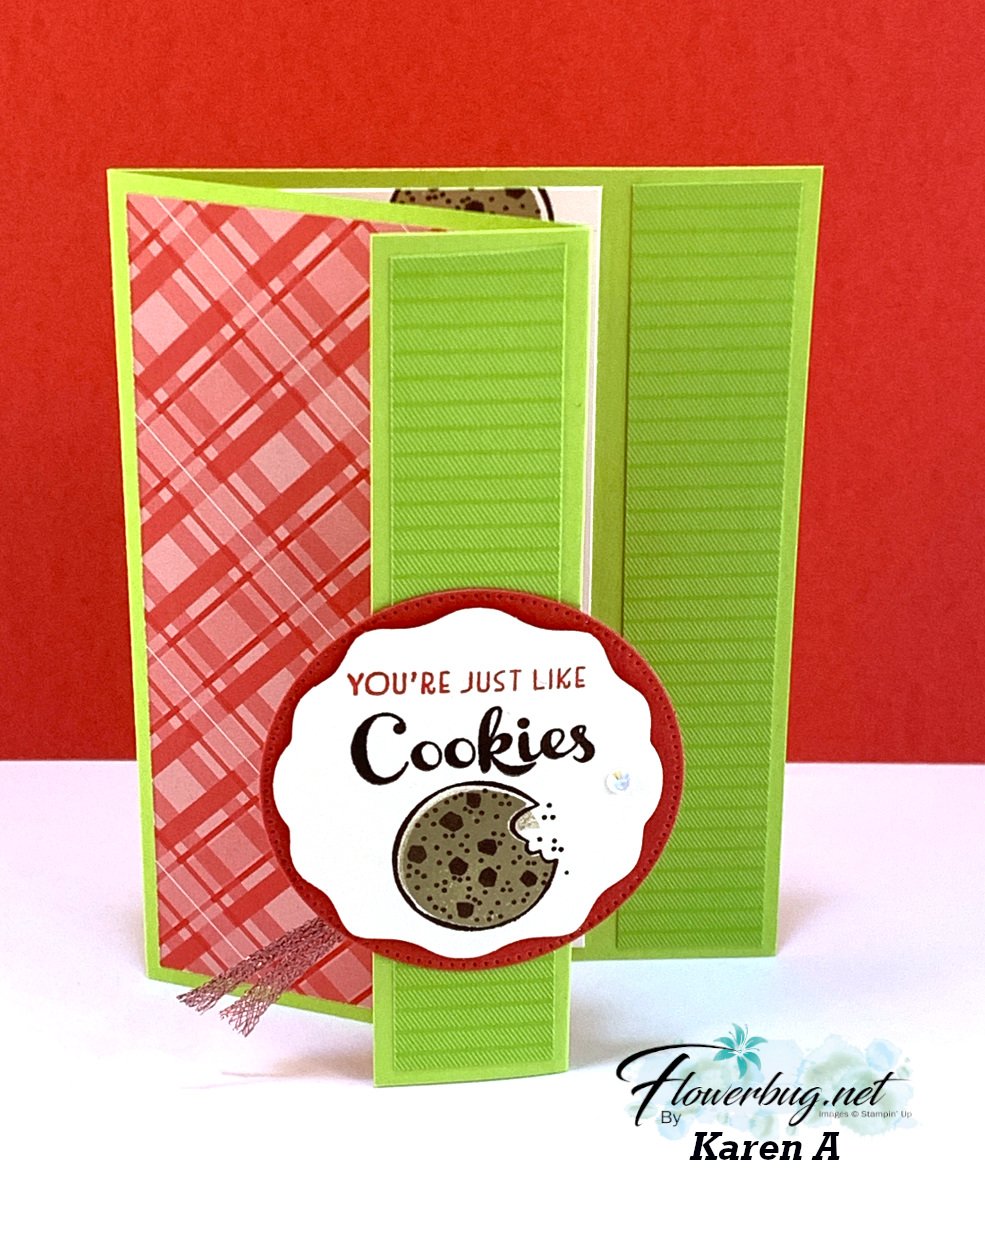
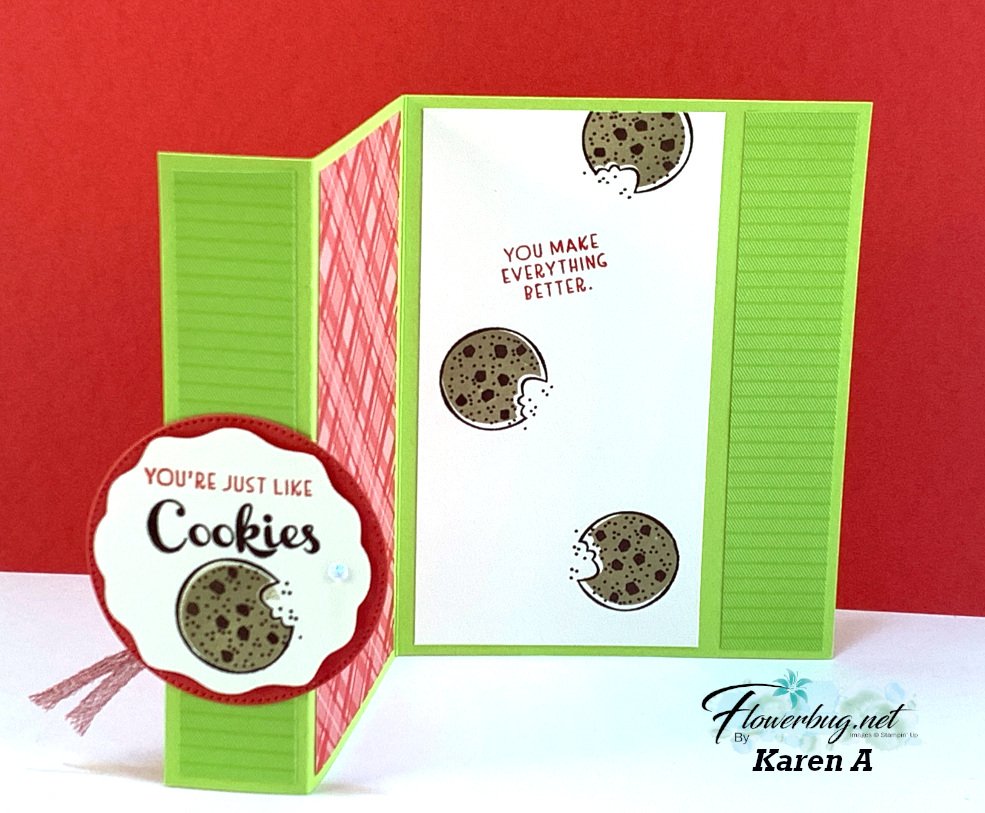
    The first card is a fun fold card made by Karen A.  This is such an easy fold as it's just adding one score line to your standard card.

    She chose to use the Nothing's Better Than stamp set. Her colors include Sweet Sorbet & Parakeet Party with a bit of Early Espresso & Crumb Cake for the greeting & cookies.

    For your card base of 5 1/2" X 8 1/2" score at 1 1/4" and 4 1/4".  The Designer paper is from the In Color prints pack and measure 2 3/4" and 1" X 5 1/4" tall on both the front and inside of the card.  The inside White is 2 3/4" X 5 1/4". 

    Her front greeting elements include the new Decorative Circle punch seen here and the stitched circle die-cut from the Stylish Shapes dies. 

    Next up – Annette used the same stamp set; 'Nothing's Better Than'. It coordinates with the Love you More Than dies.  Her colors include Sweet Sorbet and Black with just a bit of Parakeet Party, Tahitian Tide & Orchid Oasis for her coloring.  

    She textured her Sweet Sorbet designer paper with the Timeworn Type embossing folder.  

    The tag dies are the Tailor Made Tags dies seen here.  

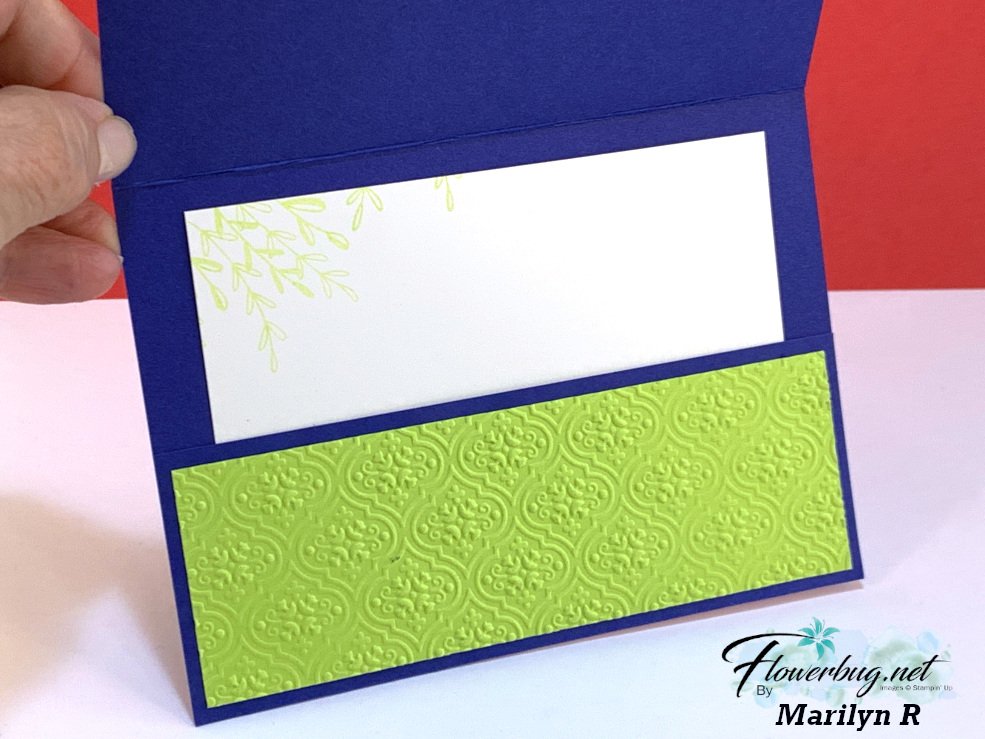
    Next is a fun fold card made by Marilyn featuring the Cup of Tea bundle.  Her main colors include Starry Sky and Parakeet Party.  

    She used the Layering Circles and Stylish Shapes dies for her circle element.  The pretty texture is the Quatrefoil Tile embossing folder seen here.  

    Her measurements are:

    • Card base 5 1/2" X 8 1/2" scored at 2 1/2" & 6 1/2" 
    • DSP  5 1/4" X 2 1/4" 
    • textured layer 5 1/4" X 1 3/4"
    • inside White is 3 1/2" X 4 5/8" 


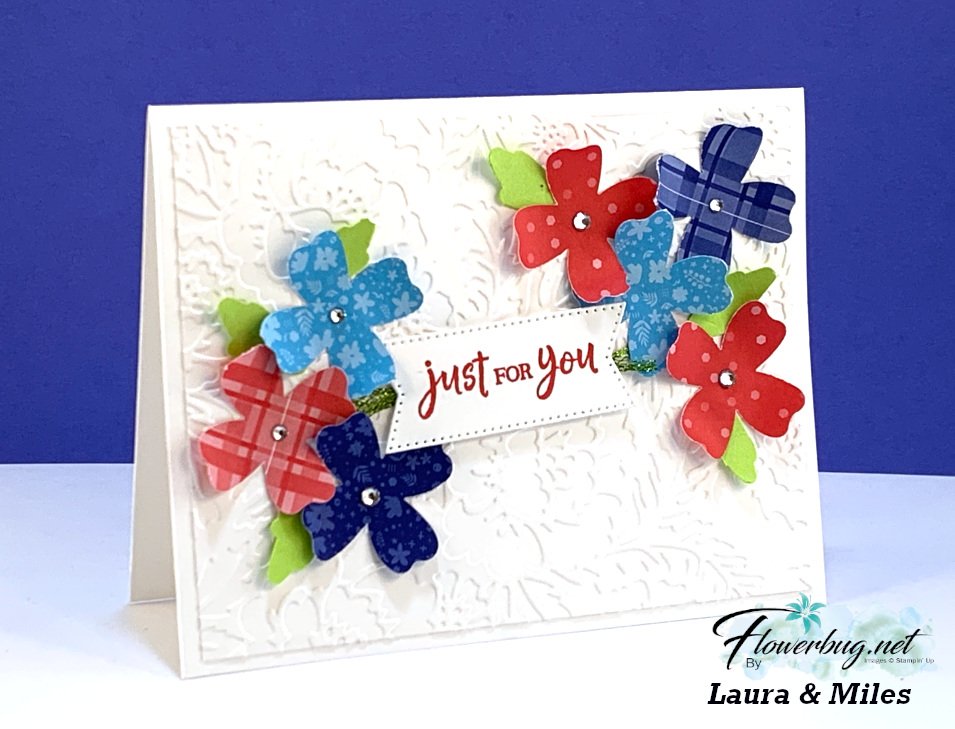
    The last card I'm sharing today was made by Miles & Laura and features the Flowers & Leaves punch and the 6 X 6" In Color designer series paper.  Isn't it fun!?!

    I'll be back with the last set of wonderful swap cards tomorrow! 

    ~~~

    Last Chance List is out!  


    Kits Collection BOGO – buy 1 get 1 50% off!  

    Host codes: Y23VZ9UC

     *click here to order 

    If your order is over $50 you'll receive a set of Solid Faceted Gems from me.

    Earn free products with my loyalty rewards! 

    Click here to download yours and earn a $50 shopping spree! 
    Leave a Reply

    Your email address will not be published. Required fields are marked *


Notice: LeeAnn Greff, Independent Stampin’ Up! Demonstrator, Manager. The content of this website is my sole responsibility as an independent Stampin’ Up! demonstrator and the use of, and content of, the classes, services, or products offered on this website is not endorsed by Stampin’ Up! Copyright 2025