/


Latest Post

Baby Swipe technique with tips & video! Plus retiring lists & colors.


They released the retiring lists from the Annual & Spring catalogs yesterday.  Here are the lists:

Here's the Annual Catalog retiring list: Download 2022-2023 Annual Catalog Last Chance Products_US Landscape

And here is the Spring (January-April) retired list Download January-April 2023 Mini Catalog Last Chance Products_US Landscape

*There is a sale on some of these retiring items but the discounts do not start until April 4th. 

Here's a graphic on which colors are retiring. Go here to shop and get the items you need before they're gone! 
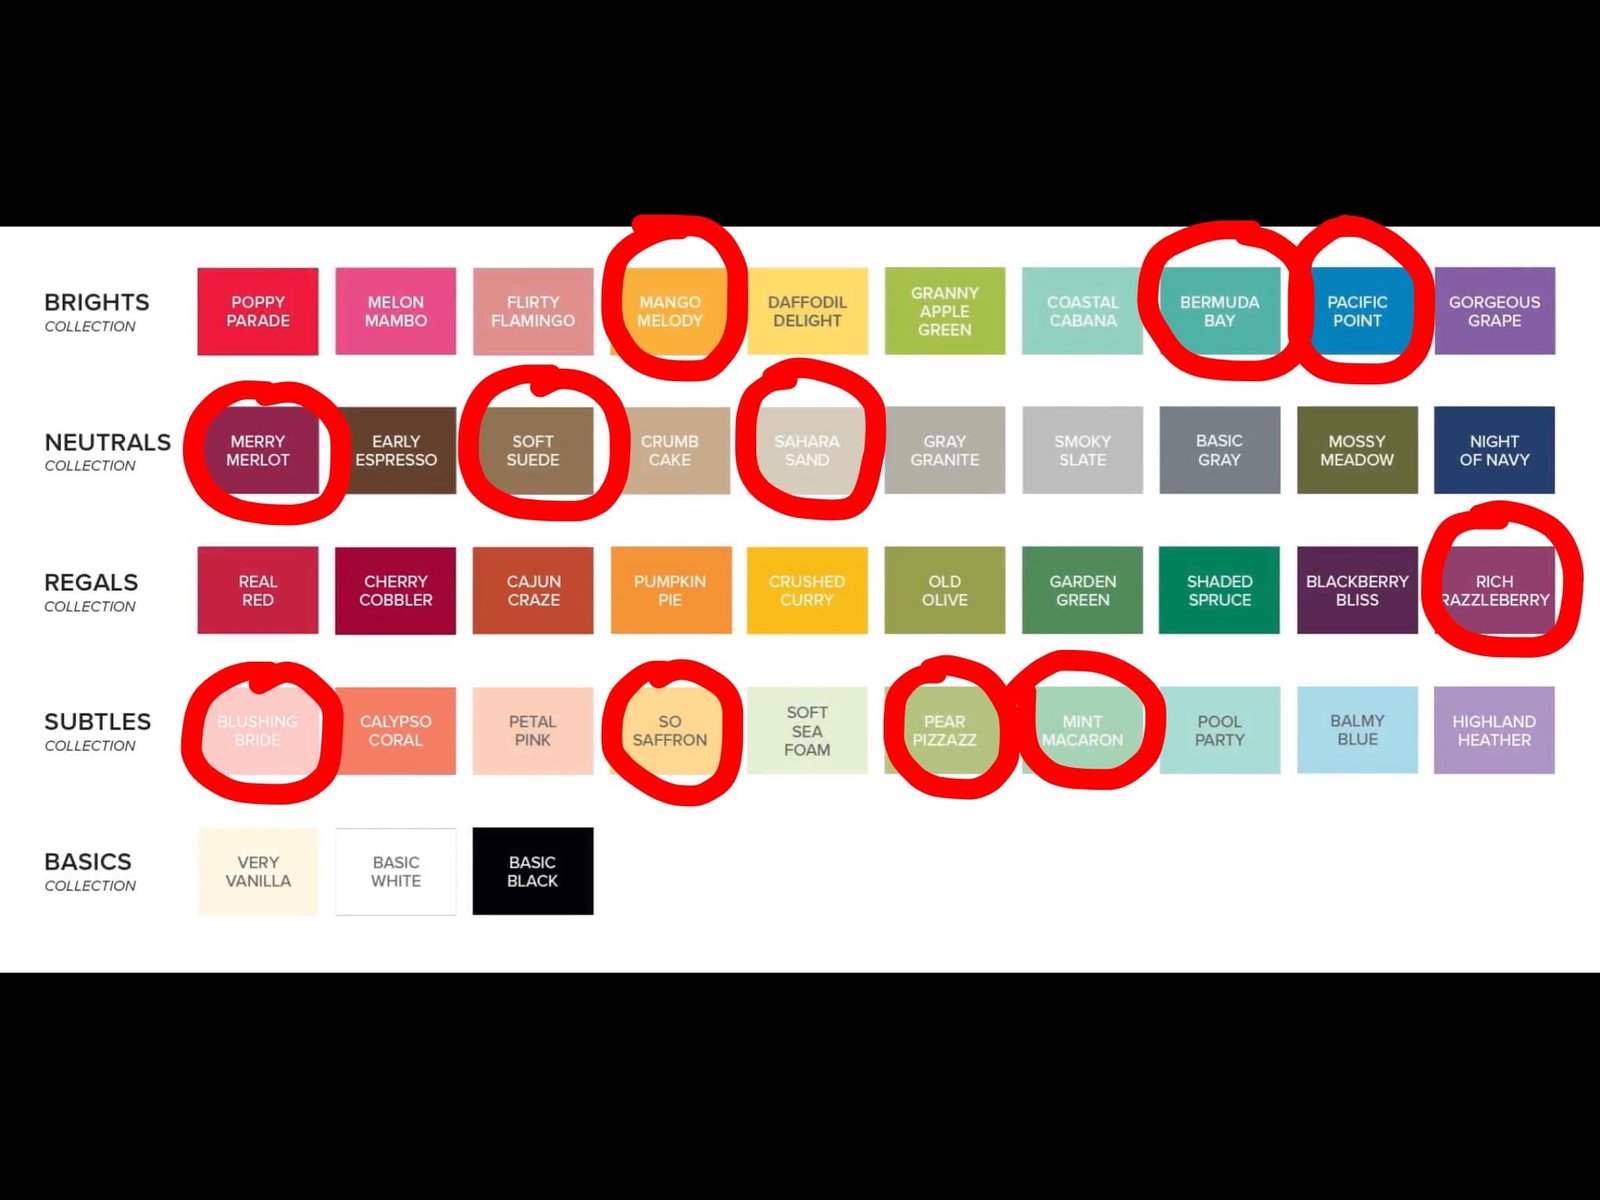
Sad to say good bye to these colors: 
  • Soft Suede 
  • So Saffron
  • Blushing Bride
  • Mint Macaron
  • Pear Pizzazz
  • Pacific Point
  • Mango Melody
  • Rich Razzleberry
  • Bermuda Bay
  • Merry Merlot
  • Sahara Sand

Which are returning?
  • Fresh Freesia!!
  • Misty Moonlight
  • Blueberry Bushel
  • Berry Burst
  • Lemon Lime Twist
  • Lost Lagoon
  • Pretty Peacock

~~~

Have you ever done the baby swipe technique?  It's so fun; playing with baby wipes and ink refills is a bit addictive!  

I made this card for our March Team swap; the theme was to use a technique involving ink refills.  
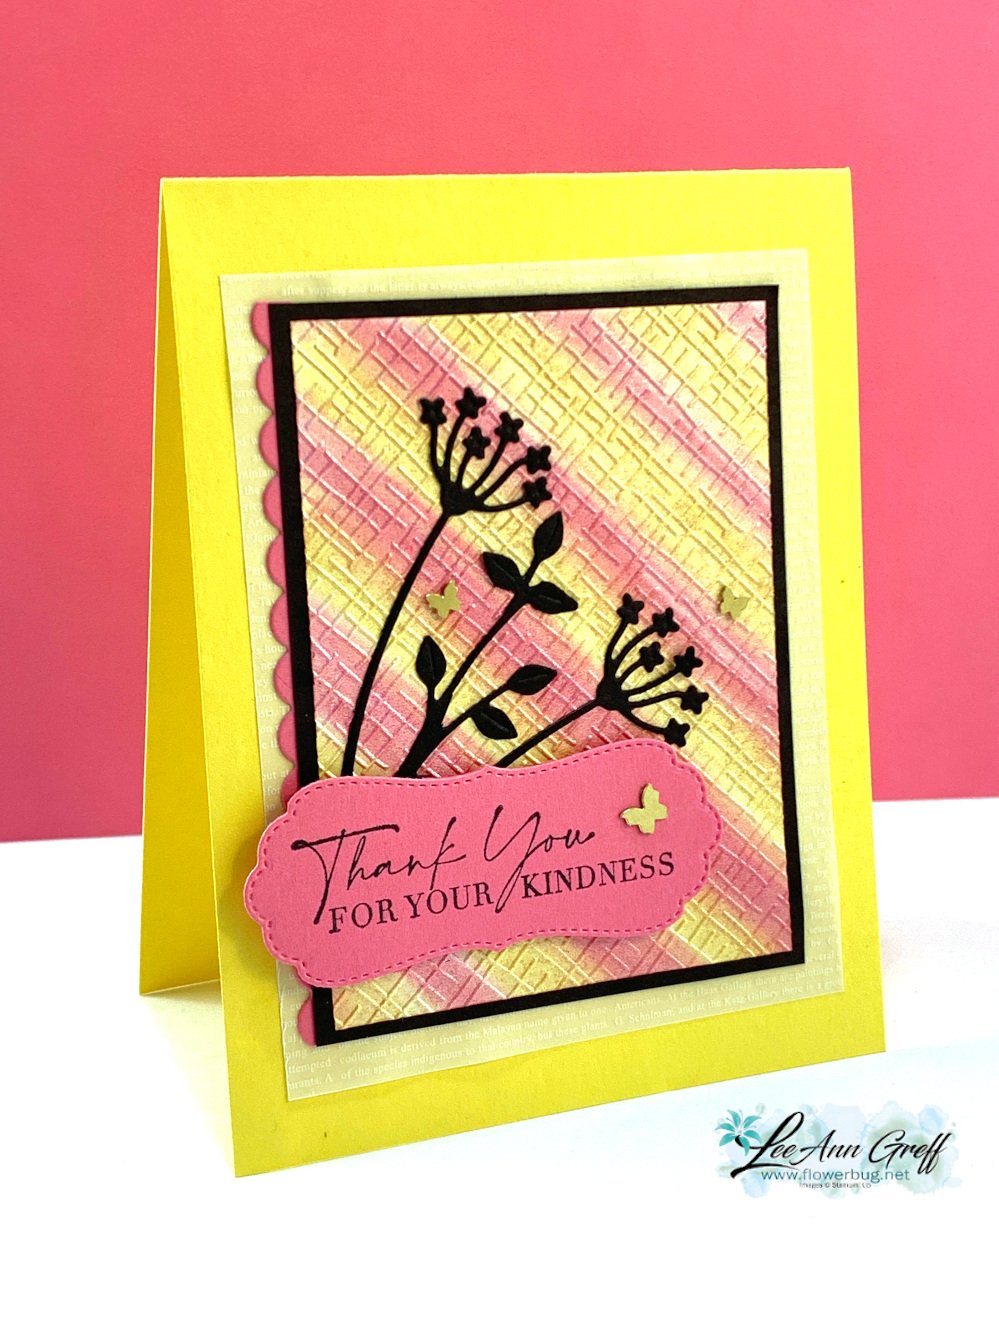
My colors include Daffodil Delight, Polished Pink and Black.  

Other products used:

Can you spot the shimmer?  I used the Pearlescent paper from the Annual Catalog.  See it here. 

It was the perfect sheen for this technique as the moist ink did not absorb quickly like it might for regular card stock. Glossy paper would also work well. 

After I added the color, I let it dry for an hour or so.  Then I textured it with one of the embossing folders in the 3D Basics pack seen here.  These are currently out of stock but they'll be back in May. 

Below you can see the difference in my cards; especially the colors. One is soft and subtle and the other more vibrant.  This happens as you work with your baby wipe; the first few swipes are bold and the next few are much softer. 

Tips for success: 

  • Fold and roll your baby wipe in a tube.  Hold it tightly and add a few drops of ink refills. 
  • Add each color separately in a row.  I tend to add enough for about 1/2" of surface. 
  • Start swiping off your paper and then onto it.  You can do straight swipes or get creative and add curves or swirls. Let dry.
  • Shimmery, pearlescent or glossy works best. But you can do it on regular card stock too. 
  • I suggest you use light to medium colors. 

Notice the colors of the butterflies? I colored the Brass Butterflies with a Polished Pink blends marker for the left card.  I wasn't sure I liked it or not so left them uncolored for my swap cards.  

Watch the video here or click on the image below to see this technique. It's the last technique I share in the video. 

~~~

March Specials:

See the new Online Exclusives here! 

*current host code: QBQB4TBF or BFE4C2KM

See the Jan-Apr 2023 Last Chance list here *sale prices start April 4th 

See the 2022-2023 Annual Catalog Last Chance list here

Get a free class kit with online orders over $55 when using the host code above!

I have three left! *after that you'll receive a pack of 10 handmade cards! 

Earn free products with my loyalty rewards! 

Click here to download yours and earn a $50 shopping spree!

All Posts

  • Beautiful Nature’s Sweetness specialty paper – for gorgeous cards in this kit to go or PDF tutorial


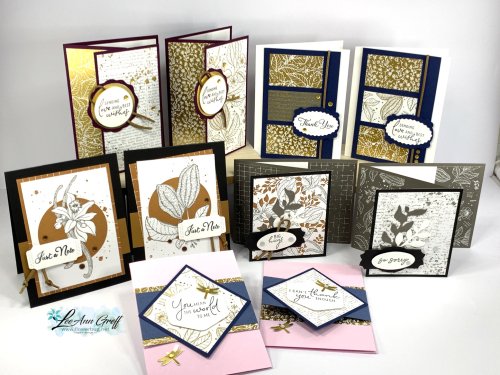
    I chose to feature the stunning Nature's Sweetness specialty paper for one of my April card kits to go.  It's filled with pretty gold foil patterns and botanical prints. As usual the photo does not do them justice! 

    This card kit to go includes the following:

    • 10 pre-cut cards – 2 each of 5 designs including a few fancy fold layouts
    • 1/2 pkg of the Nature's Sweetness specialty designer paper (6" X 12")
    • a share of the faux leather trim
    • a share of neutral sequins
    • the PDF tutorial with photos, measurements, supplies & step by step directions

    You'll receive the PDF tutorial immediately after payment; check your email. The pre-cut kit & products will be sent at the end of April. 

    The cost for the pre-cut kit & products is $29 plus shipping. Click here to see it. 

    See the PDF tutorial here; it's $15 and does not include product. 

    *This is the kit my subscribers will receive in April.  If you're interested in getting a pre-cut kit each month with $20 in product  Click here to opt in. You can cancel or opt out at any time. It's $28 plus shipping. 


    *This kit does not include stamped images.  You'll need assorted greeting images and a few inks to complete the cards.

    You'll use a paper trimmer to cut your new designer paper using the measurements in the tutorial. Everything else is pre-cut for you. 

    Check out the other card kits available here and save on shipping if you order more than one. I'll share my other new card kit in tomorrow's post.

    ~~~

    April Specials: 

    *current host code link:  TQWBXR4T

    ~~~

    A free gift with orders in April:

    All online orders in April will receive a free multi-project tutorial!

    Leave a Reply

    Your email address will not be published. Required fields are marked *

  • More Cutest Cow projects by our Artist of the Month!


    Wait until you see the rest of Deloris's projects with the Cutest Cow bundle! 

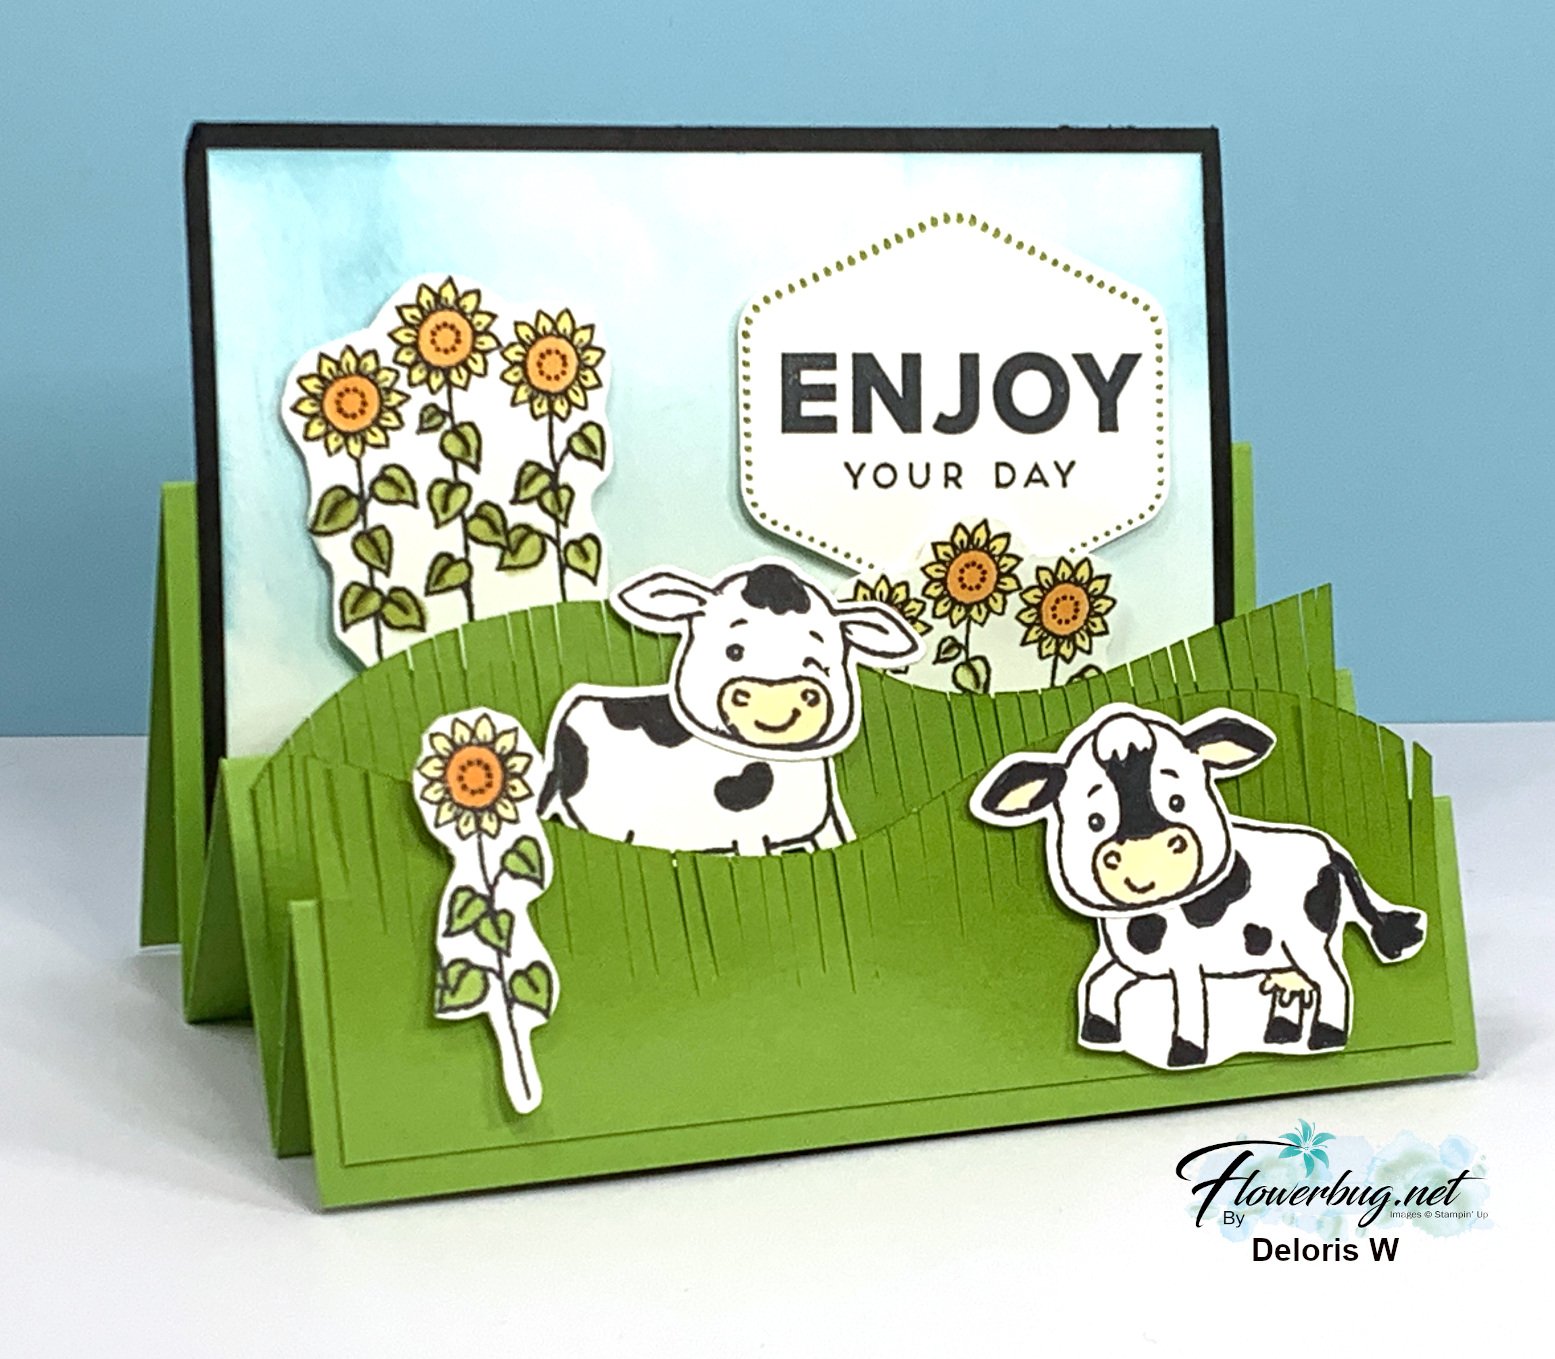
    This first card is a fun scene in an accordion style or 'stepper card' that she cased from Queen Bee Creations. 

    She used Granny Apple Green with Black & White. She added a sky background using blending brushes. She fussy cut her grass. The greeting is punched with the Heartfelt Hexagon punch. 

    Measurements:

    • Card base 5 1/2" X 11" scored at 2 1/2", 5", 6 3/4", 8 1/2" & 9 3/4"
    • Grass layers are 5 1/4" wide and approximately 2" & 1 5/8" high
    • White sponged layer 5" X 3 3/4"
    • Black is 5 1/4" X 4" 

    Next is a fun play on a 'purple cow'. Have you ever had that drink?  Ice cream added to grape soda – yum!

    How cute is this!?  Her colors include Highland Heather, Gorgeous Grape, Black & White. The die-cuts are from the wonderful & popular Nested Essentials dies seen here. 

    And lastly a scene directly from the farm! Deloris used to have milk cows on her farm so she knows cows!   

    Her colors include Blueberry Bushel, Crushed Curry, Old Olive, Black & White. The designer paper is from the Glorious Gingham pack seen here. The Banner greeting die is also from the Nested Essentials dies. 

    Thank you Deloris for sharing your incredible projects with us!  


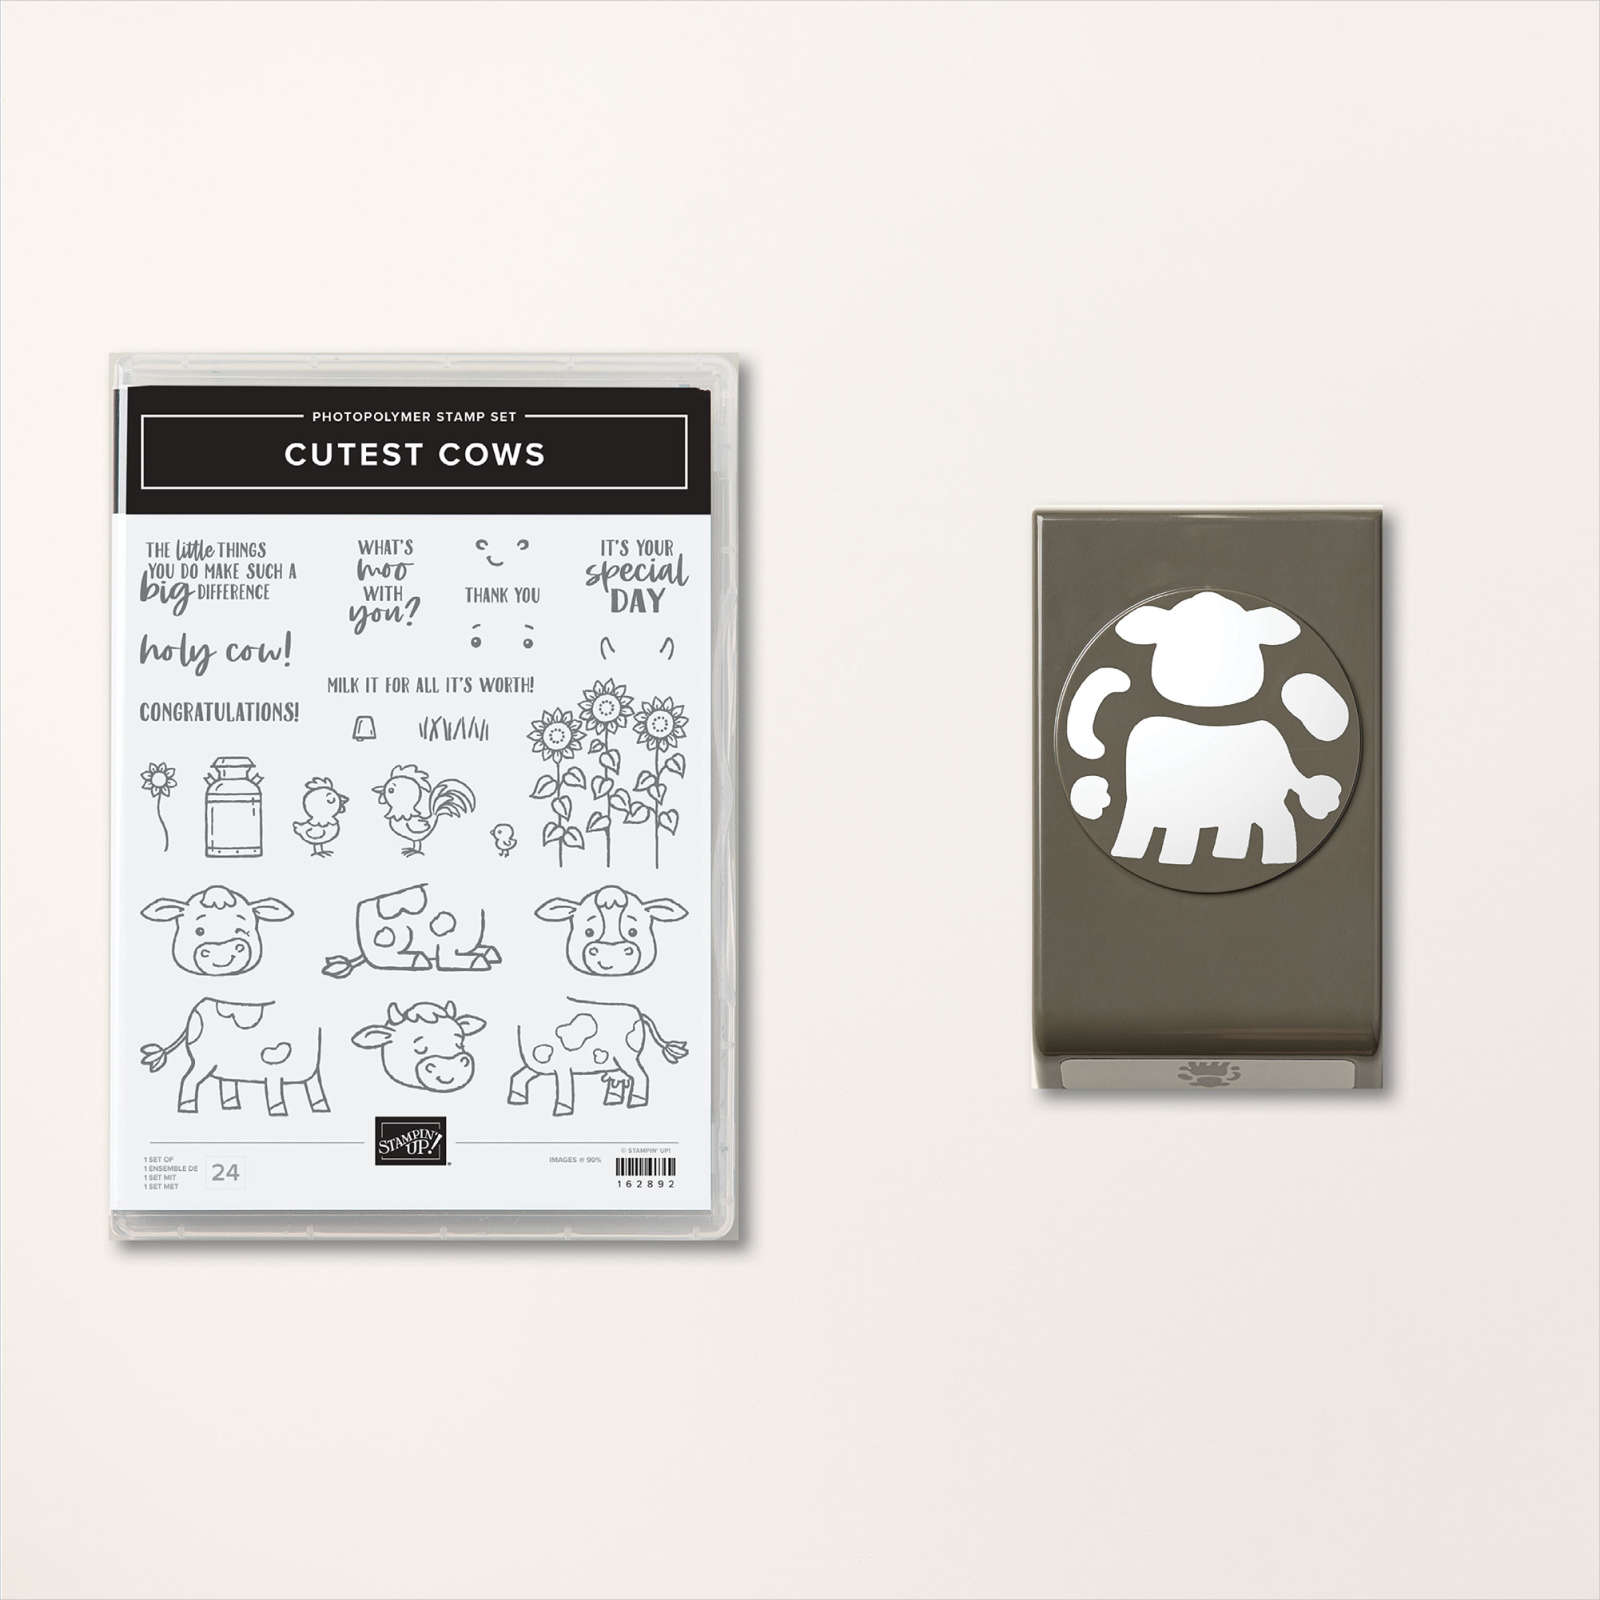
    As you can see with her adorable projects, the Cutest Cow bundle is super cute & fun to create with!  The stamp set & punch will be sold in the new Annual Catalog coming out in May. It will not be available in a bundle at 10% off though; the items will be sold separately. 

    ~~~

    March Specials: 

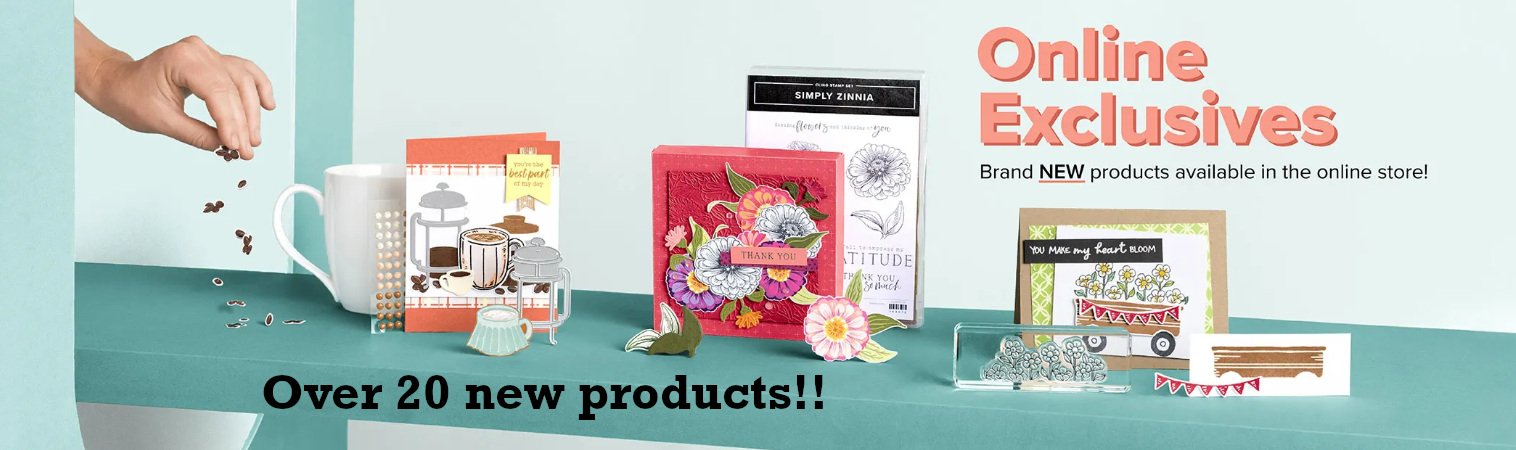
    See over 20 brand new Online Exclusive products here!

    *current host code links:   ZDUGF6KY or TQWBXR4T

    ~~~

    Get a free package of Rainbow Dots

    with online orders over $55 in March

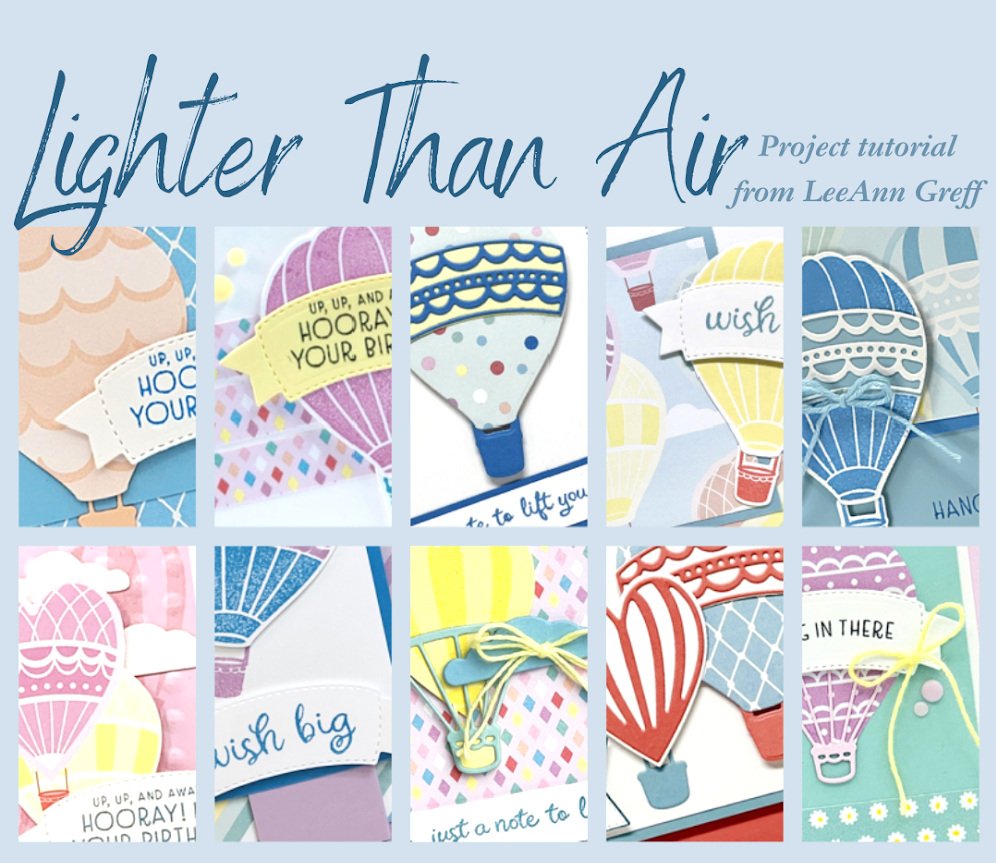
    All online orders in March will receive this free Hot Air Balloon tutorial with 8 projects!

    Leave a Reply

    Your email address will not be published. Required fields are marked *

  • Amazing Artist of the Month projects with the Cutest Cow bundle!


    Deloris chose to feature the Cutest Cow bundle for her Artist of the Month projects. She did an incredible job showcasing this cute bundle! 

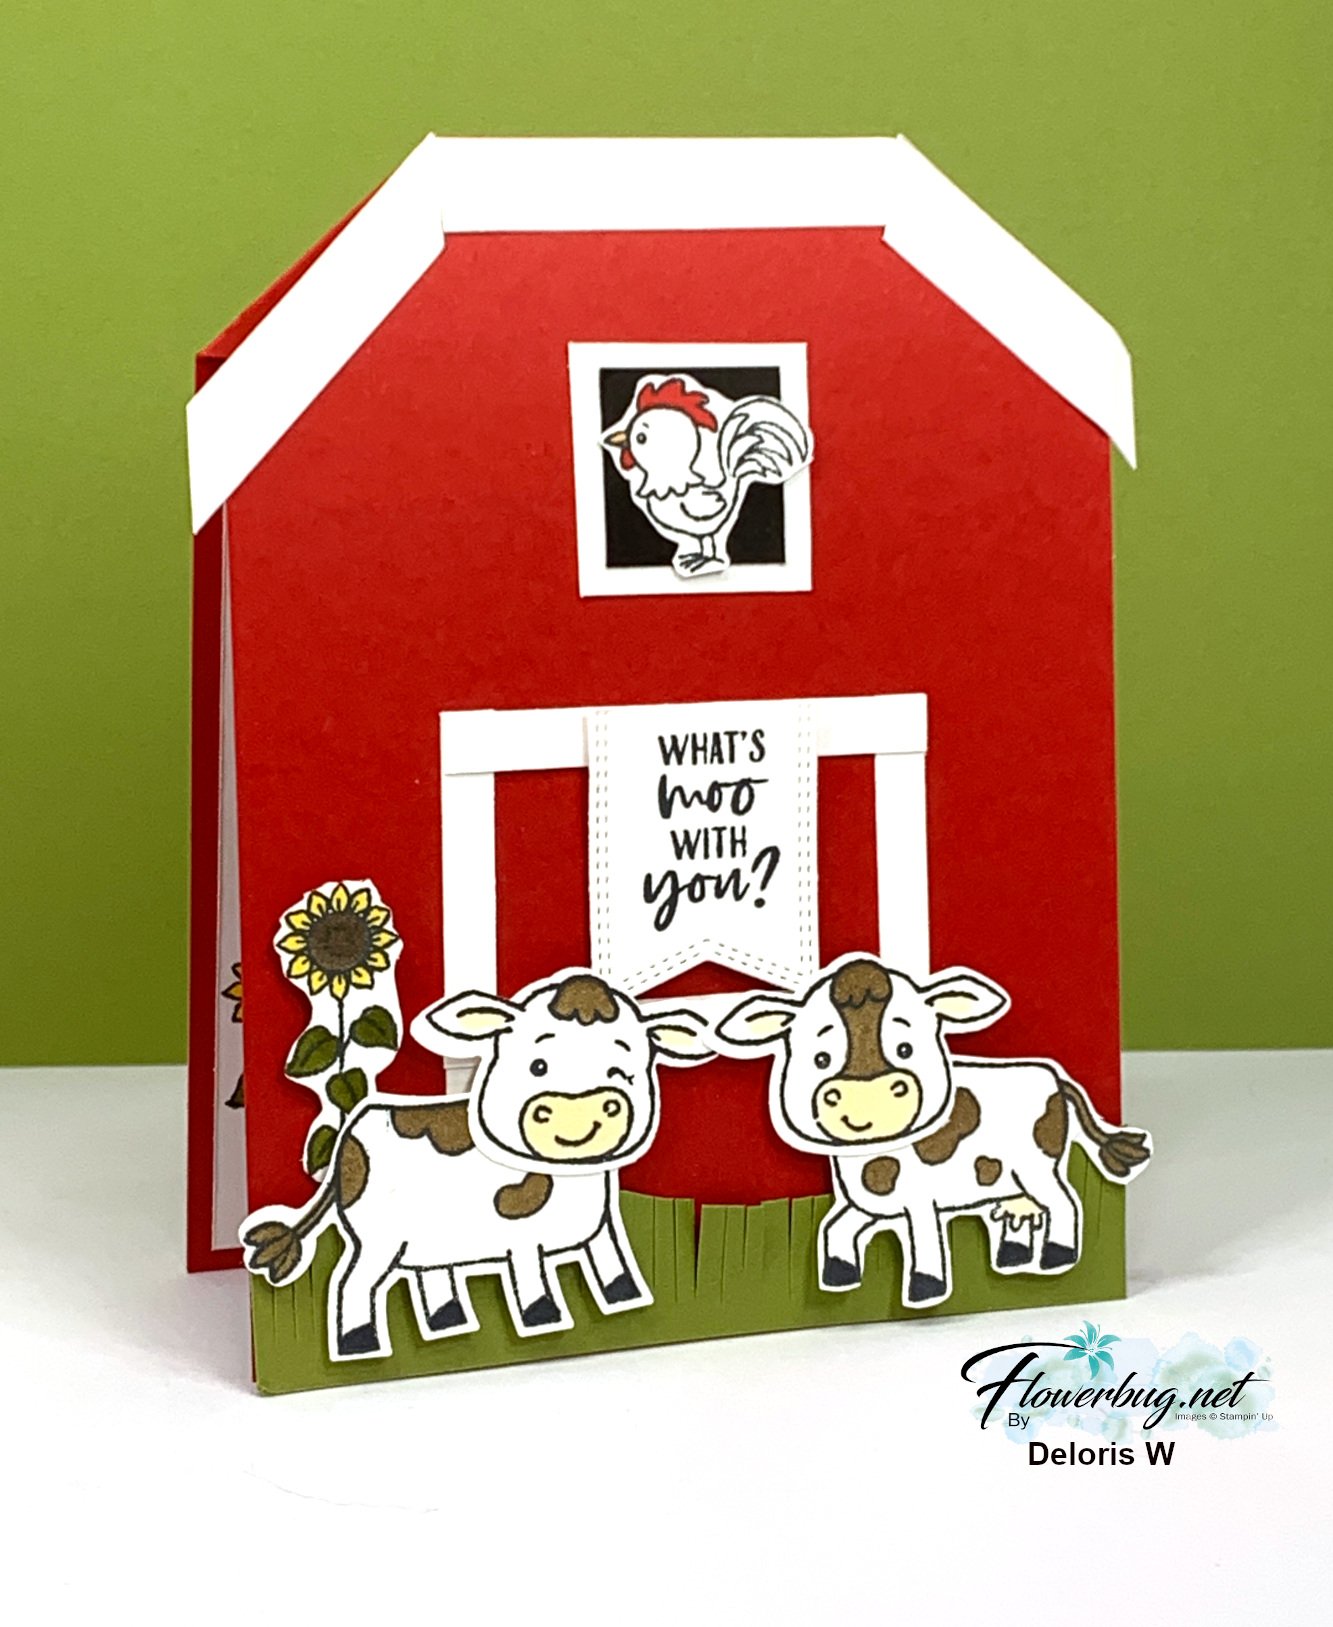
    First is an adorable 'barn' card. Who wouldn't love to receive this fun card? 

    Isn't that the best way to feature these cows!?  She cased Queen Bee Creations for this idea. I love the rooster in the window! 

    Measurements: 

    • Red card base 4 1/4" X 11" score at 5 1/2". Make a mark 1" inside the fold and 1" above & below the fold line on the edge. Score. 
    • White inside 4" X 5 1/4" – trim off upper corners to fit the fold
    • White strips to form the barn roof are 3/8" and the door are 1/4". 
    • Old Olive grass she cut into a wave shape and used her scissors to create grass

    Here's the inside view: 

    Next is a sunrise 'Rocker' card using Old Olive & Daffodil Delight. 

    The Deckled Circles are a must for these cards! See them here in our Online Store. 

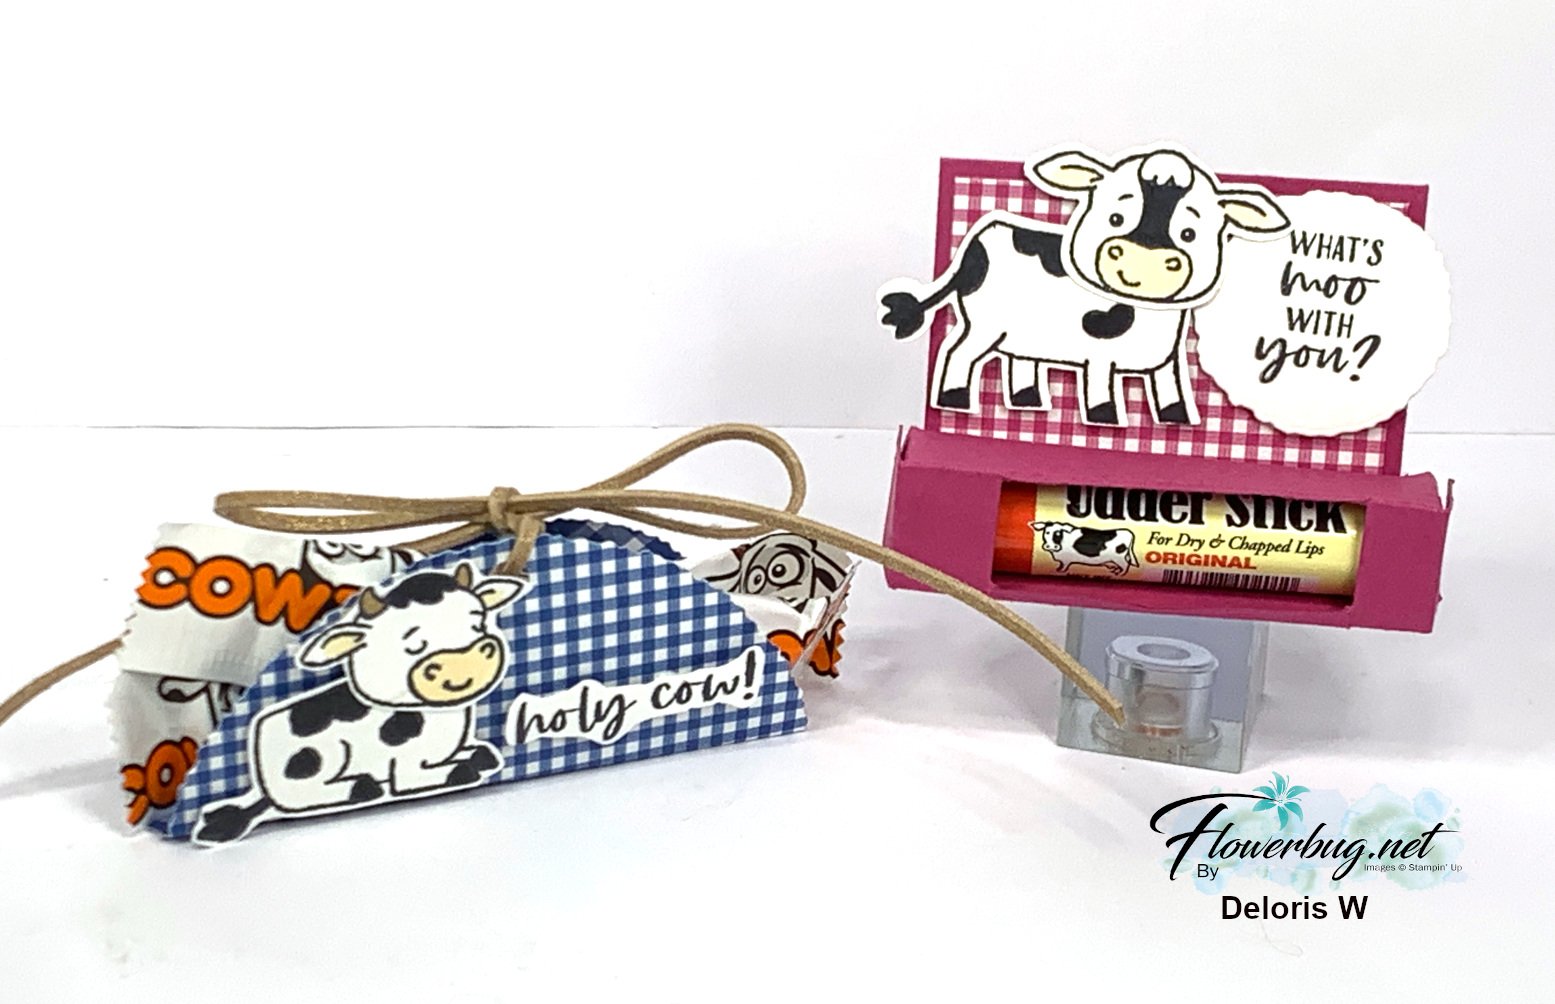
    Here are her fun 3d projects: 

    For the cow tail candy wrap she used our Blueberry Bushel Glorious Gingham DSP cut with a Deckled circle die. She simply added a few score lines to the middle so it would stand up.

    The Udder Stick (chapstick) holder was cased from Cards by TLC and features Berry Burst Glorious Gingham DSP. 

    I'll share more of her cute projects tomorrow!

    As you can see with her projects, the Cutest Cow bundle is super cute!  The stamp set & punch will be sold in the new Annual Catalog coming out in May. It will not be available in a bundle at 10% off though; the items will be sold separately. 

    ~~~

    March Specials: 

    See over 20 brand new Online Exclusive products here!

    *current host code links:   ZDUGF6KY or TQWBXR4T

    ~~~

    Get a free package of Rainbow Dots

    with online orders over $55 in March

    All online orders in March will receive this free Hot Air Balloon tutorial with 8 projects!

    Leave a Reply

    Your email address will not be published. Required fields are marked *


Notice: LeeAnn Greff, Independent Stampin’ Up! Demonstrator, Manager. The content of this website is my sole responsibility as an independent Stampin’ Up! demonstrator and the use of, and content of, the classes, services, or products offered on this website is not endorsed by Stampin’ Up! Copyright 2025