/


Latest Post

Blessings of Home & Flowers of Home dies projects


Look at this pretty card I made on last week's Facebook Live. 
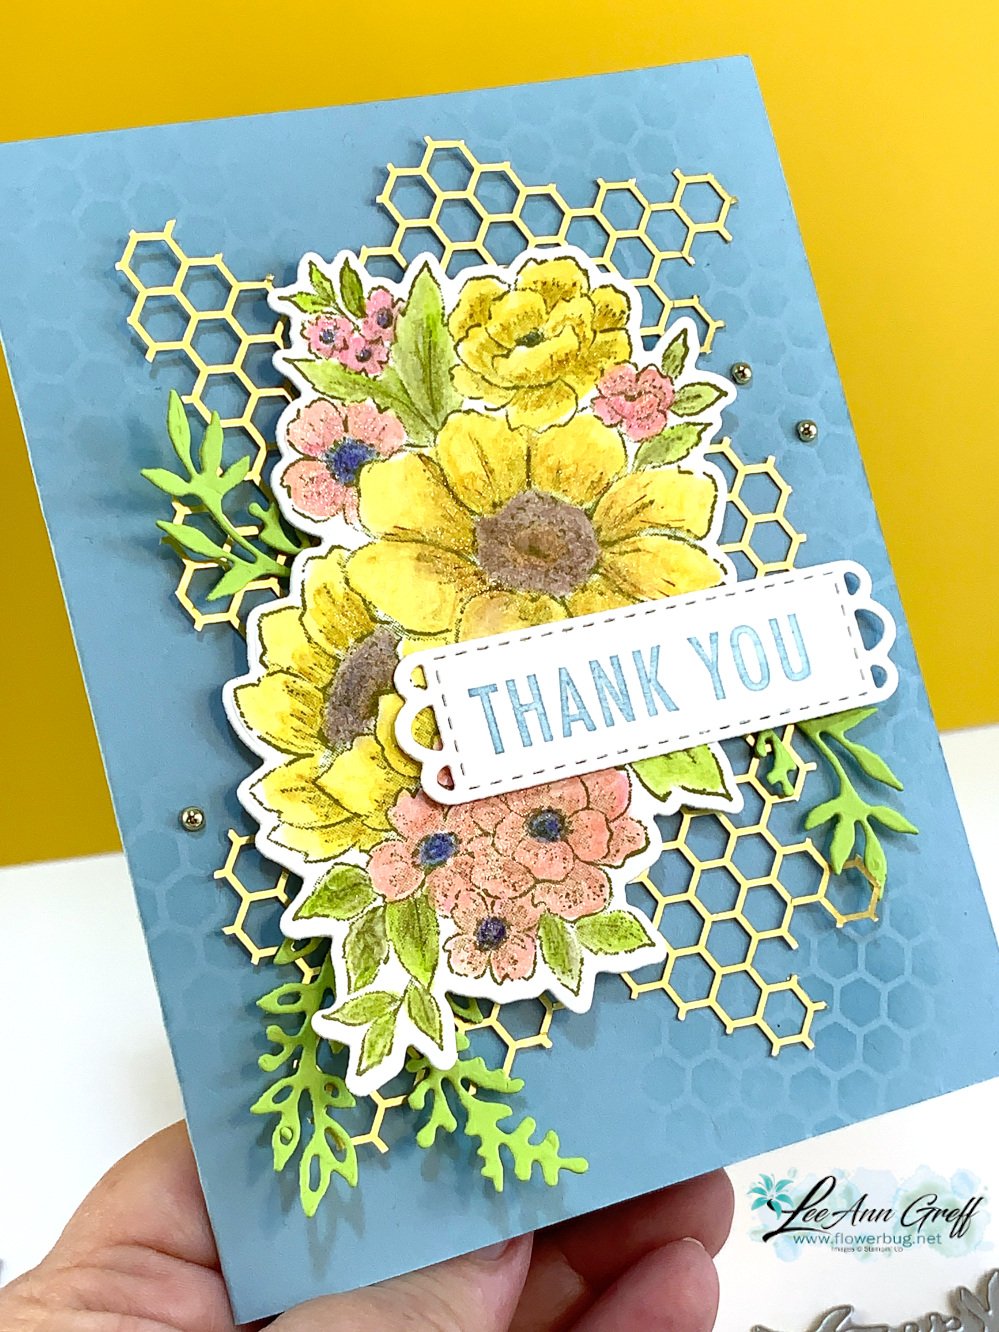
Lots of pretty details on this card:

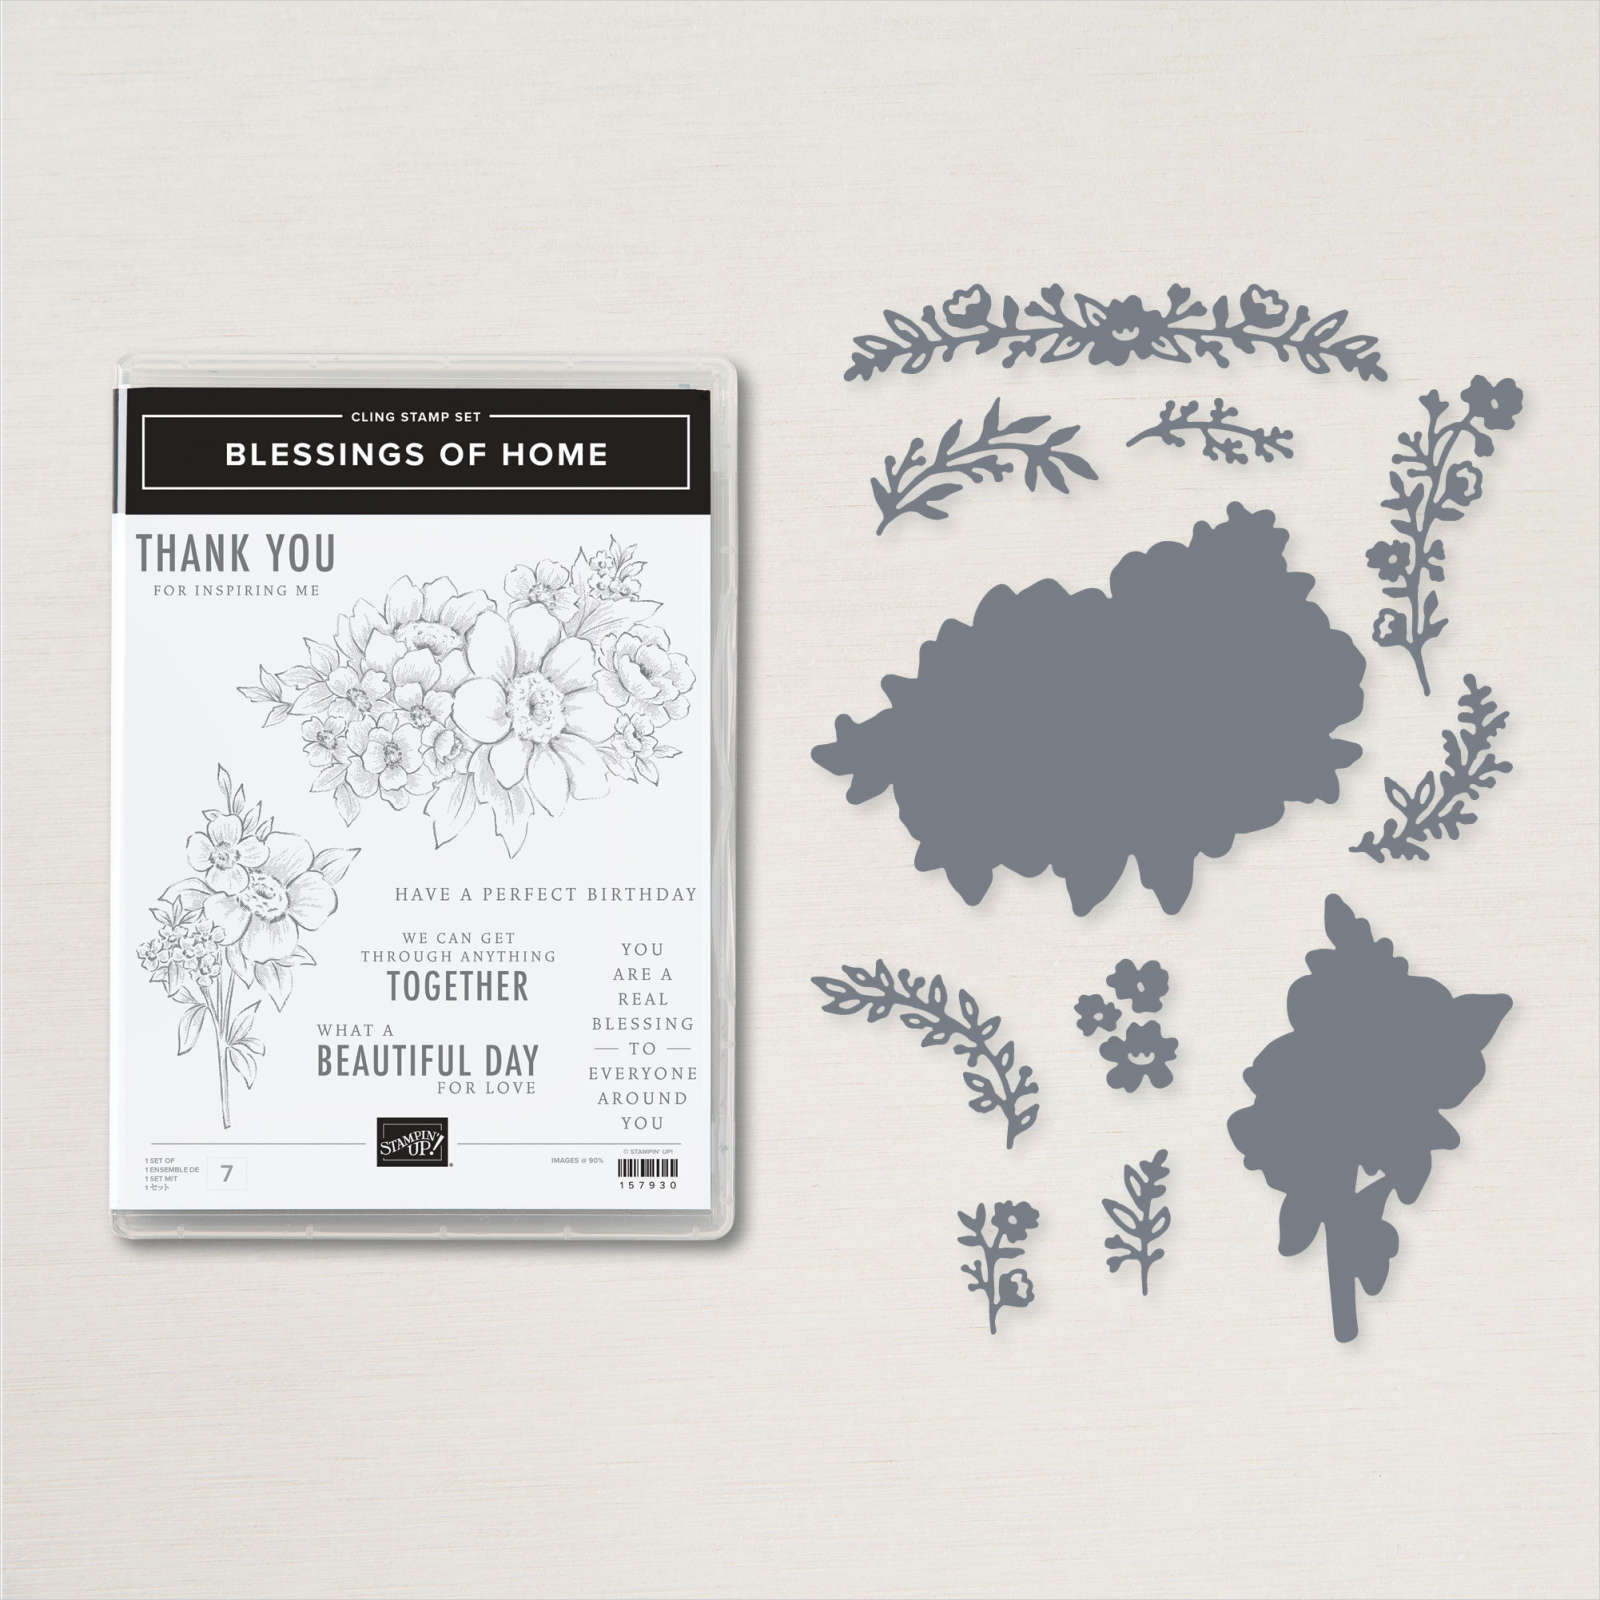
  • Blessings of Home stamp set & Flowers of Home dies for the leaves
  • I used watercolor pencils & blender pen to color the floral image
  • the gold honeycomb sheet is from the Sweet Sunflower Paper Pumpkin kit; it was a free gift add on
  • I used the gold honeycomb sheet to add a pretty, blended background using Balmy Blue ink & a Blending Brush

The Flowers of Home dies are in the 2022-23 Annual Catalog but also available free with a $100 Stampin' Up! order during Sale-a-Bration.  See them here. This option ends on Wednesday, August 30th.  See all of the Sale-a-Bration options here. 

The stamp set & dies are available in a bundle too.
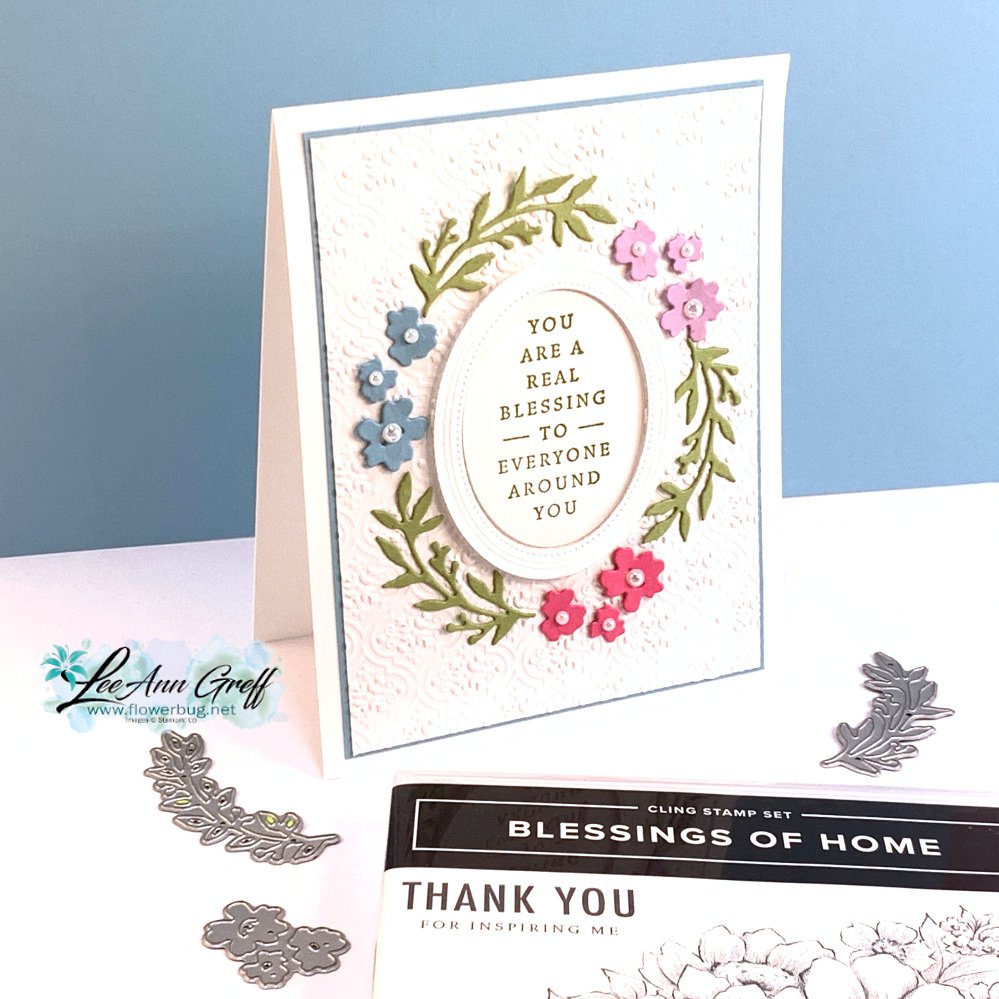
I made a second card using mostly the Flowers of Home dies.

I cased the card from Sue Mohr; I thought it was simply elegant way to create a 'wreath' around the oval sentiment.  

The oval dies are from the Fabulous Frames dies seen here.  When you cut out the oval it creates both the frame and the inside; two pieces with one die! 

I textured the White layer with the Quatrefoil embossing folder seen here.  It's so pretty and works perfectly with these flower & leaves die-cuts.  

The colors I used are Balmy Blue, Pear Pizzazz, Polished Pink and Fresh Freesia.  

Tip; when adding these delicate die-cuts use just a tiny but of Multipurpose Liquid glue.  
Remember that these Flowers of Home dies are free with any $100 order through Wednesday, August 31st.  Sale-a-Bration ends that day. 

Click on the photo below to watch the video to see how I made both of these cards & one more too! 

~~~

August Specials

Get free items here in August during Sale-a-Bration! 

Host code: E22FXSSB


Get these pretty gems free! *click here to order 

Earn free products with my loyalty rewards! 

Click here to download yours and earn a $50 shopping spree!

All Posts

  • A gorgeous scene made with Wooded Acres; on the Last Chance List


    I was playing around with the Wooded Acres stamp set and made a pretty scene by adding a blended background. 

    You may know I love creating pretty scenes with my stamps, ink and blending brushes. 

    Here are the steps:

    1. I stamped this image on a long post-it note and fussy cut the area above the ground off.  I stamped it on my White CS and then added the post-it note to mask the sky. 
    2. Now I added Garden Green ink with a Blending Brush for grass. 
    3. I removed the post it and replaced it with the other half to sponge the sky. I used Timid Tiger, Calypso Coral and Balmy Blue. 
    4. I layered it with Black and White card stock. 
    5. I then stamped the same image on the Balmy Blue card base to extend the trees.  

    What do you think?  

    This stamp set is now on sale on the Last Chance List. You can see the stamp set here. 

    If you'd like to get tips on blending a smooth sky please watch this video. 

    ~~~

    July Specials:

    New Online Exclusives are here!  

    ~~~

    Last Chance List has been updated!  see it all here. Don't miss out on the deals!

    ~~~

    Get my Turtle-y Cute PDF tutorial free with any online order in July!

    Leave a Reply

    Your email address will not be published. Required fields are marked *

  • Double Flap fun fold with free project sheet & video tutorial


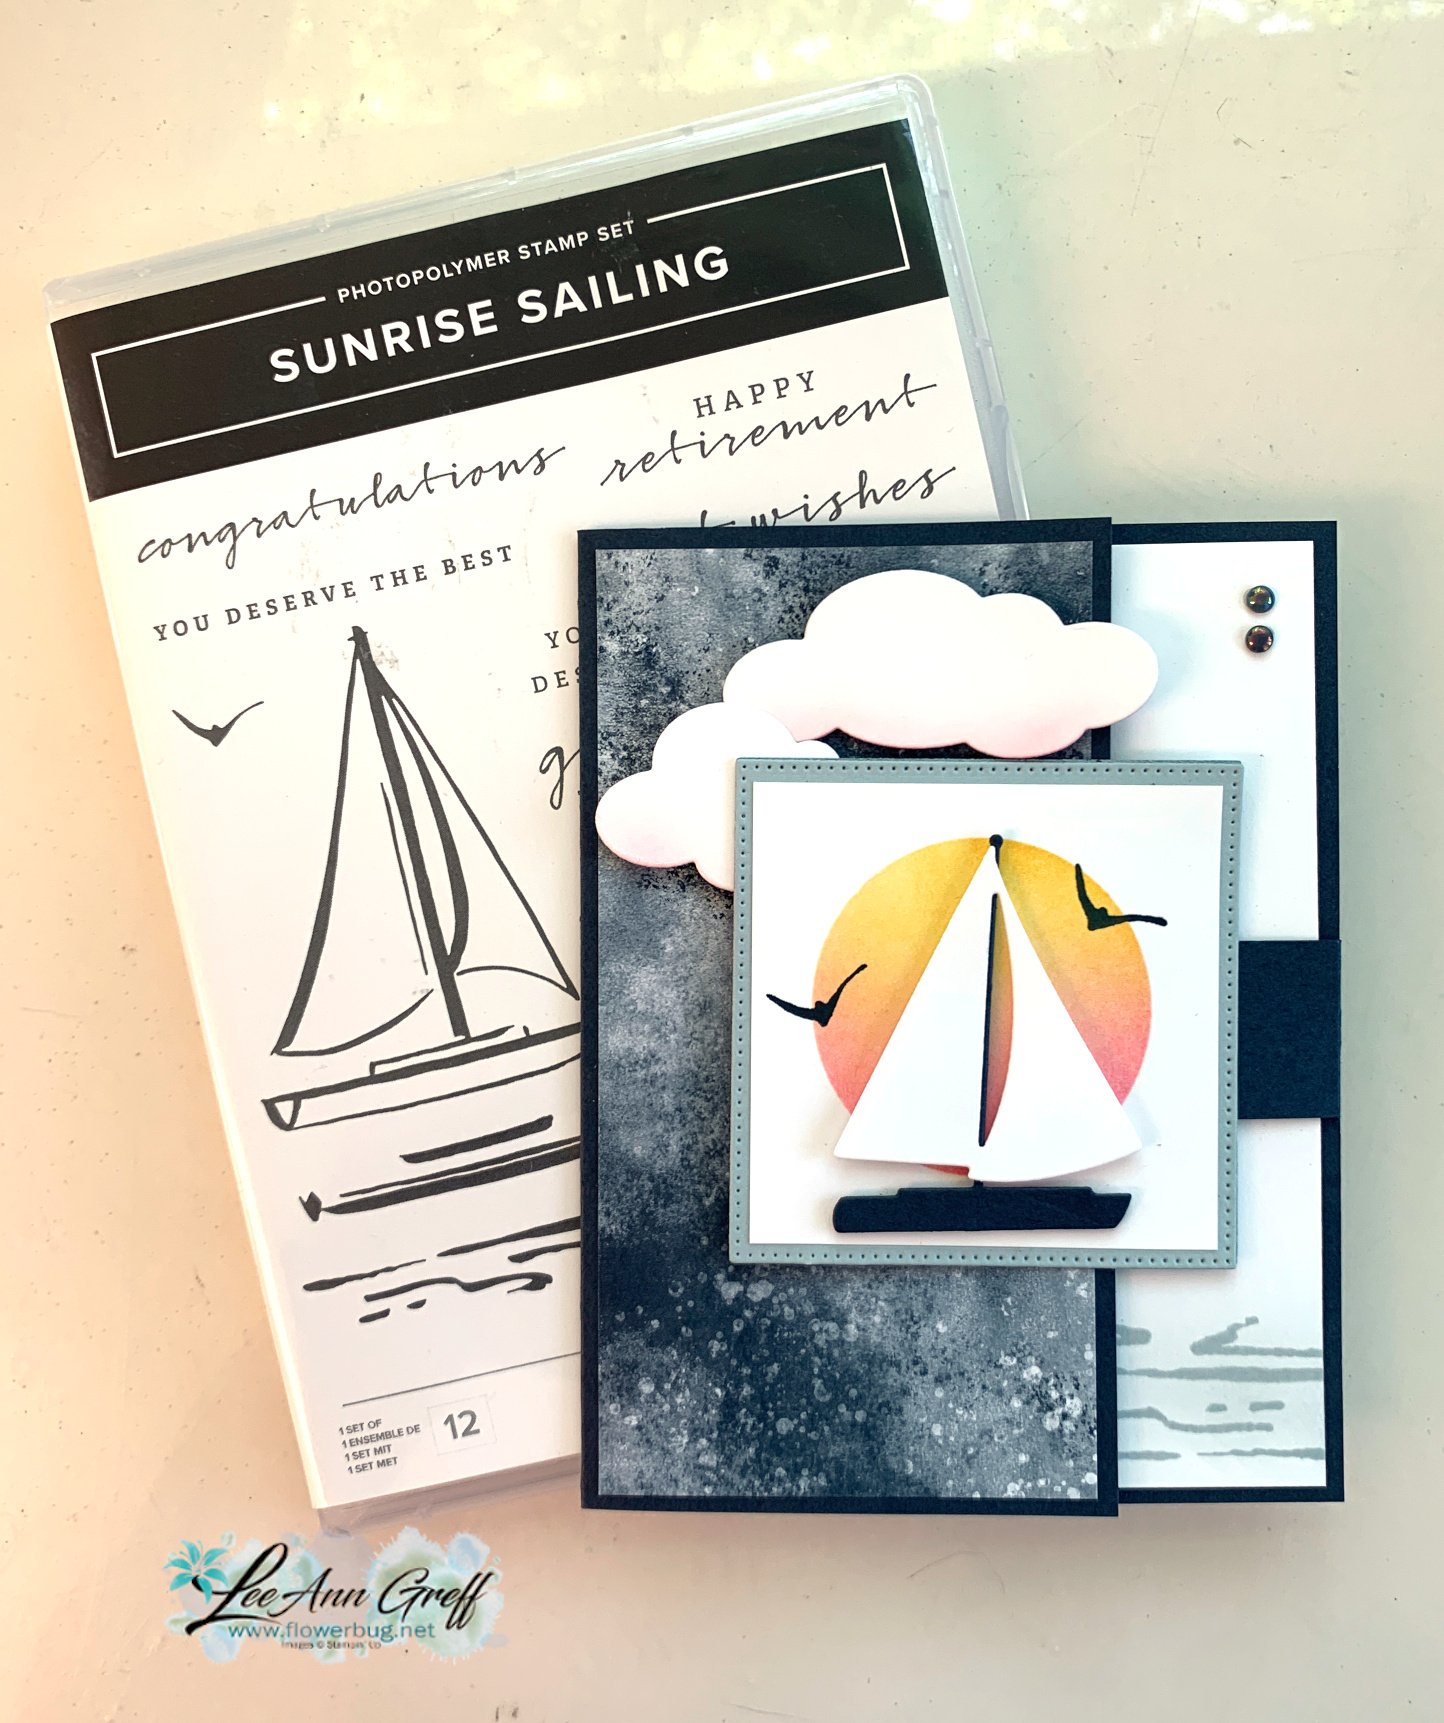
    Today I'm sharing the second card I made on last week's video.  It's a double flap fold card featuring the Sunrise Sailing bundle.

    The colors include Cloud Cover, Secret Sea, Strawberry Slush and Daffodil Delight.  

    I created a mask for the sun with a 1 7/8" circle punched from a post-it note. I used blending brushes & Strawberry Slush and Daffodil Delight inks. I also added just a hint of Strawberry Slush ink on the bottom of the cloud die-cuts. 

    The Designer Paper is our new 6 X 6" In Color designer paper seen here.  

    I showcased the Sunrise Sailing bundle seen here.  I love the stamp images AND the dies in this bundle.  They're wonderful and really spark creativity. There are THREE different size sailboats in the dies!  

    As you can see in the sample in the photo below you can make a card with just the embossing folder! 

    You can see in the photo below how the front square flap lifts to the right to reveal a peek at the inside. I added the cloud to the back of this square and placed it so it could 'latch' on the larger cloud to hold the card closed.   

    I create a free project sheet for this card. I also share it on the same day as my video on my Flowerbug's Stamp & Share FB group here .       Download Sunrise Sailing Latch card

    You can see the card fully opened below.  I love this easy but fun card fold.


    You'll find the video tutorial for this card and another Sailing card below. Don't forget to subscribe to my YouTube channel while you're watching!  

    I'll share another card with this bundle on Wednesday. 

    ~~~

    July Specials:

    New Online Exclusives are here!  

    ~~~

    Last Chance List has been updated!  see it all here. Don't miss out on the deals!

    ~~~

    Get my Turtle-y Cute PDF tutorial free with any online order in July!


    Leave a Reply

    Your email address will not be published. Required fields are marked *

  • July Specials include new Online Exclusives & 2 new kits


    July Specials include the following:

    Lots of New Online Exclusives are here!  

    The photo above show the three new suites. There are so many more new products including designer paper, lots of amazing stamps & die bundles plus embellishments too.

    Check it all out here.

    ~~~

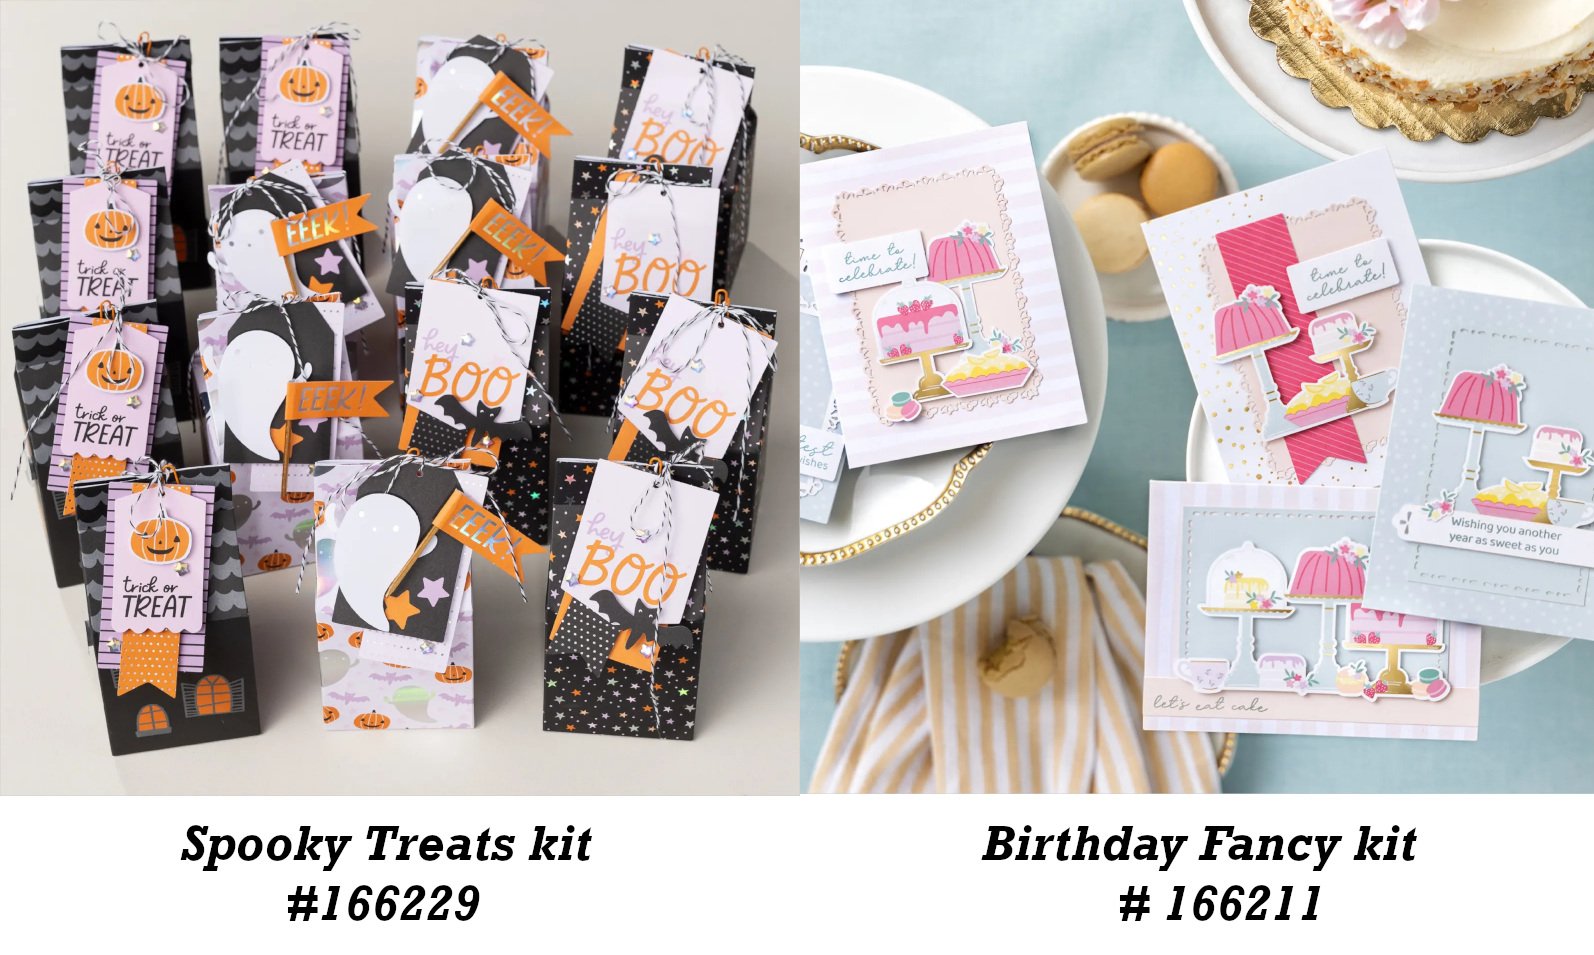
    Two brand new kits are available!

    *There are 15 treat boxes & 10 cards in these two fun kits!

    ~~~

    Get my Turtle-y Cute PDF tutorial free with any online order in July!

    ~~~

    Last Chance List has been updated!  see it all here. 

    Leave a Reply

    Your email address will not be published. Required fields are marked *


Notice: LeeAnn Greff, Independent Stampin’ Up! Demonstrator, Manager. The content of this website is my sole responsibility as an independent Stampin’ Up! demonstrator and the use of, and content of, the classes, services, or products offered on this website is not endorsed by Stampin’ Up! Copyright 2025