/


Latest Post

Blessings of Home & Flowers of Home dies projects


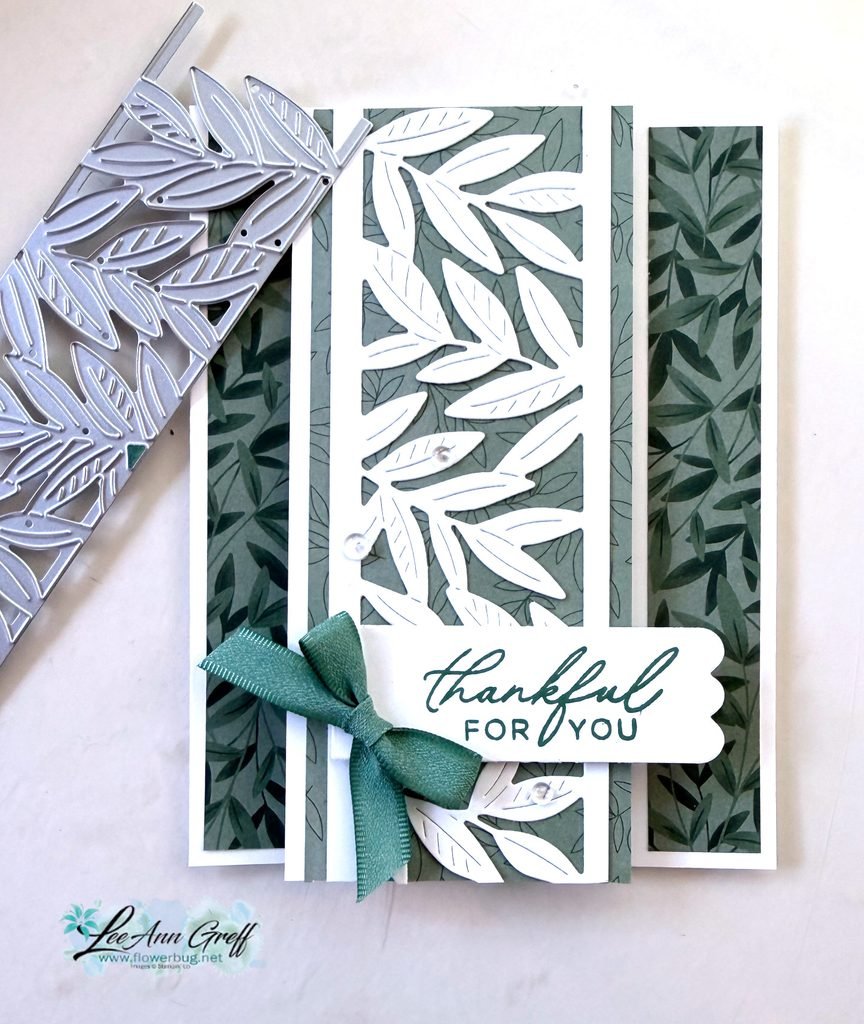
Look at this pretty card I made on last week's Facebook Live. 

Lots of pretty details on this card:

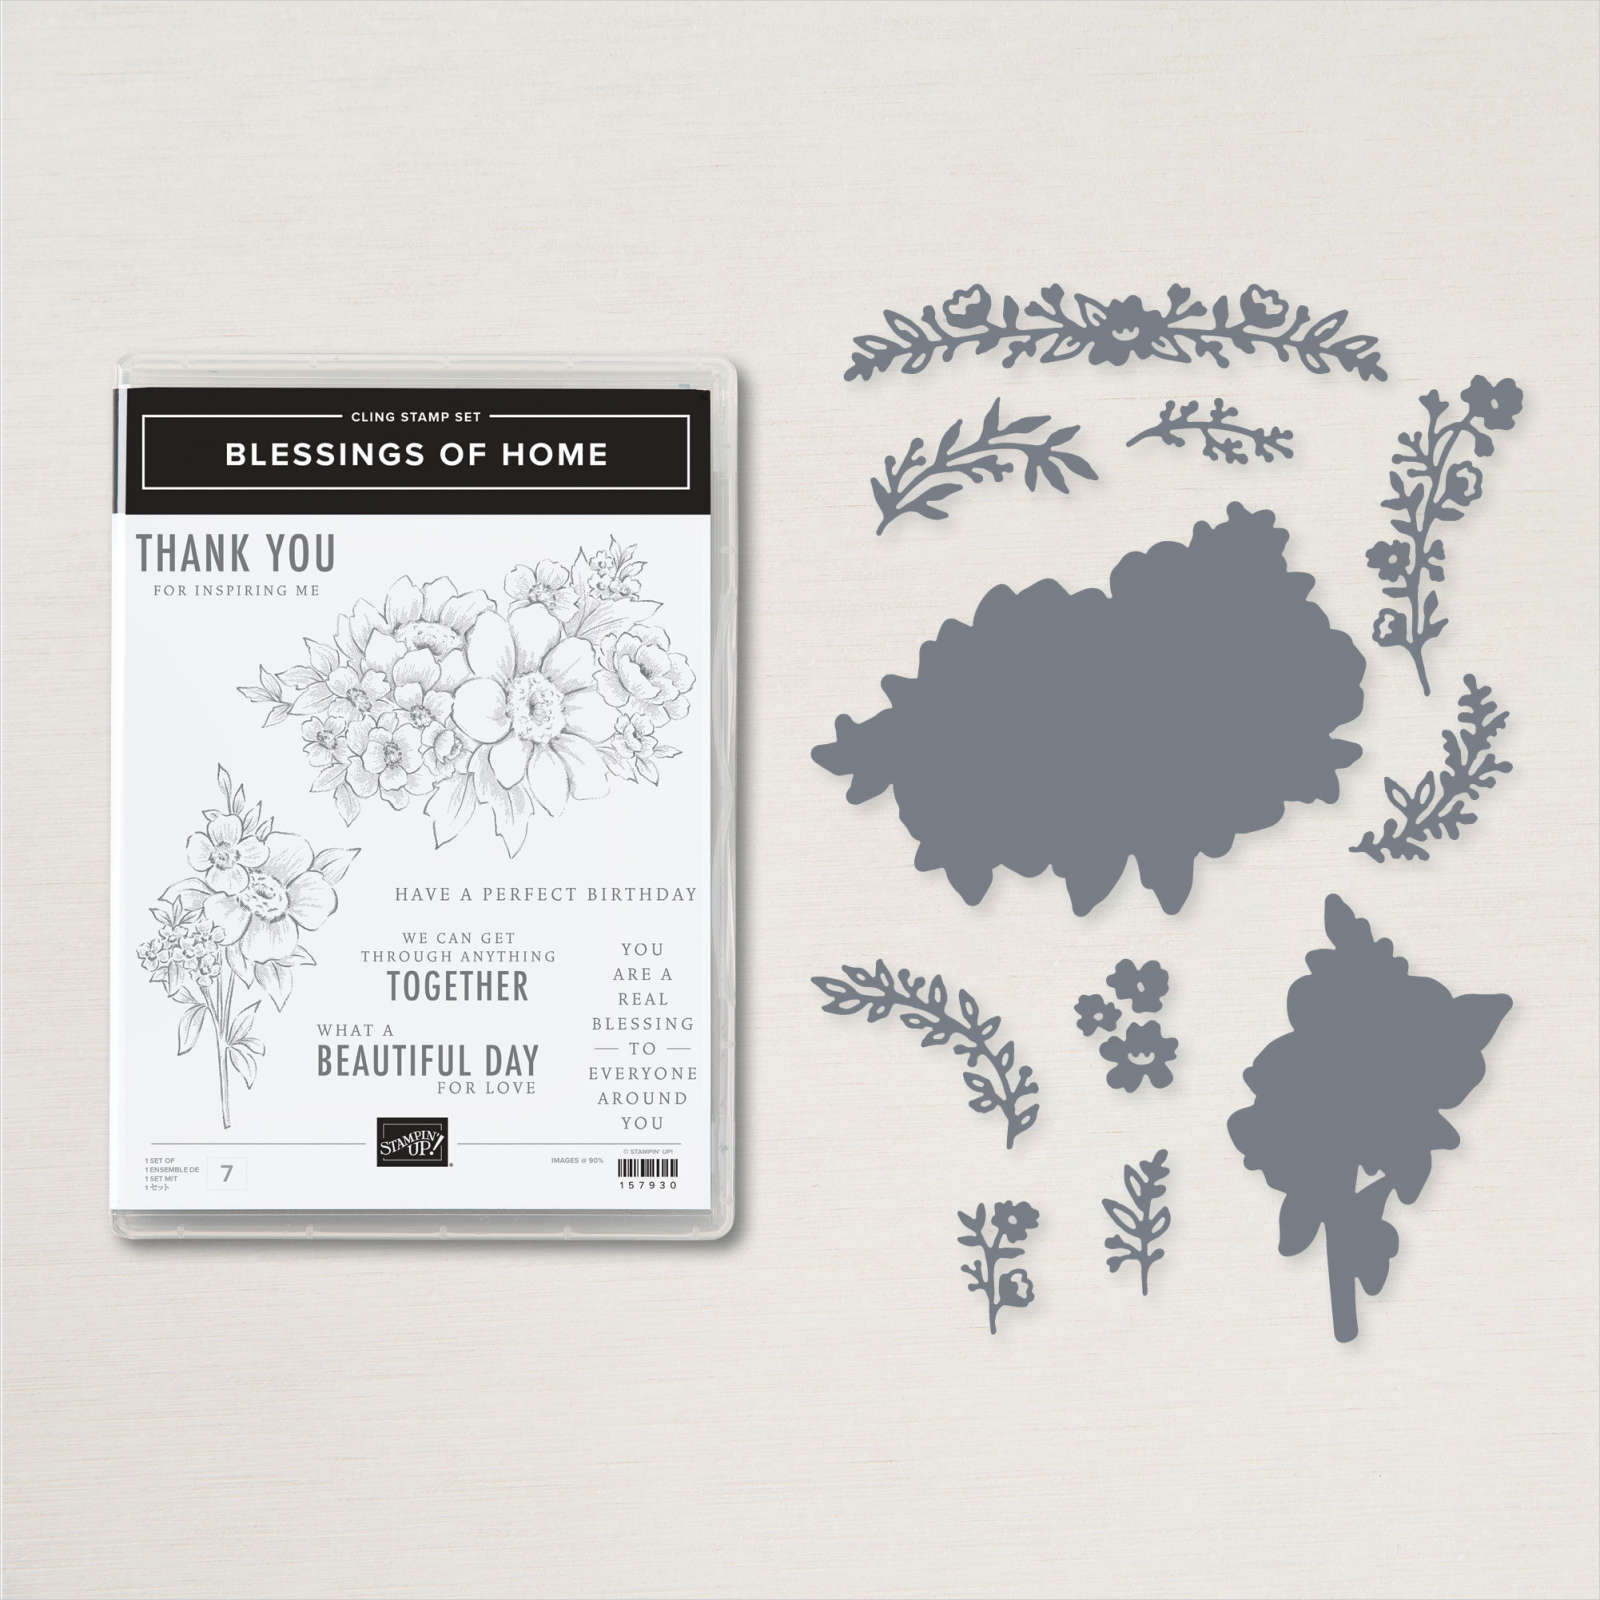
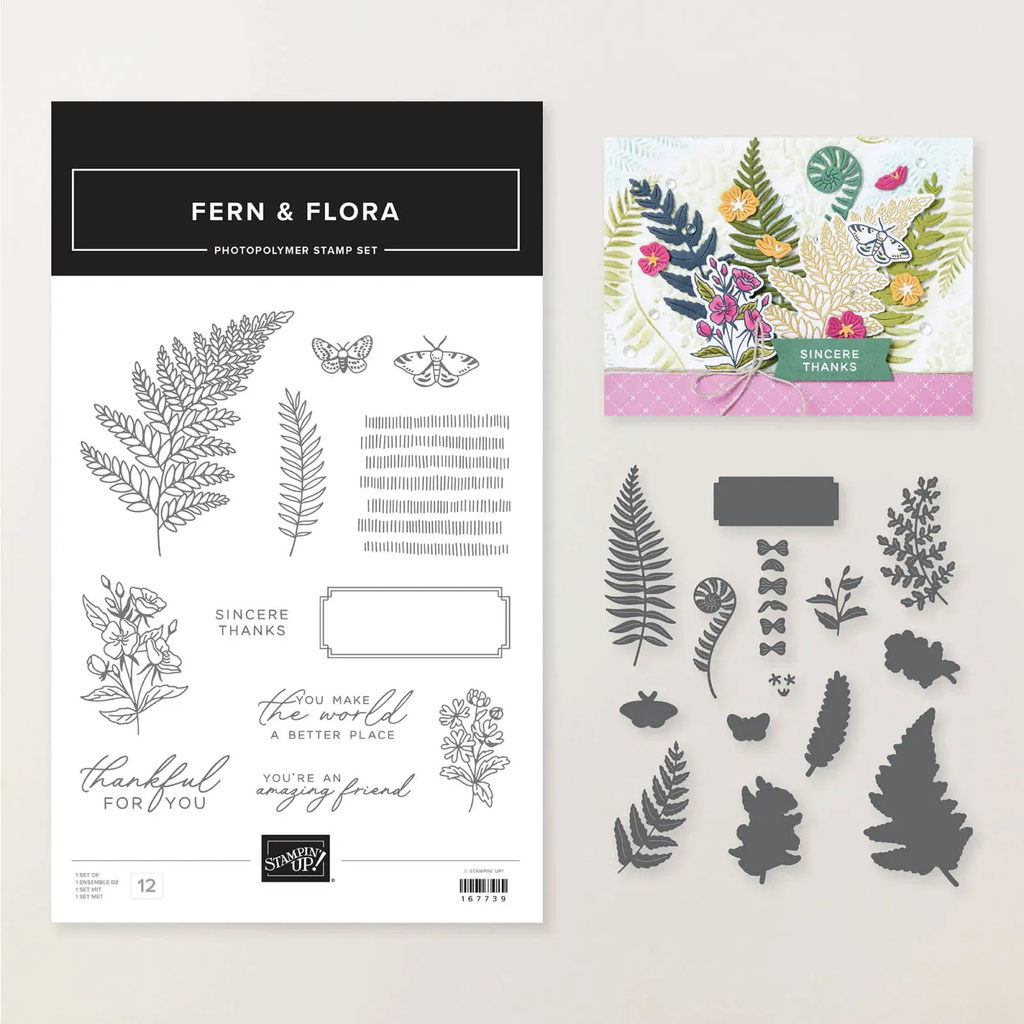
  • Blessings of Home stamp set & Flowers of Home dies for the leaves
  • I used watercolor pencils & blender pen to color the floral image
  • the gold honeycomb sheet is from the Sweet Sunflower Paper Pumpkin kit; it was a free gift add on
  • I used the gold honeycomb sheet to add a pretty, blended background using Balmy Blue ink & a Blending Brush

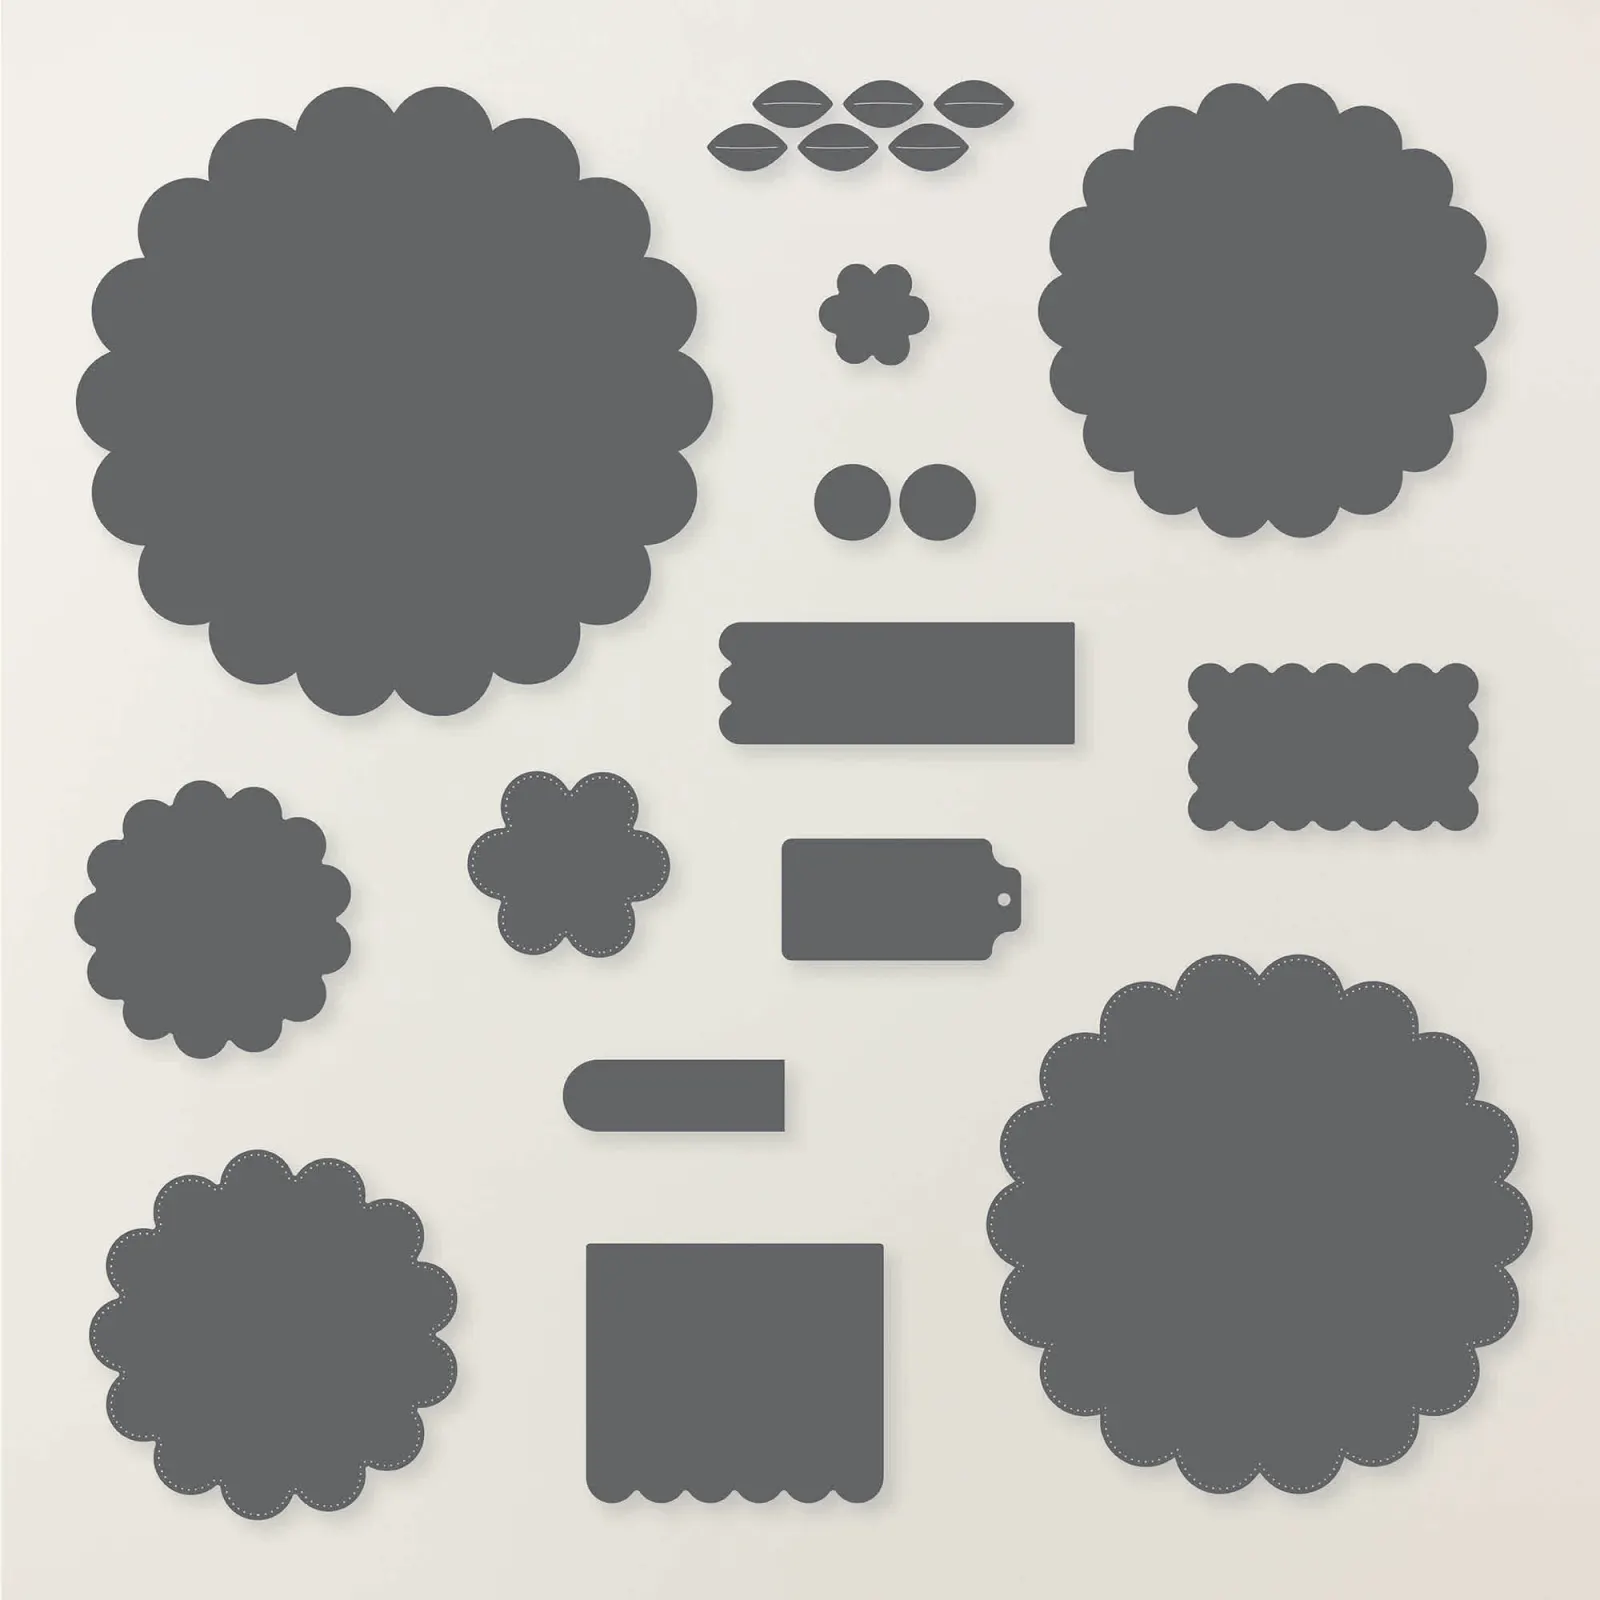
The Flowers of Home dies are in the 2022-23 Annual Catalog but also available free with a $100 Stampin' Up! order during Sale-a-Bration.  See them here. This option ends on Wednesday, August 30th.  See all of the Sale-a-Bration options here. 

The stamp set & dies are available in a bundle too.

I made a second card using mostly the Flowers of Home dies.

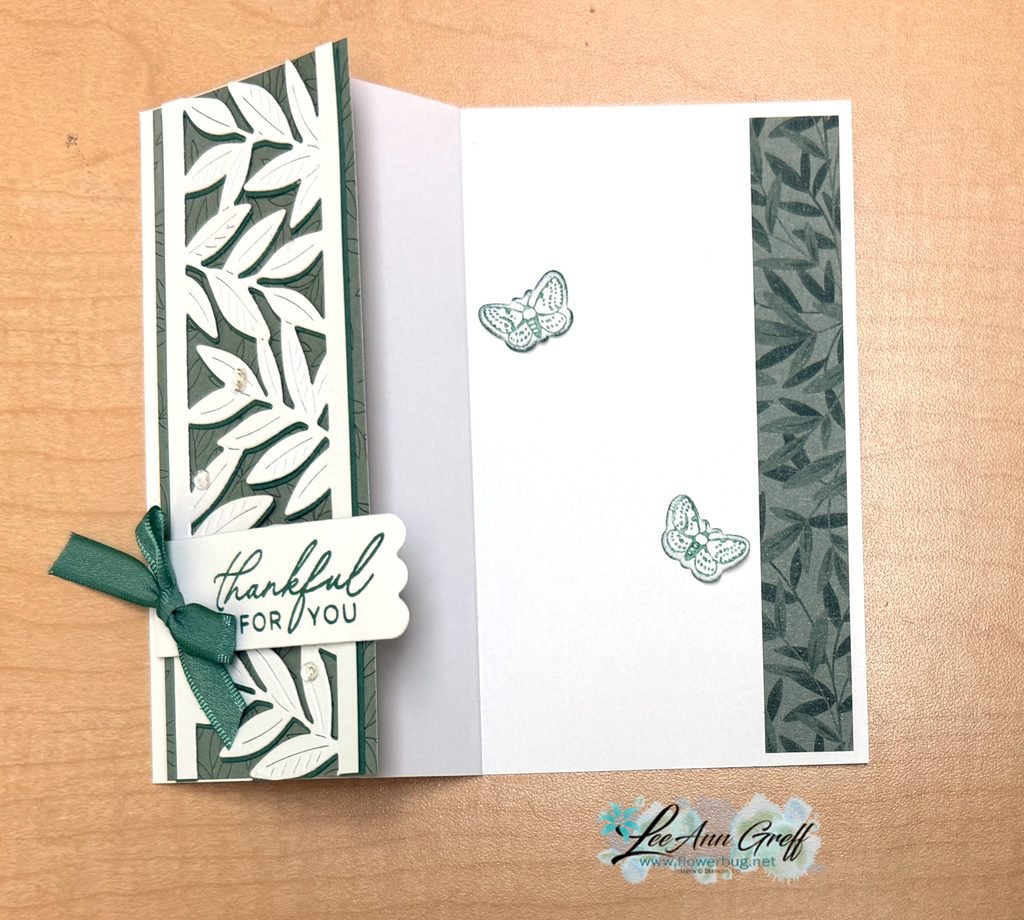
I cased the card from Sue Mohr; I thought it was simply elegant way to create a 'wreath' around the oval sentiment.  

The oval dies are from the Fabulous Frames dies seen here.  When you cut out the oval it creates both the frame and the inside; two pieces with one die! 

I textured the White layer with the Quatrefoil embossing folder seen here.  It's so pretty and works perfectly with these flower & leaves die-cuts.  

The colors I used are Balmy Blue, Pear Pizzazz, Polished Pink and Fresh Freesia.  

Tip; when adding these delicate die-cuts use just a tiny but of Multipurpose Liquid glue.  

Remember that these Flowers of Home dies are free with any $100 order through Wednesday, August 31st.  Sale-a-Bration ends that day. 

Click on the photo below to watch the video to see how I made both of these cards & one more too! 

~~~

August Specials

Get free items here in August during Sale-a-Bration! 


Host code: E22FXSSB


Get these pretty gems free! *click here to order 

Earn free products with my loyalty rewards! 

Click here to download yours and earn a $50 shopping spree!

All Posts

  • Quick Notecard idea with the Banner Sayings bundle


    I needed to send a few special cards to my Team members this weekend and so I created these cute notecards:

    The large piece of designer paper is 4″ X 3″ and the bottom strip is 4″ X 1″. I added a 1/4″ strip of textured Coastal Cabana between them (I found it in my scraps).

    I chose to make notecards because the package I was sending their prizes in was narrow and these fit perfectly.
    Did you know we carry pre-scored notecards with envelopes? The package includes 20 cards and 20 envelopes for just $10. You can see them here.

    I chose the Hobby Haven designer paper because of it’s colors and ‘hobby’ themed prints. See it here. It’s part of our Online product selection.

    I decided to feature the Banner Sayings bundle for a few reasons. It’s quick with the coordinating punch and the greeting I chose fit my needs perfectly. Click here to see it. The new Triple Banner punch was out of stock for weeks! But now it’s back.

    January Specials:

    Bonus days are here!

    Get this free PDF with all online orders in January!

    The 2026 Spring Catalog is live!

    January’s Product of the Month
    Fabulous Sayings set
    Get it for $5 with any $75 purchase

    Check out the newest Kits in our Kit Collection here.

    Leave a Reply

    Your email address will not be published. Required fields are marked *

  • A neat Diamond Pop-up Fun Fold card with video & free project sheet


    I shared this pretty fun fold card on last week’s Live video. If you missed it you can watch it here on YouTube or here on Facebook.

    Isn’t it a neat card fold? And it’s super easy to make. I also love that it shows off our coordinating designer series paper so well. Here I used the Lovely & Beautiful Specialty DSP seen here. It’s gorgeous prints include gold foil accents.

    I made two different versions because I needed multiples of them for our January Team swap with my Flowerbug’s.

    The center greeting layer is added with two folded strips of paper positioned next to the center score line. This allows the greeting to pivot and pop-up when you flex the card. These are about 1 1/2″ X 1/2″ and I simply fold them in half and placed with the score lines next to each other.

    You can see how the center panel ‘pops’ up when it’s opened. I really love this fold!

    I used the Greenery Lane bundle for the greeting and the White leaf die-cut. You can see this bundle here.


    The other two dies are from the Perennial Postage dies seen here.

    I created a free project sheet for this fun fold card. Click here to download or print it.

    Below is the video tutorial for this card.

    January Specials:

    Bonus days are here!

    Get this free PDF with all online orders in January!

    The 2026 Spring Catalog is live!

    January’s Product of the Month
    Fabulous Sayings set
    Get it for $5 with any $75 purchase

    Check out the newest Kits in our Kit Collection here.

    Leave a Reply

    Your email address will not be published. Required fields are marked *

  • Cute as a Bug fun fold kit to go or PDF tutorial


    Here’s the second kit to go I’m offering in January; the Cute as a Bug fun fold card kit:

    Stampin’ Up! knocked it out of the park with this CUTE designer series paper! *see it online here It’s unique color combinations and whimsical critters make creating with it so enjoyable.

    I created 5 different fun fold layouts and doubled them for a total of 10 unique cards.

    The PDF tutorial includes step by step directions, photos, measurements and a supplies list. I also recorded a video tutorial exclusively to those who purchase it or the kit to go. This tutorial is just $16 and can be seen here.

    The pre-cut kit to go can be seen here. Reserve it now and it will be mailed out later this month (likely around the 22nd of January).

    The kit includes the following: 1/2 pkg of the Cute as a Bug DSP, a share of the Ladybug Garden epoxy gems, the Old Olive rick-rack ribbon and exclusive video link. It also includes 10 pre-cut cards! Everything is cut for you except your new designer paper. You’ll use the measurements in the PDF tutorial to do that; it’s easy! Then just assemble and add your stamped images to the greeting pieces provided. (Any greetings will work; feel free to use what you have).

    My kits are super easy to complete. I get tons of compliments and repeat customers each month.

    See all of my PDF tutorials and pre-cut kits to go here.

    January Specials:

    January Specials:

    Bonus days are here!

    Get this free PDF with all online orders in January!

    The 2026 Spring Catalog is live!

    January’s Product of the Month
    Fabulous Sayings set
    Get it for $5 with any $75 purchase

    Check out the newest Kits in our Kit Collection here.

    Leave a Reply

    Your email address will not be published. Required fields are marked *


Notice: LeeAnn Greff, Independent Stampin’ Up! Demonstrator, Manager. The content of this website is my sole responsibility as an independent Stampin’ Up! demonstrator and the use of, and content of, the classes, services, or products offered on this website is not endorsed by Stampin’ Up! Copyright 2025