/


Latest Post

April’s Paper Pumpkin is ‘Delicate Wings’ and looks amazing


I thought I'd share some sneak peaks of upcoming Paper Pumpkin kits.  

April's kit is called Delicate Wings


Did you know that you are in charge of which kits you receive?  Once you purchase a pre-paid subscription or subscribe you can opt out of any kit you do not want. Stampin' Up! shares what's coming up each month so you can decide if you want it or not.  You have complete control!

You're also eligible to purchase any of the refill kits or add-on's SU offers. See them all here. 

*Plus when you subscribe with me, LeeAnn Greff, you'll qualify for a FREE tutorial each month.

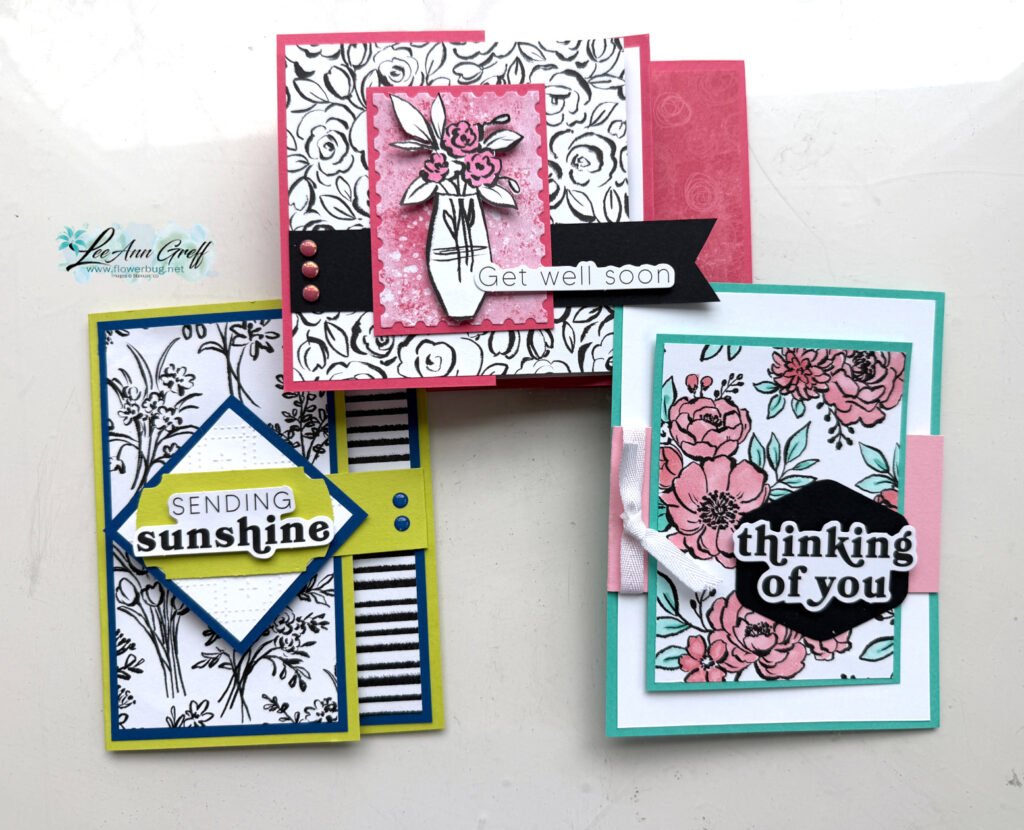
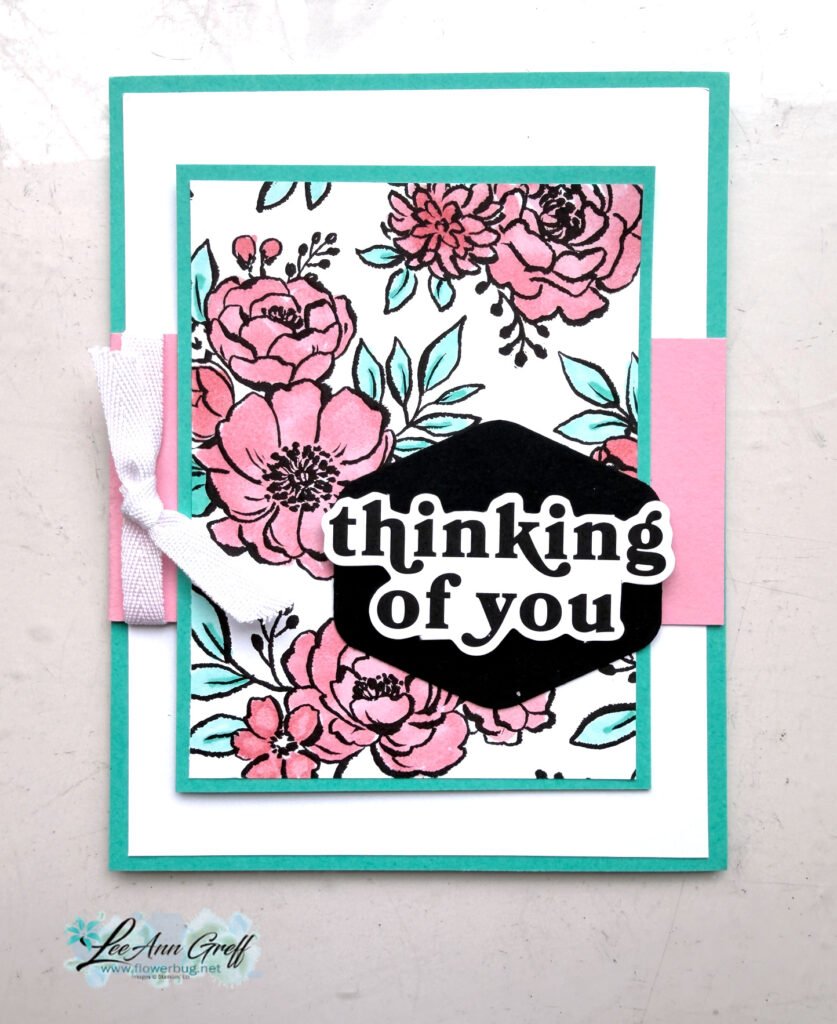
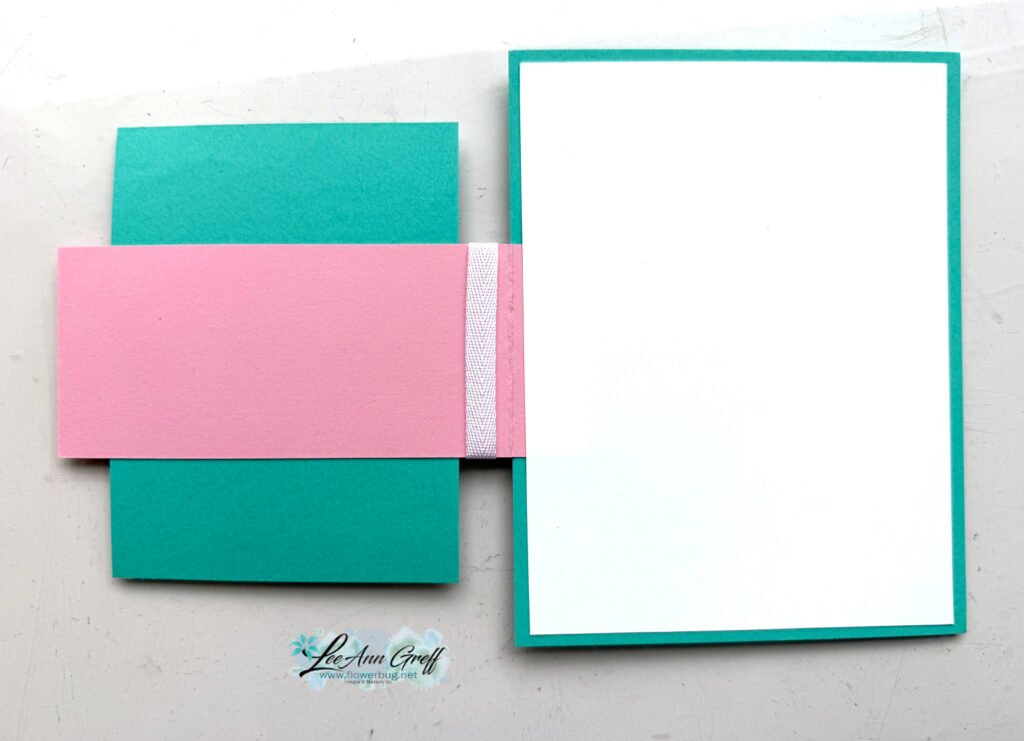
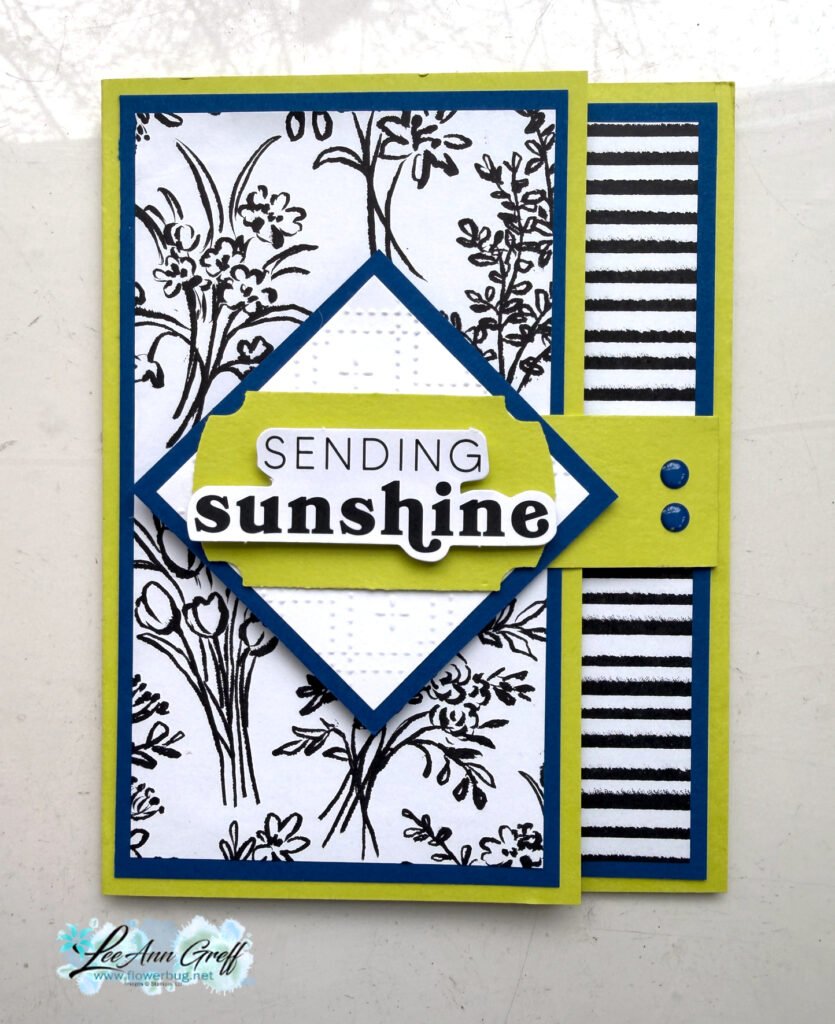
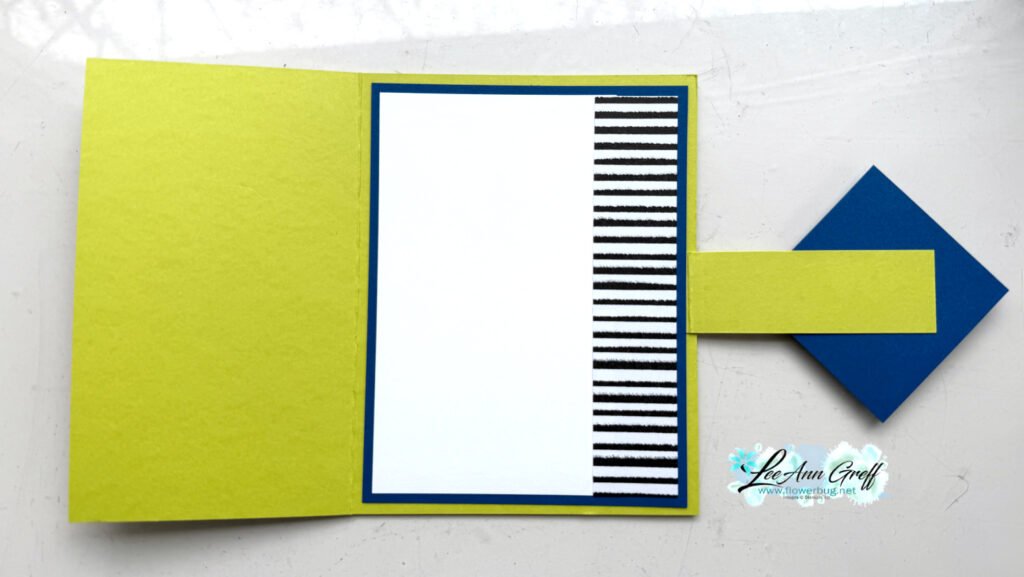
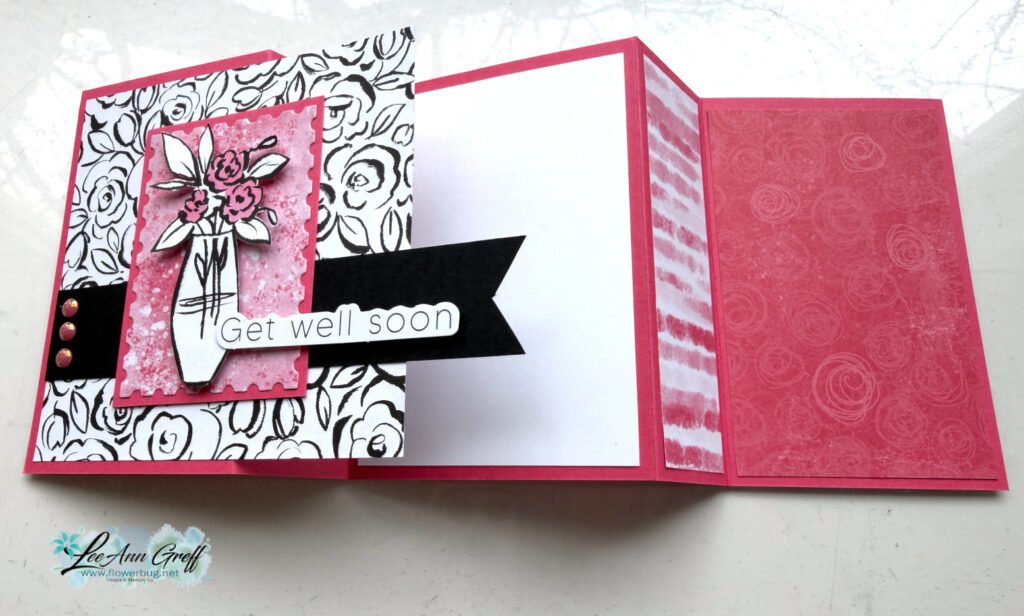
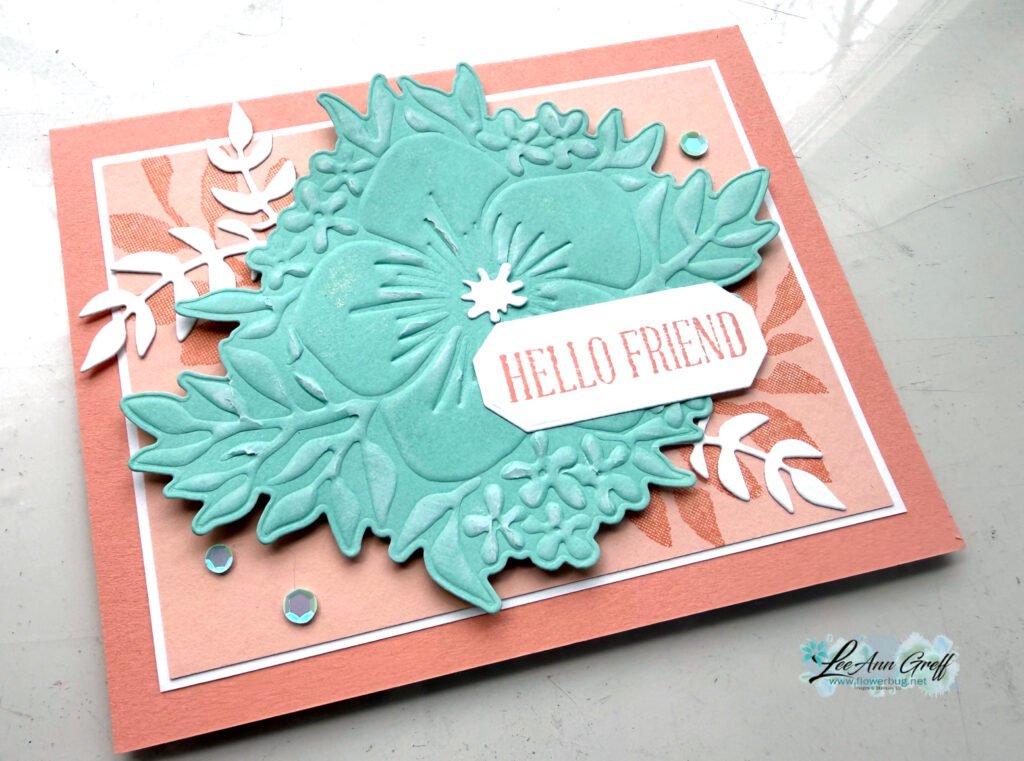
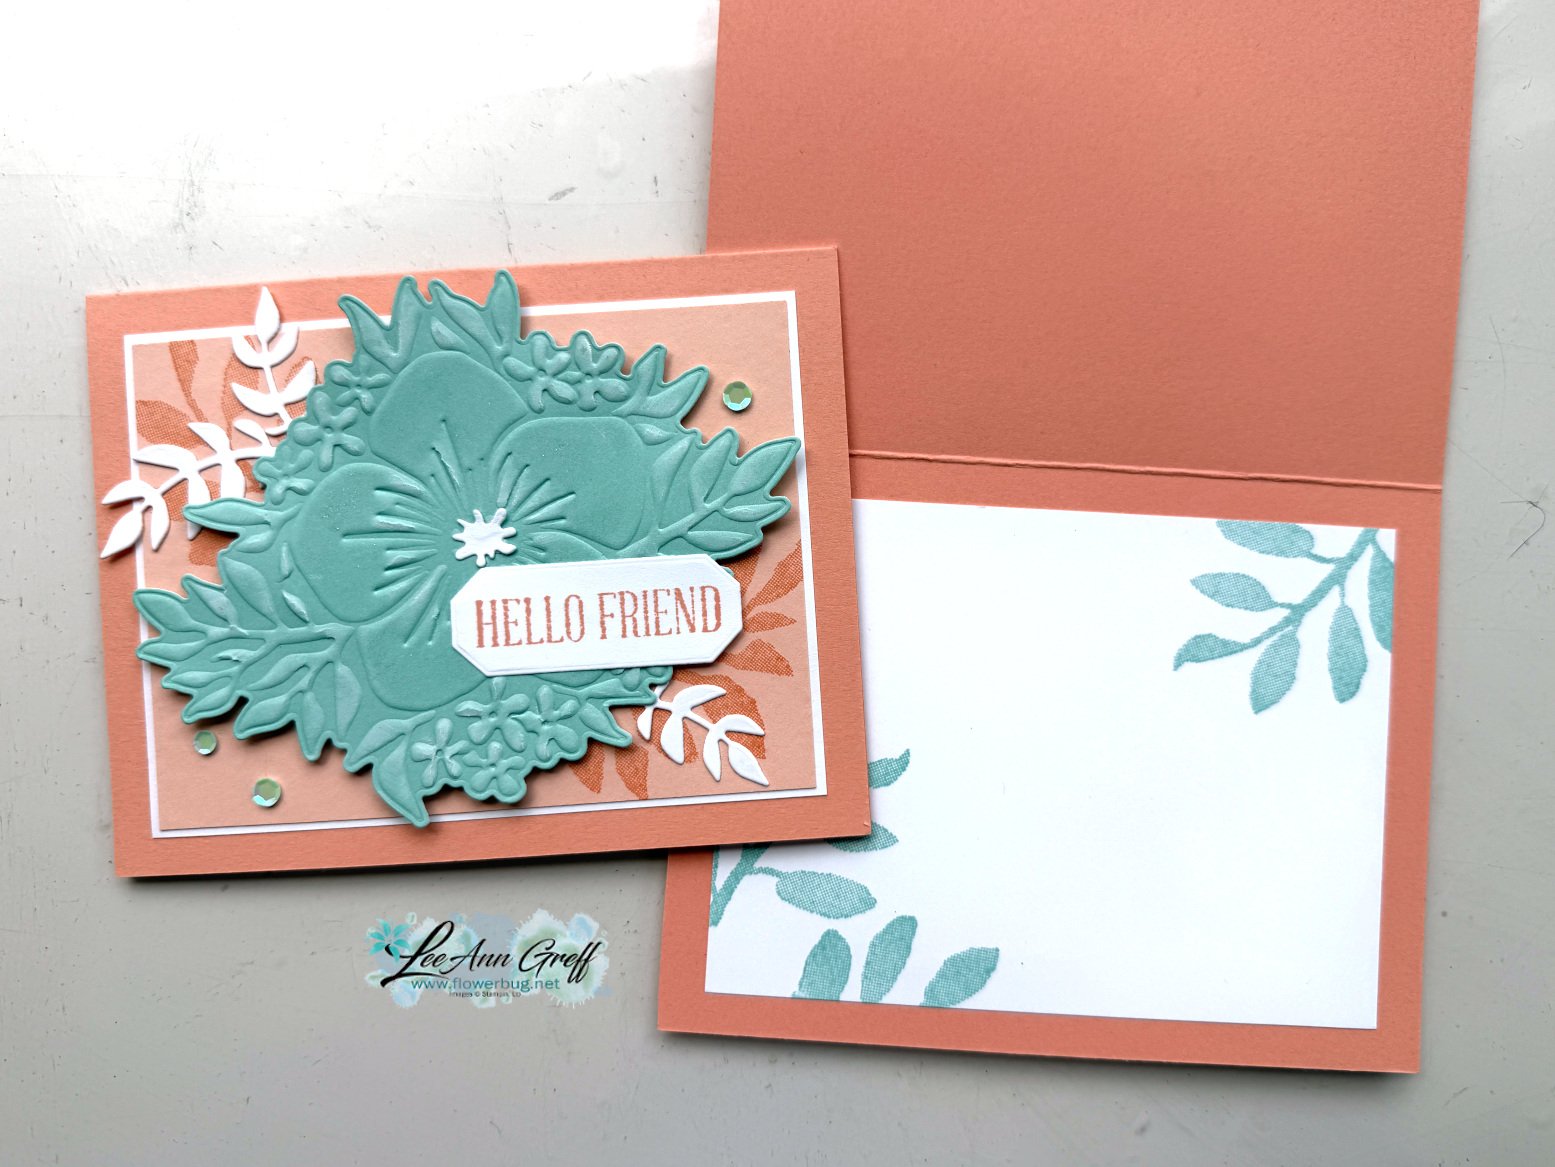
  • This tutorial PDF is filled with 10 or more alternate ideas for additional projects you can make with each month's kit (includes photos & instructions) – making your kit go a lot further!  *see example photo below

Here is more info on how Paper Pumpkin works:

A MONTHLY CRAFTING SUBSCRIPTION

EVERYTHING YOU NEED IN A CRAFT BOX

One issue crafters often run into is feeling overwhelmed by their project. Lack of inspiration, proper supplies and crafty know-how might discourage you from even starting a project and unlocking your creative potential!

This never happens with a craft subscription box from Paper Pumpkin. That’s because everything you need for your project is included in your monthly art box. All you have to do is open it up and get started. You’ll be able to make cards, treat bags, gift boxes and so much more with your monthly art box subscription.

BUILD YOUR STAMP COLLECTION

Among the items in each Paper Pumpkin monthly craft kit is a reusable rubber stamp. So after you’re done creating your monthly craft, you’ll have a valuable stamp to add to your collection. You even get a free clear stamping block with your first craft box. Plus, you get a different color ink pad every month as well.

PRINT & VIDEO INSTRUCTION MAKE CRAFTING EASY

Even the craftiest among us worry that we’ll have trouble understanding how to do a project, or that we’ll make a mistake. You never have to worry about that with Paper Pumpkin! That’s because not only does each monthly arts and crafts box come with clear, easy-to-understand printed instructions, but we also upload a video to YouTube so you can watch a professional guide you through the craft.

~~~

April Specials: 

*current host code link:  TQWBXR4T

~~~

A free gift with orders in April:

All online orders in April will receive a free multi-project tutorial!

All Posts

  • New Nature’s Symphony top fold card with free project sheet & video tutorial


    I hope you had a very Merry Christmas last week. We sure did but we missed our youngest son & his wife. They were hit with the flu the day they were going to drive up here. It wasn’t the same without them! But we still had our Appetizer Showdown competition and played lots of games including our annual Minute to Win It games. Always lots of laughs! I highly recommend doing these with family or friends. It’s one of our highlights of the time we spend together.

    I shared this easy fun fold card on last week’s Live video. It features new product from the upcoming 2026 Spring catalog.

    I featured the Nature’s Symphony bundle and the new Nature’s Walk DSP. I cannot share links to these products because they’re not available for customers quite yet. Tomorrow on my week’s Live video I’ll share all of my new products from both the Spring catalog and the newest Online products – both coming out in early January. Join me here.

    My colors include Pretty Peacock, Lost Lagoon and Old Olive with White. Besides the Nature’s Symphony bundle I added a die-cut for the greeting from the Textured Notes dies seen here.

    This card is an easy fun fold layout. The back is simply 4 1/4″ X 5 1/2″ and the center is a full 3 1/4″ X 11″ scored at 5 1/2″. It gives you a large area to add your patterned paper on the front. I made many of these cards for a long distance swap I joined in.

    I created a free project sheet for this card Click here to download or print it. There’s also a video tutorial below as well.

    The Nature’s Walk designer paper is filled with textured patterns. I love the colors in it; the blues & greens are just my style.

    Here’s the video tutorial for you. I also share another pretty card idea featuring this beautiful bundle.

    *You’ll receive a PDF with multiple projects featuring this product
    after the 20th of the month.
    ~~~

    The Last Chance list has been updated!
    Click here to shop.

    Get a free PDF tutorial with any online order from me in December!

    Leave a Reply

    Your email address will not be published. Required fields are marked *

  • Merry Christmas to you!


    Merry Christmas! I hope you are able to spend it with loved ones.

    It’s my favorite time for our family! Our kids are coming as usual and we have a good time playing games, making puzzles, lots of sweet treats and good meals too. We also play Minute to Win It games and have an appetizer showdown too!

    Leave a Reply

    Your email address will not be published. Required fields are marked *

  • Pretty Bridge fold card with Snowflake Kisses with free project sheet & video tutorial


    I shared this pretty card on last week’s Live video. It features the Elegant Pine Snowflake designer paper and the Snowflake Kisses bundle.

    My colors include Pretty Peacock, White & Lost Lagoon above. The Elegant Pine Snowflake designer paper is beautiful and can be seen here.

    I created a second card with Secret Sea as the card base instead of Pretty Peacock. Which do you prefer?

    This card is a bridge fun fold layout. It starts out with a 5 1/2″ X 8 1/2″ card base but requires two extra cuts from the center score line down 1 1/8″ from each edge. It’s easy with our Paper Trimmer. Watch the video below to see how it’s done.

    I created a free project sheet for you with photos and measurements. Click here to print or download it.

    I hope you try one. If you haven’t made one before please watch the video below. They are quite fun to make & open!

    The photo below shows the card closed, the main panel lifted and the inside! Tip: We used a handmade stencil to sponge snowflakes on the inside. *cut snowflakes from a piece of card stock and sponge or blend ink through the windows.

    Below is the video tutorial which includes a second card with this bundle. I hope you watch it! Don’t forget to subscribe to my YouTube channel here.

    *You’ll receive a PDF with multiple projects featuring this product
    after the 20th of the month.
    ~~~

    The Last Chance list has been updated!
    Click here to shop.

    Get a free PDF tutorial with any online order from me in December!

    Leave a Reply

    Your email address will not be published. Required fields are marked *


Notice: LeeAnn Greff, Independent Stampin’ Up! Demonstrator, Manager. The content of this website is my sole responsibility as an independent Stampin’ Up! demonstrator and the use of, and content of, the classes, services, or products offered on this website is not endorsed by Stampin’ Up! Copyright 2025