/


Latest Post

Another ‘WOW’ card swap with the Beautiful Butterflies stained glass technique


Today I have another stunning Team card swap made by Tracey featuring Window Sheets. She featured the Beautiful Butterflies bundle seen here:
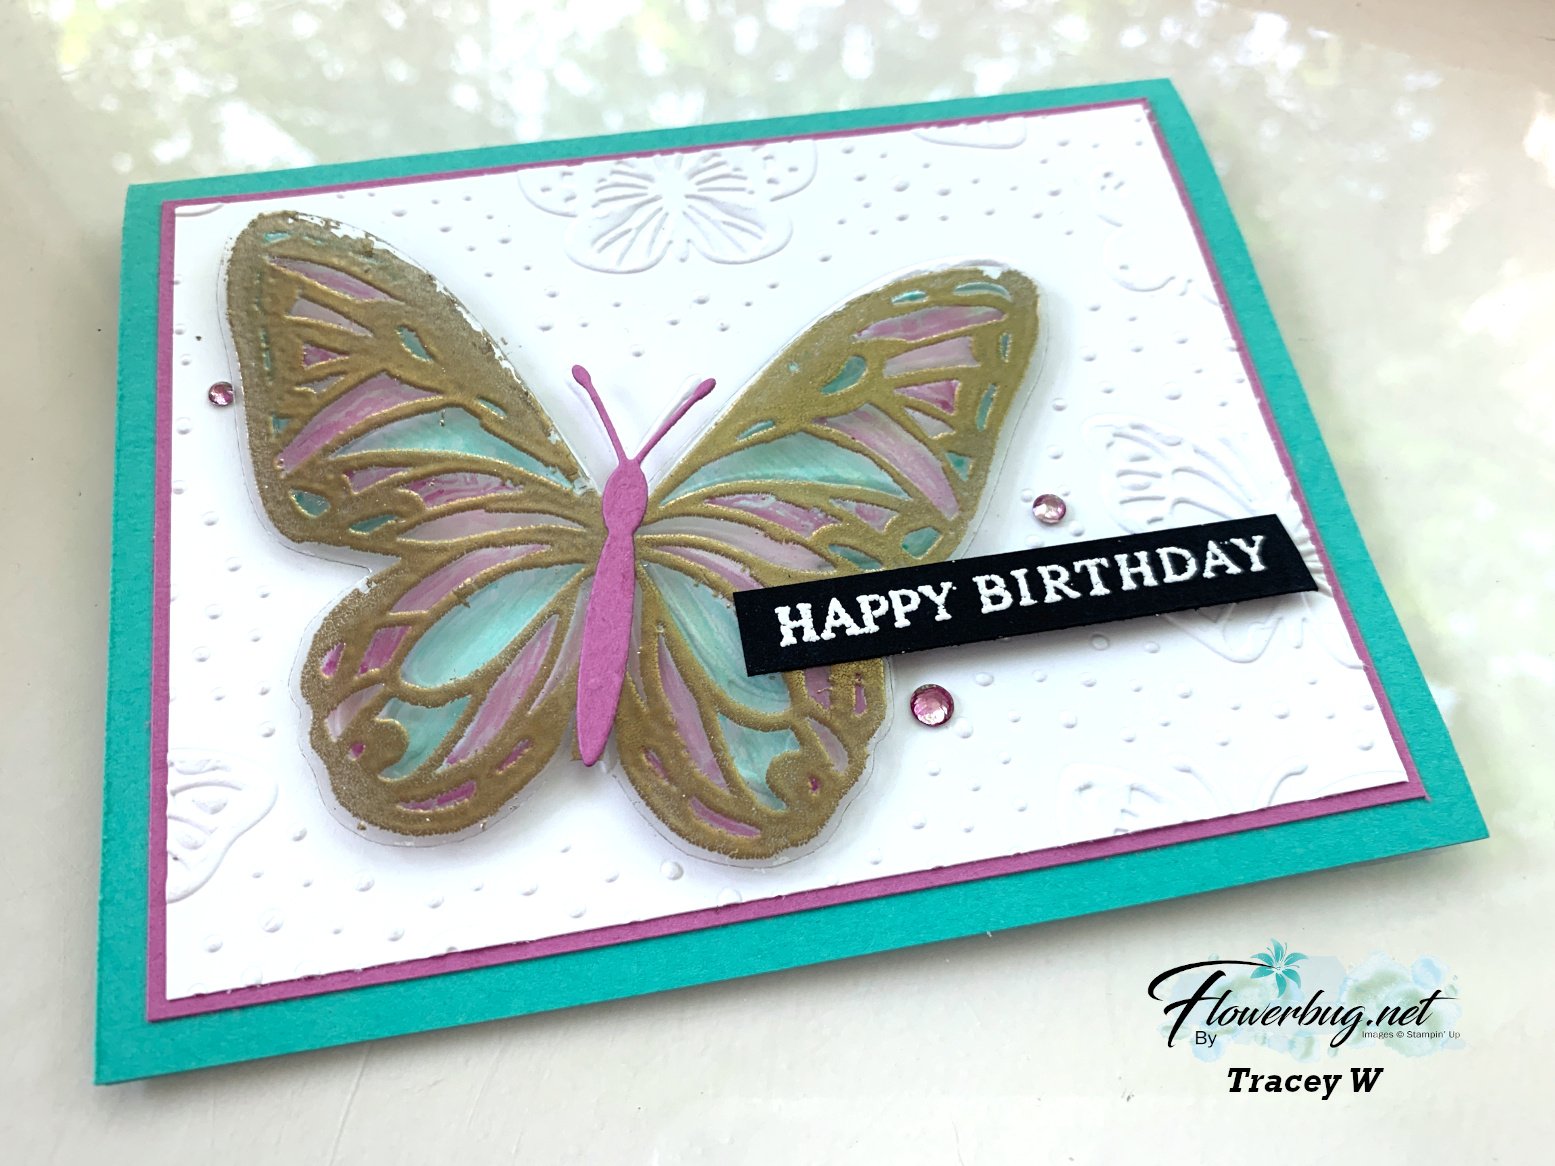
Her colors include Shy Shamrock with Petunia Pop, Black, White & Gold embossing. 

Here's how she made this card:

  1. Texture the White layer with the Hybrid embossing folder; add to the Petunia layer and the card base. 
  2. Ink the butterfly image in Versamark and stamp on the Window sheet. Heat emboss with Gold embossing powder. Die-cut with the coordinating die.  *she did say some of the embossing powder on the edge frayed off when it went through the die-cut.  
  3. Color the back of the butterfly with Blends markers.  Adhere to the White cardstock layer with Foam Strip adhesive in the center only. Add the center 'body' die-cut.
  4. Heat emboss the greeting onto the Black strip with White embossing powder.  Finish with gems. 

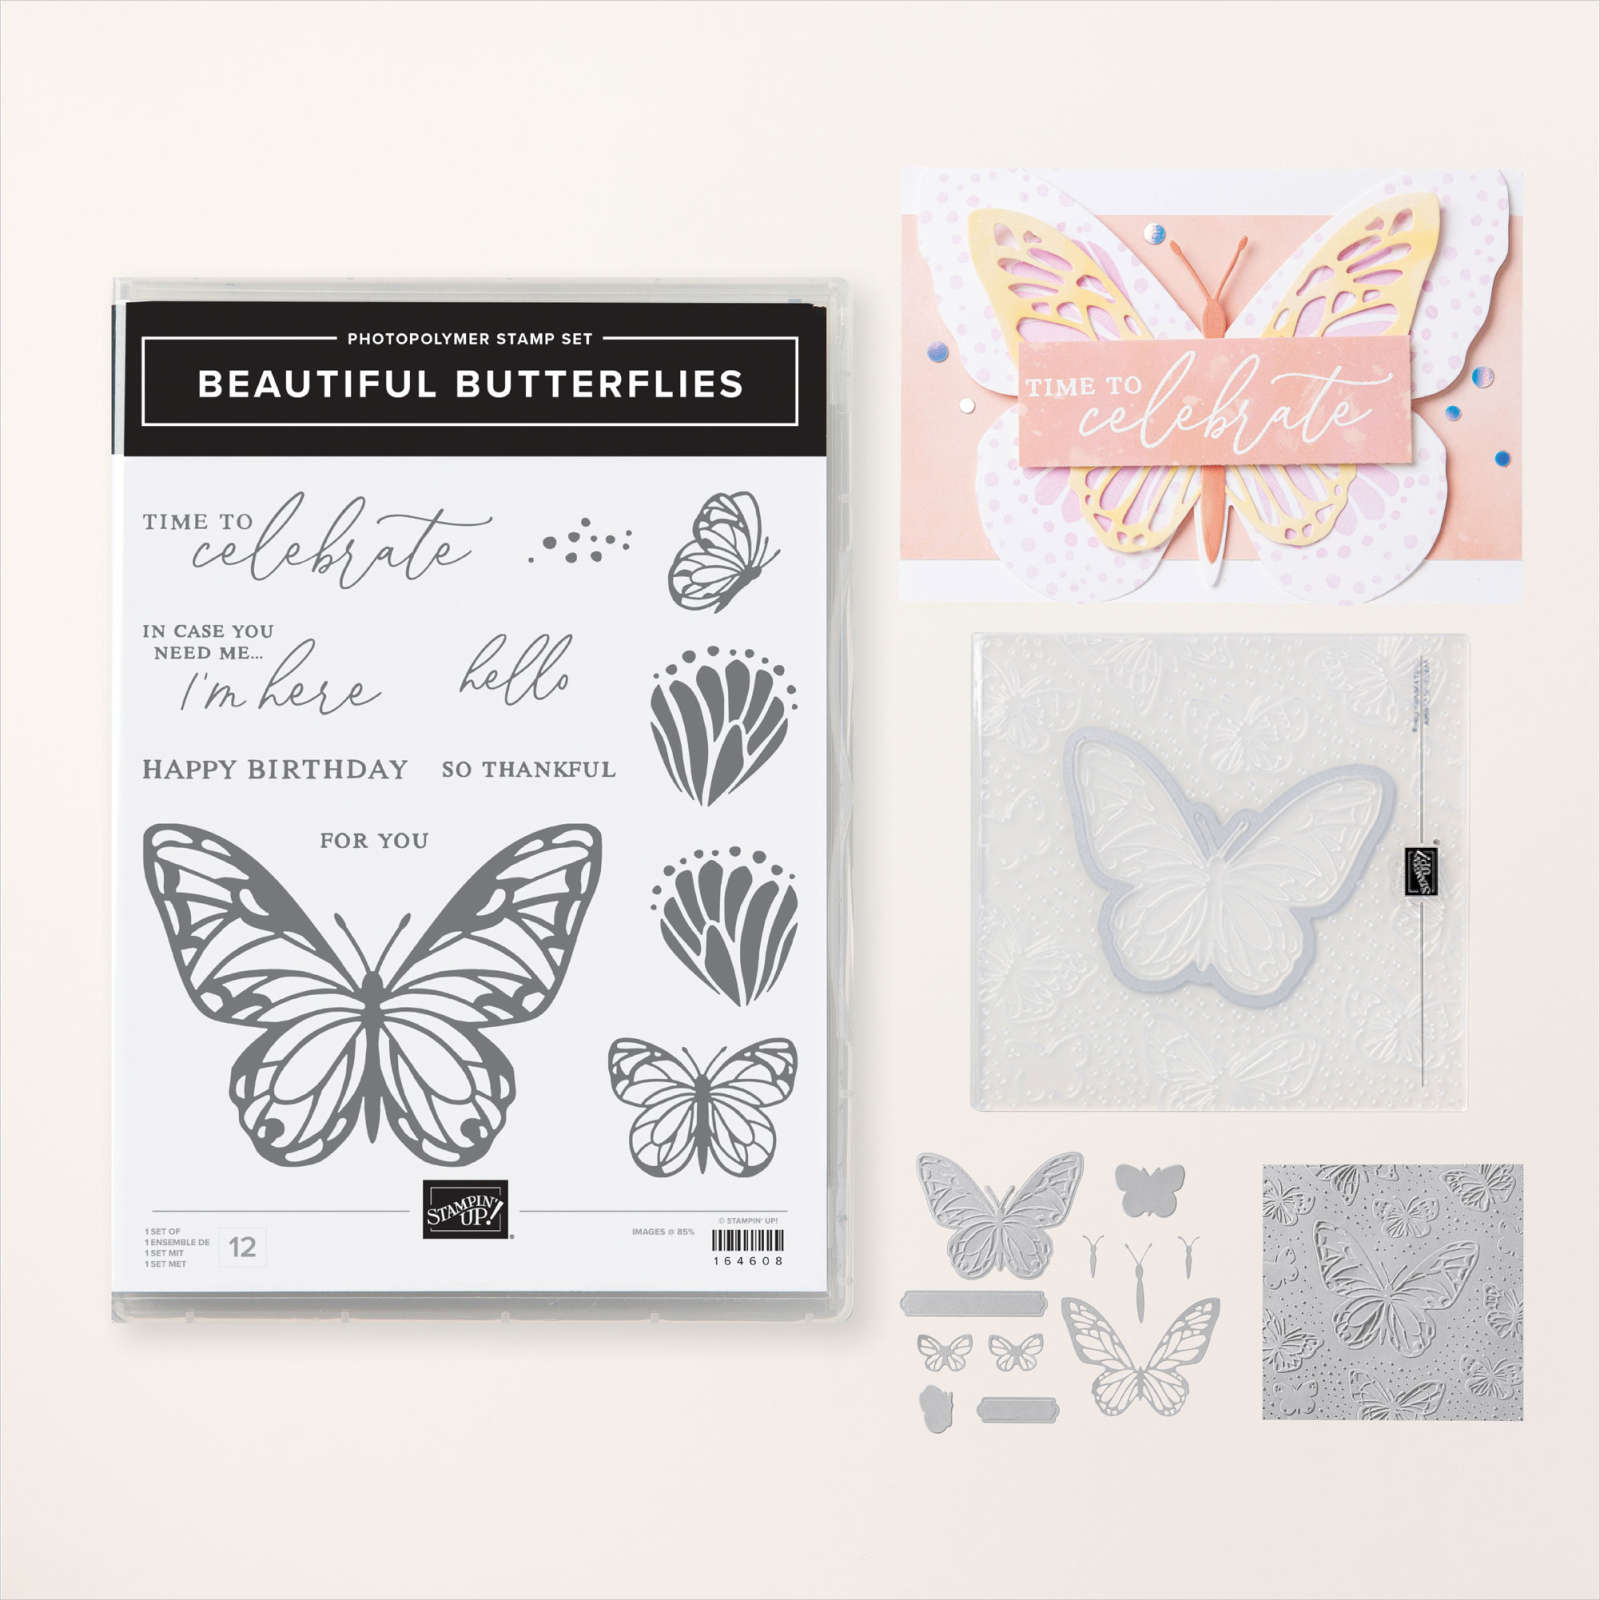
Here's the full bundle that includes stamps, dies and a Hybrid embossing folder. What is a 'Hybrid Embossing folder?  It's where you can cut AND emboss/texture at the same time!
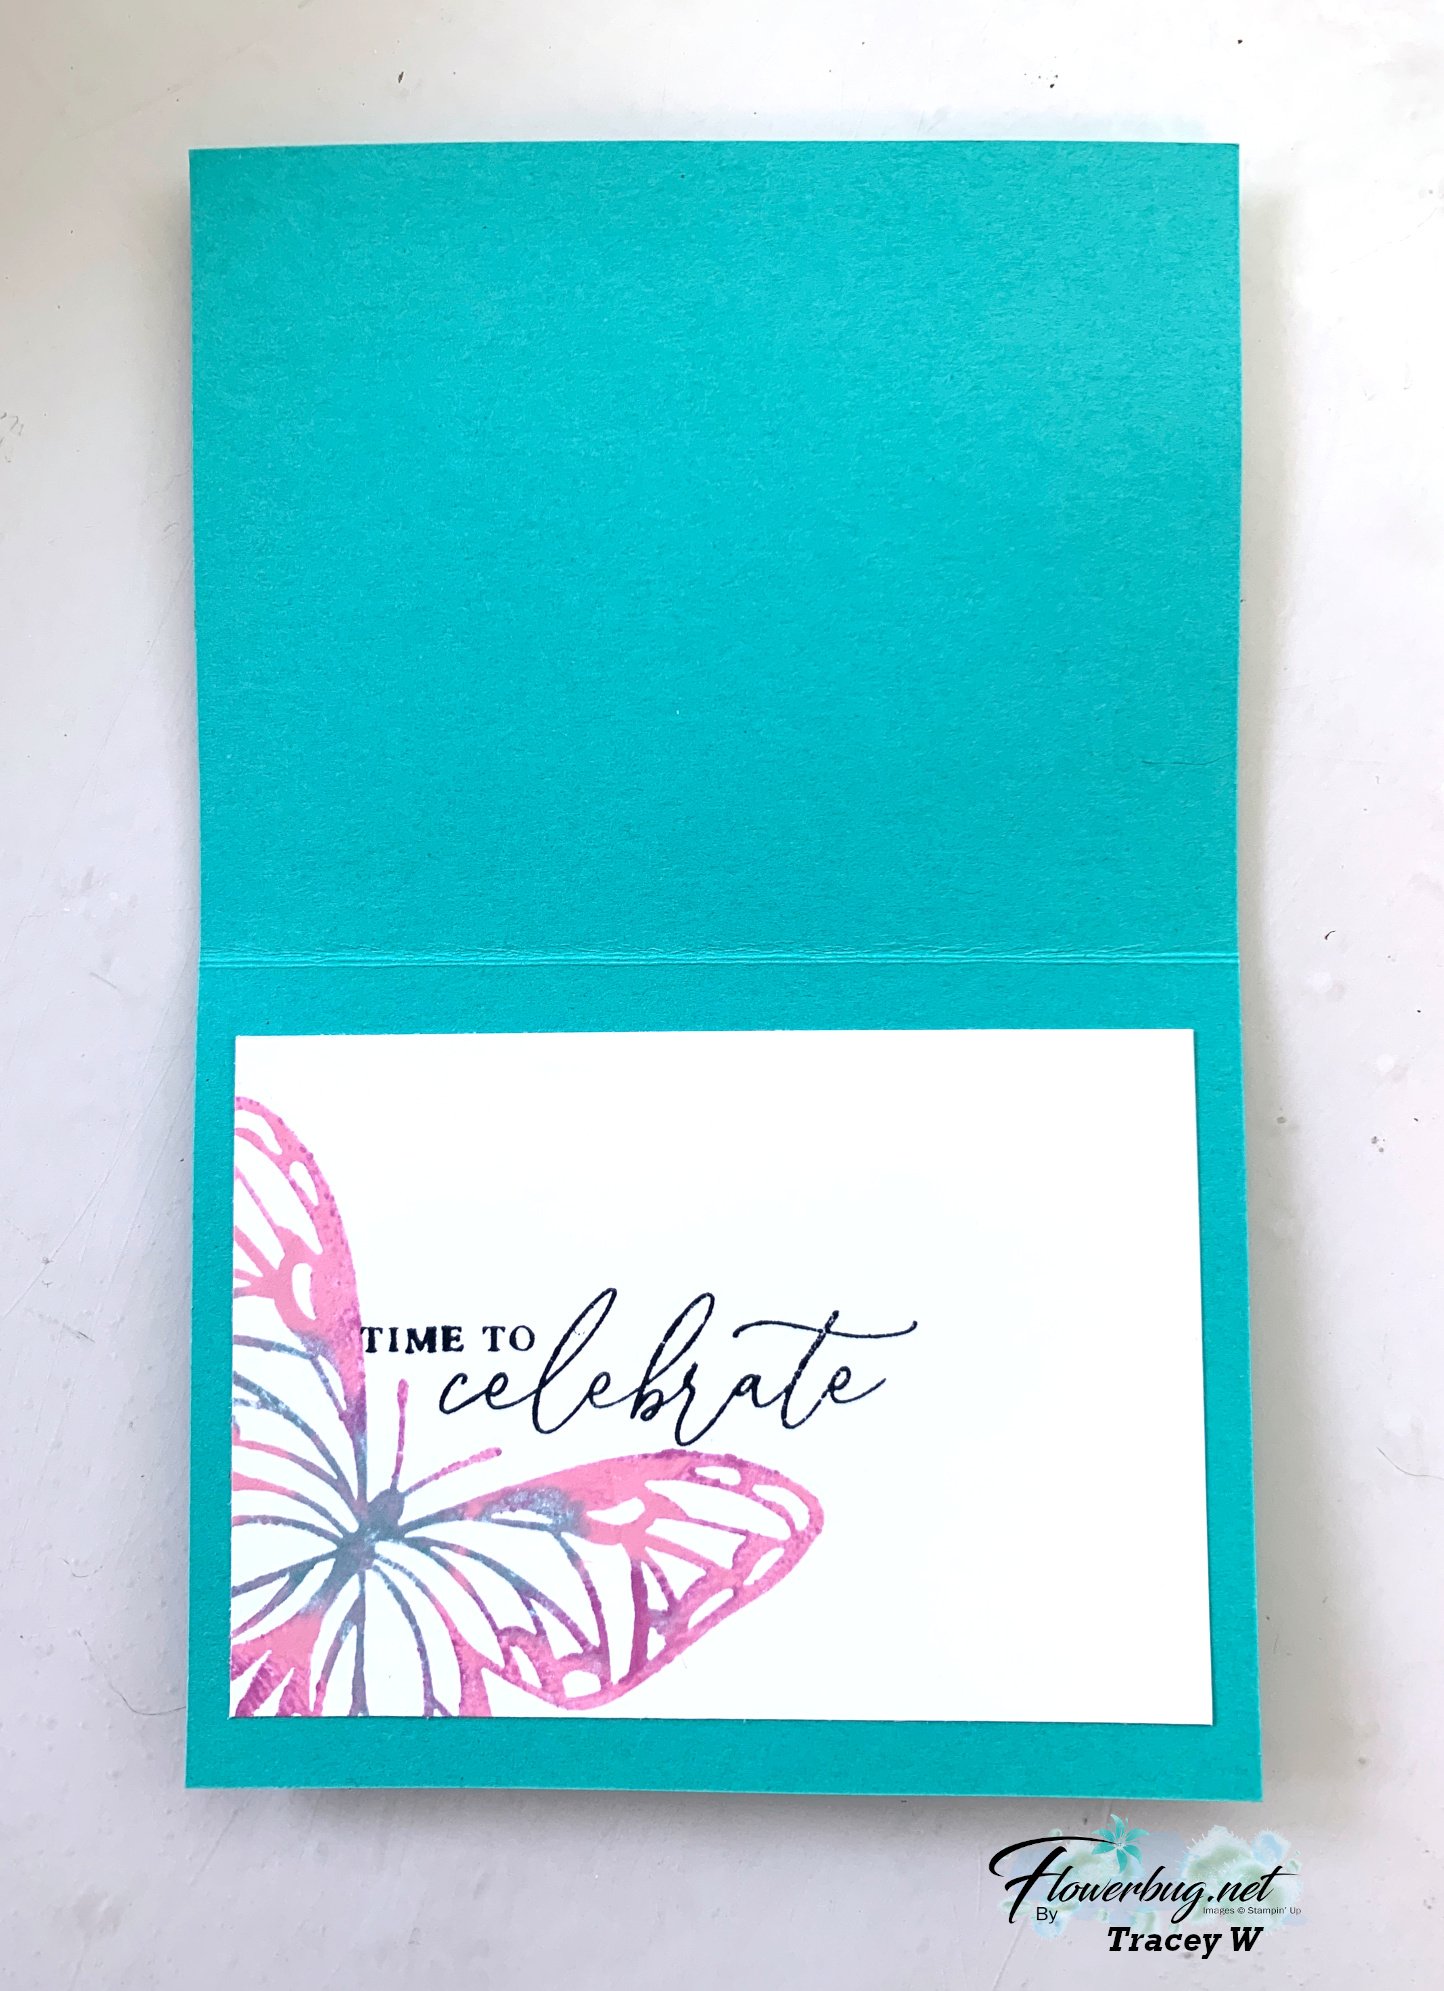
And look how she finished the inside!  She used the Baby Wipe technique to achieve a multi-colored butterfly. 
Thanks so much for your gorgeous card Tracey! 

~~~

July Specials:

New Online Exclusives are here!  

~~~

Last Chance List has been updated!  see it all here. Don't miss out on the deals!

~~~

Get my Turtle-y Cute PDF tutorial free with any online order in July!

All Posts

  • Simple Lily of the Valley card; it’s a WOW! Grab the free project sheet or watch the video


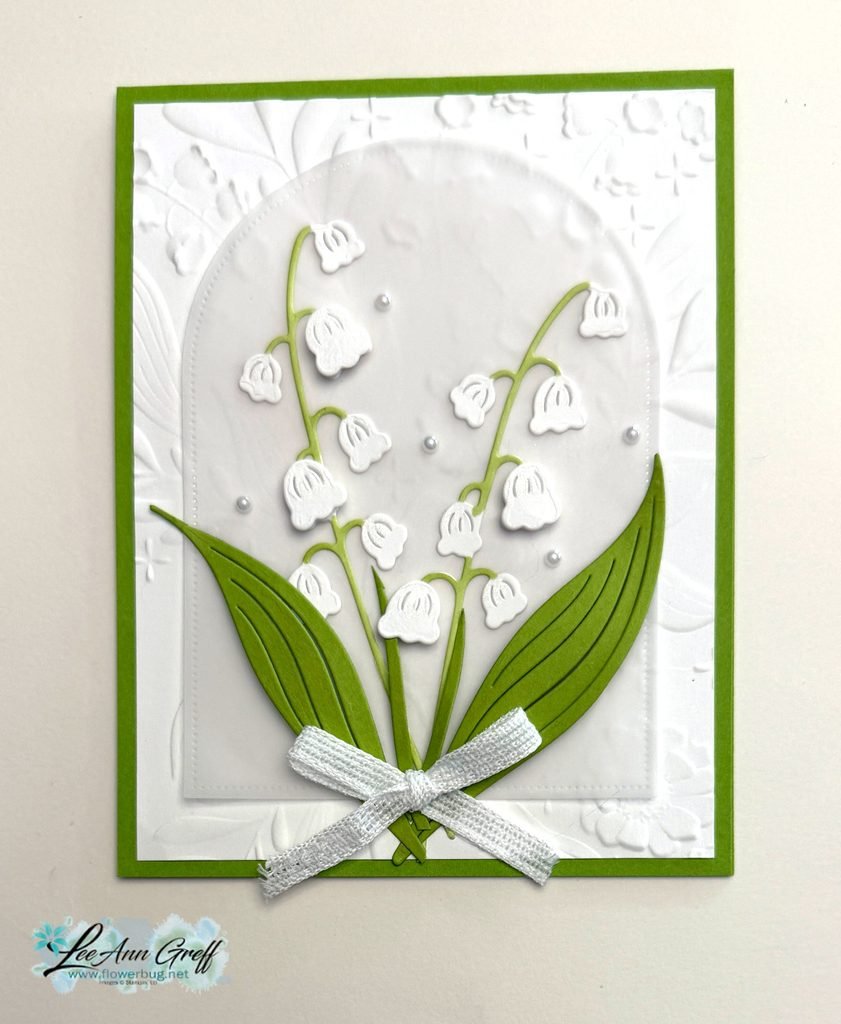
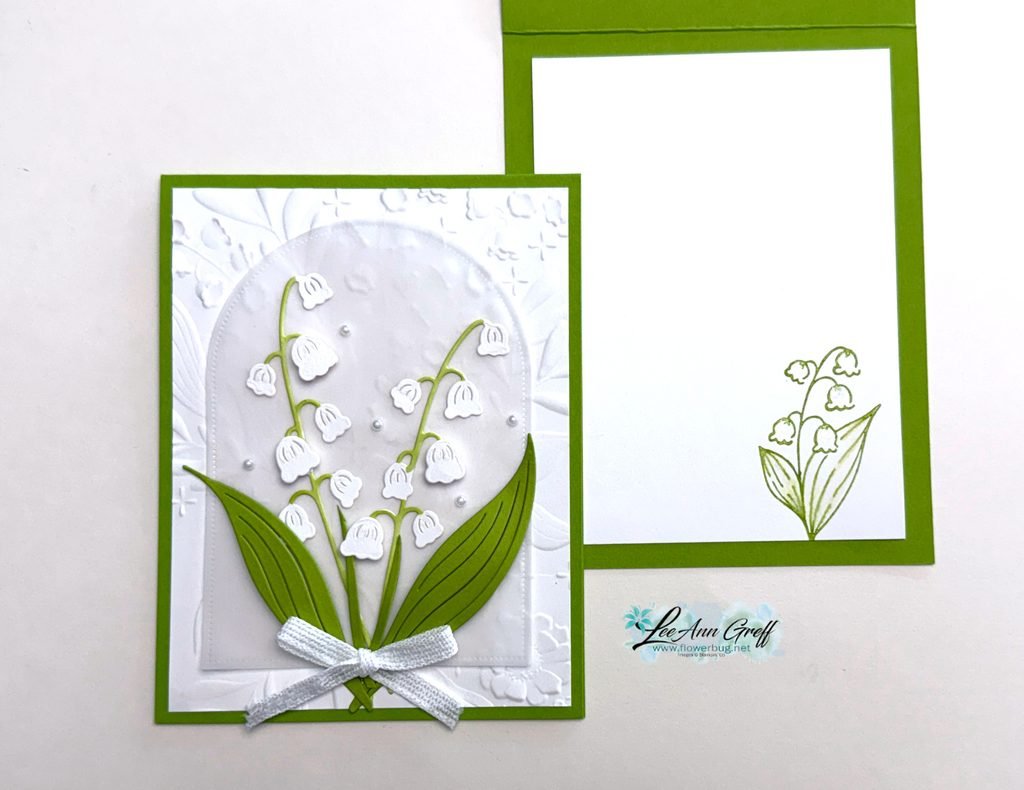
    I shared this beautiful Lily of the Valley card on last week’s Live video. It’s one of those cards that looks simple and easy but involves a bit of effort.

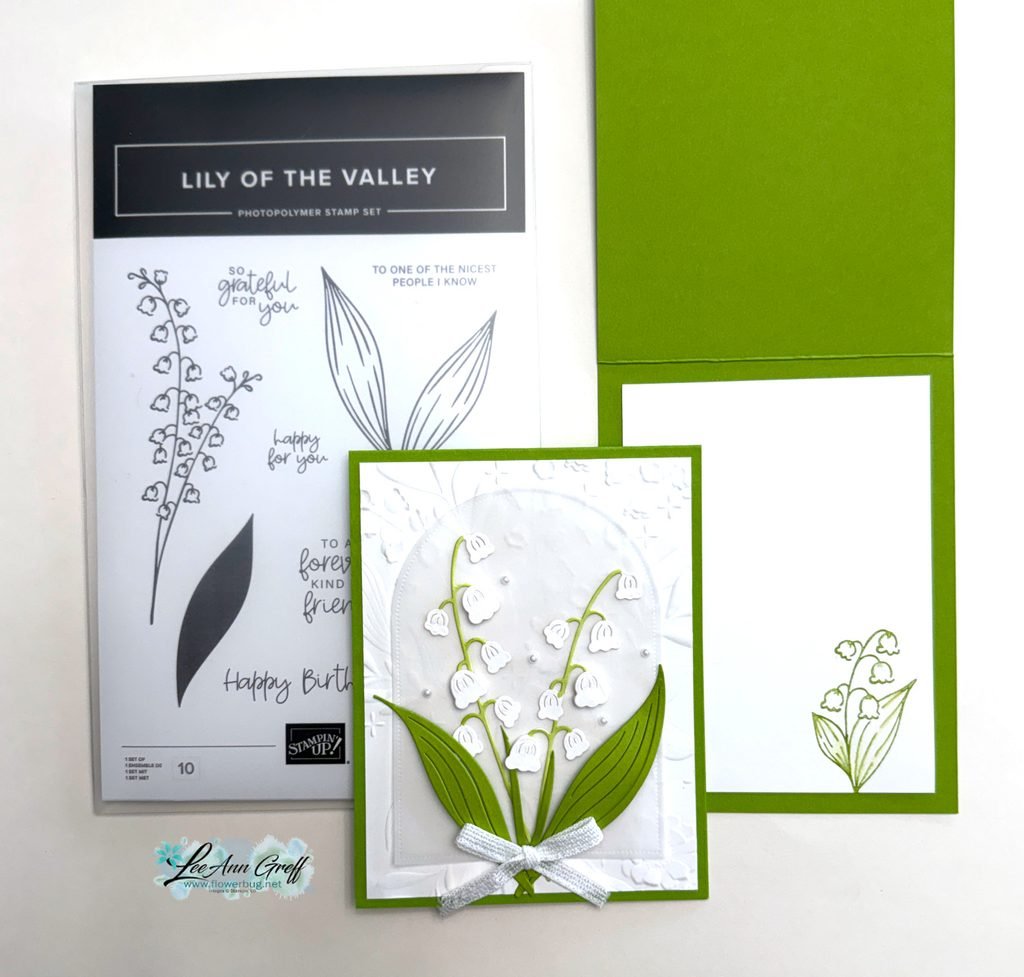
    I used the Lily of the Valley dies along with the Everyday Arches dies on the vellum and the Floral Spray 3D embossing folder (it’s back in stock) for the background. White & Granny Apple Green are my colors here.

    Since I did-cut the flowers from White CS I used a Granny Apple Green blends marker to color the stems on the flowers. I also curled the die-cut leaves a bit and cut one apart for the thicker stems in the center area. Watch the video to see how.

    Did you notice there isn’t a greeting on the front? It’s okay to leave them off now and then. This way my card can be used for any purpose.

    I didn’t even stamp one on the inside. Just a simple leaf/flower image. Click here to see the Lily of the Valley in my store. It’s wonderful.

    I created a free project sheet for this card as well as my video below. Click here for the project sheet you can download or print.

    Don’t miss out on the Designer Paper & Cardstock sale! Click here to shop and save.

    Double rewards for three days this week!

    Leave a Reply

    Your email address will not be published. Required fields are marked *

  • Golden Glow Specialty DSP is just $5 with a qualifying order; while supplies last.


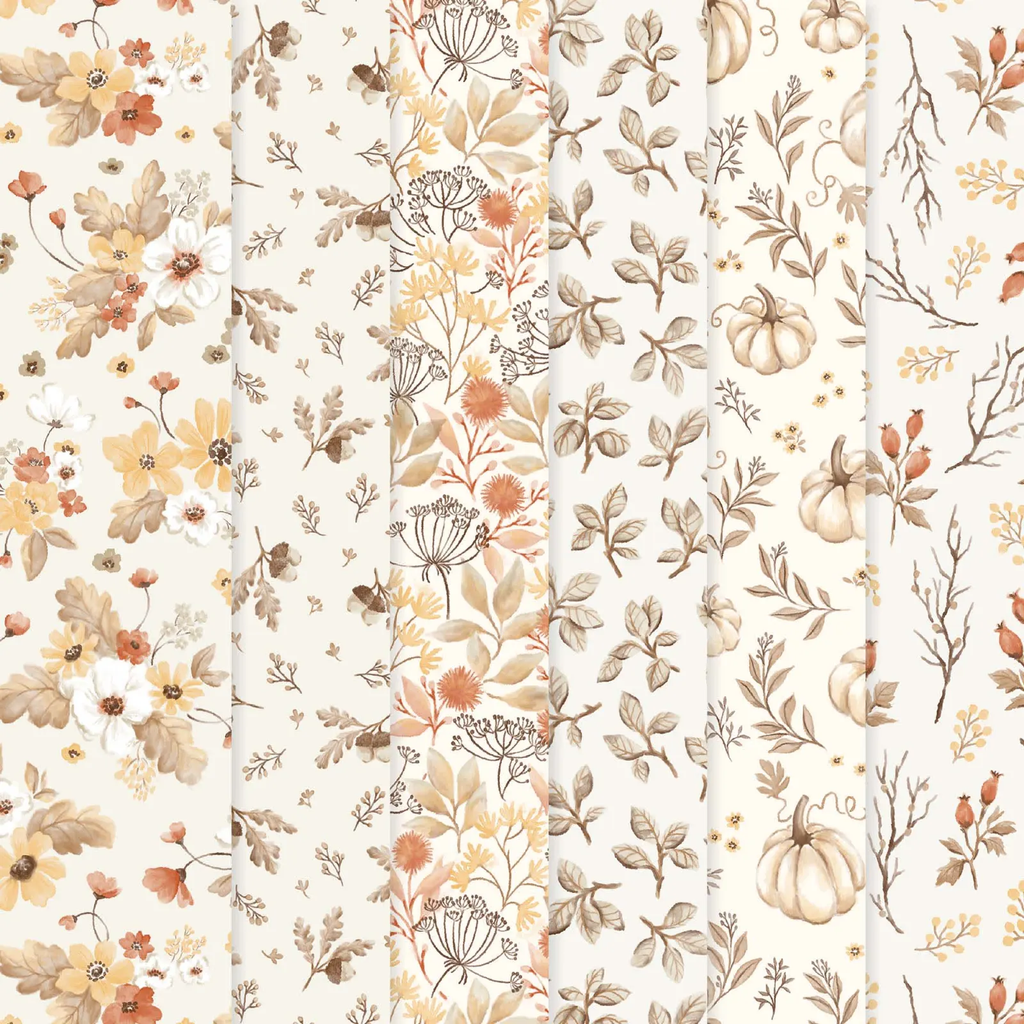
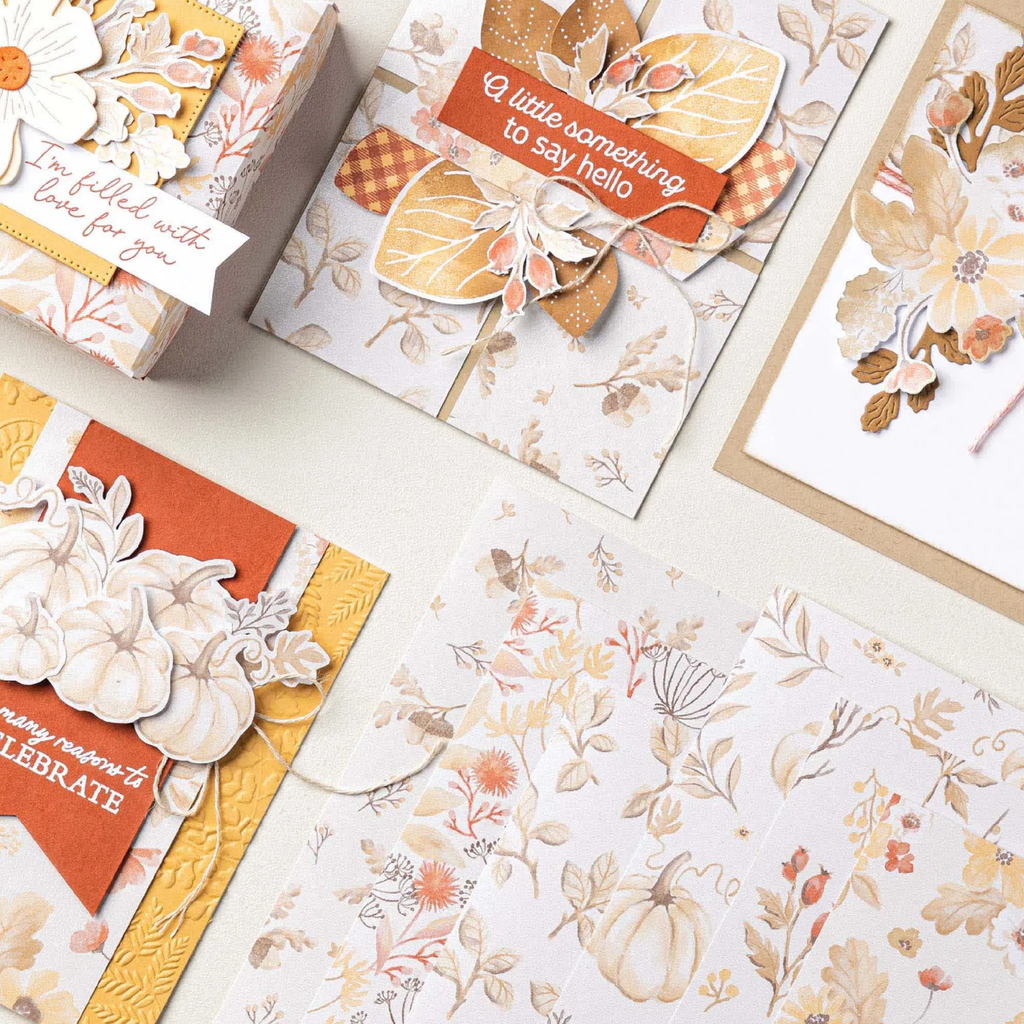
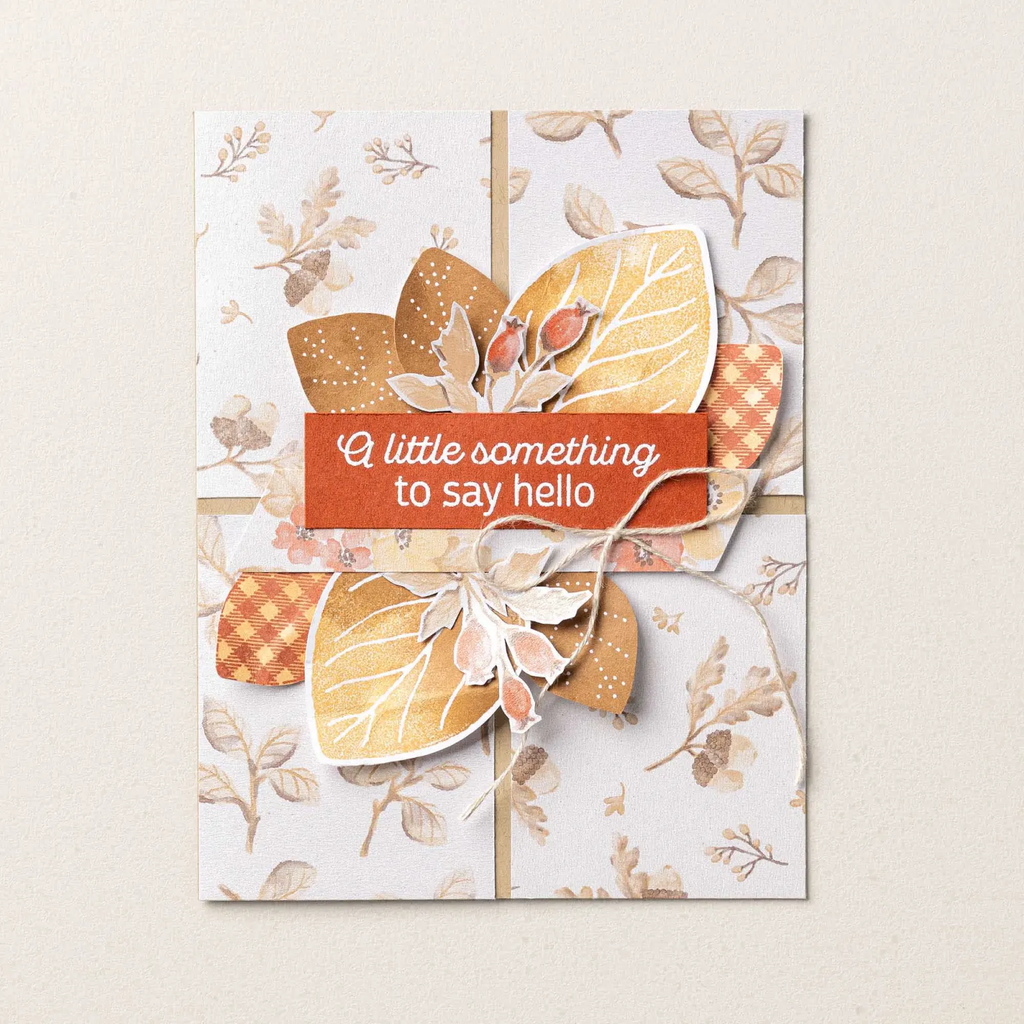
    I just received my gorgeous Golden Glow DSP and WOW; it’s amazing! It’s so soft and shimmery in person. I cannot wait to play with it.

    The Glow of Harvest 12″ x 12″ Specialty Designer Series Paper is the exclusive Product of the Month for August 2026! Only available until stocks run out—don’t wait to get yours! See it here.

    Once your order hits the $75 mark you can add it on for just $5. Such a deal!

    It includes these colors: Cajun Craze, Crumb Cake, Early Espresso, Golden Glow, Pecan Pie Each page has a soft, shimmery background.

    I think what I like the most about this pretty DSP is that it’s so soft in color. Many autumn papers are dark, deep with rich colors; this is so unique!

    Leave a Reply

    Your email address will not be published. Required fields are marked *

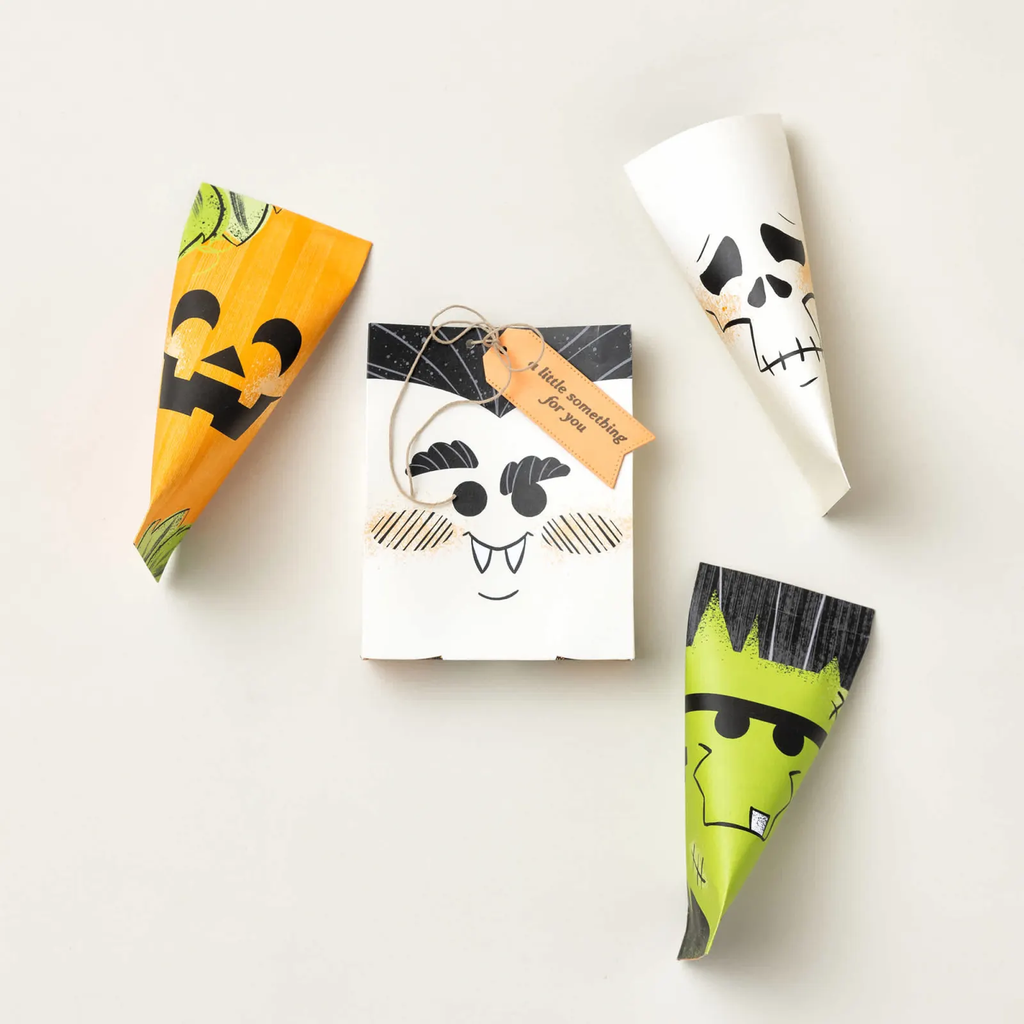
  • The Spooktakular 6 X 6″ DSP is perfect for these fun treat pouches!


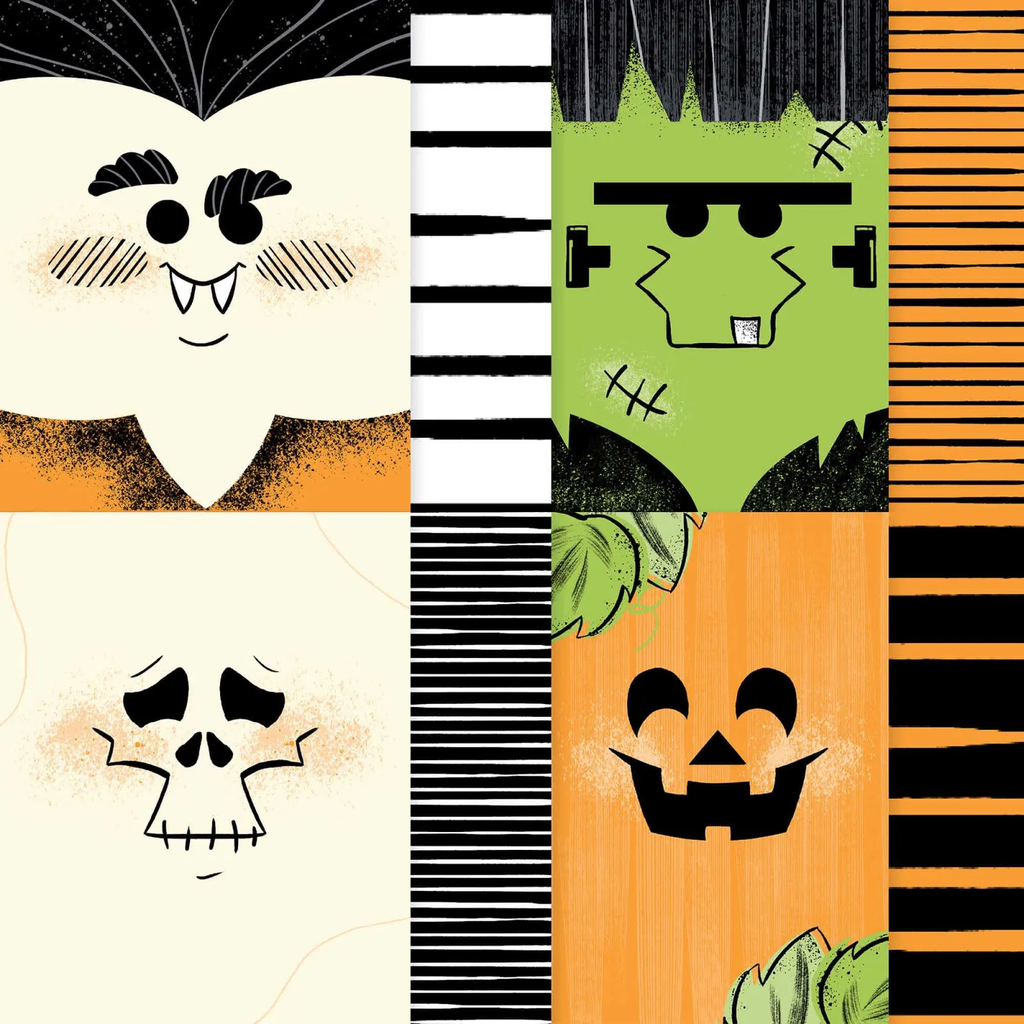
    Stampin’ Up! knocked it out of the park with this super fun Halloween designer paper! Each 6 X 6″ sheet has a fun ‘spooky’ character on it and the opposite side is colorful stripes. Think Frankenstein, a vampire, a skeleton, and a pumpkin. See it here.

    Colors: Basic Black, Granny Apple Green, Pumpkin Pie, Very Vanilla

    Stampin’ Up! shared this fun treat pouch that would be perfect for treats.

    Aren’t they cute?!
    This project is not just for Halloween. Browse through your designer paper and consider making one.

    https://youtube.com/shorts/5qPYFMKyKC0?si=_8ZK2f_iBYaoLf0f


    Leave a Reply

    Your email address will not be published. Required fields are marked *


Notice: LeeAnn Greff, Independent Stampin’ Up! Demonstrator, Manager. The content of this website is my sole responsibility as an independent Stampin’ Up! demonstrator and the use of, and content of, the classes, services, or products offered on this website is not endorsed by Stampin’ Up! Copyright 2025