/


Latest Post

Another way to use the Gorgeous Garden dies in a fun fold card with video tutorial


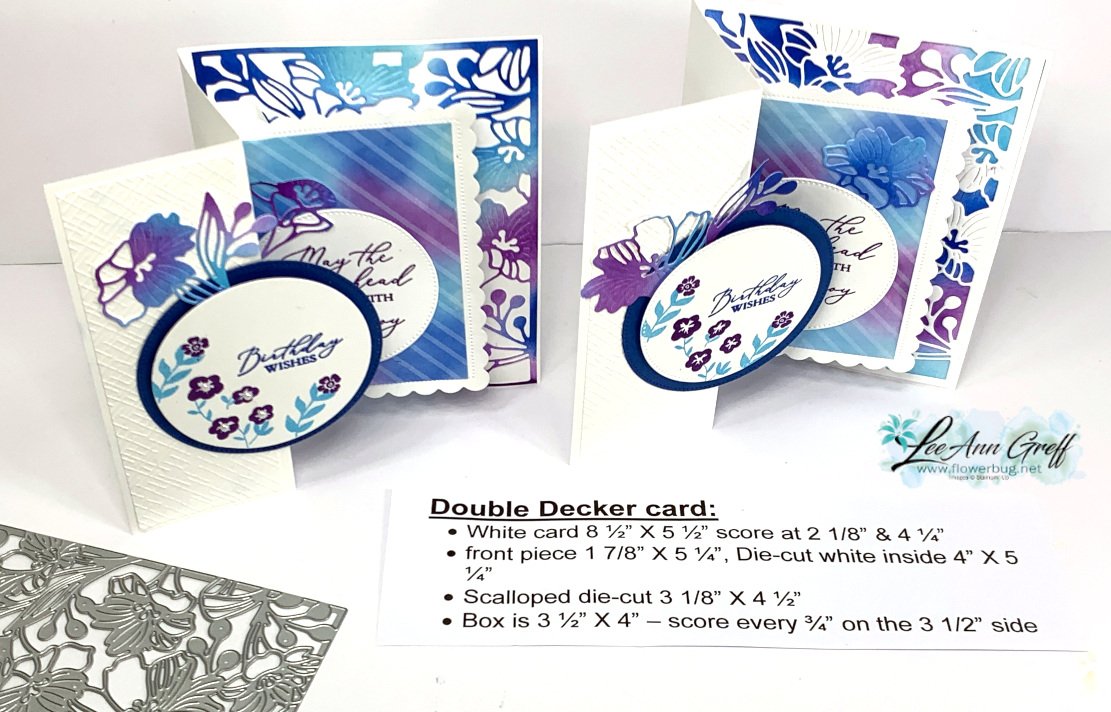
I shared this beautiful card on a recent video.  I sure had fun with the colors on this card!
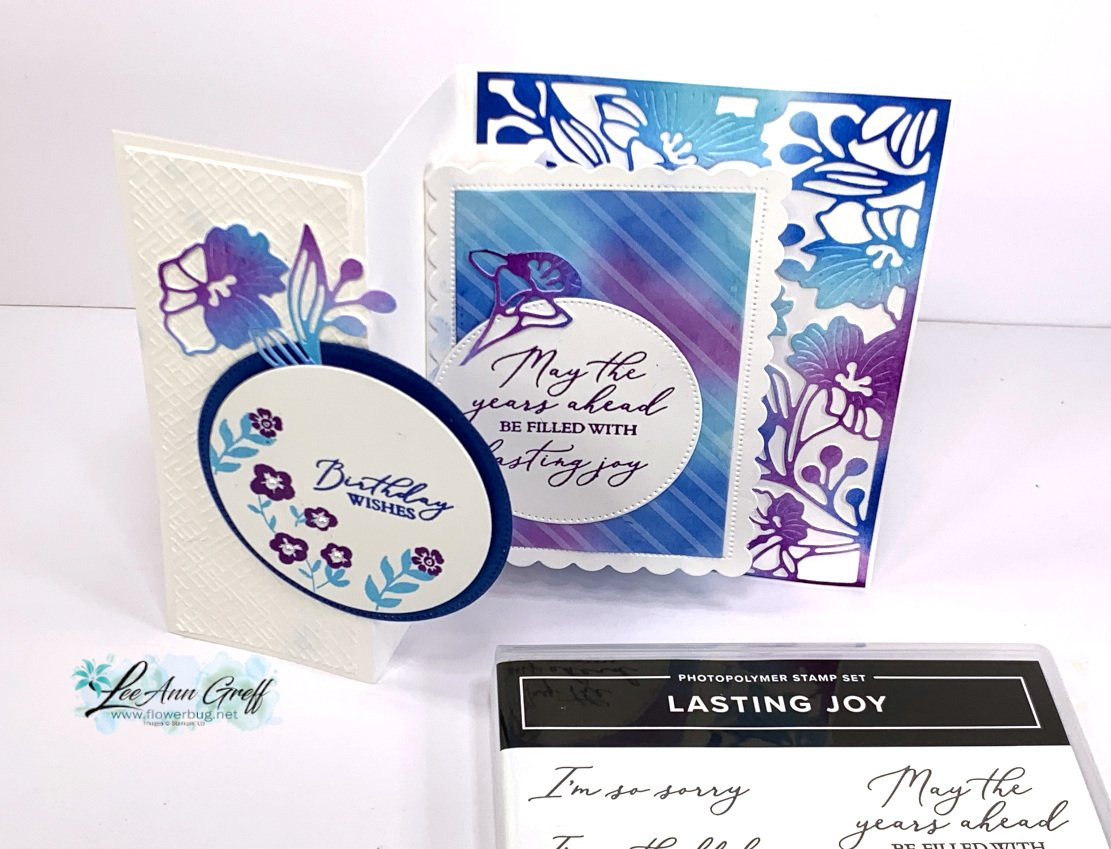
It's a double-decker fun fold card.  It might look hard but it sure isn't!  All you need to add is a simple box between the middle layer and the inside back of the card.  Watch the video here to see how it's done.  
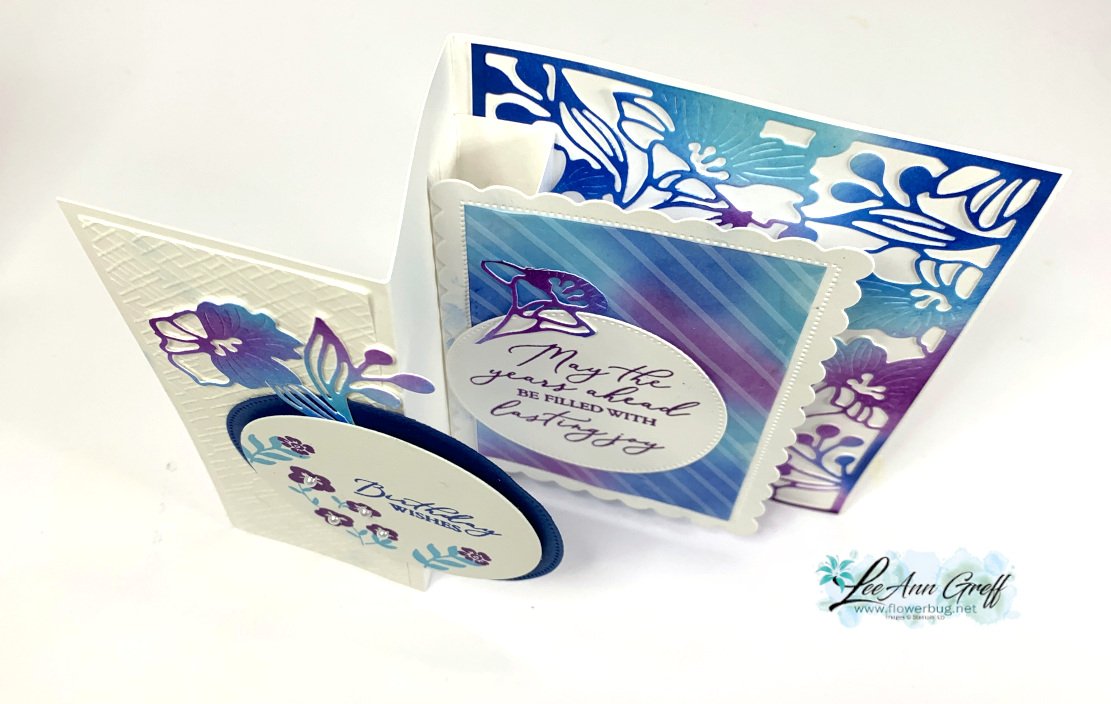
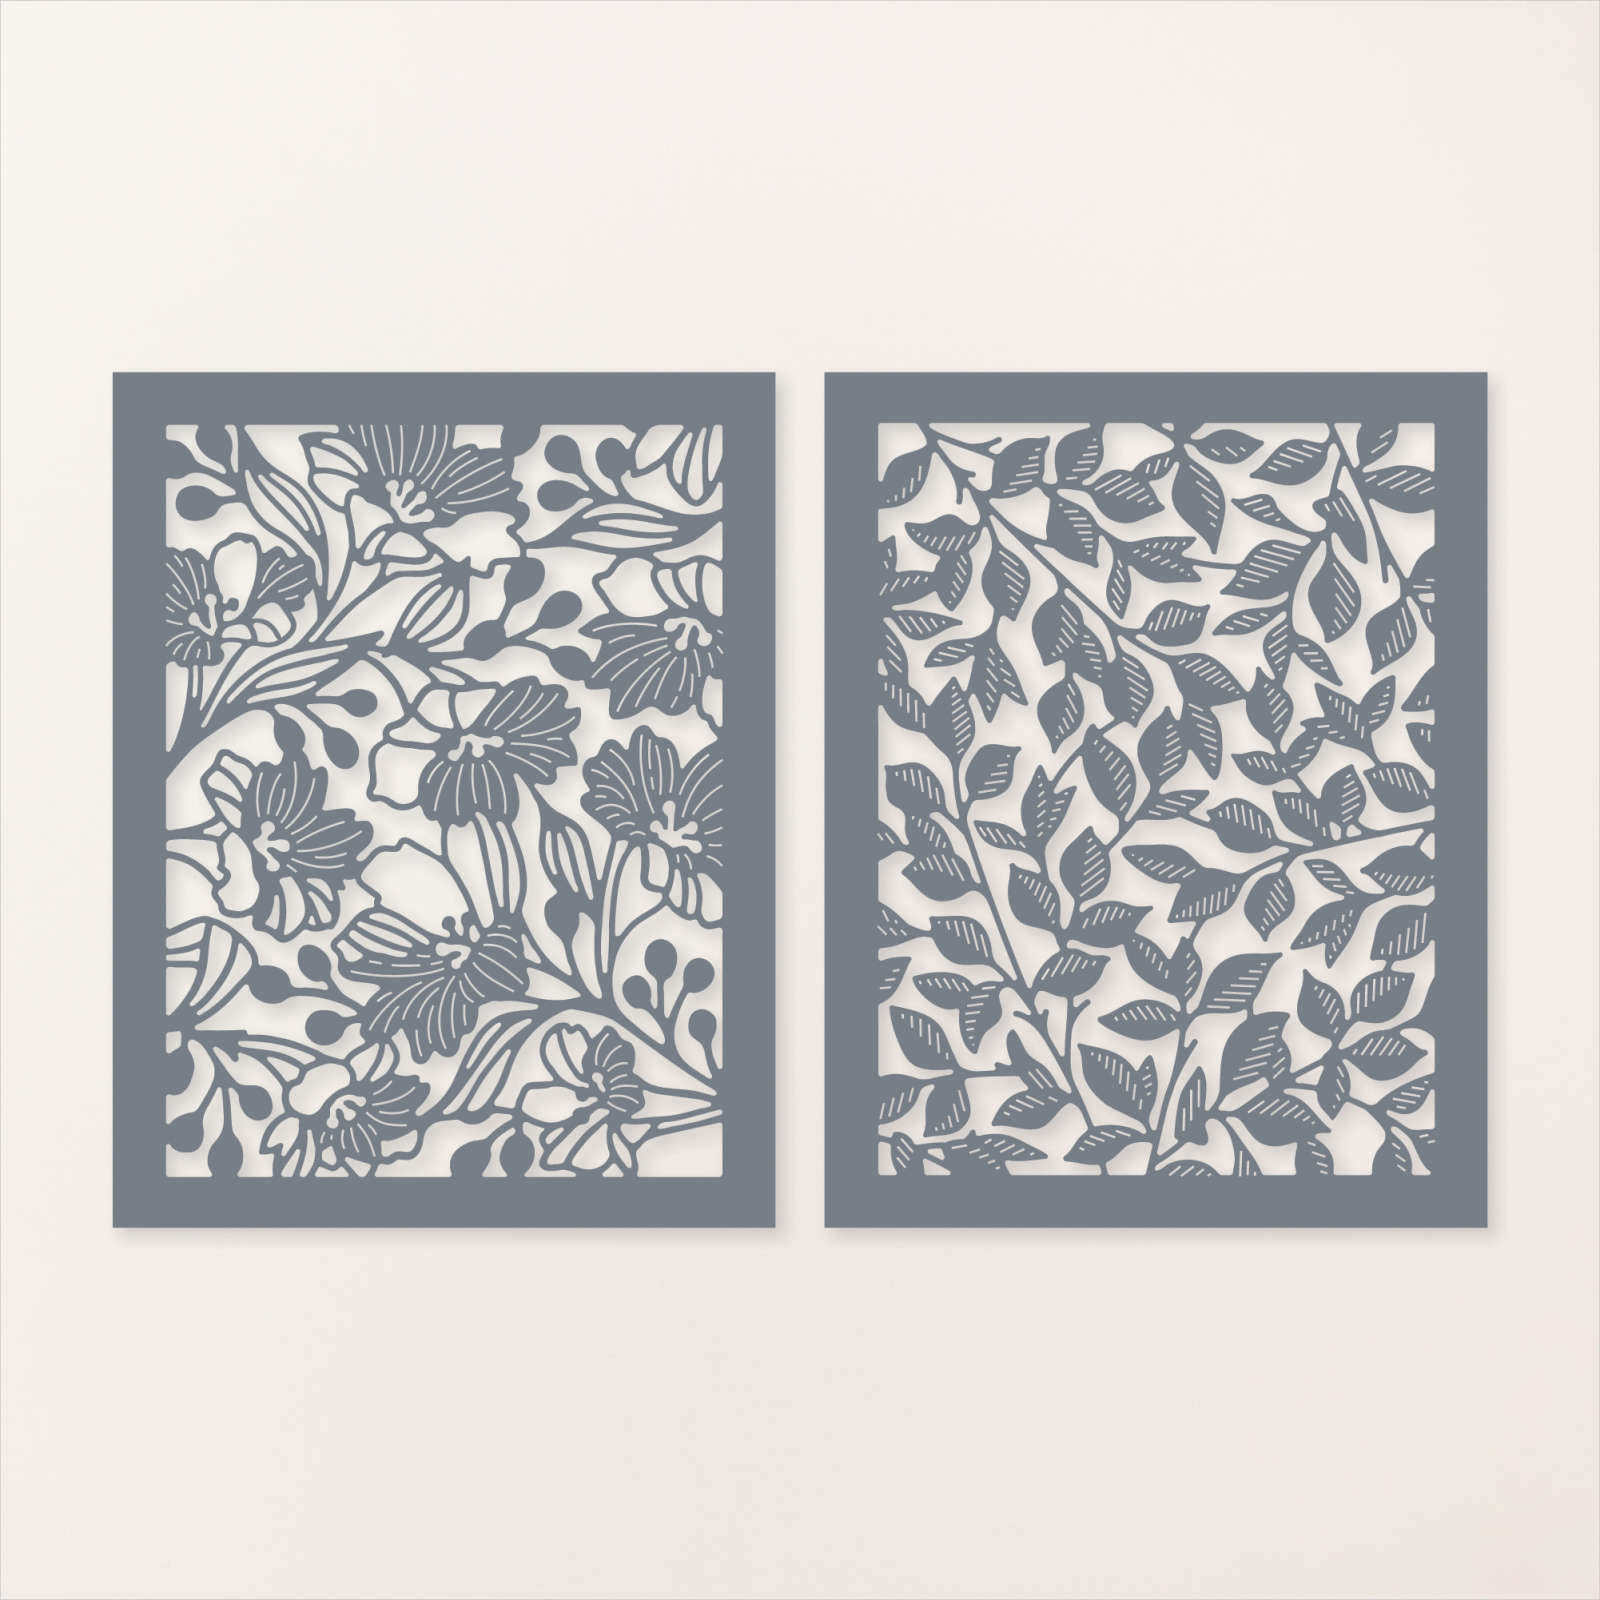
Using our Blending Brushes I added the three colors (Tahitian Tide, Brilliant Blue & Gorgeous Grape) to a piece of White cardstock.  I then used the Garden dies to die-cut it out.  I adhered this to the back of the card base before adding the 'box' to create the double-decker fun fold card. 

I created a second colorful die-cut so I could add extra details to the cards.   

Supplies:

  • Basic White & Brilliant Blue card stock
  • Vellum Basics specialty paper seen here
  • Inks – Brilliant Blue, Gorgeous Grape & Tahitian Tide
  • Lasting Joy stamp set seen here
  • Gorgeous Garden dies
  • Basic 3D embossing folders seen here
  • Stylish Shapes dies for the circles
  • Scalloped Contours dies for the scalloped rectangle
  • Blending Brushes

Double-decker card measurements:

  • White card 8 ½” X 5 ½” score at 2 1/8” & 4 ¼”, front textured layer is 1 7/8” X 5 ¼”,
  • White for die-cut 4” X 5 ¼”, Scalloped die-cut 3 1/8” X 4 ½”
  • Box is 3 ½” X 4” – score every ¾”
  • Circle die-cuts – 2 3/4" white & 3" blue 

Here are both cards shown in the video below. 

See the Gorgeous Garden dies here. 
I made these cards on a recent video seen here.  Or click on the photo below to watch.  

Don't forget to follow me on YouTube here or on Facebook here. 

 ~~~

August Specials: 

 *current host codes: KY99RPXP 

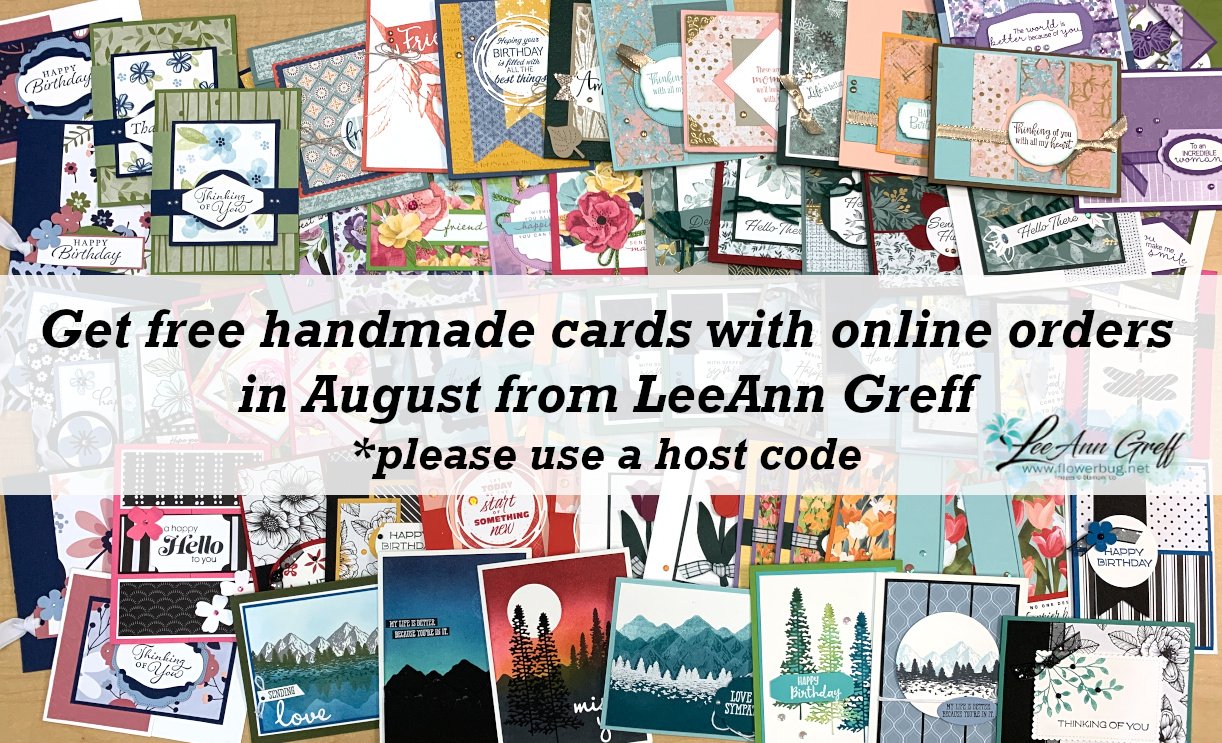
Free Gift with orders in August: 

Get a pack of at least 5 beautiful cards with orders over $50 this month. 

The more you order the more cards you get!

*cards are previous card kits to go; over the top and many fun folds.  
All Posts

  • Get ideas from these Team Card Swaps


    Our Flowerbug's Team swap for June featured new color 'duo' cards.  We could use any new color and add a current color to it. 

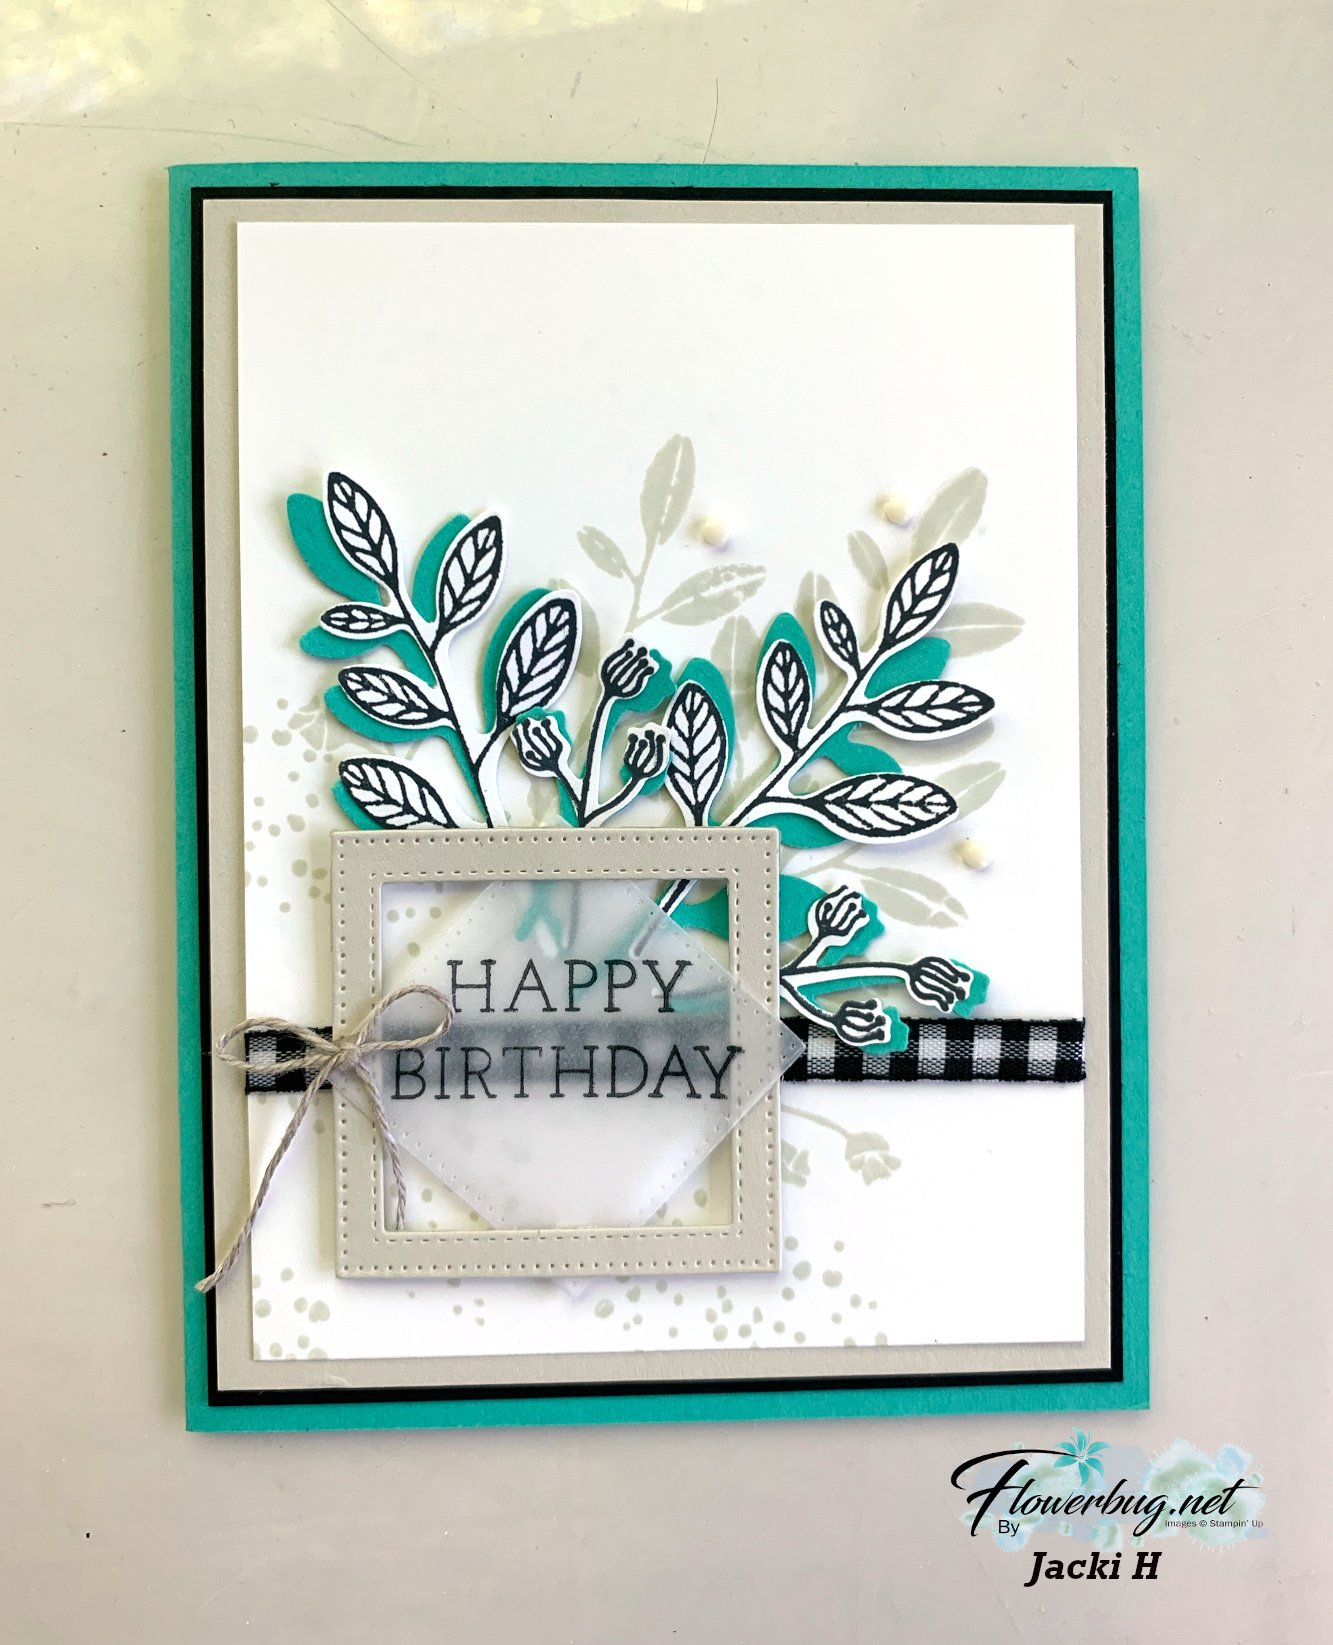
    This first card is so cool!  I love how Jackie added the sentiment in a vellum window! 

    She used the Layering Leaves stamp set and the coordinating Bough punch.  Her colors include Summer Splash with Basic Beige, Black & White.  The squares were die-cut from the Stylish Shapes dies.  just lovely! 

    ~~~

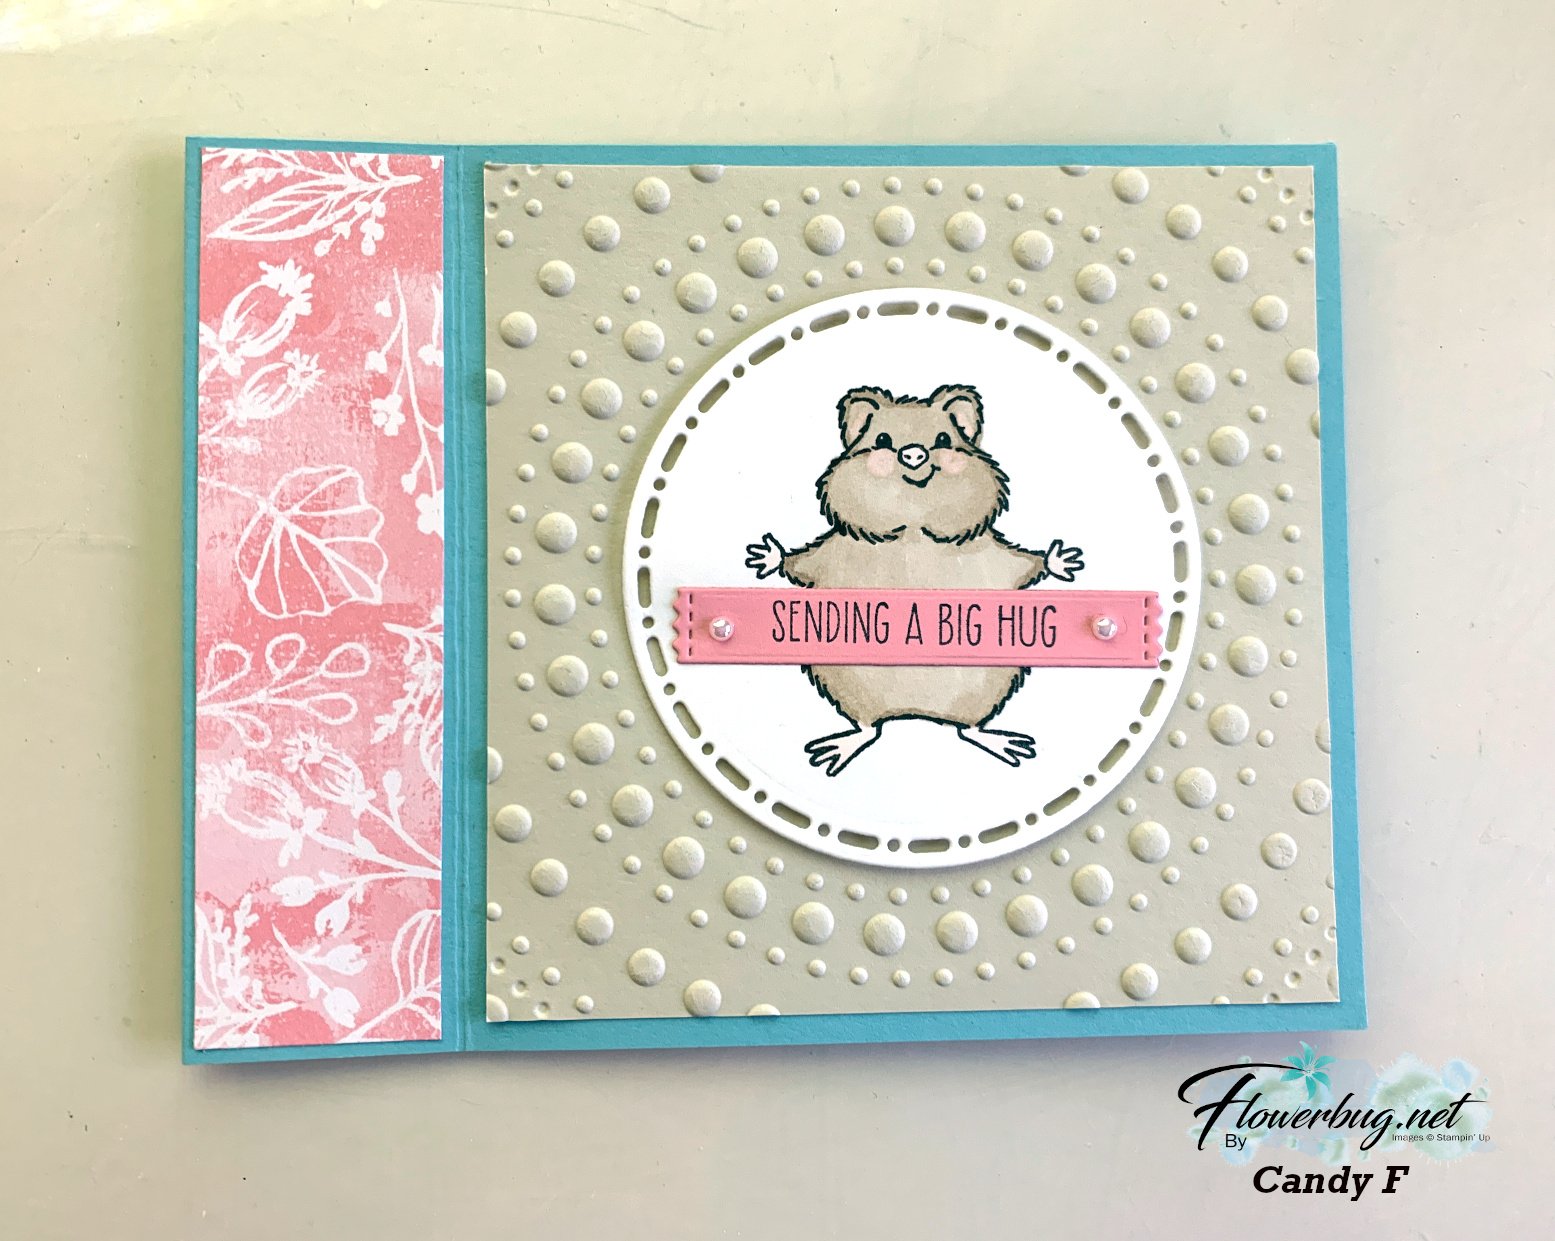
    Next is Candy's sweet card; featuring the Hearts & Hugs bundle seen here.  

    It's a book binding fun fold and her colors include Pretty in Pink, Basic Beige with Balmy Blue.  She used the Spotlight on Nature dies and the Dotted Circles 3D embossing folder (unavailable until August).

    ~~~

    Next is a pretty card made by Ginny who used the new Poised Peony stamp set.  

    Her beautiful color combo include Pretty in Pink with Lost Lagoon & White.  Simple & lovely. 

    ~~~

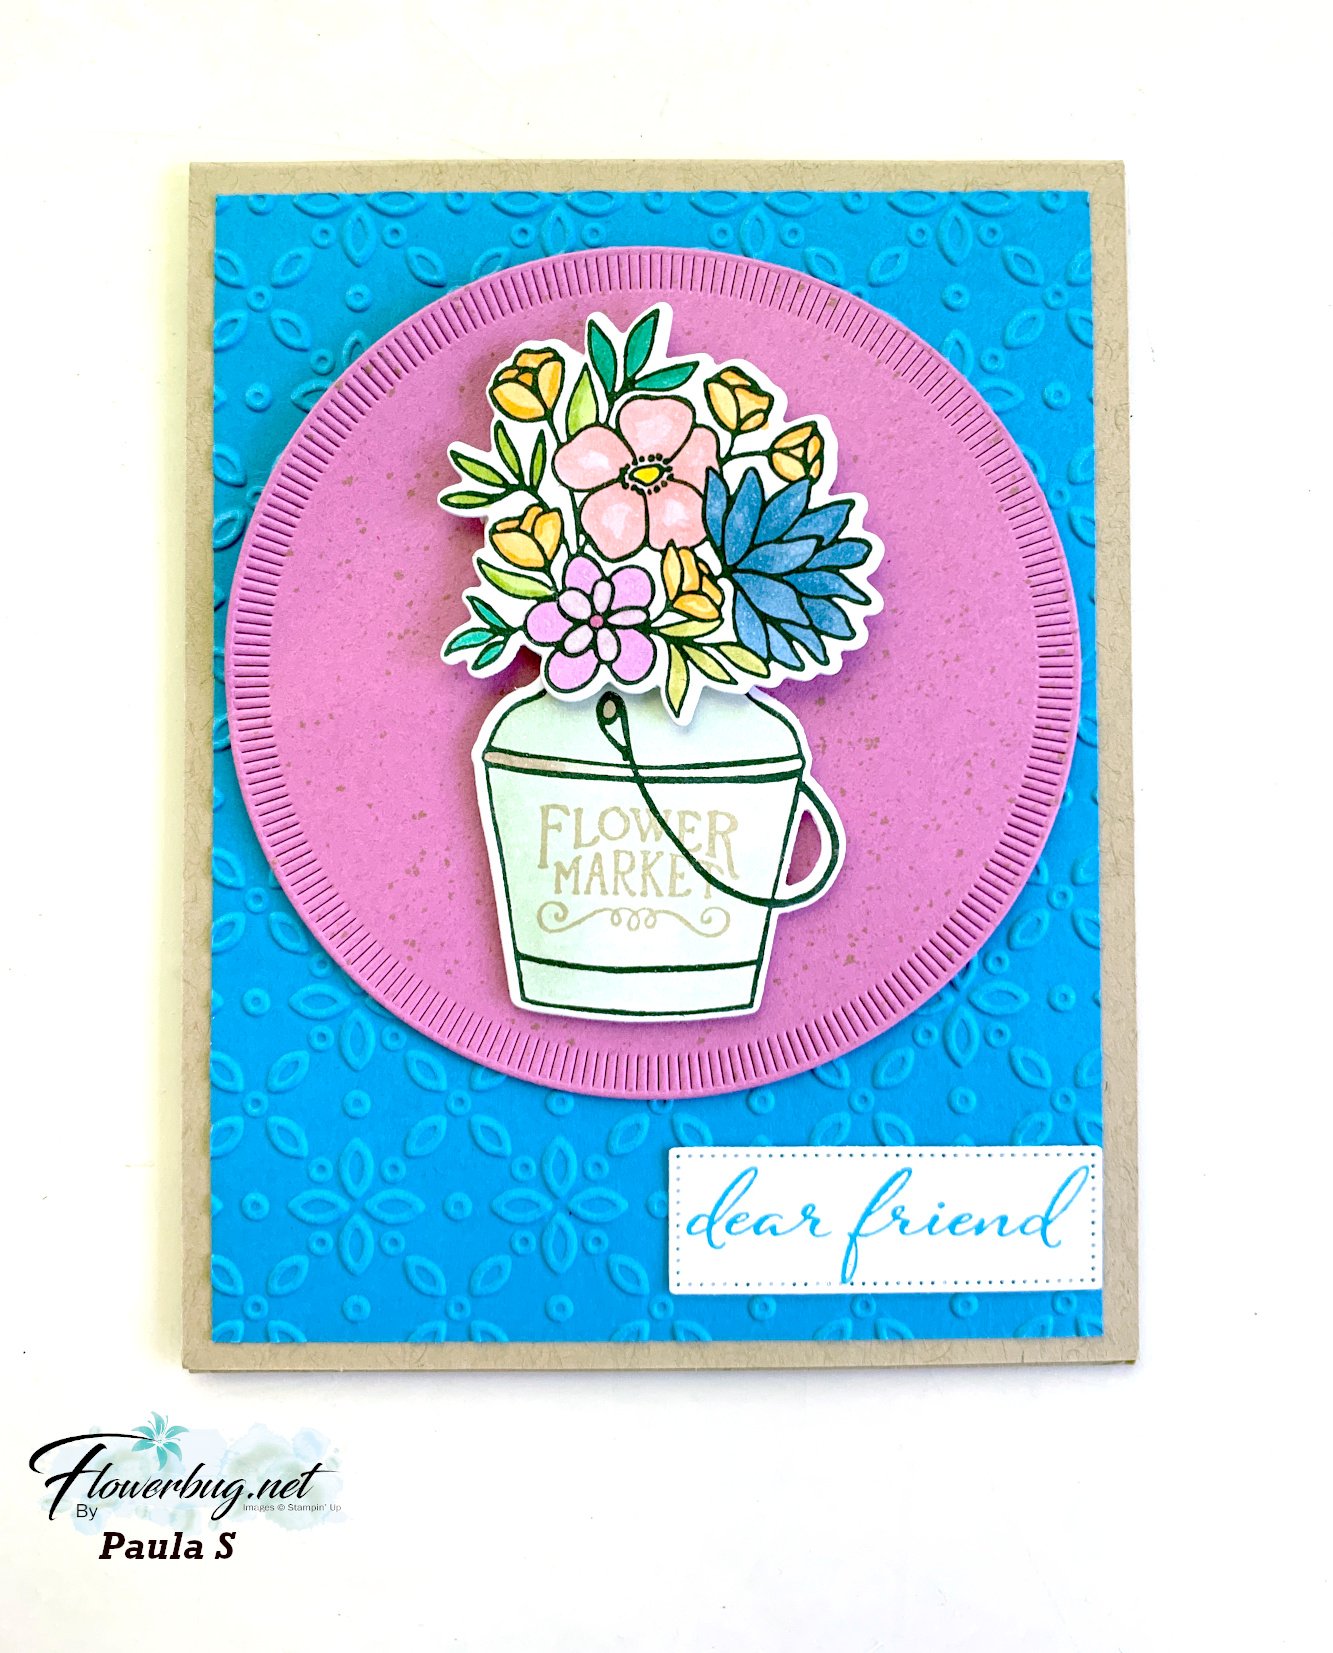
    Next is a bright combo of colors reflected in her flower bouquet.  Paula featured the Country Flowers bundle here. 

    Her colors include Petunia Pop, Summer Splash with White & Crumb Cake. Beautiful coloring on the bouquet here! 

    The embossing folder is the Eyelet 3D and the large circle is from the Spotlight on Nature dies. 

    ~~~

    Remember that for every $50 you spend in July you receive a $5 coupon to redeem in August on another order! 

    Bonus Days are a Win Win!!

    ~~~

    *current host code links: 4QYAPERK or 3A73HXYB


    Earn $5 coupon for every $50 you spend in July; redeem in August. 

    ~~~

    All online orders will receive my PDF tutorial featuring the Full of Life suite

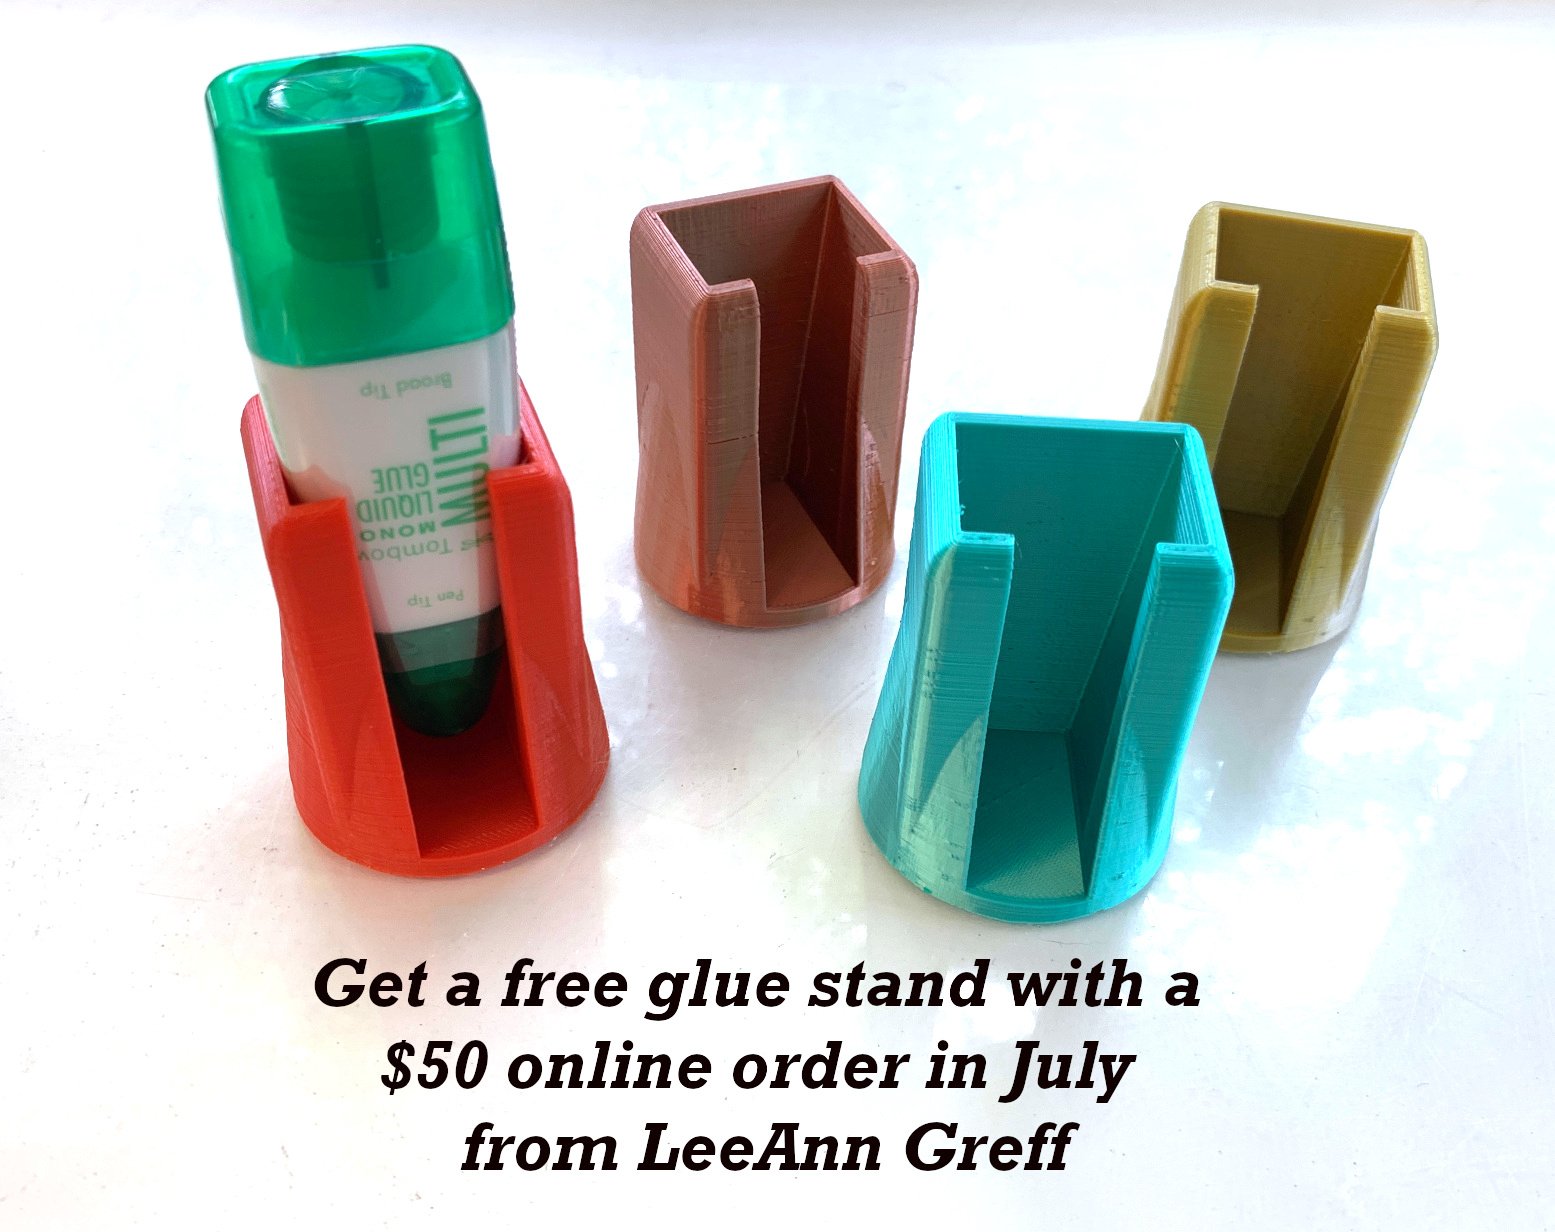
    Choose a free glue stand from me!


    Leave a Reply

    Your email address will not be published. Required fields are marked *

  • Get more cards in the Gorgeous Expressions of Kindness card kit


    This stunning Expressions of Kindness card kit from our Kit Collection was released last month. I made time to play with it a few days ago and it's absolutely gorgeous! 

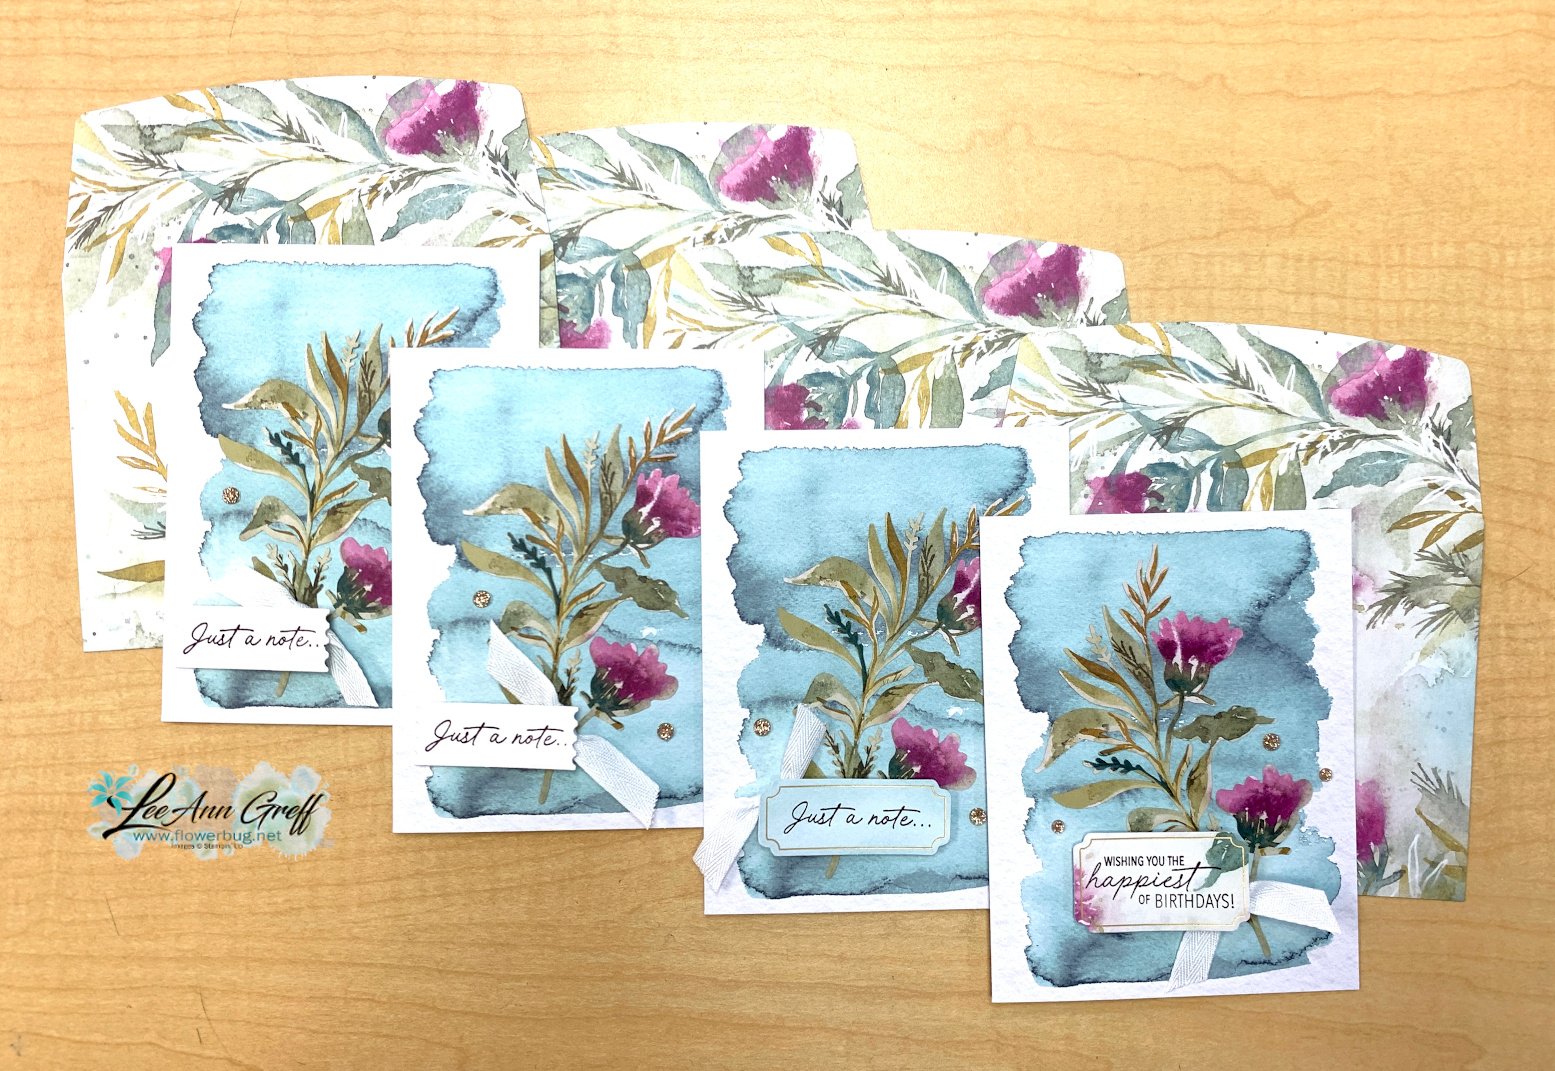
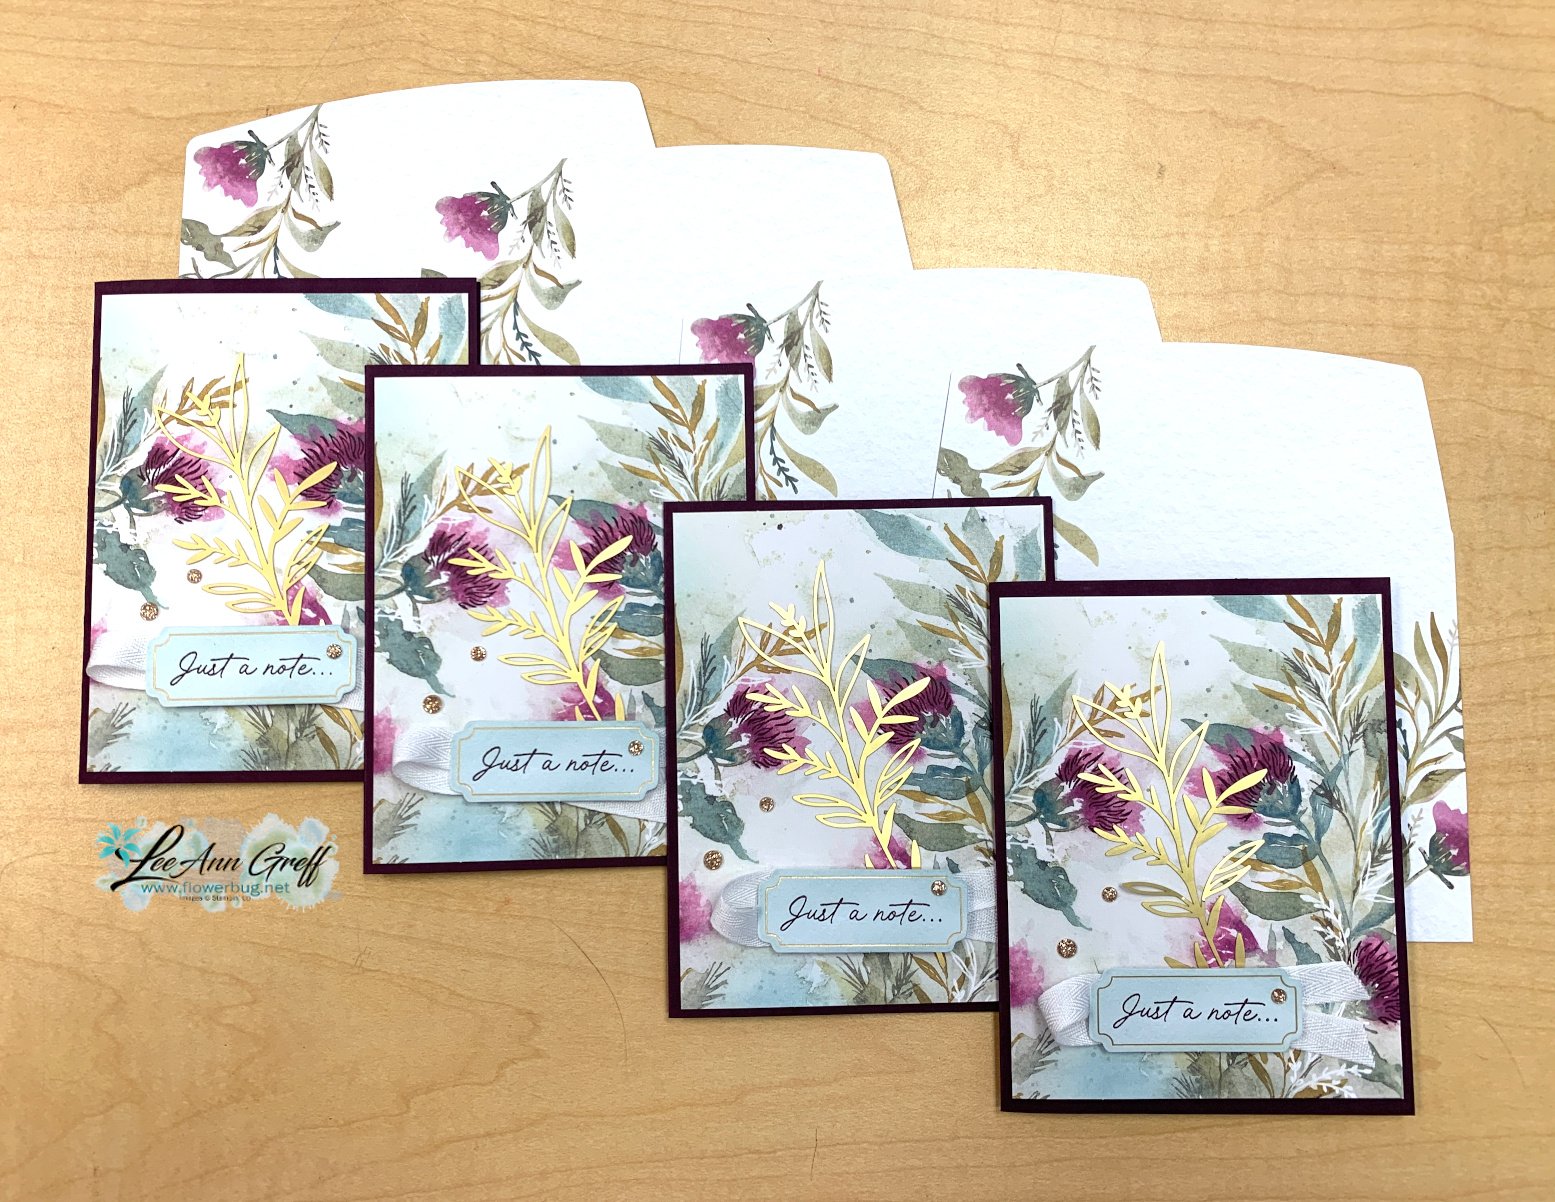
    I liked the cards so well I wanted to make more than the 8 cards in the kit.  It's fun to figure out how to extend the beautiful prints on the cards and envelopes.  I decided to keep it simple and add extra card bases and leave the envelopes intact. 

    See this kit here online: 

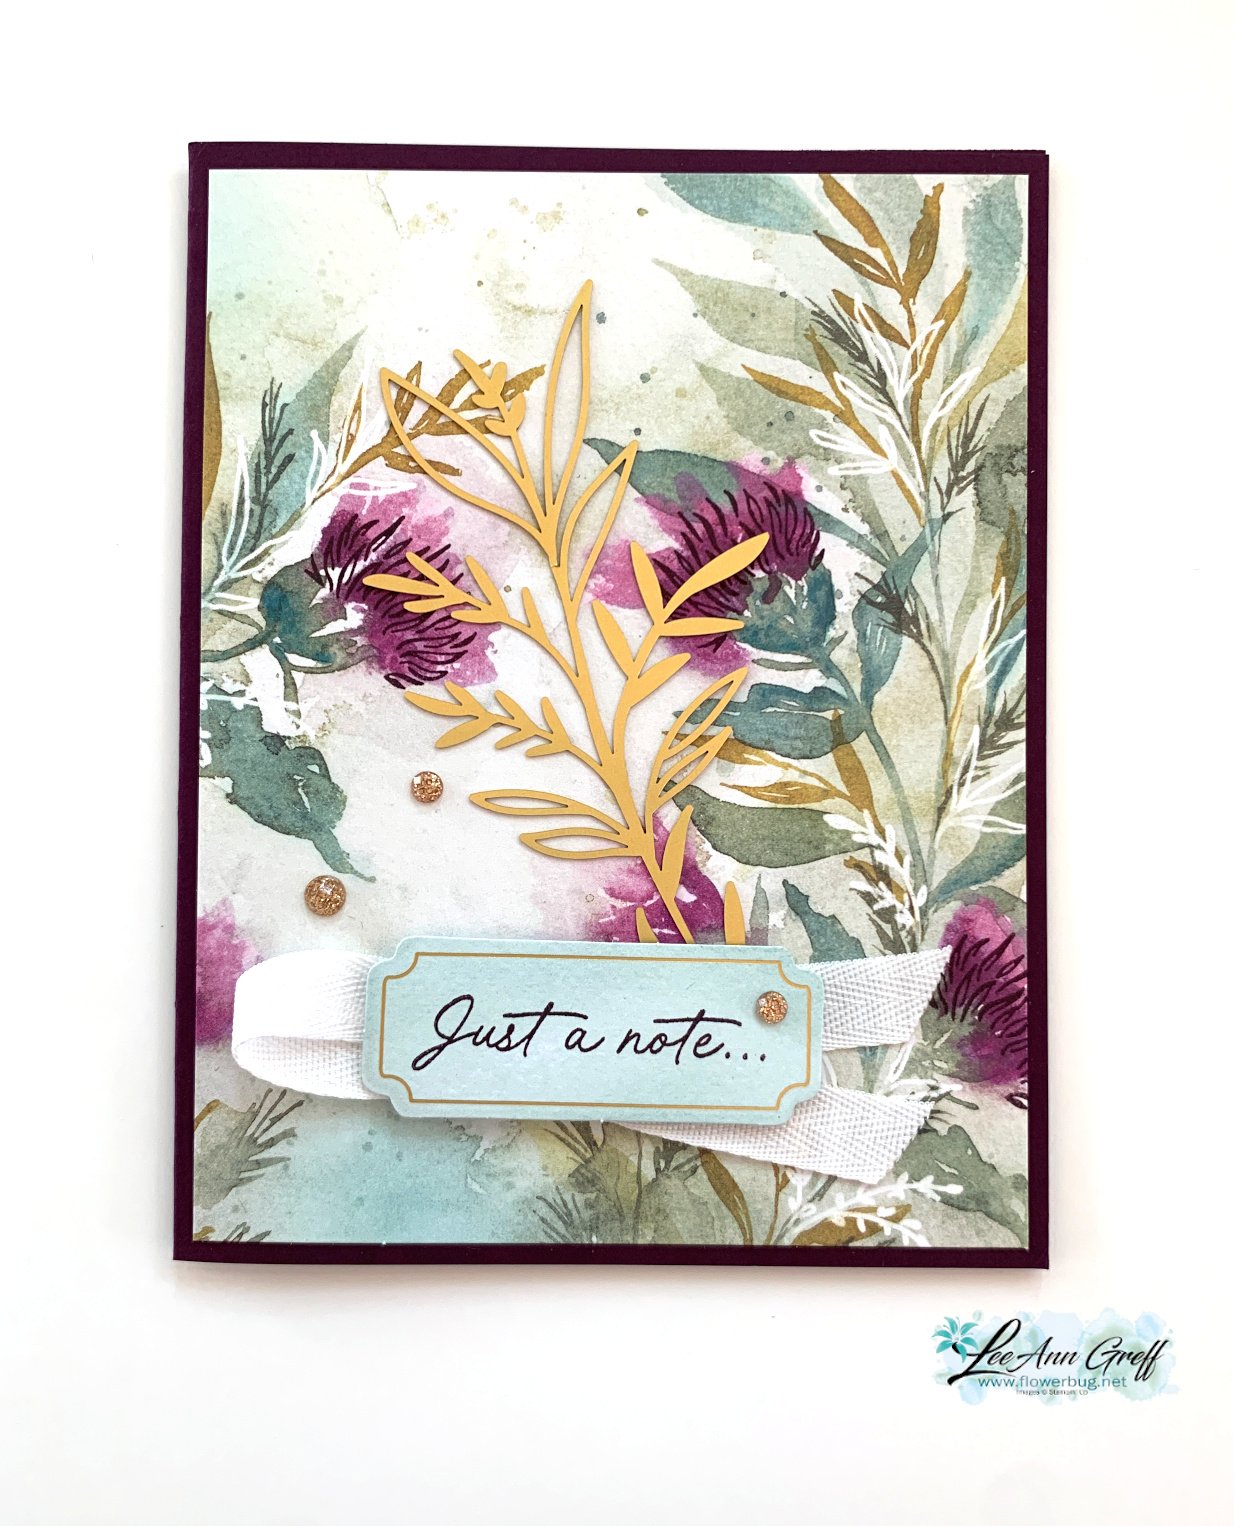
    This first set of cards are almost exactly as the kit suggested except I saved the gold foil leaves for a different card.  There was enough ribbon to add a few knots on each of the above cards and still have enough for the rest of the 8 cards seen below. 

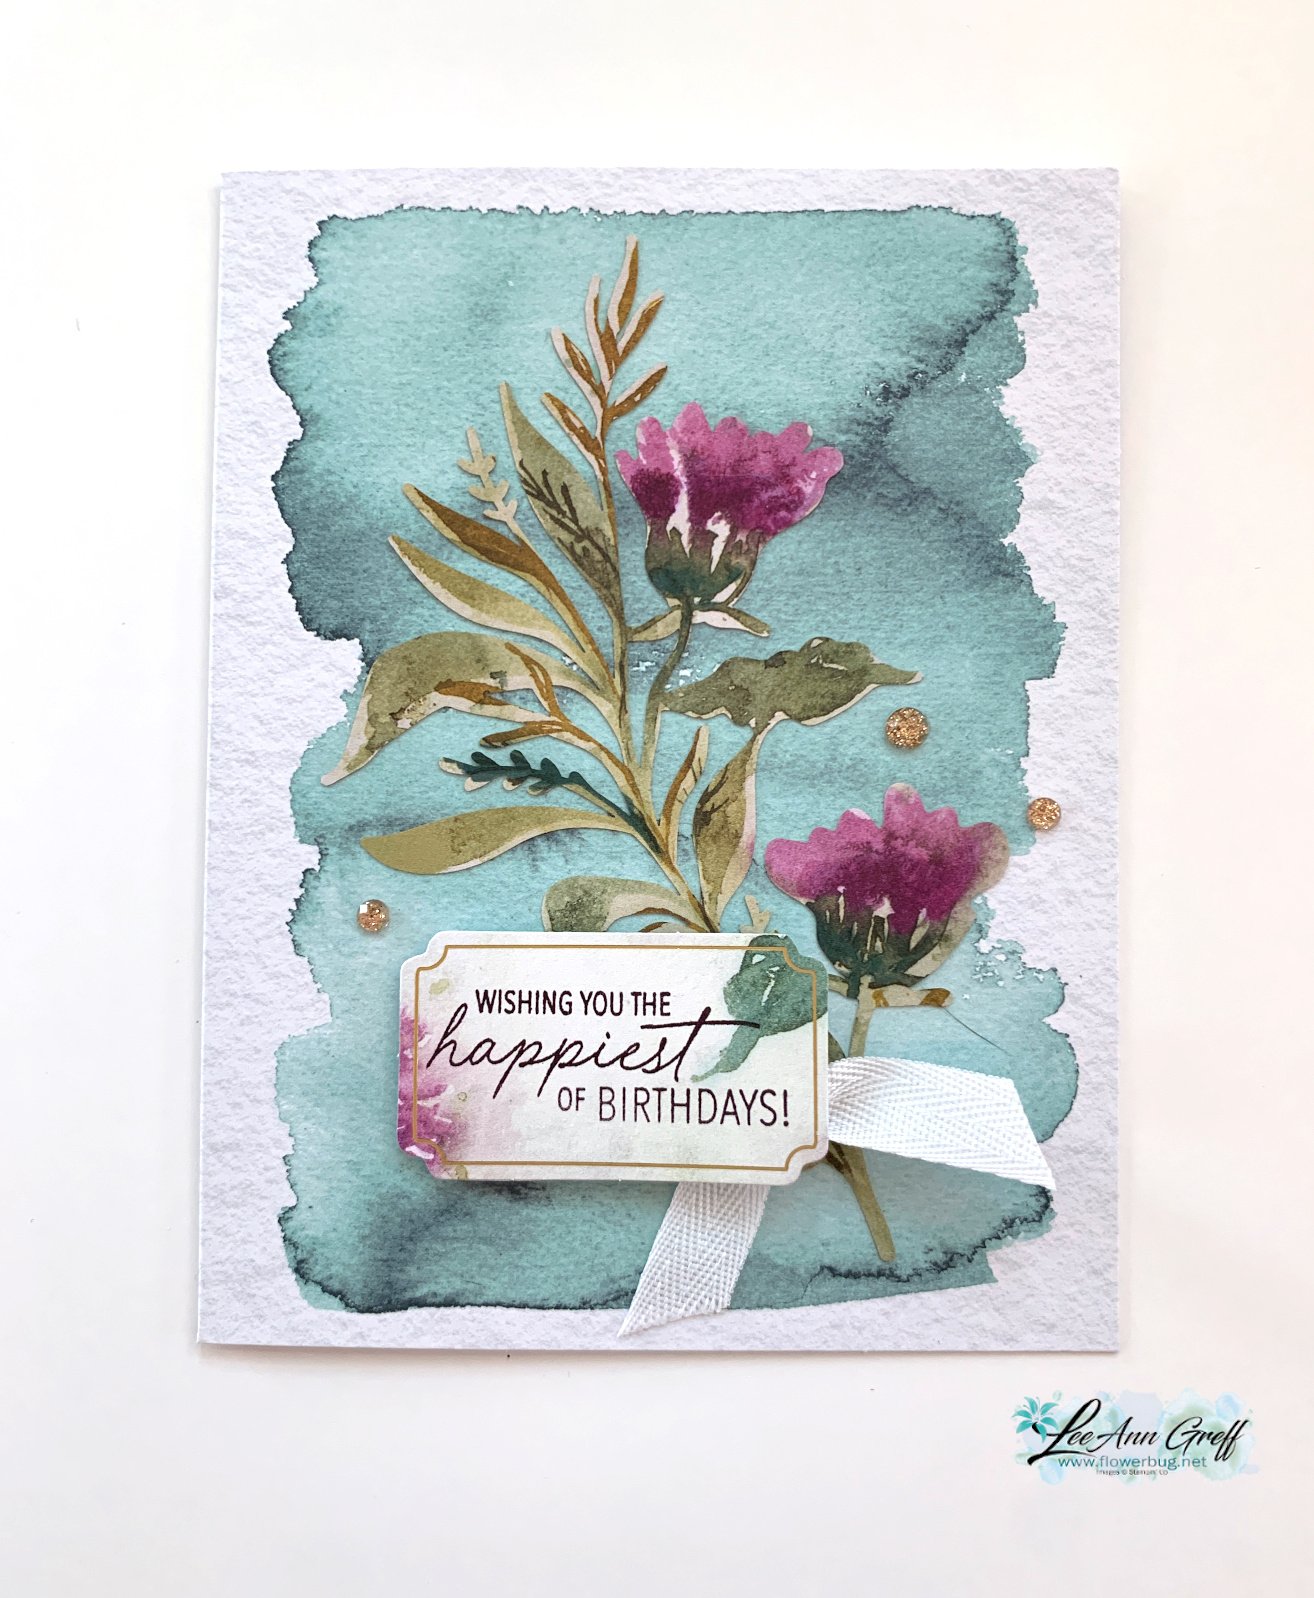
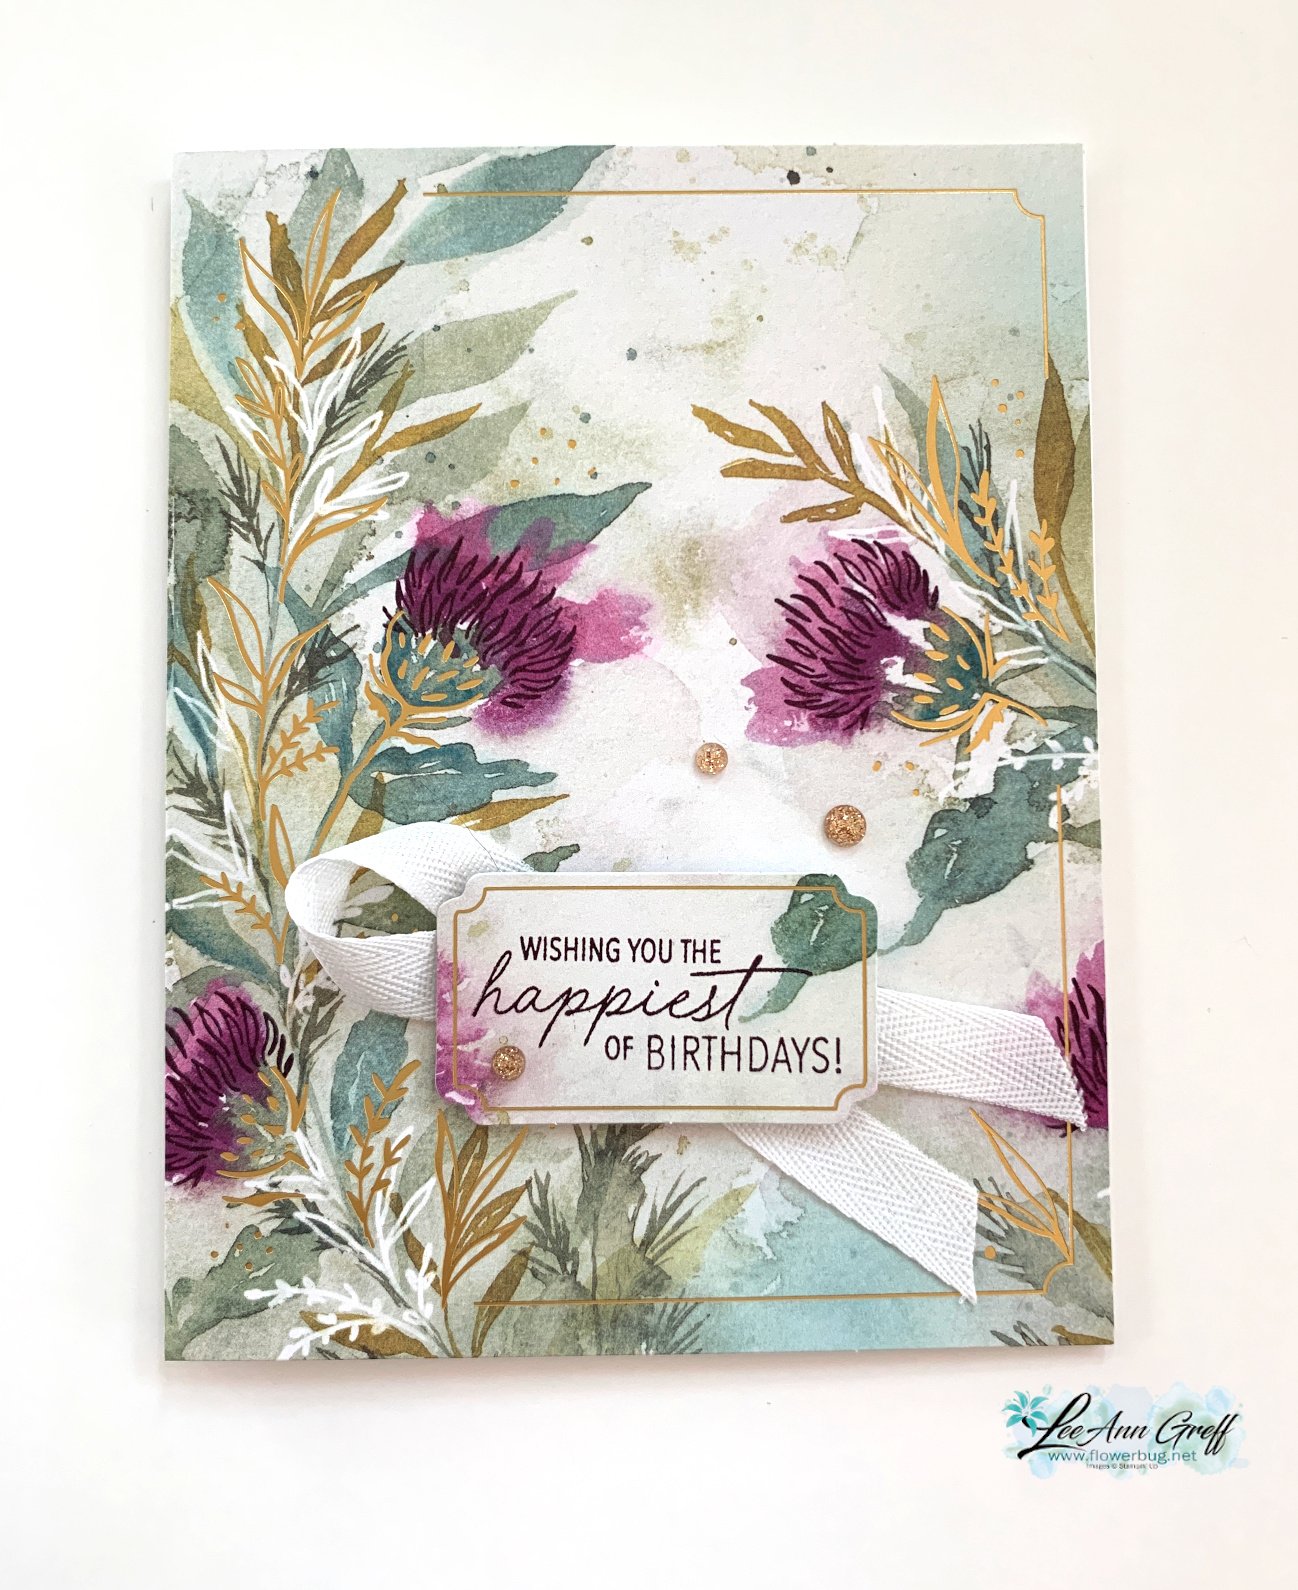
    Below are all three individual cards I made. 

    For the following two cards I cut the full printed card bases in half. I added 4 white card bases for the left card below. I felt the printed card with the gold foil accents was pretty enough for the ribbon & greeting image.  


    For the card on the right above I cut down the card front to 4" X 5 1/4" and layered it onto 4 Blackberry Bliss card bases as seen below.  This is where I added the gold foil leaves with the greeting. 

    You can see this beautiful kit here.  It's $23 and includes the 8 cards & envelopes, a stamp set, Blackberry Bliss ink spot, gems, White ribbon and adhesive.

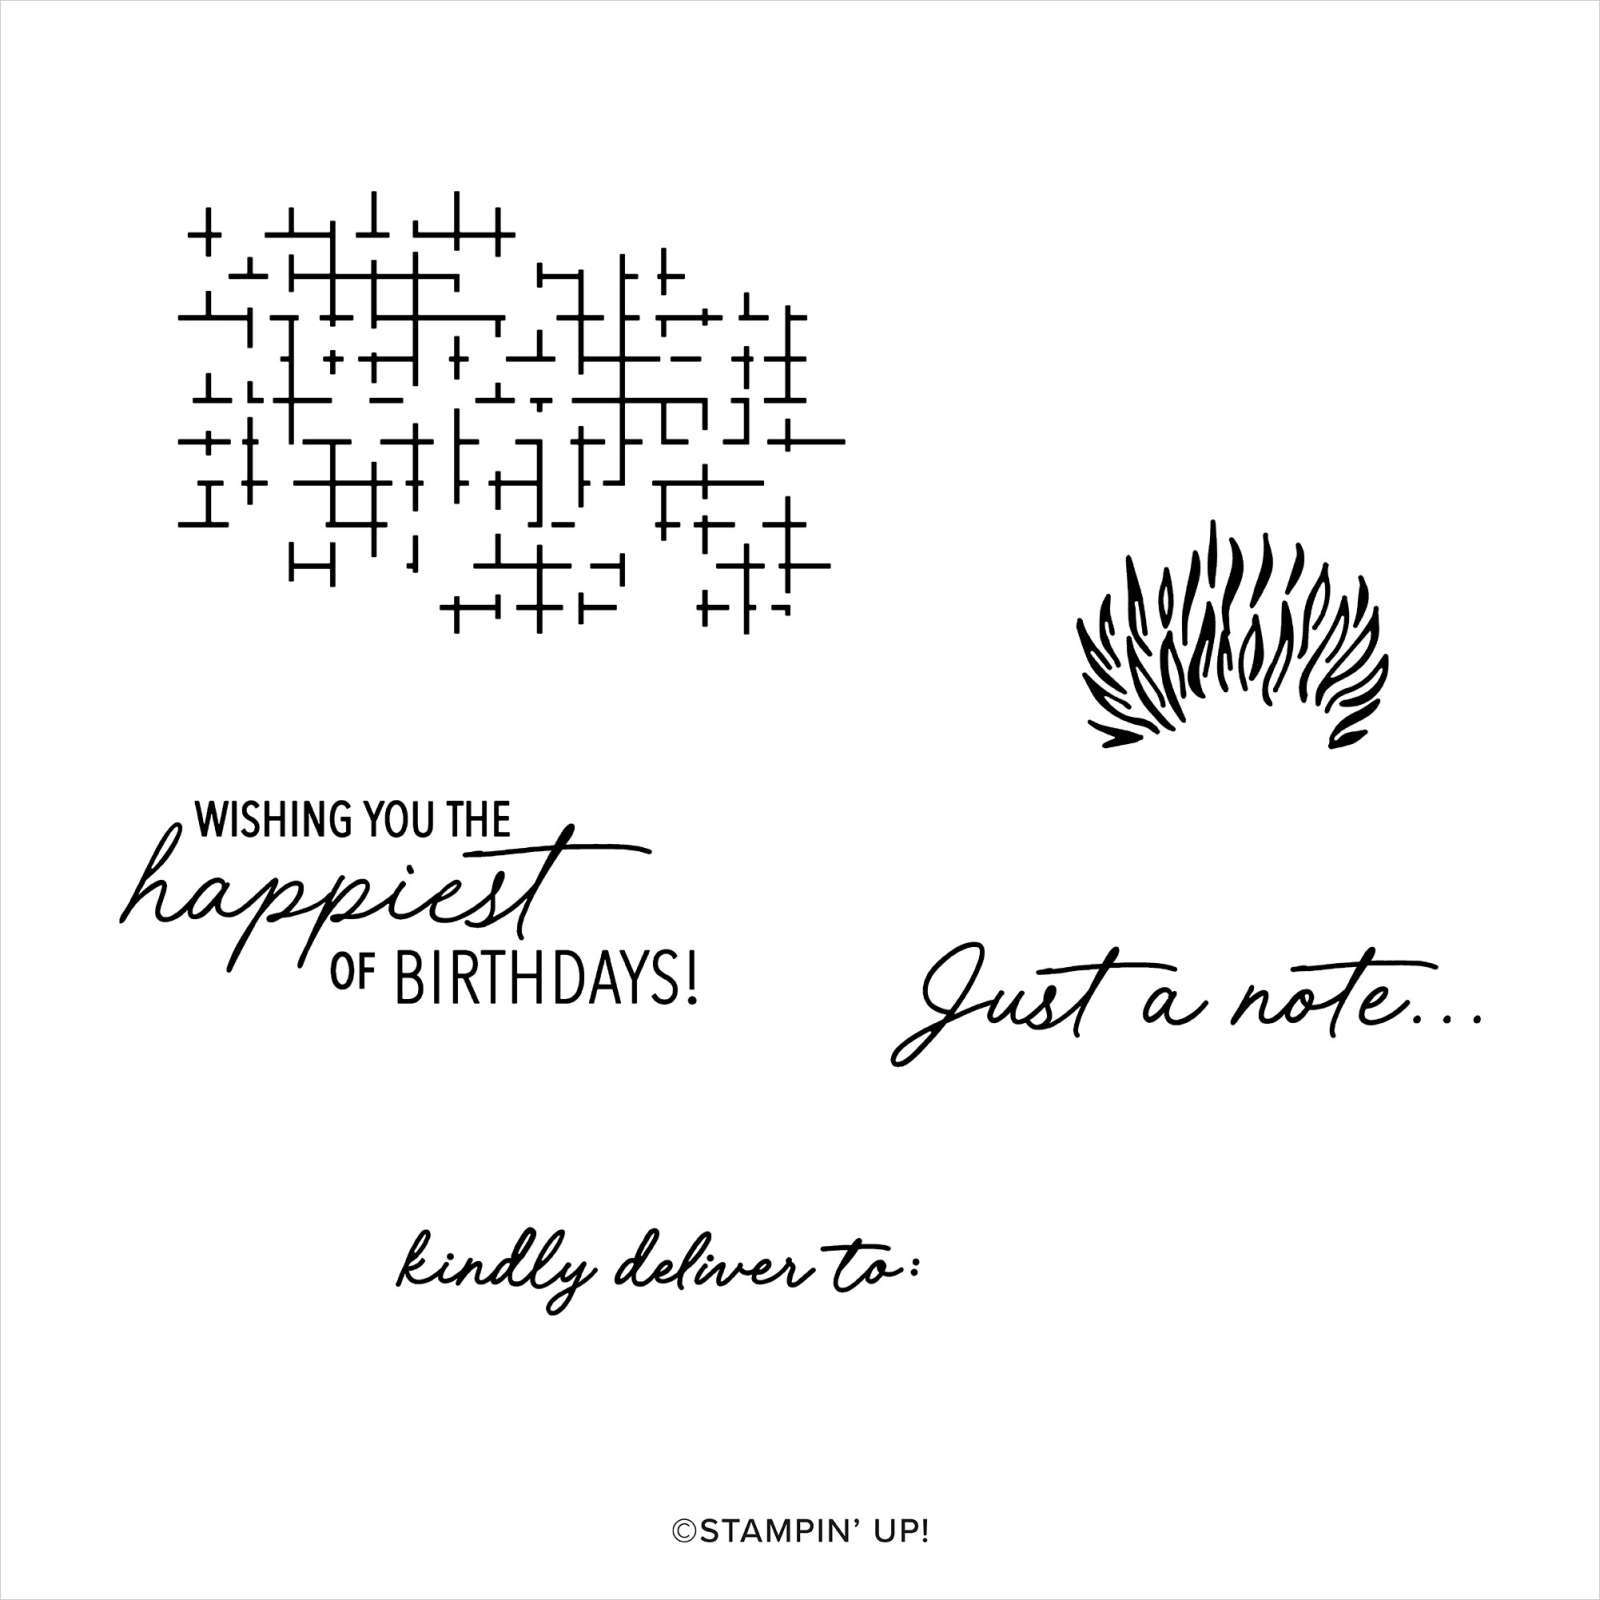
    Here's the stamp set included in this kit. The flower head fits on the purple flowers to add detail.

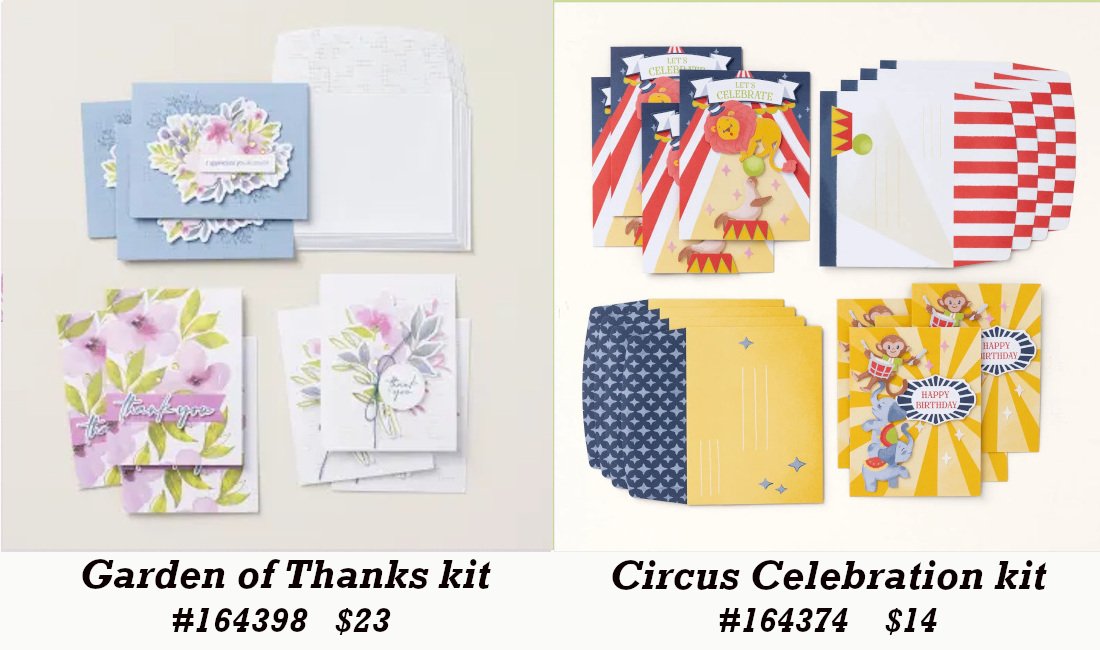
    There are two more new kits released in July. Both are card kits – one geared for kids and the other a pretty floral kit. 

    See all of our kits in the Kit Collection here. 

    Remember that for every $50 you spend in July you receive a $5 coupon to redeem in August on another order! 

    Bonus Days are a Win Win!!

    ~~~

    *current host code links: 4QYAPERK or 3A73HXYB


    Earn $5 coupon for every $50 you spend in July; redeem in August. 

    ~~~

    All online orders will receive my PDF tutorial featuring the Full of Life suite

    Choose a free glue stand from me!

    Leave a Reply

    Your email address will not be published. Required fields are marked *

  • A Fun Fold card with the Changing Leaves hybrid embossing folder; video too!


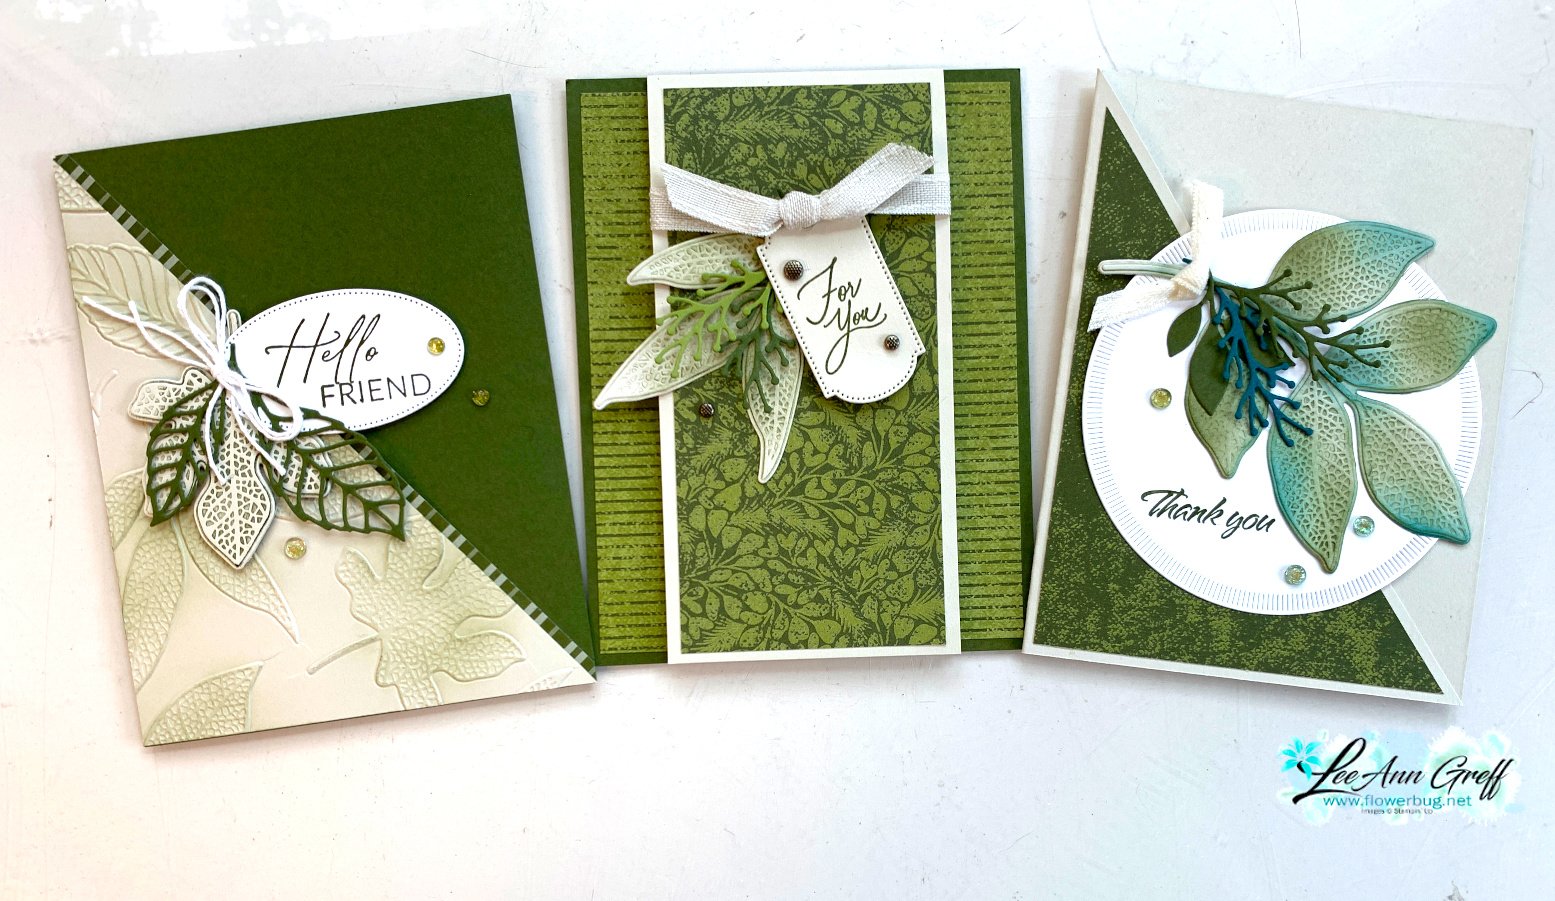
    Here's the last card in the group of three I shared in last week's live video. I featured the Changing Leaves bundle from the Online Extras. 

    My colors include Basic Beige and Mossy Meadow with a tiny bit of white and Pretty Peacock added. That beautiful circle die-cut is the largest in the Spotlight on Nature dies seen here. 

    The Changing Leaves bundle includes the stamp set, dies and hybrid embossing folder.  You might wonder what a 'hybrid' embossing folder is? It's a folder that has a coordinating die that works 'inside' the folder.  It cuts and embosses at the same time.  Genius!   Confused on how this works? Watch the video here to see. 

    I cut out all three leaves from the large leaf die at once and each card featured a different leaf. I thought I was smart to design my swap cards this way and save time too. 

    Two cards feature a diagonal design but they're all quite different. Each one includes Mossy Meadow & Basic Beige cardstock though. 

    See the previous two blog posts for the free project sheets.  Or click here to see all of my project sheets!  

    Watch the video below to see how the Changing Leaves bundle with the Hybrid embossing folder works. You'll also see multiple techniques too! 

    ~~~

    *current host code links: 4QYAPERK or 3A73HXYB


    Earn $5 coupon for every $50 you spend in July; redeem in August. 

    ~~~

    All online orders will receive my PDF tutorial featuring the Full of Life suite

    Leave a Reply

    Your email address will not be published. Required fields are marked *


Notice: LeeAnn Greff, Independent Stampin’ Up! Demonstrator, Manager. The content of this website is my sole responsibility as an independent Stampin’ Up! demonstrator and the use of, and content of, the classes, services, or products offered on this website is not endorsed by Stampin’ Up! Copyright 2025