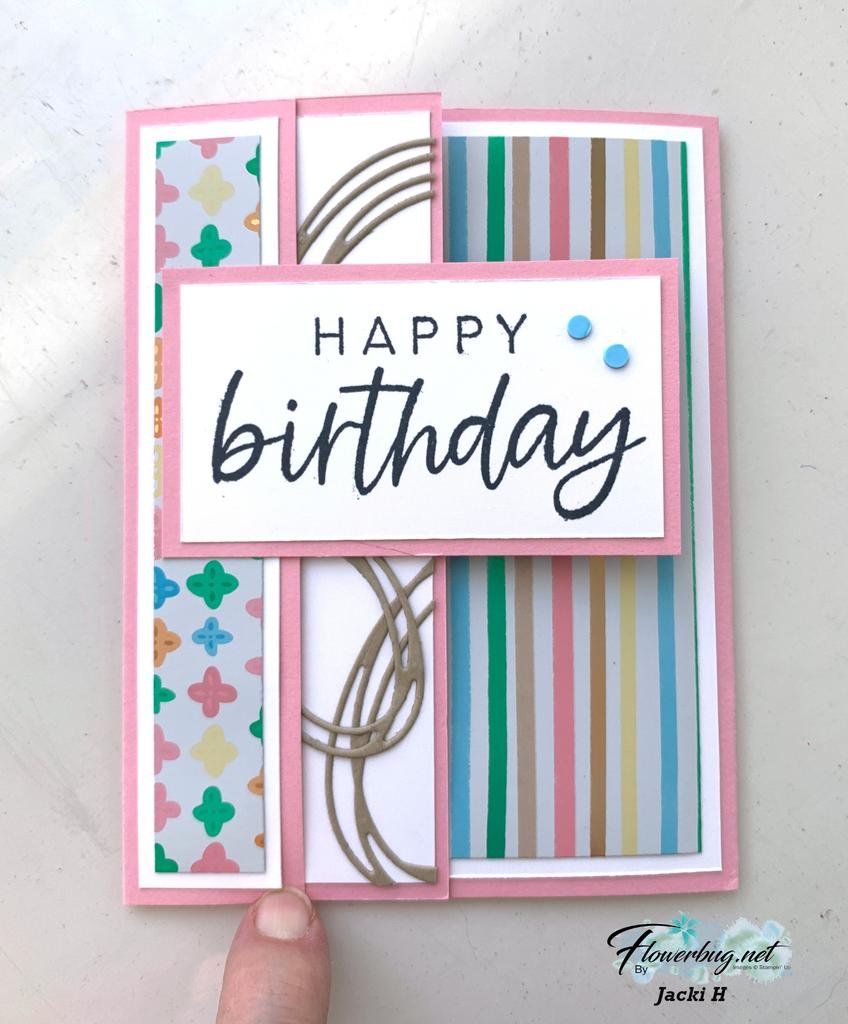
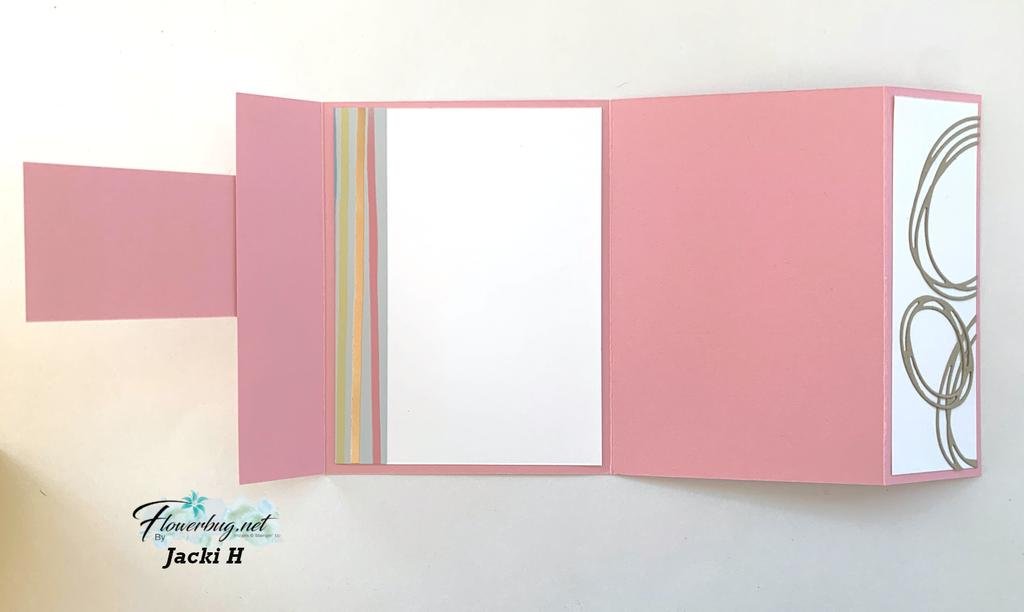
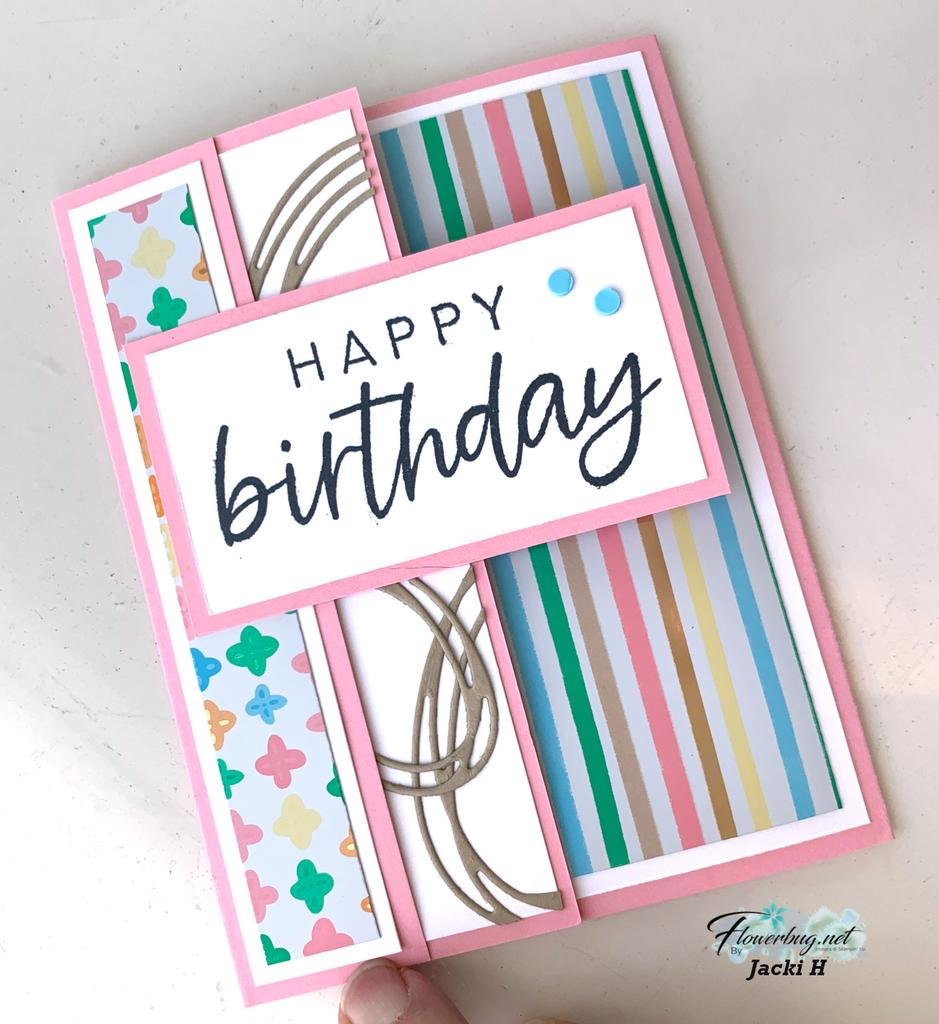
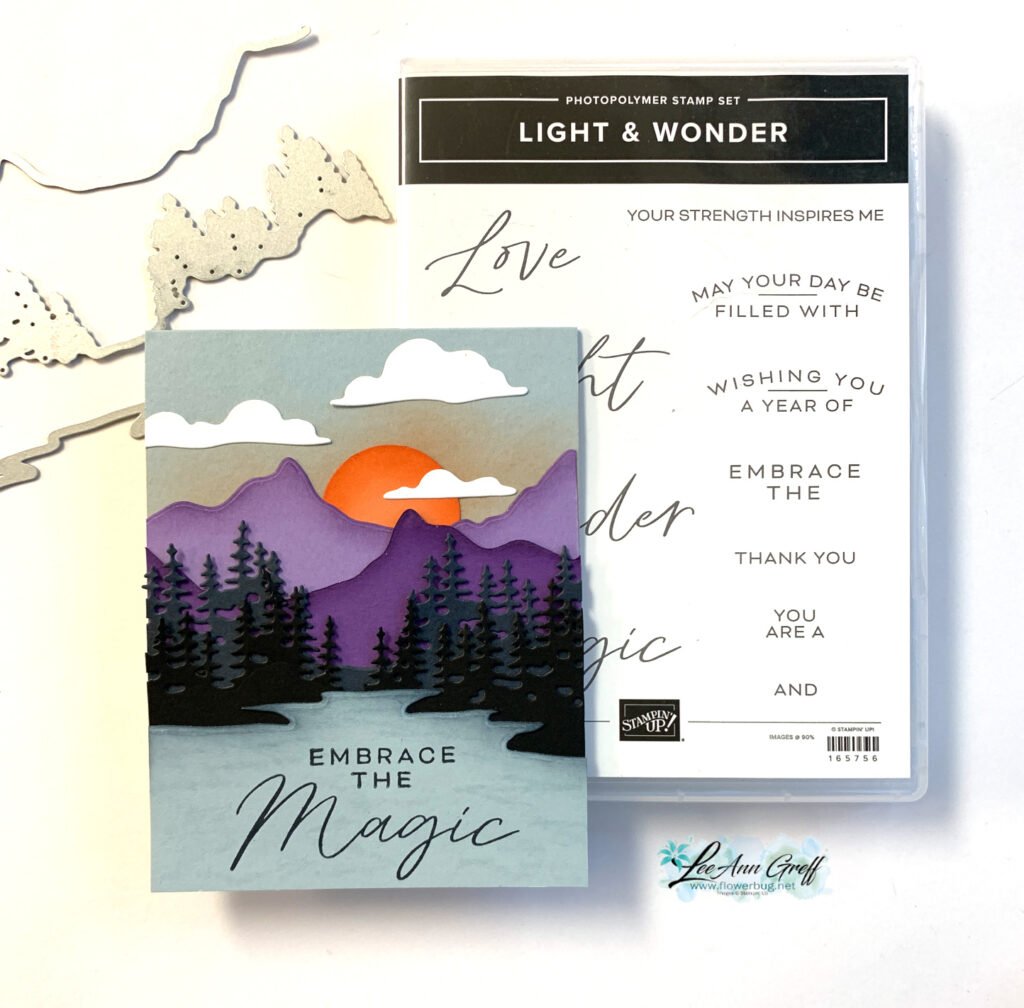
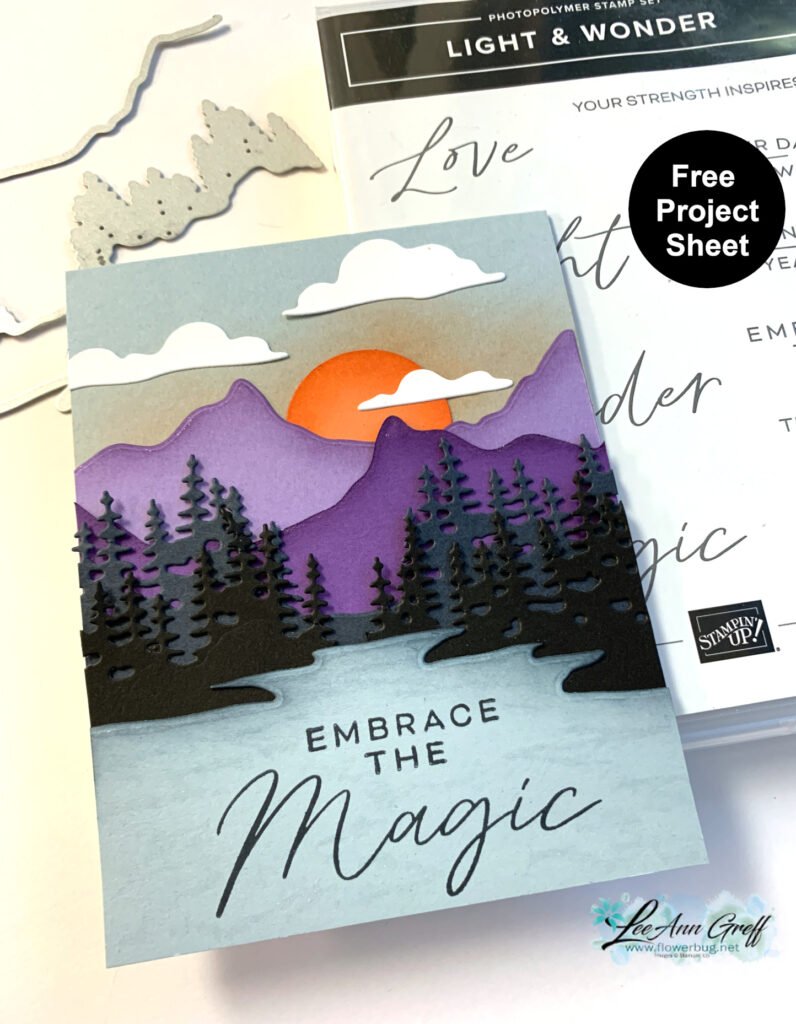
Isn’t it neat?! I loved it so much I had to case this fold. I shared my version yesterday. See it here. I also shared a free project sheet with measurements on yesterday’s post.
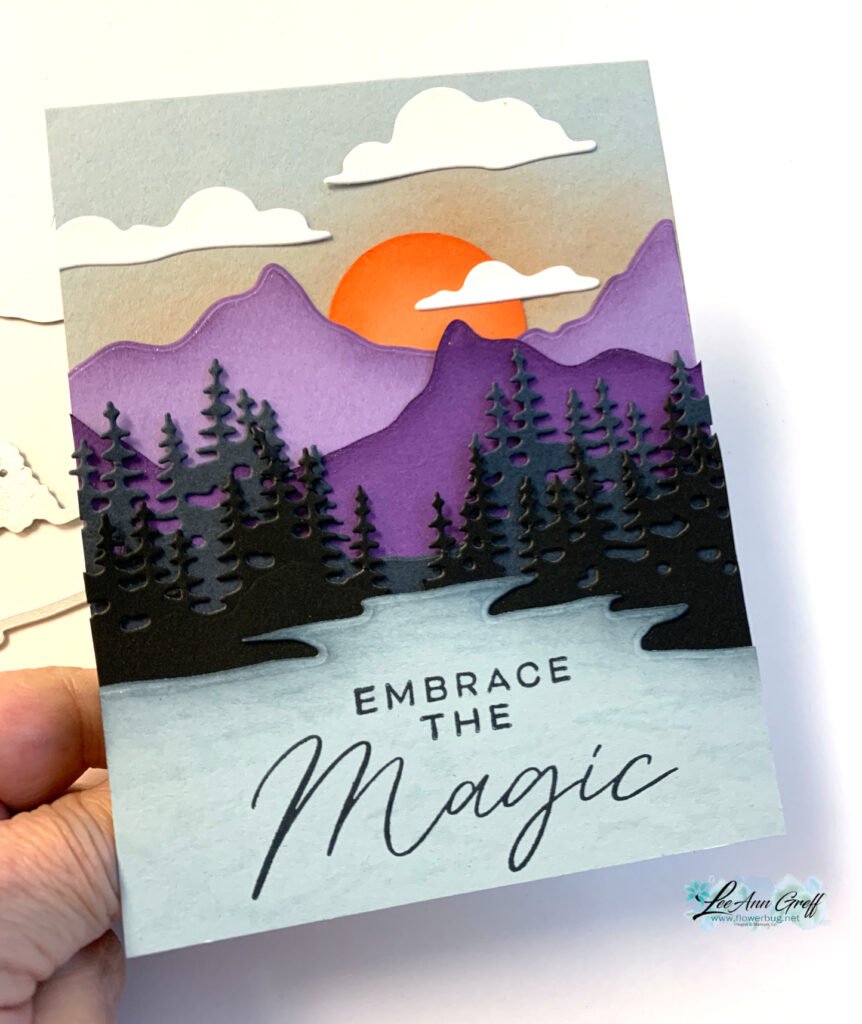
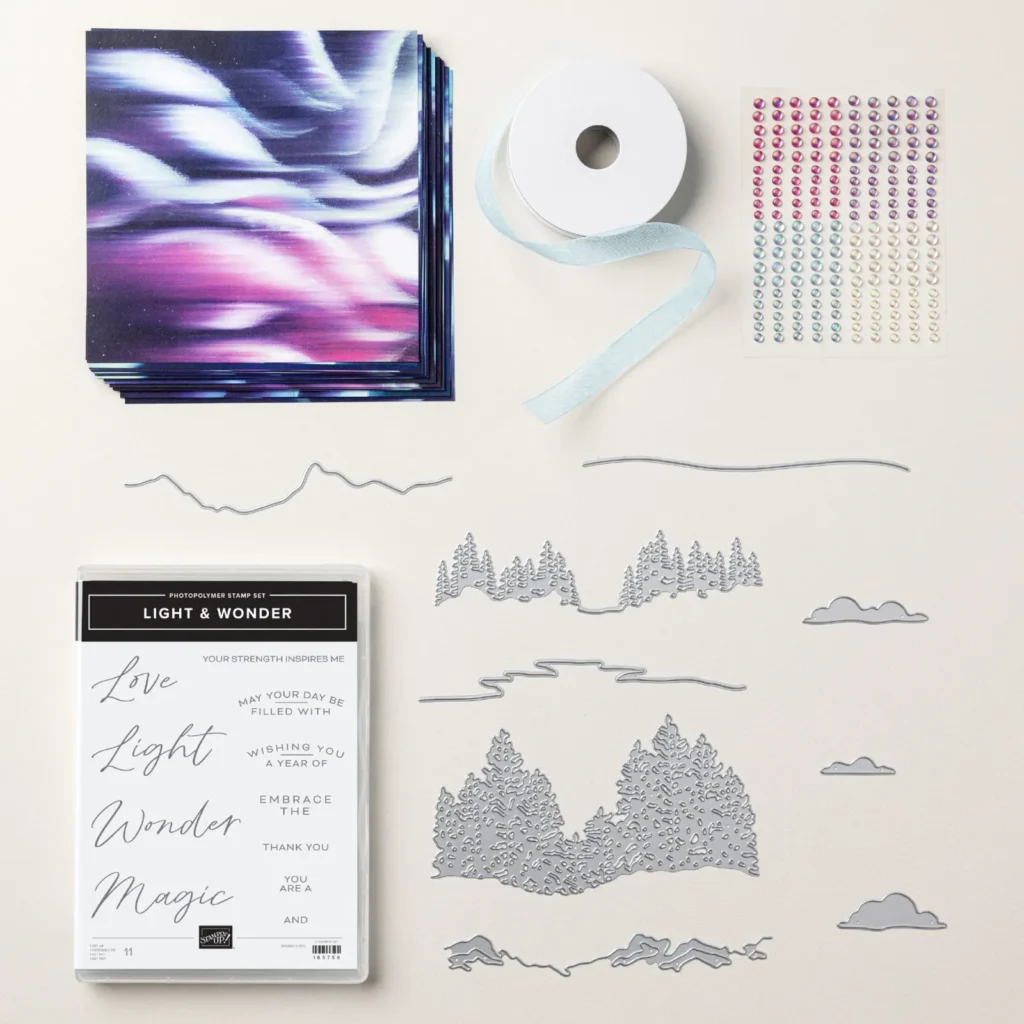
My colors include Cloud Cover, Black, Misty Moonlight, Gorgeous Grape, Highland Heather, White & Timid Tiger. Inks are Highland Heather, Cloud Cover, Black & Timid Tiger.
It’s made with the Light & Wonder bundle seen here. The dies are amazing at creating scenes! Look at the layered mountains, trees and that water die-cut! Sponging makes a big difference! I sponged the top of the mountains with purple ink, the water with Cloud Cover ink and the sun with Timid Tiger ink.
Tip: Can you see the ‘water lines’ I created with a Wink of Stella pen? So cool!
I got the layout idea for this card from Amanda Mertz on Pinterest but changed it up a bit. I love creating scenes and when I saw this suite it was an absolute must have for me. See it here.
And get the Starter kit here.*Choose your deal – $35 or $99 plus $90 in free products including free shipping, free Paper Pumpkin kit & free catalogs/business supplies!
~~~
All online orders from me will receive a beautiful PDF of projects featuring the Modern Christmas suite.
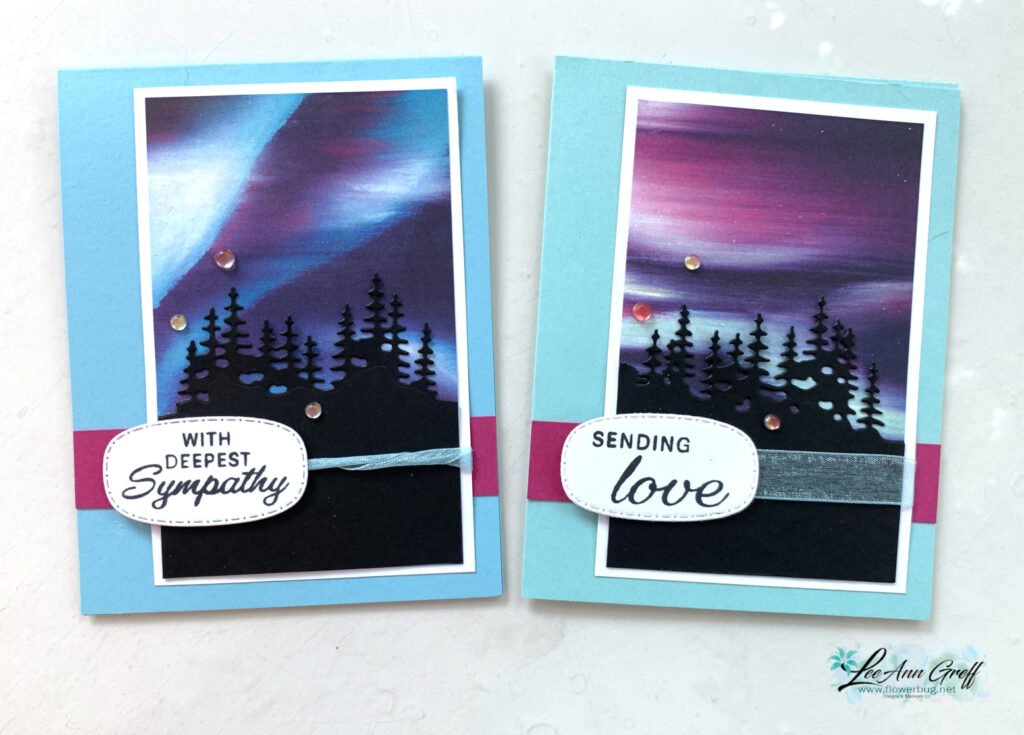
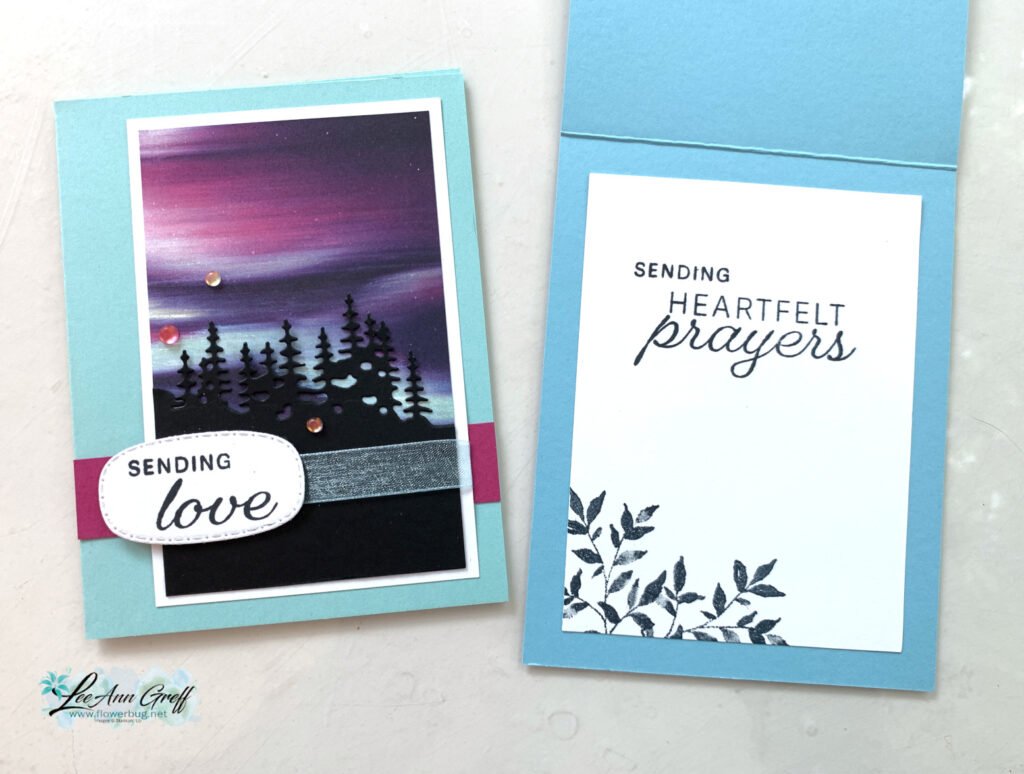
It features the Lights of Aurora suite seen here. I made sure to cute my designer paper at 3″ wide so I could get 2 pieces from each 6″ piece. We made this pretty card at my September card clubs.
Besides the DSP & colors (Balmy Blue & Pool Party) do you notice another difference? Look at the ribbon; I tried a new technique of rolling the Balmy Blue sheer ribbon on the left card. Something different!
Another time saving tip for this card is that I could die-cut two sets of trees at the same time with the extra long die in the bundle seen here:
Tip; add balance to your card by placing the main layers off to one side and the greeting on the other. This suite has been really popular with my customers. It’s something special & unique we’ve never had before. See it here.
And get the Starter kit here.*Choose your deal – $35 or $99 plus $90 in free products including free shipping, free Paper Pumpkin kit & free catalogs/business supplies!
~~~
All online orders from me will receive a beautiful PDF of projects featuring the Modern Christmas suite.
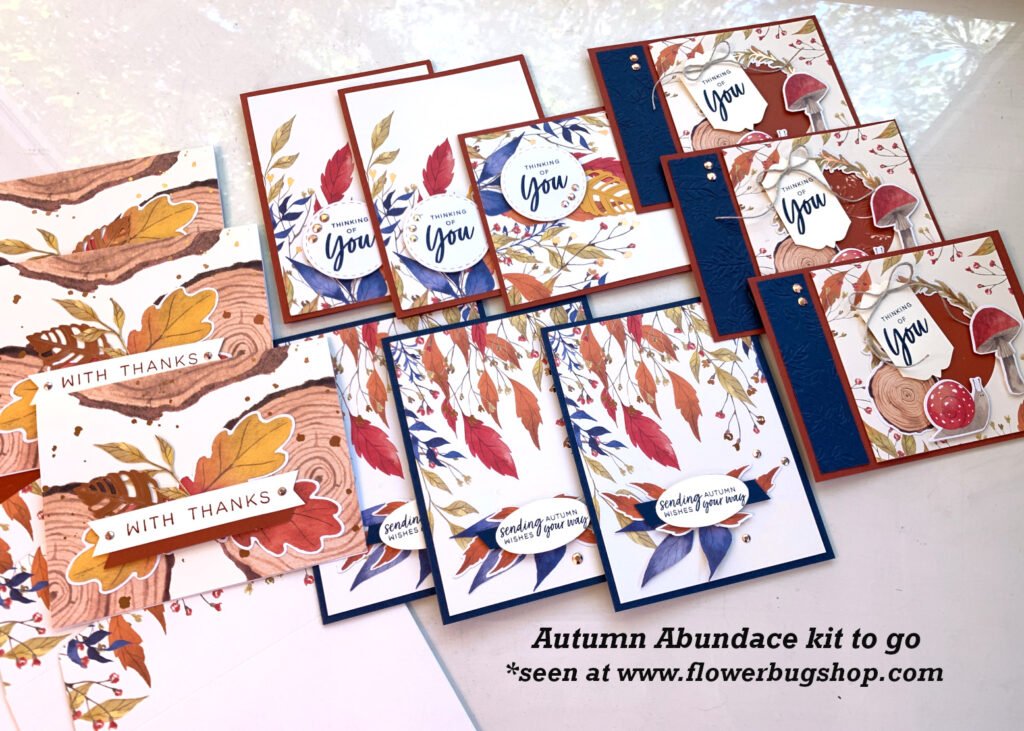
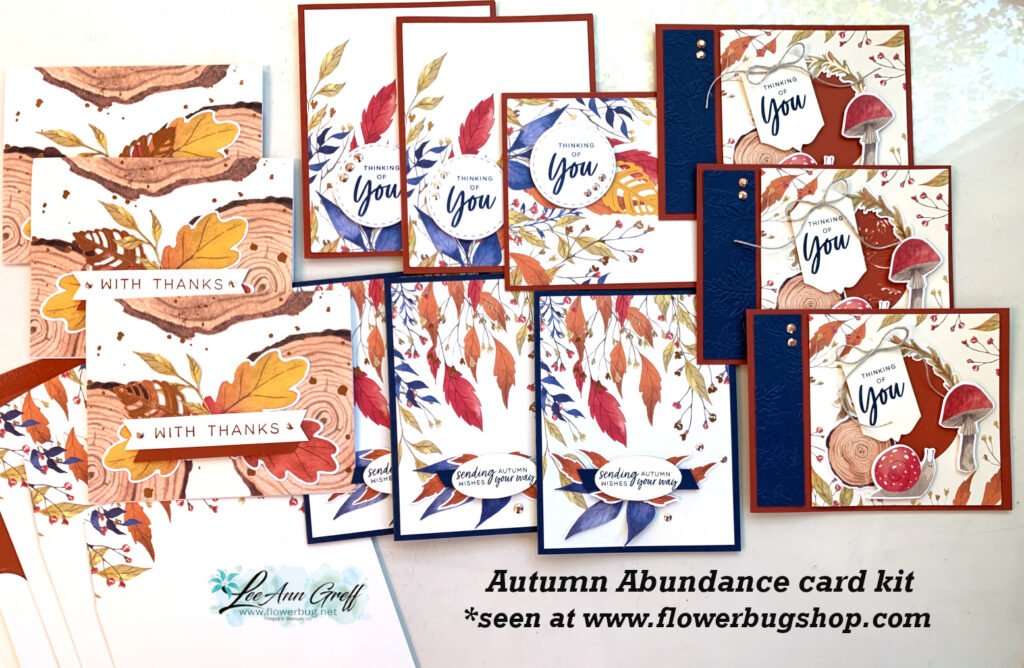
Aren’t they pretty?! They started out as a previous Paper Pumpkin kit but I changed them up a bit and added extra cards and layers. Now it’s 12 cards with envelopes, Linen Thread & gems too. Most of the layers are pre-cut for you however you will need to trim a few card bases down to add to the card bases I include in the kit.
The PDF tutorial includes all instructions, photos, measurements and supplies needed. You will need assorted greeting images and a few inks too.
Click here to grab the kit to go with extra product for just $30.
And get the Starter kit here.*Choose your deal – $35 or $99 plus $90 in free products including free shipping, free Paper Pumpkin kit & free catalogs/business supplies!
~~~
All online orders from me will receive a beautiful PDF of projects featuring the Modern Christmas suite.
Notice: LeeAnn Greff, Independent Stampin’ Up! Demonstrator, Manager. The content of this website is my sole responsibility as an independent Stampin’ Up! demonstrator and the use of, and content of, the classes, services, or products offered on this website is not endorsed by Stampin’ Up! Copyright 2025


Leave a Reply