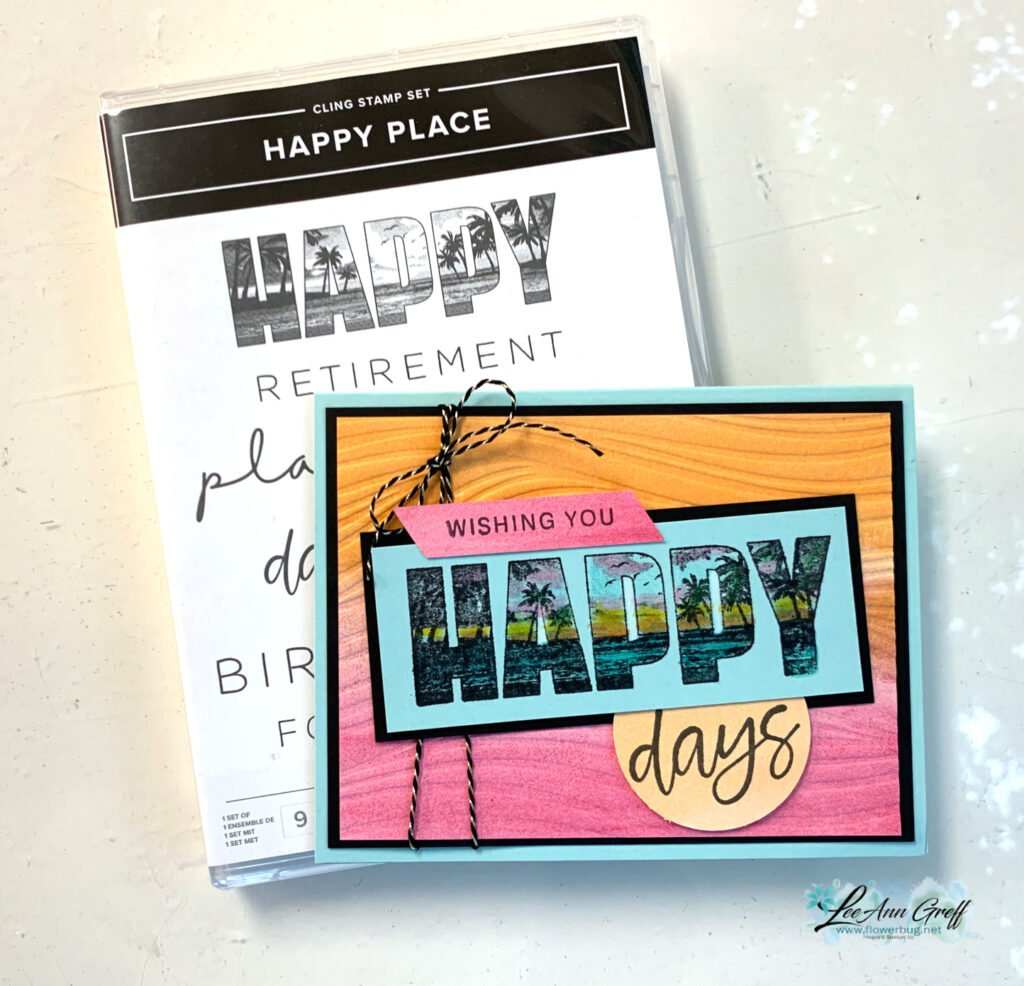
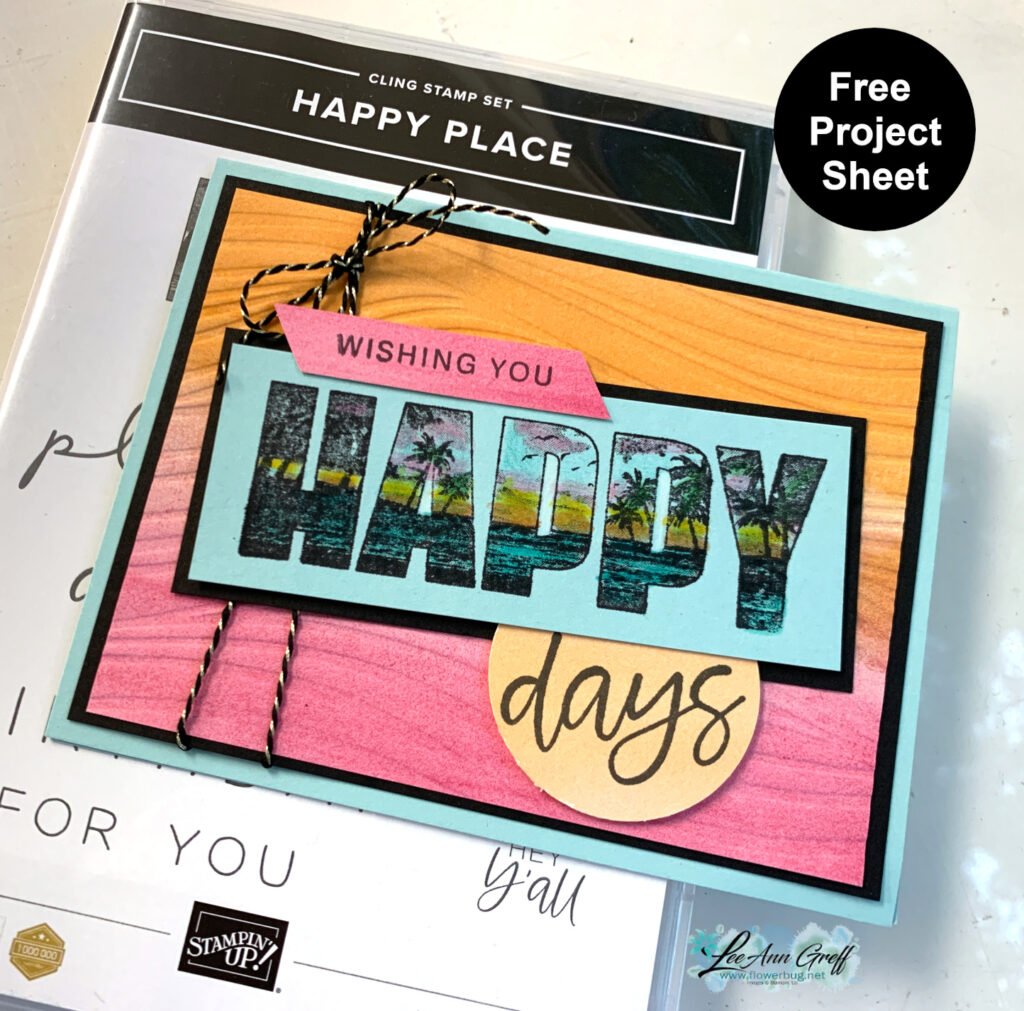
I chose the Full of Life designer paper for my background here; adding texture with the Waves 3D embossing folder. My colors include Pool Party, Black with Peach & Melon Mambo. I colored the large image in with Watercolor Pencils which I hadn’t used for a long time!
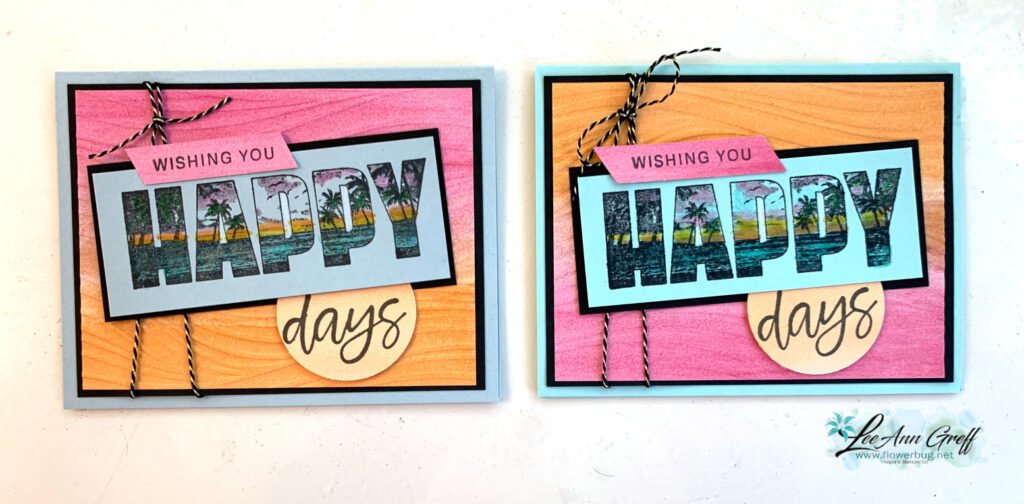
I decided to try a different blue for the left card above – Cloud Cover. The right is Pool Party. Which do you prefer?
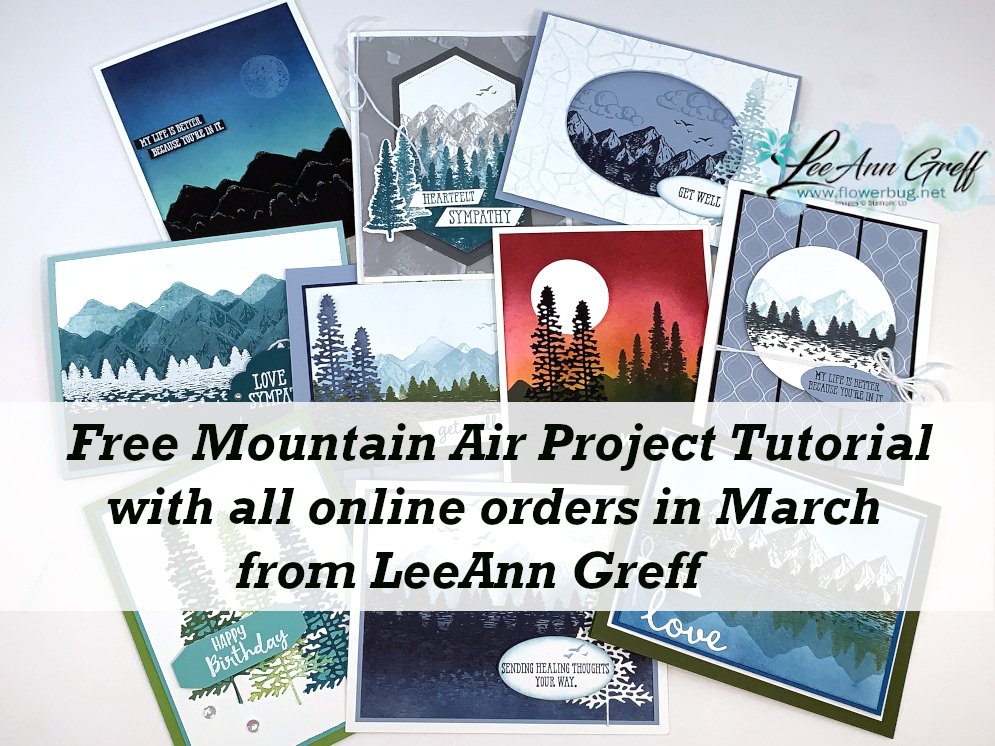
I have a free project sheet for you and a video tutorial as well. Click Happy Place with Full of Life DSPon this link for the project sheet you can print or download. I suggest you save these project sheets in a file on your computer for card ideas.
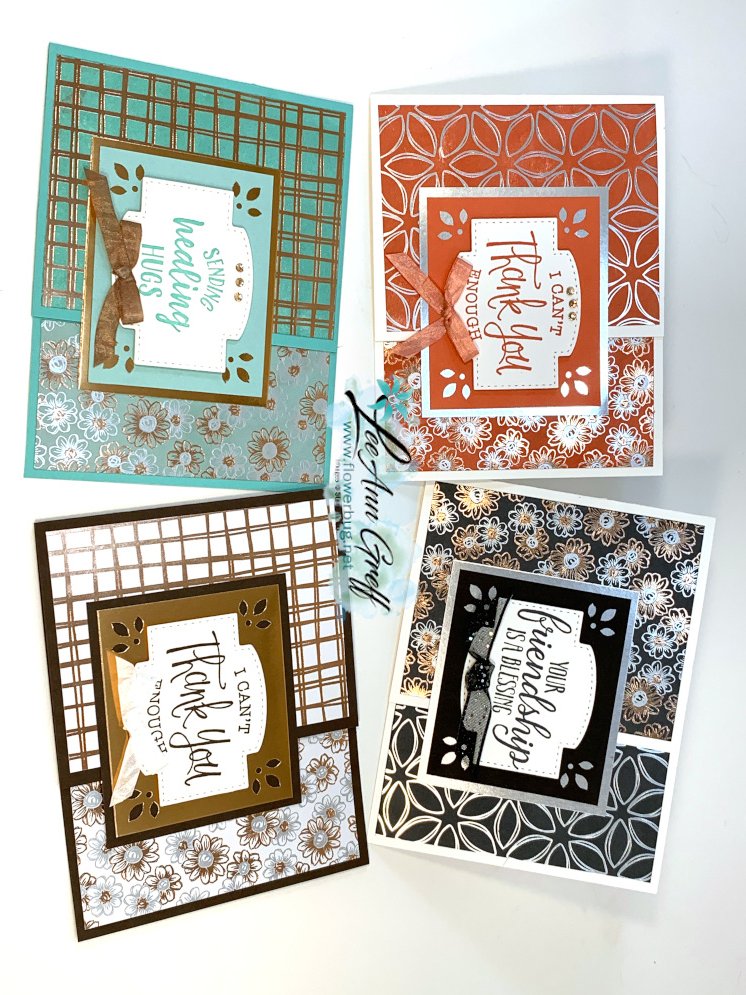
There's a simple way to change up a white foil accented paper into colored foil paper. With the direct to ink technique. 'What's that?' It's where you tap or rub the ink pad directly onto your paper. Yes; you can do that! Look at these cards that feature the Flowering Foils specialty designer series paper. This gorgeous paper is still in stock and it's FREE with any $50 order!
All but the bottom right card has been 'inked' with a water based ink pad. On the upper left is Calypso Coral, the top right is Black memento and the bottom left is Bermuda Bay and Pool Party.
I showed this technique on one of my latest Facebook Live videos. I have one each Tuesday at 11 am CT here. You can see it below.
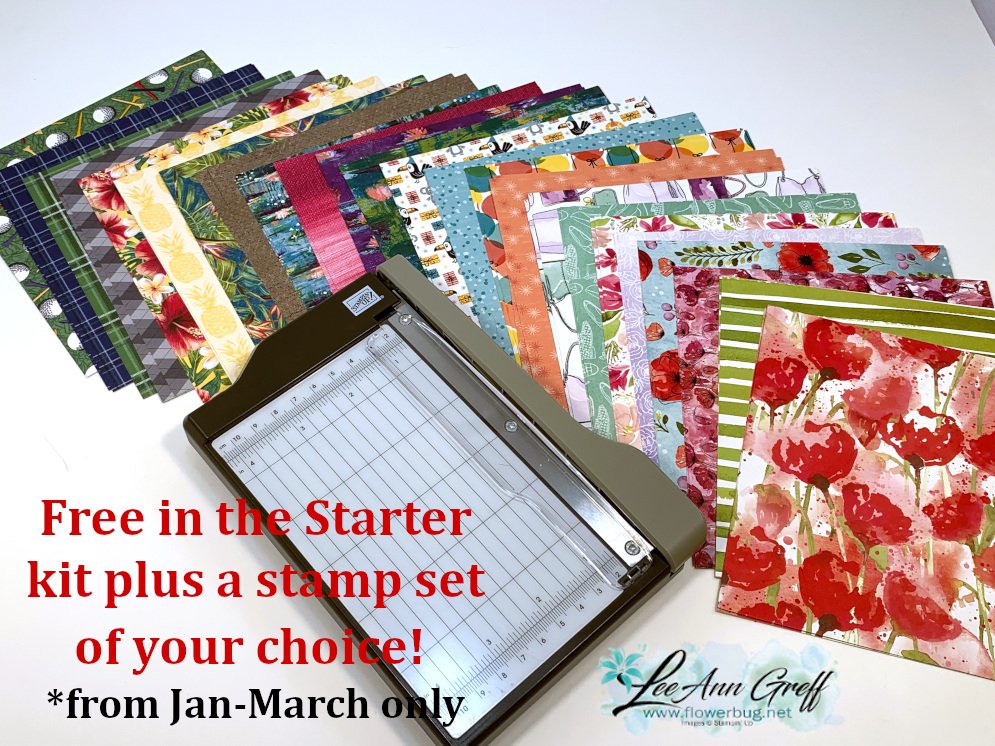
3. THE Best deal! Choose any FREE stamp set when you purchase the Starter kit during Sale-a-Bration; of any value! Plus you'll get a free paper trimmer and a 6 X 6 sampler of new Designer Paper! It's just $99 plus tax and you can choose $125 in products with free shipping! Be either a 'Happy Shopper' and enjoy the discount or make extra spending money.
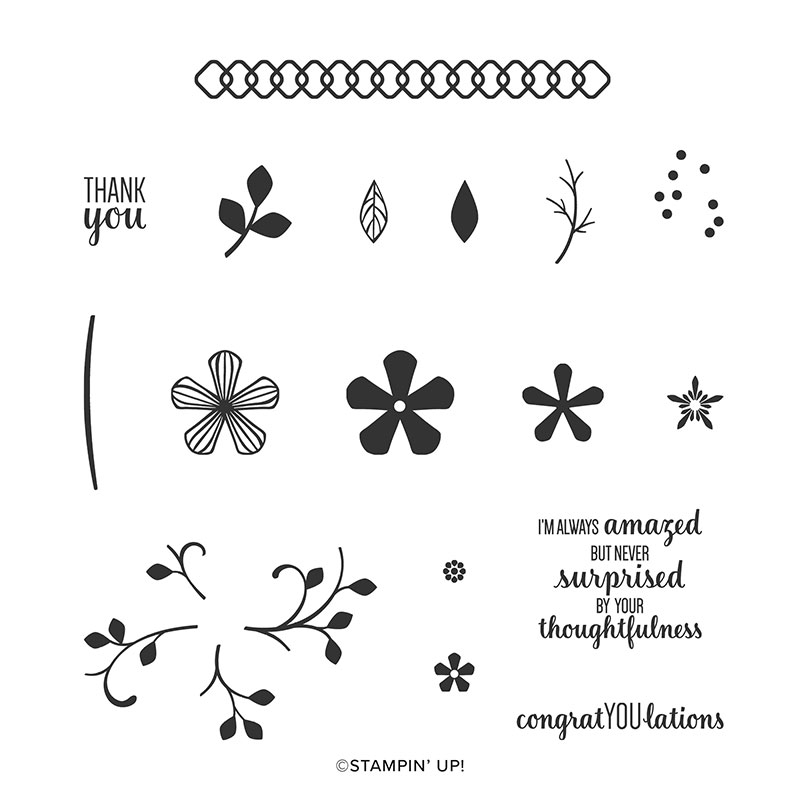
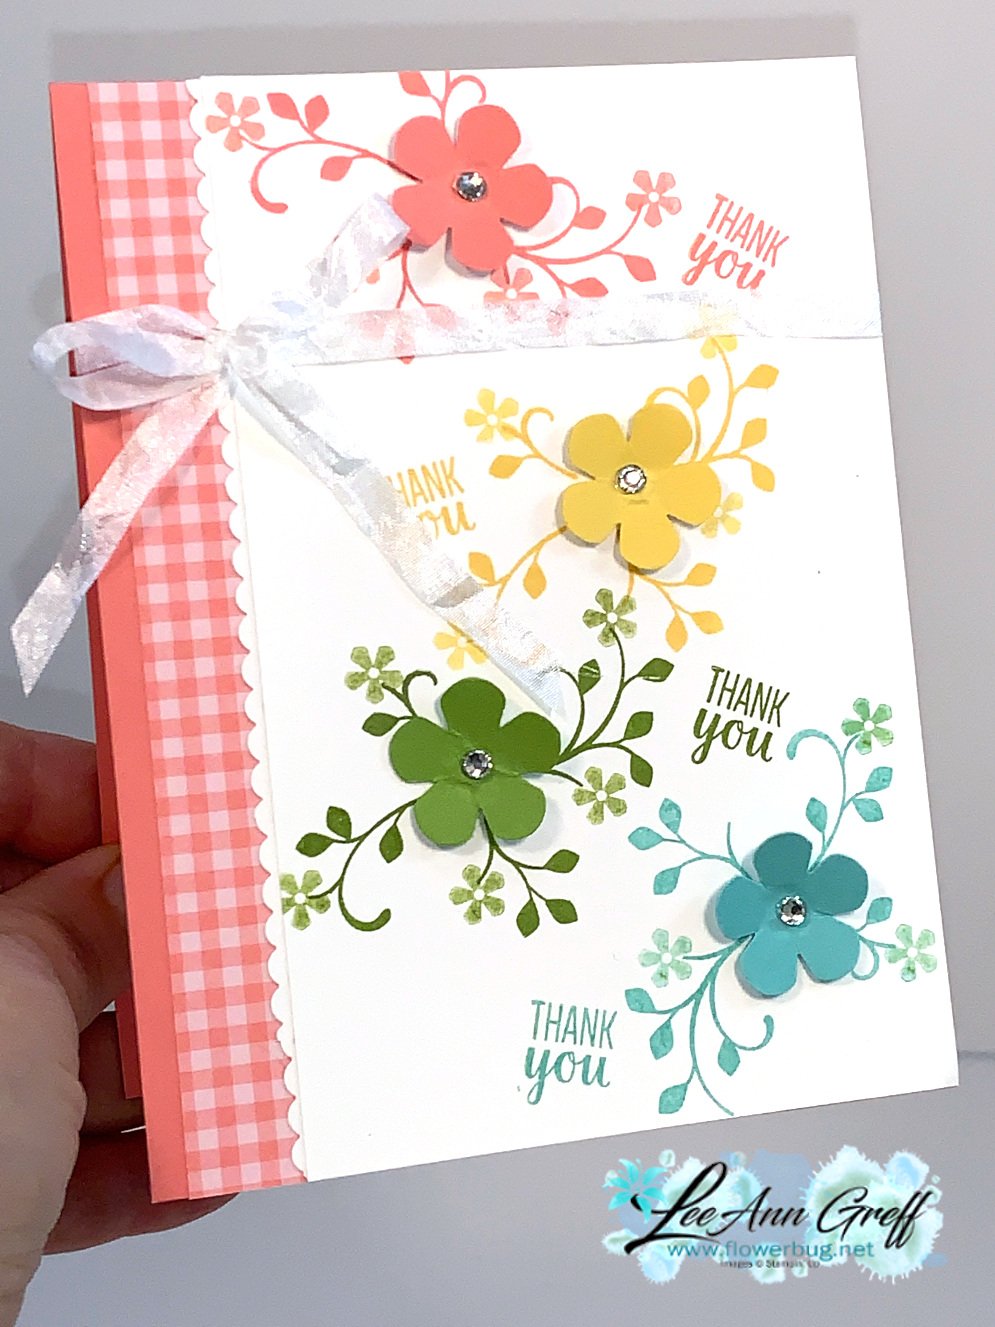
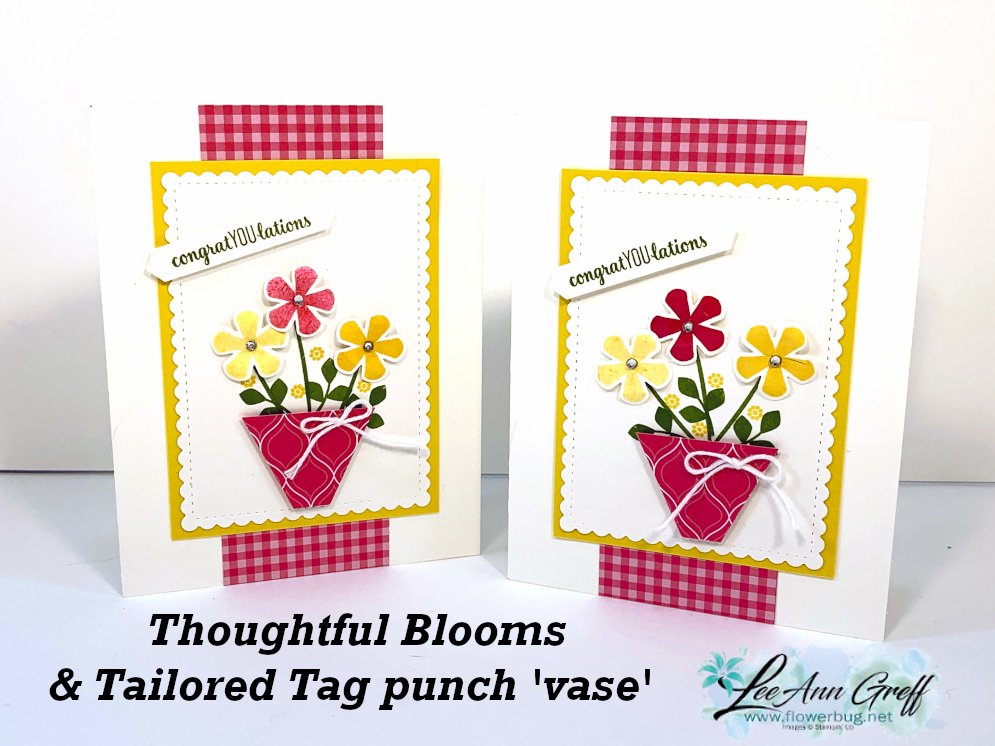
Here's another card I created for this week's Facebook Live video featuring the Thoughtful Blooms and Small Bloom punch. Both of these are free right now with a purchase. You can see them here on our Sale-a-Bration page.
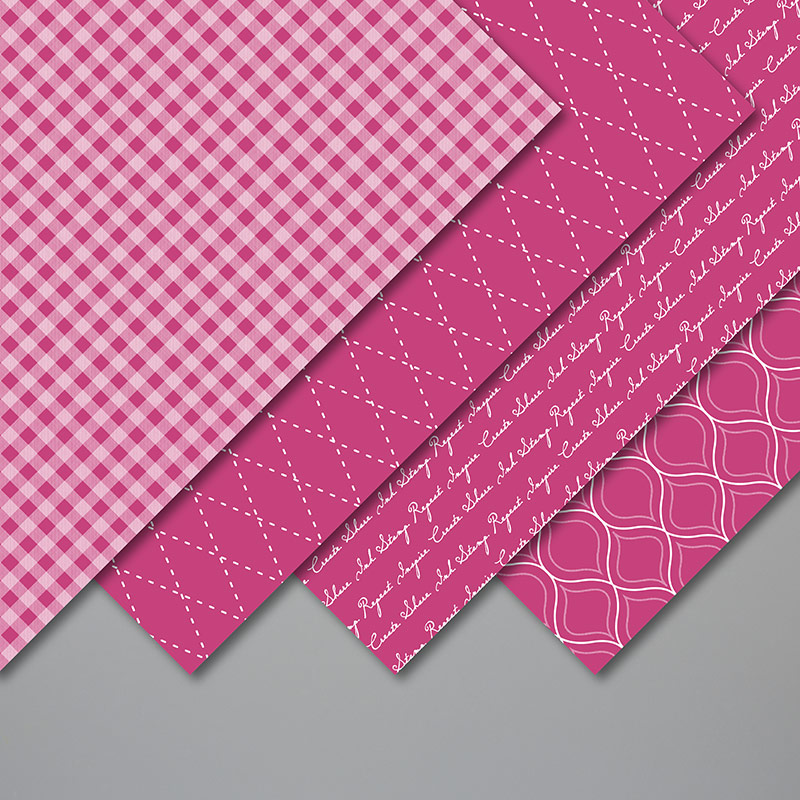
I added a bit of gingham designer paper from our Brights collection. Love this paper – it's available in each of our color familes in 6 X 6" packages and you can see it here.
3. THE Best deal! Choose any FREE stamp set when you purchase the Starter kit during Sale-a-Bration; of any value! Plus you'll get a free paper trimmer and a 6 X 6 sampler of new Designer Paper! It's just $99 plus tax and you can choose $125 in products with free shipping! Be either a 'Happy Shopper' and enjoy the discount or make extra spending money.
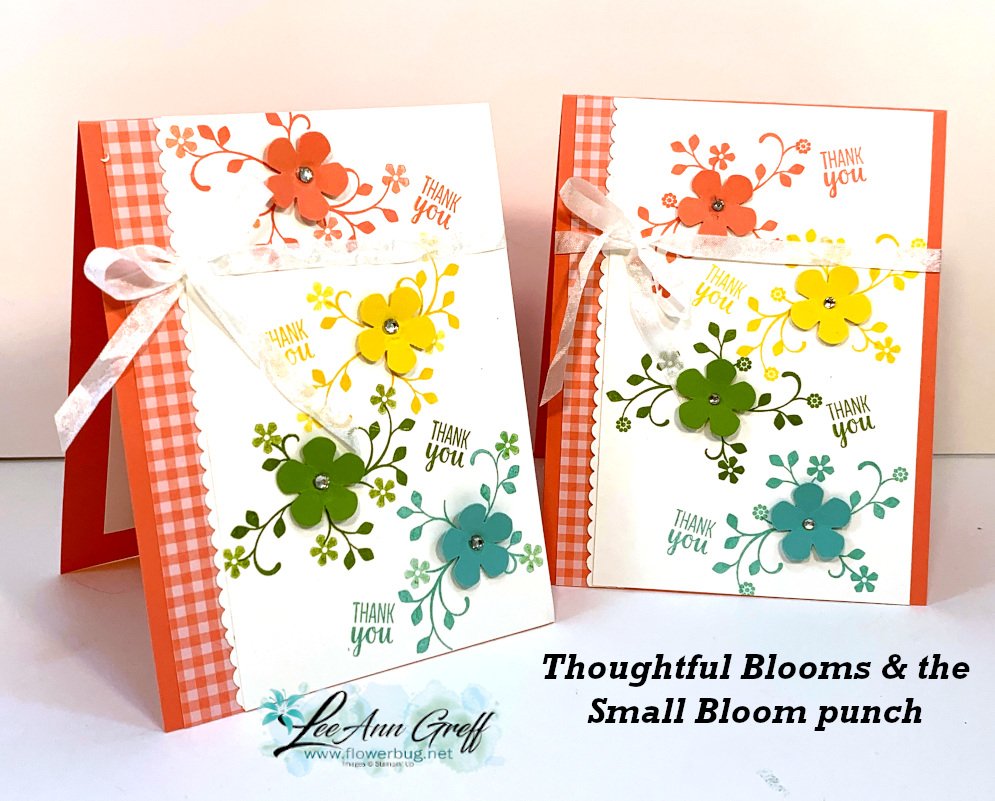
I made this cute, springy card on Facebook Live yesterday. It features the Thoughtful Blooms stamp set and Small Bloom punch. Both are free right now with an order during our Sale-a-Bration promotion.
It coordinates with the Small Bloom punch seen here. *This punch may return in the annual catalog this summer but you can get it free now!
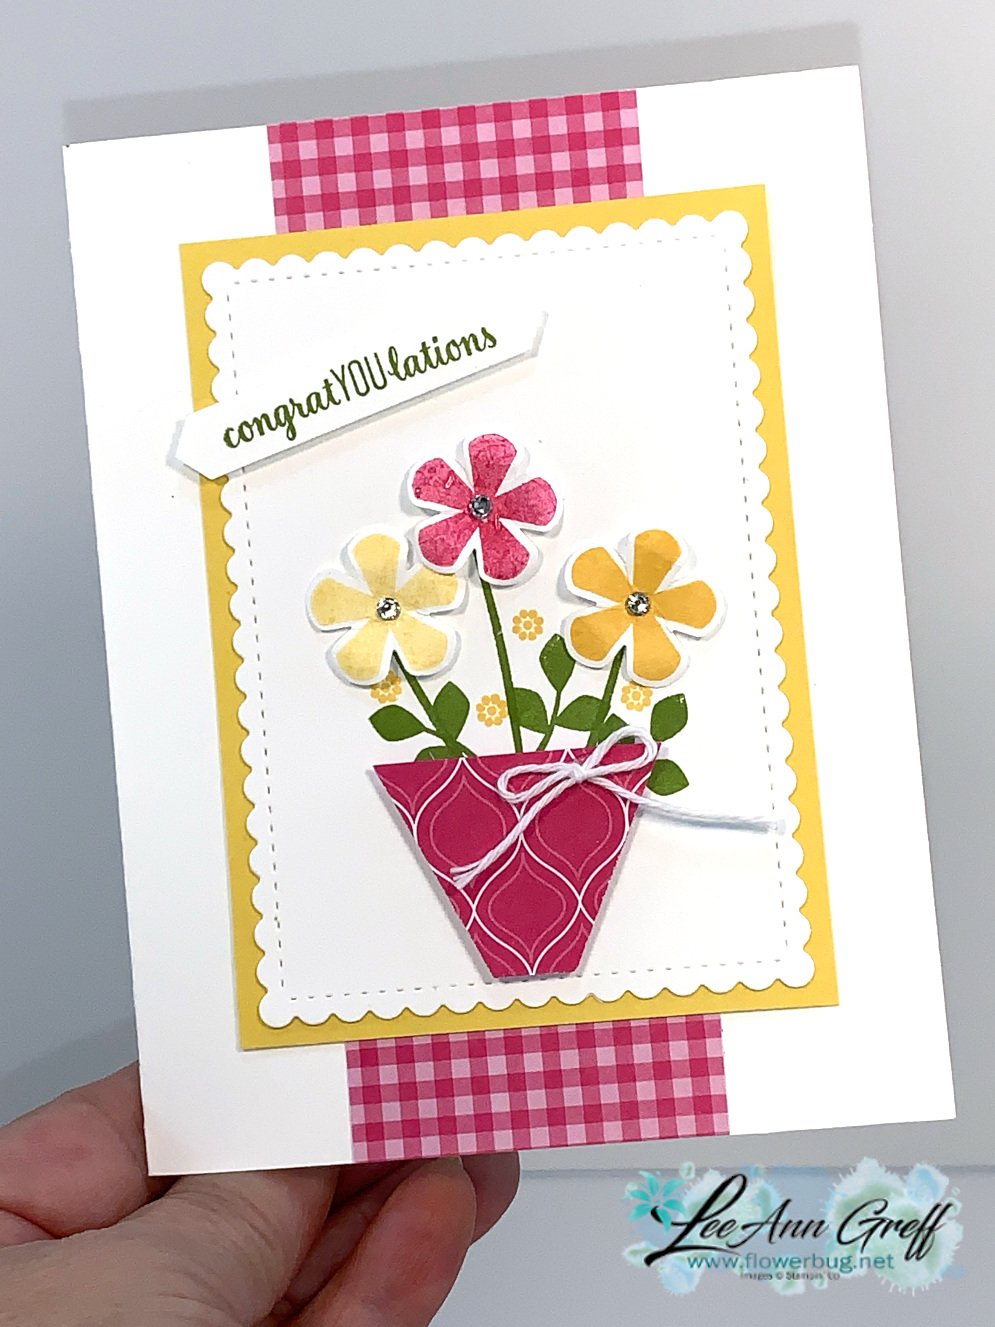
I used a bit of the Brights 6 X 6" designer series paper. That's where the cute gingham designs come from. Did you know we have gingham paper in every single color right now? Each of our 6 color families have an assorted package with every color in the pack! So cool! The photo only shows one color but includes them all. See them all here.
3. THE Best deal! Choose any FREE stamp set when you purchase the Starter kit during Sale-a-Bration; of any value! Plus you'll get a free paper trimmer and a 6 X 6 sampler of new Designer Paper! It's just $99 plus tax and you can choose $125 in products with free shipping! Be either a 'Happy Shopper' and enjoy the discount or make extra spending money.
Notice: LeeAnn Greff, Independent Stampin’ Up! Demonstrator, Manager. The content of this website is my sole responsibility as an independent Stampin’ Up! demonstrator and the use of, and content of, the classes, services, or products offered on this website is not endorsed by Stampin’ Up! Copyright 2025


Leave a Reply