/


Latest Post

Amazing Bewitching Bundle projects; WOW!


I previously shared some of the incredible projects Annette made here and here  She was our Artist of the Month in August; as part of my Flowerbug's Team.  Each month we have a featured artist that showcases a stamp set or bundle.  She chose to use the Bewitching bundle seen here. 

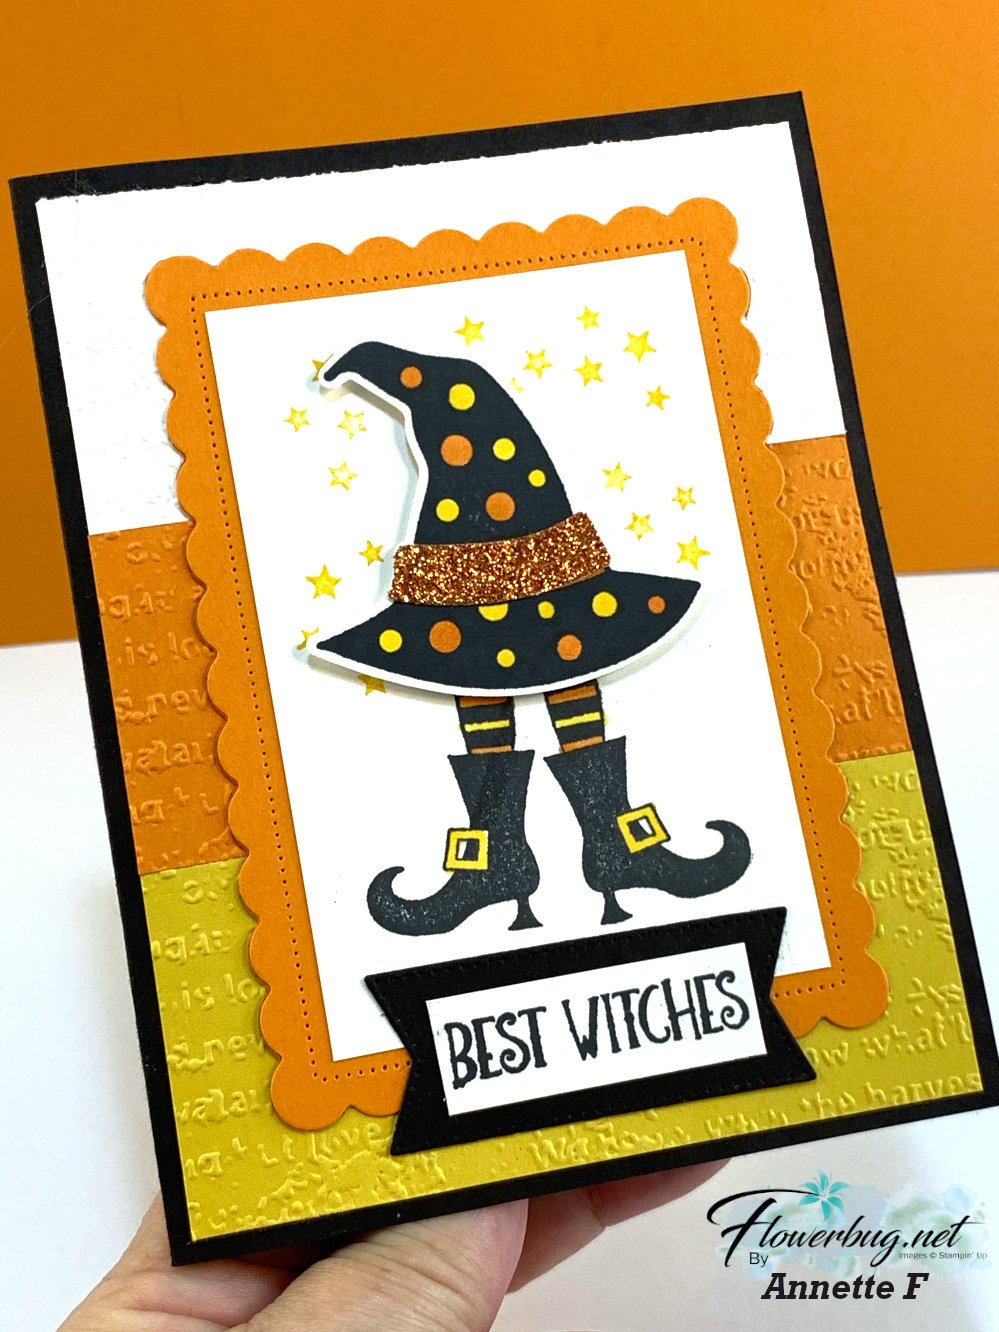
First is a card that reminds you of  'candy corn'.  

Details:

  • She used Pumpkin Pie, Crushed Curry & White CS – texturing them with the Timeworn Type 3D folder.  
  • The scalloped square is from the Scalloped Contours dies. She colored in the hat & boots with Blends markers.  
  • The greeting is from the Best Witches stamp set. 
  • The glittery hat band is the new Glitter Washi tape seen here
~~~

Next is a fun card made with Parakeet Party, Black & White. 

Black & White with a 'pop' of color can be so striking!  The circles are from the Layering circles dies; the stitched background is from the Stitched with Whimsy dies.  She added a band of glitter paper on the hat – from the 2022-24 In Color 6" Glimmer paper.  

~~~

And lastly today is another Black & White with a pop of color – this time with Real Red. 

Details:

  • Painted Texture is the embossing folder used on the White panel. 
  • The Black & White DSP is from the Black & White Designers DSP in the Holiday catalog
  • She colored the hat with Blends markers and popped it up with dimensionals.  
  • I love the knot of Silver Mesh ribbon on the hat!!
  • The greeting is from the Best Witches stamp set. 

Come back for more fantastic projects featuring the Bewitching Bundle soon!  
 

All Posts

  • Stunning Garden Poetry Fun-fold card kit with tutorial option


    The Garden Poetry designer paper was a firm choice for one of my card kits. It’s absolutely breathtaking with the coordinating prints in leafy and watercolor designs.

    I wanted to show off both sides of this beautiful paper so I chose to feature fun folds for these cards.

    I love the vibrant colors so much. If you enjoy creating with ‘ready to go’ kits I hope you’ll try one or more of my kits to go.

    This kit to go includes multiple products to create cards like these click here. The kit includes all 10 pre-cut cards, 1/2 pkg of the designer paper, a share of the Garden Epoxy gems and the Berry Burst ribbon and costs $31. Plus you’ll receive the PDF tutorial AND the link to the exclusive video tutorial.

    The PDF tutorial includes photos, measurements, a supplies list and step by step directions. You’ll need a paper trimmer to cut your new designer paper using the measurements in the tutorial. You’ll also need a few ink colors, greeting images and adhesives to finish your cards. I have a limited supply of these kits available; reserve yours soon!

    If you’d like the PDF tutorial click here. It’s $16.

    The PDF tutorial is sent to you via email immediately after purchase. Check your spam folder.

    Each month I add at least two card kits & tutorials to my shop. It’s smart to purchase more than one and save on shipping costs. Browse them all here.

    March Specials!

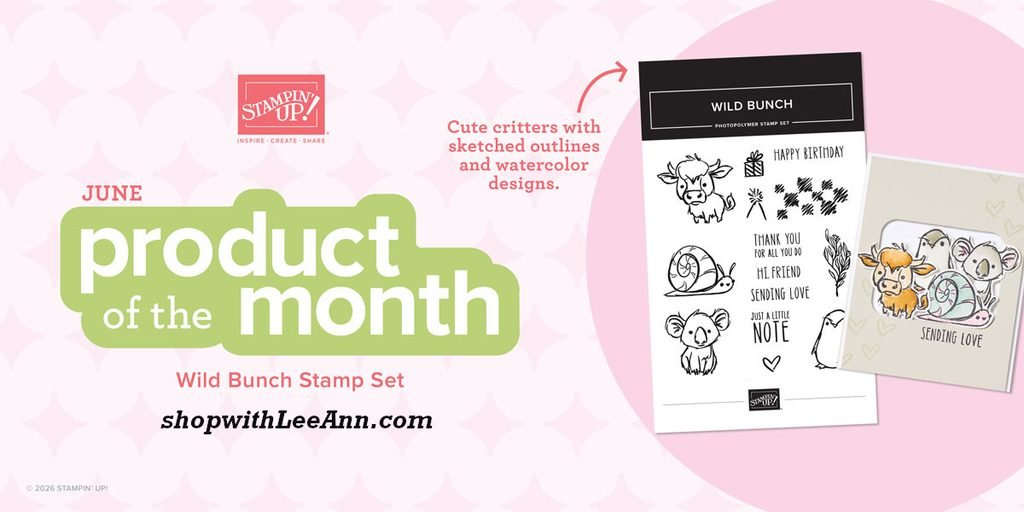
    March Product of the Month is the Notes of Spring stamp set!

    It’s just $5 with a $75 purchase.

    Get my March PDF free with any Online purchase!

    NEW Online Exclusives are here!

    Get the retiring In Colors while you can; they’re already going fast!

    Leave a Reply

    Your email address will not be published. Required fields are marked *

  • Unique Double Triangle fun fold with free project sheet & video


    Today I’m sharing a super neat fun fold card from last week’s video. I featured brand new products from our Online store. The suite is called Delicate Dreams and it’s beautiful! See it here.

    I shared two of the cards here in the last few days. Today I’m sharing the most unique one.

    Both upper and lower triangles pull out to reveal this:

    It’s made from two scored pieces that overlap in the center. I scored each on at 5 1/2″ and then at an angle as well. Please watch the video below to see how it’s done. It’s fairly confusing to use the tutorial only.

    This is how it looks when you open the right side only.

    I stamped the ‘wheat’ looking image using Stazon ink because the Earthen Toned Metallic foil would resist a water-based ink. This specialty foil paper coordinates beautifully with the bronze print in this DSP.

    That pretty ribbon is the Secret Sea open weave ribbon. The greeting is from January’s product of the Month – the Fabulous Sayings stamp set. It’s sold out now; they’re available only while supplies last.

    Here’s the free project sheet for this card. Click here to download or print it.

    Below is the video tutorial for these cards; be sure to subscribe to my YouTube channel. Or follow me on Facebook here; I share a video almost every Tuesday at 11 am CT.

    March Specials!

    March Product of the Month is the Notes of Spring stamp set!

    It’s just $5 with a $75 purchase.

    Get my March PDF free with any Online purchase!

    NEW Online Exclusives are here!

    Get the retiring In Colors while you can; they’re already going fast!

    Leave a Reply

    Your email address will not be published. Required fields are marked *

  • A neat overlapping fun fold card with free project sheet, video & punch trick!


    Yesterday I shared one of the three fun fold cards I made in the video tutorial last week. Today I’m sharing the second one.

    My colors include Mossy Meadow, Crumb Cake, White and the retired Boho Blue. The colors in the new Delicate Dreams DSP includes a brand new In Color coming out in May. It’s called Hydrangea Hue. I don’t have it yet so I had to substitute.

    The Delicate Dreams designer paper AND the Delicate Whispers bundle are out of stock right now but you can add your email to the list to be notified when it’s available. Click on the links to do this. They should be back in stock in a few weeks.

    The front top flap overlaps the lower one. I added a strip of the Boho Blue and besides texturing it with the Beautiful Pattern embossing folder I used my To the Point punch to mimic the Mossy Meadow punched piece. I love this punch!

    Here’s how you do it.

    You must insert the layer in the back of the punch and wiggle it between the slot. You don’t insert it through the usual space. See the card stock sticking out of the upper part of the punch? *If you don’t want the usual size of your punch this is how it’s done.

    Here’s the inside view of this card with the upper flap lifted:

    And here’s the view with both flaps lifted:

    Notice the colored die-cut on the White layer here? I cut that die from the White layer and sponged it with Mossy Meadow ink. Then re-inserted it into the White CS. I love this effect!

    If you’d like the free project sheet for this card layout click here. You can download or print it off. It includes measurements, supplies, photos and step by step directions. If you’re loving my free project sheets I suggest you create a file on your computer and save them all there. Easy inspiration!

    I’ll share the last card tomorrow. Don’t miss it!

    Below is the video tutorial for this card and two more.

    March Specials!

    March Product of the Month is the Notes of Spring stamp set!

    It’s just $5 with a $75 purchase.

    Get my March PDF free with any Online purchase!

    NEW Online Exclusives are here!

    Get the retiring In Colors while you can; they’re already going fast!

    Leave a Reply

    Your email address will not be published. Required fields are marked *


Notice: LeeAnn Greff, Independent Stampin’ Up! Demonstrator, Manager. The content of this website is my sole responsibility as an independent Stampin’ Up! demonstrator and the use of, and content of, the classes, services, or products offered on this website is not endorsed by Stampin’ Up! Copyright 2025