/


Latest Post

Amazing Side-step Vertical Easel card with Waves of the Ocean suite


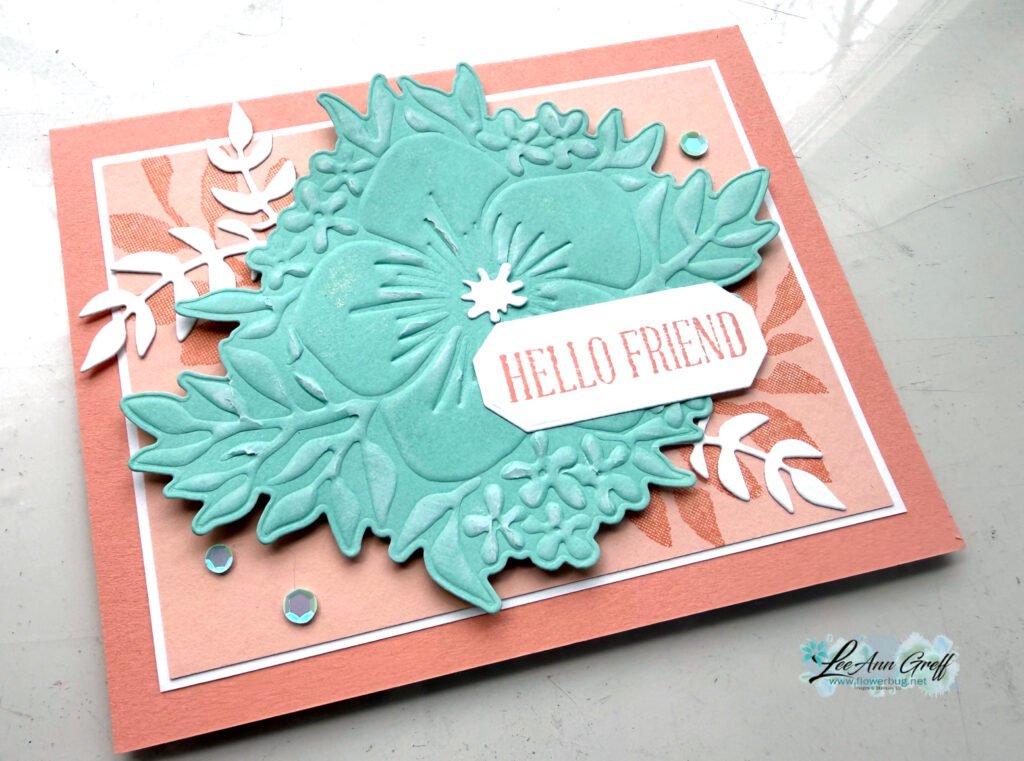
We made this remarkable fun fold card at my March card clubs. It features the Waves of the Ocean suite seen here. 

Dies featured here:

  • The Dandy Wishes dies in  the Garden Wishes bundle is 20% off right now. You can see that here.  I just love the die-cuts and greetings in it.  *I wonder if this will be on the retiring list tomorrow….. 
  • The 'Thanks' and 'Amazing' dies are from the Amazing Thanks dies in the 2022 Jan-June catalog.  You can see them here.  I love the double layering you get with them!!  

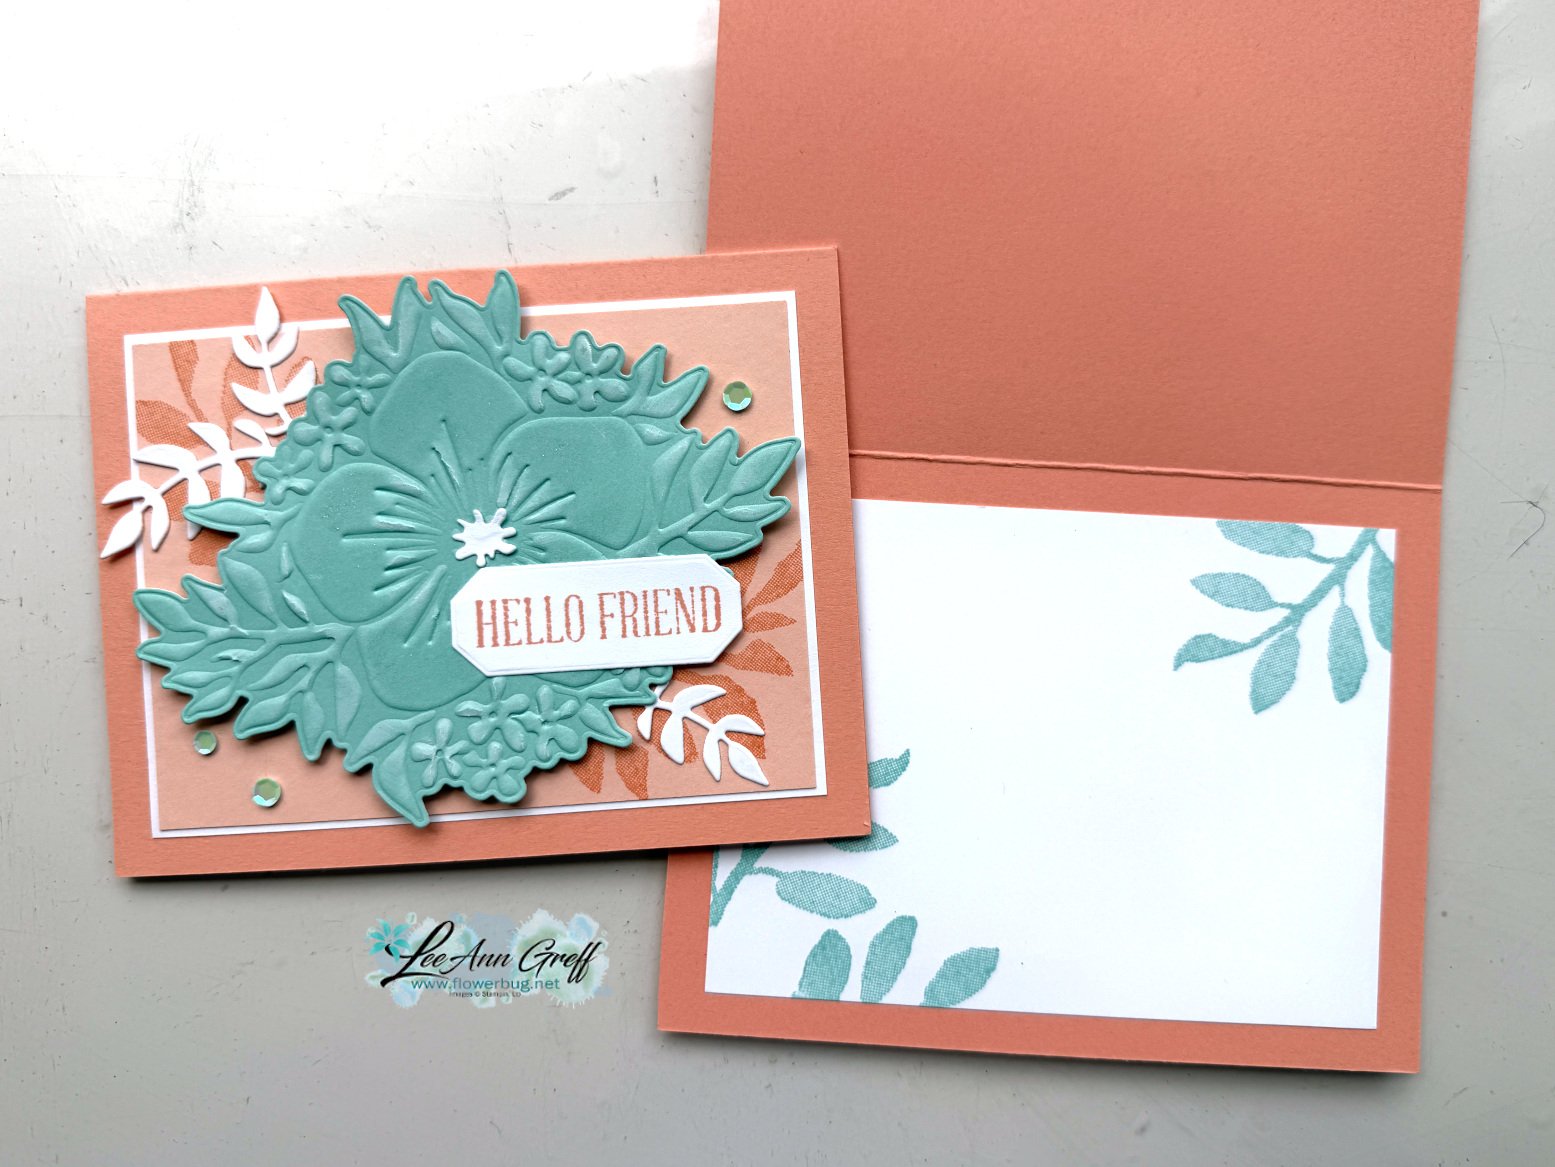
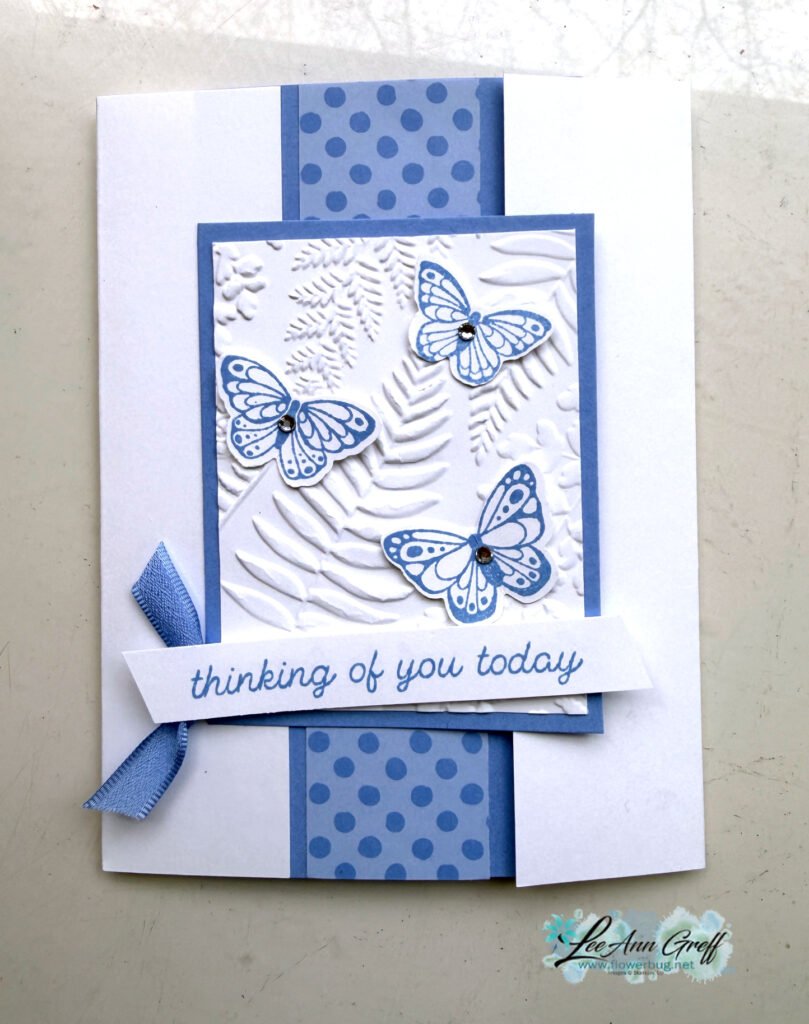
This card is 4 1/4" X 5 1/2" when finished and lays flat for mailing but stands up beautifully for display.  

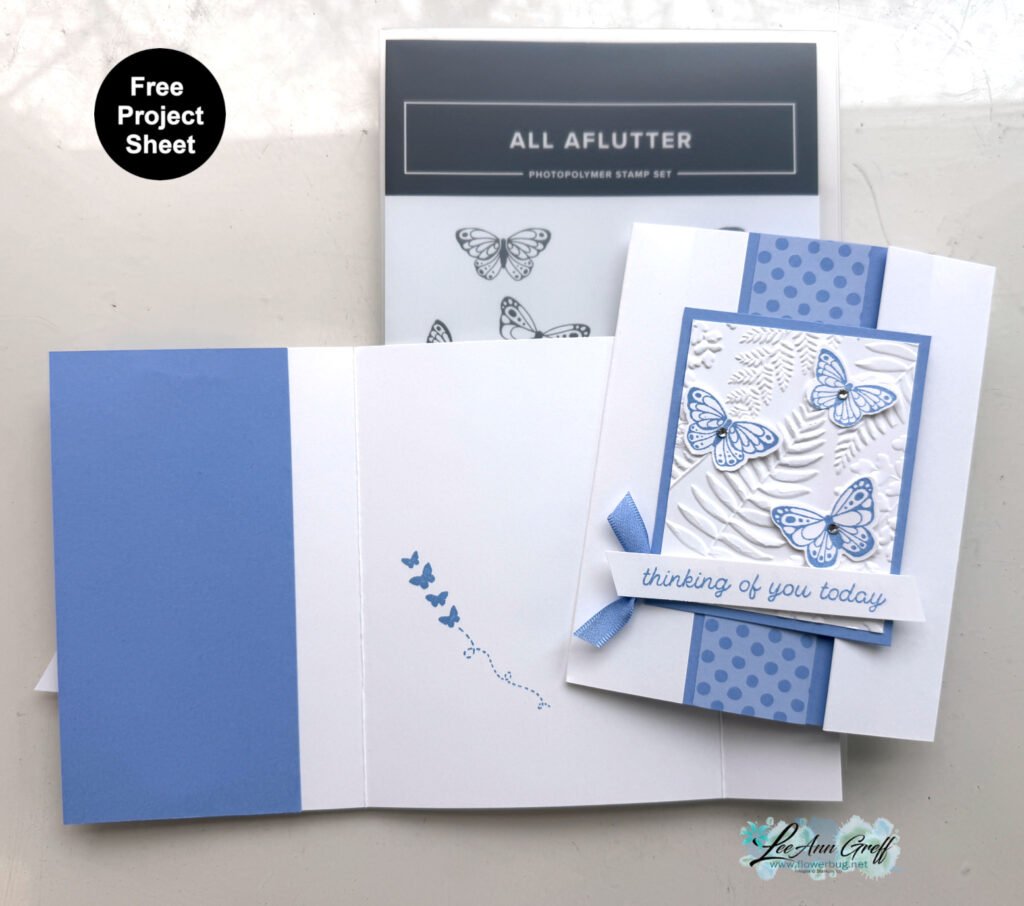
You can see how this is assembled in the video below.  I also list the measurements below too. 

The card includes two white panels; one for the middle and one for the back.  We stamped the wave from the Waves of Inspiration stamp set using Pacific Point ink on the middle layer.  We added some Bermuda Bay ink on the wave using a Blending Brush.  We also added a soft bit of Pacific Point for the sky.  

Some left the back empty so they could add a greeting later; depending on what they needed at the time. 

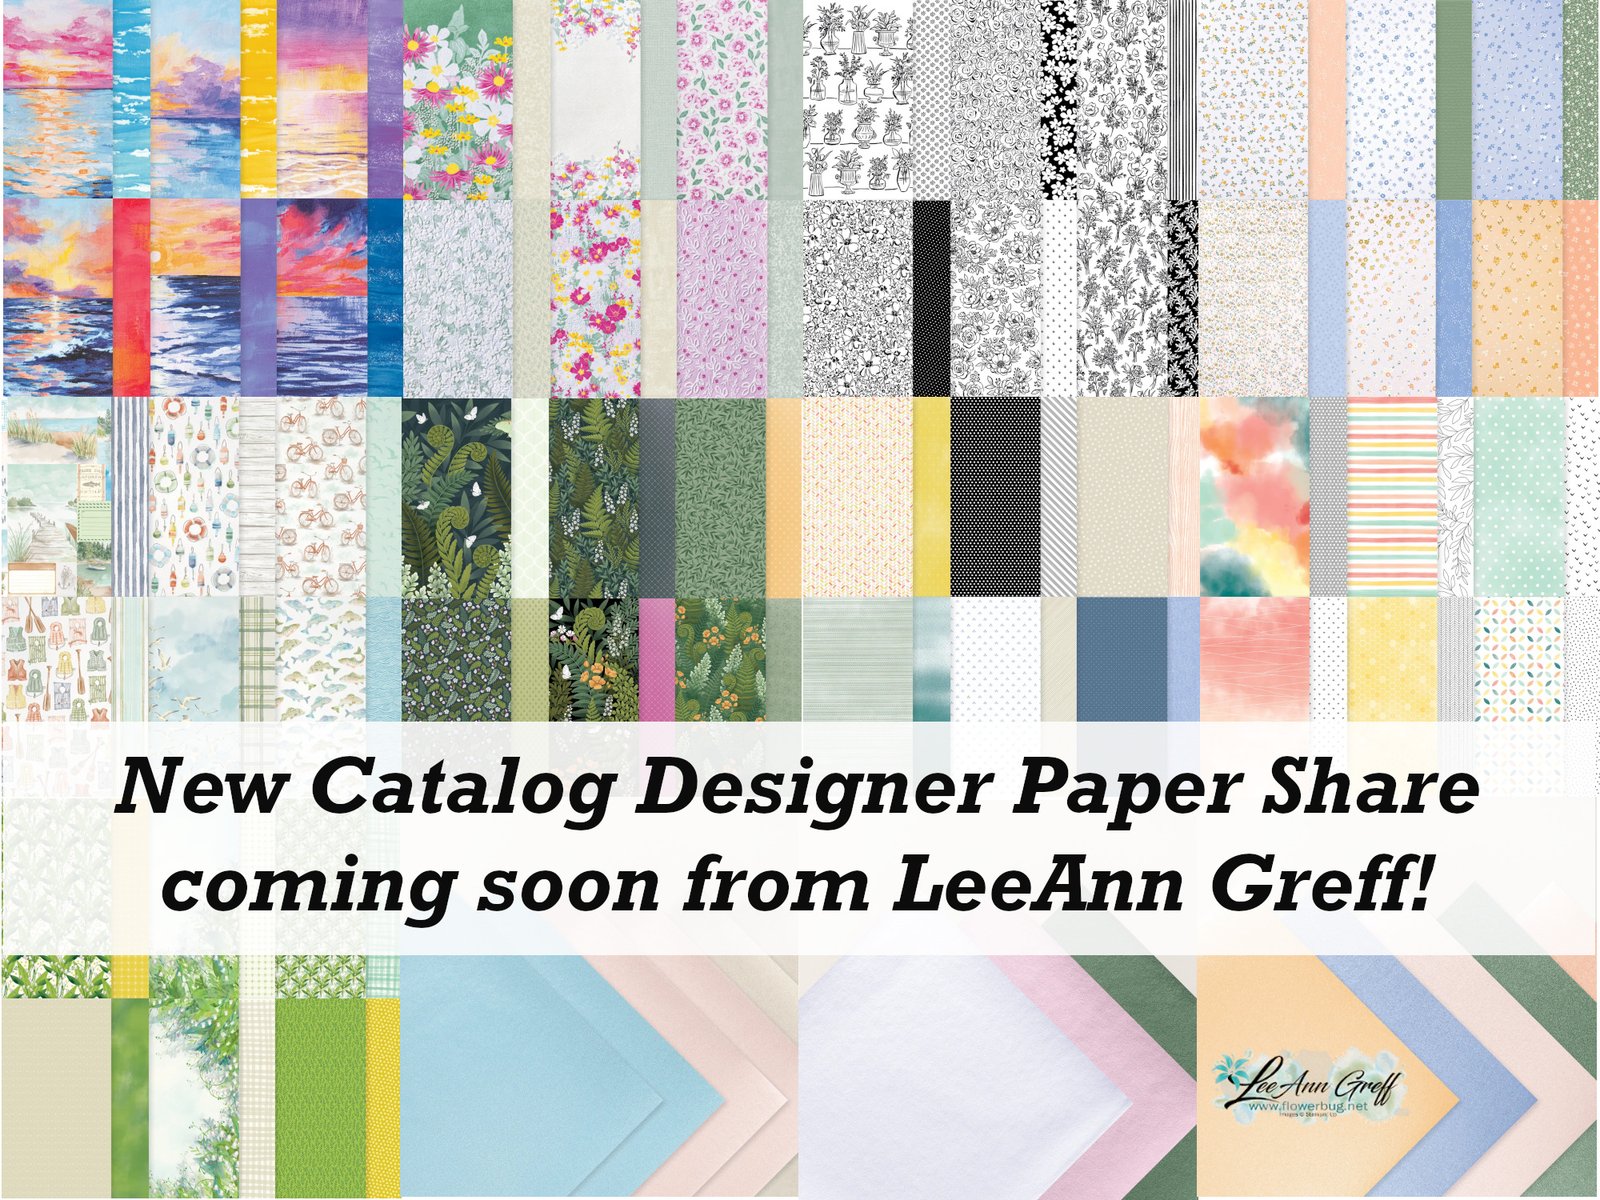
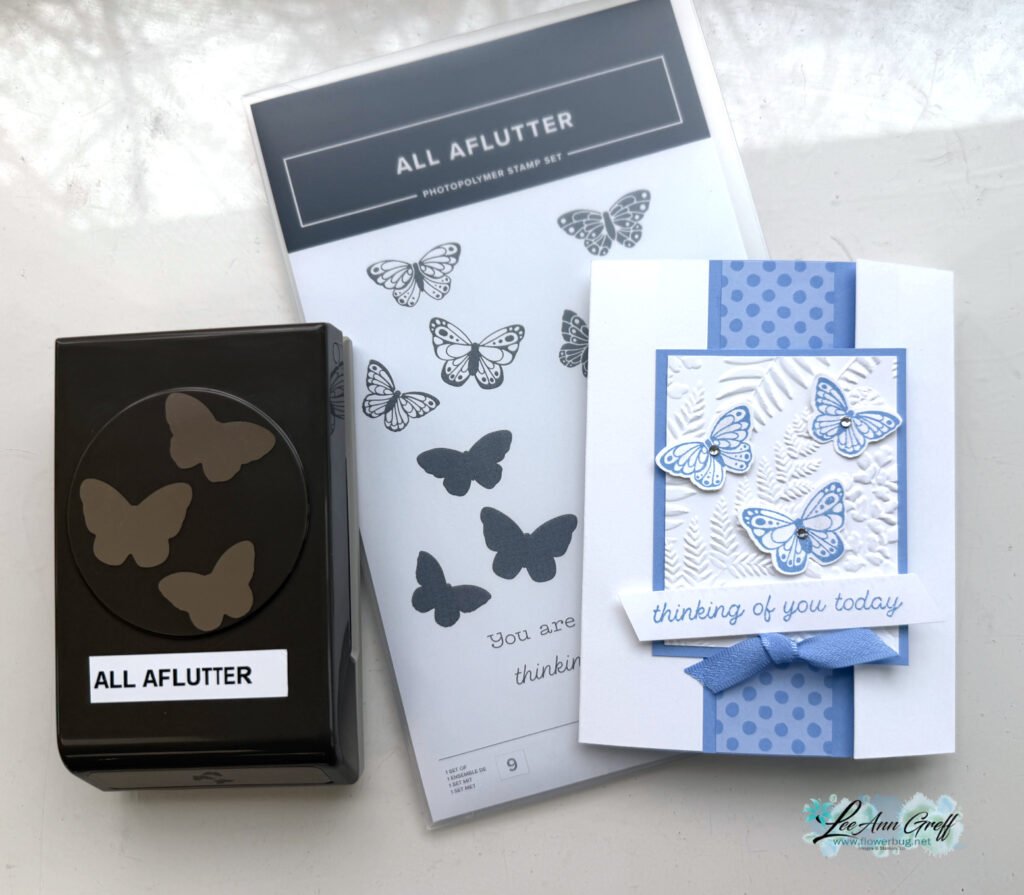
As you can see below the gorgeous Waves of the Ocean designer paper includes a variety of 'paint poured' designs & colors.  I wanted it to be the main feature of the card and this fun fold made it happen!  This designer paper is available through May 1st or while supplies last.  This pretty paper, the foil and Waves rhinestones will not be in the new Annual catalog. 


Everyone who orders the Waves of the Ocean suite collection from me will receive my exclusive PDF & video for 11 beautiful projects!  


I used the Dandy Wishes dies for the 'flower heads'.  For the right card below I trimmed off a few of the side pieces to create a smaller flower head. 

Measurements:

  • Pacific Point 4 1/4" X 9" scored at 1 1/4, 2 1/2" & 2 1/2" X 8 1/4" scored at 5 1/2" 
    Waves of the Ocean DSP 2 1/4" X 5 1/4"
    White X2 – 3" X 4" (front & back)
    scraps of White & Navy for die-cuts

~~~

March Specials: 

Host codes: FS239K9C

 *click here to order 

If your order is over $50 you'll receive a free embellishment

from the Jan-June catalog in your thank you card.


Annual Catalog Retiring List is out tomorrow!  Deep discounts coming! 

Don't forget about my loyalty rewards! 

Click here to download yours and earn a $50 shopping spree!  

All Posts

  • A new catalog sneak peek!


    I’ve joined a ton of swaps to get lots of samples for my upcoming New Catalog Open House party on May 2nd. If you’re local stop in between 11:30-1:30 pm that day at my home studio.

    Here’s one of the swaps I made:

    It is made with the Opulent Oasis bundle. This bundle will be available to order on May 5th.

    My colors include Pool Party, Petal Pink and the new Crisp Cantaloupe (card base). I love the colors together! Can you tell there’s a hint of White on some of the raised texture? I rubbed my Craft White ink pad over the surface afterwards.

    Notice that big textured floral element – that is made with something brand new, called Impressions dies.

    Here’s how you use them: I used the die first to cut out the flower like usual. It did not have the deep impression in it with the first cut. Then I put in in the Cut & Emboss machine again with the same die but this time added the new Impressions mat. This floppy, stretchy mat pushes the card stock into the die and gives that deep texture. So cool! I’ve heard you can use other ‘non-impression’ dies with this mat too!

    There are a few new & exciting impression dies coming out in the new catalog on May 5th.

    I hope you’re getting excited about all of the new products that are coming to you in this fabulous new catalog. I know you’ll love it.

    April Specials:

    Check out the Last Chance list here; these items go fast!

    Product of the Month is the Eyelet Blooms dies

    *Get a free 12 project tutorial when you redeem this POM from me!

    ~~~

    Free PDF tutorial featuring the Delicate Whispers suite!

    Leave a Reply

    Your email address will not be published. Required fields are marked *

  • New Catalog designer paper share; coming soon!


    I will be offering a new catalog designer paper share from the new catalog.

    I don’t have the details yet but I’m working on them this week. Stay tuned for a nice big selection of NEW papers in my share!

    I’m including 12 designer papers (including specialty) from the new 2026 May-August catalog in this share. You can choose from a 6 X 6″ papers or double it and get most in 6″ X 12″ size.

    *I’ll get my pricing and amounts figured out this week and repost it next week.

    I will likely do an embellishment share too. I’ll be out of town this week but I’ll have it all figured out by next week.

    April Specials:

    Check out the Last Chance list here; these items go fast!

    Product of the Month is the Eyelet Blooms dies

    *Get a free 12 project tutorial when you redeem this POM from me!

    ~~~

    Free PDF tutorial featuring the Delicate Whispers suite!

    Leave a Reply

    Your email address will not be published. Required fields are marked *

  • NEW color & bundle in this fun fold card with free project sheet & video


    One of my favorite new In Colors is Hydrangea Hue and pairing it with the new All Aflutter bundle was a perfect match-up!

    There are 5 new products featured on this card; all from the upcoming 2026 May-August catalog.

    – All Aflutter stamp & punch bundle
    – Hydrangea Hue ink and card stock
    – 2026-28 In Color printed DSP
    – Fern & Flora 3D embossing folder
    – Hydrangea Hue 3/8″ ribbon

    These products are available to Stampin’ Up! Demonstrators right now (pre-order period) but customers can start purchasing them on May 5th! That’s when the new 2026 May – August catalog debuts. Start your ‘wishlist’!

    This new All Aflutter bundle is a BIG favorite of mine; I love the coordinating butterfly images and that punch.

    This card is a fun fold layout. Can you see the separation between the White layer and the DSP under it? The textured layer is adhered to just the left side of the card front which leaves an area to slide the right side of the White CS between the layers. It’s so cool!

    I created a free project sheet with measurements for this card. Click here to print or download it.

    It’s so easy to make but you’ll want to watch the video tutorial below will help you understand it.

    April Specials:

    Check out the Last Chance list here; these items go fast!

    Product of the Month is the Eyelet Blooms dies

    *Get a free 12 project tutorial when you redeem this POM from me!

    ~~~

    Free PDF tutorial featuring the Delicate Whispers suite!

    Leave a Reply

    Your email address will not be published. Required fields are marked *


Notice: LeeAnn Greff, Independent Stampin’ Up! Demonstrator, Manager. The content of this website is my sole responsibility as an independent Stampin’ Up! demonstrator and the use of, and content of, the classes, services, or products offered on this website is not endorsed by Stampin’ Up! Copyright 2025