/


Latest Post

Clearance Rack is updated; plus new products released too. Amazing Gone Fishing projects; part 2


WOW; it all starts today! 

Clearance Rack has new items! 

The Paper Pumpkin 48 hour sale!  

NEW Online Exclusives

Bonus Days!

***See details on each promotion below:

Today I'm sharing the 2nd group of cards Candace made featuring the Gone Fishing suite.  If you missed the first batch, click here to see them.  
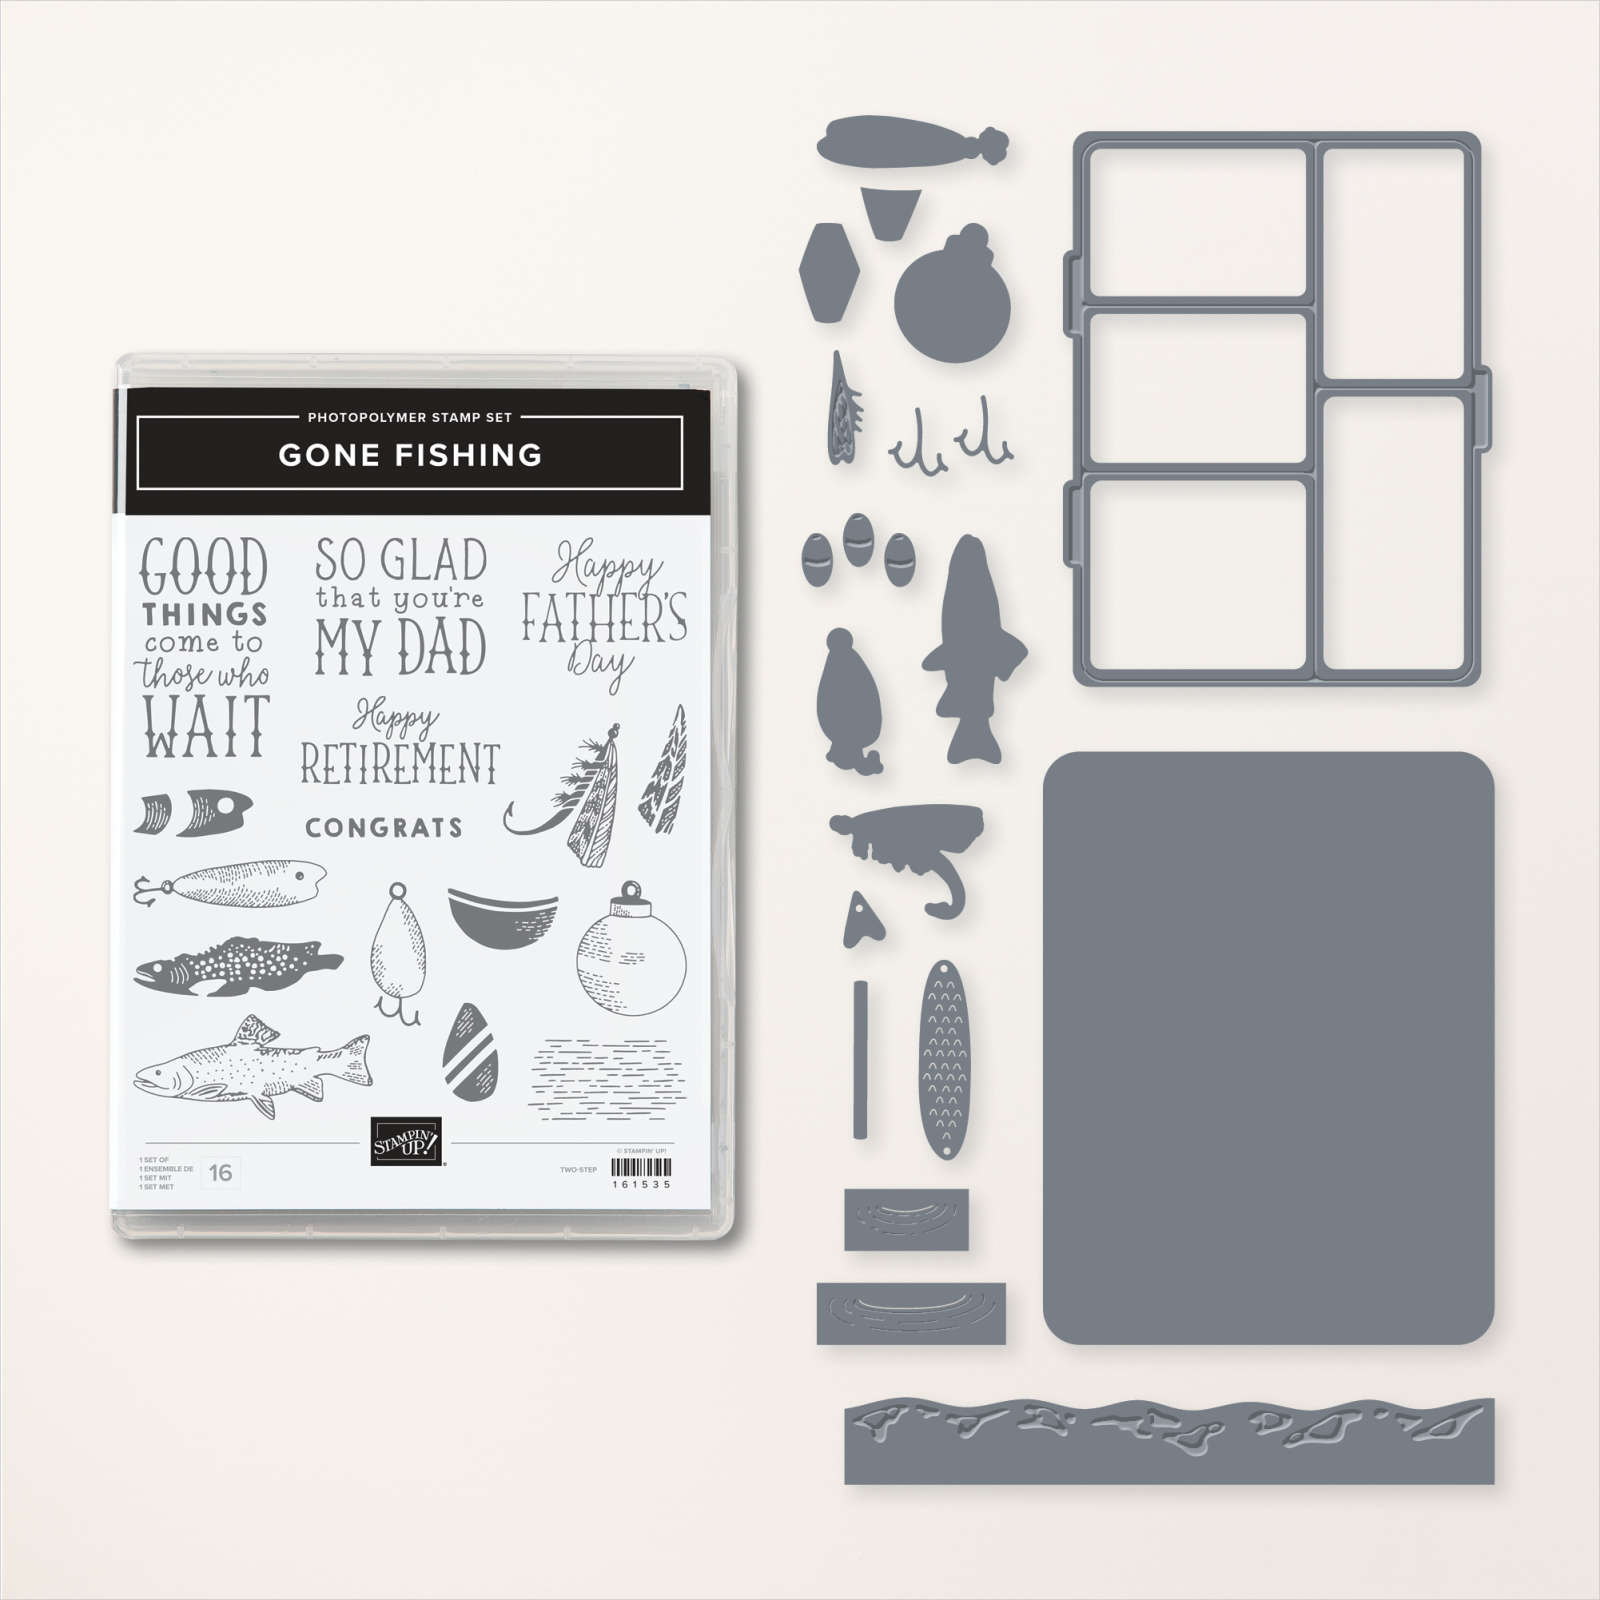
She was our Artist of the Month for June and chose this special bundle; so unique and perfect for the fishermen (and fisherwomen!).  See the Gone Fishing bundle here. 

This first card is filled with layers and details – well all of them are really!  
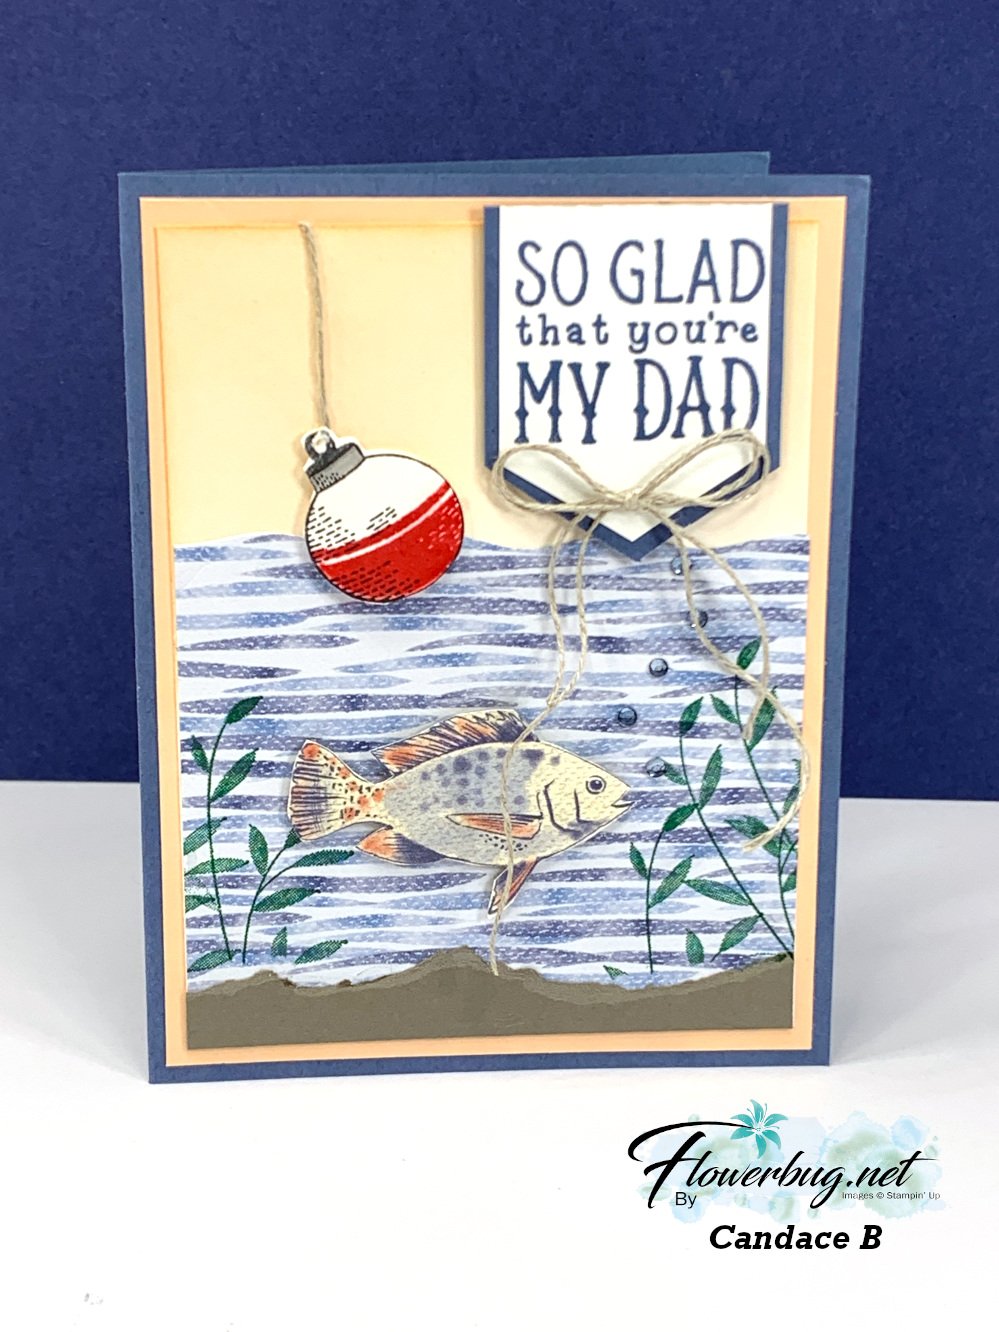
The colors include Misty Moonlight, Petal Pink and Pebbled Path.  She added Wink of Stella to the fish, and bobbin.  That fish is gorgeous. I love the wavy cut DSP at the top and her sponged sky.  And did you notice the rhinestone 'bubbles'?  

Below is the inside of this card; she always adds details to her card inside layer. 

Next is a fun fold card where the center panel lifts up.  It's adhered to a 5 1/2" X 4 1/4" layer. 
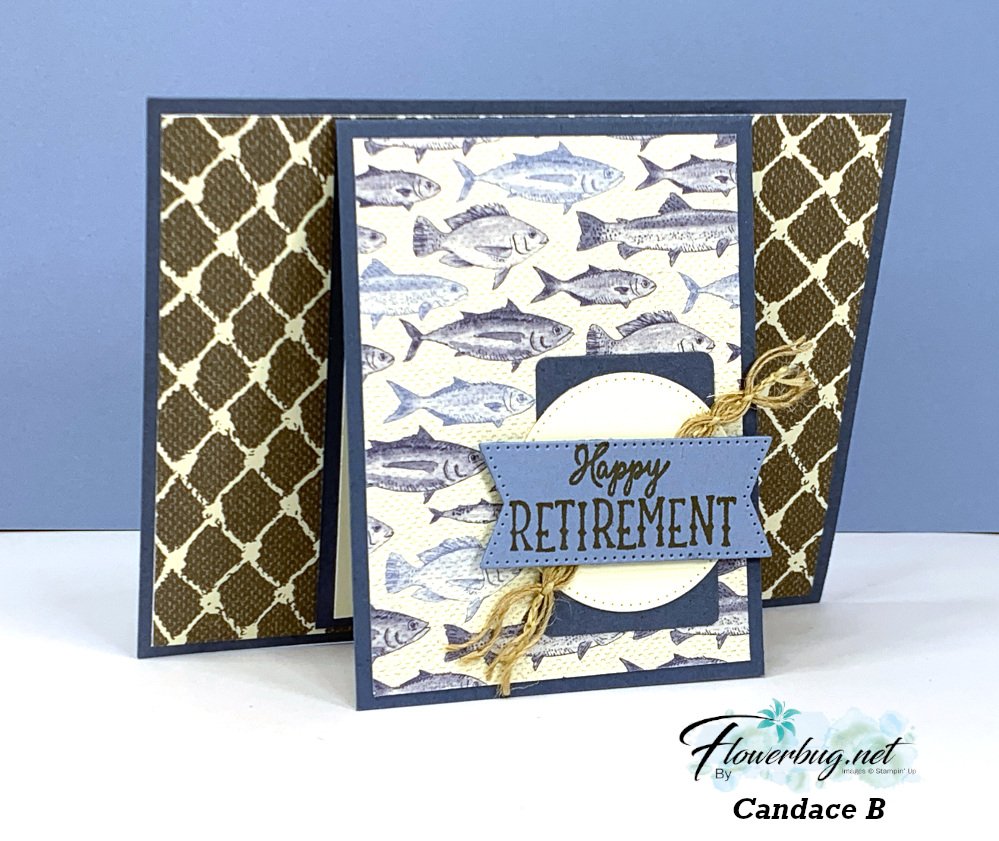
Her colors include Pebbled Path and Misty Moonlight with a bit of Vanilla and Boho Blue. 

The folded panel is 3" wide X 8" tall and scored at 4". The DSP is 5 1/4" X 4" in the back and the front panel is 2 3/4" X 3 3/4"

Next is a neat card featuring the Spiral Dye. She stamped it twice; once in Pool Party and once in Lost Lagoon.  
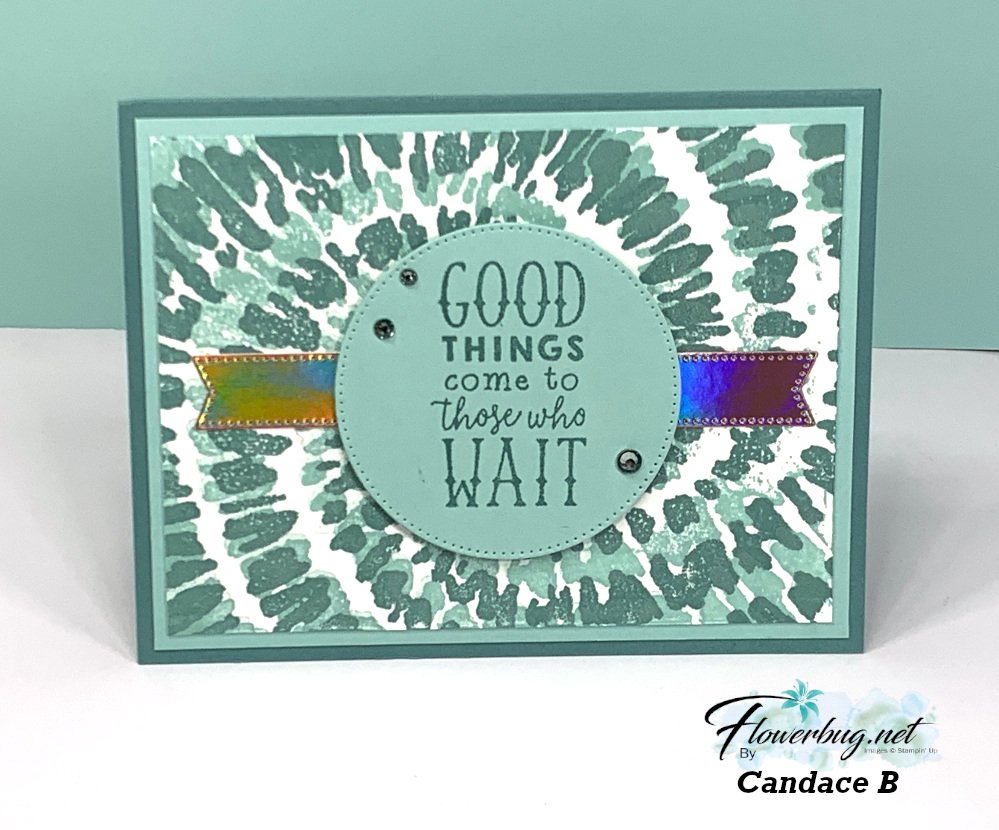
The Stitched die-cuts are from the Stylish Shapes dies. Notice that shiny paper banner?  That is the new Holographic Trio specialty paper on page 127 of the Annual Catalog.  

I'll share more of her amazing projects tomorrow.  Don't miss the next set! 

~~~

July Specials:

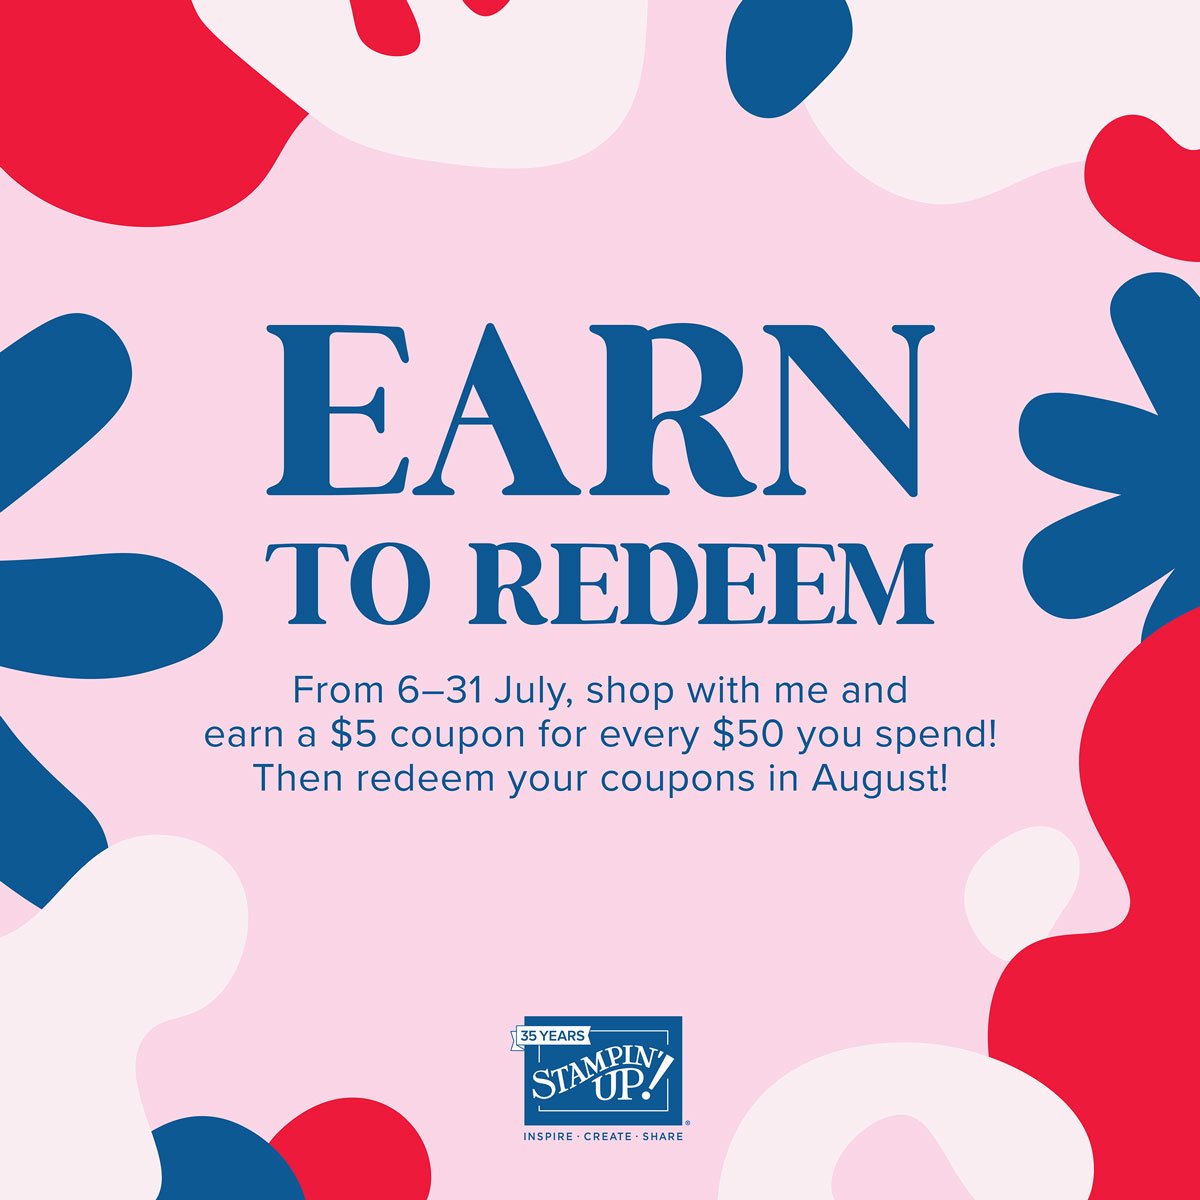
1. Coupon Days are here! 

Starting August 6th when you spend $50 in July you'll earn a $5 coupon, which you can redeem in August. 
2. PAPER PUMPKIN 48-HOUR SALE!

Surprise! On 6–7 July, all current Paper Pumpkin subscribers can save up to 50% on these Paper Pumpkin past kits, refills, and add-ons!

Get your pre-paid kits here or monthly kits here. 

3. Next is a Clearance Rack update!

See all items available here

4. NEW Online Exclusives will be available

See these here! 

Starting August 6th when you spend $50 in July you'll earn a $5 coupon, which you can redeem in August. 

My special for July:

Get a free card kit & a new Beautifully Happy stamp set 

with online orders over $65; must use a host code.

*current host codes: BKEARDMW or GGDRKFQR

~~~

Inventory reduction sale! 

I have excess of these three card kits to go so I'm offering a special through July 15th.

 I'll add a free stamp set (retired but new) to your package with the purchase of any 2 or more pre-cut kits in my Shop.  *see them all here

~~~

Did you know you can earn free products when you shop with me?   

Click here to download yours and earn a $50 shopping spree with my loyalty rewards!
All Posts

  • 2 different card ideas for a ‘Mystery Card challenge’ with Sentimental Swirls with video


    Every few months I offer a 'Mystery Card' challenge to my Flowerbug's Team.  They can opt in to receive a packet from me and I ask that they use some of the pieces in the packet to create a project and share it on our Team page.  They can add anything to the card that they want to. 

    I shared these ideas in the video I made on my weekly FB Live. Click here to watch it. 

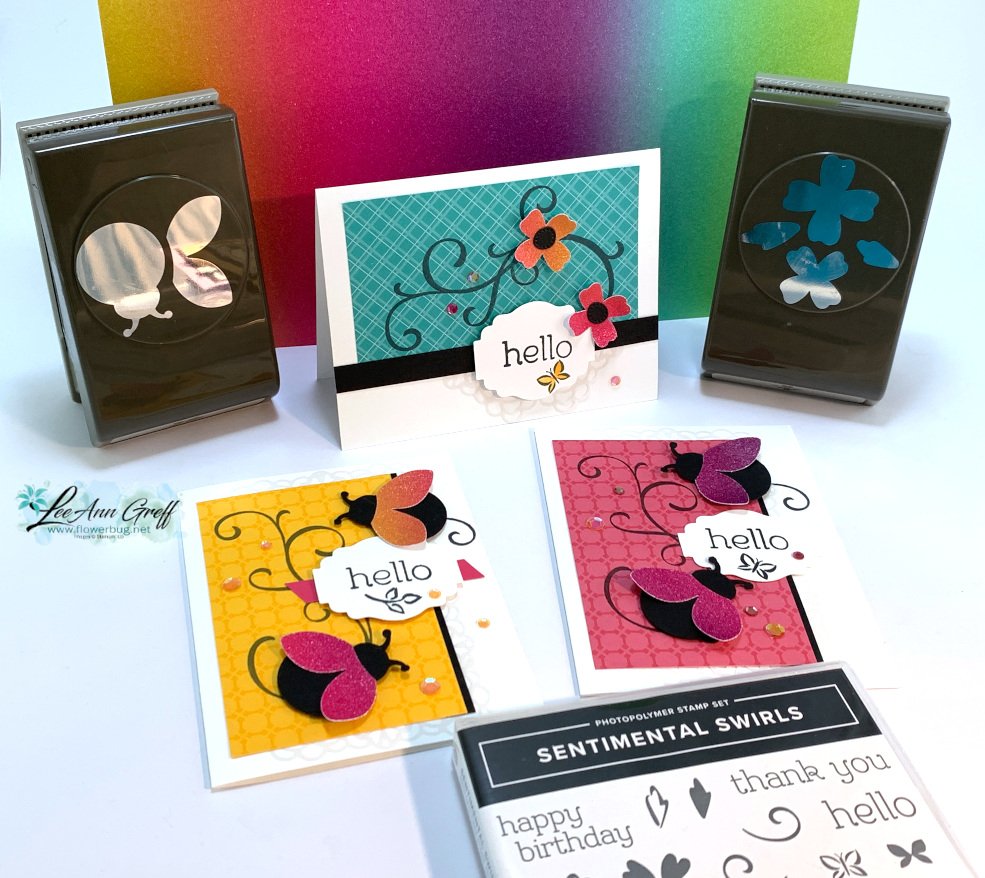
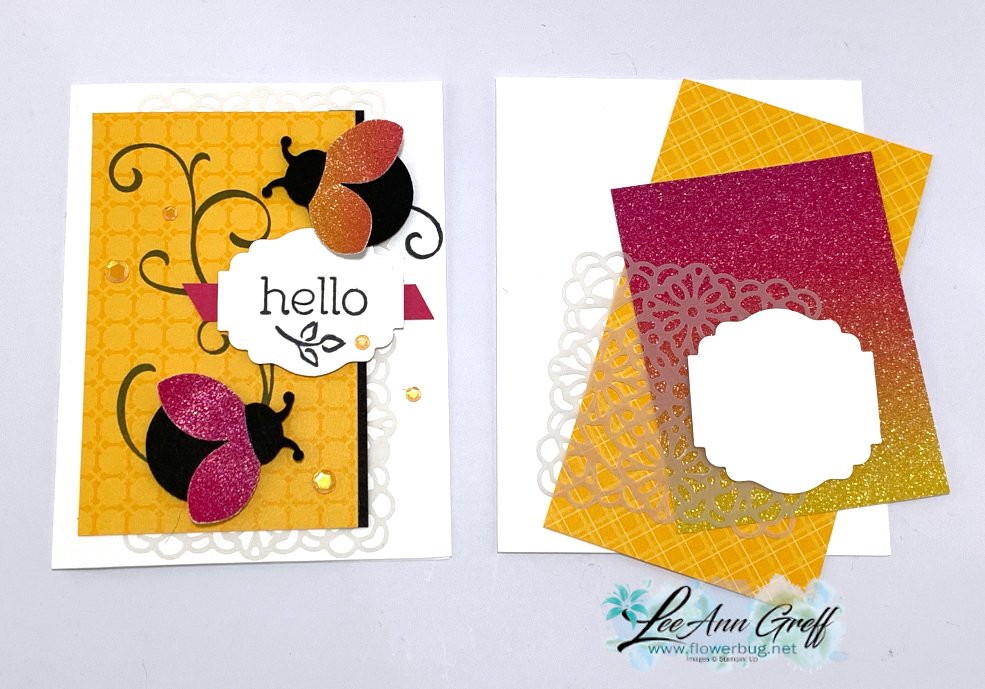
    This time I focused on Brights DSP, vellum doilies, a Label Me Lovely punched piece and our Rainbow Glimmer paper in the annual catalog. 

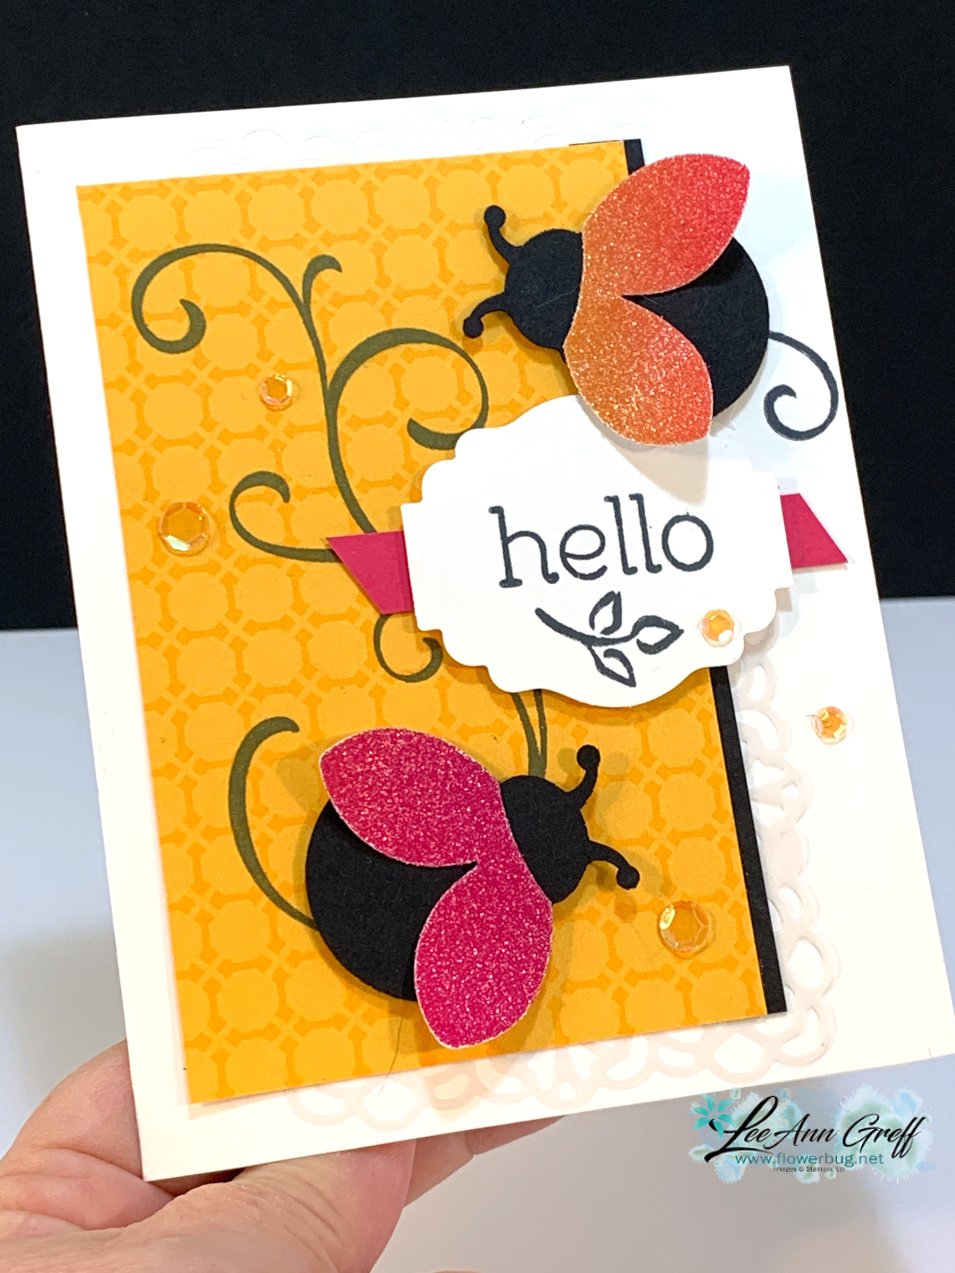
    I pulled out the Sentimental Swirls stamp set seen here for my cards and added Black accents and a strip of Melon Mambo. 

    I've always loved swirl images so this set was an easy choice.  Then add in the cute greetings (most are my 'go to' favorites) and 2-step stamp images and it's a hit! 

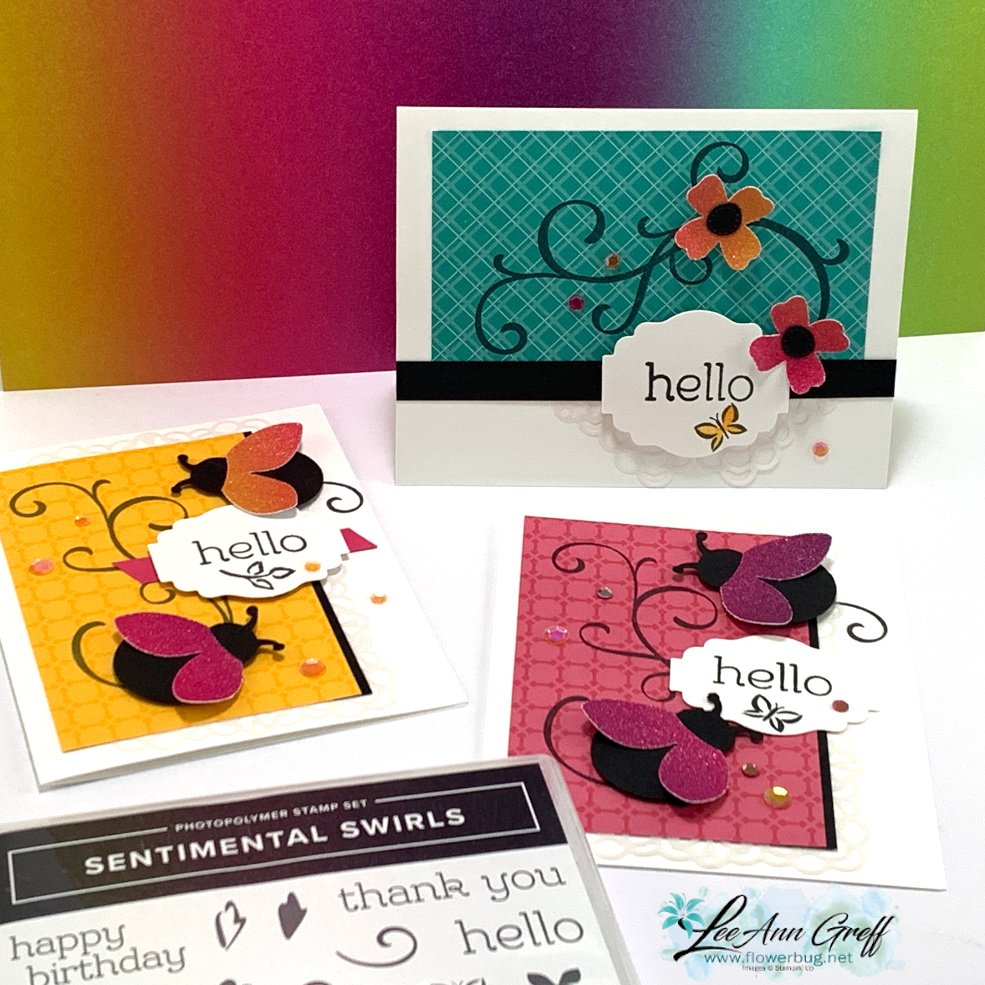
    The card base is white, the DSP was Mango Melody and the Rainbow Glimmer paper had pinks & orange tones.  I used the Ladybug Builder punch for Black bodies & glimmer wings.  I cut the vellum doily in half on the diagonal to add it on the upper and lower part of the card.  A few Artistry adhesive-backed sequins finish it off!

    I made a few more with other 'mystery card' packets. This one had Bermuda Bay DSP in it and similar colors of Rainbow Glimmer paper.  I think the bright colors are perfect together!  The orange & pink really pop on the Bermuda Bay! 

    The flowers are from the Flowers & Leaves punch and the flower centers are die-cuts from the Pierced Blooms dies. Here I cut the doily in half again and added both pieces at the bottom, under the greeting. 


    The Rainbow Glimmer paper is in the Annual Catalog and will likely retire next week.  Get it here while you still can. You can see it in the photos above & below.  


    You might wonder where I got that greeting shape.  It's actually the Label Me Lovely punch.  But I altered the size by punching it twice; removing some of it so it was much smaller.  

    To do this easily, I stamp on a scrap of White and punch it out as usual.  Then I adhere a strip of card stock (black in the photo above) to the edge of the punched piece and insert it back into the punch.  The strip of card stock allows me to 'reach' and adjust the punch easily.  

    Which card is your favorite? 

    You'll enjoy the tips & ideas in the video below; click on the photo to watch it. 


    ~~~

    March Specials: 

    Host codes: FS239K9C

     *click here to order 

    If your order is over $50 you'll receive a free embellishment

    from the Jan-June catalog in your thank you card.

    Email me to opt in for my Waves card kit to go here; it includes the Waves bundle!

    Or the Flowering Fields kit seen here. 


    Don't forget about my loyalty rewards! 

    Click here to download yours and earn a $50 shopping spree!  

    Leave a Reply

    Your email address will not be published. Required fields are marked *

  • Waves of Inspiration Sunset


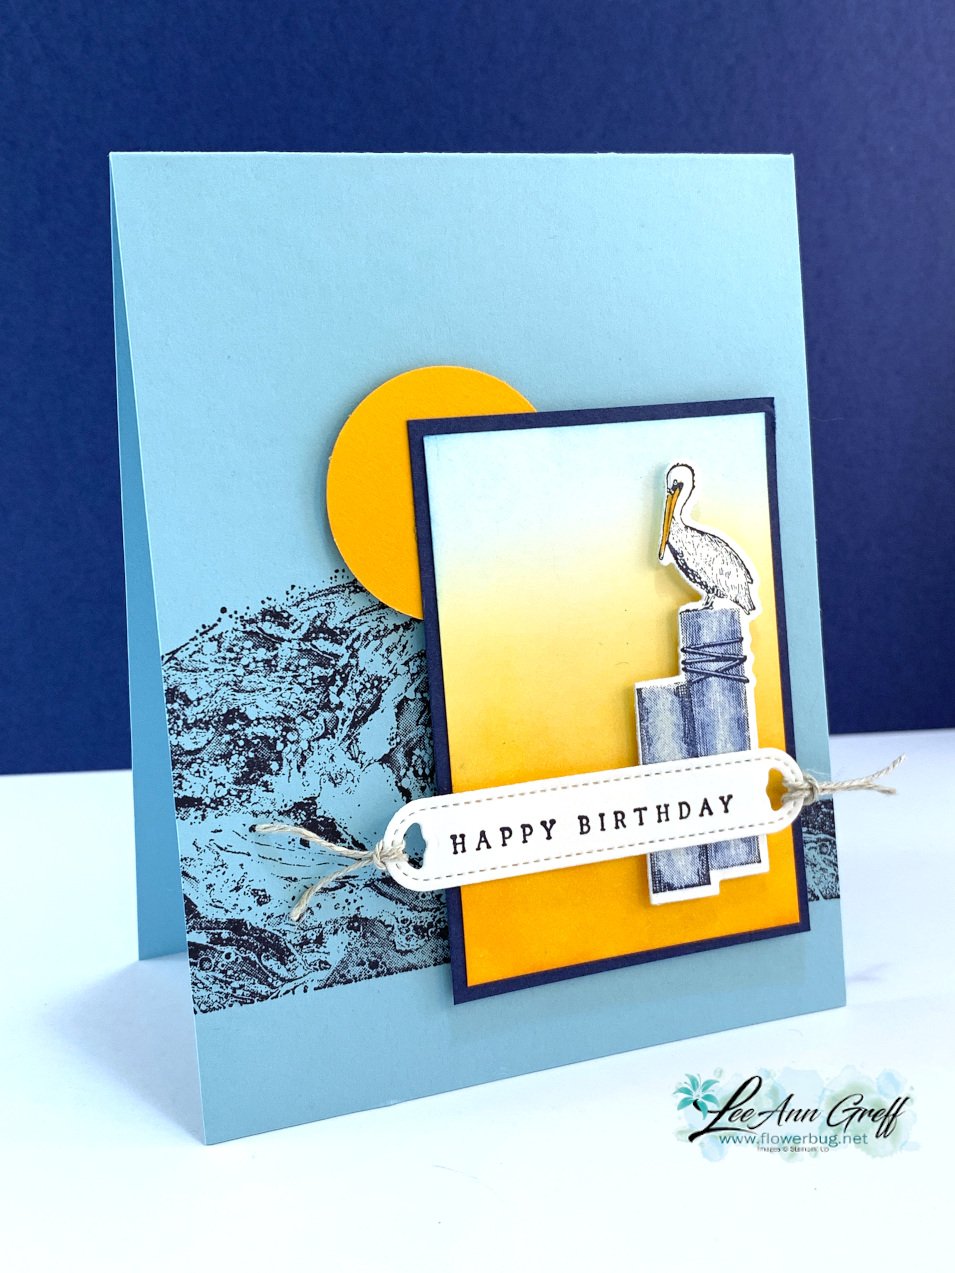
    Here's another card that's included in this month's Waves of Inspiration kit to go.  The colors are gorgeous! 

    This card was inspired by another Demonstrator but I cannot find the name to give credit now.  It's Balmy Blue with touches of Mango Melody.  I used a Blending Brush to achieve that smooth shaded layer of Mango Melody & Balmy Blue.  

    Like I mentioned, this card is included in both the Kit go Go and the PDF tutorial and exclusive videos this month.  The last day to get in on the pre-cut kit is tomorrow, March 17th.  Get the details here.  

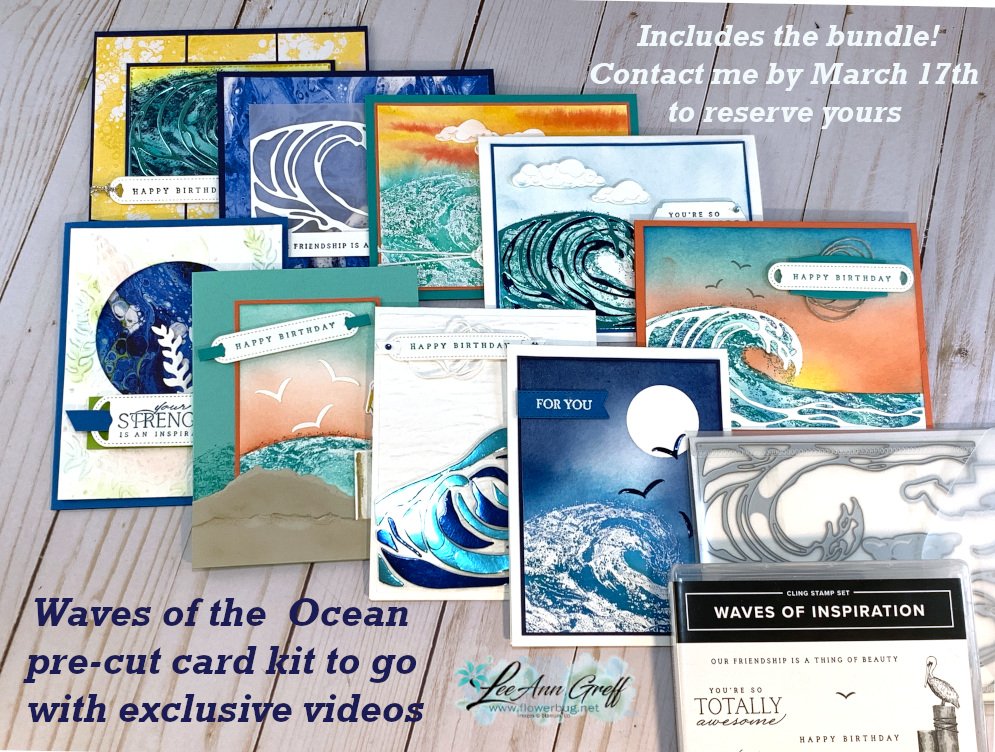
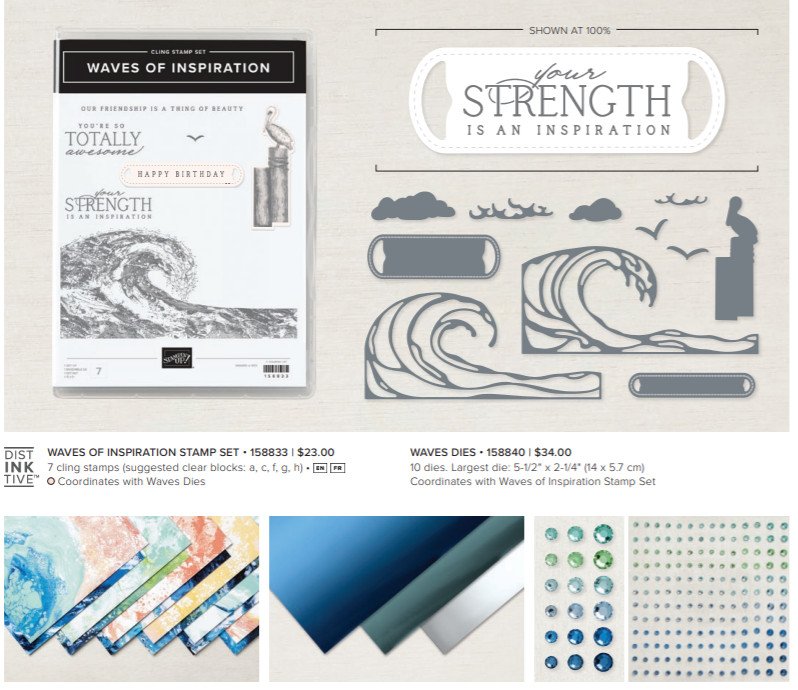
    The Kit to Go includes the Waves of Inspiration stamp set & dies, the 6 cards kit and videos & PDF tutorial for 11 cards for $74. Message me here to opt in for it; and I'll send you an invoice via PayPal. 


    Or if you order the Waves of the Ocean collection seen here from me you automatically receive the PDF tutorial and videos.  Make note that the Waves of Inspiration bundle will be in the upcoming Annual catalog but the papers & gems will not.    

    Here is a photo of more of the cards included:

    ~~~

    March Specials: 

    Host codes: FS239K9C

     *click here to order 

    If your order is over $50 you'll receive a free embellishment

    from the Jan-June catalog in your thank you card.

    Email me to opt in for my Waves card kit to go here; it includes the Waves bundle!

    Or the Flowering Fields kit seen here. 


    Don't forget about my loyalty rewards! 

    Click here to download yours and earn a $50 shopping spree!  

    Leave a Reply

    Your email address will not be published. Required fields are marked *

  • Free-form waves using the Floating Technique


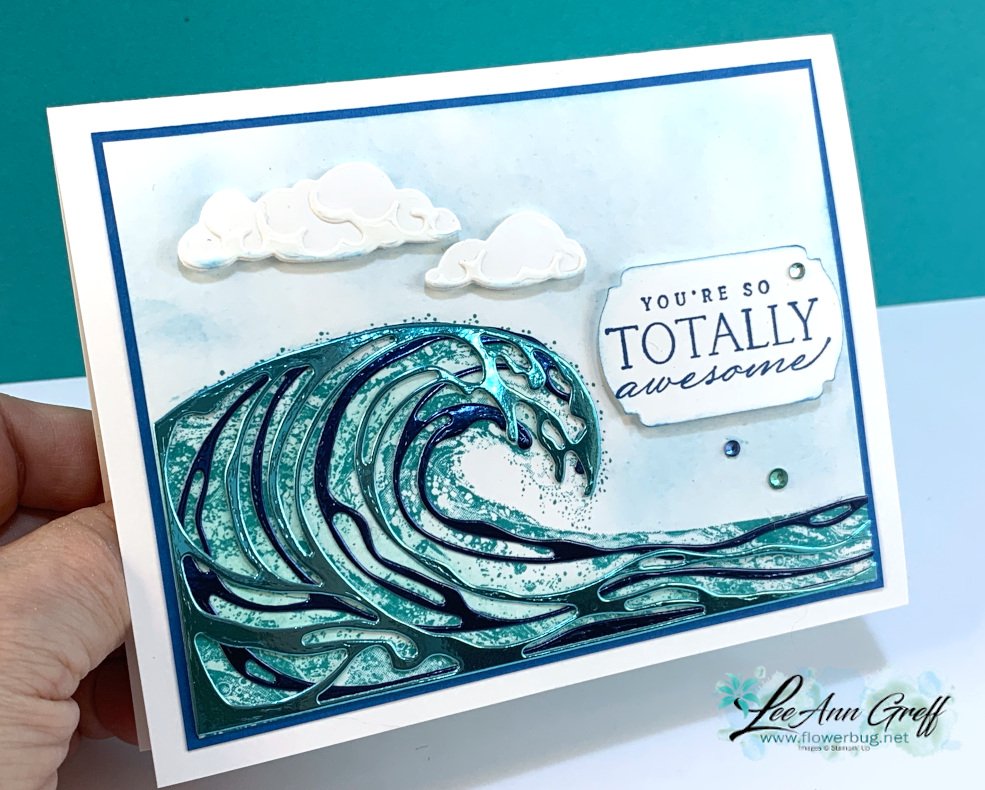
    We made this gorgeous 'wave' card at a Team meeting last month.  I used the Waves of Inspiration bundle and a Blending Brush for the sky. 

    The colors are Bermuda Bay, Pacific Point and White.  See those gorgeous gems?  They're called Rhinestone Waves Basic Jewels and there are 168 in a package for just $6.50!  See them here. 

    I had a bunch of curvy foil pieces left over after die-cutting a bunch of these waves from the two blue colors in the Blue Foil paper seen here.  I challenged myself to use them and came up with a free-form wave using the Floating Technique.  

    I adhered various die-cut foil pieces to a Window Sheet using Multipurpose liquid glue and added them to the card with Stampin' Dimensionals.  This take a bit of patience as you can imagine!    

    Here are some tips to achieve this:

    • It's best if you start at the bottom and add just a few pieces. Let it set to dry. 
    • Adding a weight over them while they dry helps keep them flat. The foil likes to curl up.
    • Next form the top of the wave.  I used one of the long curved pieces for this.  
    • Add just a few pieces at a time and let them dry.  They slide easily!
    • Fill in the center of the wave a few at a time. Again, add weight over it all to set & dry.  
    • Trim off the sides of the Window sheet at 4" to fit the White layer. I fussy cut the top to match the foil wave.  
    • I adhered it to the textured 'Bark 3D' White 4" X 5 1/4" piece of CS with mini dimensionals.  

    This card is part of my Waves of Inspiration tutorial and video with 11 projects!  This is available to anyone who purchases the Waves of the Ocean Collection from me or purchases my Waves of Inspiration kit to go. 

    Click here for the details.  Be sure to opt in for the kit by March 17th. 

    ~~~

    March Specials: 

    Host codes: EU76H4H7

     *click here to order 

    If your order is over $50 you'll receive a free embellishment

    from the Jan-June catalog in your thank you card.

    Email me to opt in for my Waves card kit to go here; it includes the Waves bundle!

    Or the Flowering Fields kit seen here. 


    Don't forget about my loyalty rewards! 

    Click here to download yours and earn a $50 shopping spree!  

    Leave a Reply

    Your email address will not be published. Required fields are marked *


Notice: LeeAnn Greff, Independent Stampin’ Up! Demonstrator, Manager. The content of this website is my sole responsibility as an independent Stampin’ Up! demonstrator and the use of, and content of, the classes, services, or products offered on this website is not endorsed by Stampin’ Up! Copyright 2025