Have you noticed the All Around Wreath bundle in the annual catalog? Click here; it's quite the gem! So many occasions are covered in the greetings and die-cuts.
Marilyn made this pretty Christmas themed wreath for our Team Christmas card swap.
She chose to use two shades of green here; Mossy Meadow with Pear Pizzazz along with a few touches of Gold. The pears are heat embossed in Gold powder as well as the shimmery thread.
Other details:
The greeting is die-cut with the Hippo & Friends dies seen here
The Vanilla layer is textured with the Pinewood Planks embossing folder
She used the same wreath die-cut but in two colors, separating them slightly on the card.
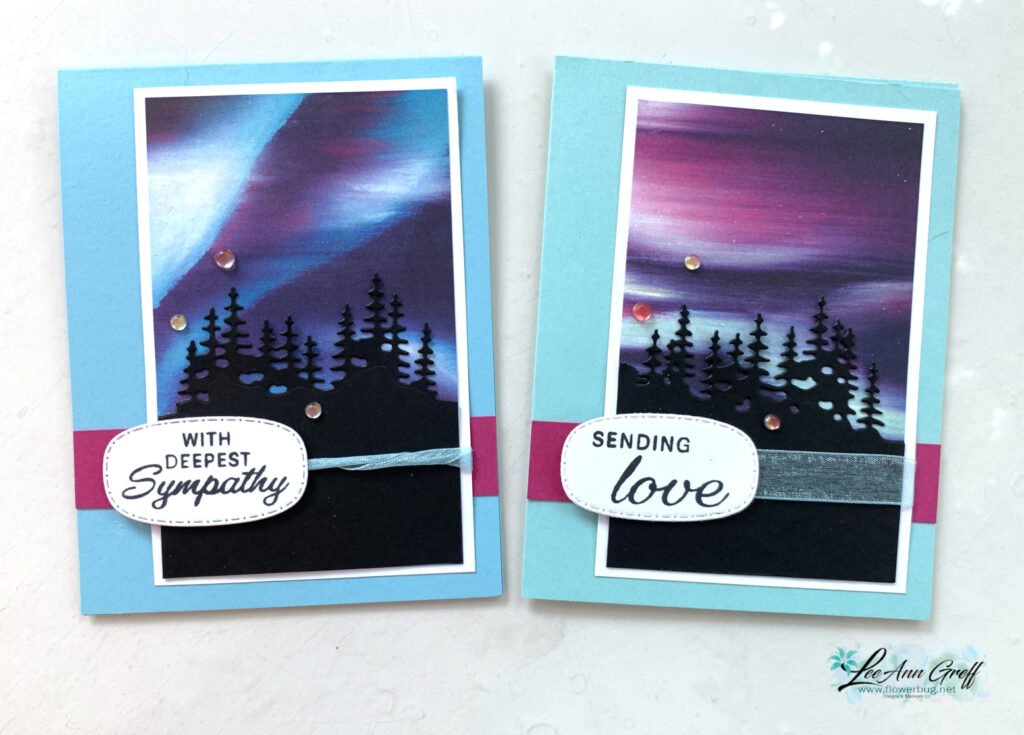
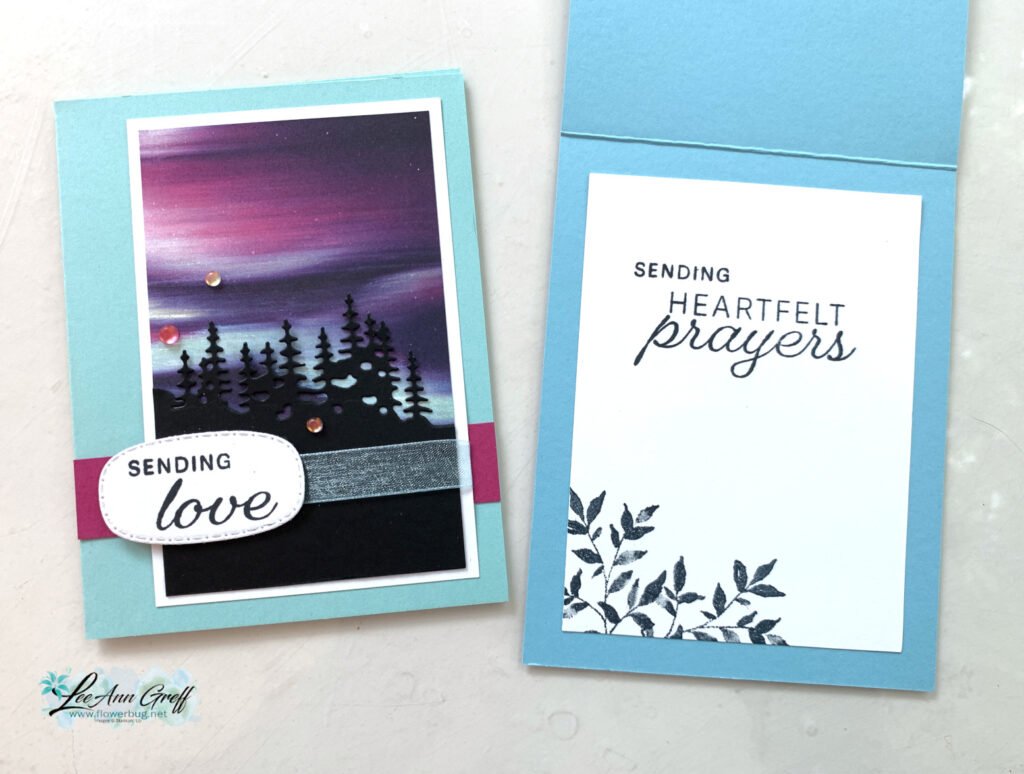
It features the Lights of Aurora suite seen here. I made sure to cute my designer paper at 3″ wide so I could get 2 pieces from each 6″ piece. We made this pretty card at my September card clubs.
Besides the DSP & colors (Balmy Blue & Pool Party) do you notice another difference? Look at the ribbon; I tried a new technique of rolling the Balmy Blue sheer ribbon on the left card. Something different!
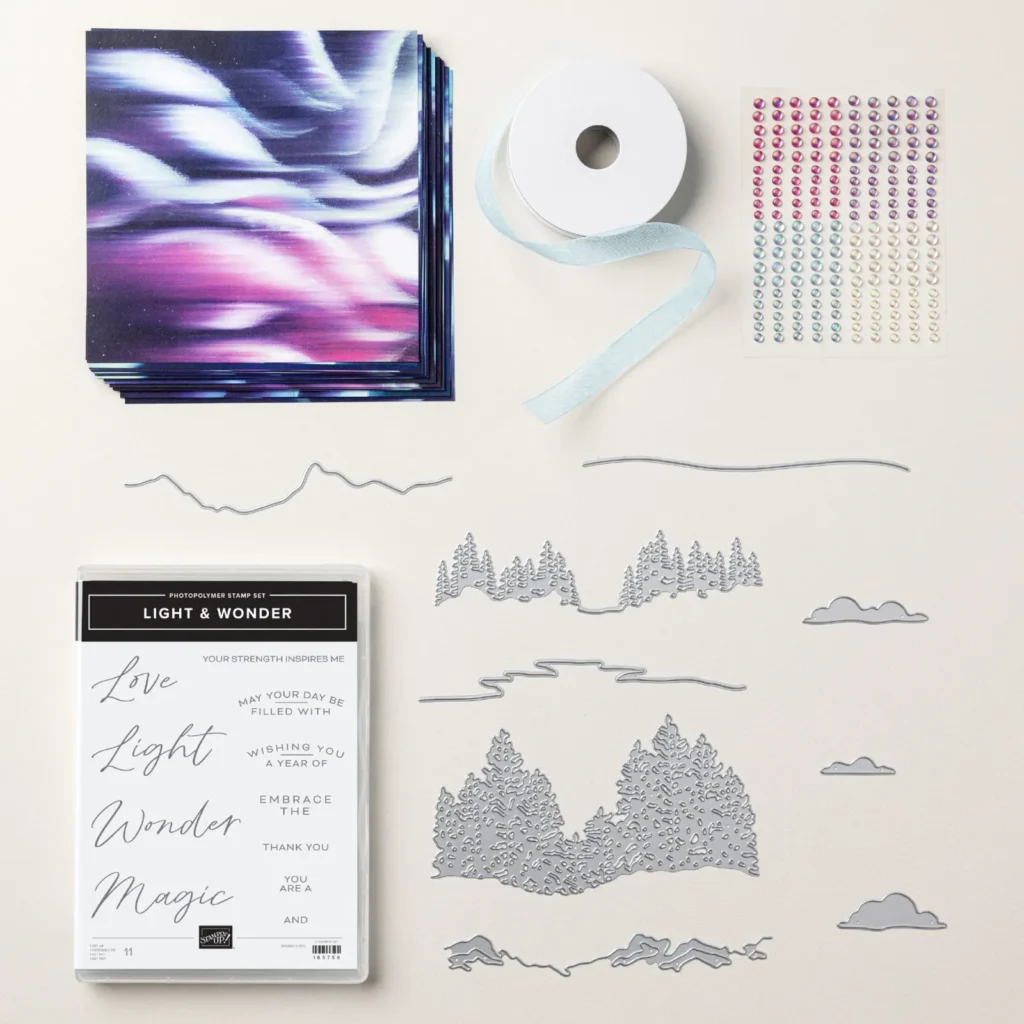
Another time saving tip for this card is that I could die-cut two sets of trees at the same time with the extra long die in the bundle seen here:
Tip; add balance to your card by placing the main layers off to one side and the greeting on the other. This suite has been really popular with my customers. It’s something special & unique we’ve never had before. See it here.
And get the Starter kit here.*Choose your deal – $35 or $99 plus $90 in free products including free shipping, free Paper Pumpkin kit & free catalogs/business supplies!
~~~
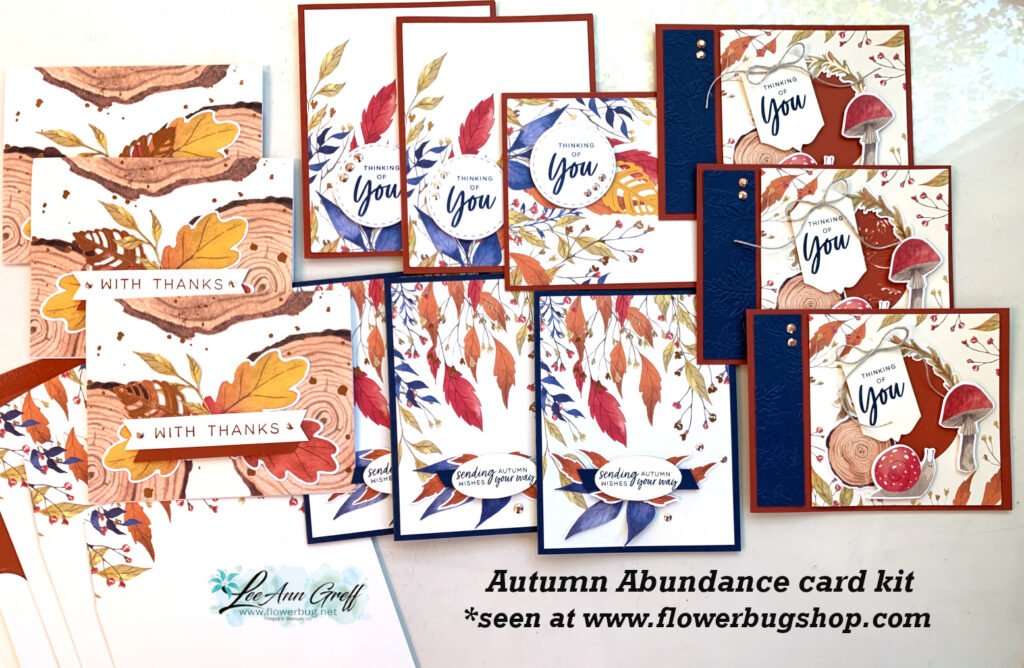
All online orders from me will receive a beautiful PDF of projects featuring the Modern Christmas suite.
Aren’t they pretty?! They started out as a previous Paper Pumpkin kit but I changed them up a bit and added extra cards and layers. Now it’s 12 cards with envelopes, Linen Thread & gems too. Most of the layers are pre-cut for you however you will need to trim a few card bases down to add to the card bases I include in the kit.
The PDF tutorial includes all instructions, photos, measurements and supplies needed. You will need assorted greeting images and a few inks too.
Click here to grab the kit to go with extra product for just $30.
And get the Starter kit here.*Choose your deal – $35 or $99 plus $90 in free products including free shipping, free Paper Pumpkin kit & free catalogs/business supplies!
~~~
All online orders from me will receive a beautiful PDF of projects featuring the Modern Christmas suite.
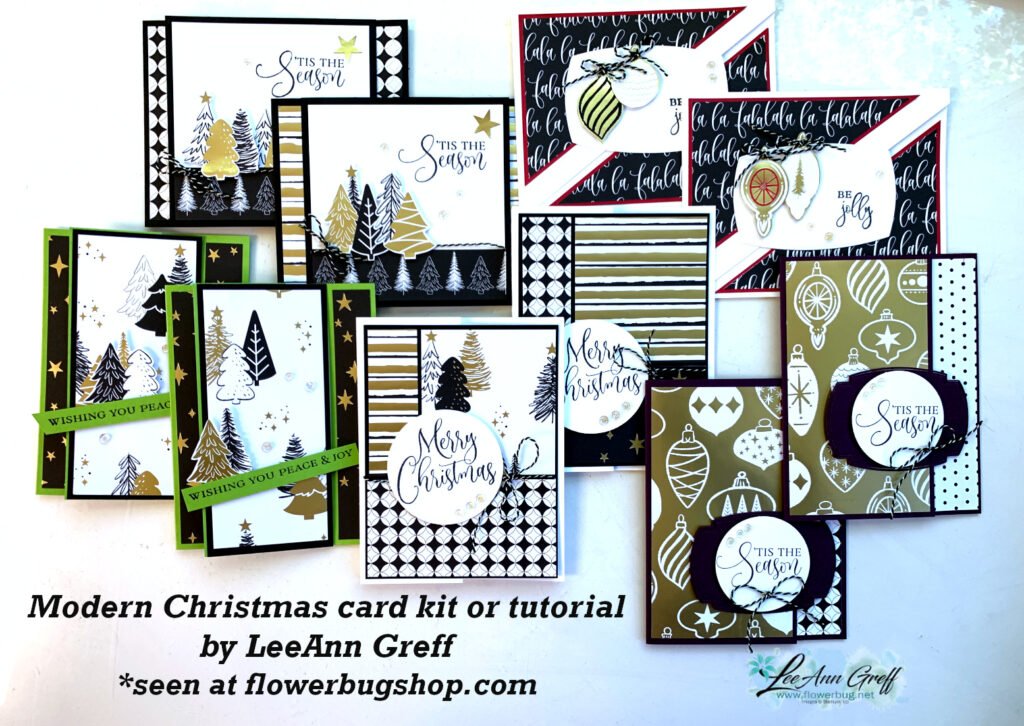
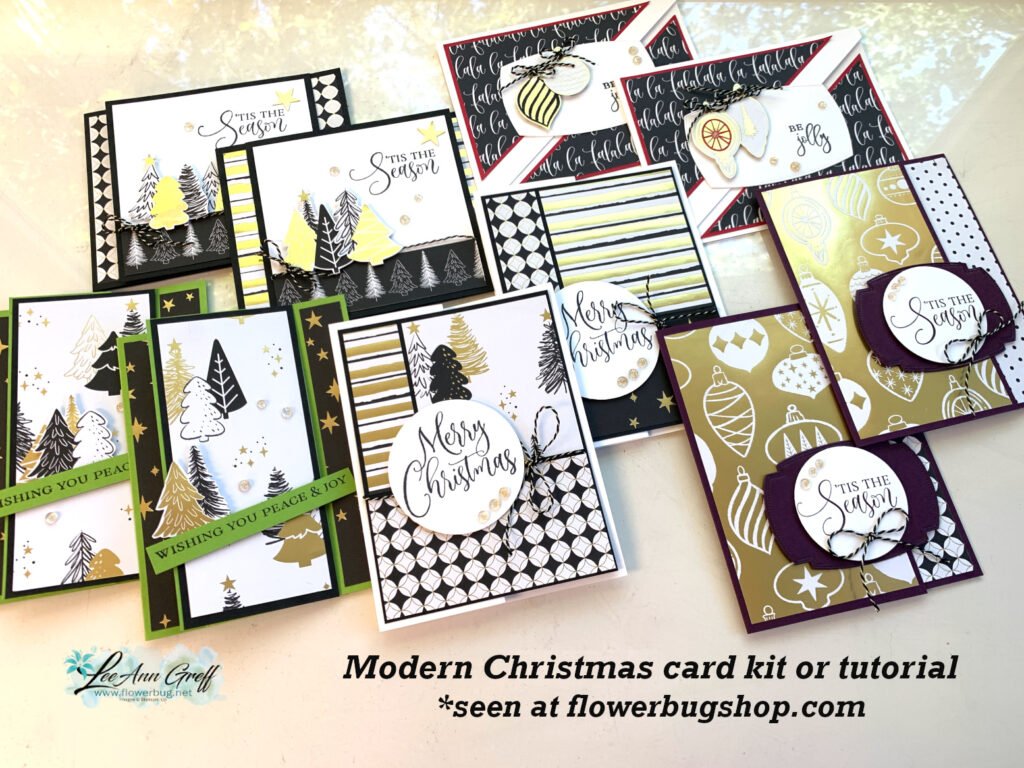
Reserve your Modern Christmas card kit or PDF tutorial option
Here’s the other Christmas card kit I’m offering this month that features the gorgeous Modern Christmas specialty designer paper. Remember you can choose the actual pre-cut kit or the PDF tutorial option.
This pretty paper has Black, White and Gold accents. Each of these cards is a type of fun fold layout which makes creating even more fun.
This kit includes 1/2 pkg of the designer paper (6″ X 12″), a share of Iridescent Foil dots and gold & black Baker’s twine, plus the pre-cut 10 card kit and the PDF tutorial with exclusive video. *To complete the cards you will need your own greeting stamps, inks, adhesives and a paper trimmer for your new share of pretty designer series paper.
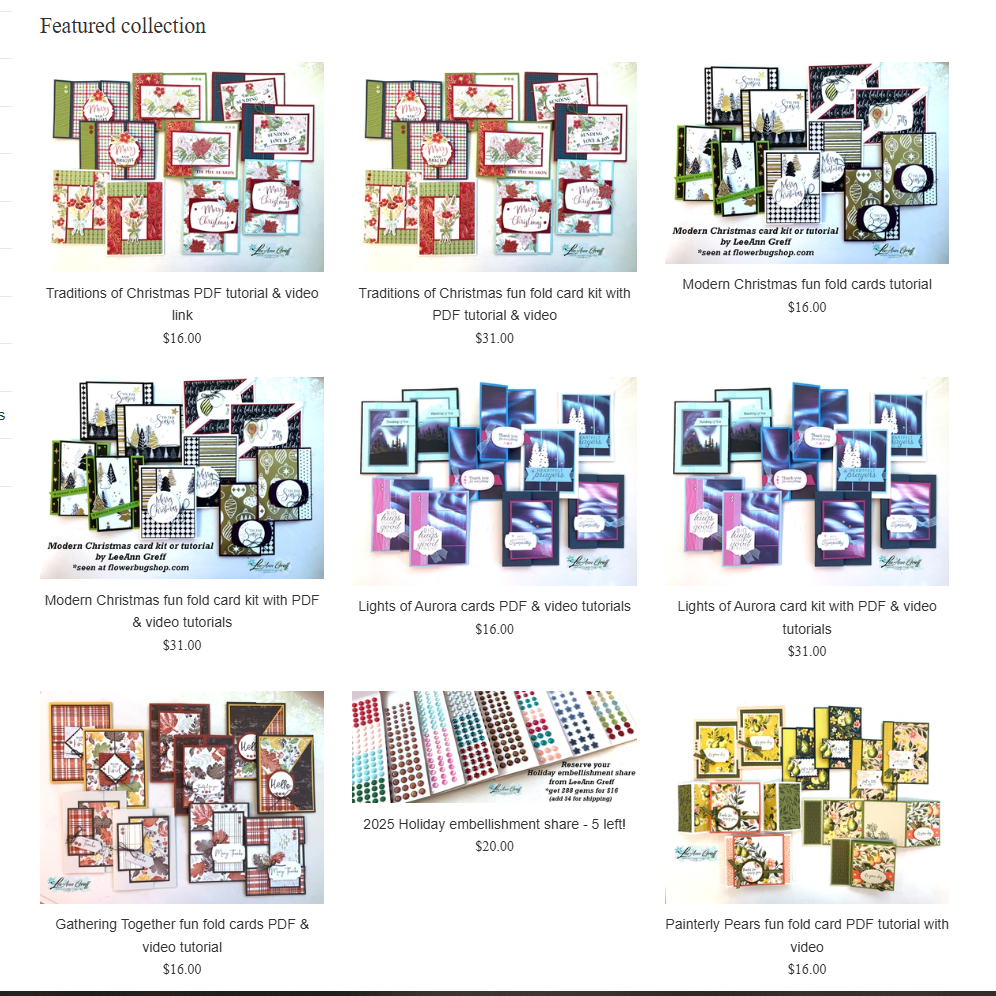
As usual there are multiple kits and tutorials available; be sure to check them all out. I have a limited quantity of some and you’ll save money on shipping if you order more than one kit.
And get the Starter kit here.*Choose your deal – $35 or $99 plus $90 in free products including free shipping, free Paper Pumpkin kit & free catalogs/business supplies!
~~~
All online orders from me will receive a beautiful PDF of projects featuring the Modern Christmas suite.
Notice: LeeAnn Greff, Independent Stampin’ Up! Demonstrator, Manager. The content of this website is my sole responsibility as an independent Stampin’ Up! demonstrator and the use of, and content of, the classes, services, or products offered on this website is not endorsed by Stampin’ Up! Copyright 2025


Leave a Reply