/


Latest Post

All Aflutter envelope-flap style card with free project sheet & video


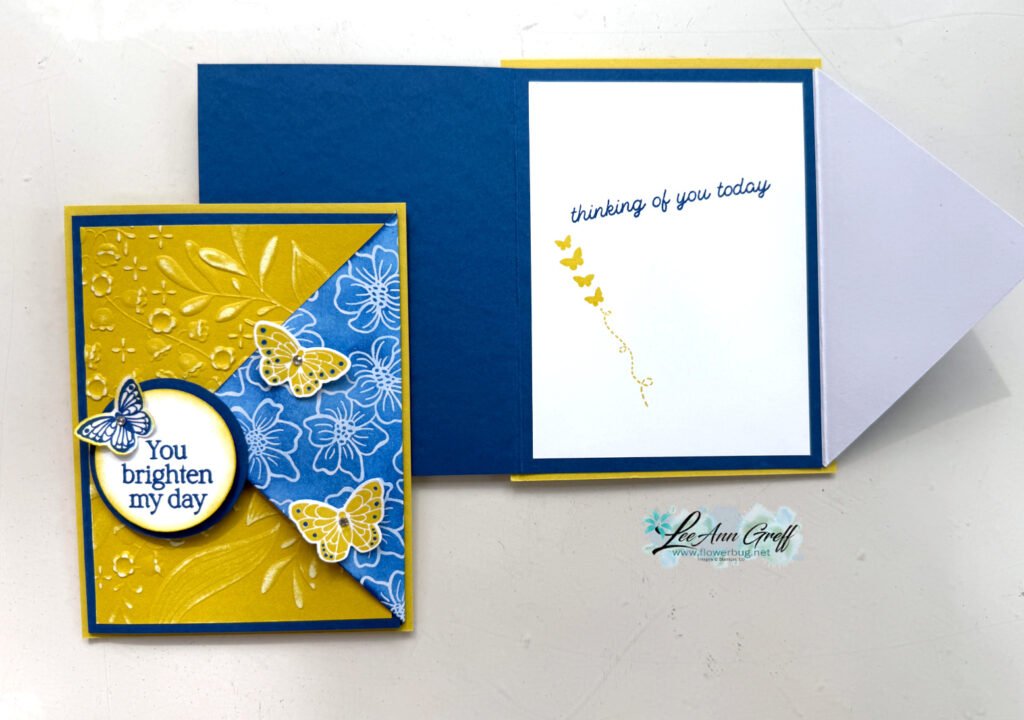
This neat fun fold card was created for my June card clubs. I call it an envelope flap closure.
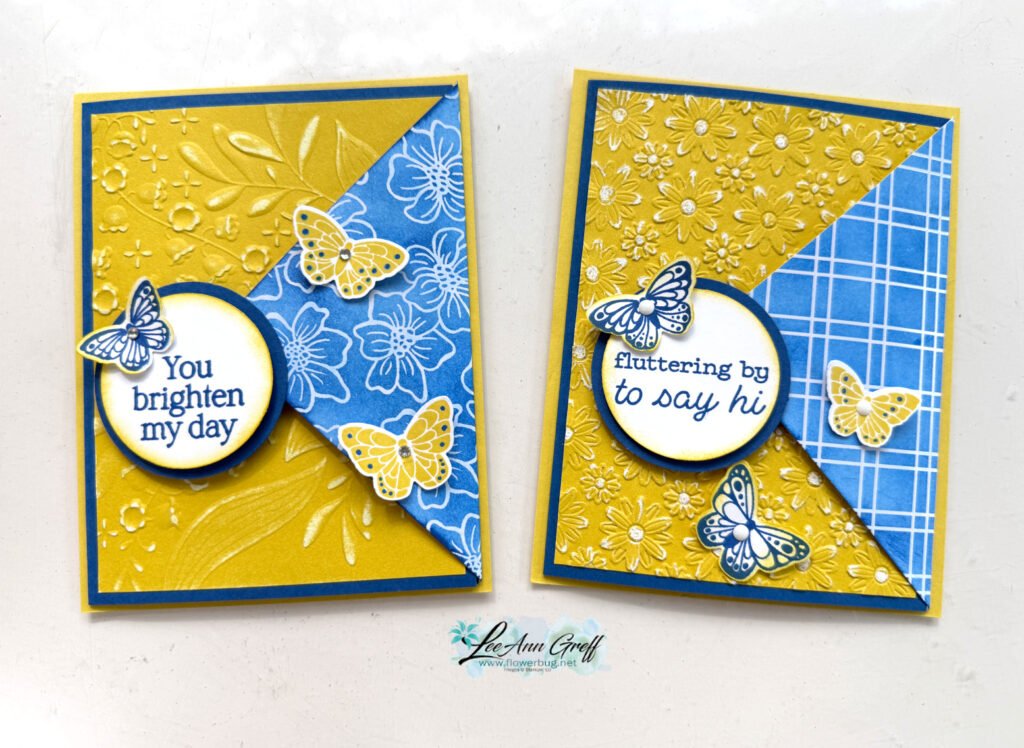
My colors include Darling Duckling, Blueberry Bushel with White. Wonderfully bright for summer! I used quite a few products here so I’ll list them for you.

  • All Aflutter stamp and dies bundle seen here
  • Darling Duckling 12 X 12″ Two-toned card stock
  • Irresistible specialty designer paper seen here
  • Lazy Daisy & Floral Spray 3D embossing folders
  • 1 3/4″ and 2″ circle punches
  • Blending Brushes
  • a sanding block

The Irresistible designer paper is cut into a 3 3/4″ square and scored in the center diagonally. It’s adhered to the back of the Blueberry Bushel card base before that is adhered to the larger Darling Duckling CS.

There are three patterns in this specialty Irresistible designer paper you can see here. When you add ink to this specialty paper it reveals the white shiny pattern.
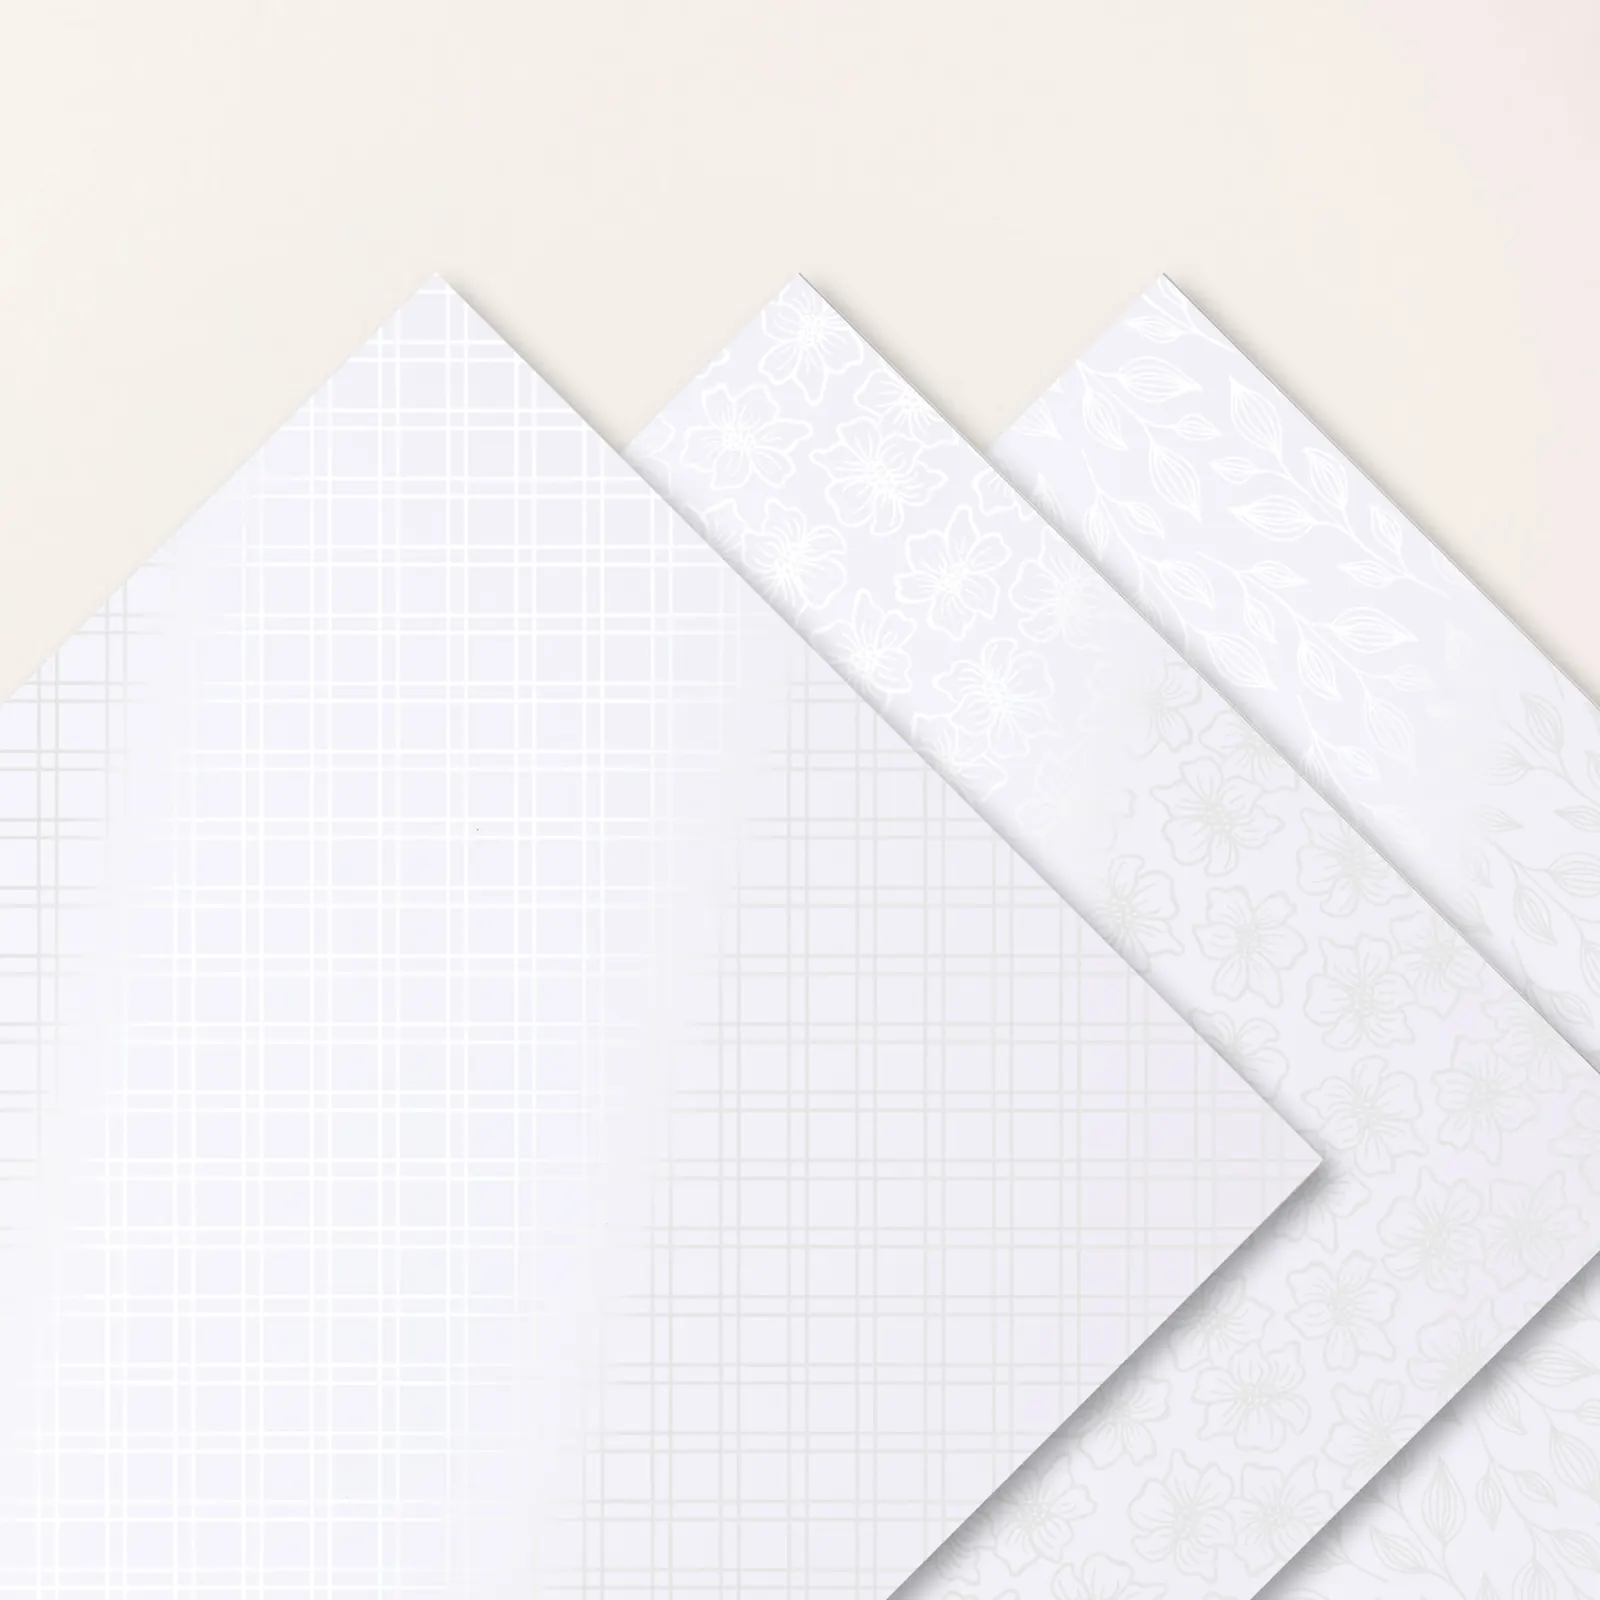
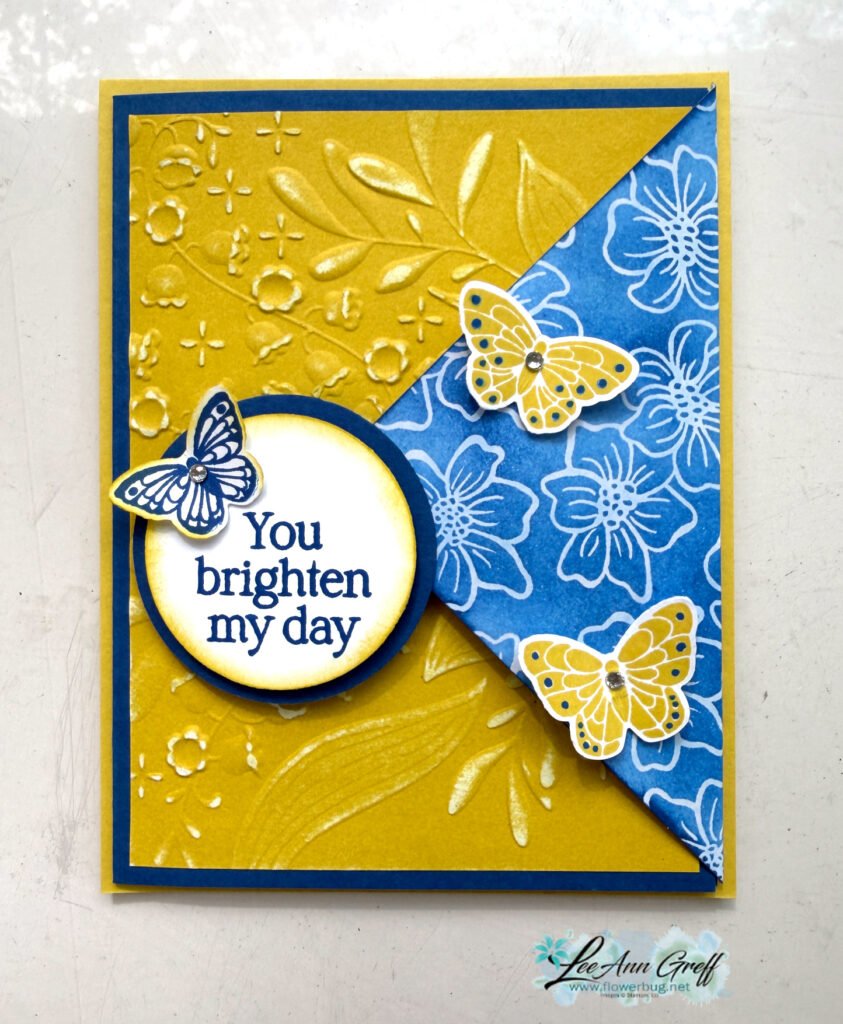
You can see the two patterns I used on my card here.
And here’s the other version. Note both the blue Irresistible patterns and the embossing folders.

After we textured the 2-toned Darling Duckling card stock we sanded it with a sanding block (from my husband’s shop) to reveal more of the White core.

You can see the All Aflutter bundle here. I love having butterfly images with a coordinating punch! See it here.
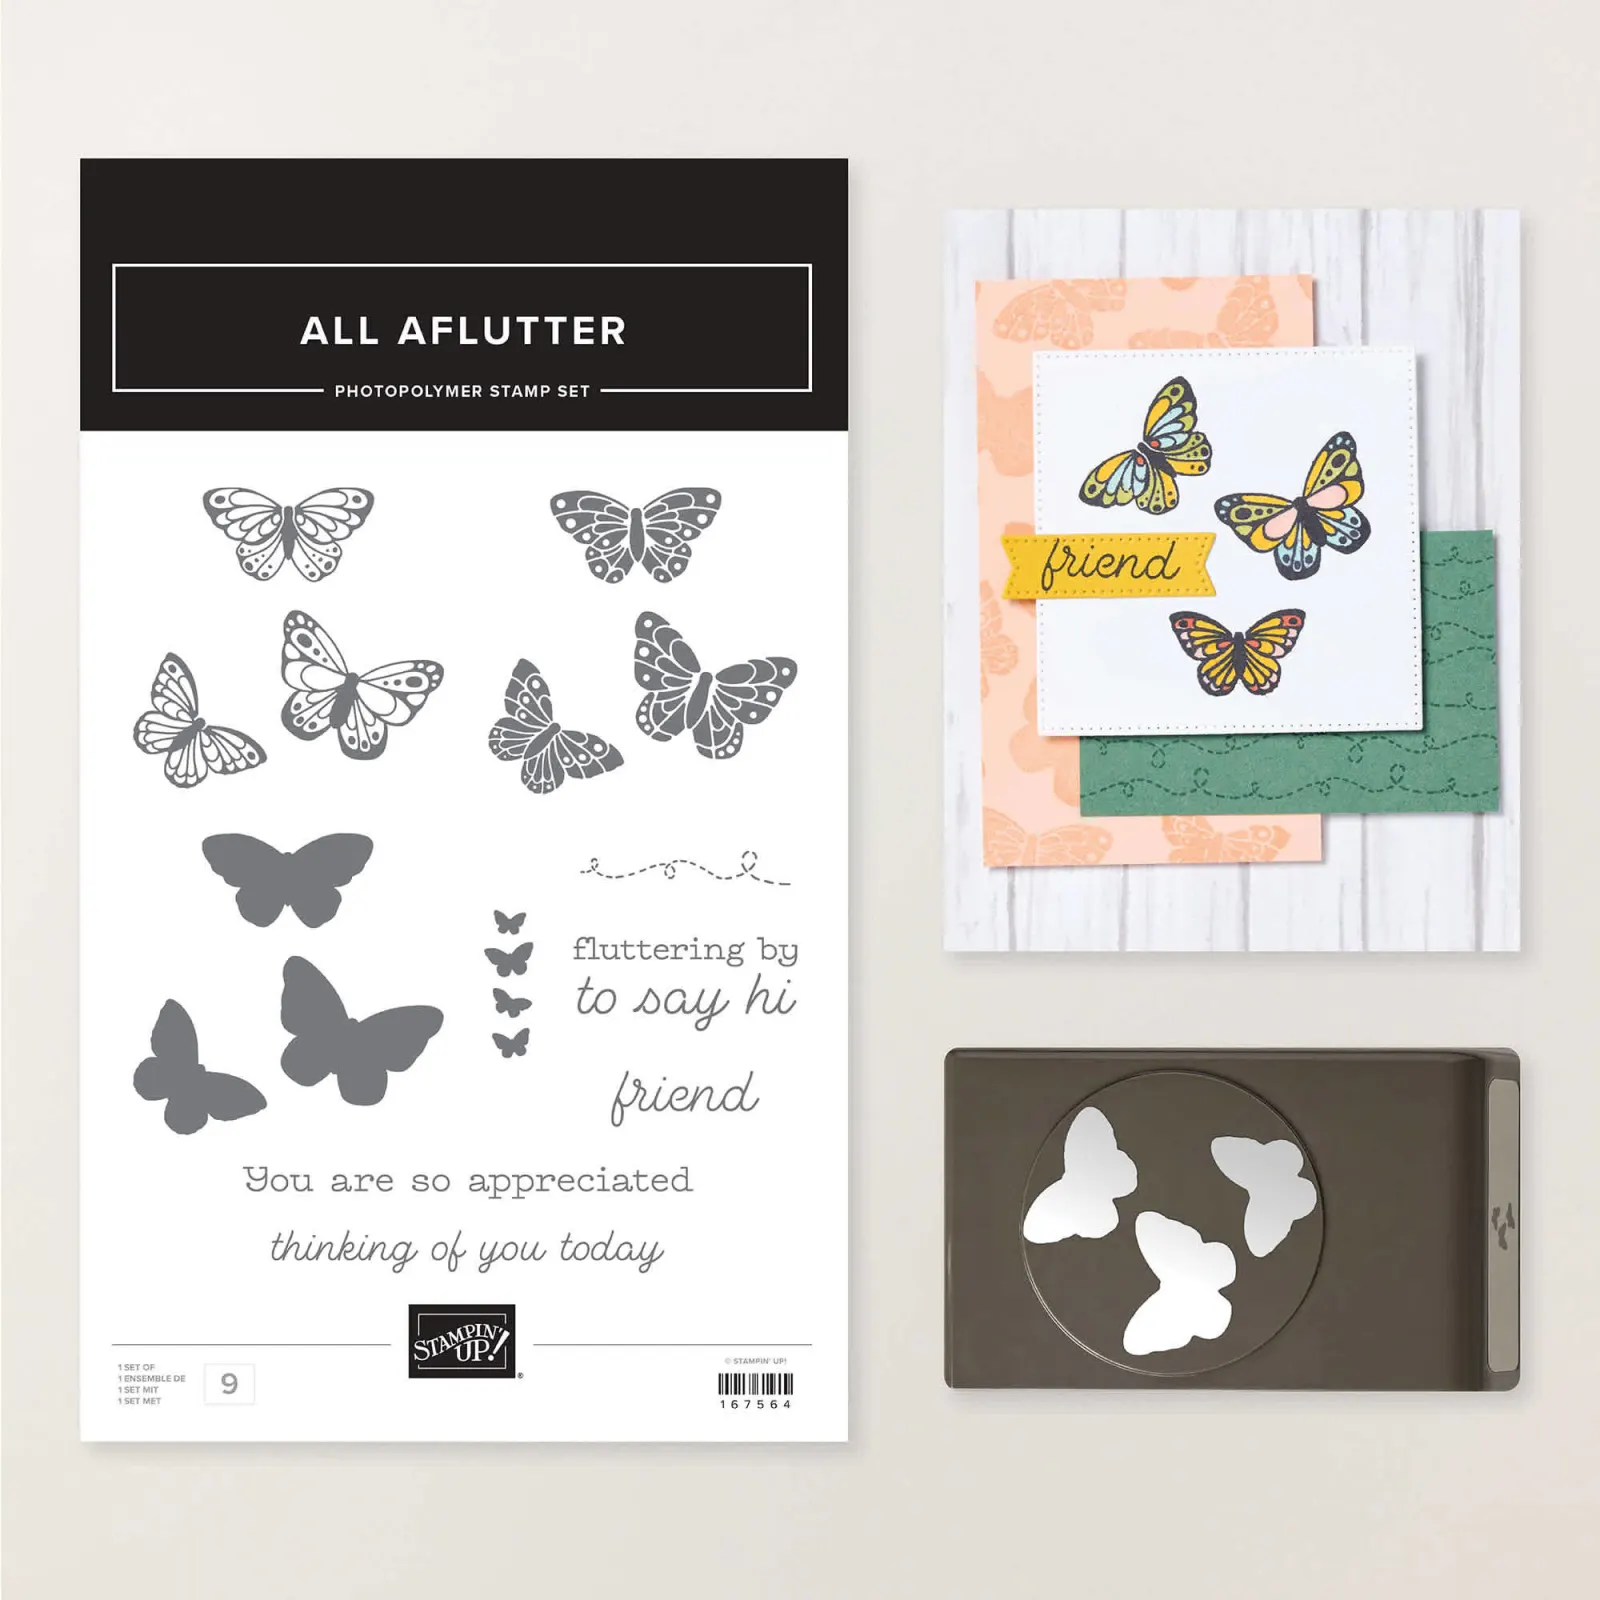
I created a free project sheet for this card with measurements, photos and supplies list. Click here to see it.

Below is the video tutorial for this card and one other made with the cute All Aflutter bundle.

I’ll share the second card with the free project sheet tomorrow.

All Posts

  • Love these Enjoy the Adventure quick cards in a kit to go; no stamping needed!


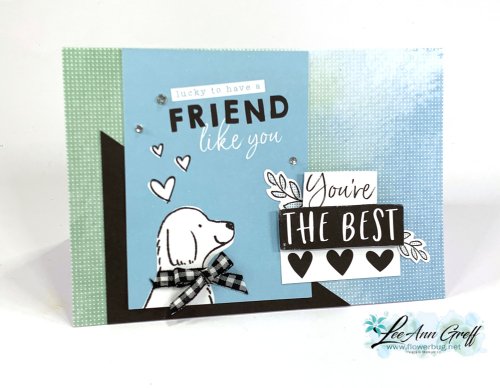
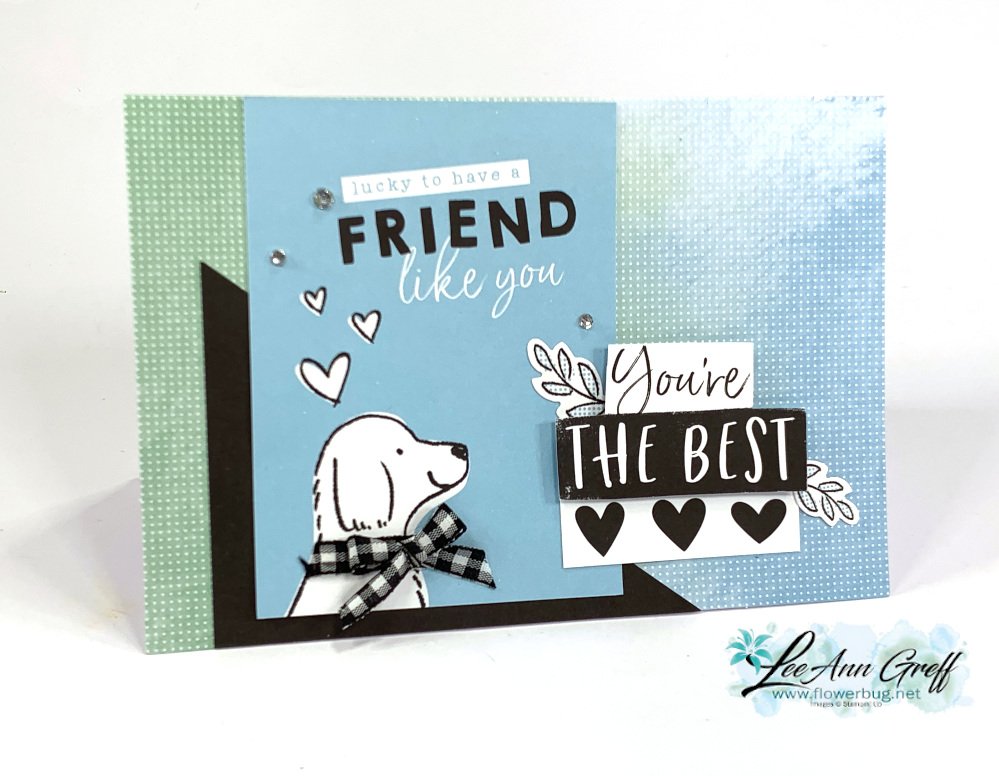
    I LOVE these cards made with the Enjoy the Adventure Memories & More cards & envelopes. The Black & White theme with pops of color is right up my alley!  They're 4" X 6" in size and include multiple occasions so they're super versatile.  

    There is no stamping needed for these ten colorful cards; the sentiments are from the cards in the kit. It's so fun to use the Memories & More card packs to create with; they're quick and quite easy. 

    Besides the Memories & More cards and cards & envelopes pack you'll receive a share of basic rhinestones and black & white gingham ribbon.  You will need a paper trimmer, scissors and adhesives to complete the cards.

    Click here to get the card kit with $20 in products; it's $28 plus shipping.  The PDF tutorial is sent to you via email immediately after purchase. 

    Click here to the the PDF tutorial only. This tutorial show you how to turn the Memories & More cards into beautiful, layered cards. It's $15 and is also sent to you via email after purchase.  

    Here's a sample of the 10 cards you'll make: 

    The mesh looking two-tone card base is one of the card bases in the kit.  You'll receive 5 blue/green cards and 5 pink/orange card bases.

    If you're interested in getting a pre-cut kit to go each month, Email me here for that option.  

    I have two more new card kits and/or tutorials available this month. Save $$ on shipping by getting more than one! 

    See all of my tutorial & kit to go options here.

    ~~~

    April Specials:

    See the 2023 Last Chance list here 

    *current host code: SYZD4PH2 or SFHU3WMT

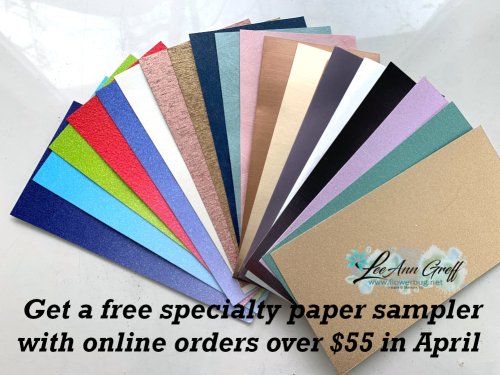
    Get a free specialty paper sampler with online orders over $55 using a host code above plus an embellishment if your order is over $100

    Earn free products with my loyalty rewards! 

    Click here to download yours and earn a $50 shopping spree!

    Leave a Reply

    Your email address will not be published. Required fields are marked *

  • Paper Scraps & Window dies; a perfect match up for incredible card ideas!


    I hope you had a wonderful Easter weekend.  We spent it with most of my kids – played games, made meals and watched a few shows.  It was nice & relaxing.

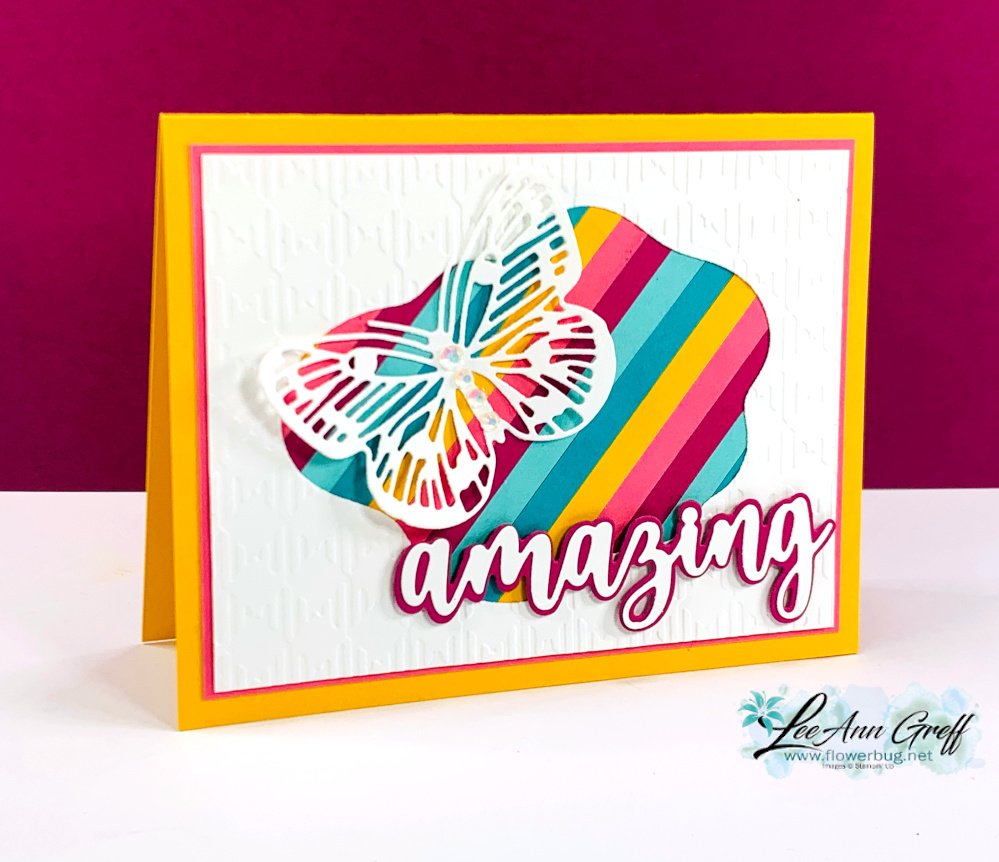
    Here's another card I made with leftover scraps of card stock.  I shared this technique on my weekly Live video. See it here for tips.  

    It features lots of retiring product too; I checked yesterday and they're all still available!  

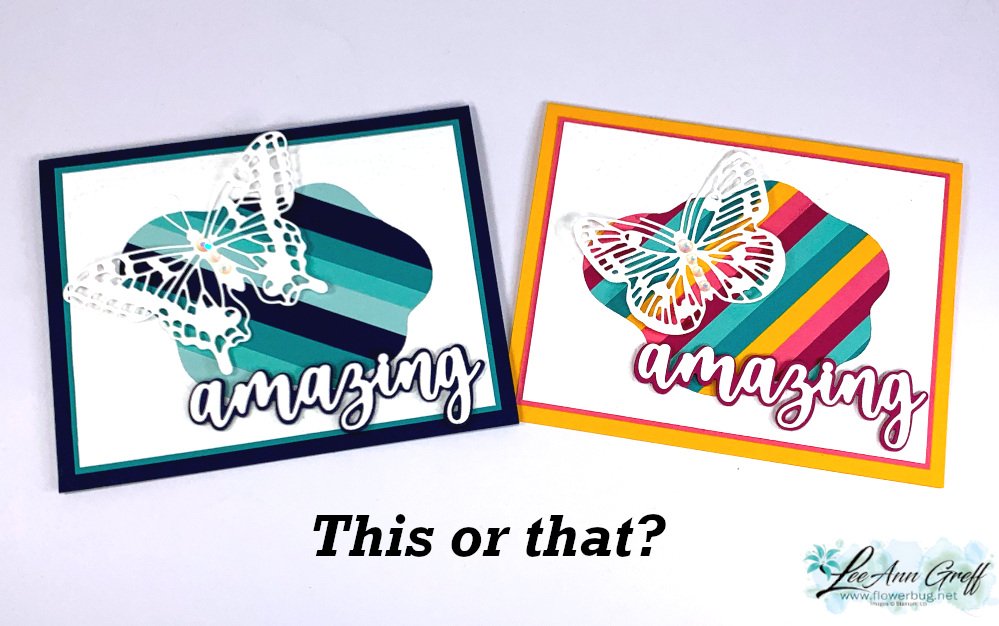
    I shared two versions; the blues/greens and the rainbow. Which do you prefer?  

    On this colorful version I used mostly retiring colors of Bermuda Bay, Mango Melody, Polished Pink as well as Coastal Cabana and the returning Berry Burst.  

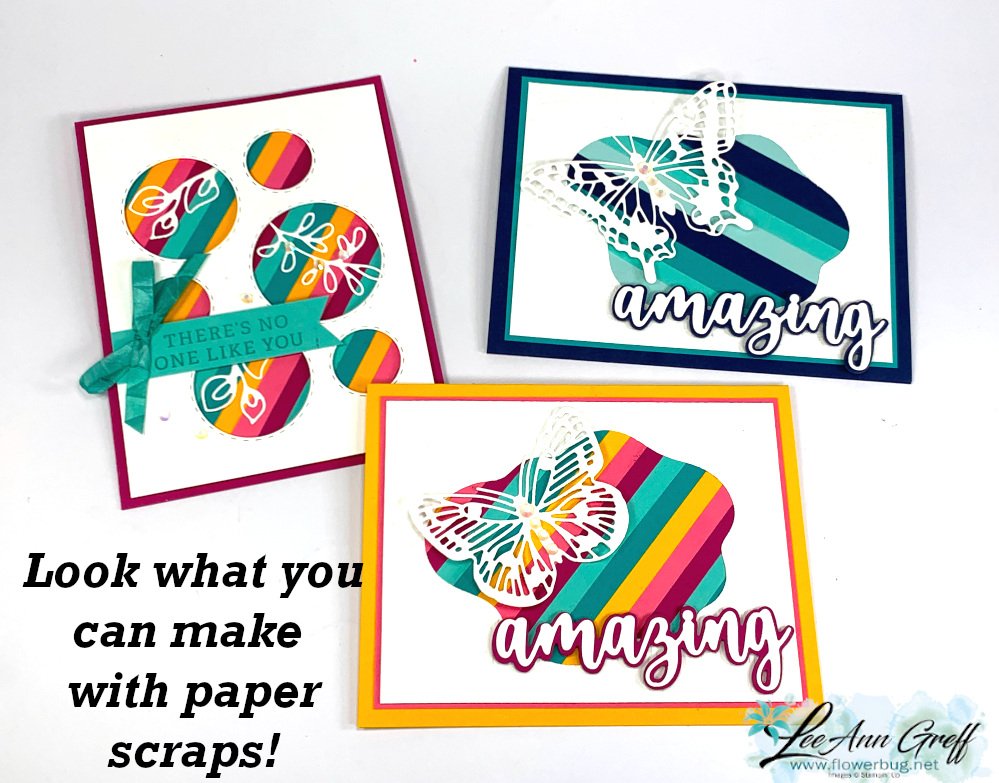
    Here are all three of my window cards made with leftover cardstock strips.  I love using up my stash of scraps!  

    The card on the lower left features the retiring Picture This dies seen here; they're on sale too! 

    Here's the video I shared how to make the window card with the Picture This dies.  Plus two other cool projects using up card stock strips! Click on the photo below.  Don't forget to subscribe to my YouTube channel!  

    ~~~

    April Specials:

    See the 2023 Last Chance list here 

    *current host code: SYZD4PH2 or SFHU3WMT

    Get a free specialty paper sampler with online orders over $55 using a host code above plus an embellishment if your order is over $100

    Earn free products with my loyalty rewards! 

    Click here to download yours and earn a $50 shopping spree!

    Leave a Reply

    Your email address will not be published. Required fields are marked *

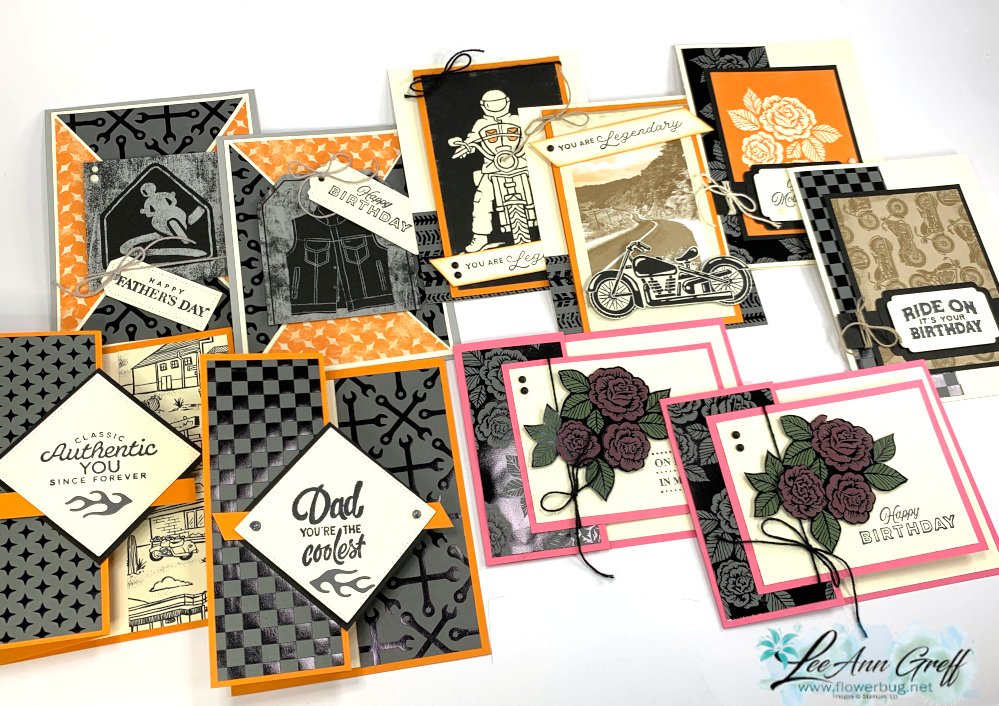
  • Ready to Ride card kit to go; it’s for both guys & gals!


    I chose the Ready to Ride specialty designer paper for one of my April card kits to go; it has wonderful black foil designs on one side and fun prints on the other.  It even has a few flowers for the gals; it's not all about men here! 

    These cards include multiple fun folds as I like to do; they add a fun element for both the creator and the recipient.   

    There 2 each of 5 designs in this card kit.  There's a pre-cut kit to go option AND a PDF tutorial only option in my store here.  

    The pre-cut kit to go includes 1/2 pkg. of the Ready to Ride specialty DSP (6" X 12"), a share of both Classic Matte dots and Baker's Twine Essentials pack.  The pre-cut card pieces, die-cuts and punched pieces are all included. 

    Supplies needed:

    • Black ink & adhesives
    • a paper trimmer to cut your new DSP (using the measurements in the tutorial).
    • Greeting images – I used the Legendary Ride and Celebrating You stamp sets, but you can substitute any greeting images you already own.

    The PDF tutorial is added on free and includes step by step directions, photos, measurements and a supply list.  It's $20 in product for just $28!  The tutorial is sent to you via email immediately after payment from my Shop here.  

    The other option is my PDF tutorial seen here.  It's $15 and it's emailed to you immediately after payment.  

    The neat thing about my kits and tutorials are that you get great ideas for creating; whether it's with this theme or others. 

    *This is the kit my monthly subscribers will receive.  Interested in getting a pre-cut kit to go each month?  Email me here for that option.  

    I have two more new card kits and/or tutorials available this month. Save $$ on shipping by getting more than one! 

    See all of my tutorial & kit to go options here.

    ~~~

    April Specials:

    See the 2023 Last Chance list here 

    *current host code: SYZD4PH2 or SFHU3WMT

    Get a free specialty paper sampler with online orders over $55 using a host code above plus an embellishment if your order is over $100

    Earn free products with my loyalty rewards! 

    Click here to download yours and earn a $50 shopping spree!

    Leave a Reply

    Your email address will not be published. Required fields are marked *


Notice: LeeAnn Greff, Independent Stampin’ Up! Demonstrator, Manager. The content of this website is my sole responsibility as an independent Stampin’ Up! demonstrator and the use of, and content of, the classes, services, or products offered on this website is not endorsed by Stampin’ Up! Copyright 2025