/


Latest Post

All About Autumn Triple Stack & Cut cards


I wanted to share another version of the Triple Stack & Cut cards that I shared yesterday.  I made these for my September Team card swap: 

I shared how to make these cards here; I also have a video below you can watch. It's a fun way to use your designer paper and make really quick but eye-catching cards.  

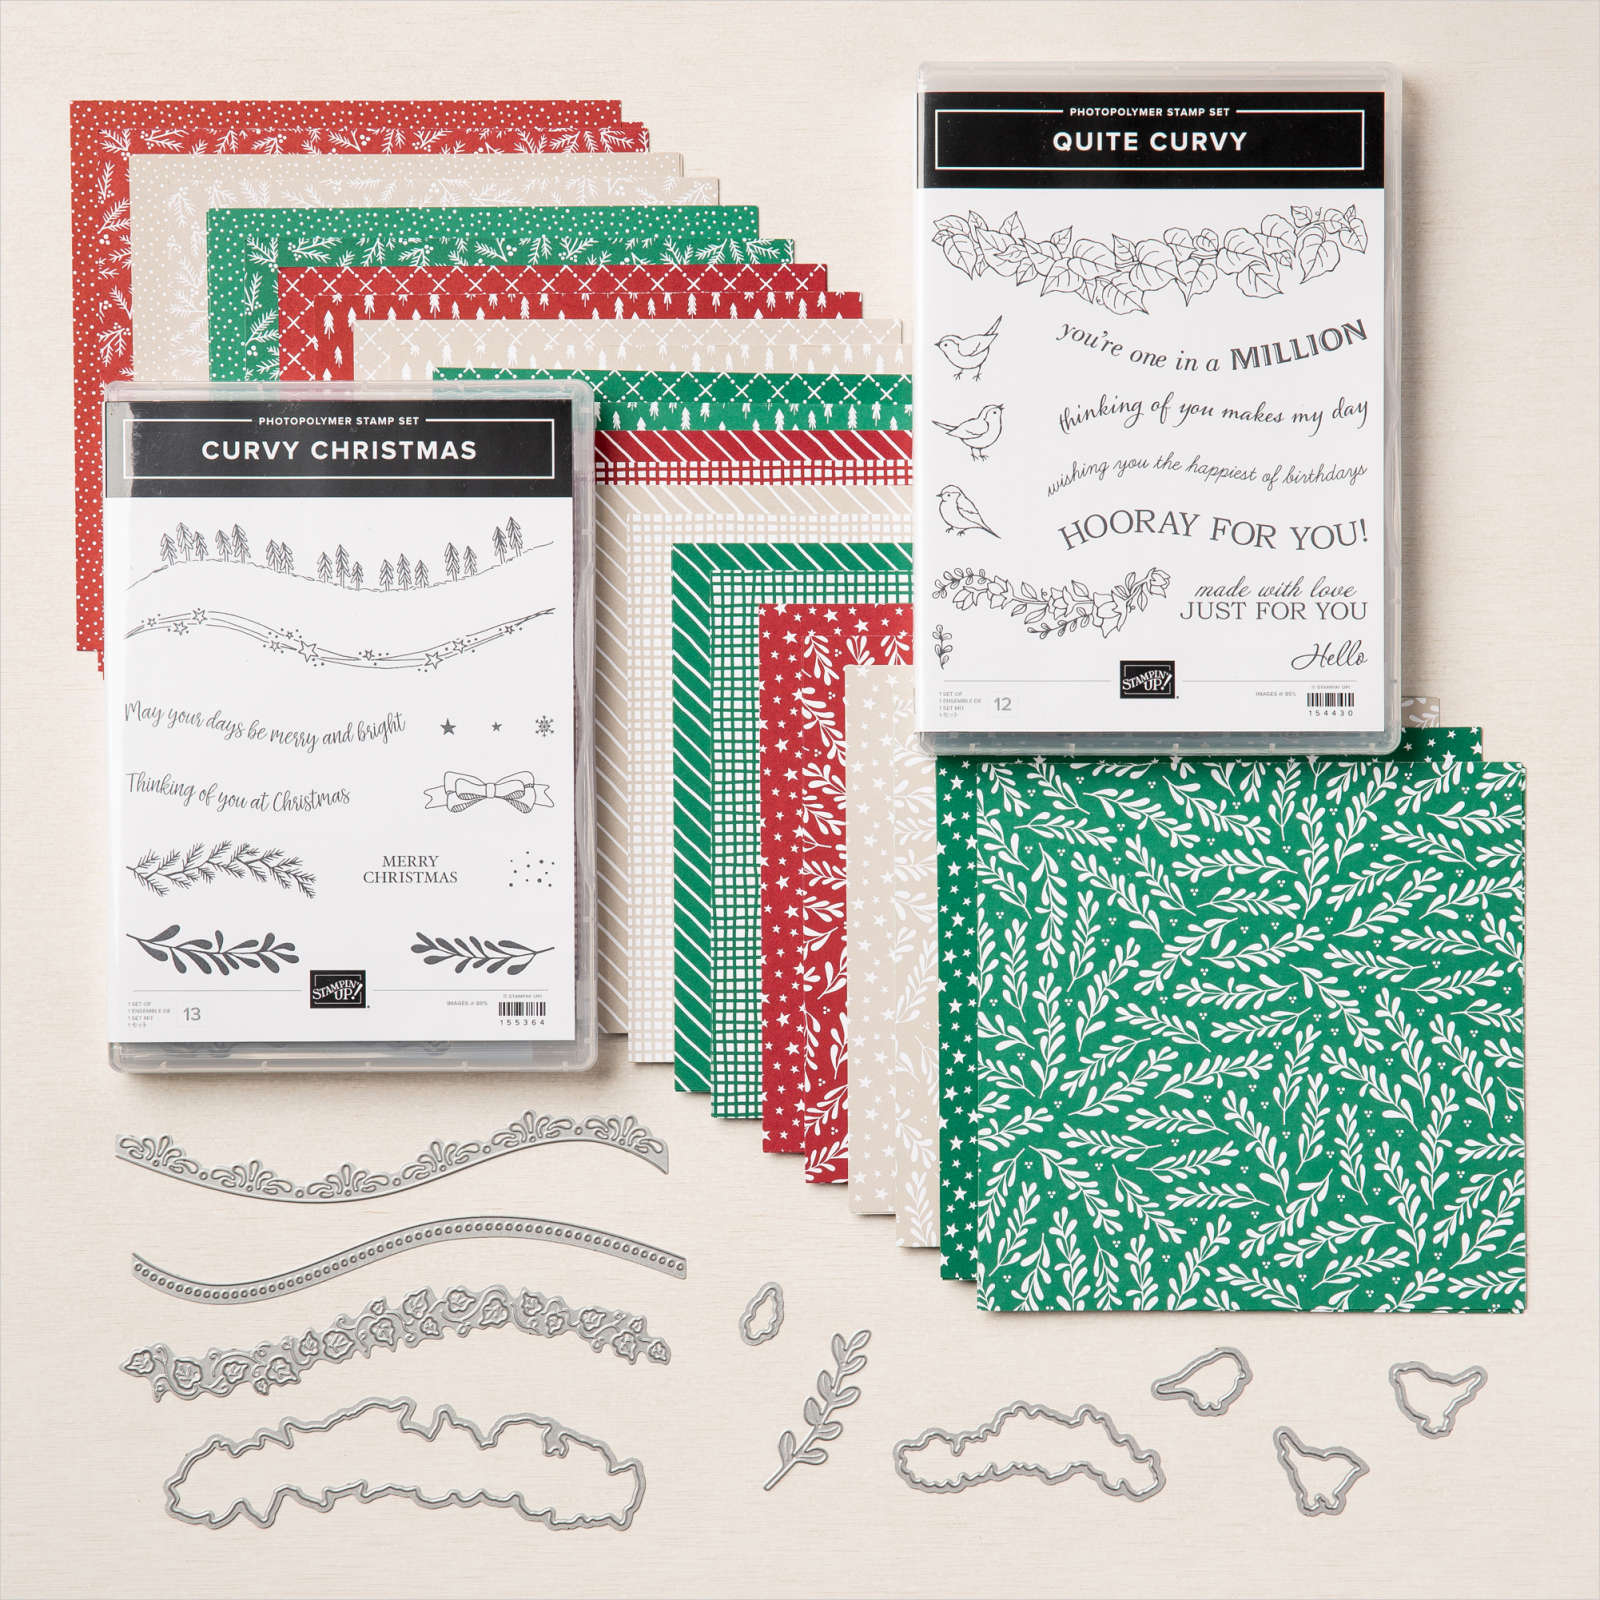
As you can see in the photo below it's a type of mix & match game.  

Tip: when choosing your designer papers I recommend you pick a large and small print and then one that is more of a background print. 

The card base and Deckled circle are Pebbled Path. I used the Autumn Leaves bundle for my stamps & die-cuts. See it here. 

*This pretty designer paper is currently unavailable but is expected back the week of October 9th.  

Get the free project sheet here: Download Translucent Florals triple stack & cut card

Aren't these cards lovely? 

You can watch the video for this project here.  It includes two more fun fold cards as well!

If you're not following me on YouTube click here.  Or follow me on Facebook for my weekly Tuesday lives here. 

~~~

September Specials: 

*current host code: WXX6RCHA or VEH4FKBV

*Get a free 6 card kit with orders over $55 (Includes card bases, coordinating envelopes, Memories & More cards, gems & more) 

Shop the updated Clearance Rack here:

~~~

Get a Mystery Box full of Stampin' Up! supplies while they last!

Each box contains from $180-200 in retired products (new or lightly used)

  1. Place an online Stampin' Up! order over $100 (before tax & shipping) using one of my current host codes to reserve a Mystery Box. *Host code links – WXX6RCHA or MYF6MXAG
  2. Send me the $14 shipping fee (PayPal or Venmo). 
  3. I'll send you your Mystery box via Priority Shipping! 

All Posts

  • Fancy Easel Fold card with the Arrange a Wreath bundle


    We made this fancy fold card at October card clubs. The Easel really shows off the wreath from the Arrange a Wreath bundle in the Annual catalog. You can see it in the video below. 

     
    You can see the Arrange a Wreath bundle here.  It has a ton of seasonal options in it. 
     
     
    Measurements:
    • 5 1/2" X 8 1/2" scored in half at 4 1/4" first. Then cut on one half of the card at 3/4" from each edge to the score line. Now score the large, center area for the easel in half at 2 1/8"
    • Very Vanilla 3 3/4" X 3 1/2"
    • Old Olive 4" X 3 3/4"
    • Cherry Cobbler & Old Olive 3 3/4" squares for the wreath die-cuts plus scraps for the greeting punches
    • Heartwarming Hugs Designer Paper 5/8" X 4" (2 pieces)
     
     
    The video below includes this fun fold card and the Box Fold card we made too!  

    ~~~

    November Specials!

    Current Host code is JRZFR4QU


    All online orders receive my FREE Curvy Celebrations 22 project PDF Tutorial! 

    Leave a Reply

    Your email address will not be published. Required fields are marked *

  • Curvy Christmas; paired with the Curvy Dies


    I've always loved the look of curves and swirls so these new Curvy Celebrations products are right up my alley.  I've made so many projects I could share one each day for weeks! 

    Here's one of my favorites.

    See what I mean?  The curves make this project 'stand out' special.

    My colors are Night of Navy, Sahara Sand and White.  The designer paper is from the new Classic Christmas 6 X 6" pack seen here.  This is only available through January 4th or while supplies last.  

    The same is true for the Curvy Christmas stamp set seen here.  It will not be in the upcoming catalog so get it now while you can. 

    As you can see I cut two pieces of Navy card stock using the dotted curved die.  I heat embossed the greeting and the long stars image.  I die-cut two White sprigs from the same Curvy Dies and added them with a double Linen Thread bow.  

    Here's another great reason to get any of these items now; everyone who places an online order (or orders any of the Curvy Celebrations items) will receive a free 22 project PDF full of ideas for their new products! 

    I chose to get it all at once with the entire Curvy Celebrations bundle seen here.  

    Here are some sneak peaks of the projects in the free PDF: 

    Above are ideas featuring the Quite Curvy set and below are projects with the Curvy Christmas set. 

    ~~~

    November Specials!

    Current Host code is JRZFR4QU


    All online orders receive my FREE Curvy Celebrations 22 project PDF Tutorial! 

    Leave a Reply

    Your email address will not be published. Required fields are marked *

  • Curvy Celebration ideas!


    Here are a few more projects I made with the Curvy Celebrations products. 

    Above is a super simple card made by cutting just one piece of Cinnamon Cider card stock in half with one of the Curvy dies.  Separate them on the Vanilla card and add a curvy greeting.  Finish with a few punched leaves from the Beautiful Autumn punch bundle. 

    On this card I added the White curvy die-cut layer to a piece of Artistry Blooms designer paper and finished it with a few Blossom punches and Artistry Blooms sequins.  Easy!

    The card above features my strips technique I shared here in this video.  So fun and a great way to use scraps of Designer Paper! 

    Here's another great reason to get any of these items now; everyone who places an online order (or orders any of the Curvy Celebrations items) will receive a free 22 project PDF full of ideas for their new products! 

    I chose to get it all at once with the entire Curvy Celebrations bundle seen here.  

    Here are some sneak peaks of the projects in the free PDF: 

    Above are ideas featuring the Quite Curvy set and below are projects with the Curvy Christmas set. 

    ~~~

    November Specials!

    Current Host code is JRZFR4QU


    All online orders receive my FREE Curvy Celebrations 22 project PDF Tutorial! 

    Leave a Reply

    Your email address will not be published. Required fields are marked *


Notice: LeeAnn Greff, Independent Stampin’ Up! Demonstrator, Manager. The content of this website is my sole responsibility as an independent Stampin’ Up! demonstrator and the use of, and content of, the classes, services, or products offered on this website is not endorsed by Stampin’ Up! Copyright 2025