/


Latest Post

Alcohol blends technique with video tutorial


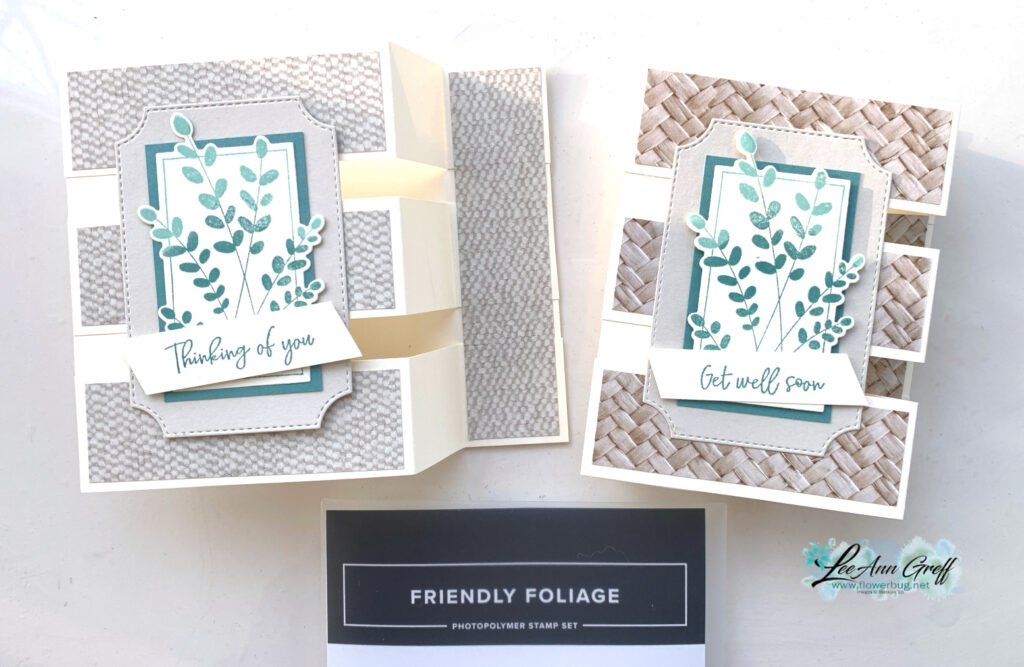
I shared this fun technique on a recent video; I call it the Alcohol Blends Background.  

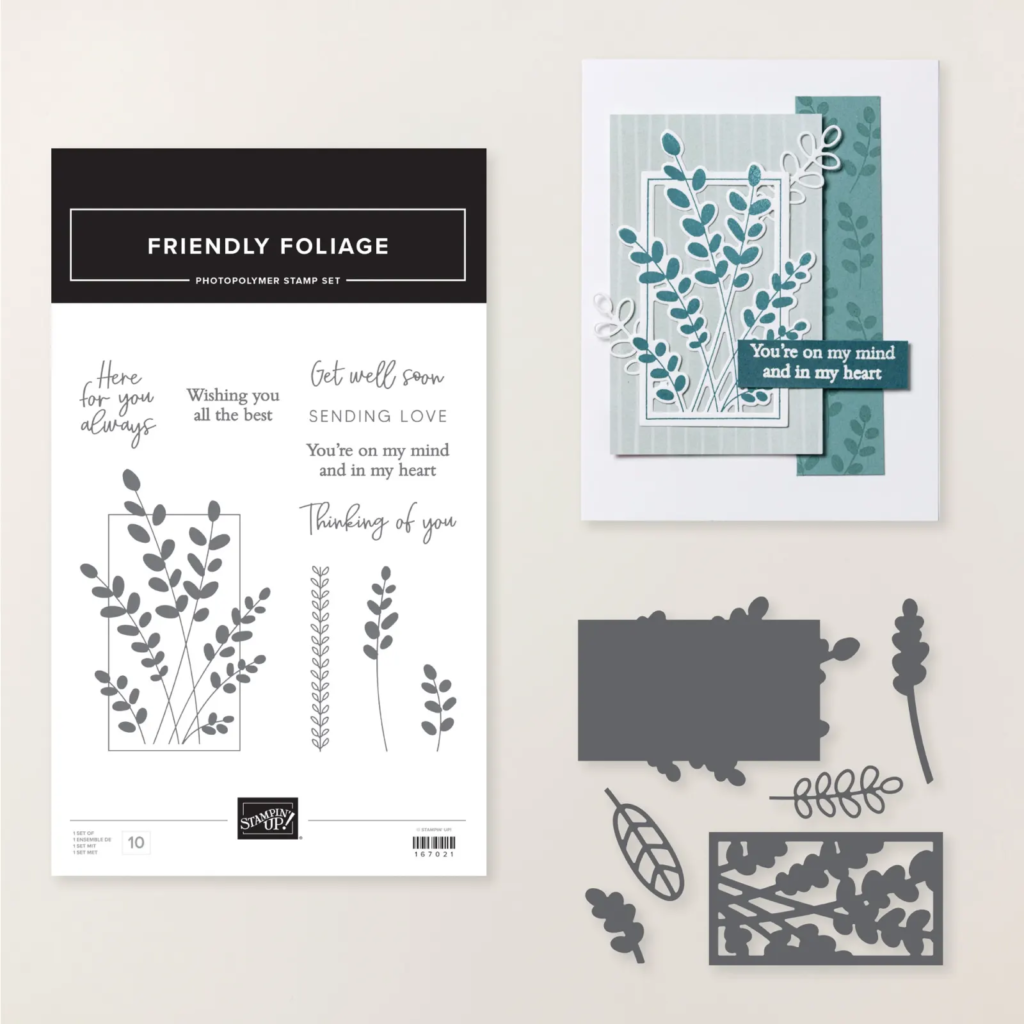
For the cards above I added pretty floral die-cuts from the Paper Florist dies.  The greetings are from the Kindest Expressions stamp set.  The background colors were made with the following Blends: Left card Mossy Meadow & Lemon Lime Twist. Right card was Berry Burst & Blackberry Bliss.  

To achieve this cool background you need Blends or alcohol markers and rubbing alcohol in a spritzer bottle. I used regular Basic White card stock and a clear plastic folder to work on. You can watch the video here.  

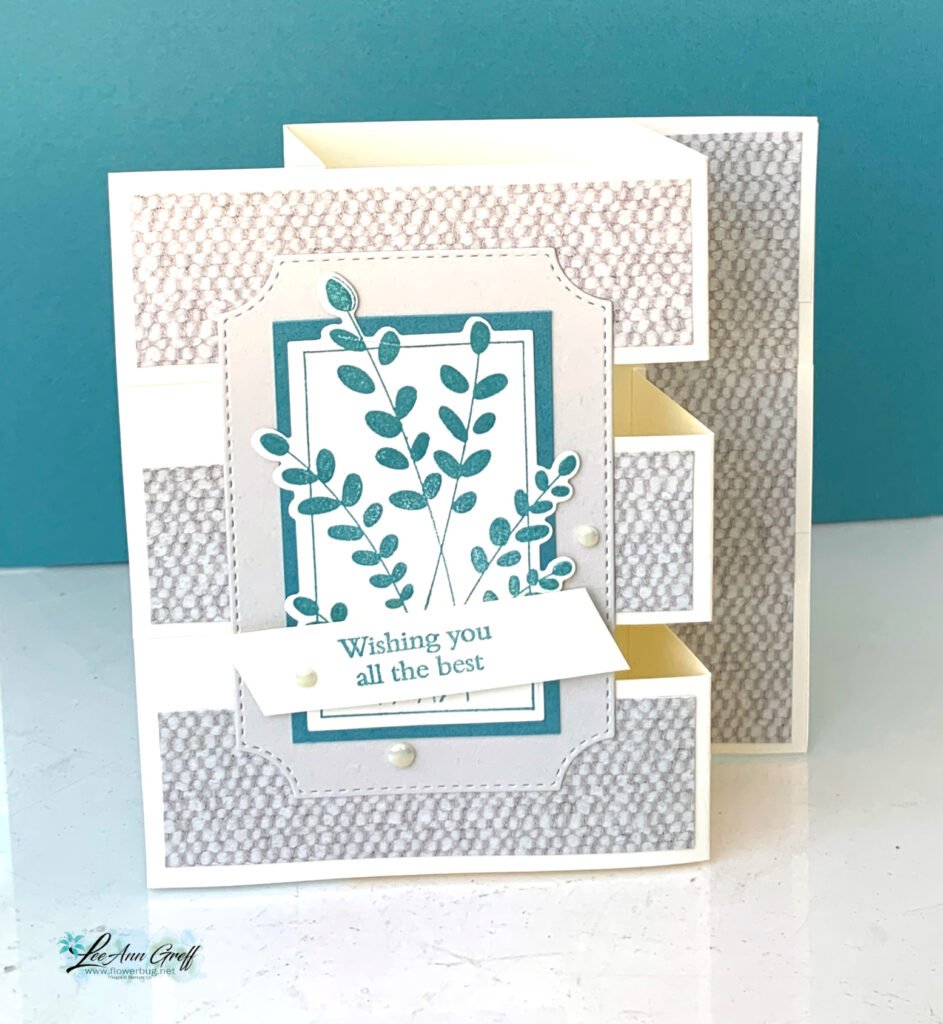
I tried many color combinations; you can see some of the finished cards below plus the backgrounds too. 

I shared this technique on Monday night's Live and challenge my followers to share a card featuring this technique on my Stamp & Share Facebook group.  Share yours here by August 27th to get in on the door prize drawing. 

*Follow me on Facebook here or on YouTube here.  

~~~

August Specials: 

 *current host codes: KY99RPXP 

Free Gift with orders in August: 

Get a pack of at least 5 beautiful cards with orders over $50 this month. 

The more you order the more cards you get!

*cards are previous card kits to go; over the top and many fun folds.  

All Posts

  • NEW and Amazing 12 Days of Crafting Calendar kit available today


    Introducing the 12 Days of Crafting Advent Calendar, a brand-new calendar full of products you can craft with all year long!

    Every day of this calendar contains never-before-seen dies, paper, embellishments, and even more items you won’t find in any of our catalogs or in our online store. Once these calendars are sold out, they’ll be gone for good, so make sure you buy one before they’ve disappeared. It’s $99 and the item # is 167335. Go here to shop.

    Here’s why I’m so excited about this product based kit. Each of the 12 ‘windows’ includes NEW product ready to craft with. Plus there’s a stamp set too! So that’s 13 new products plus the beautiful box. I’ve seen two of the items so far….. If you want to be surprised don’t read the next sentence! Shhh – one is a set of dies to coordinate with the all occasion stamp set and the other is 20 sheets of new 6″ X 6″ designer series paper.

    Get a free PDF project tutorial when you order this kit from me for FREE (team members always get my tutorials free of course).

    Details:

    Item: 12 Days of Crafting Advent Calendar (167335)

    Price: $99 USD | $136 CAD

    Ordering Begins: September 23, 2025

    Includes: Exclusive dies, paper, embellishments, and more

    *Available only while supplies last.

    ~~~

      To see all of the new Online items click here.  Or download & save the Download Online Exclusives flyer 

    Get a free project tutorial with any online order in September! 

    Leave a Reply

    Your email address will not be published. Required fields are marked *

  • A fun way to add color to the Happy Place stamp with video tutorial


    I shared how to add color to the large ‘Happy’ from the Happy Place stamp set on last week’s Live video. What do you think?

    We made this cute card at my September card clubs. The colors include Lost Lagoon, Calypso Coral & White. You might wonder how I achieved the two-toned inking on the Happy image. I used inks – Lost Lagoon for the water and Calypso Coral for the sky. For this sample I used large ink pads. But for my Clubs we used smaller ink spots. It was a lot easier this way!

    You might also wonder where I got the rectangle Perennial Postage die shape. I had to die-cut a larger rectangle twice to get this size. It was pretty easy and I share how in the video below.

    We textured the Lost Lagoon layer with the Wave 3D embossing folder and the curvy leaf dies are from the Label Me Grateful dies seen here. I love them! The inside greeting is from the With You in Mind stamp set.

    It’s an easy fold that shows off the inside of the card and the designer paper we added. This DSP is the Subtles 6″ designer paper which has some great patterns.

    I really enjoyed playing with this fun stamp set. I’ll share another project from the video tomorrow. See the Happy Place set here.

    I created a free project sheet for you with measurements, photos, directions and a supply list with links. Click on this link to print or download it.

    Below is the video tutorial for this card and one more. Don’t forget to subscribe to my YouTube Channel while you’re there!

    ~~~

      To see all of the new Online items click here.  Or download & save the Download Online Exclusives flyer 

    Get a free project tutorial with any online order in September! 

    Leave a Reply

    Your email address will not be published. Required fields are marked *

  • More beautiful Team swaps for Autumn


    First up is a fun fold card made by Paula:

    This pretty stamp is part of the Rustic Centerpiece stamp set seen here. She colored the image in with Blends markers. Beautiful work Paula!

    I don’t remember seeing a fold like this card before. I love that the main panel on the left is accented by the DSP panel on the right.

    Here are her measurements:
    – card base 10 3/4″ X 5 1/2″ scored at 1 5/8″, 3 1/4″, 7 1/2″ & 9 1/8″
    – left panel – vanilla 2 3/4″ X 4 3/4″, Early Espresso 3″ X 5″
    – right panel – DSP 2 3/4″ X 3 3/4″, Early Espresso layer 3″ X 4″
    – Vanilla inside 3 3/4″ X 5″

    ~~~

    Next is a gorgeous card made by Tracey:

    Isn’t it stunning?! Tracey loves to create her own background with stamps. It looks like printed paper! She says she stamped the flowers & leaves in 12 different ink colors!! Wow!

    She used the following stamps: Encircled with Love, Blooming Phrases, Impressions Abloom, With You in Mind & You are Remarkable.

    The leaves are from the Thankful Garden dies; the embossing folder is Exposed Brick. What a fabulous card!

    ~~~

    Lastly today is a fun Halloween card made by Barb:

    She used the Spooky Halloween bundle & Halloween designer paper. See this suite here.

    Her colors include Black with Daffodil Delight. She did a ton of extra work to make her card a bit spooky; notice all of her sponging….

    She colored the main image in with Blends markers and textured the left panel too.

    Measurements:
    – Black card base 8 1/2″ X 5 1/2″ score at 2 1/8″ & 4 1/4″
    – Daffodil Delight 2″ X 5 1/4″ for the left panel, inside is 4″ X 5 1/4″
    – Black square 3″
    – White front square 2 3/4″, Inside is 3 1/2″ X 4 3/4″

    ~~~

    ~~~

      To see all of the new Online items click here.  Or download & save the Download Online Exclusives flyer 

    Get a free project tutorial with any online order in September! 

    Leave a Reply

    Your email address will not be published. Required fields are marked *


Notice: LeeAnn Greff, Independent Stampin’ Up! Demonstrator, Manager. The content of this website is my sole responsibility as an independent Stampin’ Up! demonstrator and the use of, and content of, the classes, services, or products offered on this website is not endorsed by Stampin’ Up! Copyright 2025