/


Latest Post

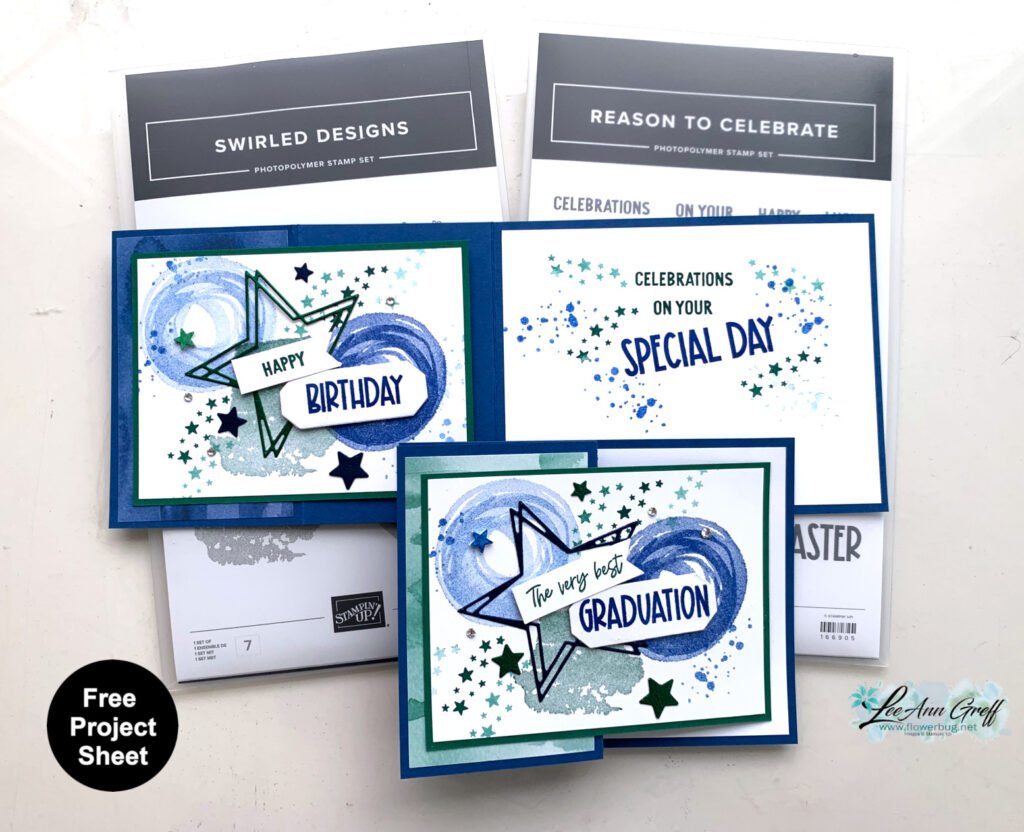
A WOW card with Swirled Designs


This is one of those cards you will not soon forget; the Swirled Designs bundle is so cool!
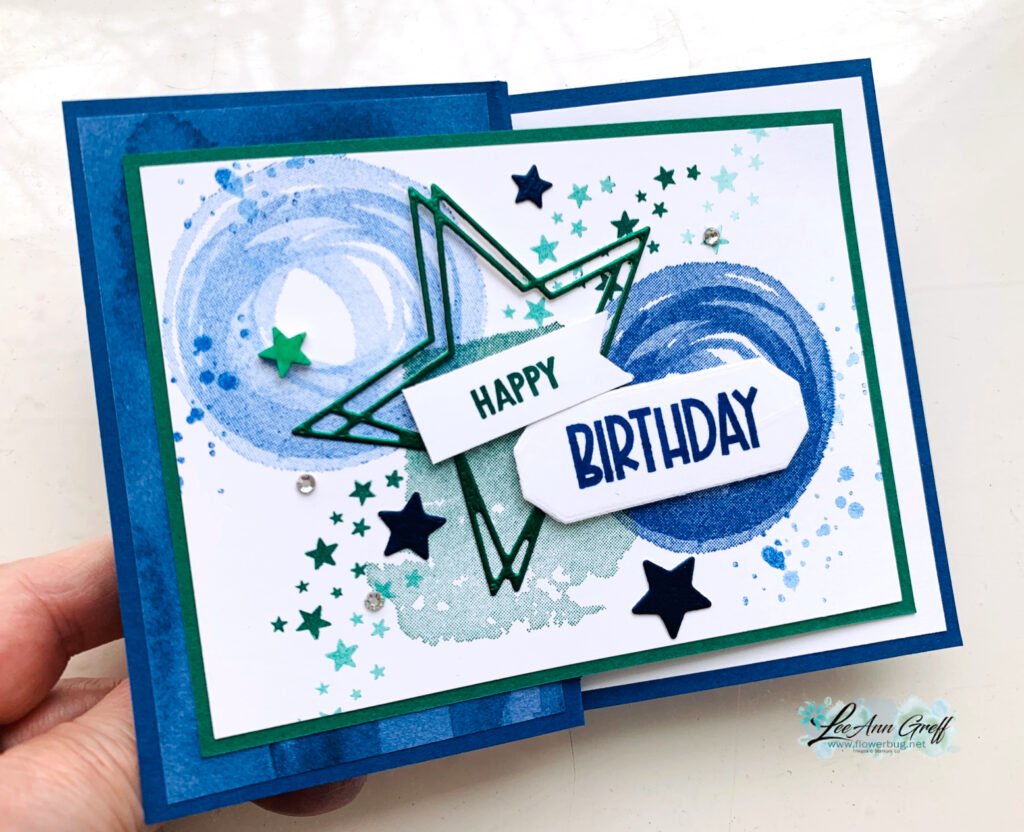
See what I mean? The colors include Blueberry Bushel, Shaded Spruce & White. Striking, bold colors for a celebratory card. The stars are die-cuts from the Swirled Designs dies.

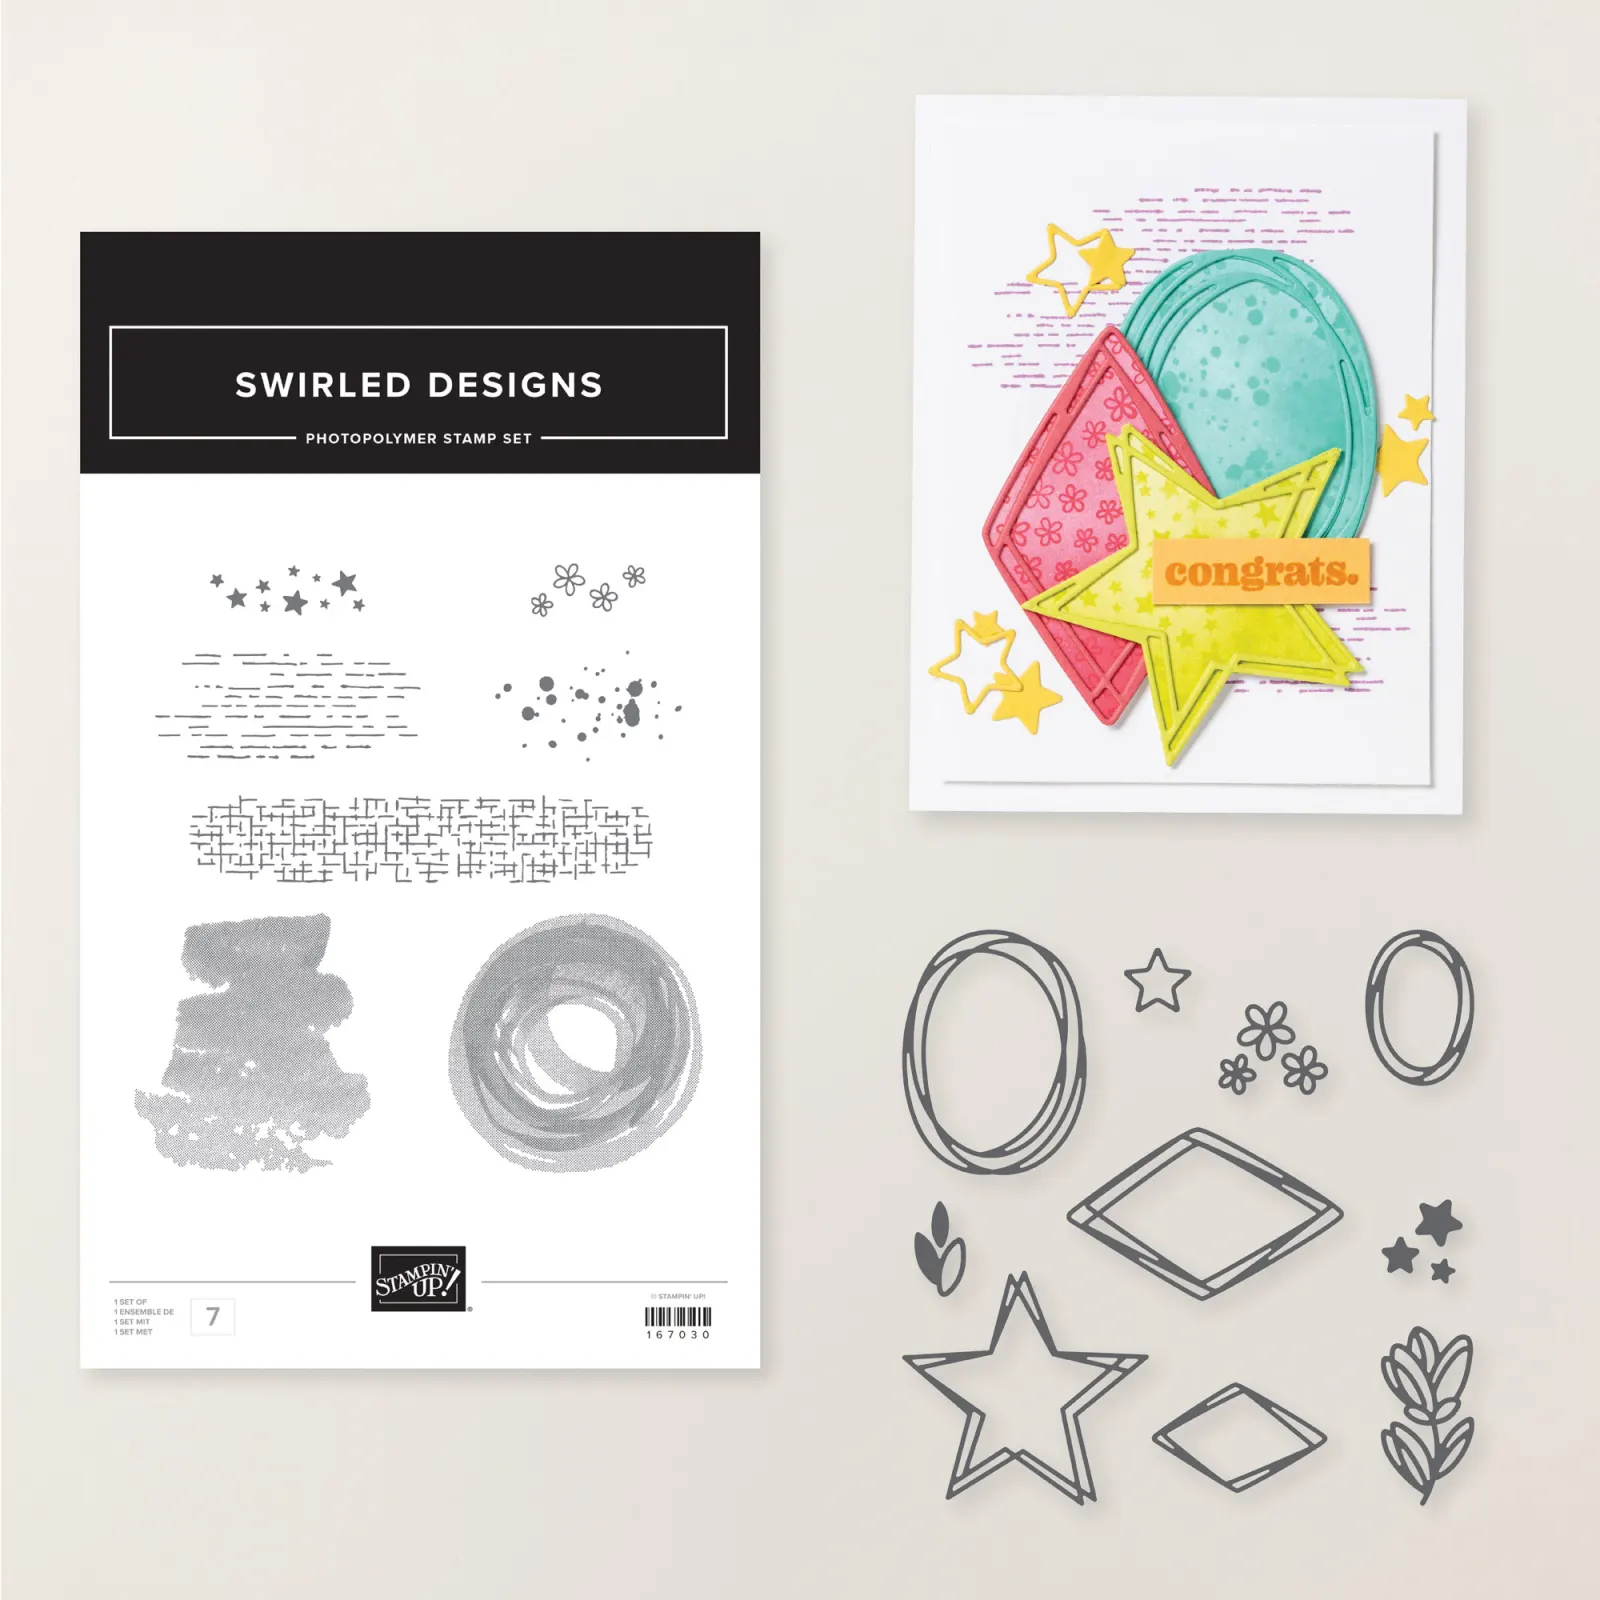
The Swirled Designs bundle was a sleeper; not many people have used it. But once you do…. you’ll want to use it over and over. See the stamp set here and the dies here. You can choose the bundle here, but the dies are discounted which makes it almost the same cost to order separately. It’s on the Last Chance list unfortunately; only available while supplies last.
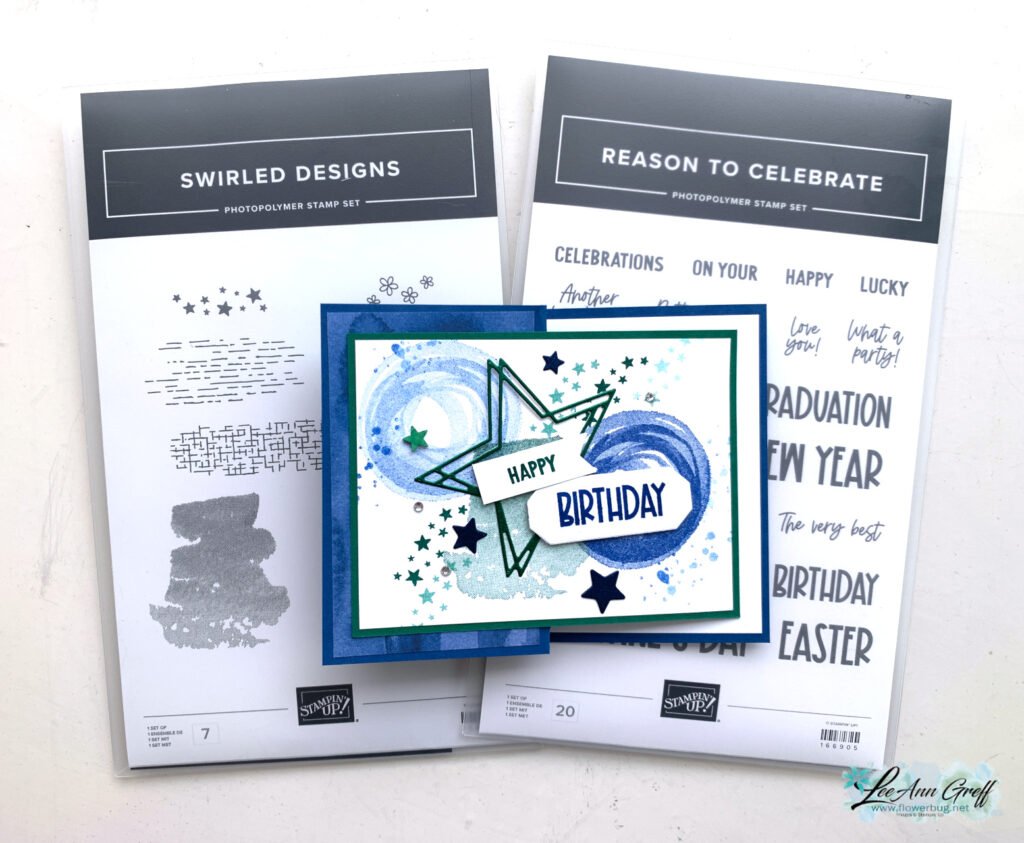
For the greetings I used the Reason to Celebrate stamp set. Wonderful and specific greeting images you will love. See it here.
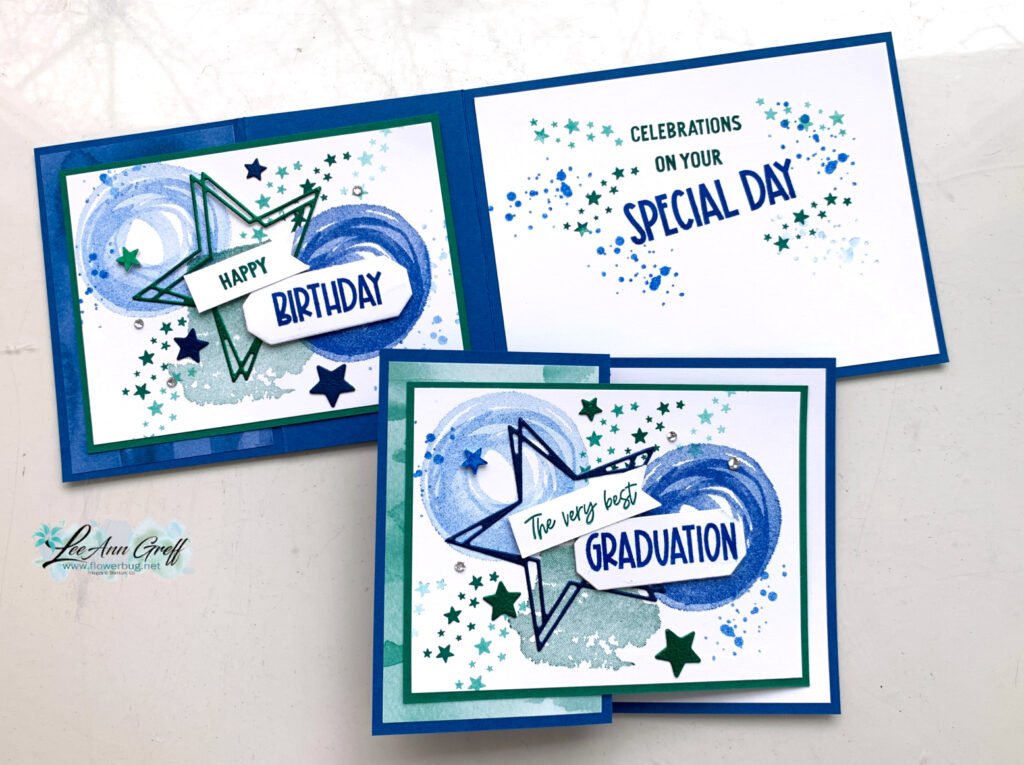
It’s a simple fun fold card where you score the front one extra time. I used the Garden Poetry DSP for the left side panel. That’s where I got the idea for my colors.
If you’d like the free project sheet for this card click here. You can download or print it for future projects.
Below is the video tutorial. Please follow me on Facebook here or my YouTube Channel here so you don’t miss a thing!

April Specials:

Check out the Last Chance list here; these items go fast!
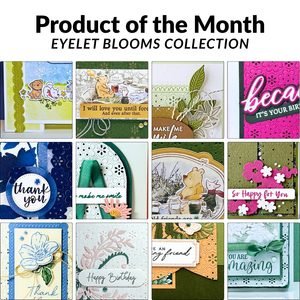
Product of the Month is the Eyelet Blooms dies

*Get a free 12 project tutorial when you redeem this POM from me!
~~~

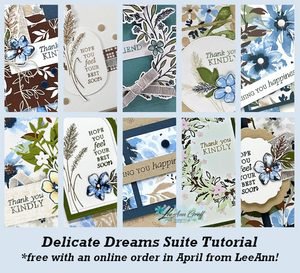
Free PDF tutorial featuring the Delicate Whispers suite!
All Posts

  • A set of Autumn ‘5 at a time’ cards; with video and free project sheet


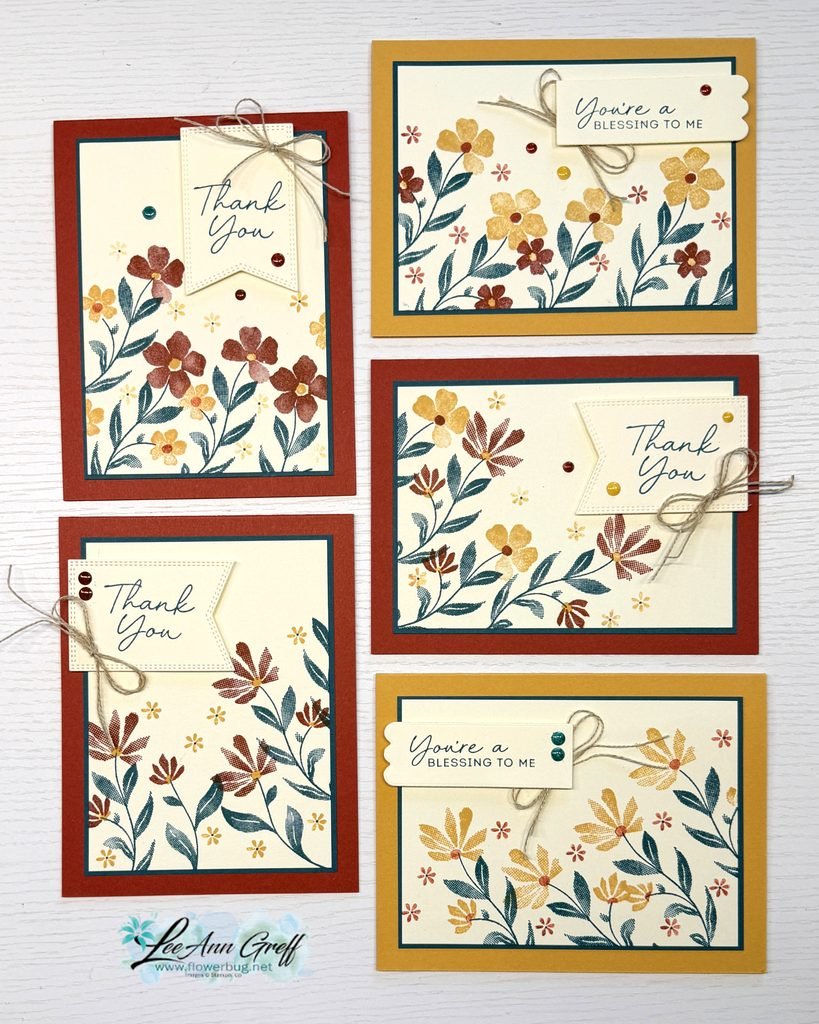
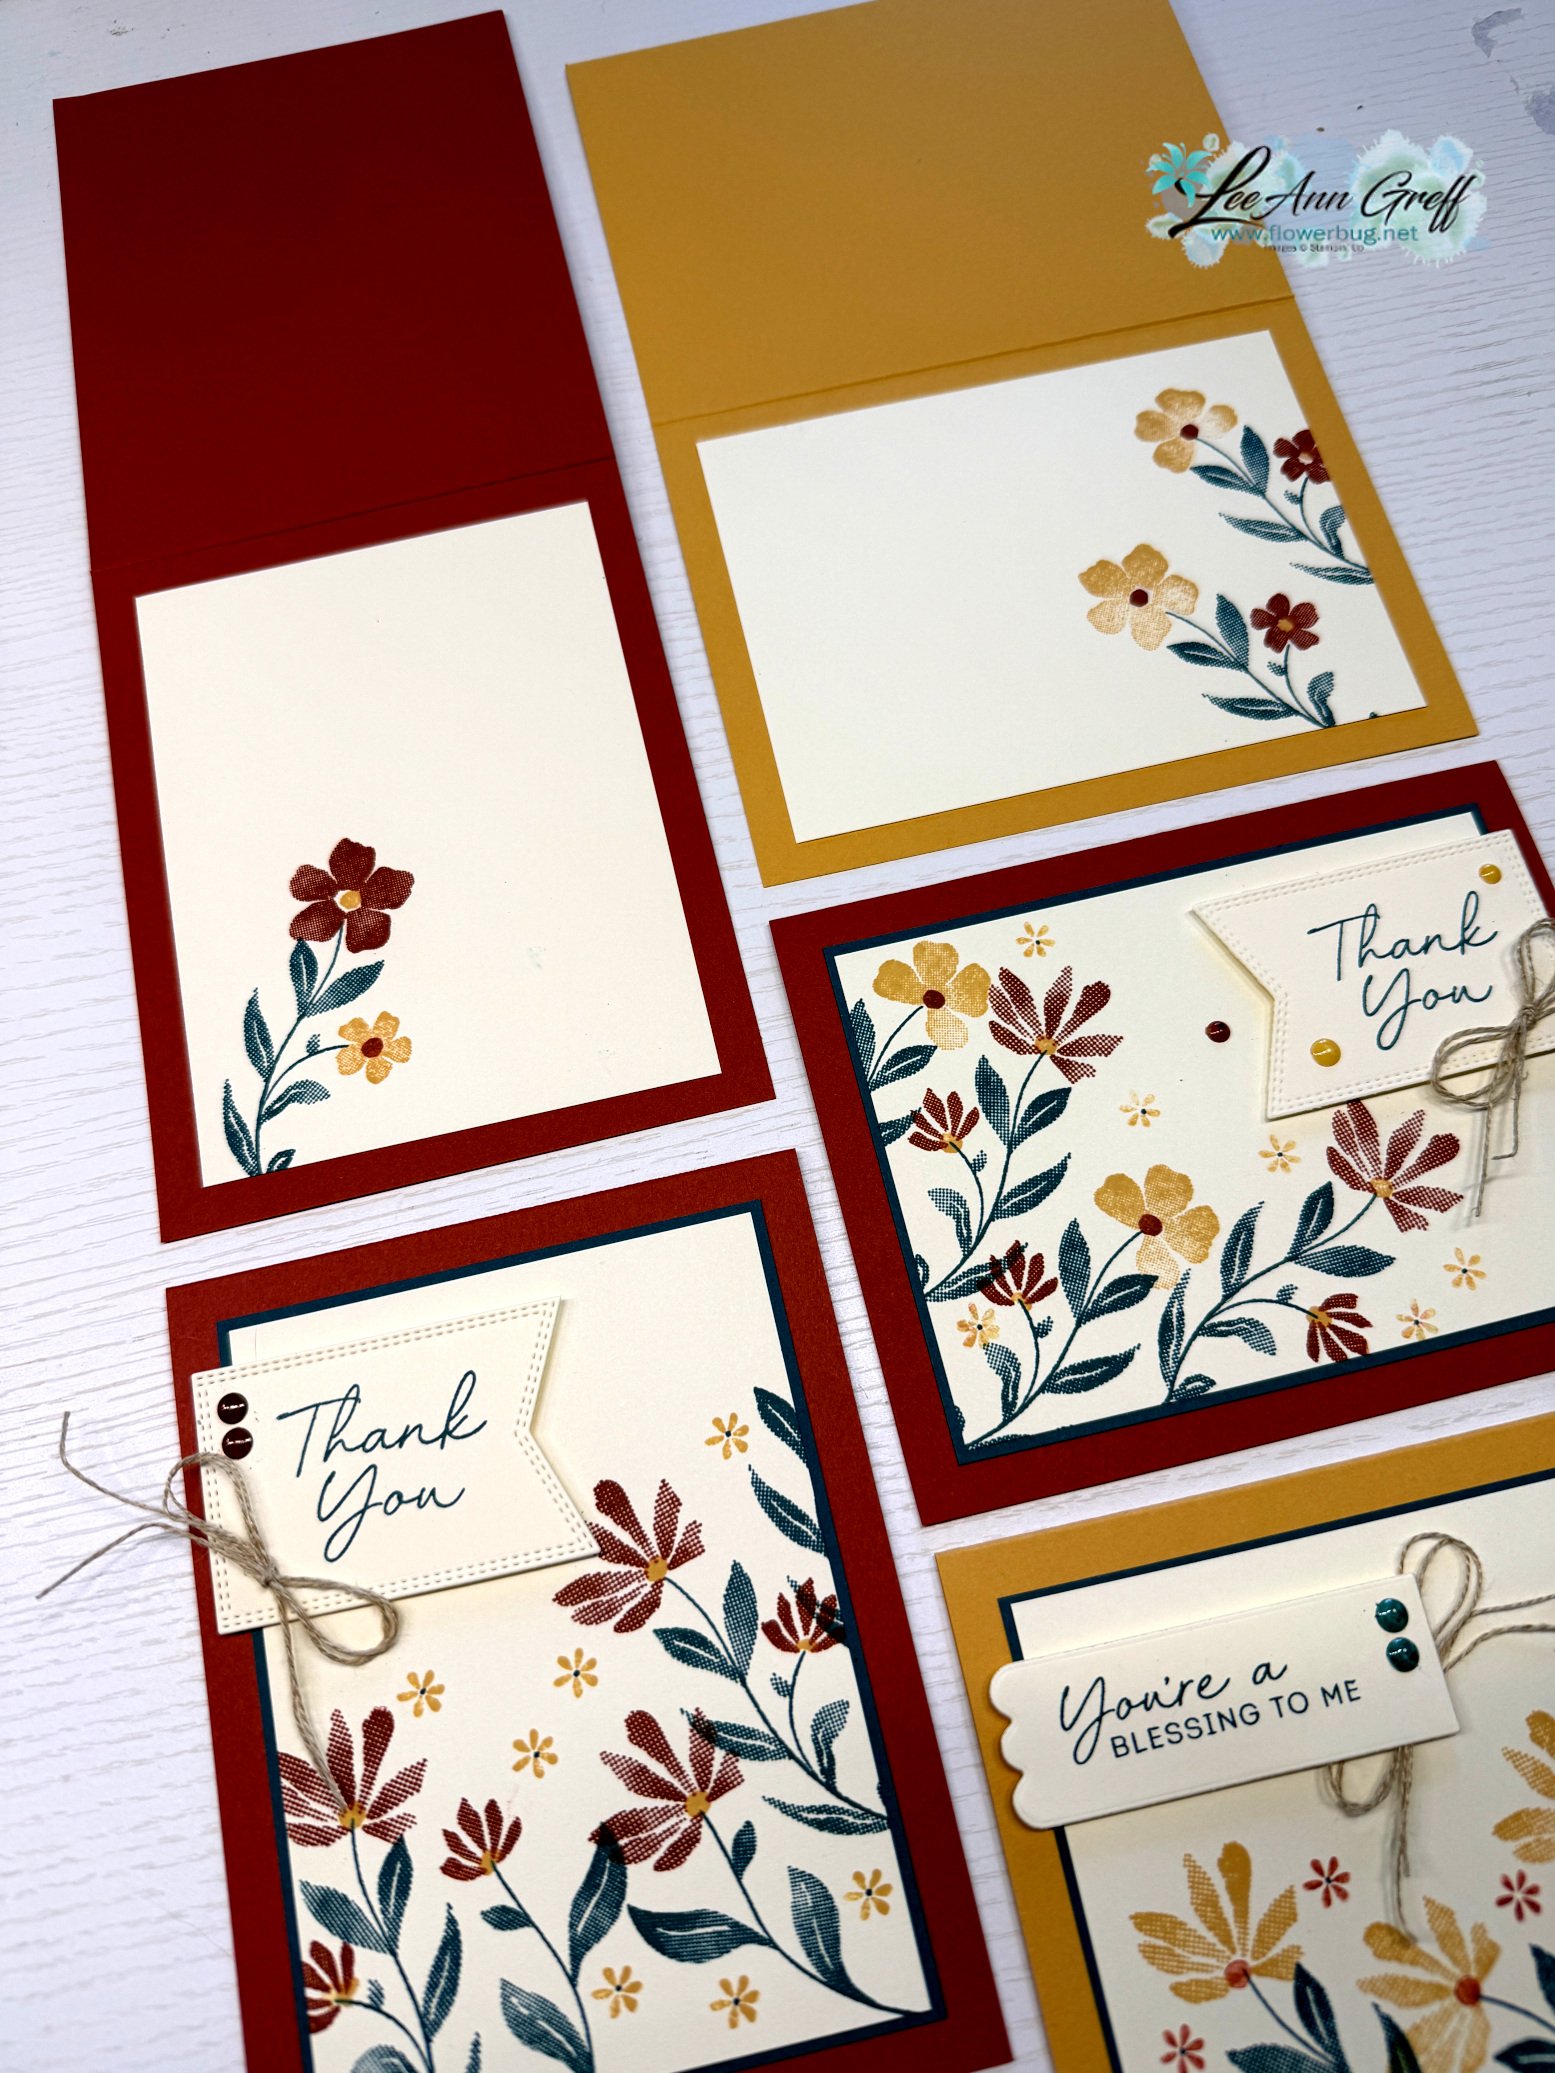
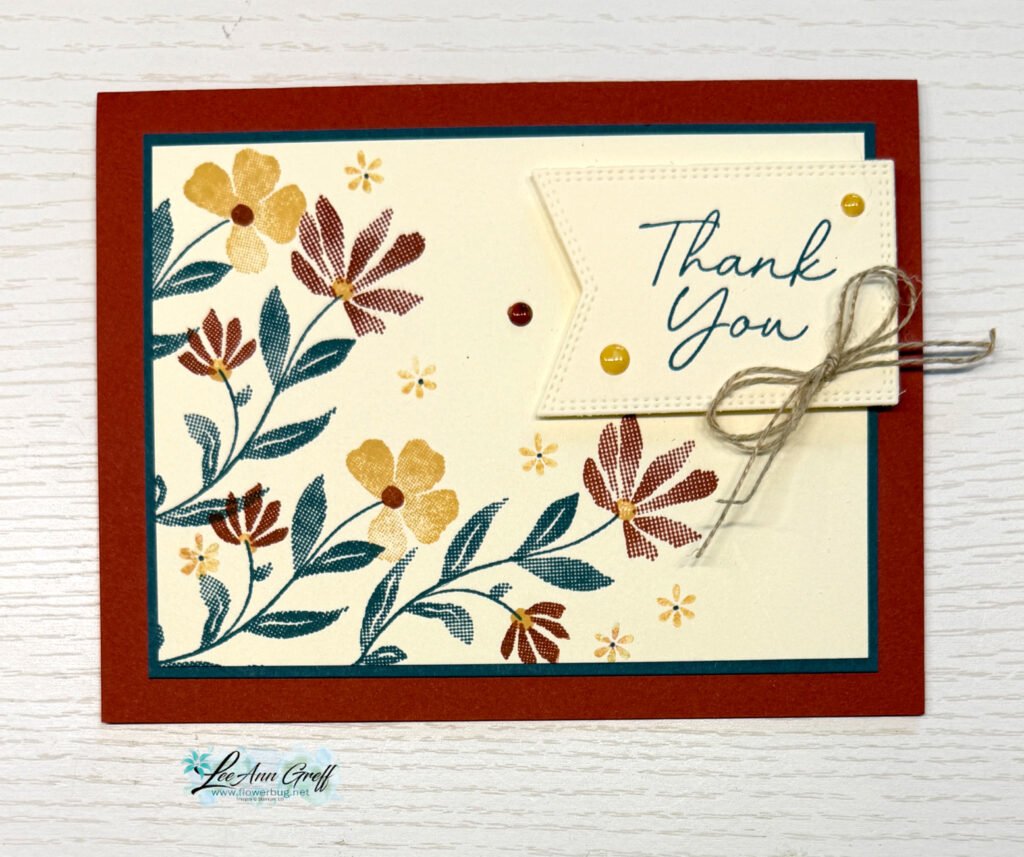
    Look at these beautiful cards; all made by stamping one sheet of Vanilla card stock and cutting it into 5 pieces!

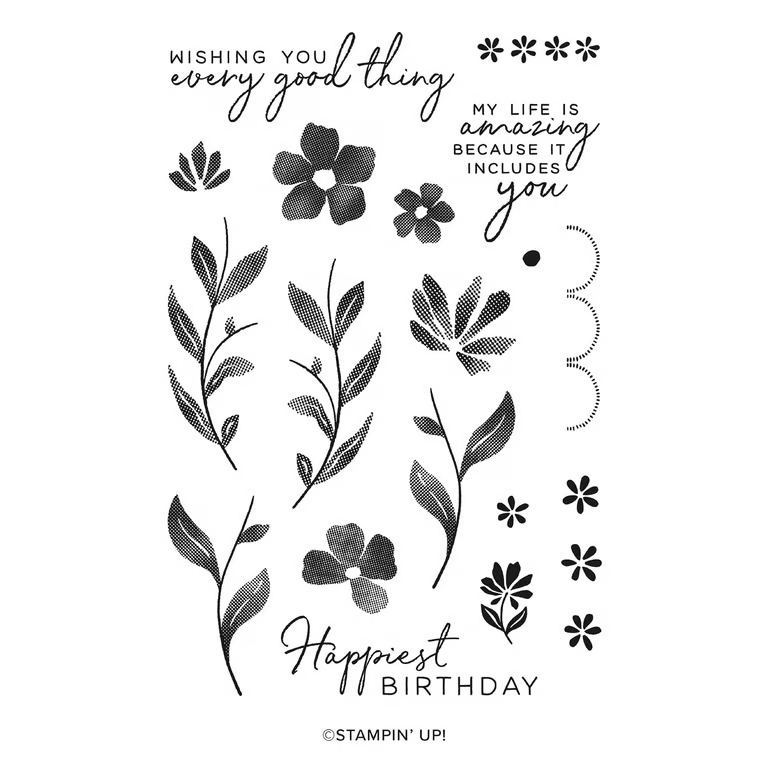
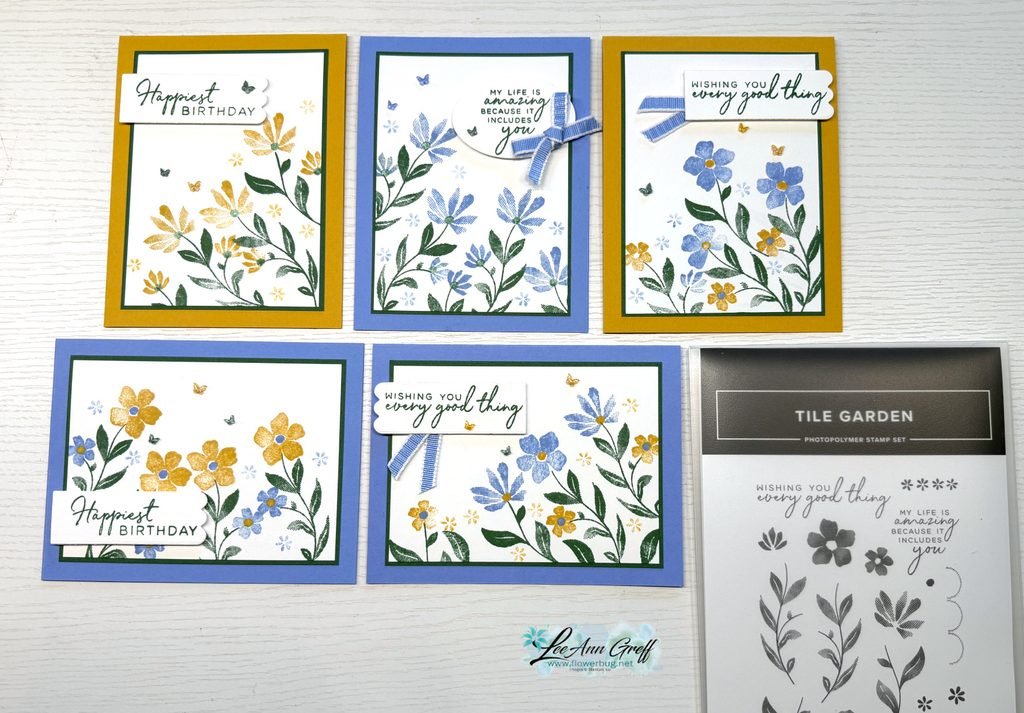
    Just like the cards I shared yesterday, they’re stamped with the Tile Garden stamp set seen here. I wanted to create these cards in fall colors instead of the summery colors I shared yesterday.

    Here I used Cajun Craze, Golden Glow and Pretty Peacock with Very Vanilla. I love how they turned out!

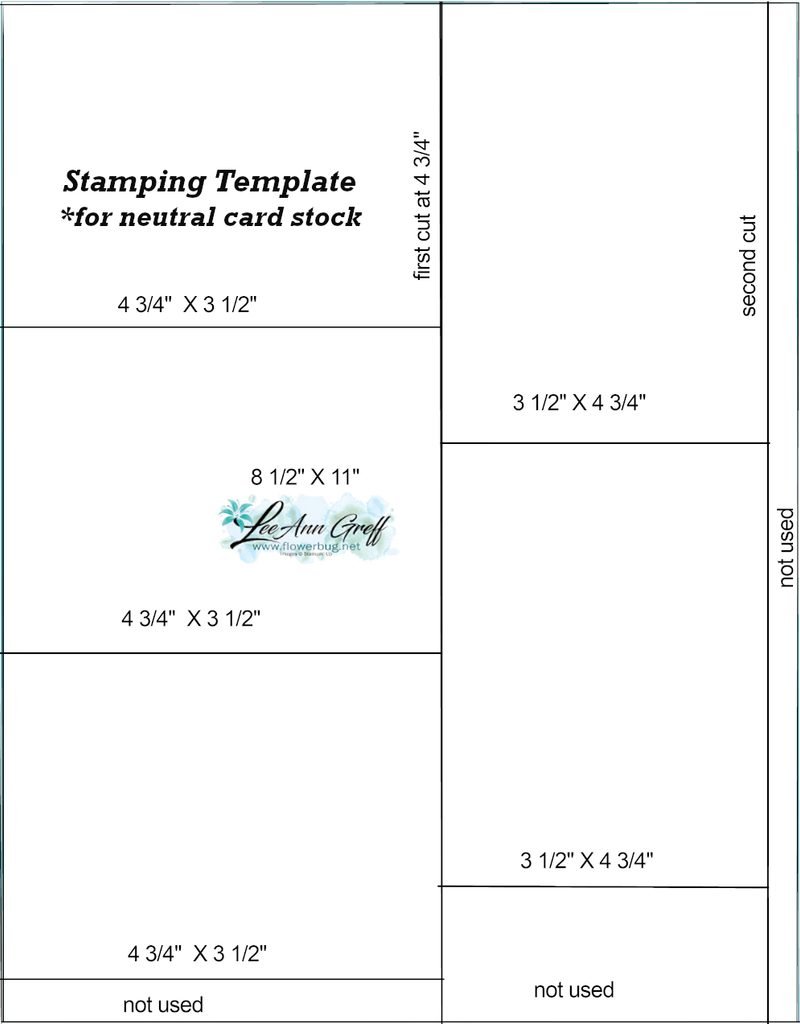
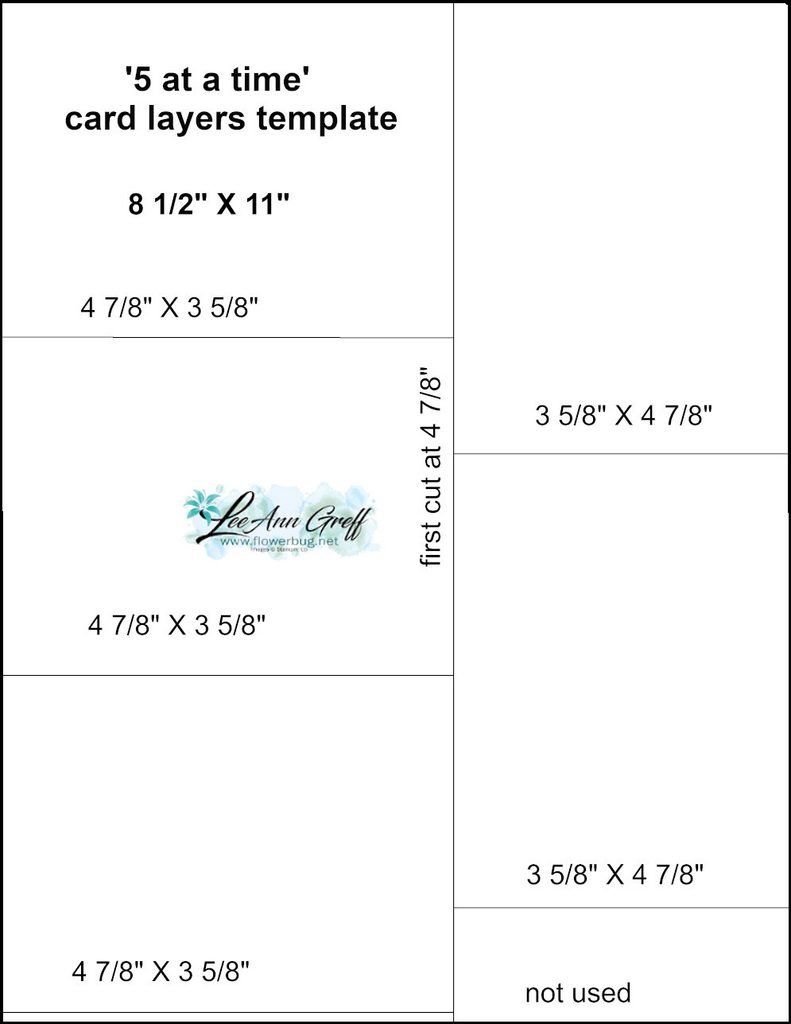
    The 2 templates for both stamping and the Pretty Peacock layers are all made from a single sheet of 8 1/2″ X 11″ card stock. Use them as a cutting guide.

    This first one is for the Vanilla or ‘neutral’ stamped layer.

    This next template is the one for the Pretty Peacock layer; under the stamped Vanilla pieces. I love how you can use your card stock so effectively!

    Both of these templates are included in the free project sheet I created. Click here to print or download it.

    And below is the video tutorial I shared last week with an entire different set of cards! I’ll share another version tomorrow.

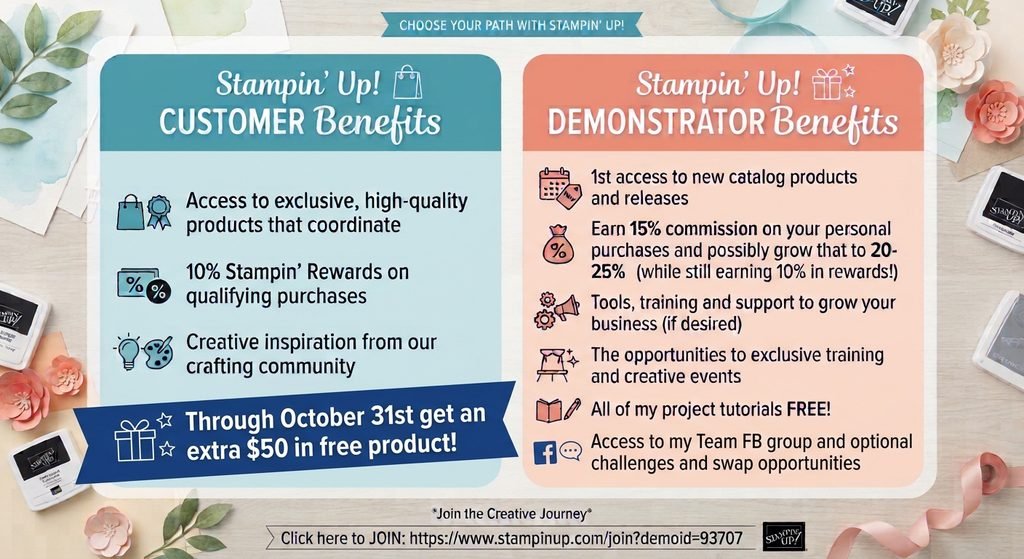
    Remember that the join offer ends Saturday! You get an extra $50 in free products when you choose the Starter kit.

    You won’t regret it! Click here.

    Leave a Reply

    Your email address will not be published. Required fields are marked *

  • 5 beautiful cards the easy way; with my ‘5 at a time’ templates!


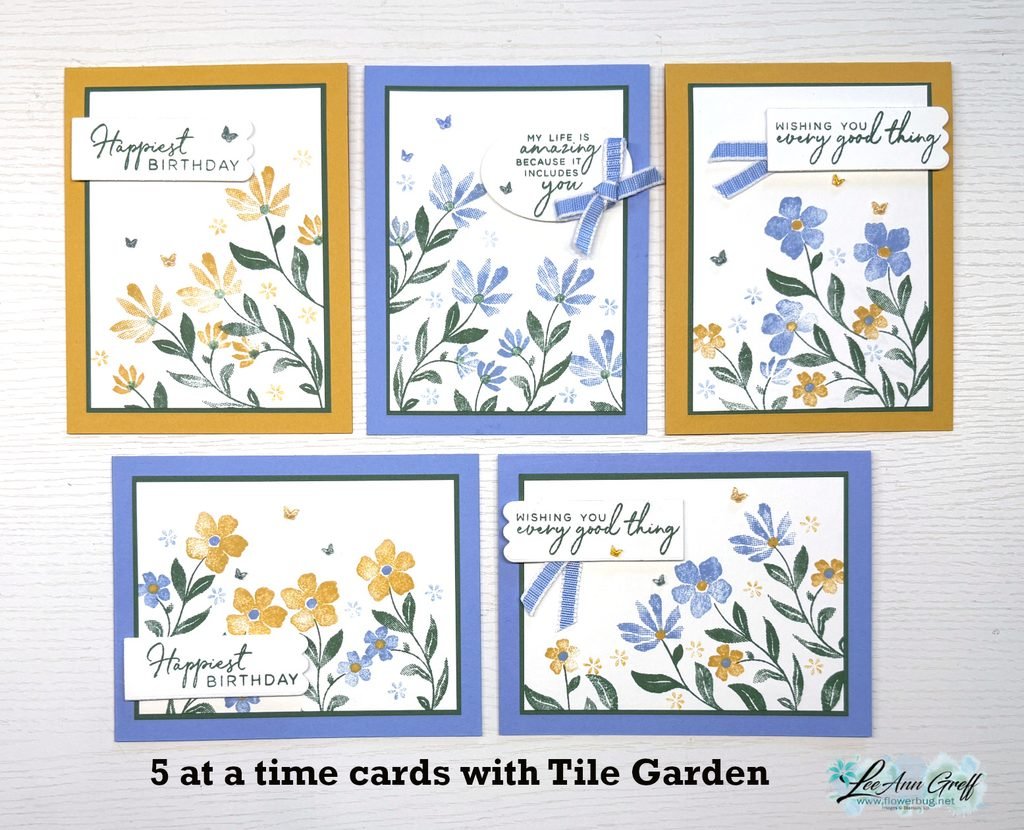
    Check out these gorgeous cards made with my 5 at a time templates!

    Aren’t they pretty? I chose this stamp set because of the pretty floral images. And I knew they’d make an easy, beautiful background. My colors include Hydrangea Hue, Peaceful Pine and Golden Glow.

    My 5 at a time templates make creating 5 cards so effortlessly! This first template is what I used for my White stamped layer.

    Vertically, make the first cut from an 8 1/2″ X 11″ White CS at 4 3/4″. Then cut 3 pieces from the left section at 3 1/2″. Now cut the other piece at 3 1/2″ wide and cut that into two pieces at 4 3/4″. Save the bottom piece for a greeting layer.

    This next template is for the colored layer under the White stamped pieces. It’s just an 1/8″ larger than the White layers.

    Cut in the same manner as the one above; starting vertically at 4 7/8″. Please watch the video here, or below to see how it’s done.

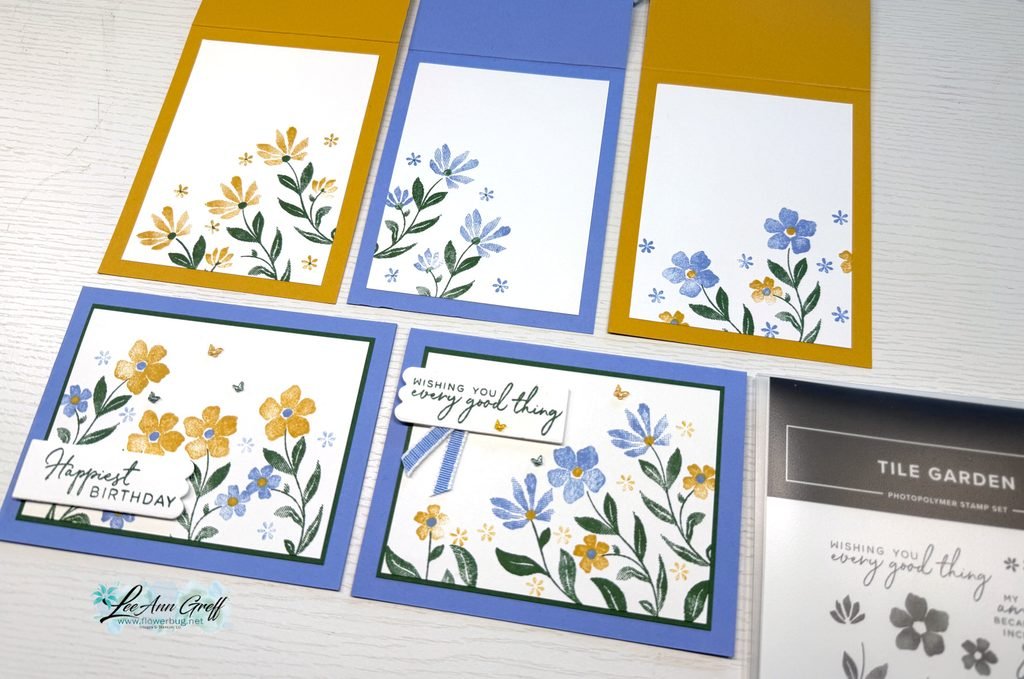
    I cut 5 card bases for these stamped layers and you can see how I stamped the insides of some above. I love stamping backgrounds; our stamp images are fantastic! And this set has that distinktive feel to the images which gives multiple hues of colors when stamping.

    It’s actually in a bundle with the amazing Tile Garden dies. See the stamp set here and the bundle here.

    I created a free project sheet for these cards and it includes the two templates! Click here to print or download it.

    And below is the video tutorial I shared last week with an entire different set of cards! I’ll share another version tomorrow.

    The Starter kit deal ends on Saturday! I hope you’ll consider joining my team and taking advantage of the continual discount on all future Stampin’ Up! products!

    Click here to get the deal!!

    Leave a Reply

    Your email address will not be published. Required fields are marked *

  • Did you know you can get these exclusive items now?


    Most people don’t know that you can see AND order exclusive, pre-order products in the Stampin’ Up! starter kit. You can!

    Our November Online Exclusives are available now when you choose the Starter Kit deal. There are 12 pages of brand new products coming out in November but you can get them now!

    The Starter kit costs $100 and you can pick out $125 in products of your choice, including these exclusive demo pre-order items. Once you purchase it, you’ll also receive a coupon code for an additional $50 in products! That’s $75 in free items! So cool! Use this link or below to grab this deal and enjoy the discount on your favorite products from then on!

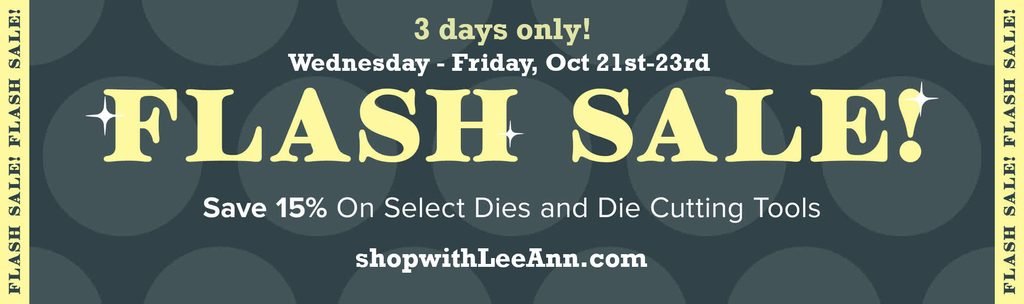
    In addition you can add any of the Flash Sale items in your starter kit too!

    Below are my top 10 favorite dies that are discounted today and tomorrow. This sale ends Friday!

    Leave a Reply

    Your email address will not be published. Required fields are marked *


Notice: LeeAnn Greff, Independent Stampin’ Up! Demonstrator, Manager. The content of this website is my sole responsibility as an independent Stampin’ Up! demonstrator and the use of, and content of, the classes, services, or products offered on this website is not endorsed by Stampin’ Up! Copyright 2025